
Porter
intro
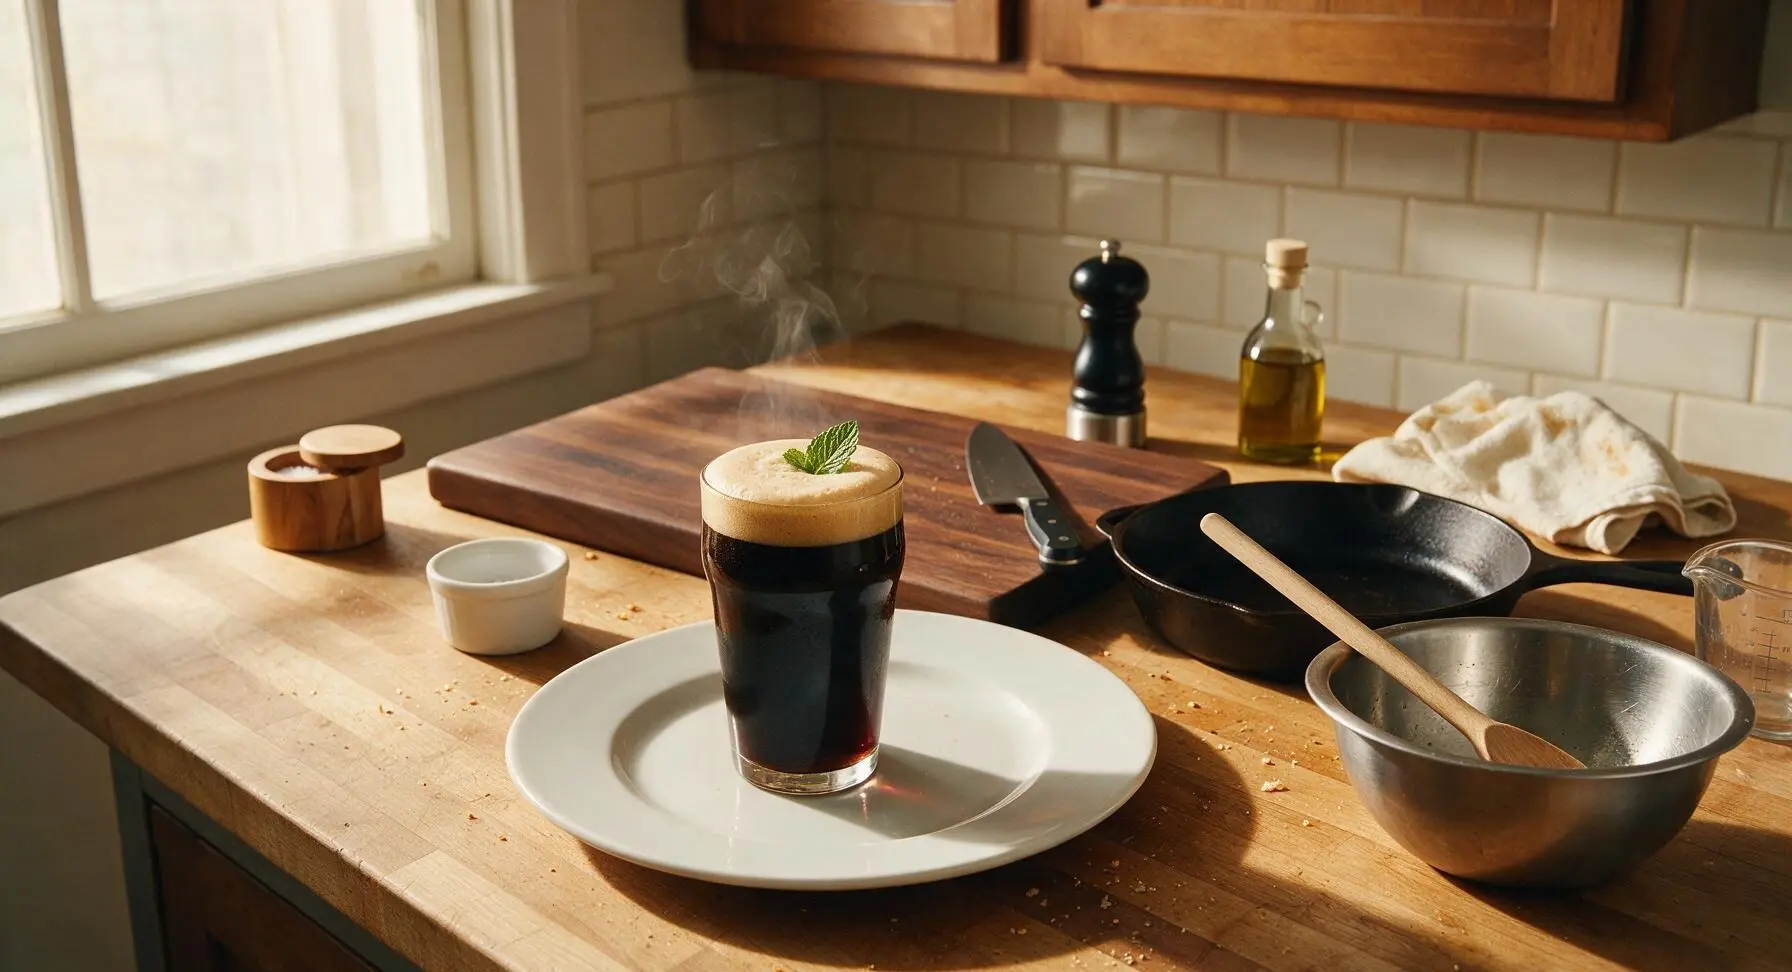
Rich, roasty classic London Porter with dark chocolate, toasted bread, and subtle coffee notes, smooth for new drinkers and complex enough for craft beer fans.
Ingredients
Steps
Sanitize All Equipment
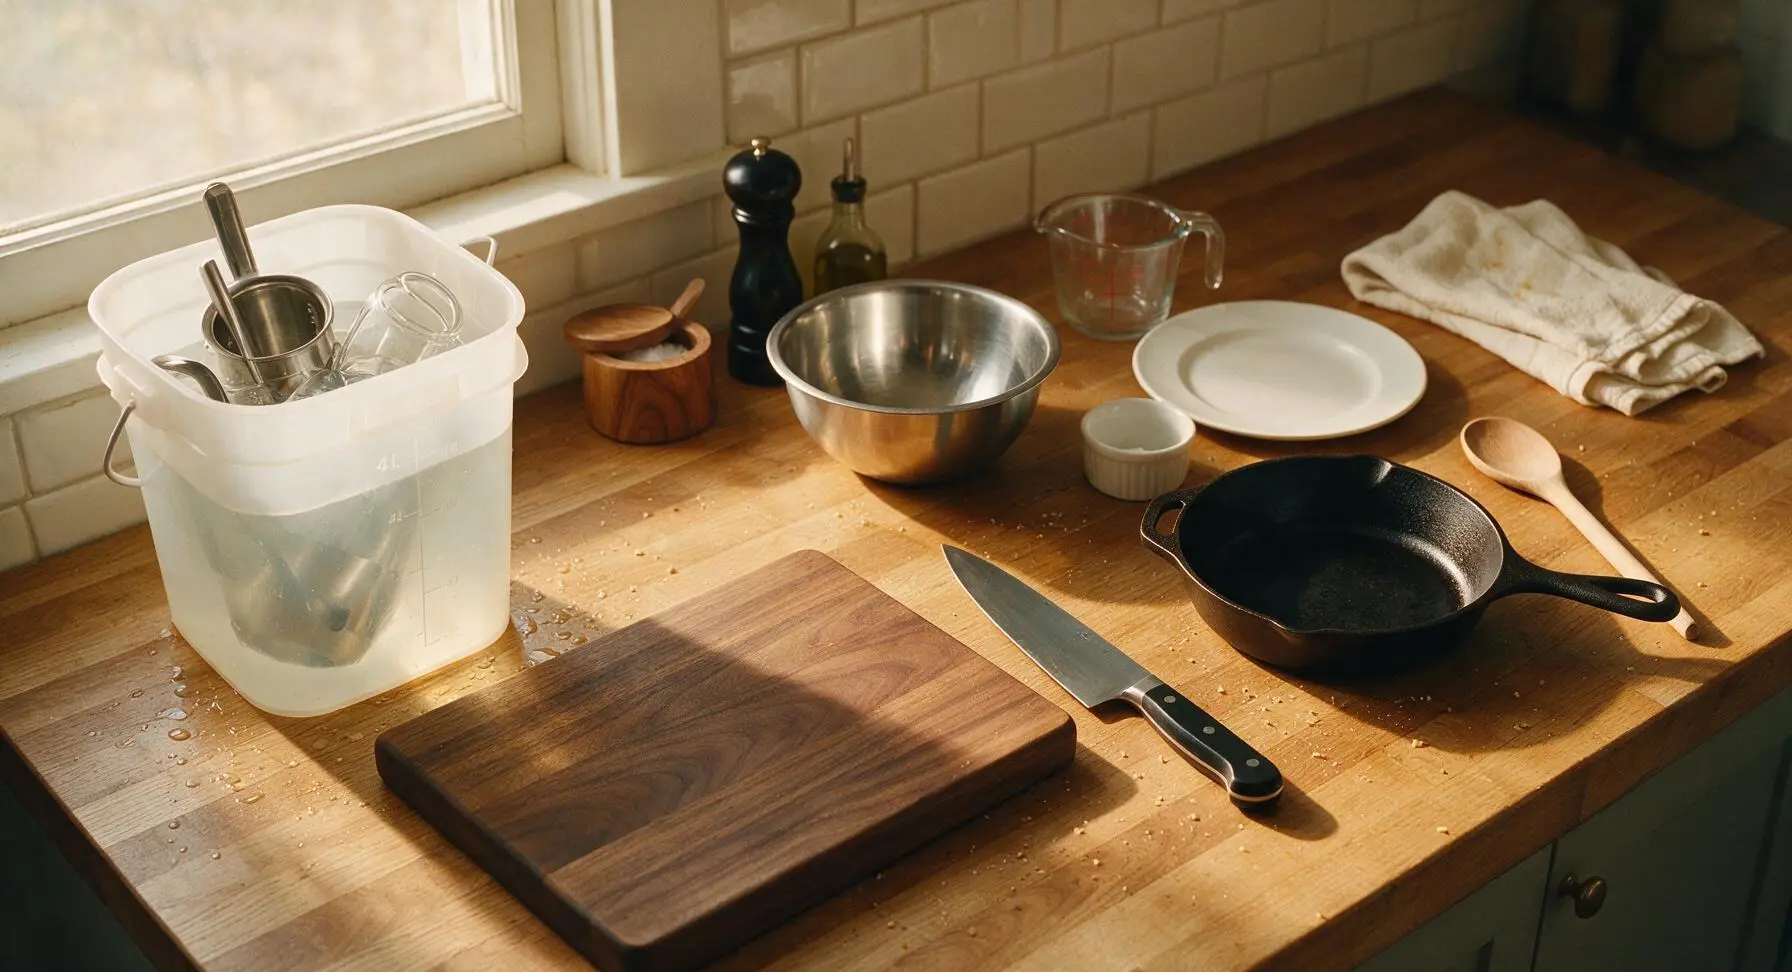
Fill the 4L translucent sanitizing bucket with 3L of cool filtered water and 1 tablespoon of no-rinse food-grade brewing sanitizer. Submerge the stock pot, stirring spoon, thermometer, strainer, fermentation jug, and airlock in the solution for 60 seconds. Remove tools and air dry on the clean counter; do not wipe with a towel to avoid lint or bacterial contamination. Every surface that will touch cooled wort must be fully sanitized to prevent sour off-flavors.
Steep Roasted Grains
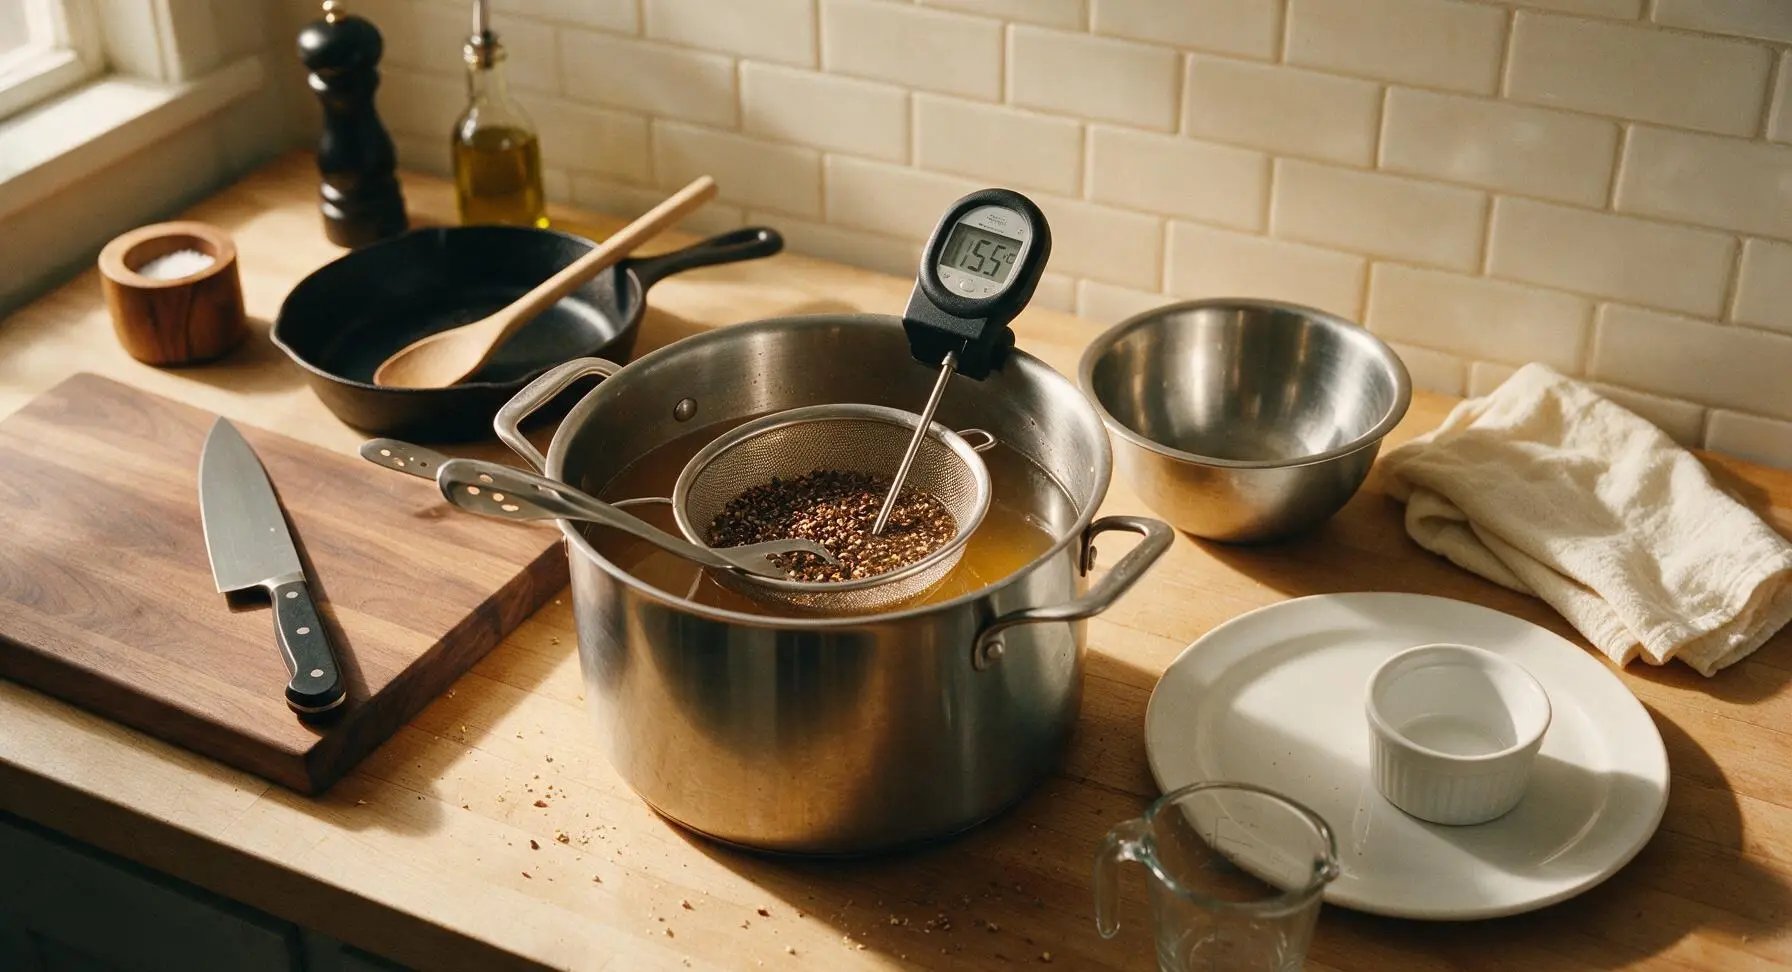
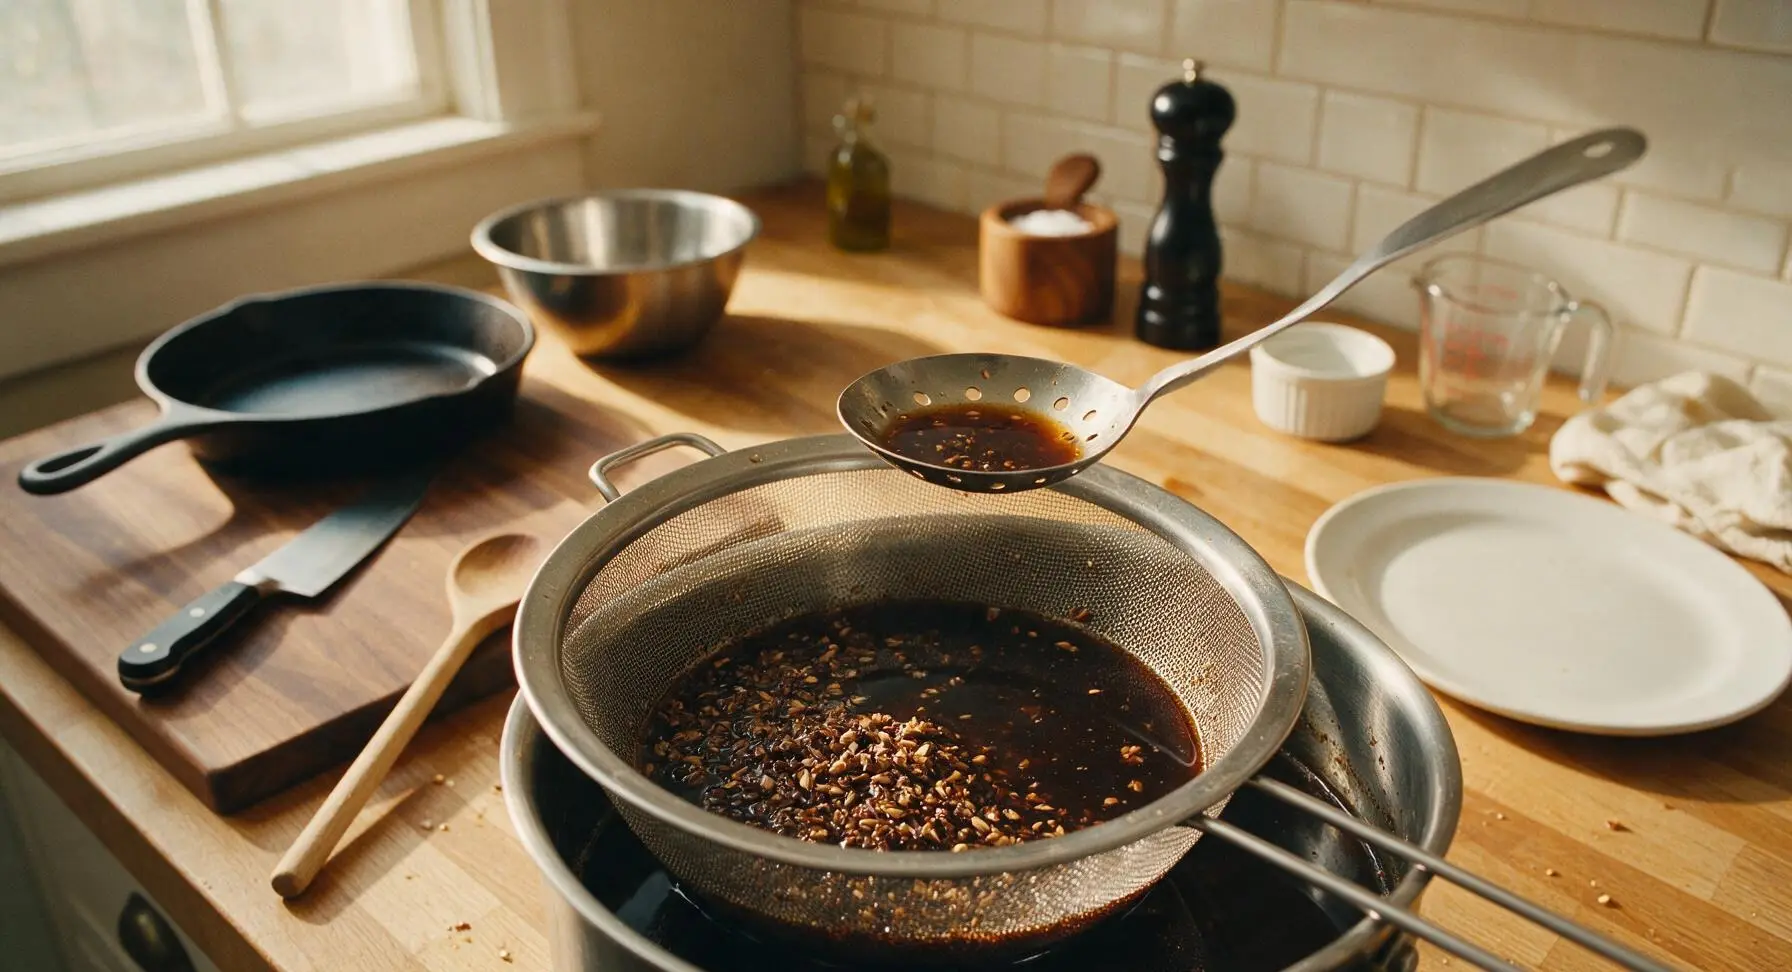
Pour 2.8L (3 quarts) of cold filtered water into the 1-gallon stainless steel stock pot, heat over medium to reach a steady 155°F (68°C). Place all crushed chocolate malt, roasted barley, and crystal malt in the fine-mesh strainer, then lower the strainer into the warm water. Steep for 20 minutes, holding temperature between 150-160°F (66-71°C) — do not boil, as this extracts harsh bitter tannins from grain husks. The liquid will darken to a deep coffee brown as it steeps.
Add Dry Malt Extract
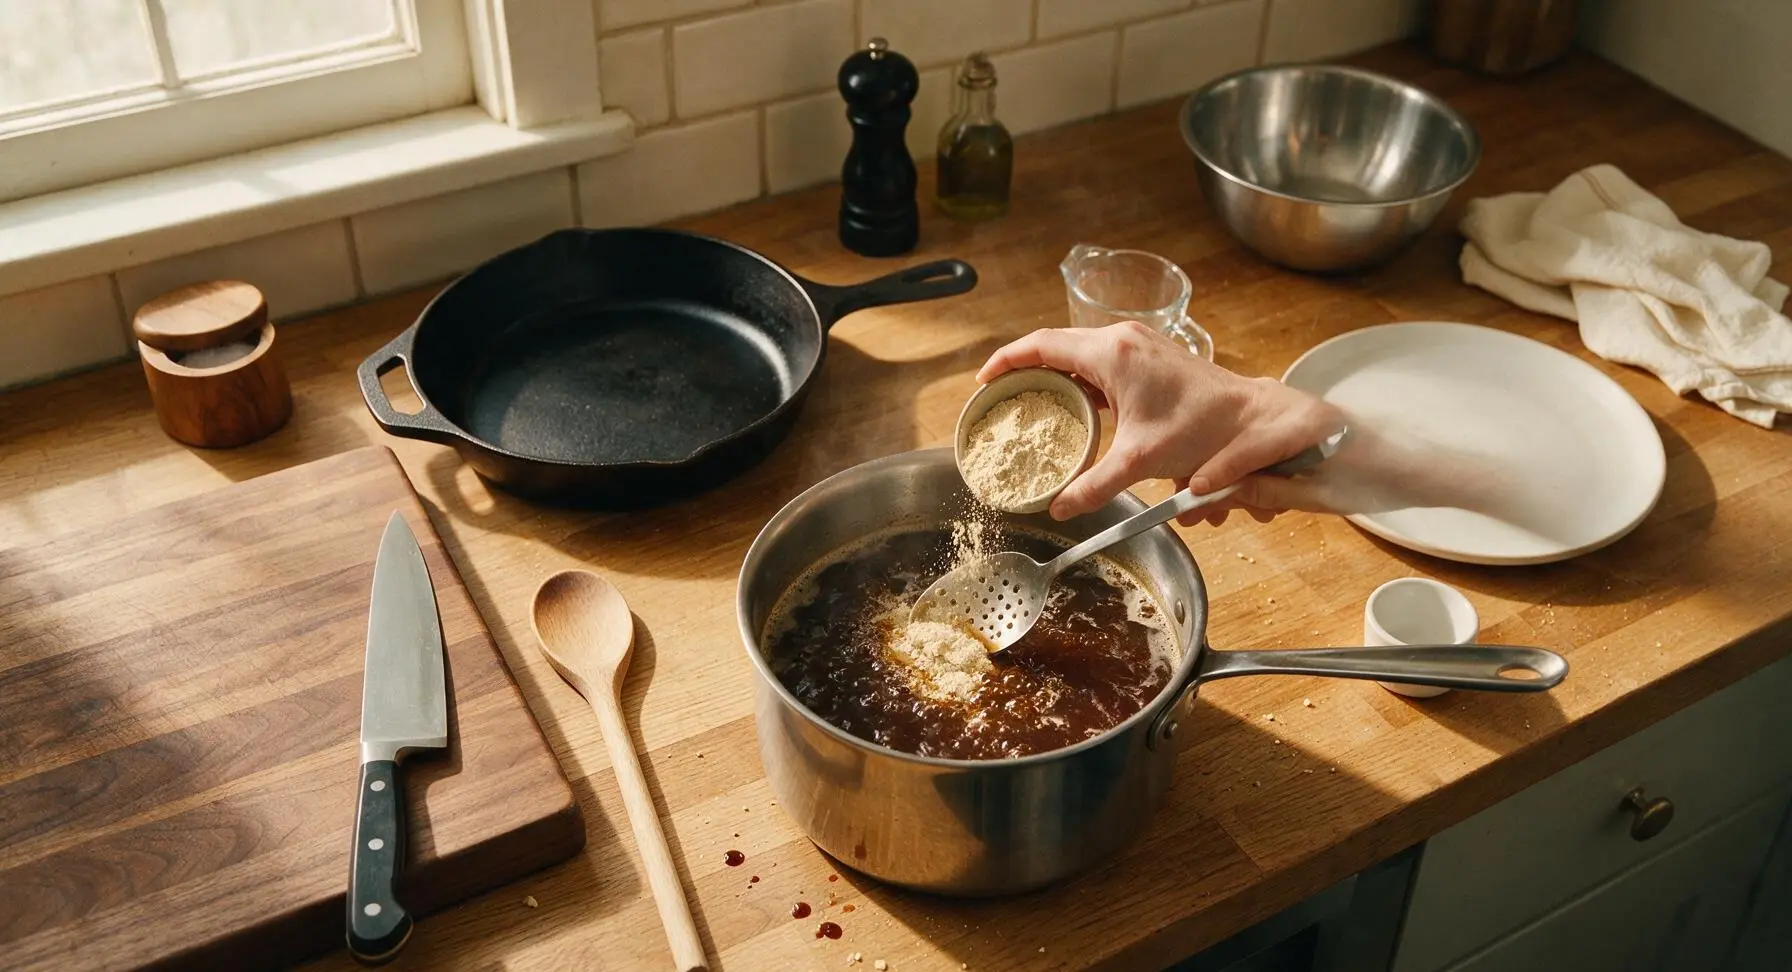
Lift the grain strainer from the pot, let all liquid drain back into the wort (do not squeeze the grains, as this pulls harsh tannins). Increase heat to medium-high to bring the wort to a gentle rolling boil. Once boiling, slowly stir in all light dry malt extract with the slotted stainless steel spoon, stirring constantly to prevent extract from scorching on the pot bottom. Adjust heat as needed to prevent boil-over as the wort returns to a steady roll.
Boil and Add Hops
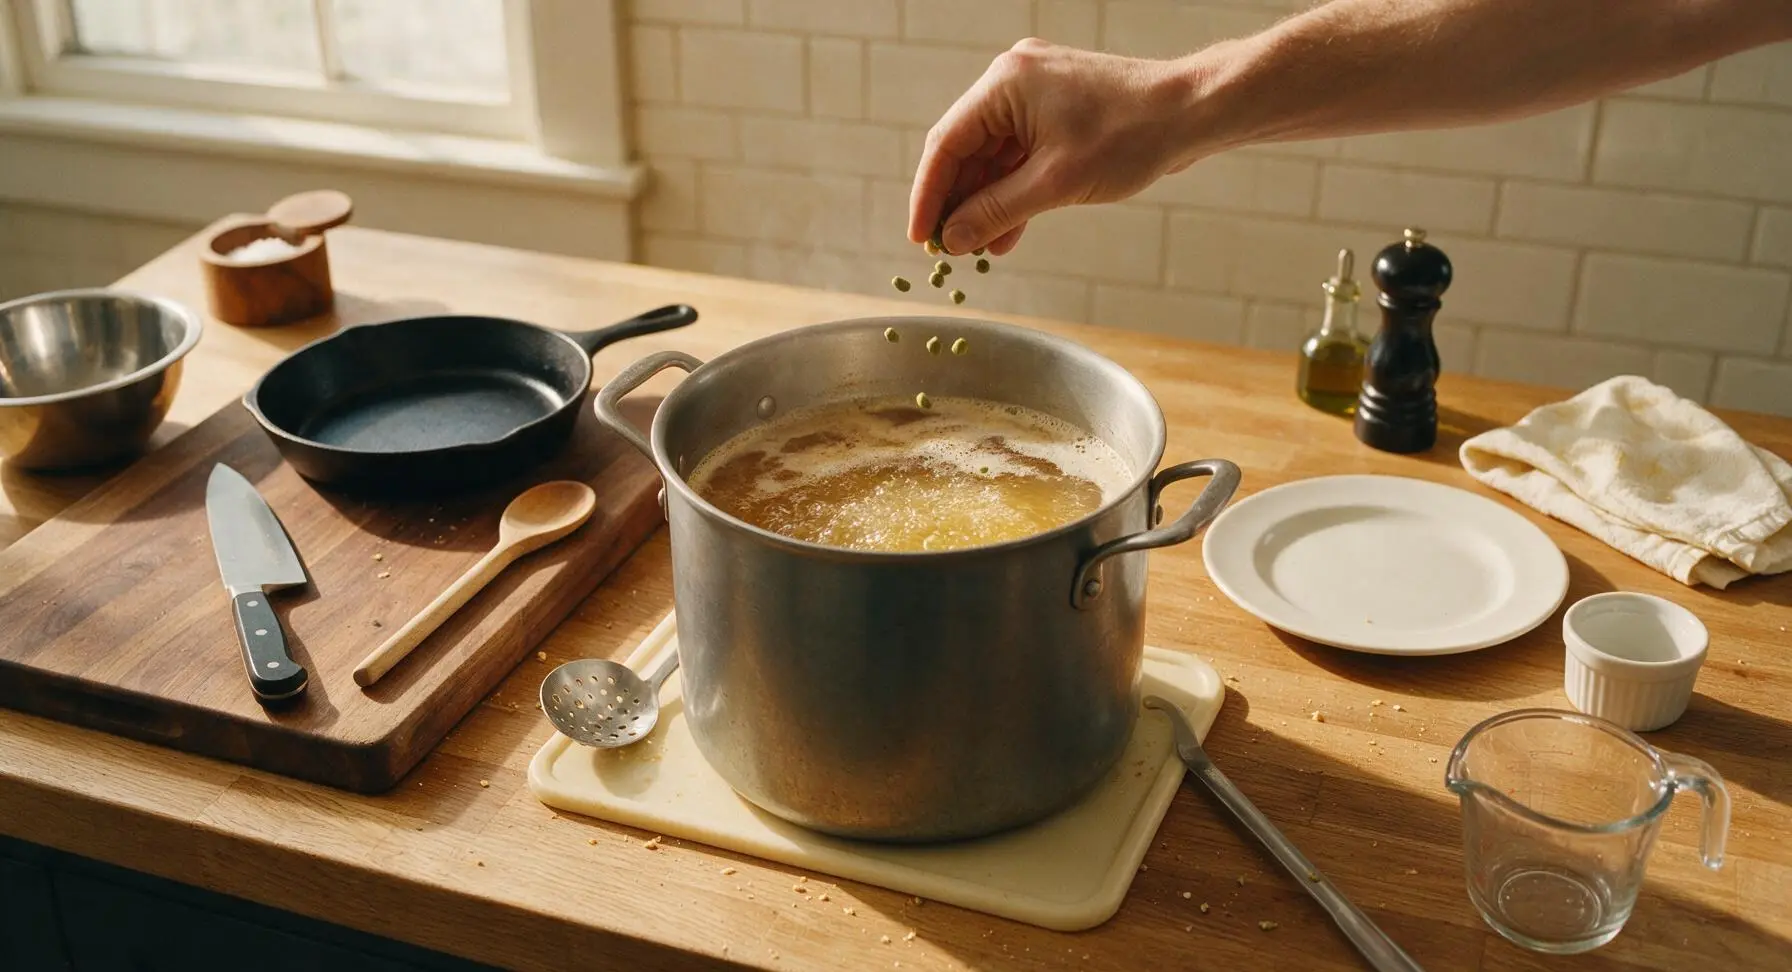
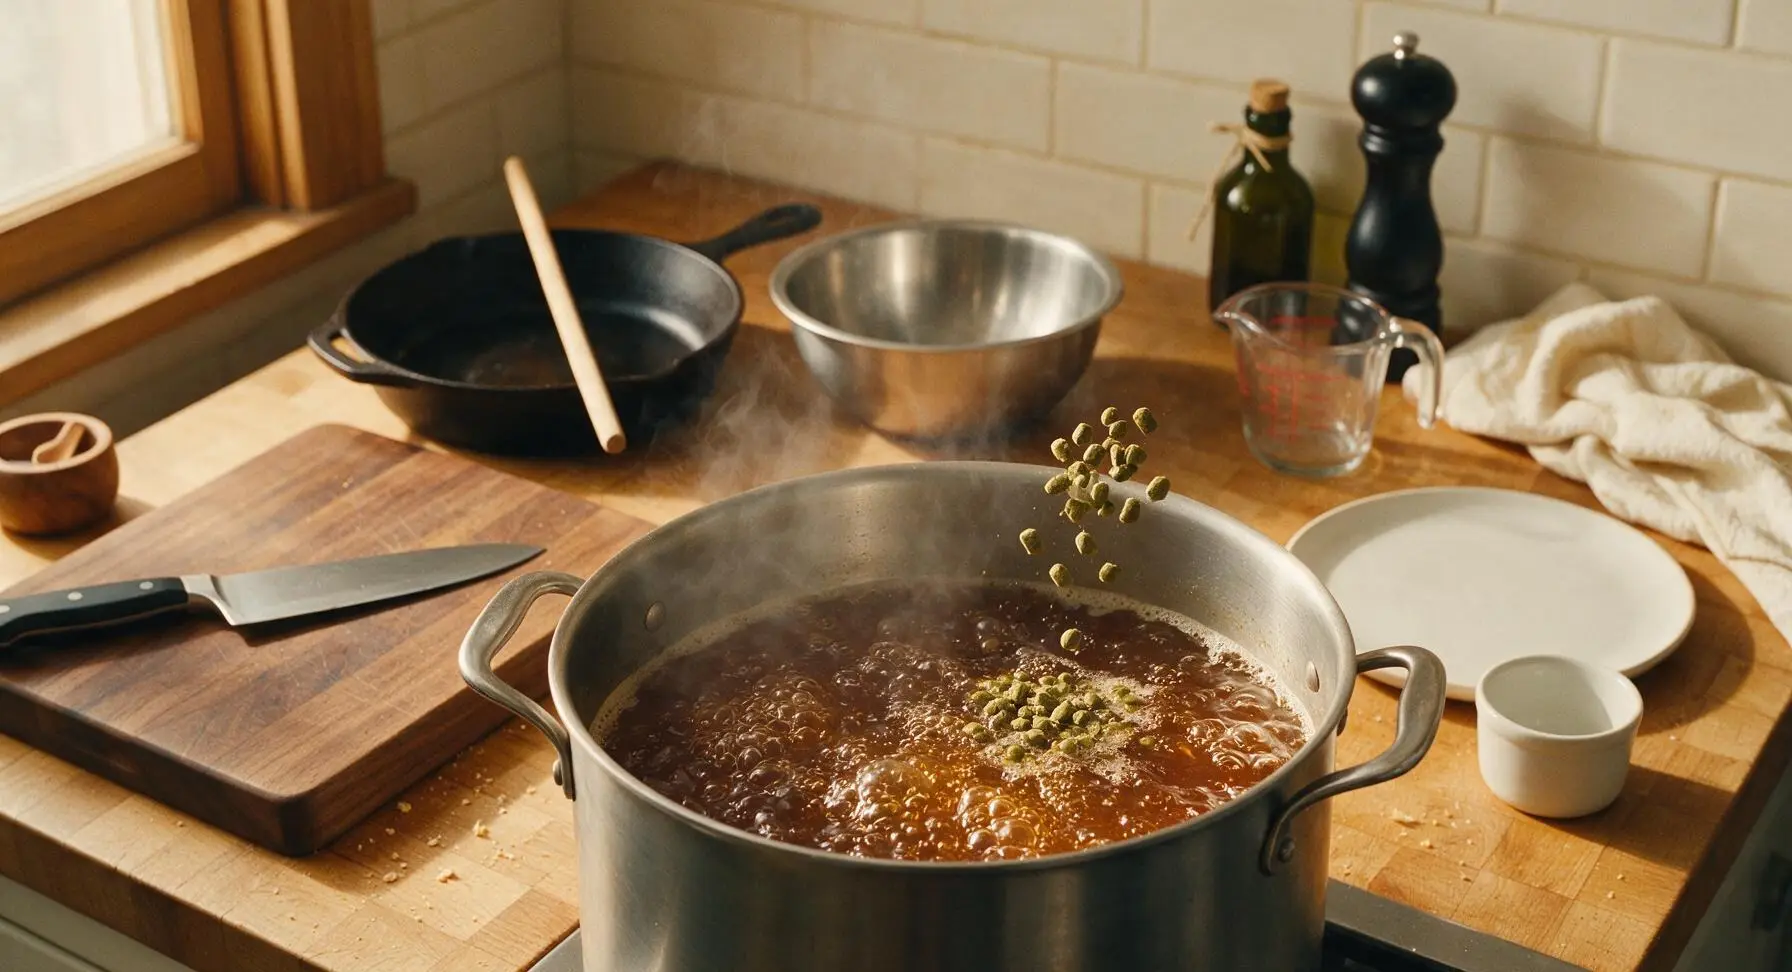
Once the wort returns to a steady rolling boil after adding extract, set a 60 minute timer. Add 0.3oz (8.5g) of East Kent Goldings hops at the start of the boil (60 minute mark) for balanced, earthy bitterness. Add the remaining 0.2oz (5.5g) of East Kent Goldings hops at the final 5 minutes of the boil to preserve bright, floral hop aroma. Maintain a steady rolling boil, stirring occasionally to prevent scorching.
Cool Wort Rapidly
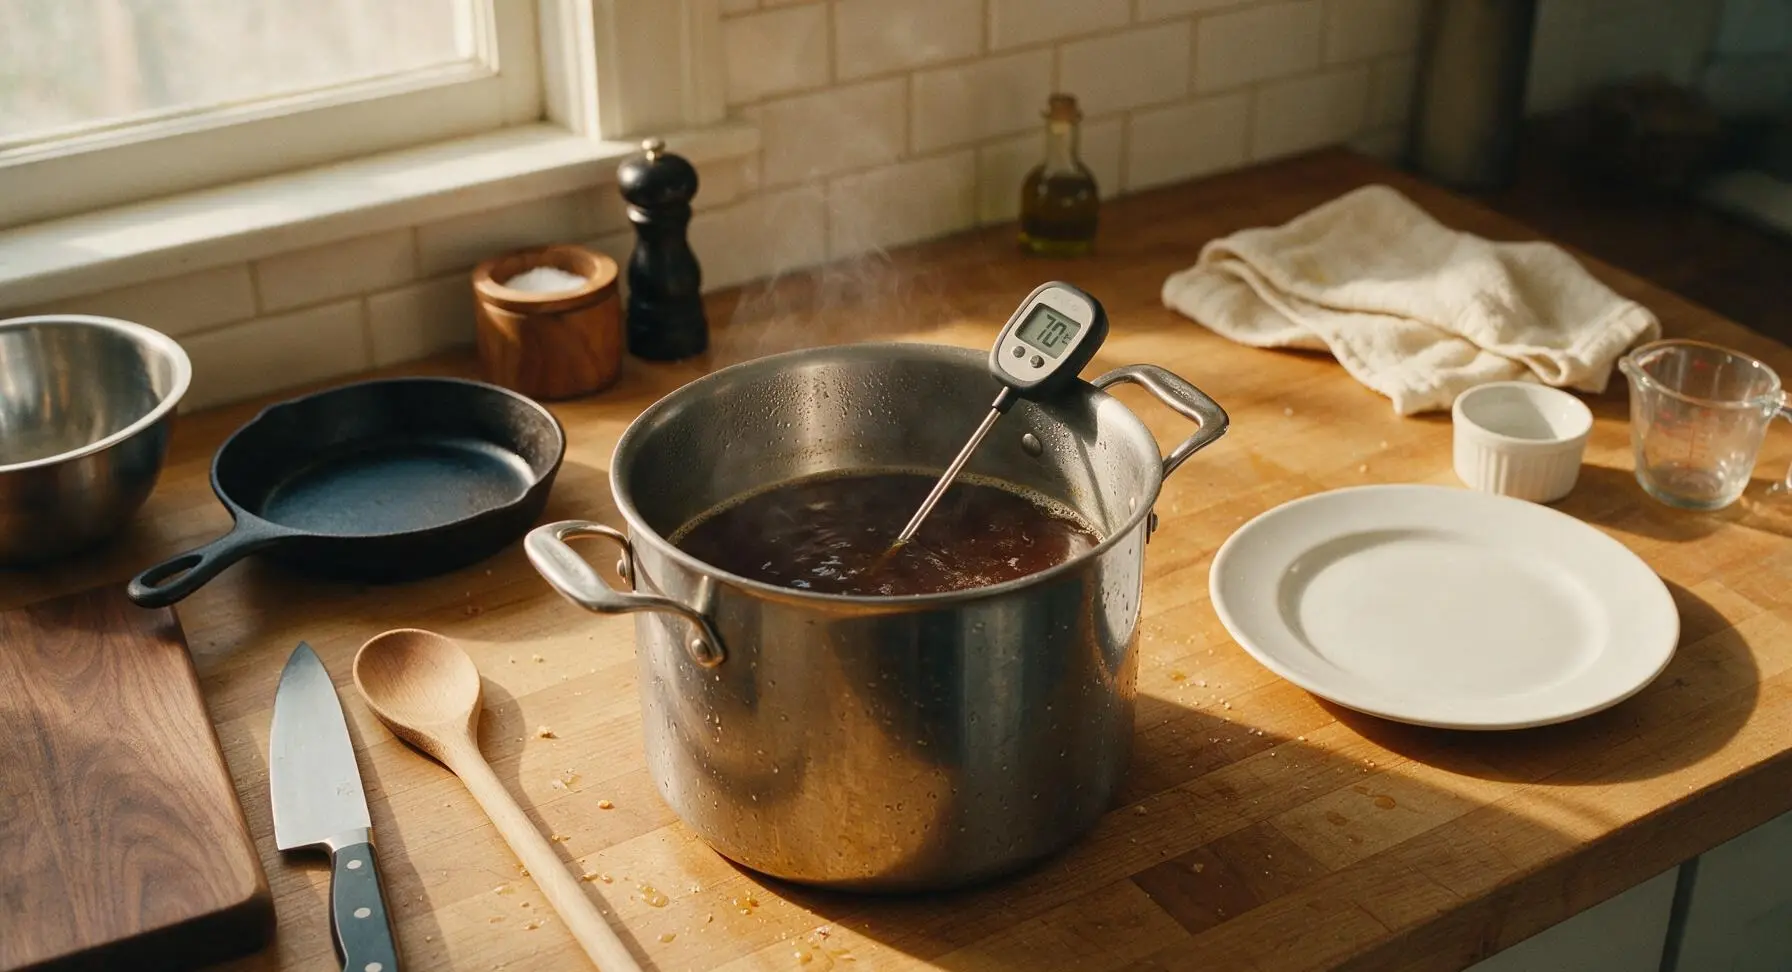
After the 60 minute boil completes, turn off heat. Move the pot to an ice bath in the sink to cool the wort to 70°F (21°C) as quickly as possible, approximately 15-20 minutes. Stir the wort gently every 5 minutes to speed cooling, using the sanitized digital thermometer to check temperature regularly. Rapid cooling prevents off-flavors and reduces contamination risk before adding yeast.
Transfer to Fermenter
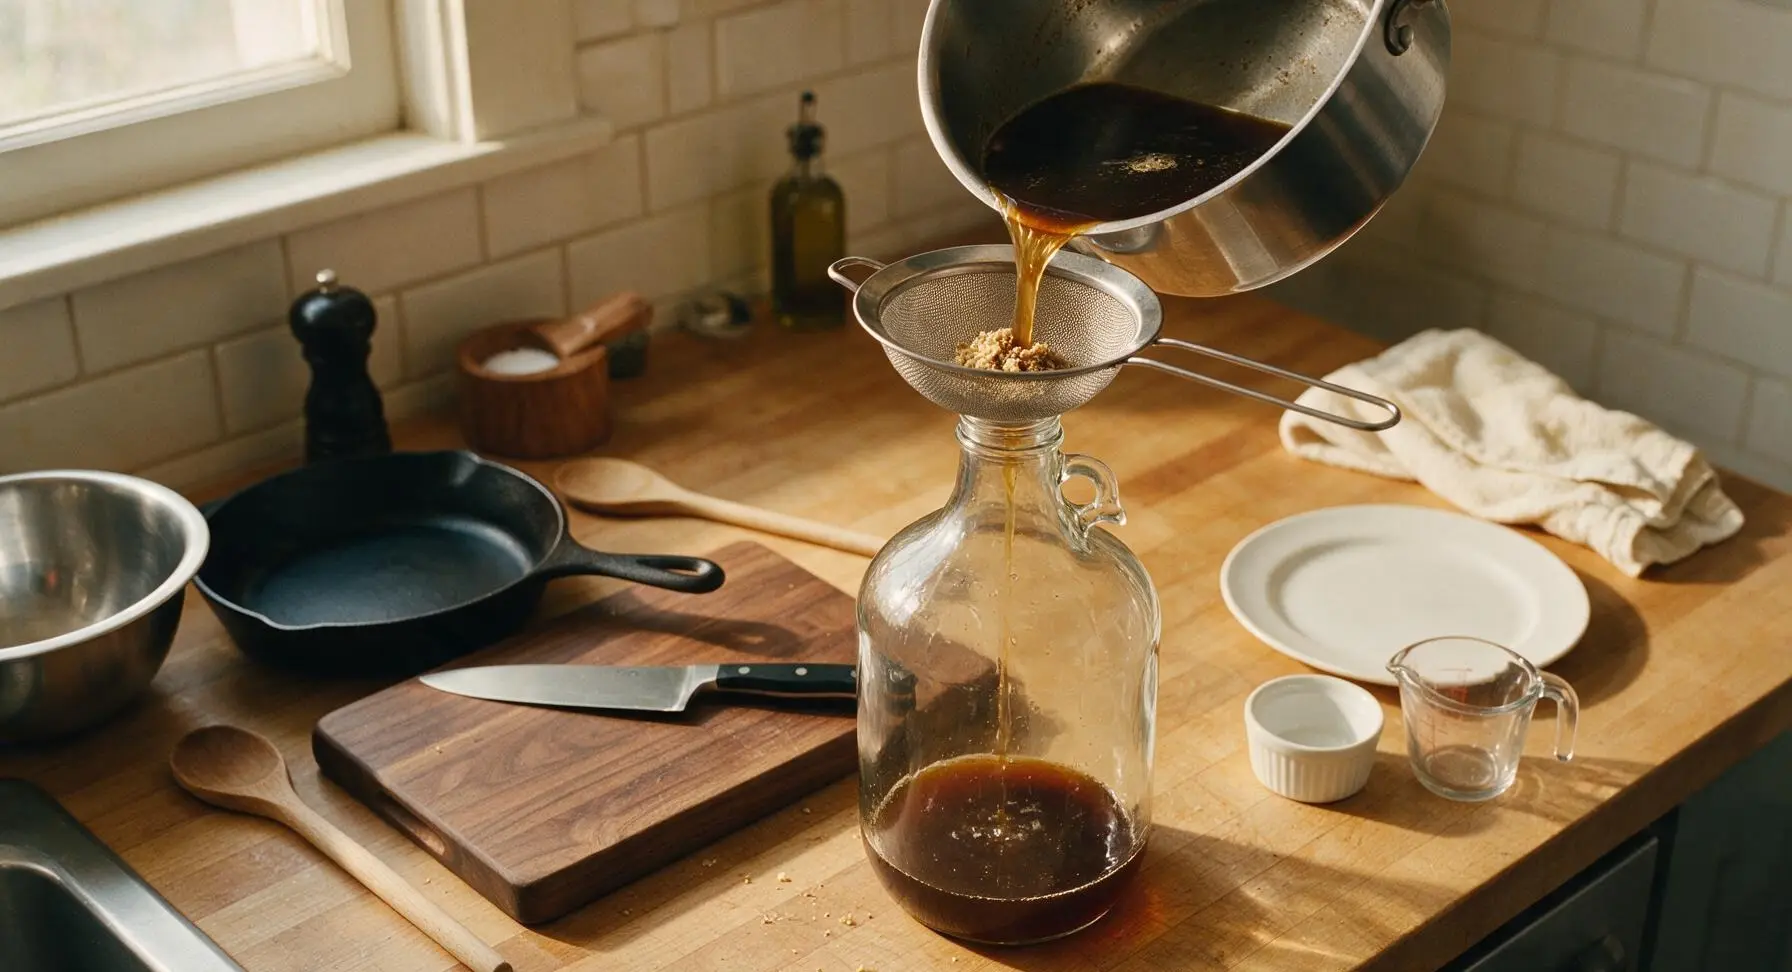
Set the sanitized fine-mesh strainer over the mouth of the 1-gallon clear glass fermentation jug. Carefully pour the cooled wort through the strainer into the jug, catching hop debris and coagulated protein (trub) in the strainer. Top up the jug with cool filtered water to reach the 1-gallon volume mark, leaving 2-3cm of headspace at the top for fermentation bubbling.
Pitch Ale Yeast
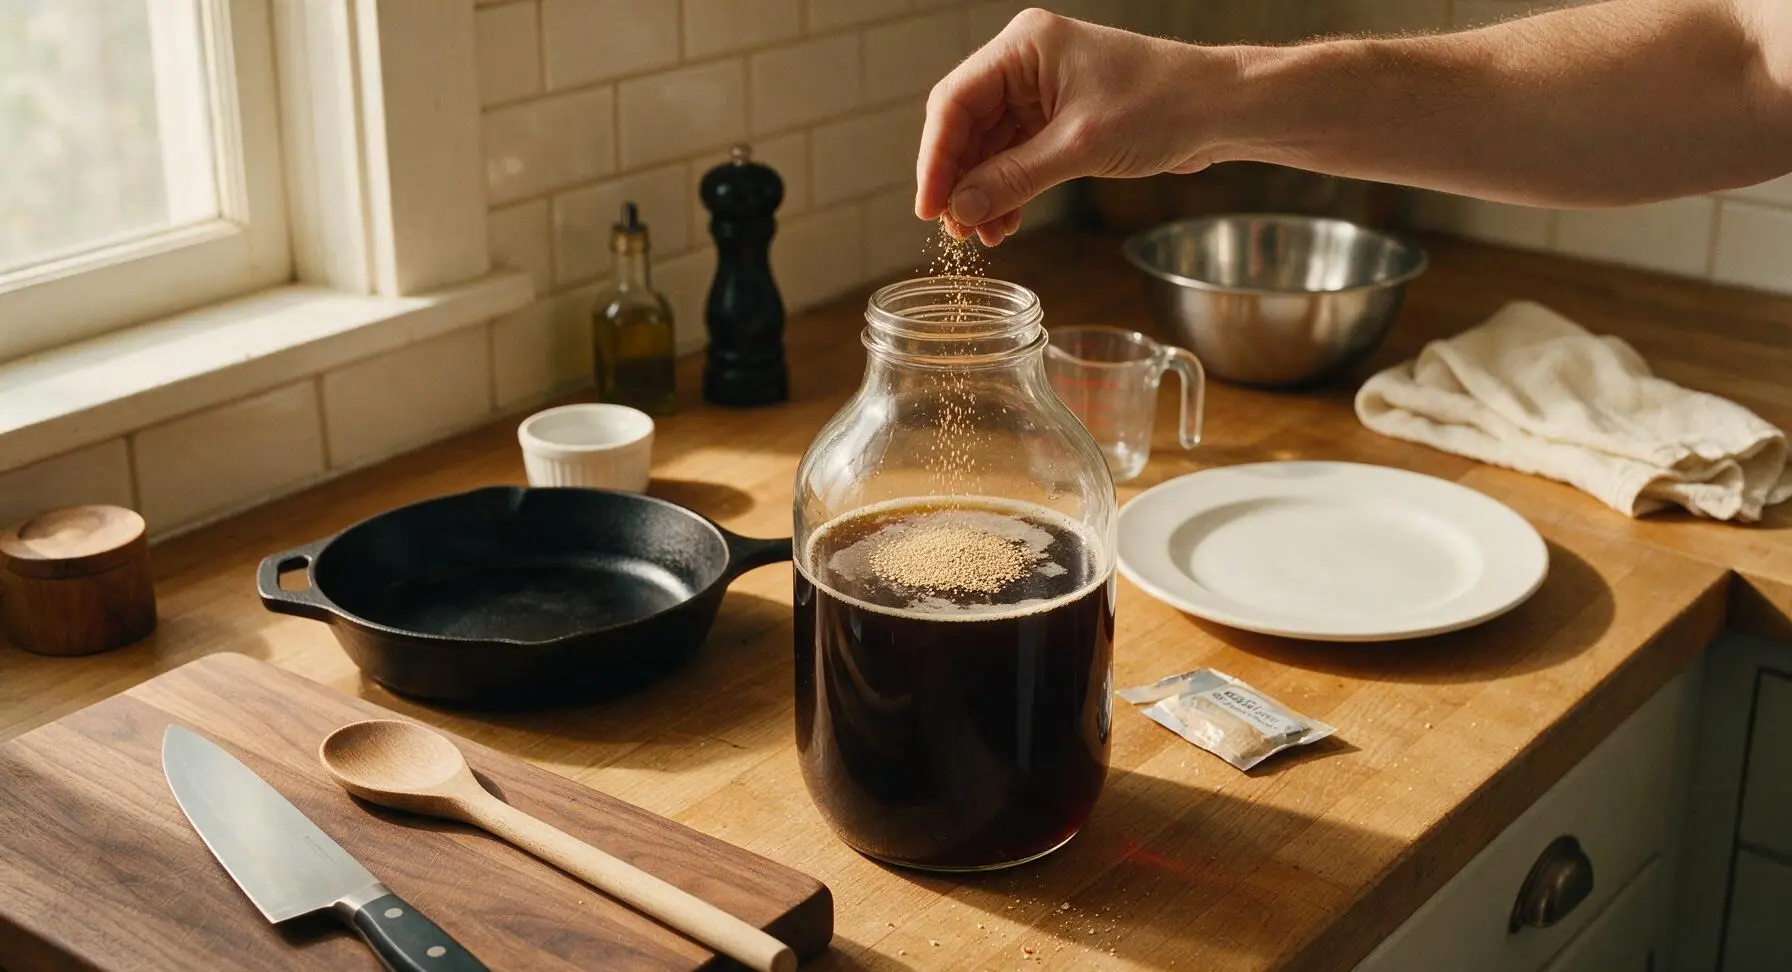
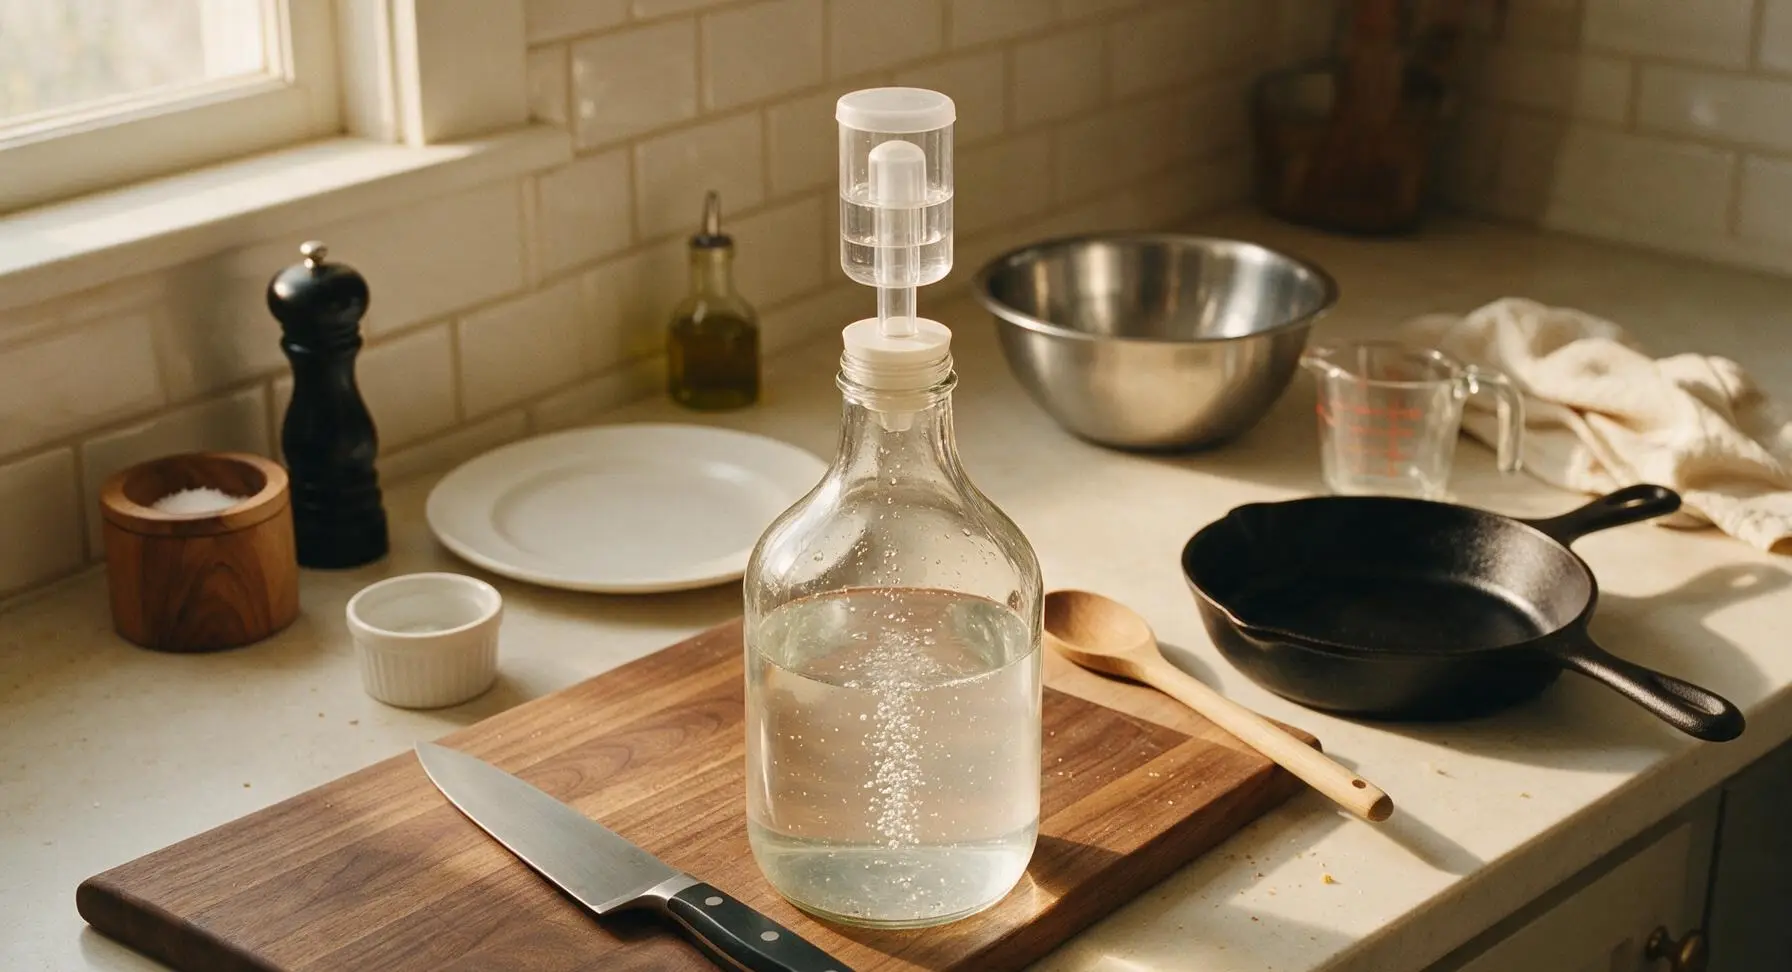
Sprinkle the entire 5g packet of dry US-05 ale yeast evenly across the surface of the cooled wort in the fermentation jug; do not stir. Seal the jug neck with a sanitized rubber stopper, then insert the 3-piece airlock (filled halfway with sanitizer solution) into the stopper. Move the jug to a dark, consistently 65-70°F (18-21°C) space for 2 weeks of primary fermentation; bubbles will appear in the airlock within 24-48 hours to confirm active fermentation.
Bottle and Condition
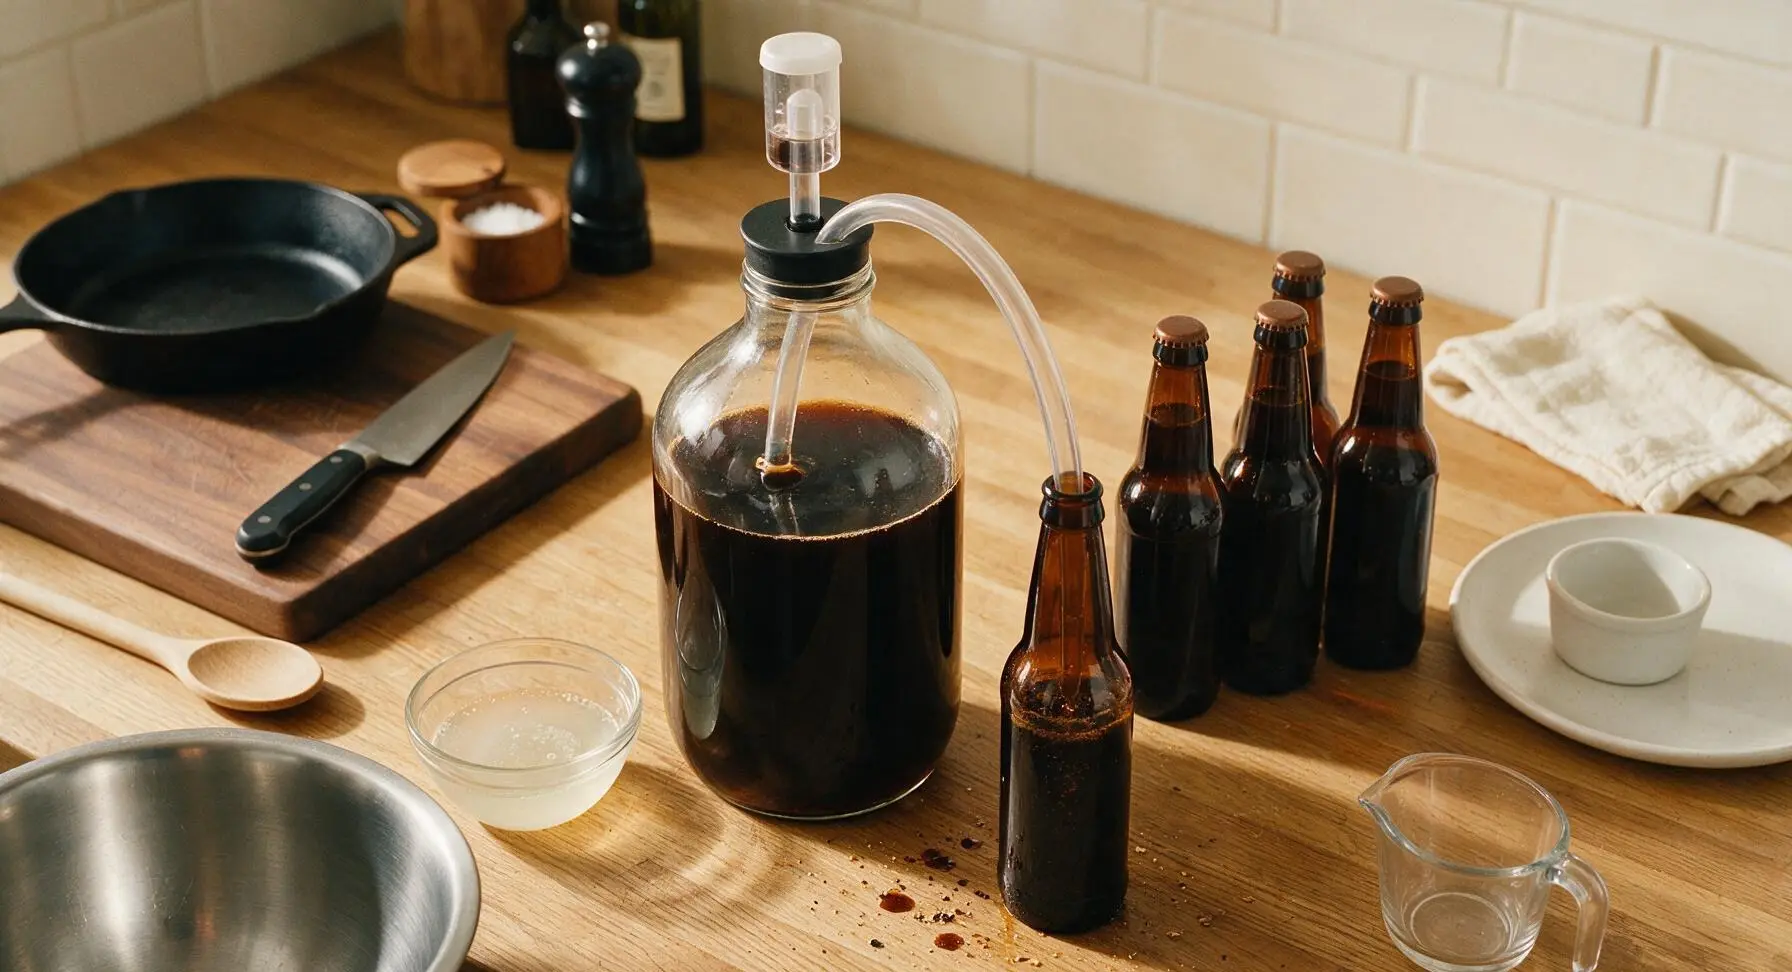
After 2 weeks of fermentation, when airlock bubbles slow to 1 per minute, sanitize 8 12oz amber glass bottles and metal caps. Dissolve 1oz (28g) of corn sugar in 1/4 cup boiling water, cool fully, and add to the fermented porter to create natural carbonation. Siphon the porter into bottles using the clear vinyl tubing, leaving 2cm of headspace per bottle, then cap tightly. Let bottles condition at room temperature for 1 week to build carbonation, then chill to 50°F (10°C) before serving.
Tips
2.Keep the wort at a gentle rolling boil (not a violent, frothing boil) after adding malt extract, as high direct heat can scorch malt sugars on the pot bottom, creating burnt, acrid off-flavors that overpower subtle chocolate and coffee notes.
3.Maintain a consistent fermentation temperature between 65-70°F (18-21°C) for the full 2 weeks; temperatures above 75°F (24°C) produce fruity, solvent-like off-flavors, while temperatures below 60°F (15°C) will stall yeast activity entirely and leave your beer flat and under-fermented.






OMG, this porter came out so smooth! I brewed this for our annual neighborhood block party potluck last weekend and people were going back for thirds all night. It’s got that perfect roasty, not-too-bitter kick I remember from the pubs I visited in London back in college. Total game changer for my homebrew lineup, 10/10 would make again.
First ever homebrew attempt here! I was nervous since this is marked medium difficulty, but the step-by-step instructions were super easy to follow. My only issue is mine came out a little fizzier than I expected after carbonation—did I do something wrong? It still tastes great, just more bubbly than the porters I buy at the store.
Made this last weekend to sip on while we watched football with my in-laws, and even my father-in-law who swears he only drinks macro lagers loved it! He asked for the recipe before he left, which is the highest possible compliment in my book. The 1 hour 20 minute boil time was totally manageable even with my tiny apartment stovetop setup, no messy boilovers if you keep an eye on it like the recipe says.
I’ve been homebrewing for 8 years and this is hands down the best London porter recipe I’ve ever tried. I brought a growler to my weekly homebrew club meetup and it took first place in our monthly taste test! The balance between the dark malt sweetness and the mild hop bite is absolutely perfect, no weird off-flavors at all as long as you control your mash temp like the guide notes.
Brewed this for my partner’s birthday game night with our friend group, and everyone was raving! We paired it with smoked brisket sliders and homemade pretzel bites and it was *chef’s kiss*. The only bummer is I only made a 5 gallon batch and it’s almost gone already, definitely doubling the recipe next time.
Just got done with the boil for this bad boy! I know it’s early to rate, but the process was so straightforward and the wort tastes amazing already so I’m giving it 5 stars upfront! The smell filling my garage right now is unreal, all that roasty malt is making me so excited to try it in a few weeks once it’s done conditioning. I tossed in a handful of roasted coffee beans at flame out to give it a little extra caffeine kick, will report back how it turns out once it’s ready to drink!
Taste is great, but I ran into a couple snags with the instructions. The hop addition timings felt a little off for my setup, and I ended up with a slightly more bitter finish than I was hoping for. Also wish there was a note about what yeast strain works best for people who don’t have the exact one listed in the ingredient list.
Game changer! I’ve been chasing that classic pub porter taste for years after a trip to London, and this recipe nails it. I did a dry hop with a tiny bit of East Kent Goldings after primary fermentation and it gave it that perfect subtle earthy aroma that smells exactly like the pints I had at a tiny pub by the Thames. My kids even said the whole house smelled like “fancy hot chocolate” while I was boiling the wort, haha.
Just cracked open my first bottle of this after 3 weeks of conditioning and HOLY COW it’s SO good. Perfectly roasty, smooth, no weird aftertaste, way better than any porter I’ve picked up at the liquor store lately. Can’t wait to bring a six pack to our next taco night potluck with the neighbors, it’s gonna pair so well with carnitas.
As someone who brews in a tiny 2 bedroom apartment with zero outdoor space, I was worried this recipe would be too much for my small 2 gallon setup, but it worked perfectly! I scaled all the ingredients down by 60% and the boil still fit in my stock pot no problem. Only knock is I wish there was a scaled-down ingredient list included for people doing smaller batches, but the math was easy enough to figure out on my own.
I used to brew commercially back in the 90s and I’ve been messing around with homebrew recipes in retirement to find that old-school London porter profile, and this is dead on. Not overcomplicating it with a million fancy add-ins, just good quality malt, proper hop timings, and clean fermentation—this is exactly what porter is supposed to taste like. My grandkids even helped me measure out the grains (supervised, of course) and thought it was the coolest thing ever when we bottled the first batch.