
premade waffles
intro
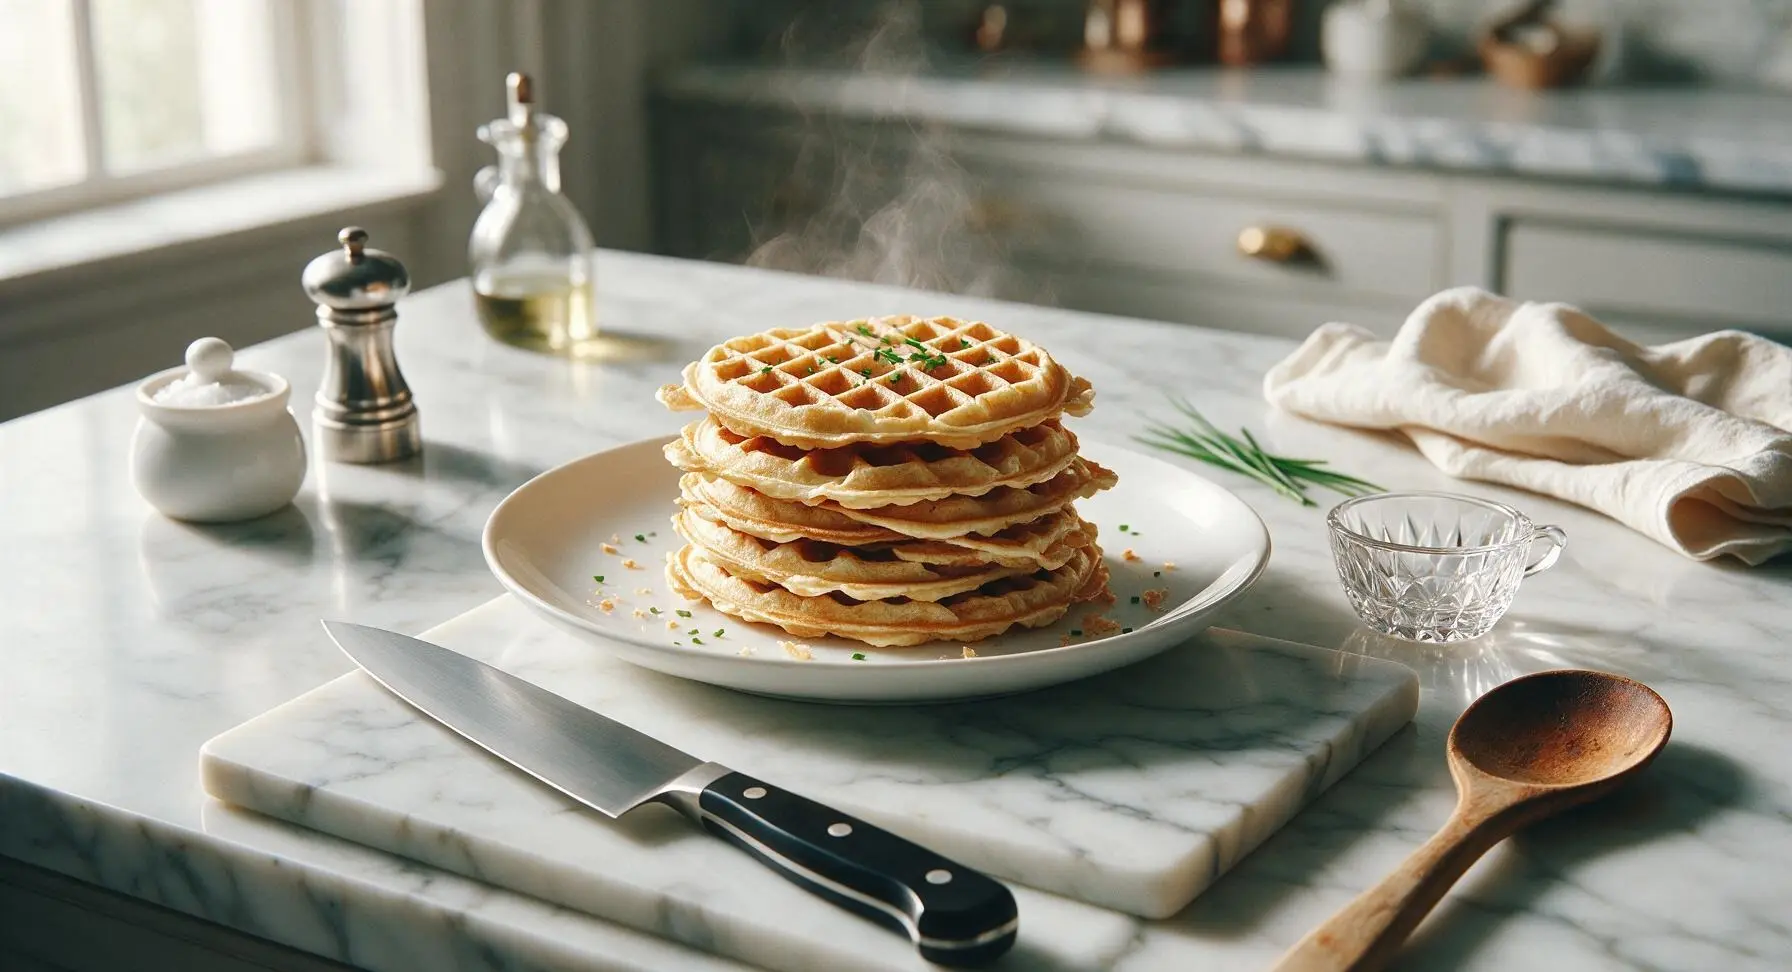
Fluffy, crisp-edged homemade premade waffles, stashed in the freezer for 2-minute reheats. Enjoy fresh, golden waffle taste without last-minute mixing and rush-hour mess.
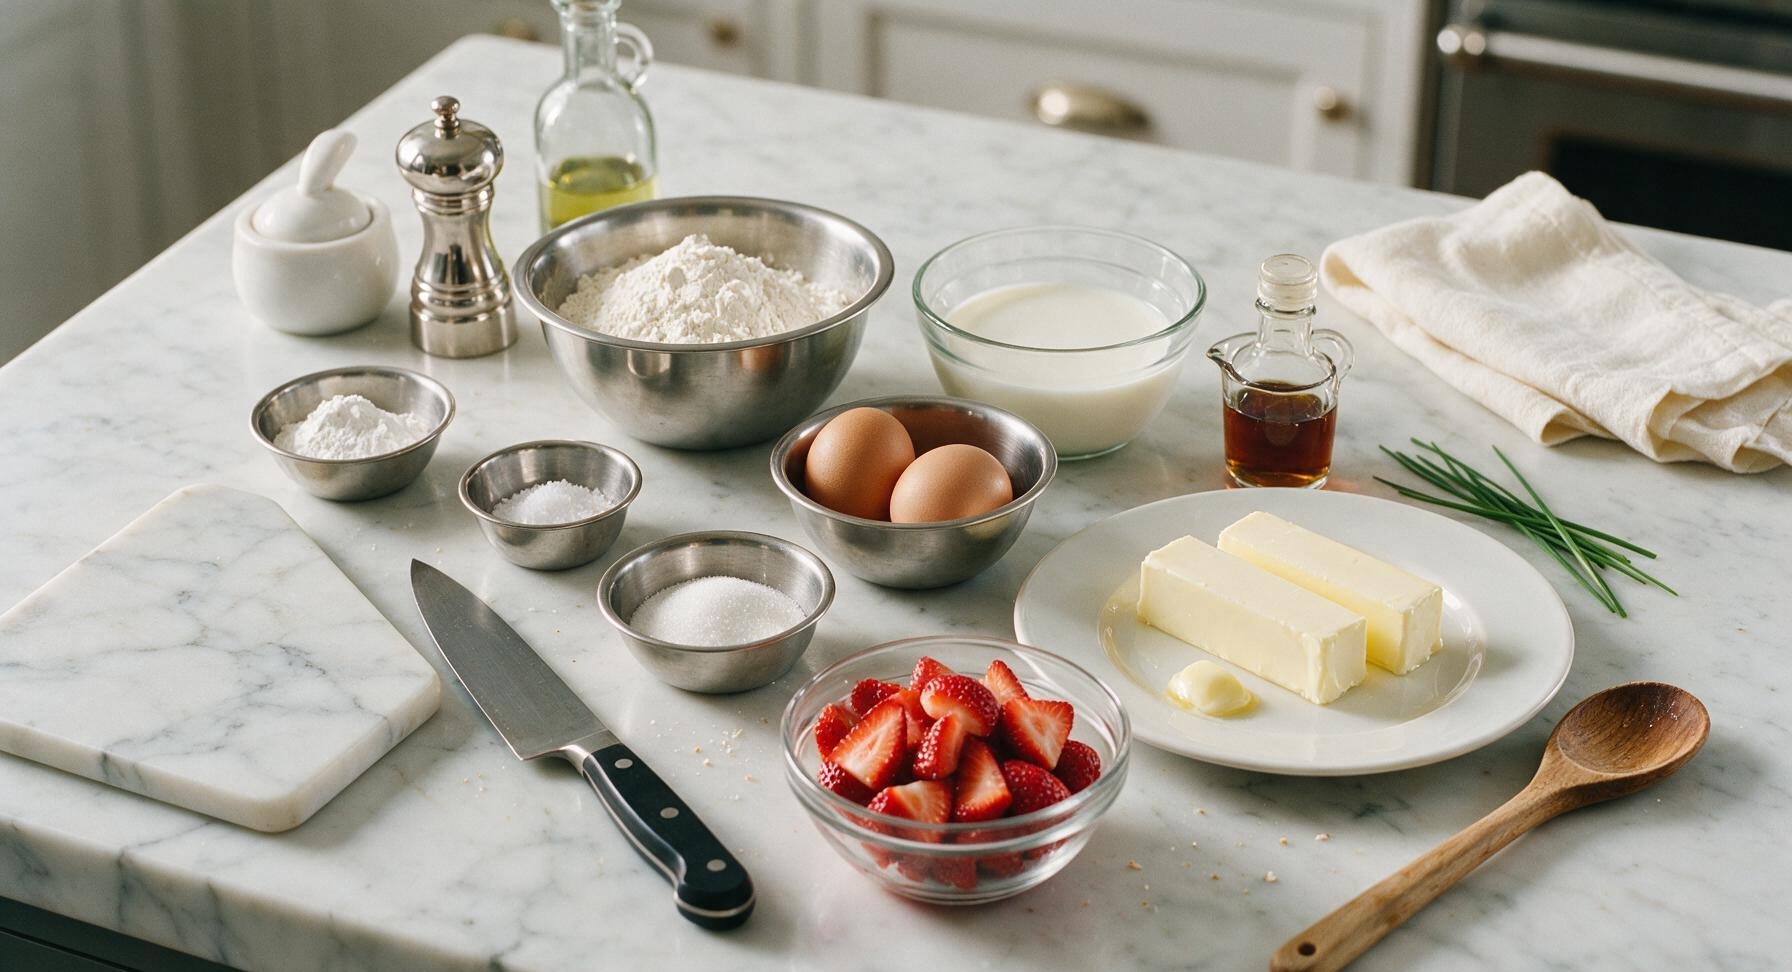
Ingredients
Steps
Preheat and Prep Tools
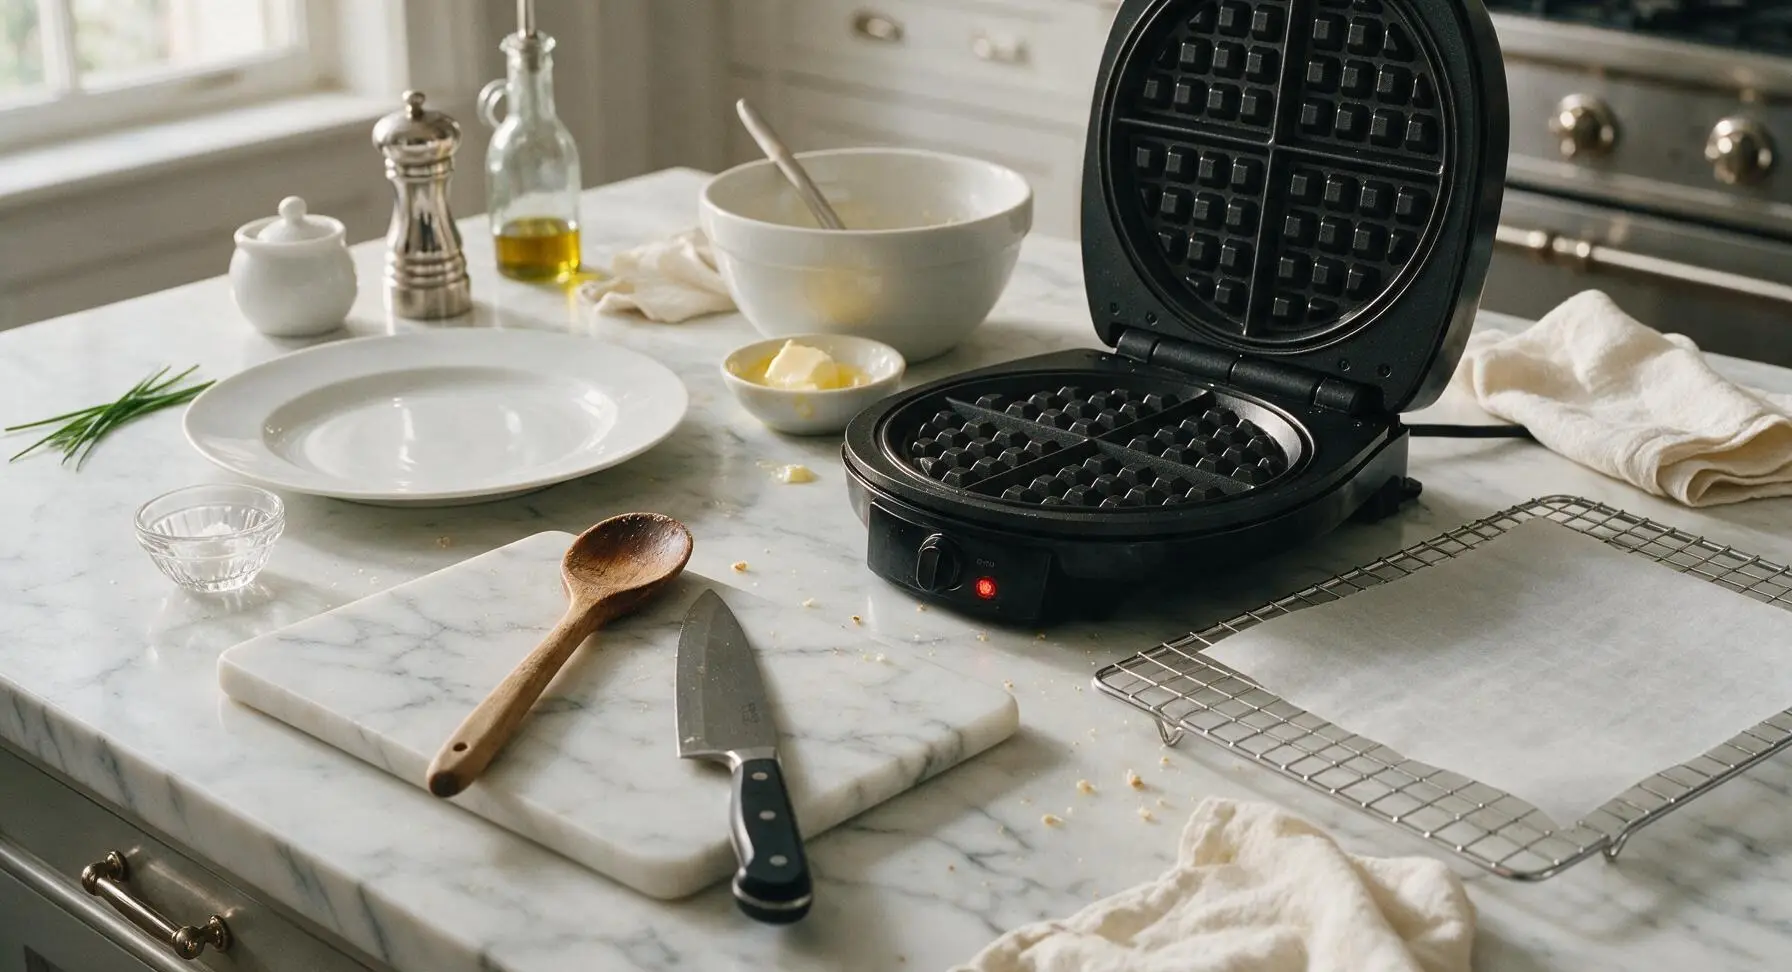
Plug in the black nonstick waffle maker and preheat to medium-high heat (375°F/190°C) until the built-in indicator light shows it is fully heated. Line the chrome wire cooling rack with unbleached parchment paper and set it to the right of the waffle maker. Melt 4 tablespoons of unsalted butter in a small dish and set aside to cool for 3 minutes, so it does not cook eggs when added to batter.
Whisk Dry Ingredients
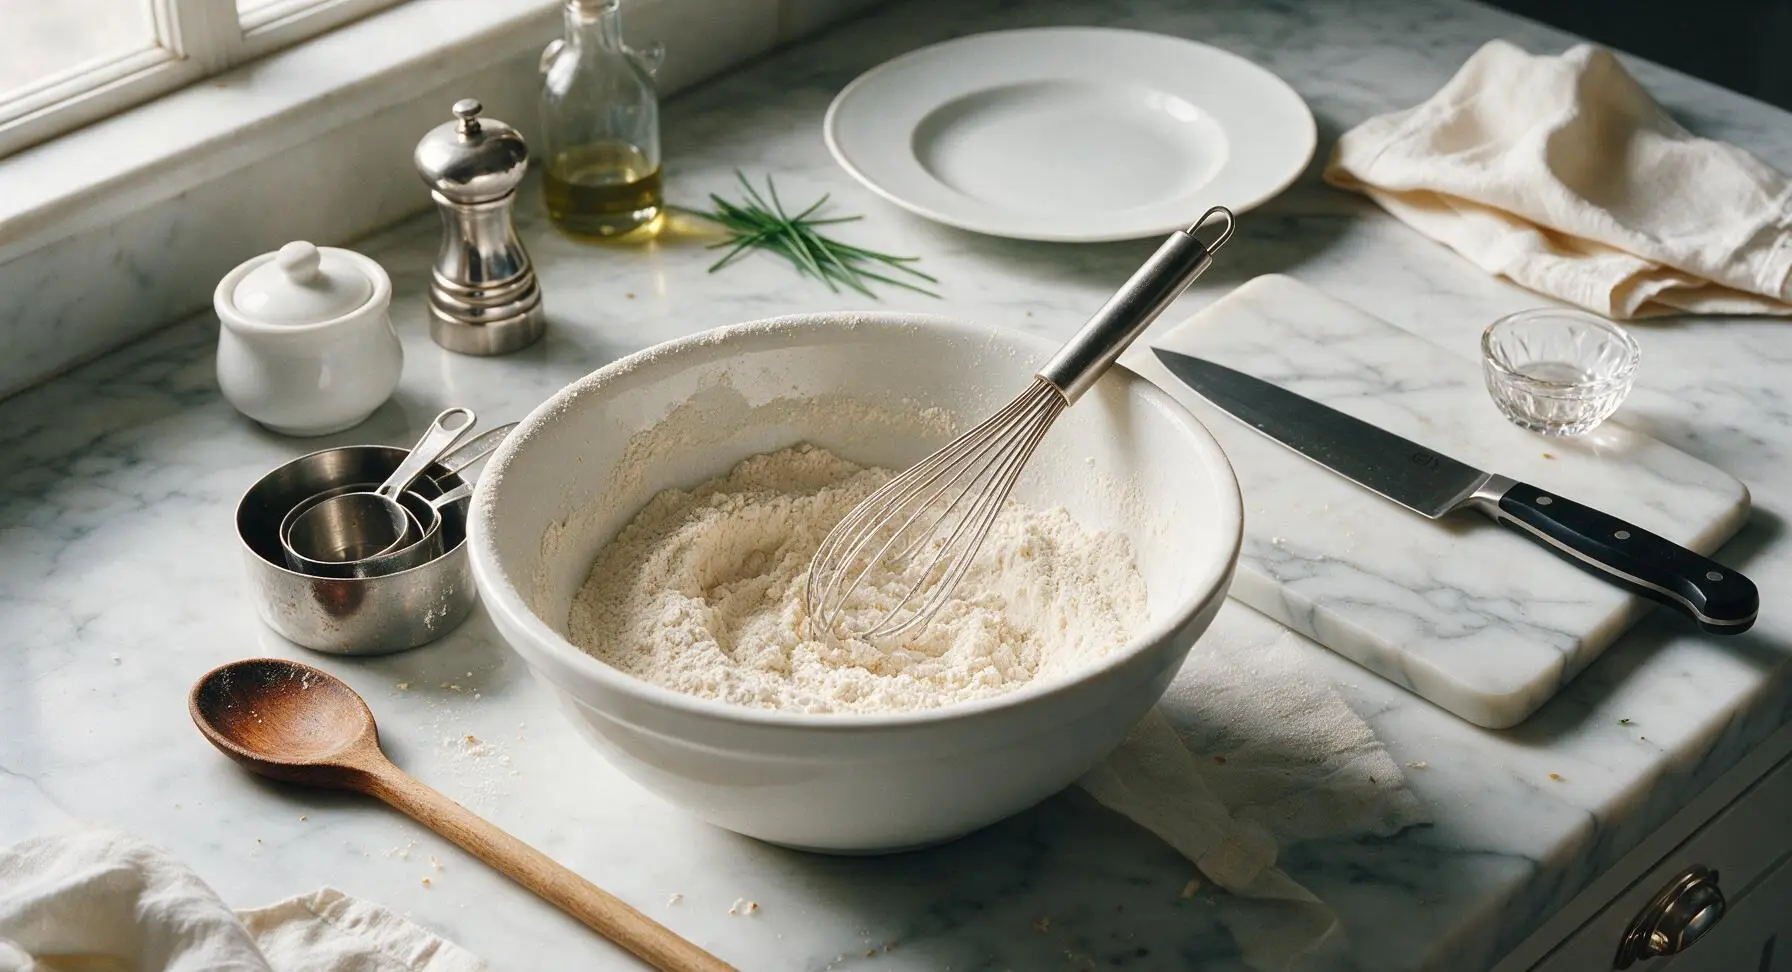
Add 2 cups (240g) all-purpose flour, 1 tablespoon baking powder, 2 tablespoons granulated sugar, and 1/2 teaspoon fine sea salt to the large matte white ceramic mixing bowl. Use the stainless steel wire whisk to stir the dry ingredients for 30 seconds until fully combined, breaking up any small lumps of baking powder so it is evenly distributed throughout the flour.
Combine Wet Ingredients
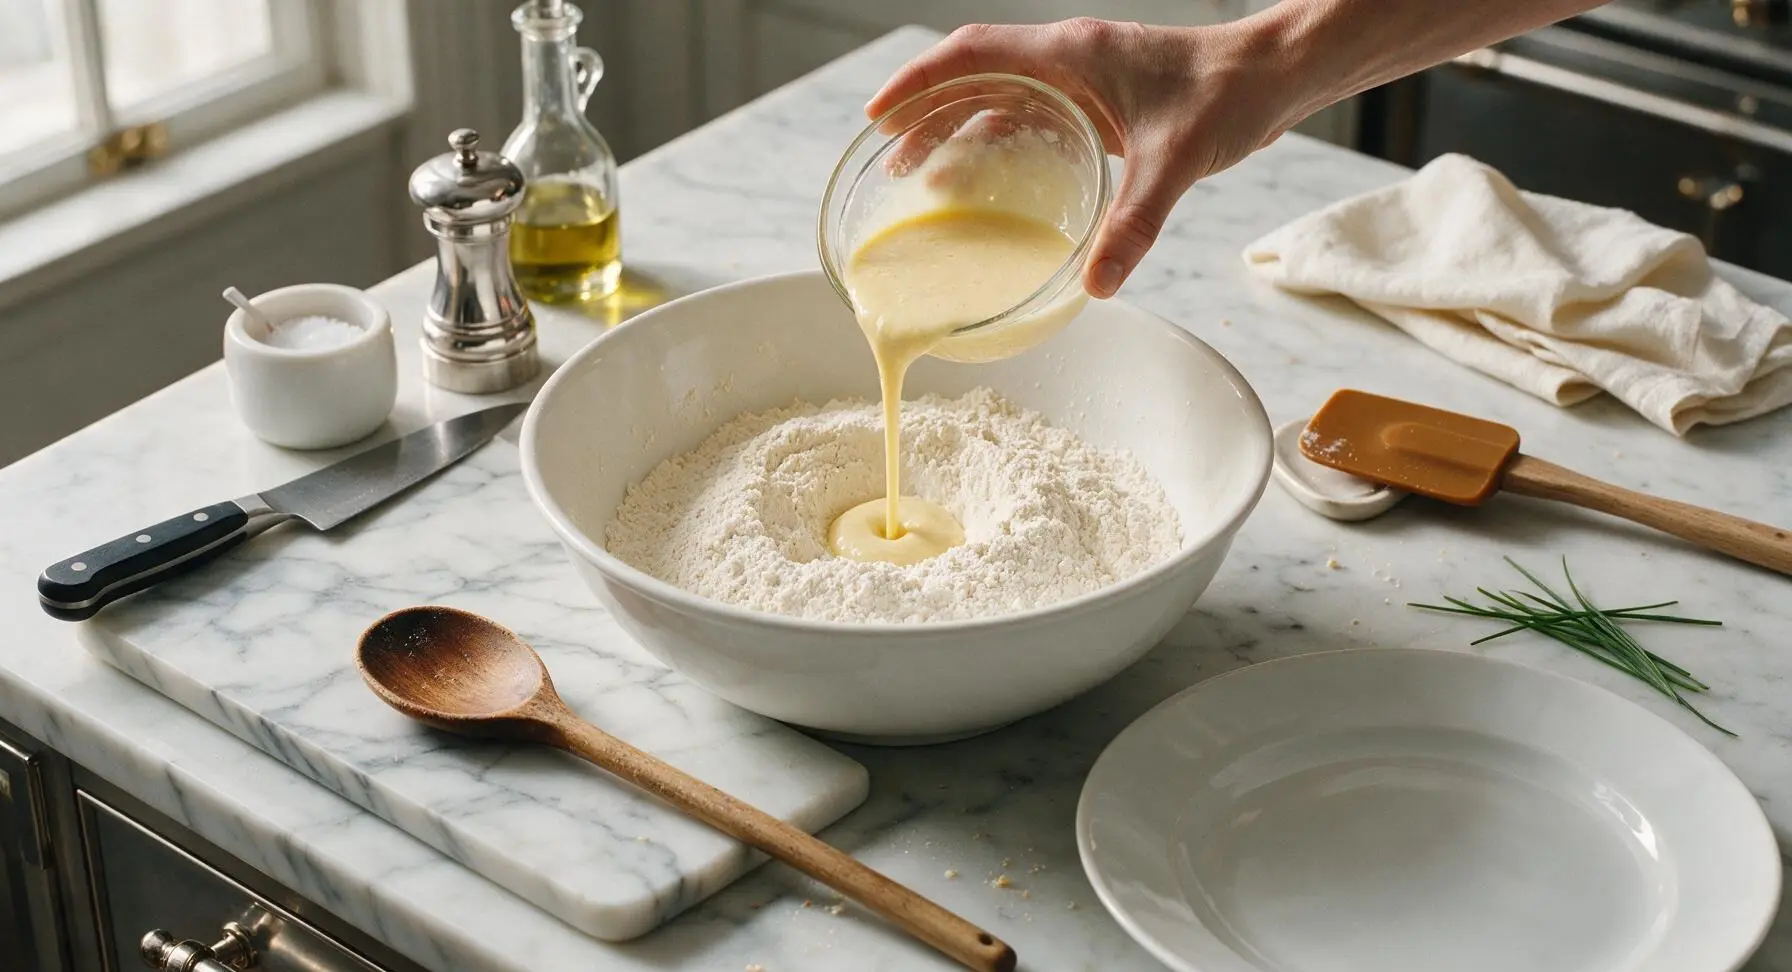
Crack 2 large eggs into the small clear glass mixing bowl, whisking lightly until yolks and whites are fully blended with no visible clear streaks of egg white. Pour in 1.5 cups (360ml) whole milk, the cooled melted butter, and 1 teaspoon vanilla extract, whisking for 20 seconds until the mixture is a uniform pale yellow.

Fold Waffle Batter
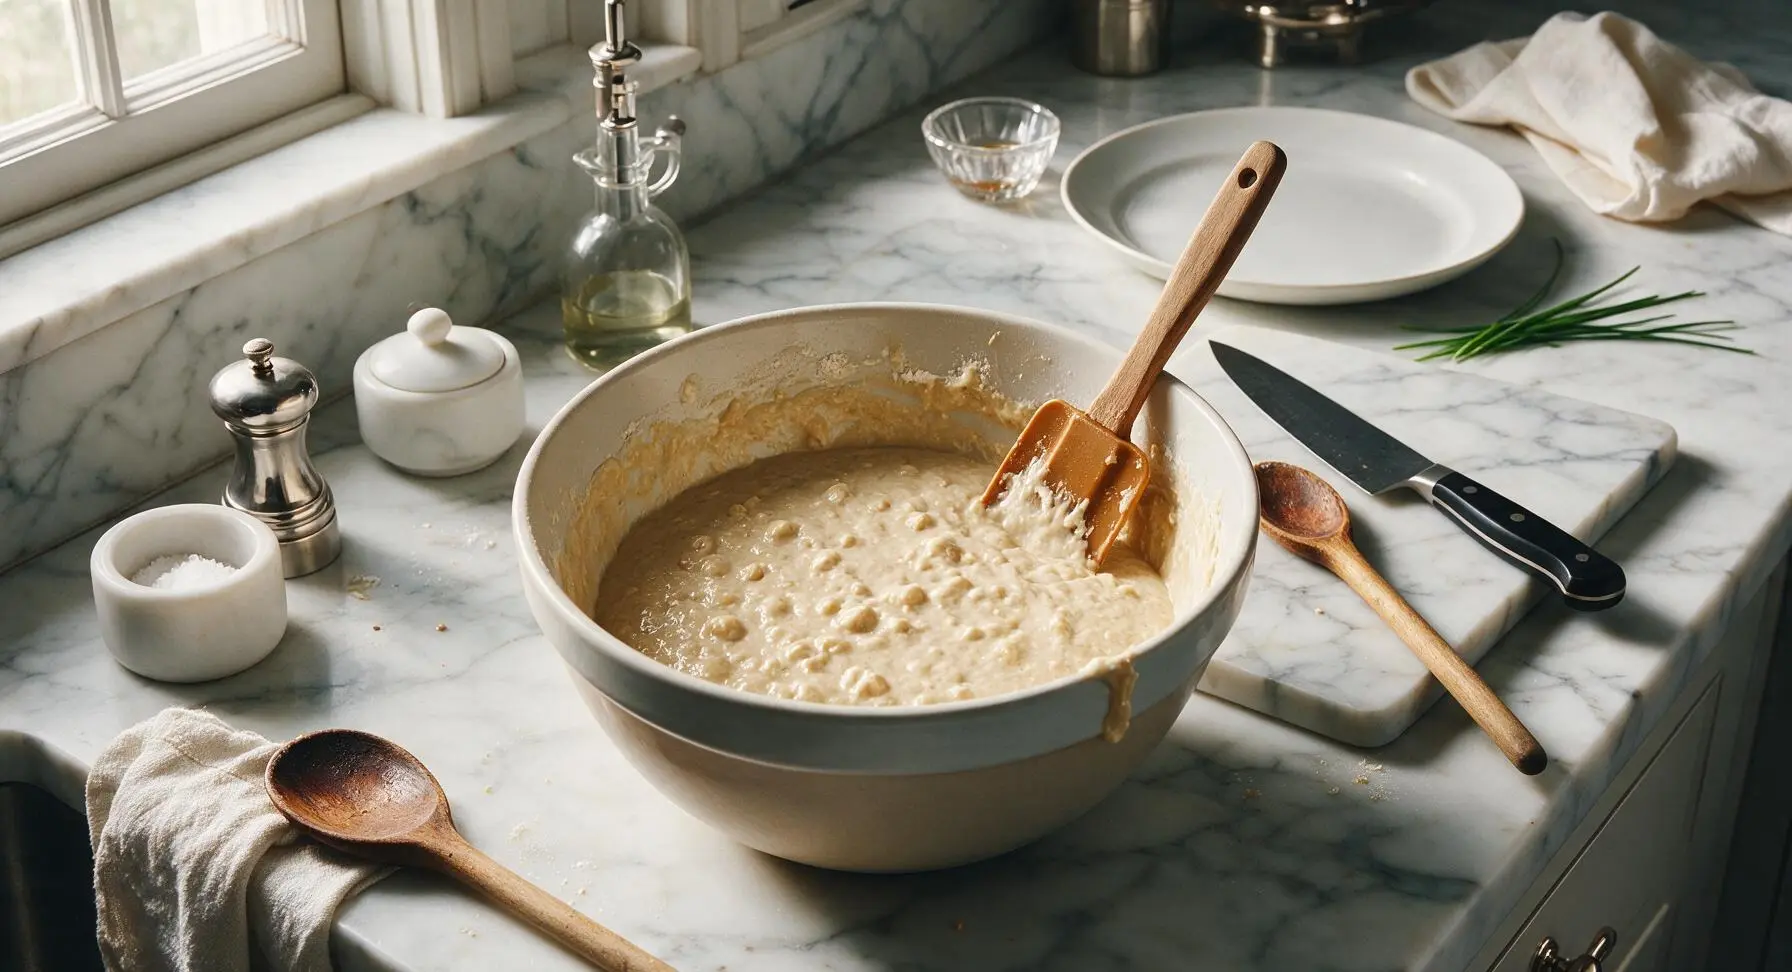
Pour the entire wet ingredient mixture into the large mixing bowl with the dry ingredients. Use the warm maple brown silicone spatula to gently fold the ingredients together, stirring only until no large dry flour streaks remain. Stop mixing immediately once the batter comes together—small, pea-sized lumps are normal and desirable, as overmixing will develop gluten and make tough, dense waffles. The finished batter will be thick but slow to pour off the spatula.
Cook Waffle Batches
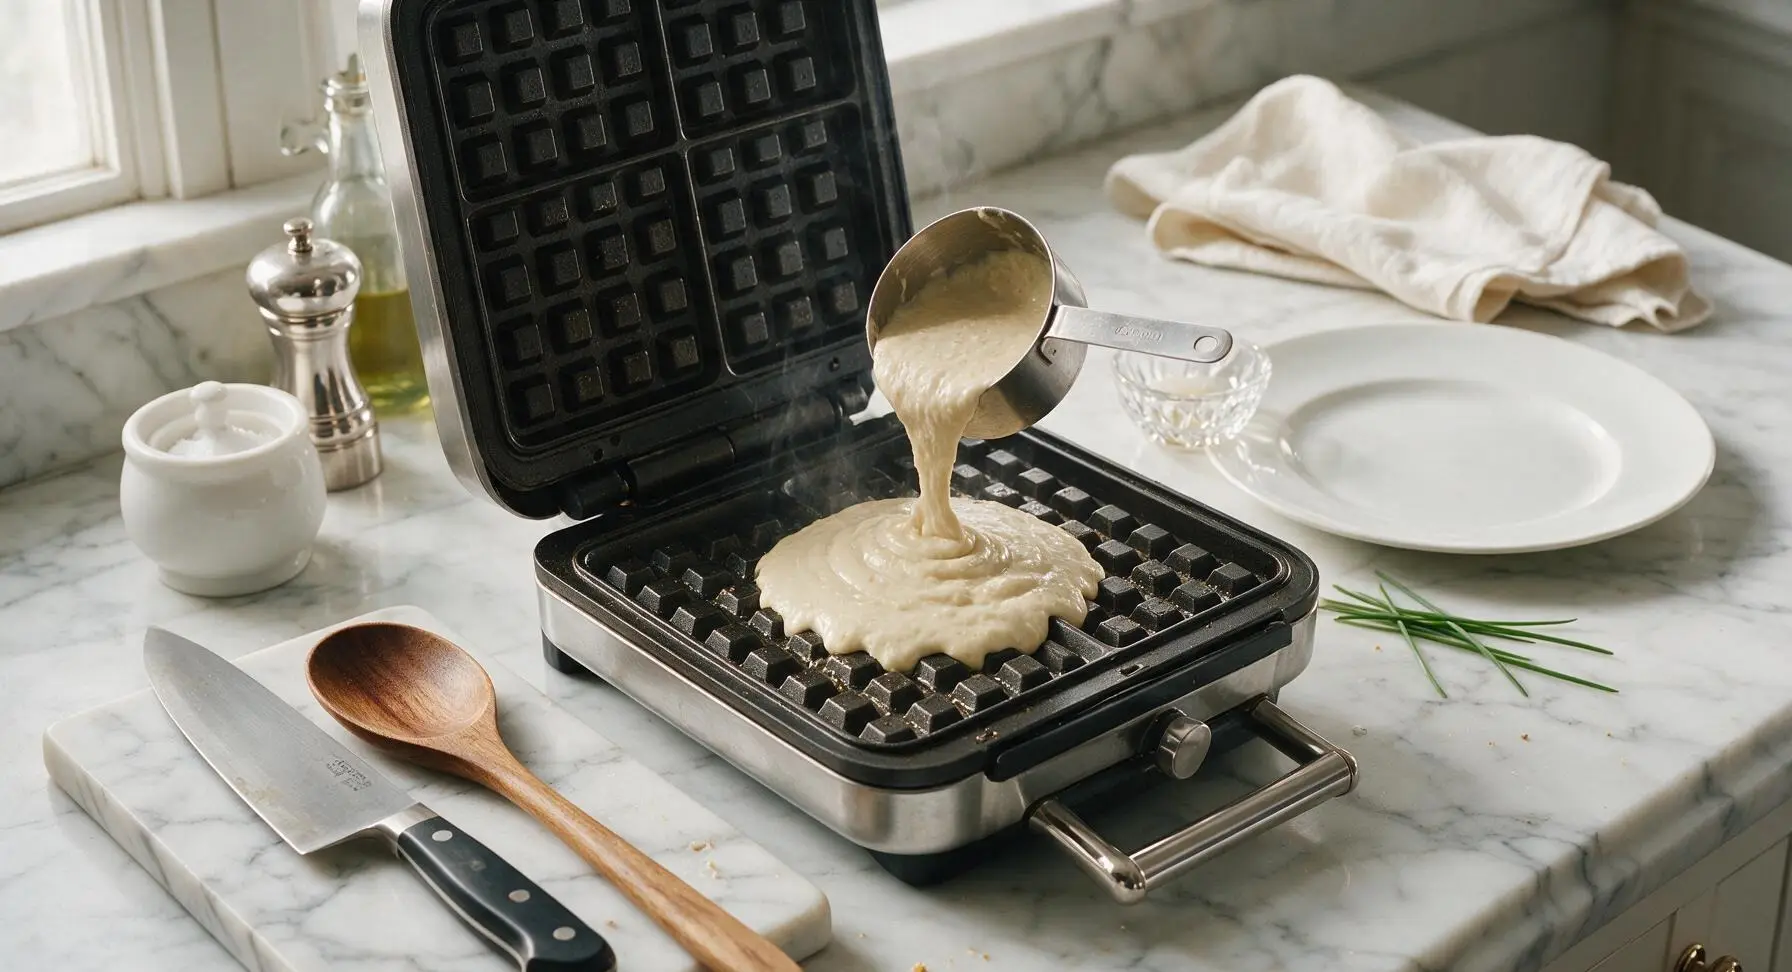
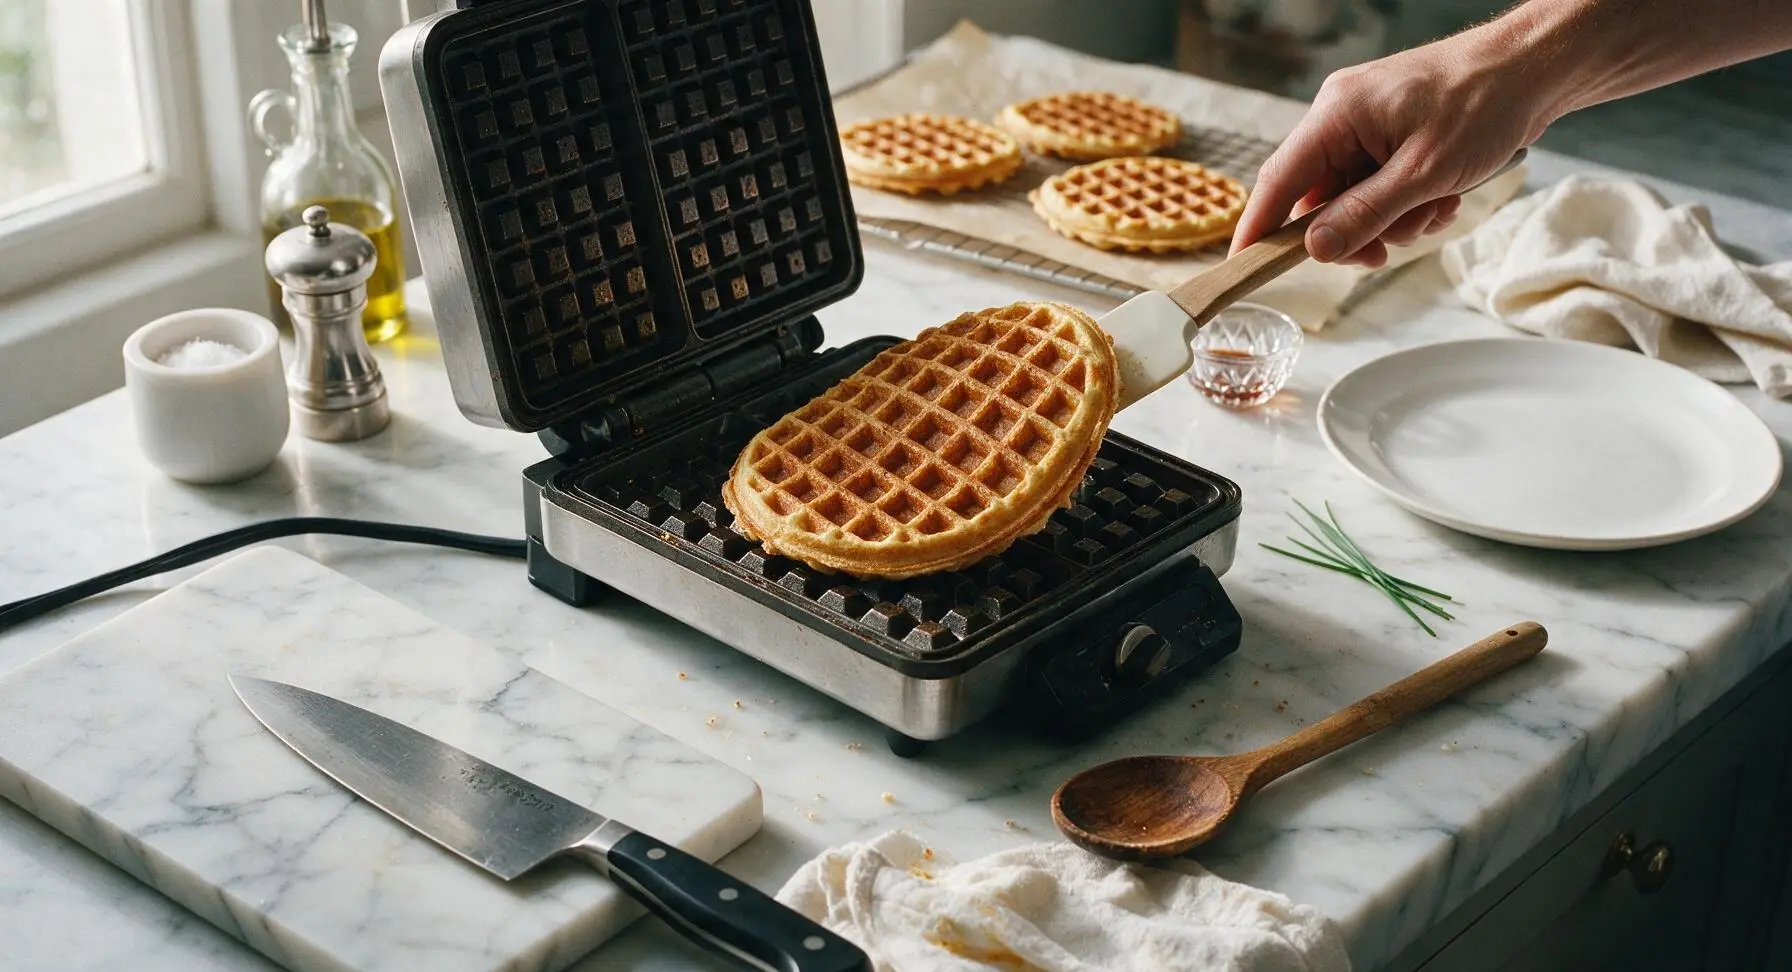
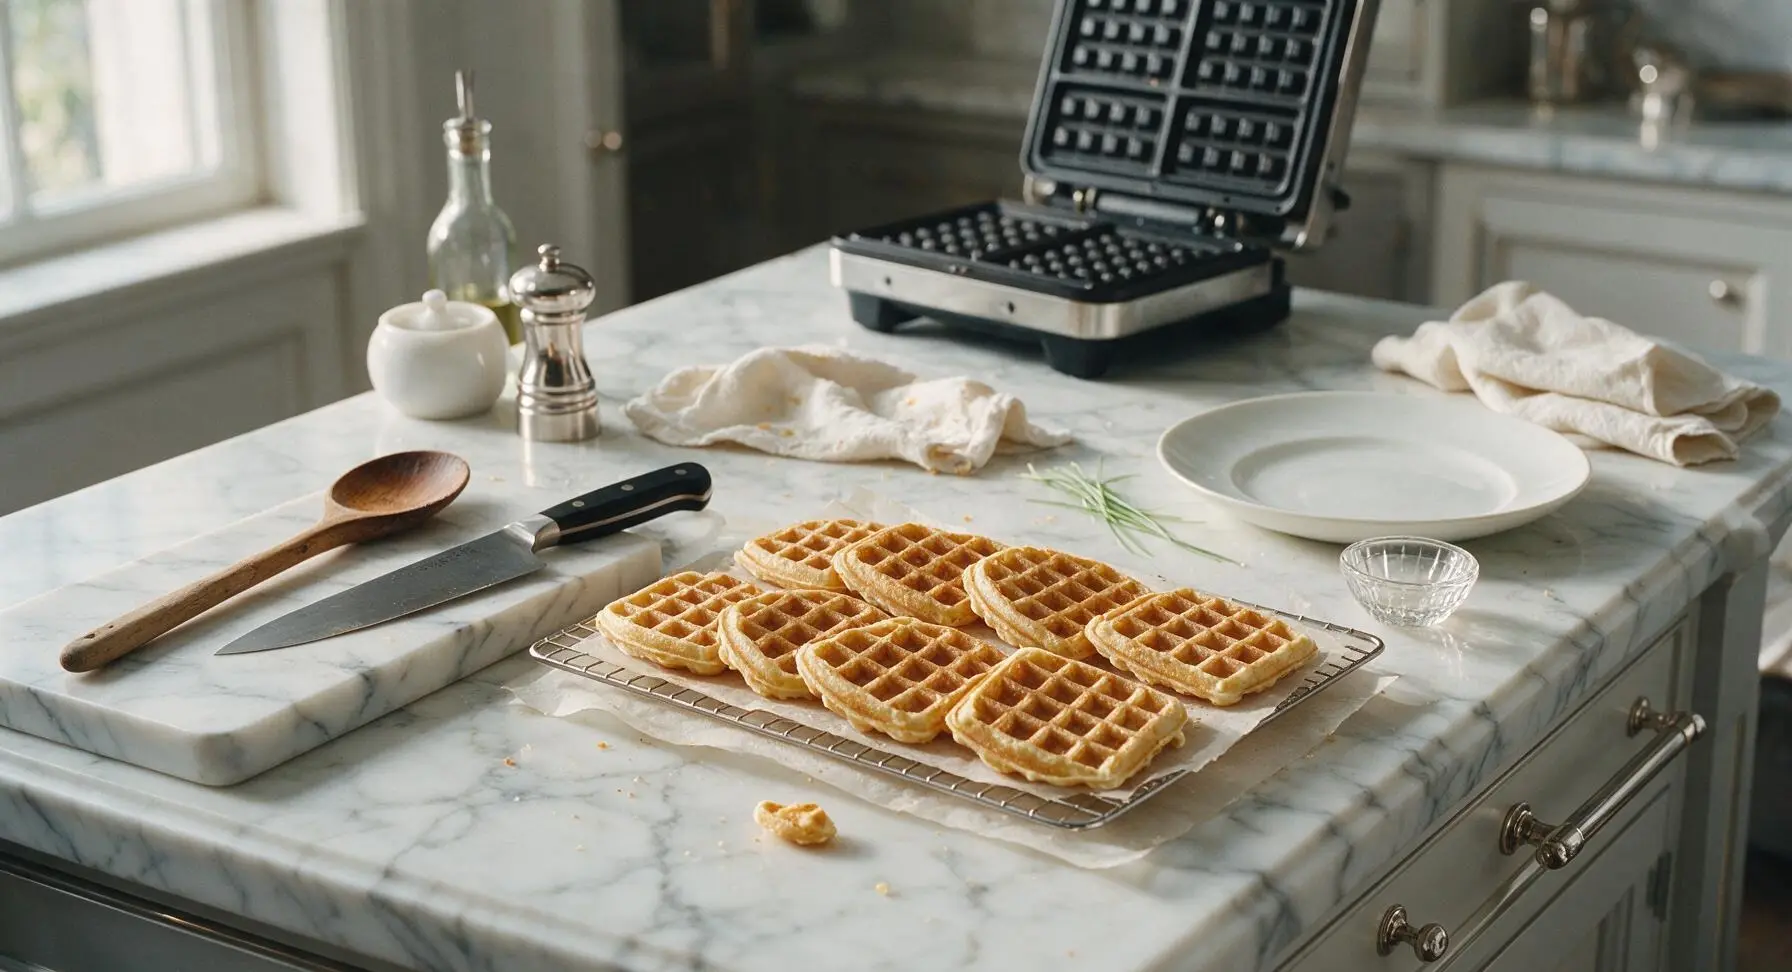
Lightly brush the preheated waffle maker grids with a thin coat of melted butter to prevent sticking. Pour 1/2 cup of batter per waffle into the center of the lower waffle grid, close the lid, and cook for 3 to 4 minutes until the waffle is deep golden brown, crisp on the edges, and no visible steam escapes from the waffle maker seams. Repeat with remaining batter, transferring cooked waffles directly to the parchment-lined cooling rack in a single layer as you work, making 8 total waffles.
Cool Waffles Fully
Let all cooked waffles cool completely on the wire cooling rack for 20 minutes at room temperature, until no warmth remains when you lightly touch the center of a waffle. Do not stack warm waffles at any point before freezing, as trapped steam will make them soggy and remove their crisp texture.
Package for Freezing
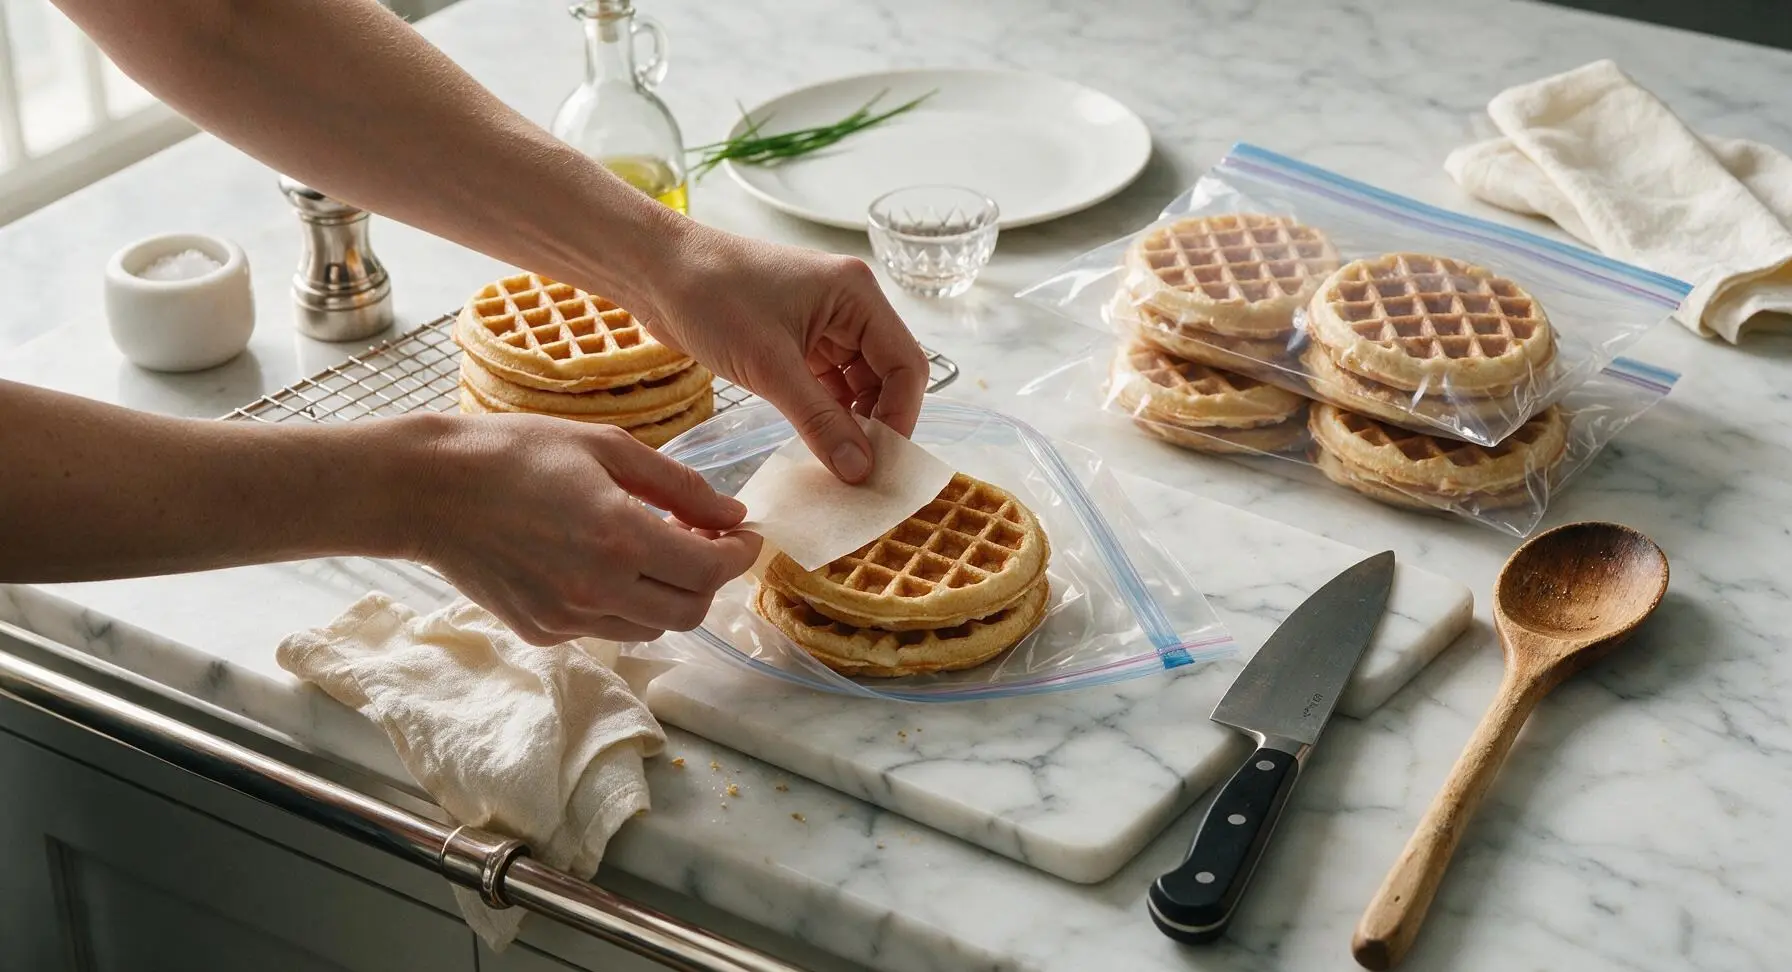
Once fully cool, place waffles in the clear 1-quart zip-top freezer bags, tucking a 5cm square of parchment paper between each waffle to prevent them from sticking together as they freeze. Press out as much excess air as possible from the bags before sealing tightly. Stash in the freezer for up to 3 months.
Reheat and Serve
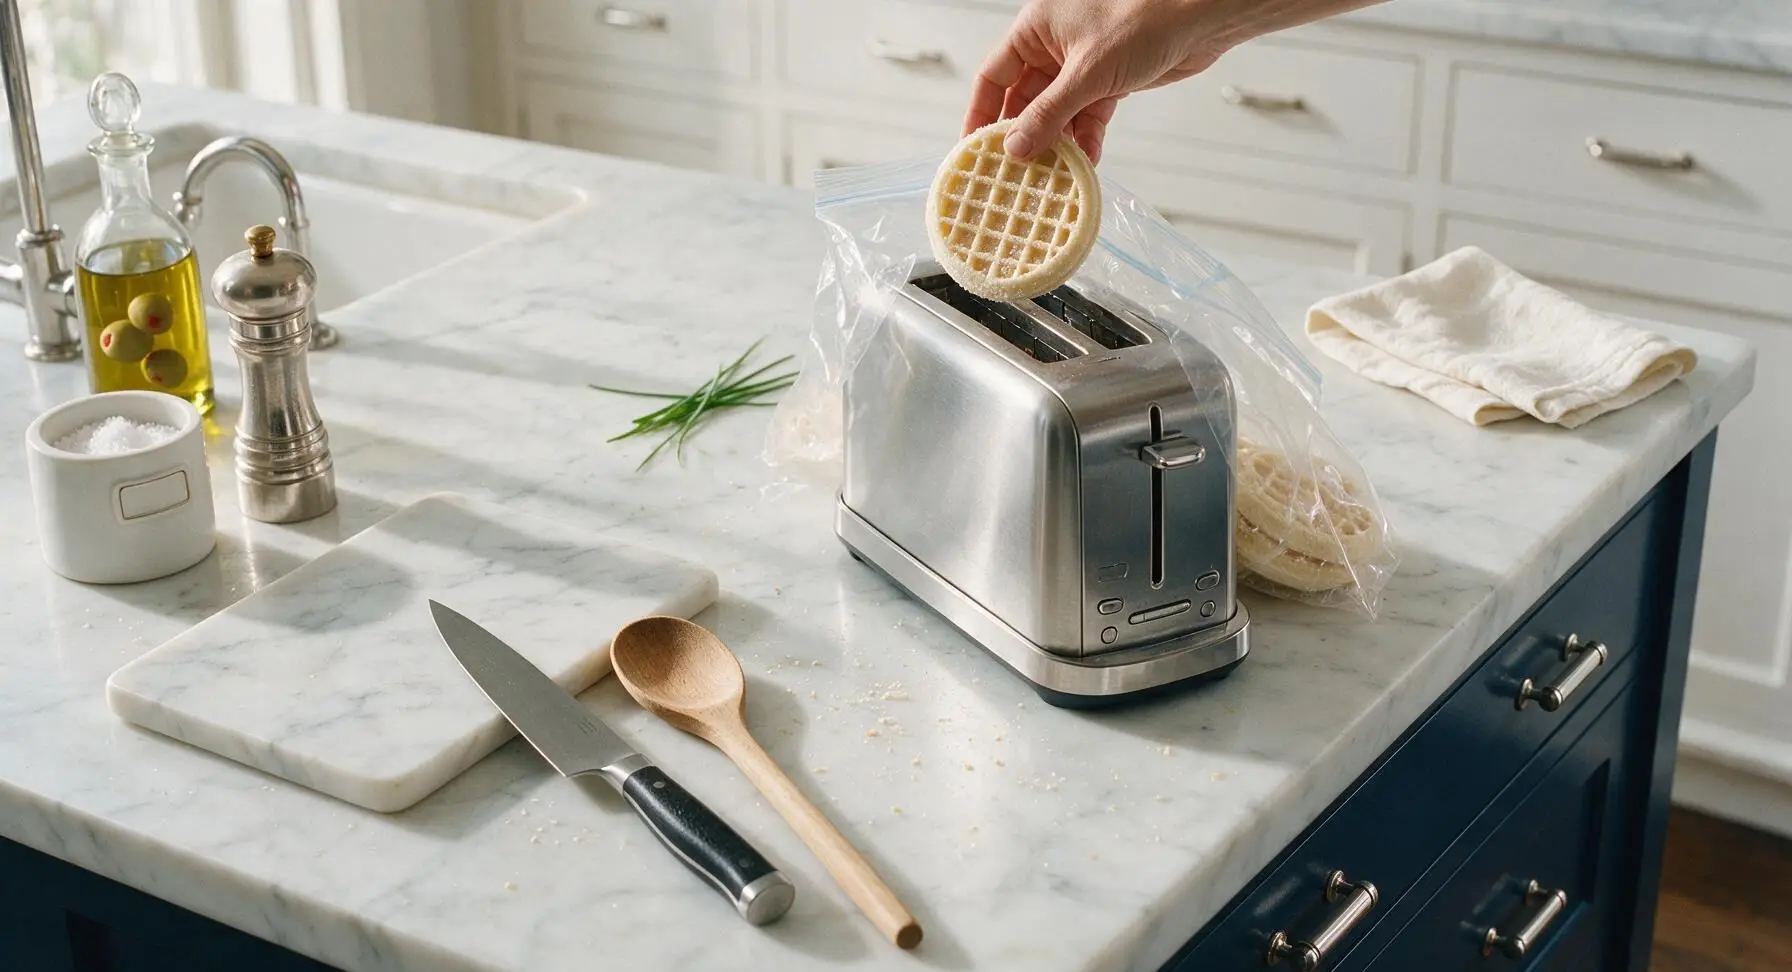
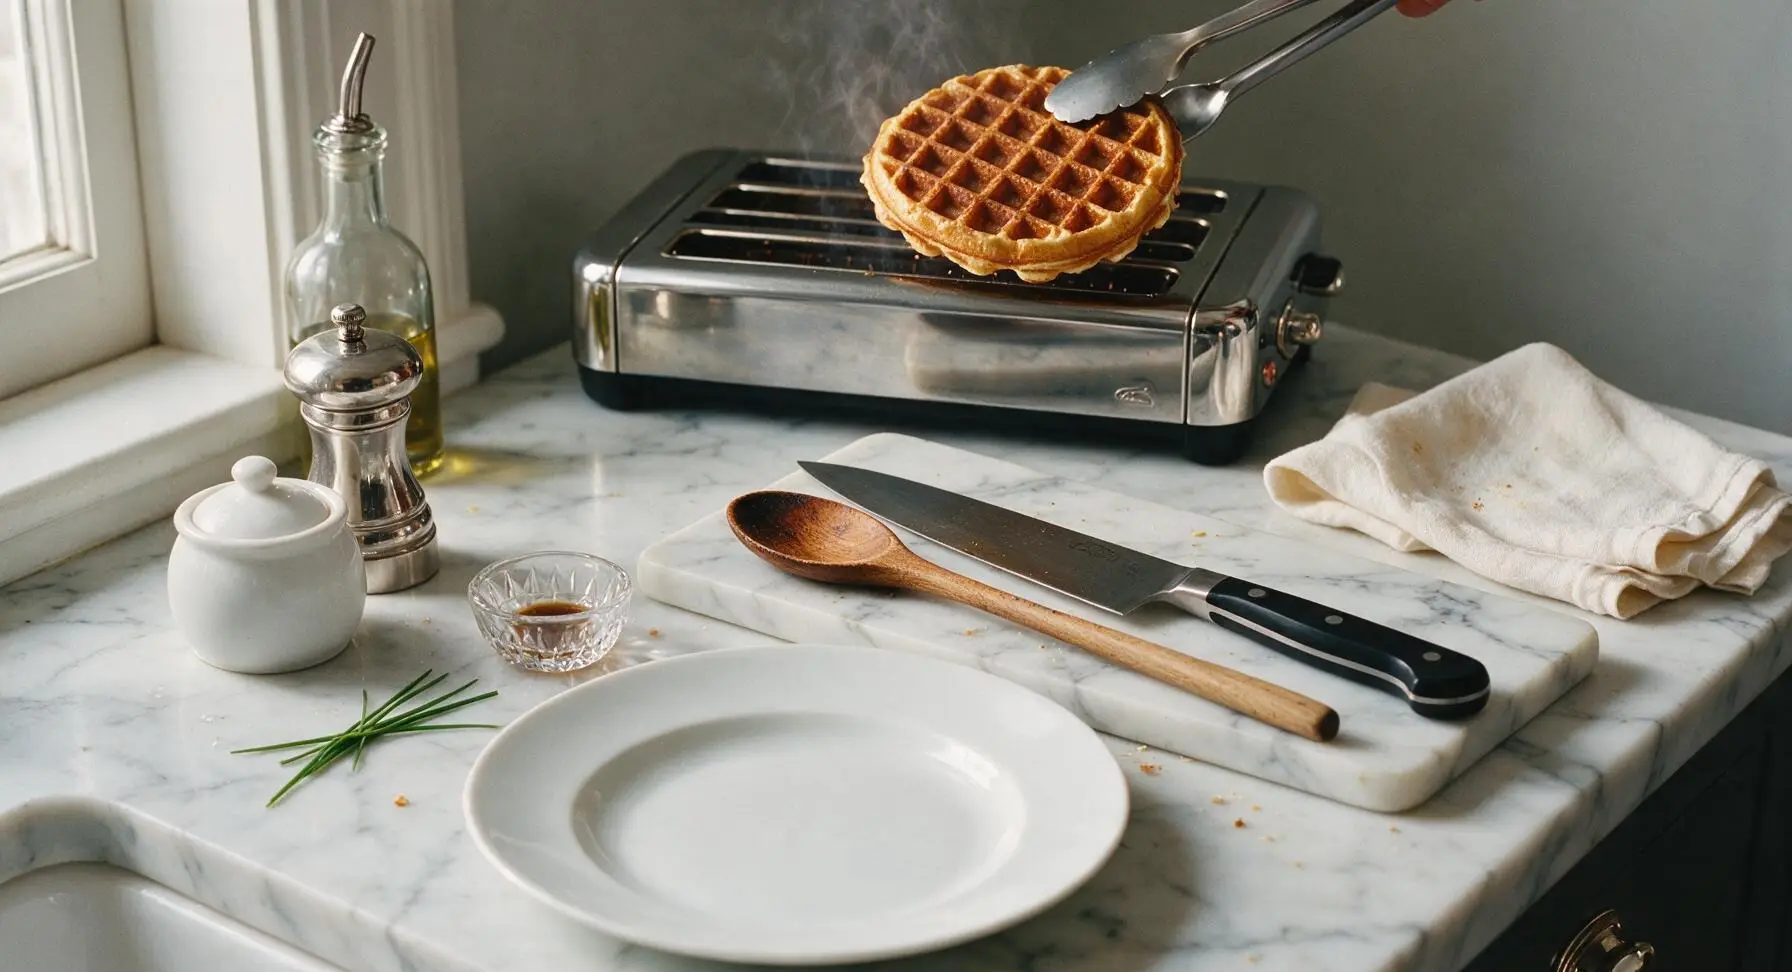
When ready to eat, do not thaw waffles. Remove frozen waffles from the freezer bag and place directly in the stainless steel toaster, toaster oven, or 350°F (175°C) oven for 2 to 3 minutes until heated through, crisp on the outside, and fluffy in the center. Transfer to the matte cream breakfast plate and top with butter, warm maple syrup, and fresh sliced strawberries to serve.
Tips
2.Cool waffles completely before freezing: Trapped warmth creates condensation inside freezer bags, which leads to soggy waffles and icy freezer burn over time. Single-layer cooling ensures every waffle retains its crisp edge through storage.
3.Reheat straight from frozen: Thawing waffles before reheating makes them soft and mushy. Direct high heat from the toaster or oven recreates that fresh-cooked crisp exterior without drying out the fluffy center.






OMG these are a total game changer for our chaotic school mornings! I used to spend 20 minutes every day making waffles from scratch before the bus came, now I just pop one in the toaster and we’re out the door. My kids go crazy for the chocolate chip version I made, even my picky 7 year old asks for seconds! 10/10 will be making a double batch next month.
So easy to whip up on a Sunday afternoon! I portioned them out with little parchment squares between each so they don’t stick together in the freezer bag, works like a charm. Only thing I’m wondering is how long these actually stay good frozen? I don’t want them to get freezer burn before we get through the batch!
Tried these last weekend and they’re SO good! Way better than the frozen Eggo waffles I used to buy, they actually get crispy in the toaster instead of turning soggy. I added a dash of cinnamon and some vanilla extract to the batter and it’s chef’s kiss.
Made these for our recent neighborhood potluck brunch and everyone was asking for the recipe! I set up a little waffle topping bar with fruit, syrup, and whipped cream, and people couldn’t believe I’d pre-made them and frozen them ahead of time. Total host hack!
As someone who barely has time to boil water between classes, these are perfect. I borrowed my roommate’s waffle iron to make the batch, now I have quick breakfasts for the next two weeks. Way cheaper than buying the store brand too.
Has anyone tried making these with a 1:1 gluten free flour blend? I have celiac and have been searching for a good freezer waffle recipe that doesn’t turn into a crumbly mess when I toast it.
These are so easy! I was worried homemade waffles would be too much work to make in bulk, but the whole process took me exactly 20 minutes like the recipe said, no extra mess. I made a plain batch and a blueberry batch, both are chef’s kiss.
Full disclosure: I burn 90% of the things I try to cook. These? I didn’t burn a single one! The instructions are super straightforward, and now I look like a breakfast hero to my two kids. We had them for dinner last night with fried chicken, total hit.
I love that these aren’t overly sweet! I can top them with peanut butter and banana for a quick post-workout snack, or load them up with syrup and sprinkles for the kids on Saturday mornings. Super versatile.
These are perfect for trail trip breakfasts! I vacuum sealed a few to bring on our backcountry trip last weekend, and they toasted up great over our little camp stove. Way lighter than bringing a bunch of separate pancake mix and ingredients.
Swapped the dairy milk for oat milk and the eggs for flax eggs, and these turned out amazing! They freeze just as well as the regular version, and I don’t have to miss out on easy waffle mornings as a vegan. Will be making these biweekly for sure.
Made a triple batch of these for my office breakfast potluck and they were gone in 10 minutes! People kept saying they tasted better than the fancy catered waffles we had at our last company event. Only note: I wish I made more!
Wait, can I reheat these in the microwave instead of the toaster? My toaster is currently broken (toddler stuck a plastic fork in it, don’t ask) and I have a whole batch in the freezer I need to use up.
I’ve been making freezer waffles for my grandkids for years, but this batter recipe is far better than my old one! It’s lighter, fluffier, and doesn’t get that weird chewy texture after freezing. I added a handful of mini chocolate chips for the little ones, they ate 3 each last visit.
These fit perfectly into my macro count! I top mine with Greek yogurt, fresh berries, and a tiny drizzle of maple syrup for a high protein, quick breakfast after my early gym sessions. No more skipping breakfast because I’m rushing to get to work.
Full transparency: I used store-bought waffle mix as the base then followed the freezing instructions here, and it still worked amazing. I know the recipe is for homemade batter, but for anyone who’s extra lazy like me, the freezing method still slaps.
Hosted a Galentine’s brunch last month and pre-made two batches of these ahead of time, it saved me so much stress day of! I didn’t have to stand over the waffle iron the whole time while my friends were over, I actually got to enjoy the party. 10/10 for entertaining.