
pressure cooker mac and cheese

title 1
pressure cooker mac and cheese
⏱️ cook time 12 minutes
🍽️ servings 4
⚡ Difficulty easy

intro

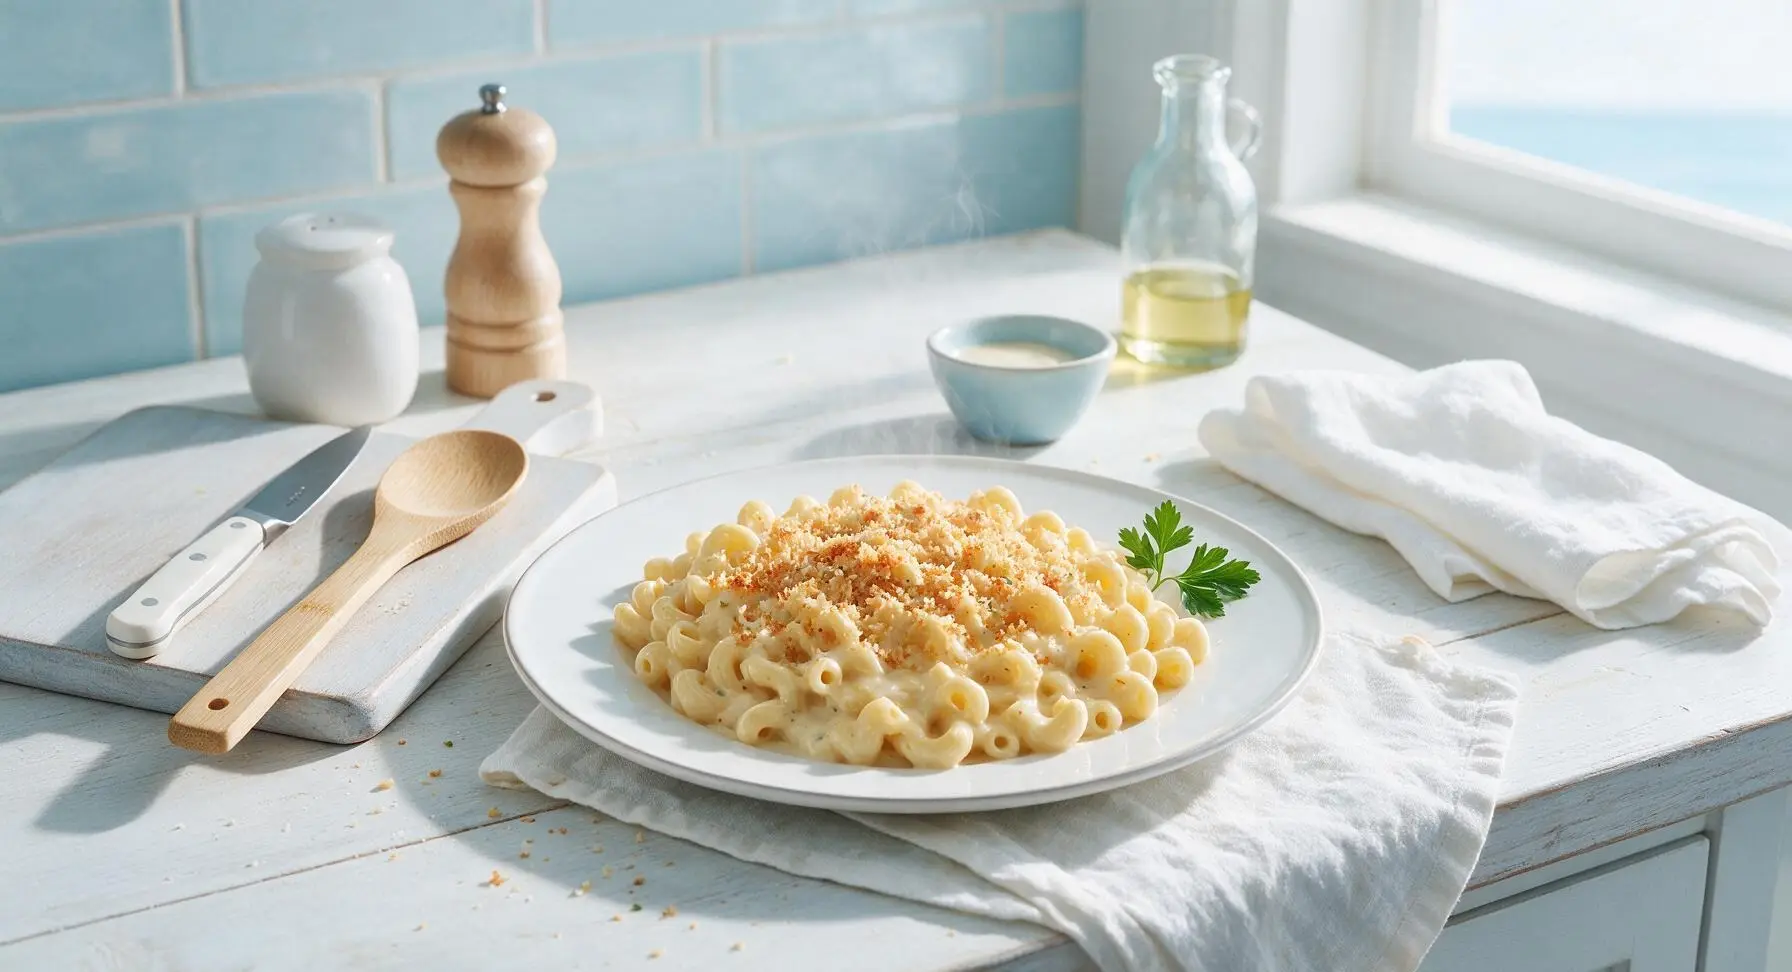
Silky, creamy three-cheese mac and cheese made entirely in a pressure cooker in under 25 minutes, no draining required, with a crispy toasted panko top.

Ingredients
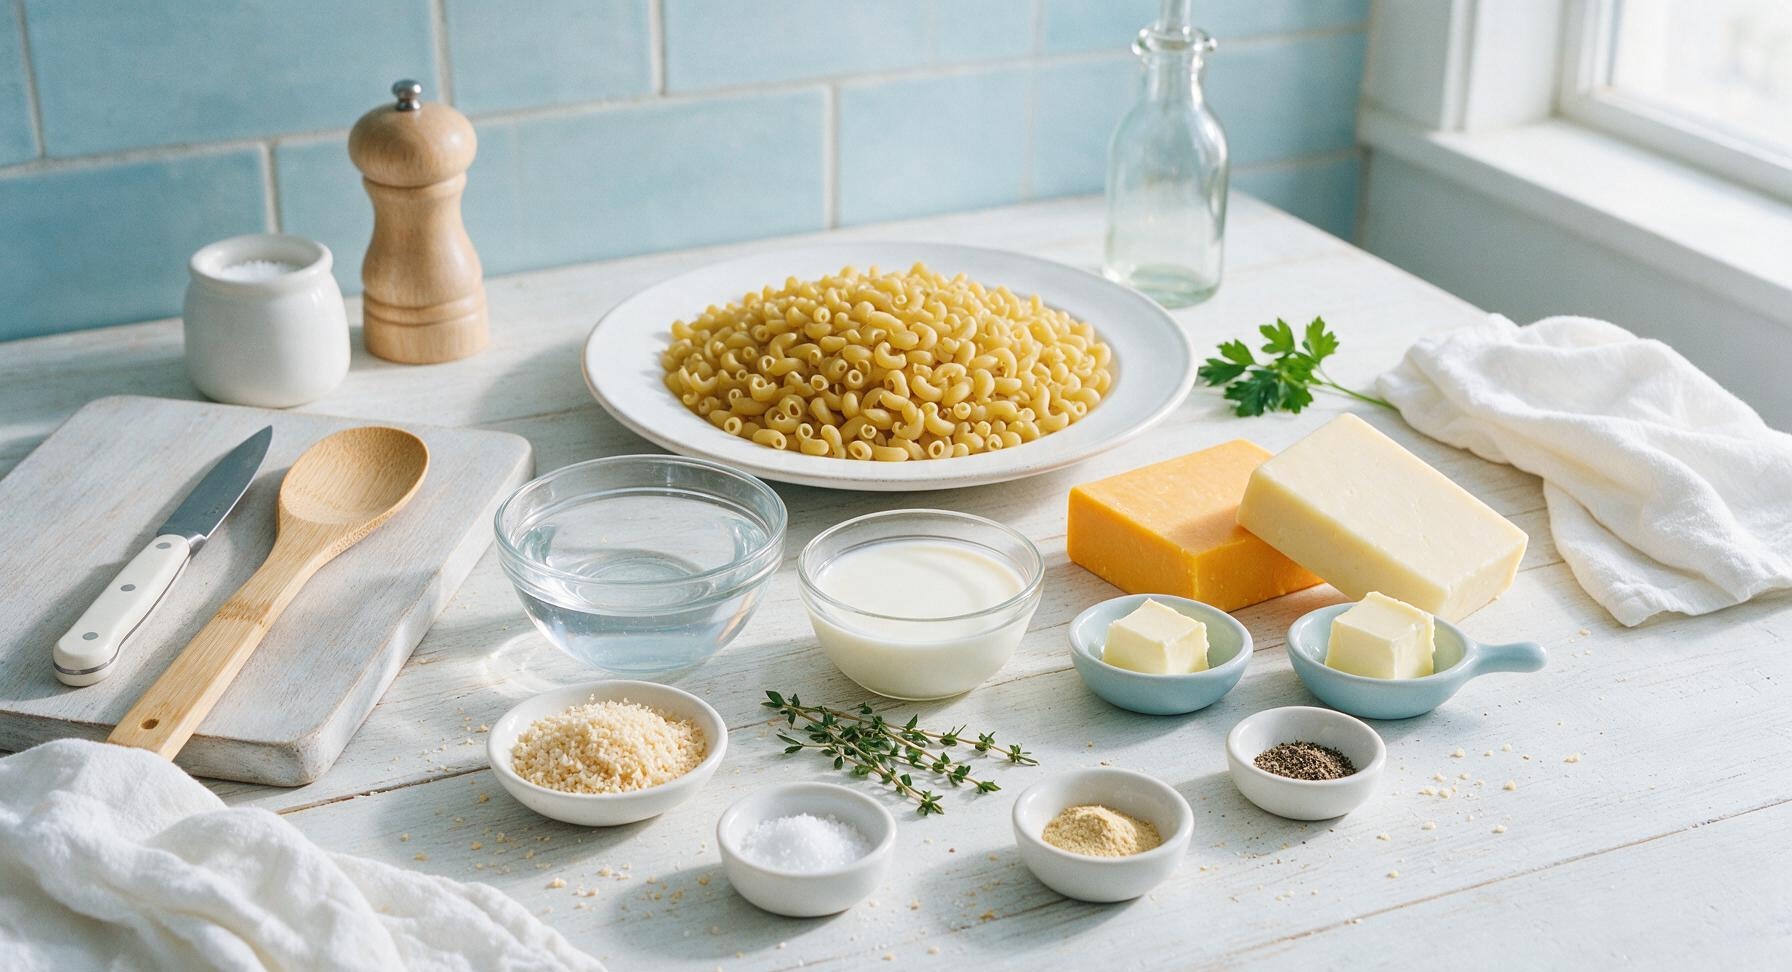
Dry elbow macaroni 340g (12oz)
Sharp cheddar cheese 170g (6oz), block
Monterey Jack cheese 57g (2oz), block
Cold water 720ml (3 cups)
Full-fat evaporated milk 354ml (12oz can)
Unsalted butter 28g (2 tbsp), divided
Panko breadcrumbs 2 tablespoons
Kosher salt 1 teaspoon
Garlic powder 1/2 teaspoon
Dry mustard powder 1/2 teaspoon
Freshly ground black pepper 1/4 teaspoon
Fresh thyme sprigs 5 sprigs, leaves picked

Steps

1

Grate Fresh Cheeses

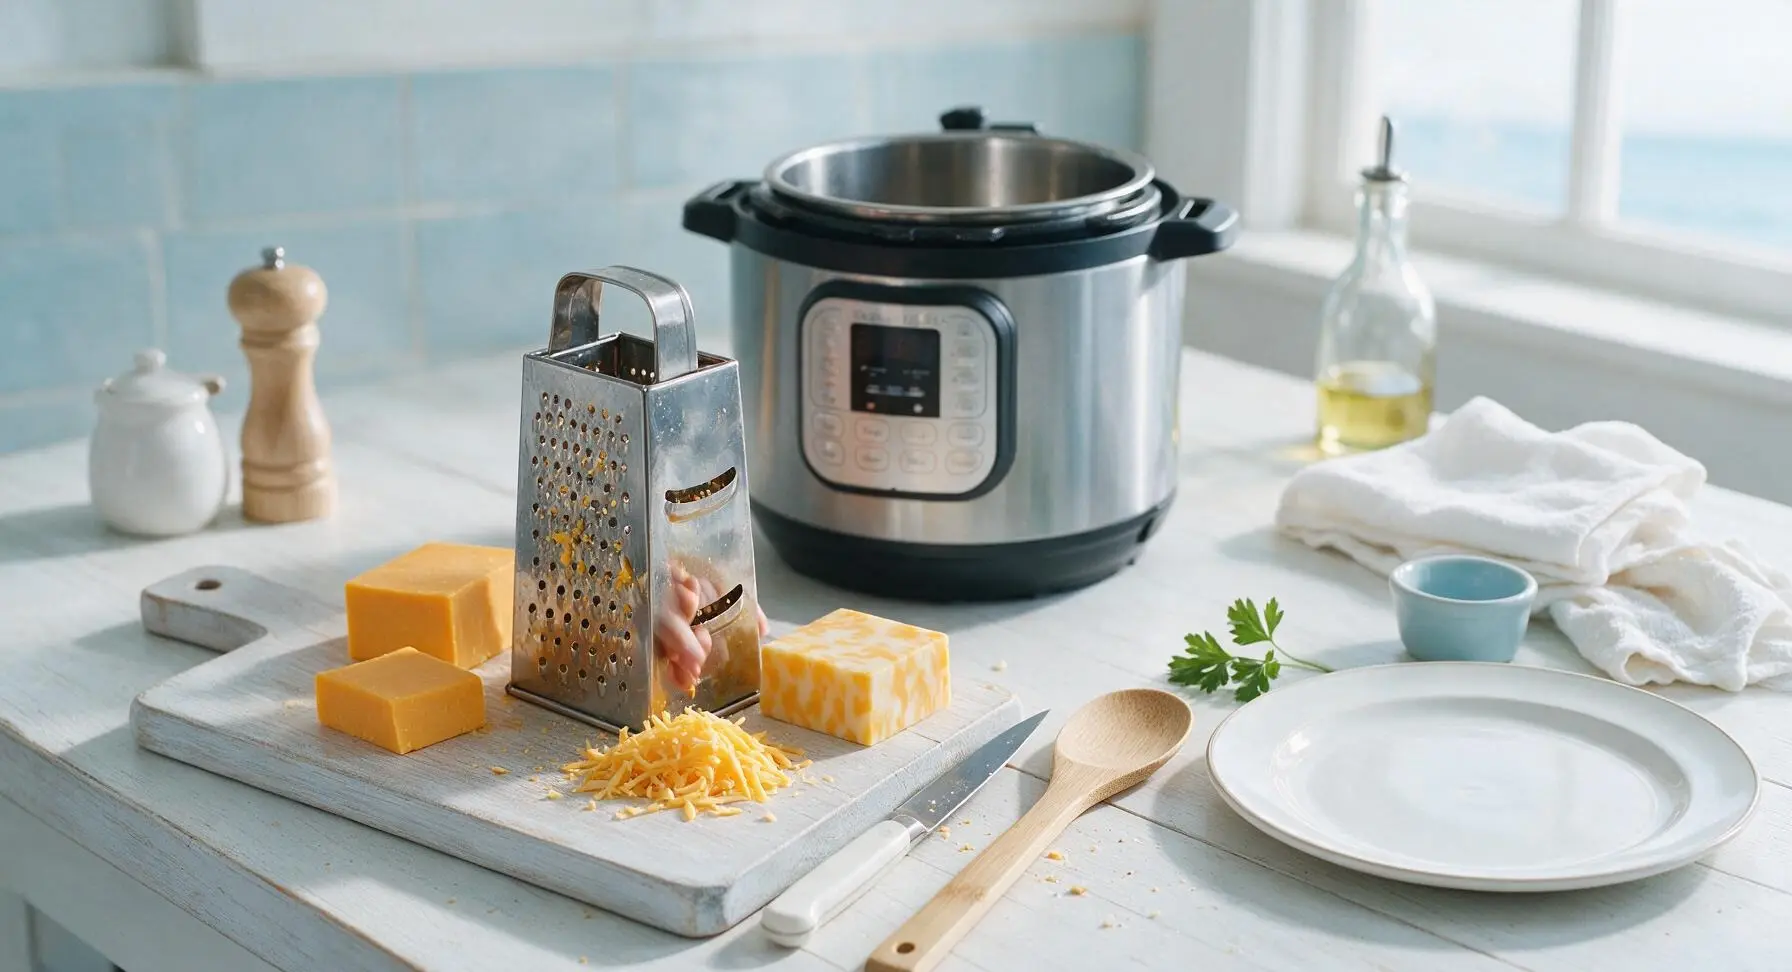
Place the blocks of sharp cheddar and Monterey Jack on the light maple cutting board. Using the stainless steel box grater, shred both cheeses into coarse, even shreds, piling shreds on the clean edge of the cutting board. Skip pre-shredded bagged cheese, as its anti-caking coating will create a grainy, lumpy sauce instead of a silky smooth texture. Grating takes approximately 5 minutes.
Step 1
step1:Grate Fresh Cheeses
2

Toast Panko Topping

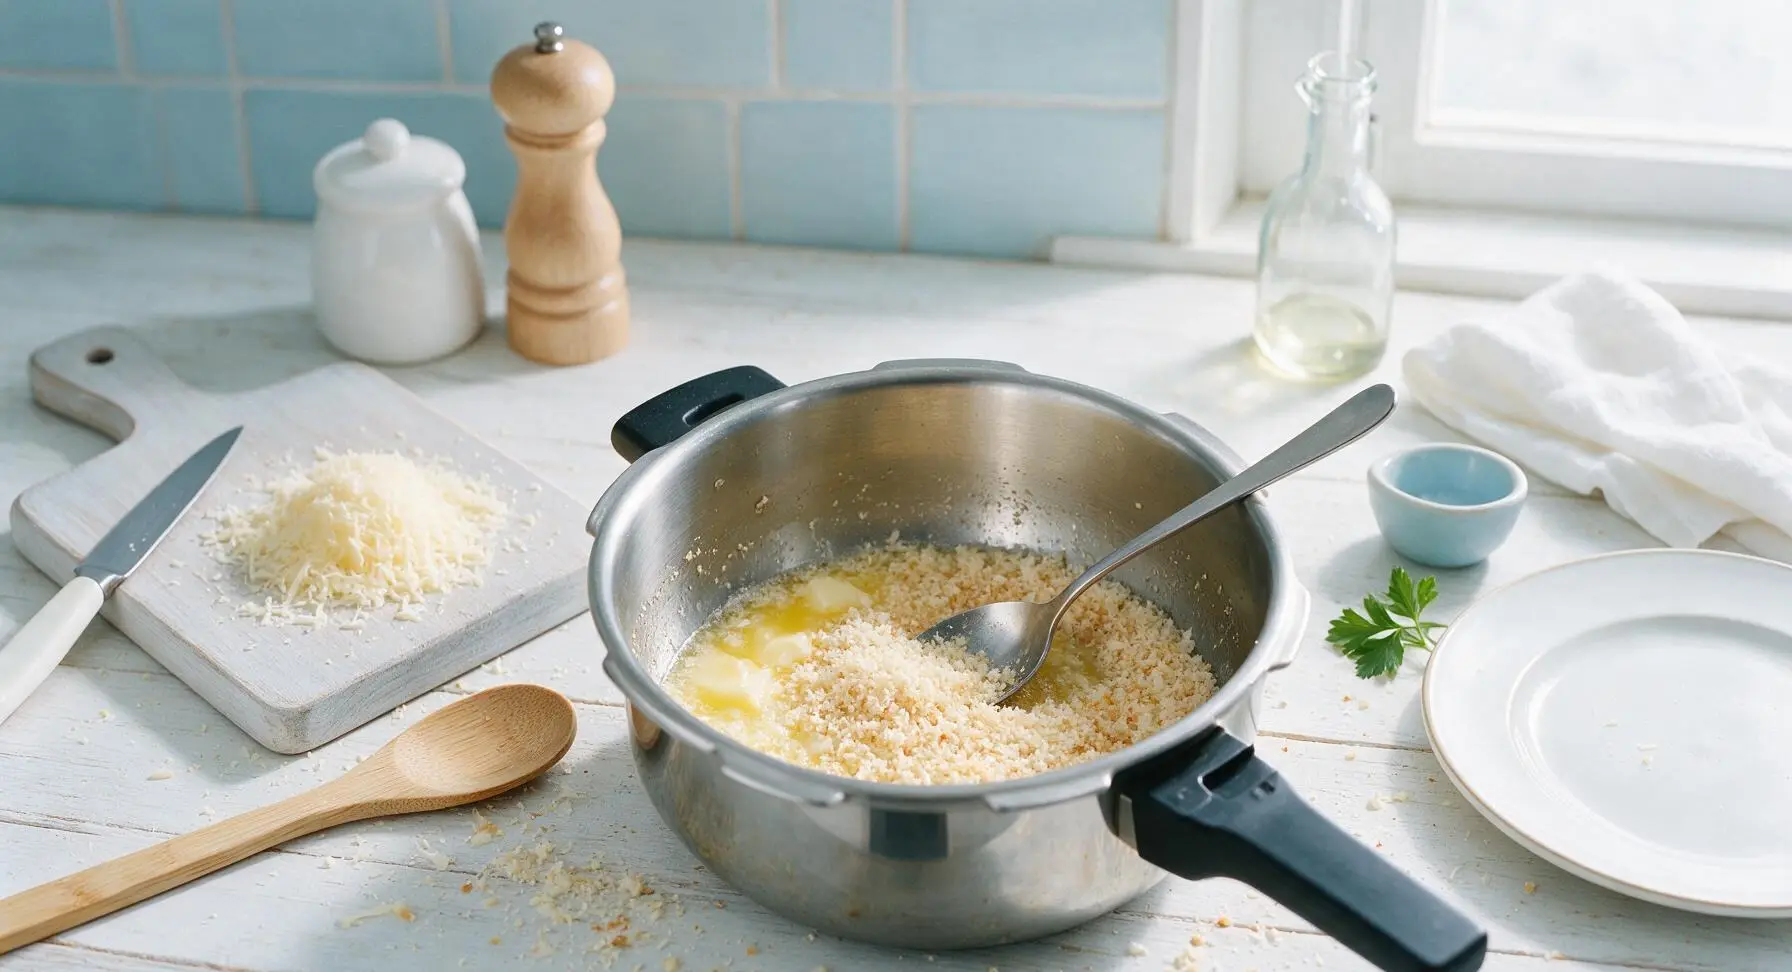
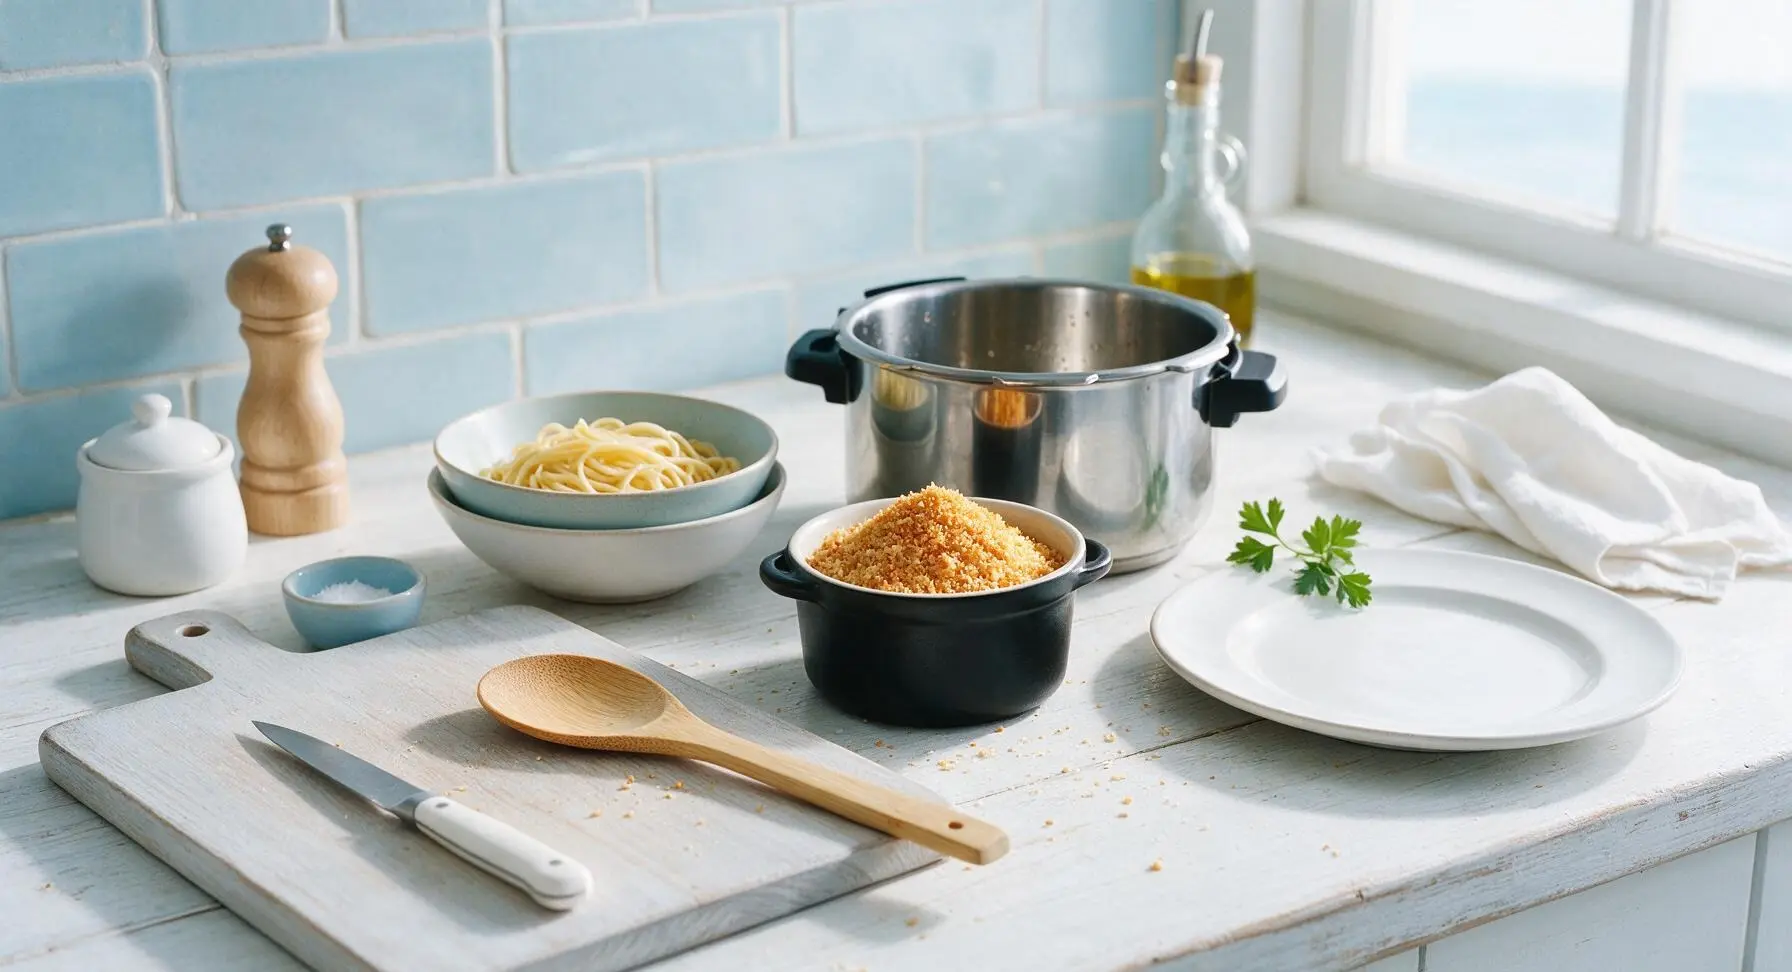
Insert the stainless steel inner pot into the pressure cooker, select the sauté function. Add 1 teaspoon of the divided unsalted butter, allow it to melt fully, then add 2 tablespoons panko breadcrumbs. Stir continuously with the stainless steel cooking spoon for 1 to 2 minutes, until panko turns light golden brown and smells nutty. Transfer toasted panko to the small matte black ceramic ramekin, set aside. Wipe loose crumbs from the inner pot with a paper towel before proceeding.
Step 2
step2:Toast Panko Topping
Step 2
step2:Toast Panko Topping
3

Add Pasta and Seasonings

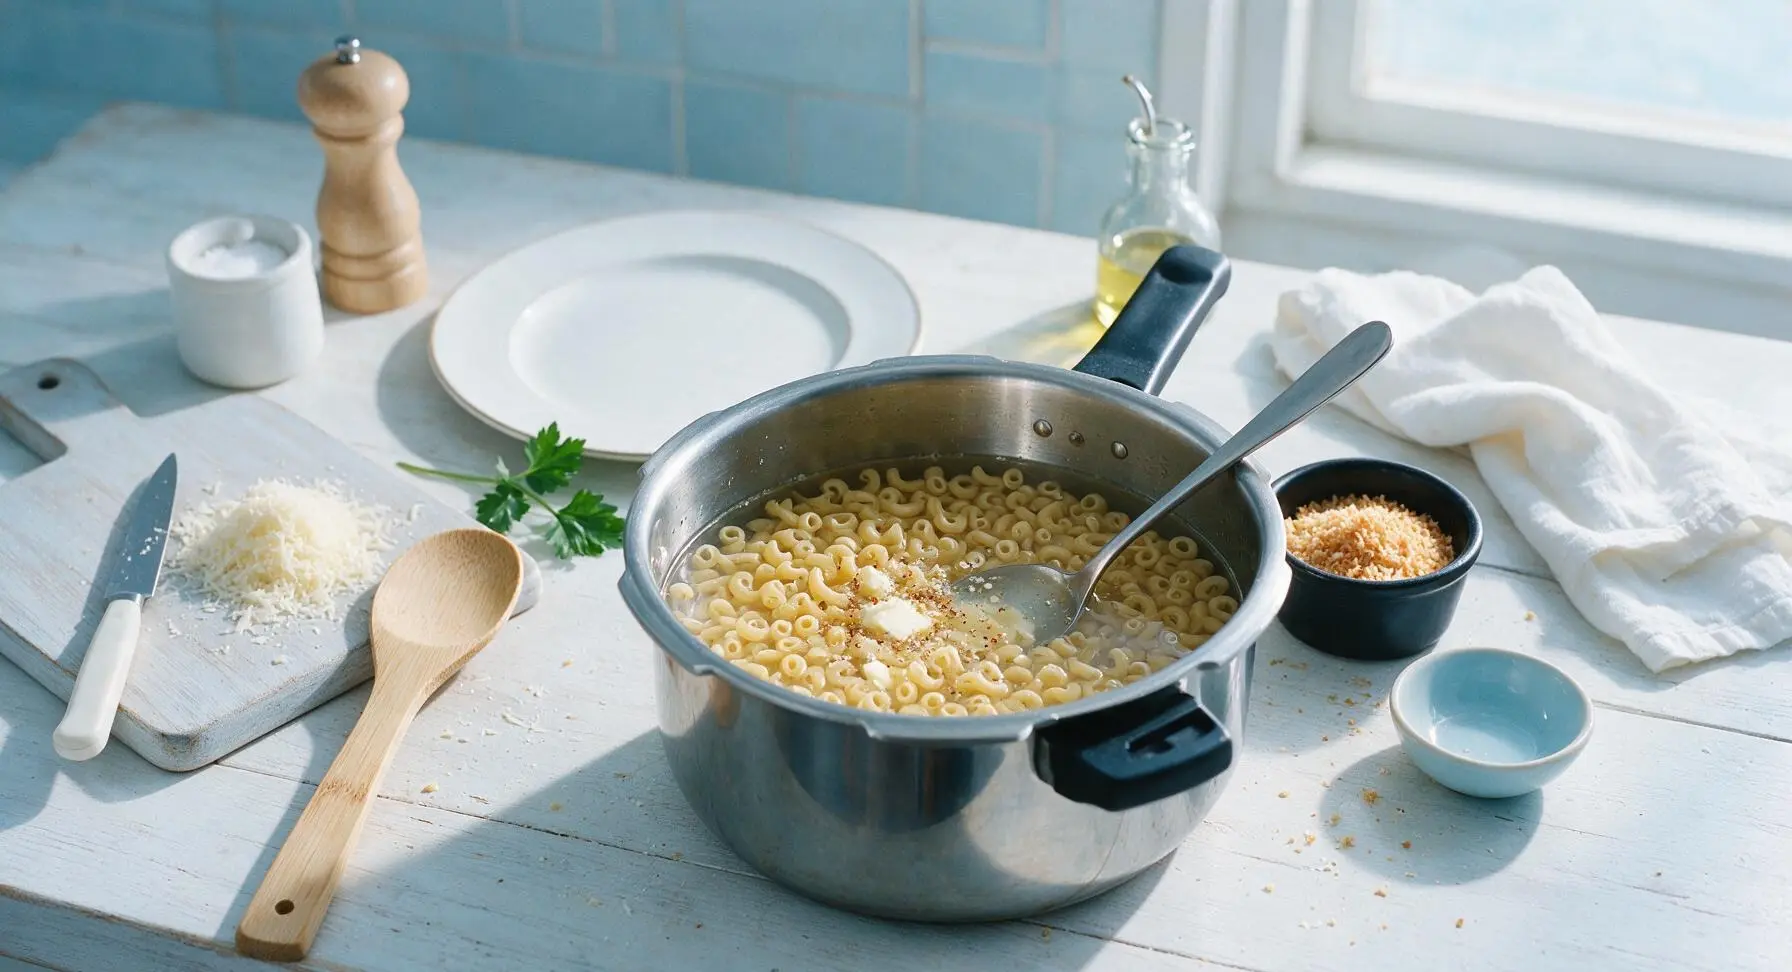
Pour 340g dry elbow macaroni into the cleaned pressure cooker inner pot. Add 3 cups cold water, the remaining 5 teaspoons of unsalted butter (cut into small pieces), 1 teaspoon kosher salt, 1/2 teaspoon garlic powder, 1/2 teaspoon dry mustard, and 1/4 teaspoon freshly ground black pepper. Stir once with the stainless steel cooking spoon to distribute seasonings, and press any floating pasta pieces below the water line to ensure even cooking, no crunchy dry bits.
Step 3
step3:Add Pasta and Seasonings
4

Seal and Pressure Cook

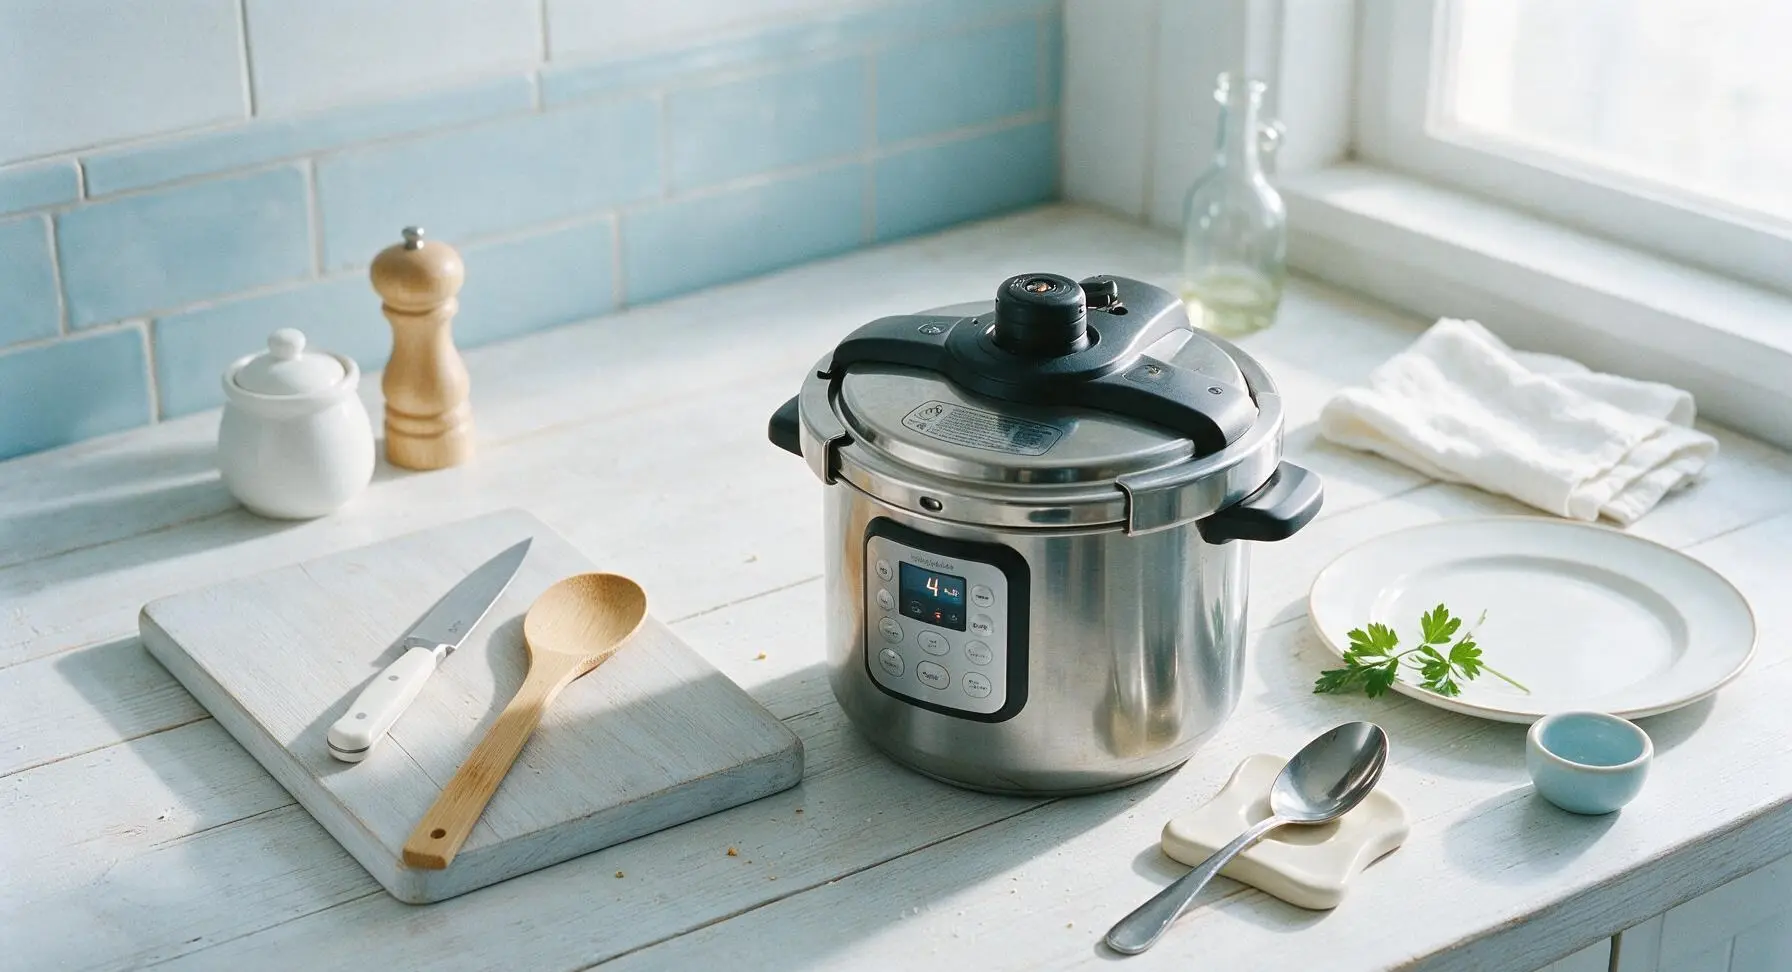
Lock the pressure cooker lid firmly into place, turn the pressure release valve to the fully sealed position. Program the cooker for 4 minutes on high pressure. The unit will take approximately 5 minutes to build up pressure before the active cook timer begins; avoid using the keep warm setting at any point, as it will overcook the pasta.
Step 4
step4:Seal and Pressure Cook
5

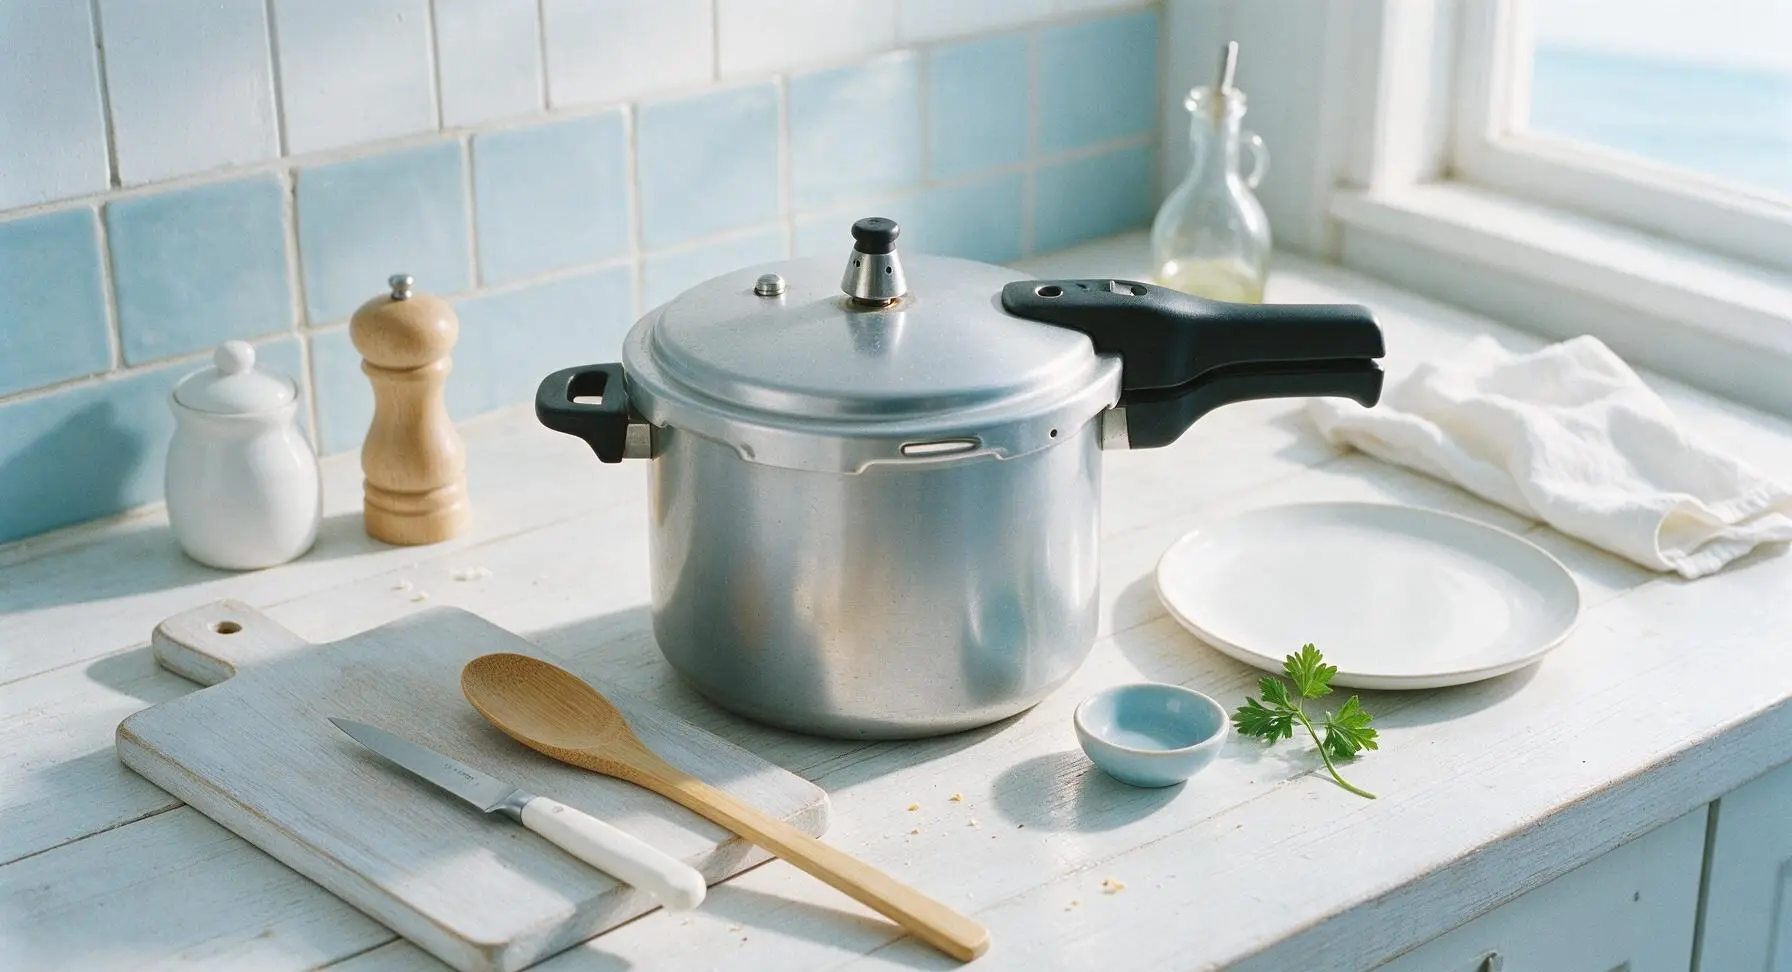
Quick Release Pressure

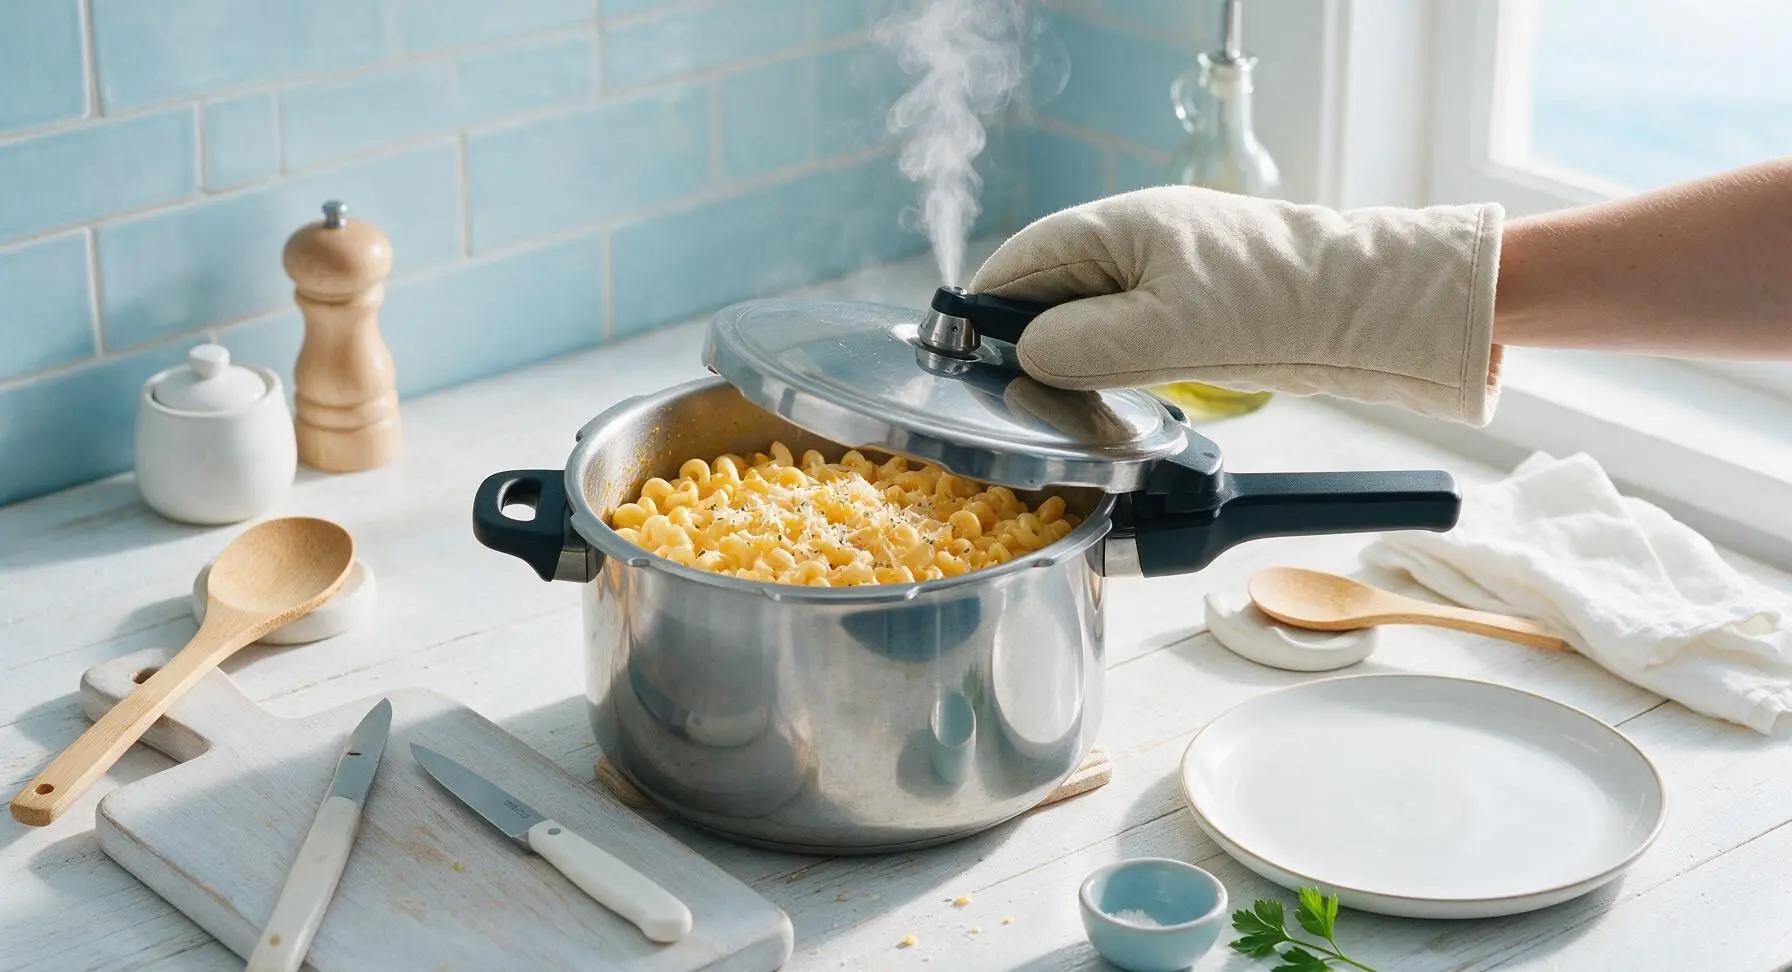
As soon as the 4 minute cook timer finishes, immediately perform a quick pressure release: use an oven mitt to carefully turn the pressure valve to the vent position, keeping your hand and face away from the jet of hot steam. Wait until all pressure is fully released, indicated by the float valve dropping flush with the lid surface — this takes roughly 2 minutes. Do not allow the pasta to sit under pressure for extra time, as it will turn mushy.
Step 5
step5:Quick Release Pressure
Step 5
step5:Quick Release Pressure
6

Stir in Evaporated Milk

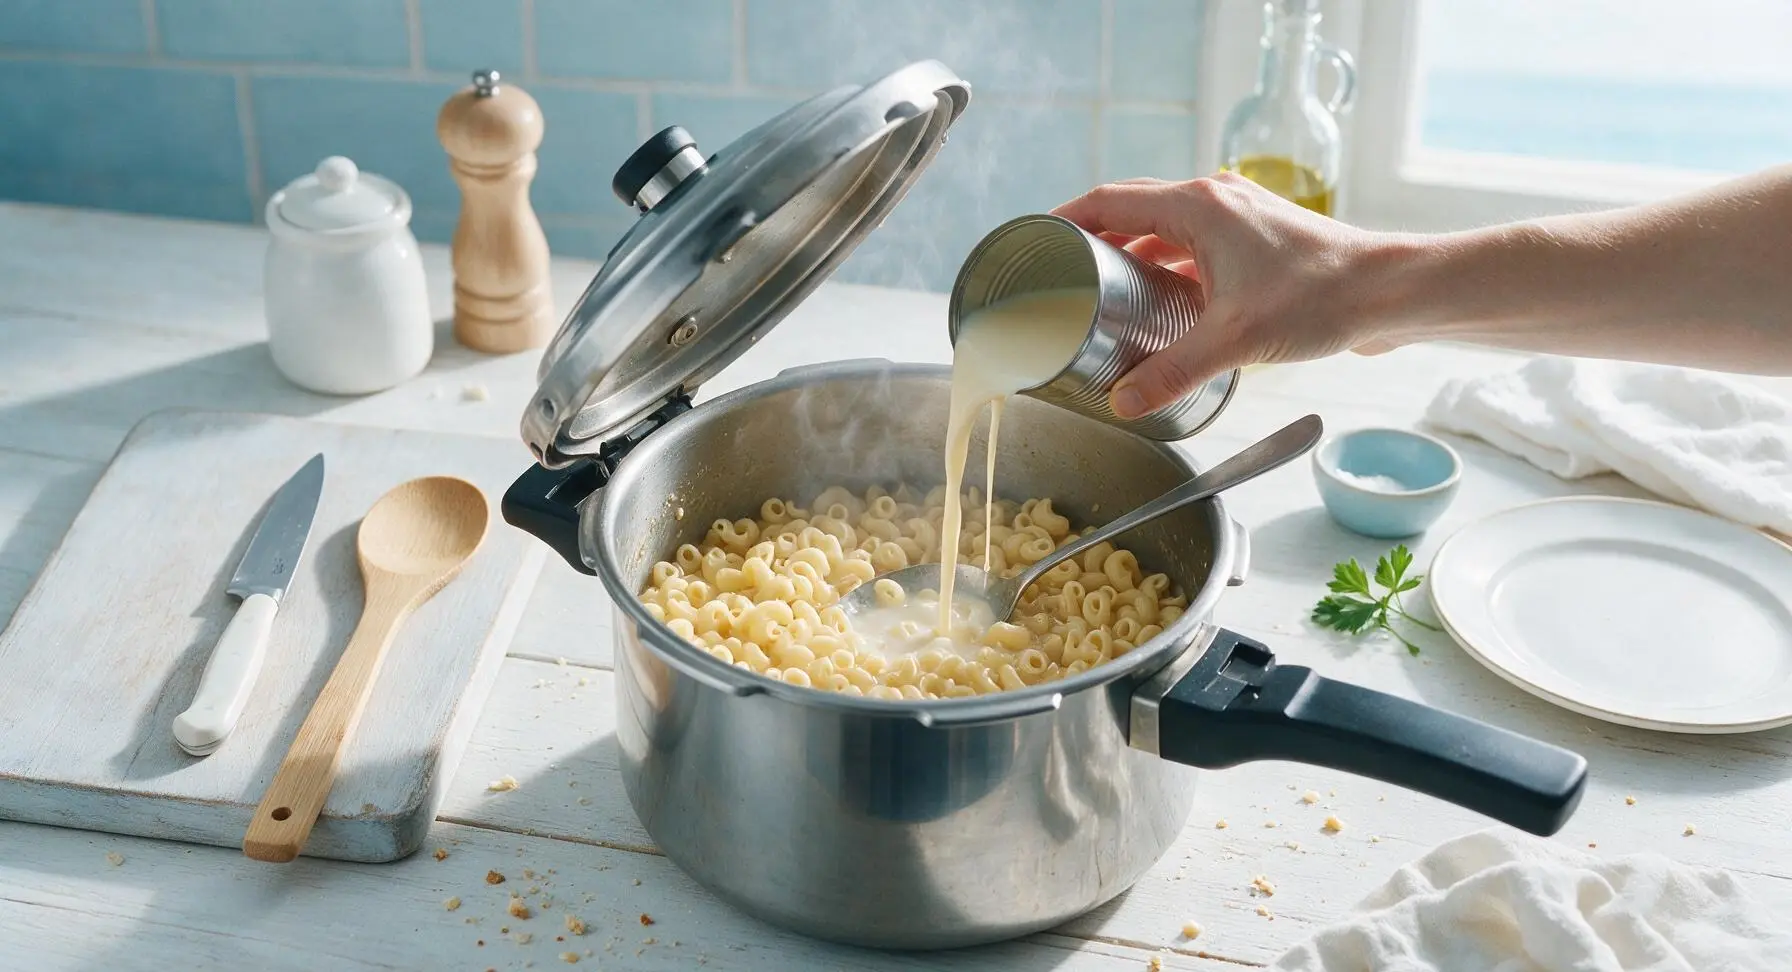
Carefully open the pressure cooker lid, tilting it away from your face to avoid escaping hot steam. The pasta will be perfectly al dente, with a small amount of thick, starchy cooking liquid left in the bottom of the pot. Pour the full 354ml can of full-fat evaporated milk into the pot, stir vigorously with the stainless steel cooking spoon for 30 seconds to combine the milk with the starchy pasta water, creating a smooth, creamy sauce base.
Step 6
step6:Stir in Evaporated Milk
7

Fold in Grated Cheese

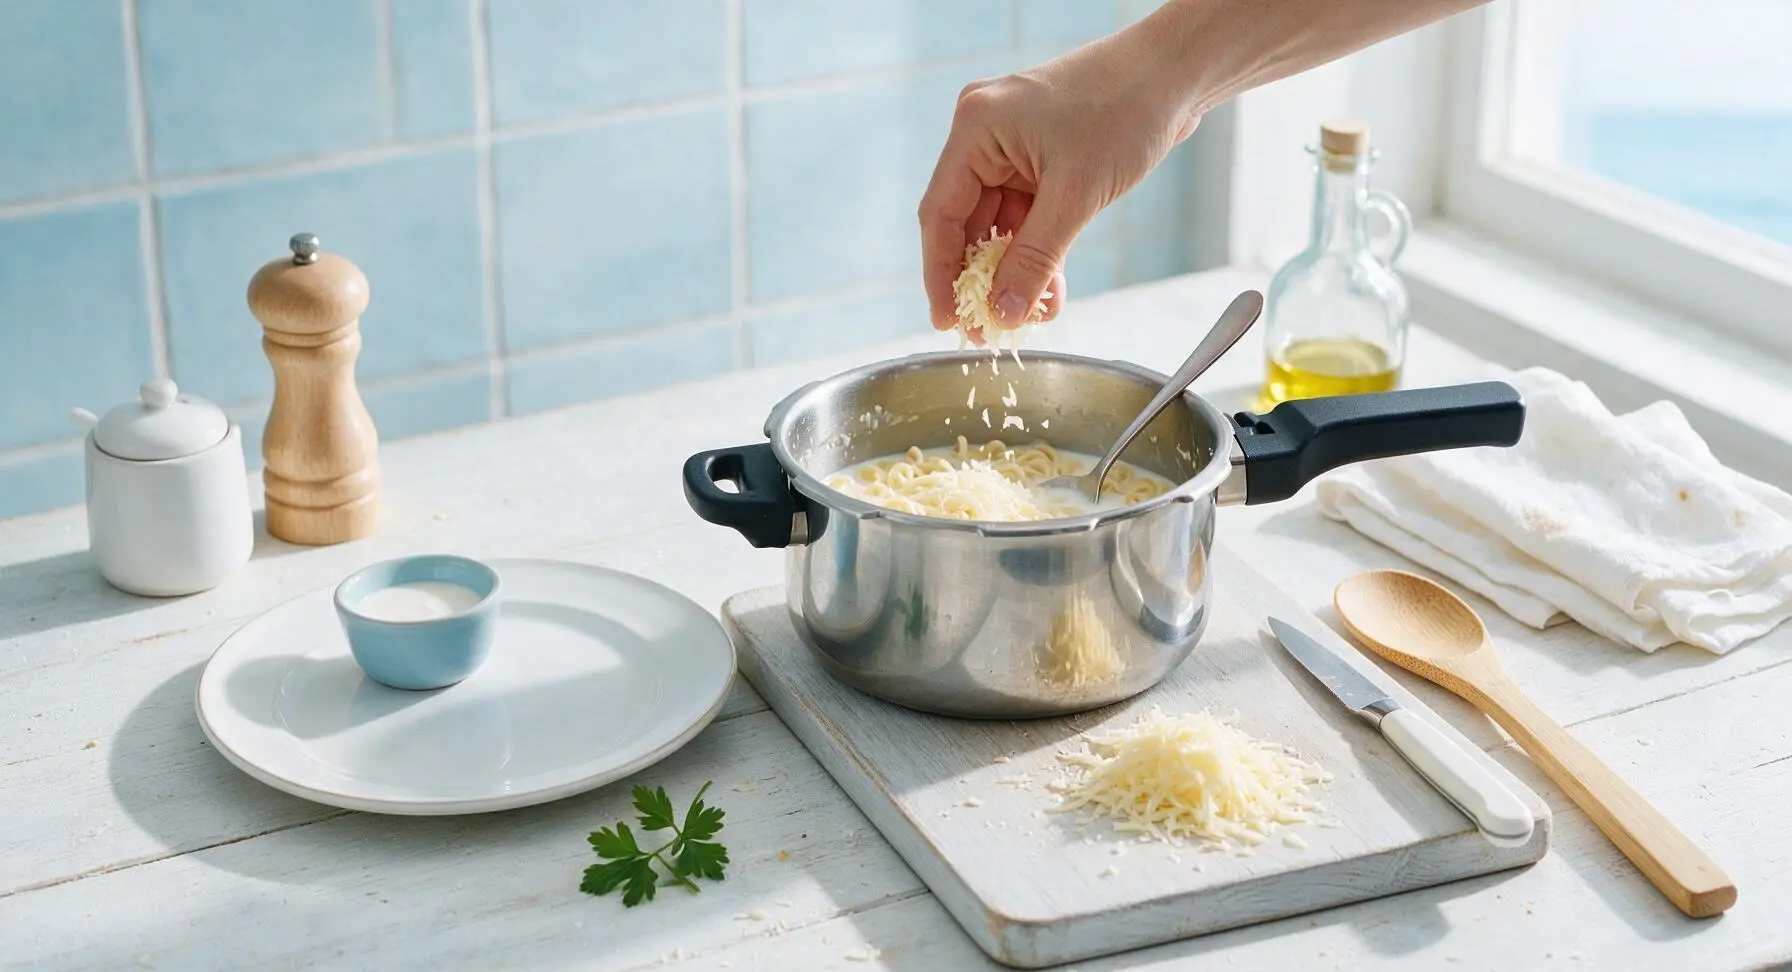
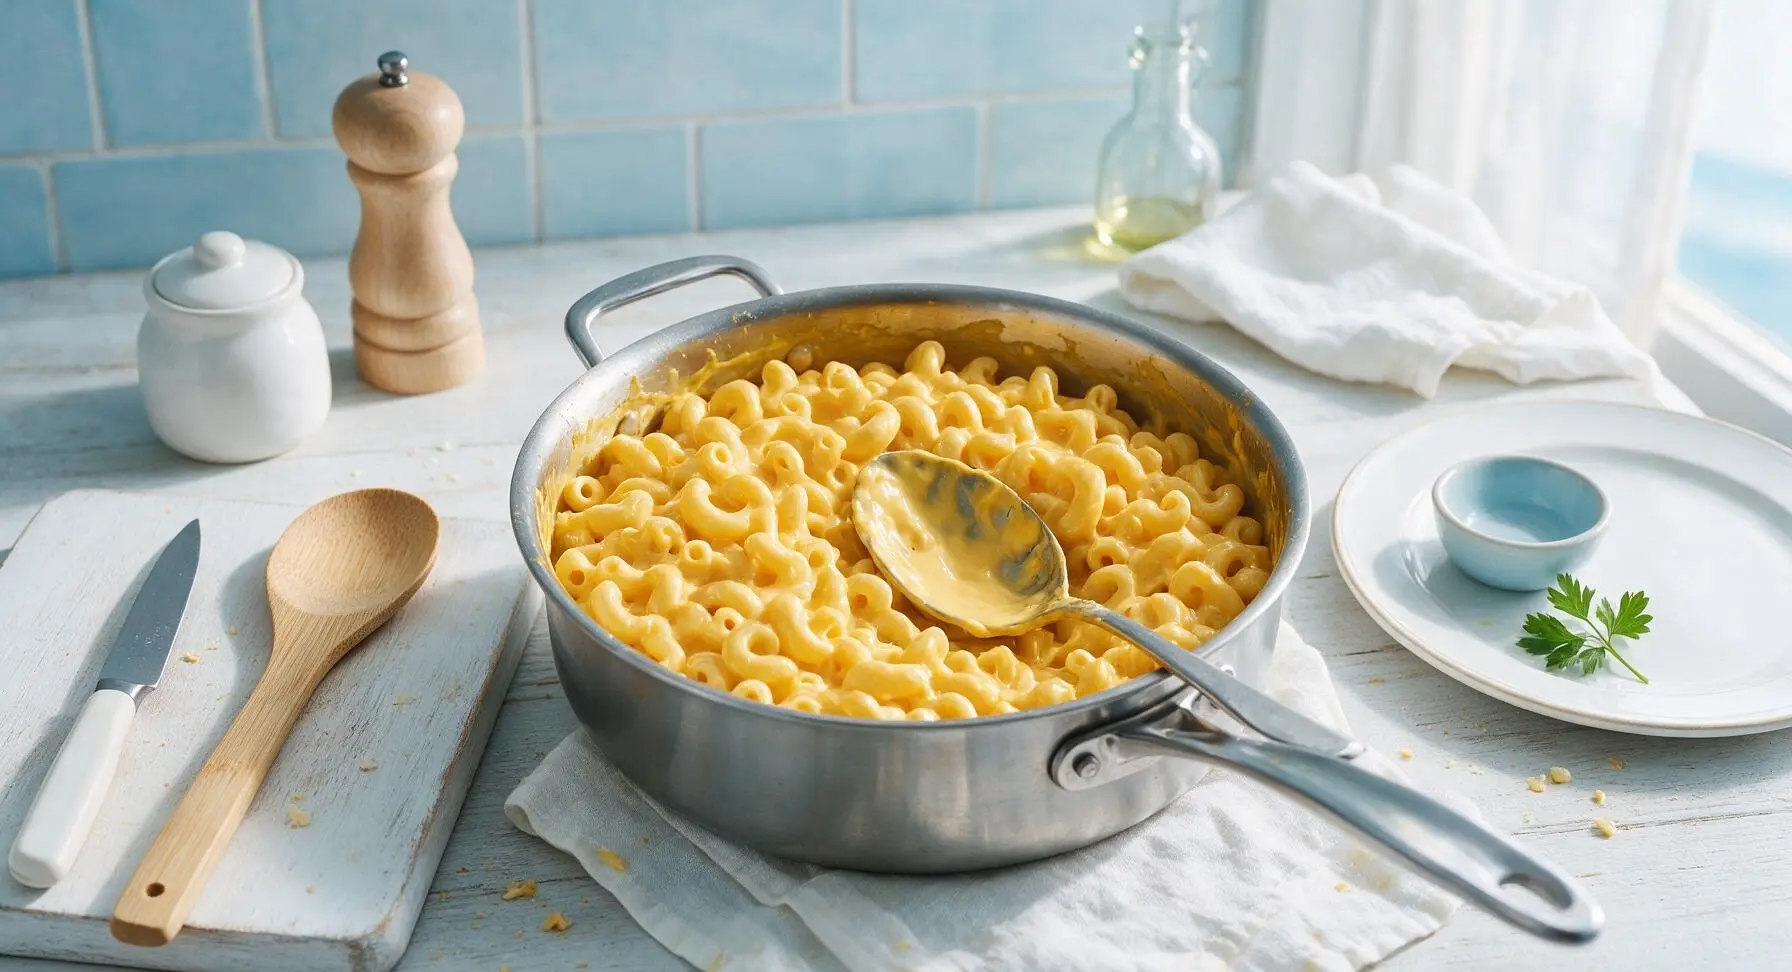
Add the reserved grated cheddar and Monterey Jack to the pot one small handful at a time, stirring continuously in smooth circles with the stainless steel spoon after each addition, until all cheese is fully melted. The finished sauce will be glossy, smooth, and thick enough to cling evenly to every pasta noodle, about 2 minutes of total stirring. If the sauce is thicker than you prefer, stir in 1 to 2 tablespoons of warm water to thin to your desired consistency.
Step 7
step7:Fold in Grated Cheese
Step 7
step7:Fold in Grated Cheese
8

Plate and Garnish

Scoop a generous, heaping portion of the hot mac and cheese into the top matte off-white ceramic pasta bowl. Top with a light sprinkle of the reserved toasted panko breadcrumbs, a pinch of fresh thyme leaves, and a single crack of black pepper if desired. Serve immediately, while the cheese sauce is hot, silky, and stretchy.
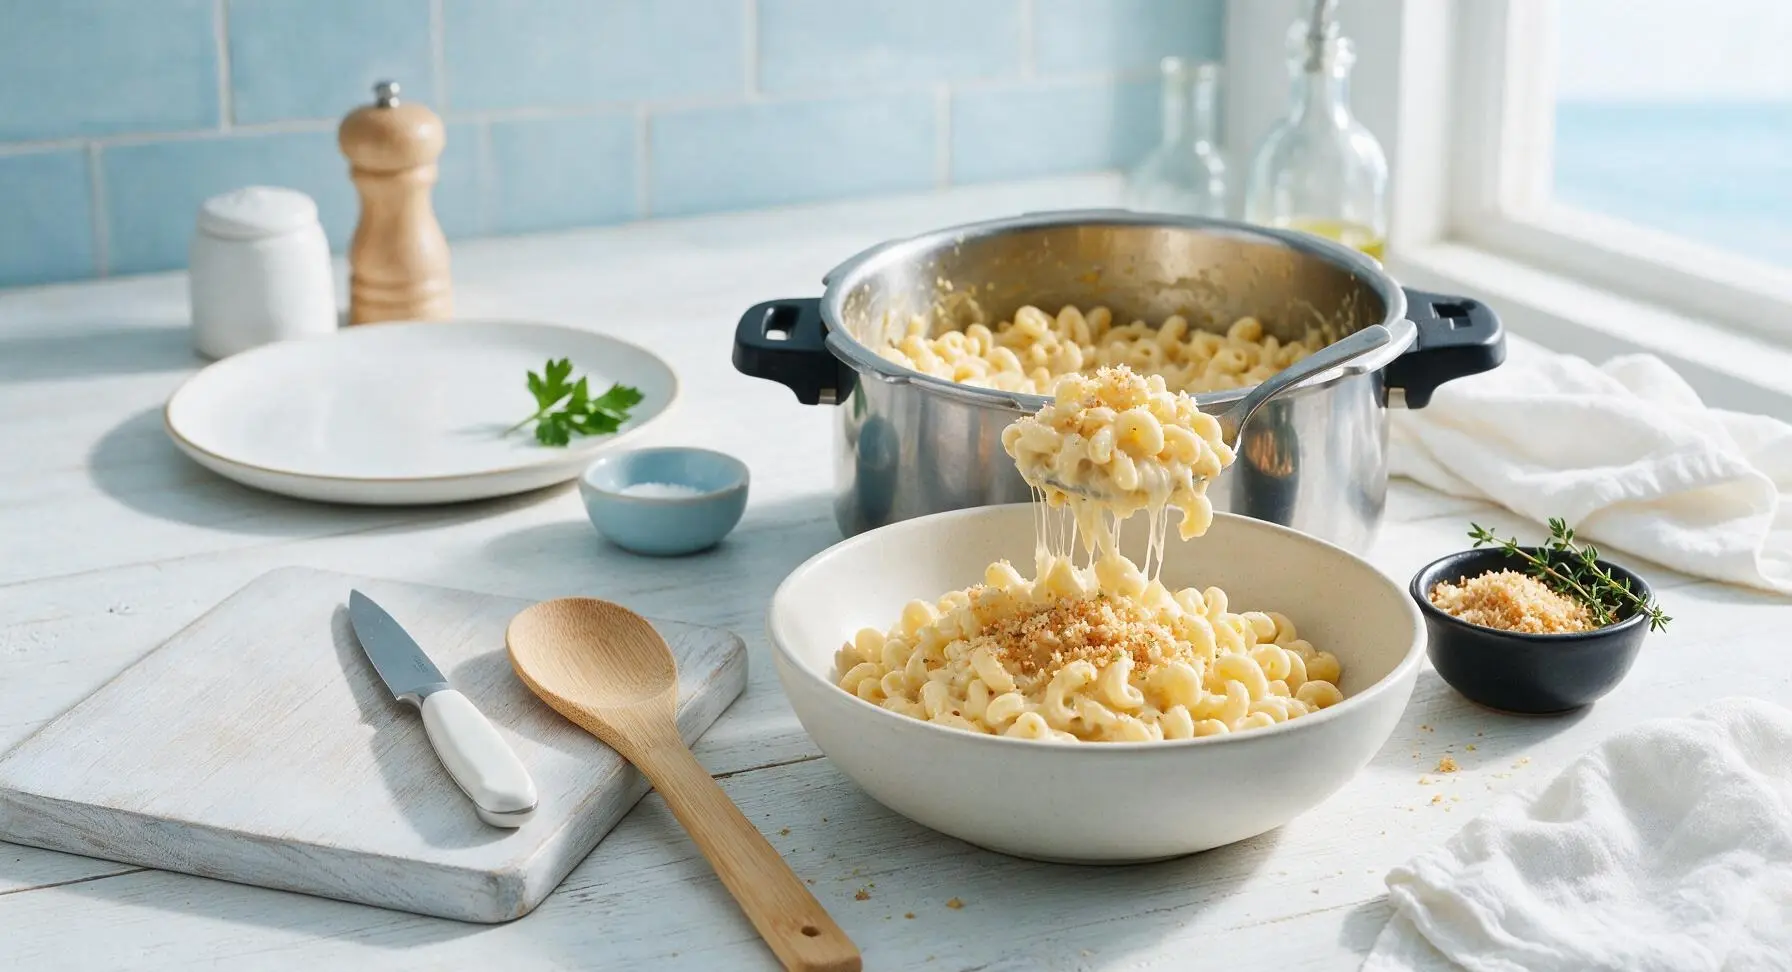
Step 8
step8:Plate and Garnish

Tips

1.Do not rinse cooked pasta or overfill the inner pot: the starchy residual water left after pressure cooking is critical for creating a smooth, emulsified cheese sauce that does not separate or turn greasy. Rinsing removes this starch and leads to a thin, runny sauce.
2.Grate cheese directly from blocks immediately before adding it to the pot. Pre-shredded store-bought cheese is coated in potato starch and anti-caking agents that prevent smooth melting, resulting in a grainy, gritty sauce texture even with constant stirring.
3.Stick to the 4-minute high pressure cook time and use immediate quick release. Pasta cooks extremely quickly under pressure, and even 1 extra minute of cook time or natural pressure release will turn noodles mushy and overcooked, instead of tender with a pleasant slight bite.


✨ You May Also Like

Main Course
🍜 United Kingdom

A showstopping classic of tender seared beef, savory mushroom duxelles, and crisp prosciutto wrapped in flaky golden puff pastry, baked to juicy perfection.

⏱️ 2 hours 1Main Course ★ 4.7
Main Course
🍜 India

Tender charred marinated chicken simmered in a rich, spiced creamy tomato sauce, this iconic Anglo-Indian curry pairs perfectly with basmati rice or warm naan.

⏱️ 50 minuteMain Course ★ 4.6
Main Course
🍜 Thailand

Classic tangy, sweet, and savory Thai stir-fried rice noodles with shrimp, tofu, and crunchy garnishes, balancing all five core Thai flavor profiles.

⏱️ 30 minuteMain Course ★ 4.5
Main Course
🍜 United Kingdom

Crispy golden beer-battered cod and fluffy double-fried chips, served with tangy tartar sauce and malt vinegar: the timeless, beloved British pub comfort classic.

⏱️ 45 minuteMain Course ★ 4.7
Main Course
🍜 Mexico

Smoky, chile-marinated pork tacos with caramelized pineapple, fresh cilantro, and lime: a beloved classic Mexican street food perfect for casual summer gatherings.

⏱️ 1 hour 45Main Course ★ 4.8
Main Course
🍜 United States

Crunchy Fritos corn chips layered with savory beef chili and melted cheddar, topped with cool, zesty fixings for a beloved, cozy Tex-Mex comfort food.

⏱️ 35 minuteMain Course ★ 4.8

pressure cooker mac and cheese:Frequently Asked Questions

1.Do I really not need to drain the pasta after cooking it in the pressure cooker? ▾
Yep, no draining required at all! We use a precise ratio of cold water to dry elbow macaroni so the pasta absorbs almost every drop as it cooks at high pressure. The tiny bit of leftover starchy liquid actually helps make the cheese sauce extra silky, with no gloopy, separated texture you might get from drained pasta.
2.Why does this recipe call for full-fat evaporated milk instead of regular whole milk? ▾
Great question! Full-fat evaporated milk is concentrated, with far less water content than fresh regular milk, so it creates a luxuriously rich, creamy sauce that won’t curdle or break under pressure cooker heat—no roux required. It also clings perfectly to every noodle without turning watery as it sits.
3.Can I use pre-shredded cheese instead of grating my own cheddar and Monterey Jack? ▾
I don’t recommend it! Pre-shredded cheese is coated in anti-caking agents like potato starch that keep shreds from clumping in the bag, but those additives make your finished sauce grainy instead of silky. Grate your sharp cheddar and Monterey Jack fresh right before adding for the smoothest, gooiest possible melt.
4.How do I get the crispy toasted panko top if the whole dish cooks in the pressure cooker? ▾
It’s super simple! Once the mac and cheese finishes pressure cooking and you do a quick pressure release, stir the cheese into the hot pasta to melt fully. Sprinkle panko evenly over the top, then pop the lid back on (no heat needed!) for 2 to 3 minutes, or use the low sauté setting for 1 minute for extra toasty crunch.
5.What pressure setting should I use, and what’s the total start-to-finish cook time? ▾
Use the high pressure setting on any electric or stovetop pressure cooker, and set the timer for exactly 4 minutes. It will take roughly 10 minutes for the unit to build up pressure first, so total prep plus cook time lands right around 25 minutes, no extra pots or steps required.
6.Can I swap the sharp cheddar and Monterey Jack for other cheeses I have on hand? ▾
Absolutely, as long as you stick to good-melting cheeses! Sharp cheddar brings that classic tangy mac flavor, and Monterey Jack adds that perfect stretchy pull, but you can swap in Gruyère, fontina, or mild colby if that’s what you have. Skip crumbly, hard cheeses like feta as a base, since they won’t melt smooth.
7.My first batch came out with mushy pasta—what did I do wrong? ▾
Mushy pasta almost always comes from two easy-to-fix missteps: either you cooked it too long at high pressure, or you used more water than the recipe calls for. Stick to the 4-minute high pressure cook time, the exact measured cold water amount, and do an immediate quick release to stop cooking fast so noodles stay perfectly al dente.
8.Should I use a quick pressure release or natural release for this recipe? ▾
Always do a quick pressure release as soon as the 4-minute cook time ends! If you let pressure release naturally, the trapped residual heat will keep cooking the pasta for 10+ minutes, turning noodles mushy and making the sauce thicken too much before you add the cheese. Just watch for hot steam when you flip the valve.
9.Can I double this recipe to feed a larger group or party? ▾
You can, as long as you don’t fill your pressure cooker past its recommended ⅔ full fill line—that’s non-negotiable for starchy foods that can foam as they cook. Double all ingredients evenly, keep the 4-minute high pressure cook time the same, and note it will take a few extra minutes for the pot to build pressure with more food inside.
10.Why does the recipe specify cold water instead of hot or boiling water to cook the pasta? ▾
Cold water heats gradually as the pressure cooker comes up to temperature, so pasta cooks evenly from the outside in instead of getting overcooked on the edges and hard in the center. Starting with hot water can lead to uneven noodles and starchy foam that boils up and clogs the pressure release valve, which is a safety risk.
11.How should I store leftovers, and will they reheat to the same creamy texture? ▾
Store leftover mac and cheese in an airtight container in the fridge for up to 4 days. When reheating, stir in 1 tablespoon of evaporated or regular whole milk per serving to loosen the sauce, which thickens as it chills. Reheat in the microwave in 30-second bursts, stirring between each, until it’s hot and creamy again.

Comments (17)

2 days ago

OMG this 12 minute cook time is a total game changer for weeknights! My two kids devoured this, didn’t even complain about the “fancy cheeses” I used. SO good, will be making this every other week for sure.

1 week ago

Perfect for my Sunday meal prep! I portion this out for my work lunches all week and it reheats like a dream, no weird grainy cheese texture like other stovetop mac recipes I’ve tried. 10/10

30 minutes ago

As someone who burns boiling water half the time, this easy difficulty rating did not lie. Threw everything in the pressure cooker, set it, forgot it, and had perfect mac and cheese without stirring a pot nonstop. Wild.

5 days ago

Brought this to my neighborhood block party potluck last weekend and people were asking me for the recipe before I even set the dish down! The three cheese blend is so rich without being heavy, total crowd pleaser.

just now

Made this in my dorm pressure cooker last night, only spent like $10 on ingredients total and it fed me and my three roommates. Way better than the boxed stuff we usually live on. Will be a staple now.

2 hours ago

Wait, has anyone tried adding a little crispy breadcrumb topping on this after it’s done cooking? I’m obsessed with a crunchy top on my mac but don’t want to mess up the recipe ratios.

1 hour ago

Great question! You can absolutely toast 1/2 cup of panko breadcrumbs in a little melted butter while the mac cooks, then sprinkle it right on top before serving — it doesn’t mess with the pressure cooking process at all!

yesterday

My 7 year old who only eats plain buttered pasta tried this and asked for seconds! I was shocked, I didn’t even have to bribe him with dessert. This is going into the permanent weeknight rotation.

12 hours ago

Same here! My 6 year old turns his nose up at almost everything but he ate two whole bowls of this last night. Total parent win!

2 weeks ago

I swapped the regular elbow pasta for gluten free brown rice pasta and it turned out perfectly! No mushy noodles, the cheese sauce coated every bite, my whole family (even the non-gluten free folks) loved it.

2 weeks ago

So glad to hear the gluten free pasta swap worked out! A lot of readers ask about GF modifications, so we really appreciate you sharing your tip — we’ll add that note to the recipe card soon!

3 days ago

I added a handful of crumbled cooked bacon to this right before serving and it took it over the top. The smoky bacon pairs so perfectly with the three cheese blend, I’ll never make plain mac again.

2 days ago

Oh that’s a genius add! I’m making this for our game day watch party this weekend and I’m definitely throwing some bacon and a dash of hot sauce in. Thanks for the idea!

1 week ago

This was so much faster than my grandma’s baked mac recipe that takes an hour in the oven. I was skeptical pressure cooker mac could be that creamy but it’s just as good, if not better! Perfect for when we have last minute family stop by.

6 days ago

We love a fast, crowd-pleasing recipe! So glad it lived up to your grandma’s mac standards — that’s the highest compliment we could get!

5 minutes ago

Wait, do I need to do a quick release or natural release for this? I’m still new to my pressure cooker and I’m terrified of getting sprayed with hot cheese when I open the valve lmao

2 minutes ago

No stress! For this recipe you do a 5 minute natural release first, then quick release any remaining pressure. That keeps the cheese from foaming up and spraying out the valve — no hot cheese messes promise!

5 days ago

Tastes exactly like the creamy baked mac I used to get at my hometown diner as a kid, but it’s done in 12 minutes?? I feel like I’m cheating. The cheddar, gruyere, and parm blend is chef’s kiss.

3 days ago

Right?? I was expecting that weird metallic pressure cooker taste but there’s none of that, just rich, creamy diner-style mac. I’ve already made it three times this month!

2 days ago

I halved the recipe for just me and my partner and it worked perfectly! We had just enough for dinner plus a little leftover for lunch the next day. The cheese sauce didn’t break at all when we reheated it, which is always my problem with homemade mac.

1 day ago

Did you adjust the cook time when you halved it? I’m cooking for one and I don’t want to end up with mushy noodles!

20 hours ago

Great question! You don’t need to adjust the cook time at all when halving this recipe — just make sure you don’t fill your pressure cooker past the max fill line for pasta, and it’ll turn out perfect every time.

1 week ago

This is a great base recipe! I stirred in a couple tablespoons of buffalo sauce and a cup of shredded cooked chicken to make buffalo chicken mac and it was insane. My whole fantasy football league raved about it at our draft party.

5 days ago

Oh that sounds incredible! Did you add the buffalo sauce after cooking or before you sealed the pressure cooker? I don’t want it to curdle the cheese!

4 days ago

I stirred it in right after I released the pressure and mixed in the cheeses! No curdling at all, just the perfect tangy kick.

3 days ago

Wait, can I use pre-shredded cheese for this? I know it has that anti-caking coating, but I’m on a super tight grocery budget this week and pre-shredded is way cheaper than buying blocks.

2 days ago

I used pre-shredded a couple weeks ago when I was in a pinch and it still tasted great! The sauce was just a tiny bit less smooth than when I shred my own, but no one else in my house noticed a difference.

1 day ago

Pre-shredded cheese works totally fine here! If you want to cut down on that slightly grainy texture from the anti-caking coating, you can add a tiny pinch of cornstarch when you stir the cheese in at the end, but it’s totally optional.

yesterday

I made this for my grandkids when they were visiting over the weekend and they told me it was “better than the school lunch mac” which is the highest possible praise from an 8 and 10 year old. I added a little extra sharp cheddar because that’s what I had in the fridge.

8 hours ago

This is making me laugh, my kids said the EXACT same thing! They kept asking why I never made mac this good before, like I haven’t been making them boxed mac for years lmao

6 hours ago

We love that kid-approved seal of approval! Extra sharp cheddar is such a good swap, it adds such a nice deep cheese flavor — we’ll have to try that next time we make it ourselves!

2 weeks ago

Has anyone tried freezing this after cooking? I make a bunch of freezer meals ahead for when my husband is traveling for work and I don’t feel like cooking after getting the kids to bed, and I’m wondering if this holds up.

1 week ago

I froze a couple portions last month and they reheated really well! I let it thaw in the fridge overnight then heated it up in the microwave with a splash of milk, and the sauce got creamy again no problem.

6 days ago

Great tip from Mike! This freezes really well for up to 3 months — just make sure you store it in an airtight container, and add a tablespoon of milk per portion when you reheat to bring the sauce back to its original creamy texture.



