
Pressure Fried Chicken
intro
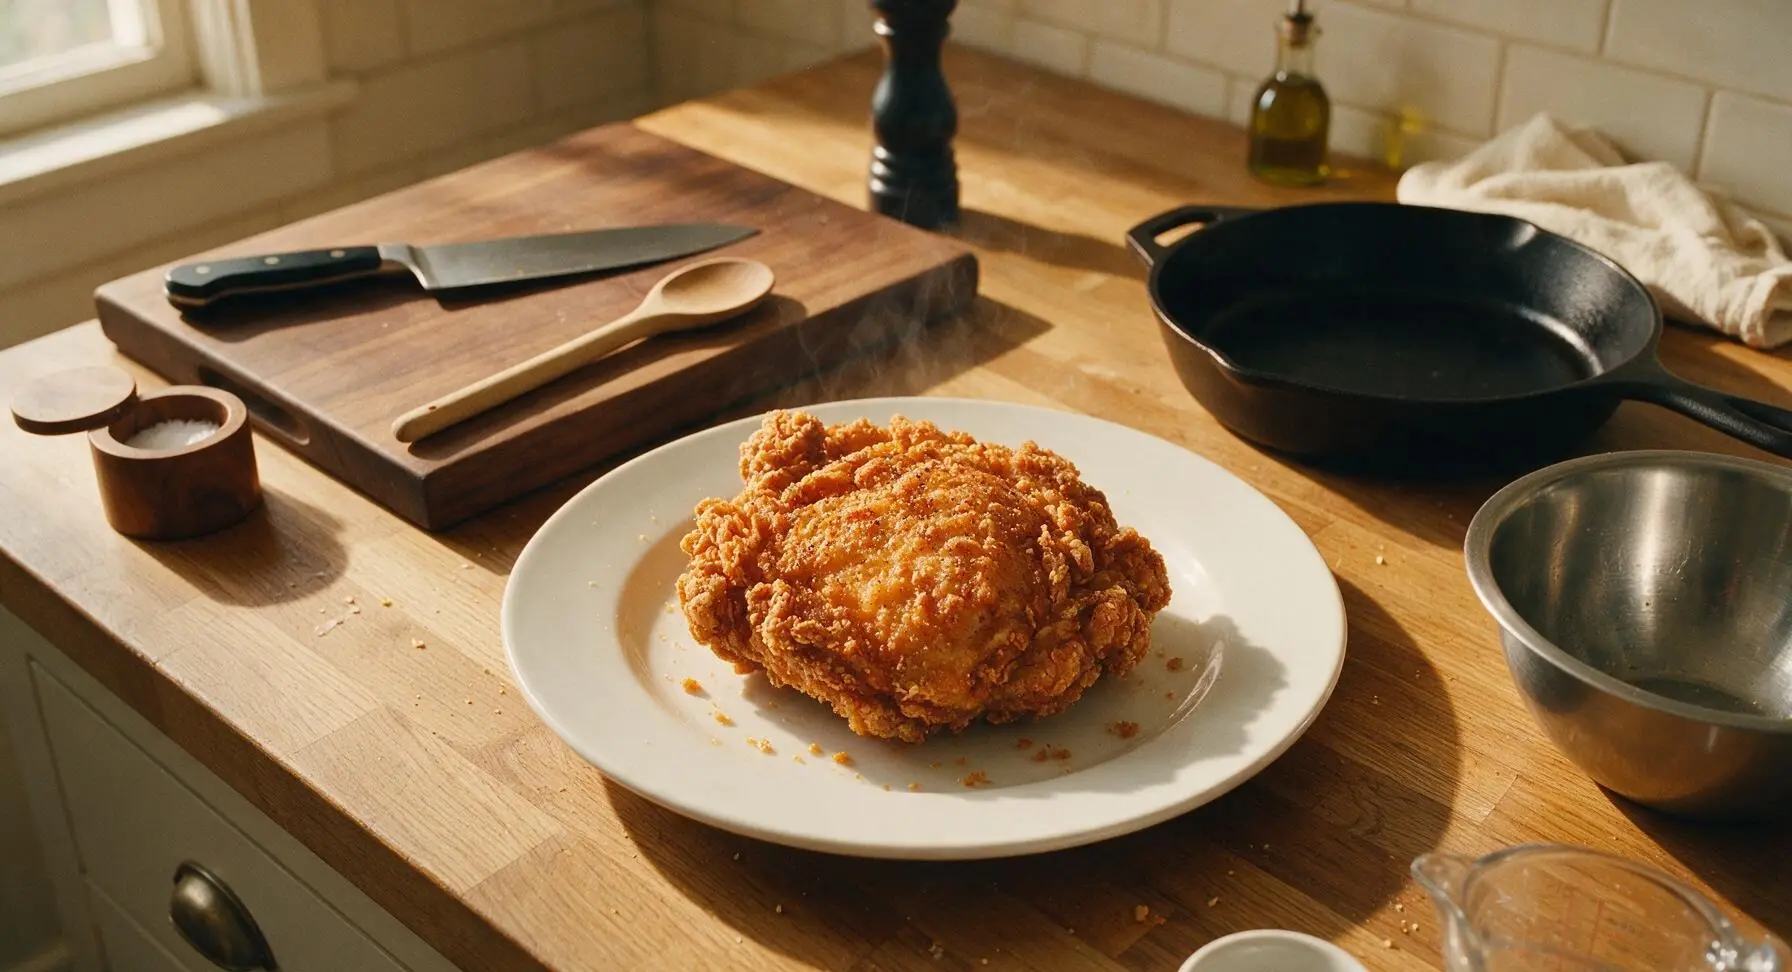
Shatteringly crisp golden crust locks in impossibly juicy, well-seasoned chicken, cooked faster than open frying with less grease for iconic Southern comfort.
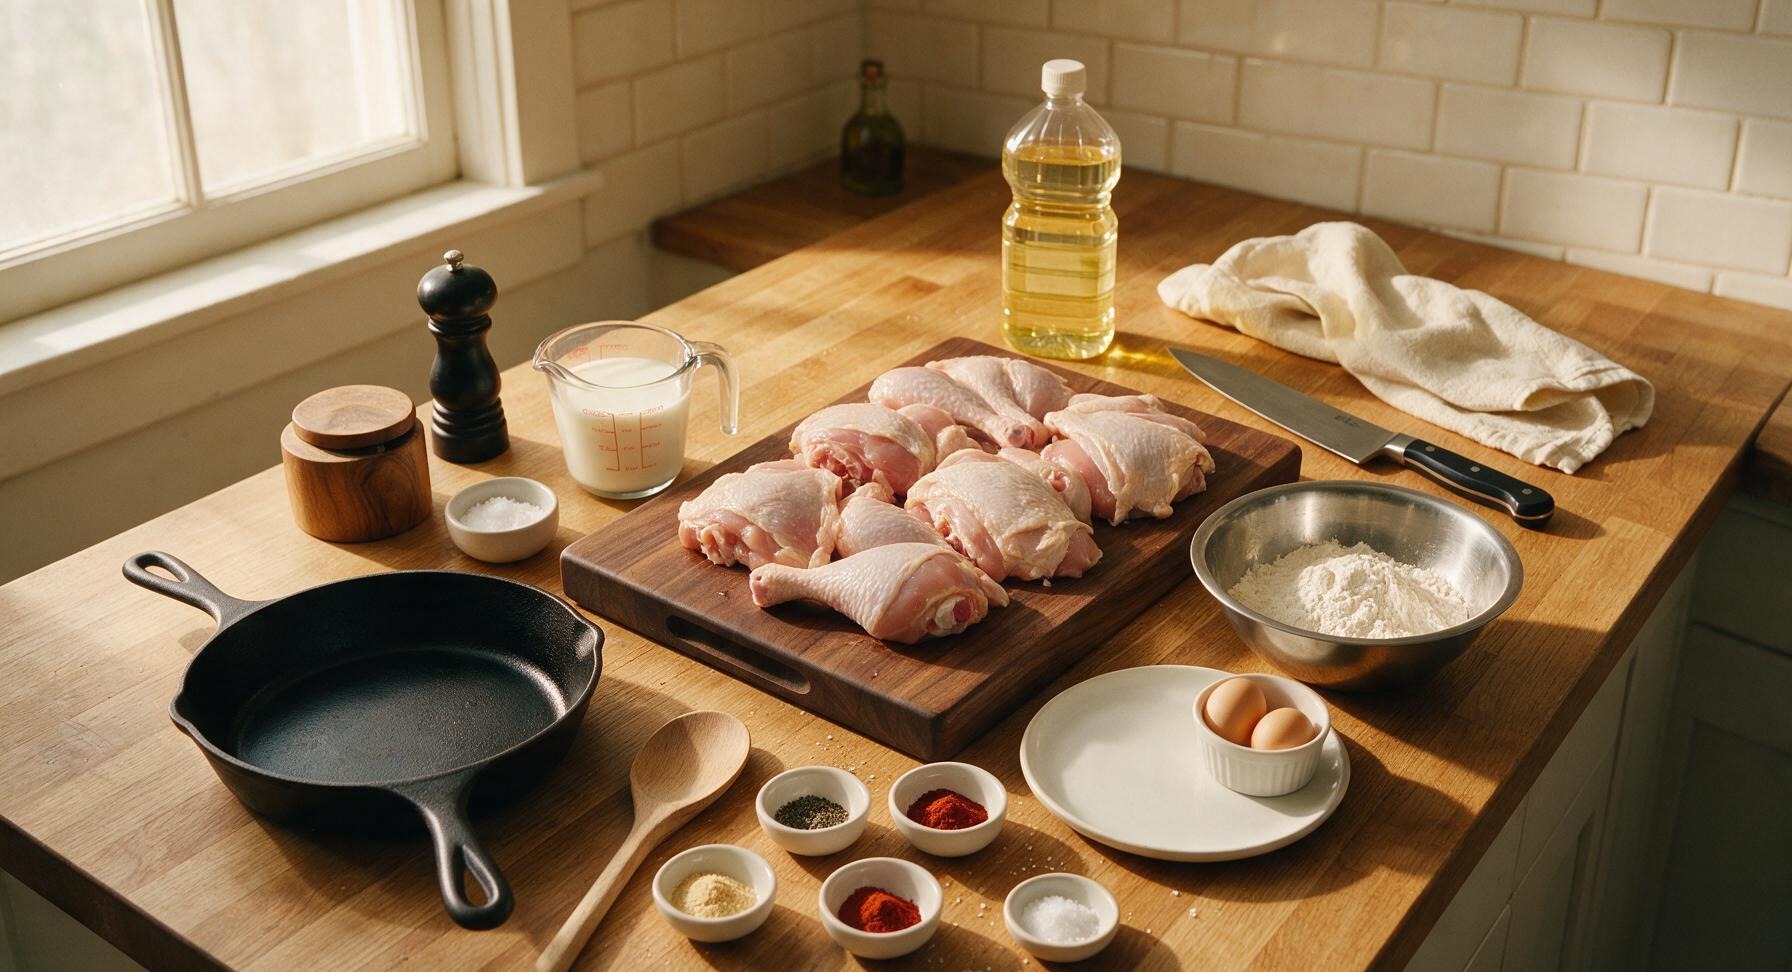
Ingredients
Steps
Prep and Brine Chicken
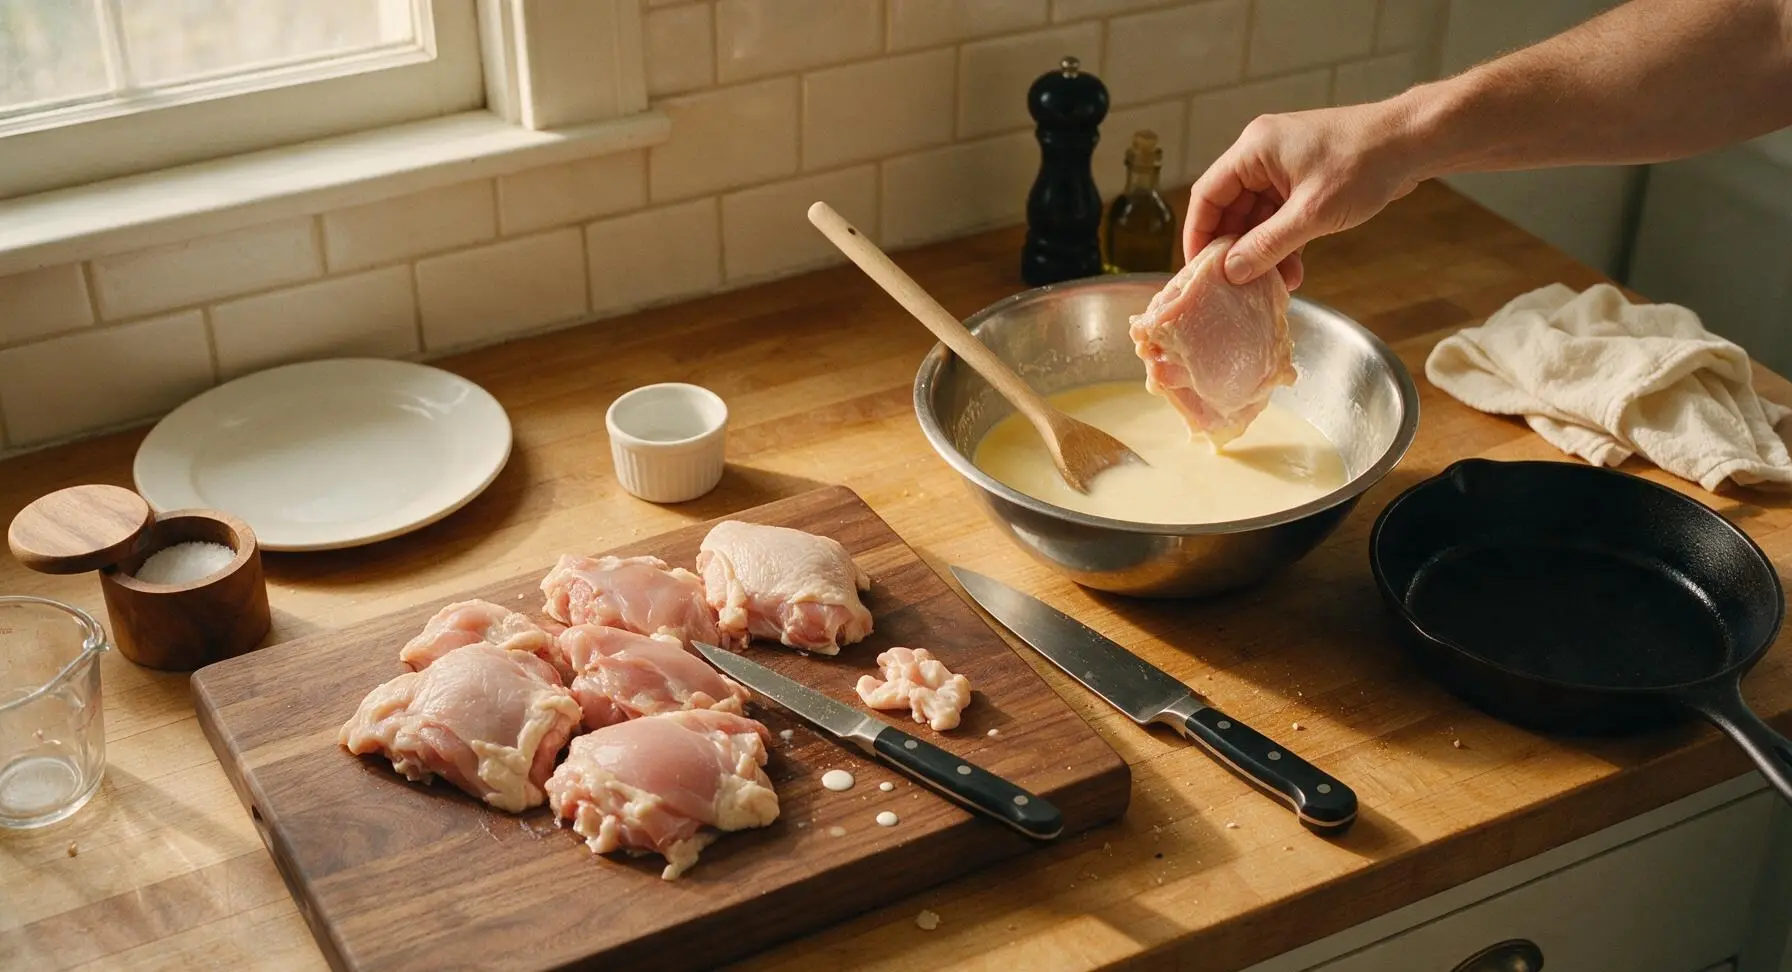
Place chicken pieces on the light maple cutting board. Use the walnut-handled 6-inch boning knife to trim any excess loose skin or thick fat deposits from pieces, leaving intact skin covering all meat. In the large stainless steel mixing bowl, whisk 1 tablespoon of kosher salt and 2 large eggs into the buttermilk until fully smooth and combined. Add chicken pieces, pressing to fully submerge, then let rest 15 minutes at room temperature for quick brining.
Mix Dredge Coating
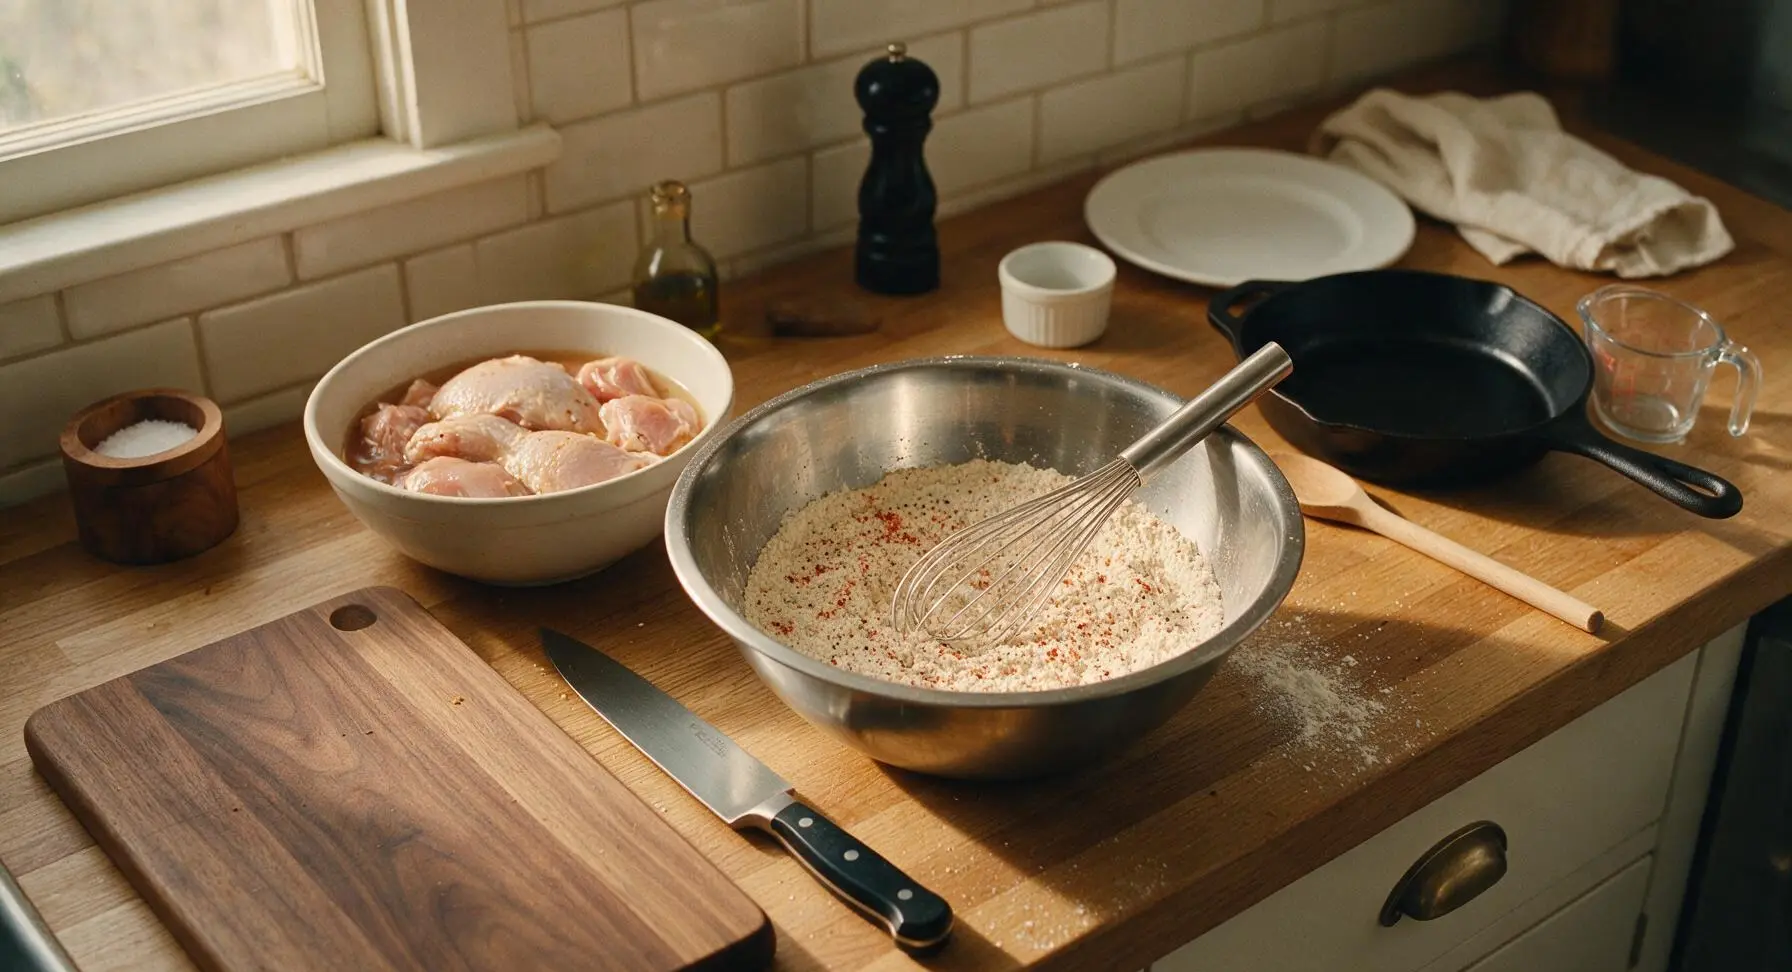
In the medium stainless steel mixing bowl, combine all-purpose flour, remaining 1 teaspoon kosher salt, black pepper, garlic powder, smoked paprika, and cayenne pepper. Use the stainless steel wire whisk to stir the mixture for 30 seconds until spices are evenly distributed throughout the flour, with no concentrated clumps of spice remaining.
Heat Oil in Cooker
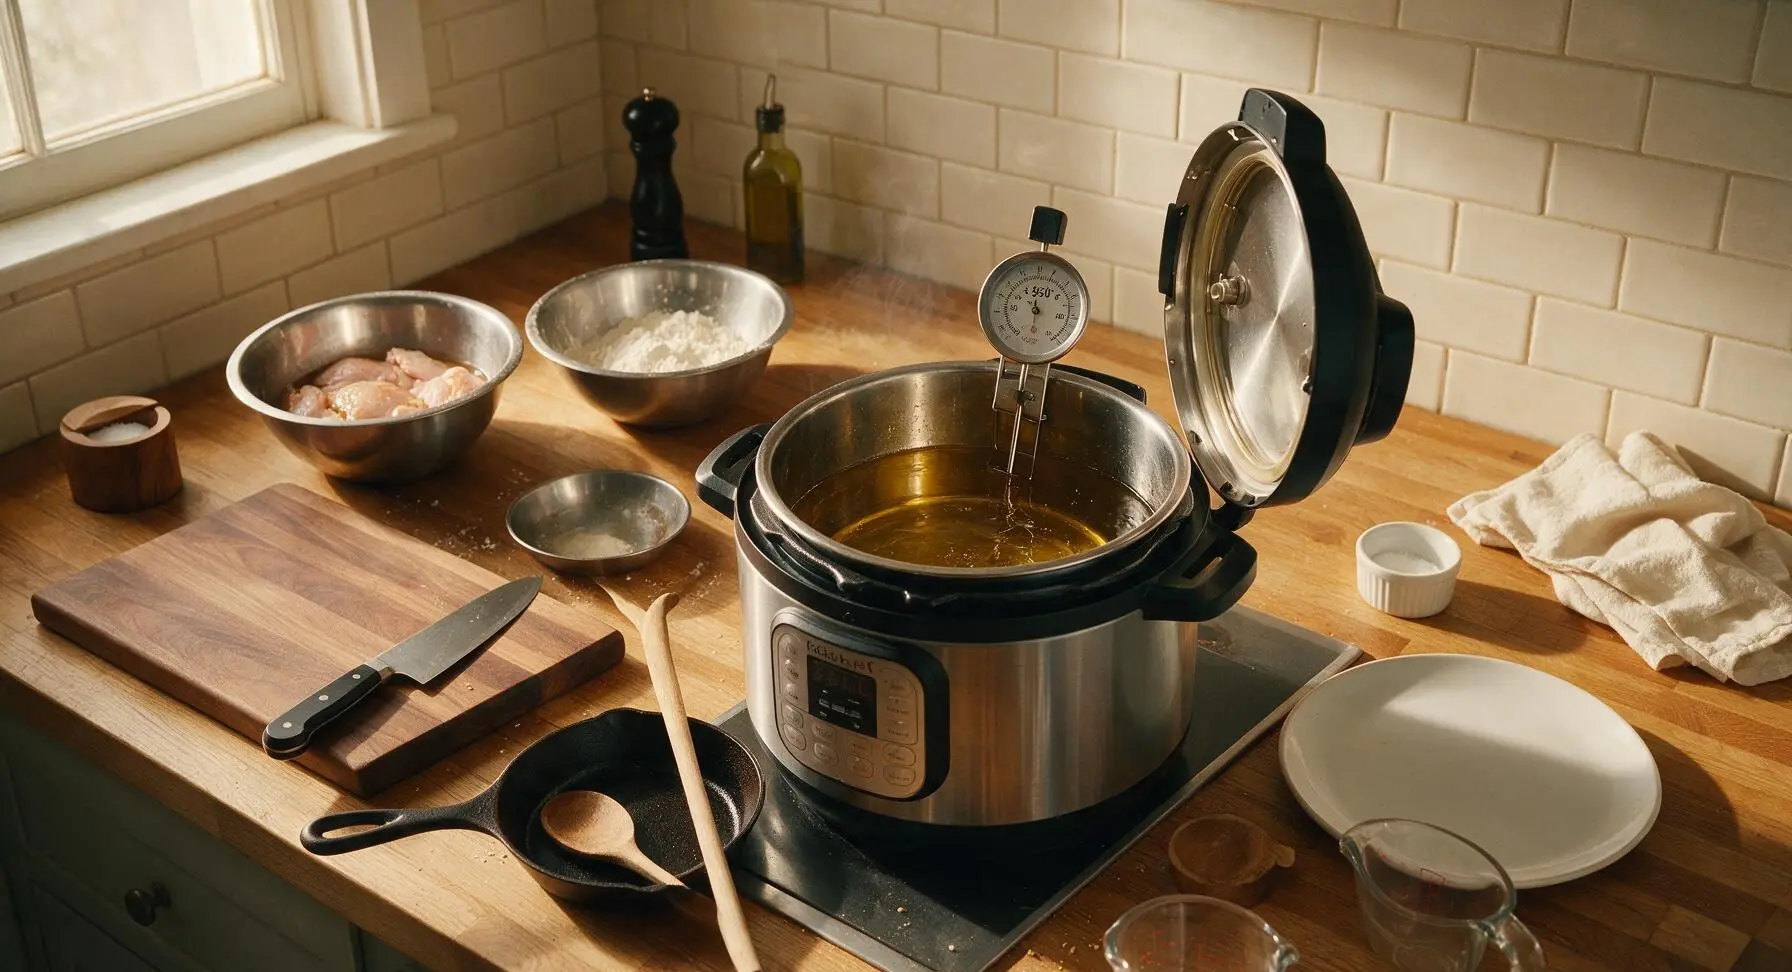
Pour canola oil into the 6-quart stovetop pressure cooker, confirming oil fills no more than 1/3 of the pot’s total volume (a critical safety rule for pressure frying). Attach the clip-on candy thermometer to the pot edge, then heat oil over medium heat until it reaches a steady 350°F (175°C). Do NOT attach the pressure lid during preheating.
Dredge Chicken Pieces
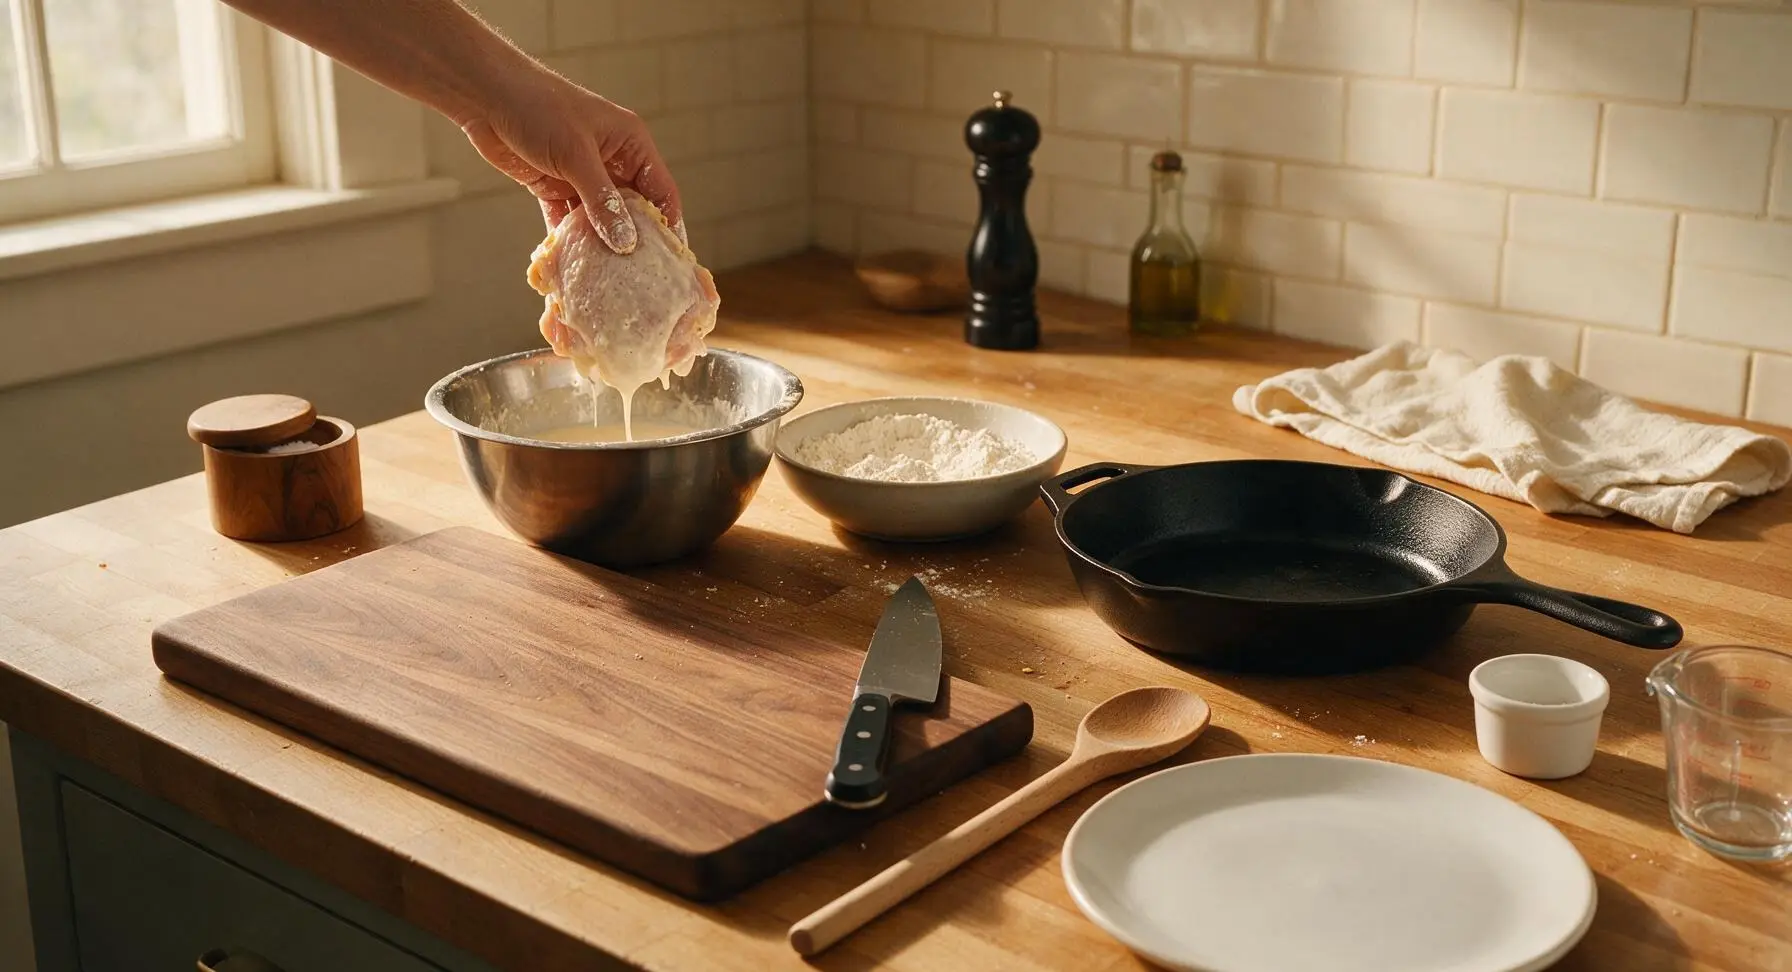
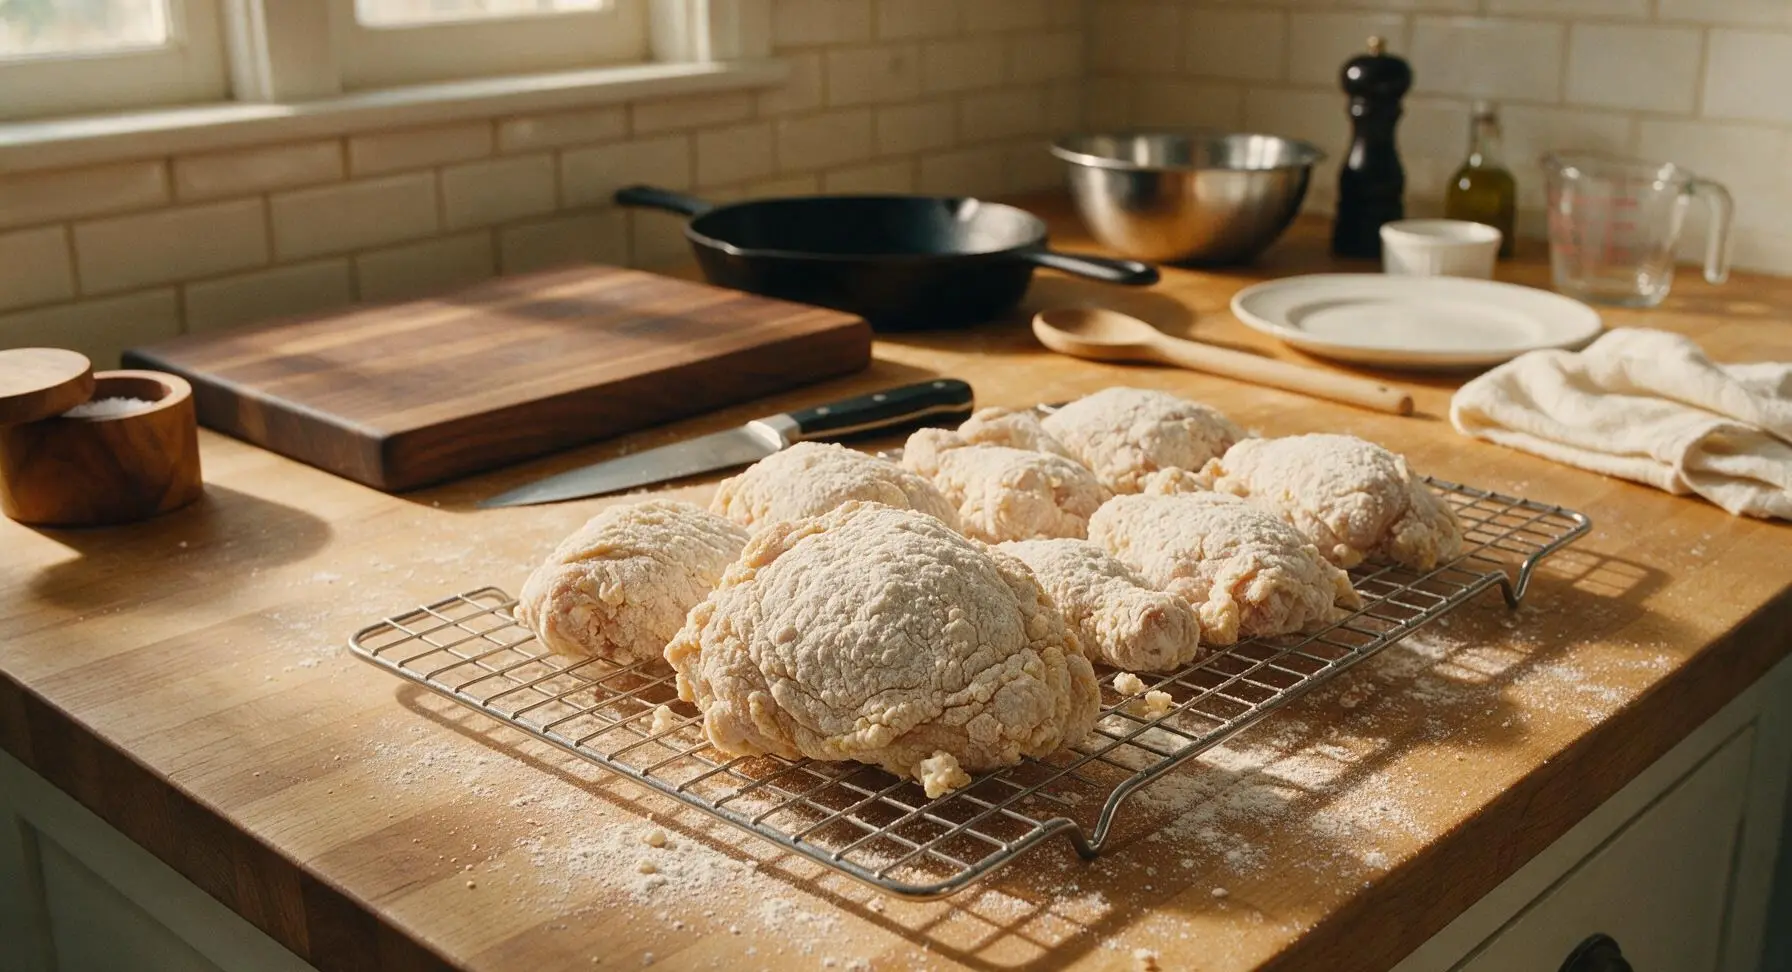
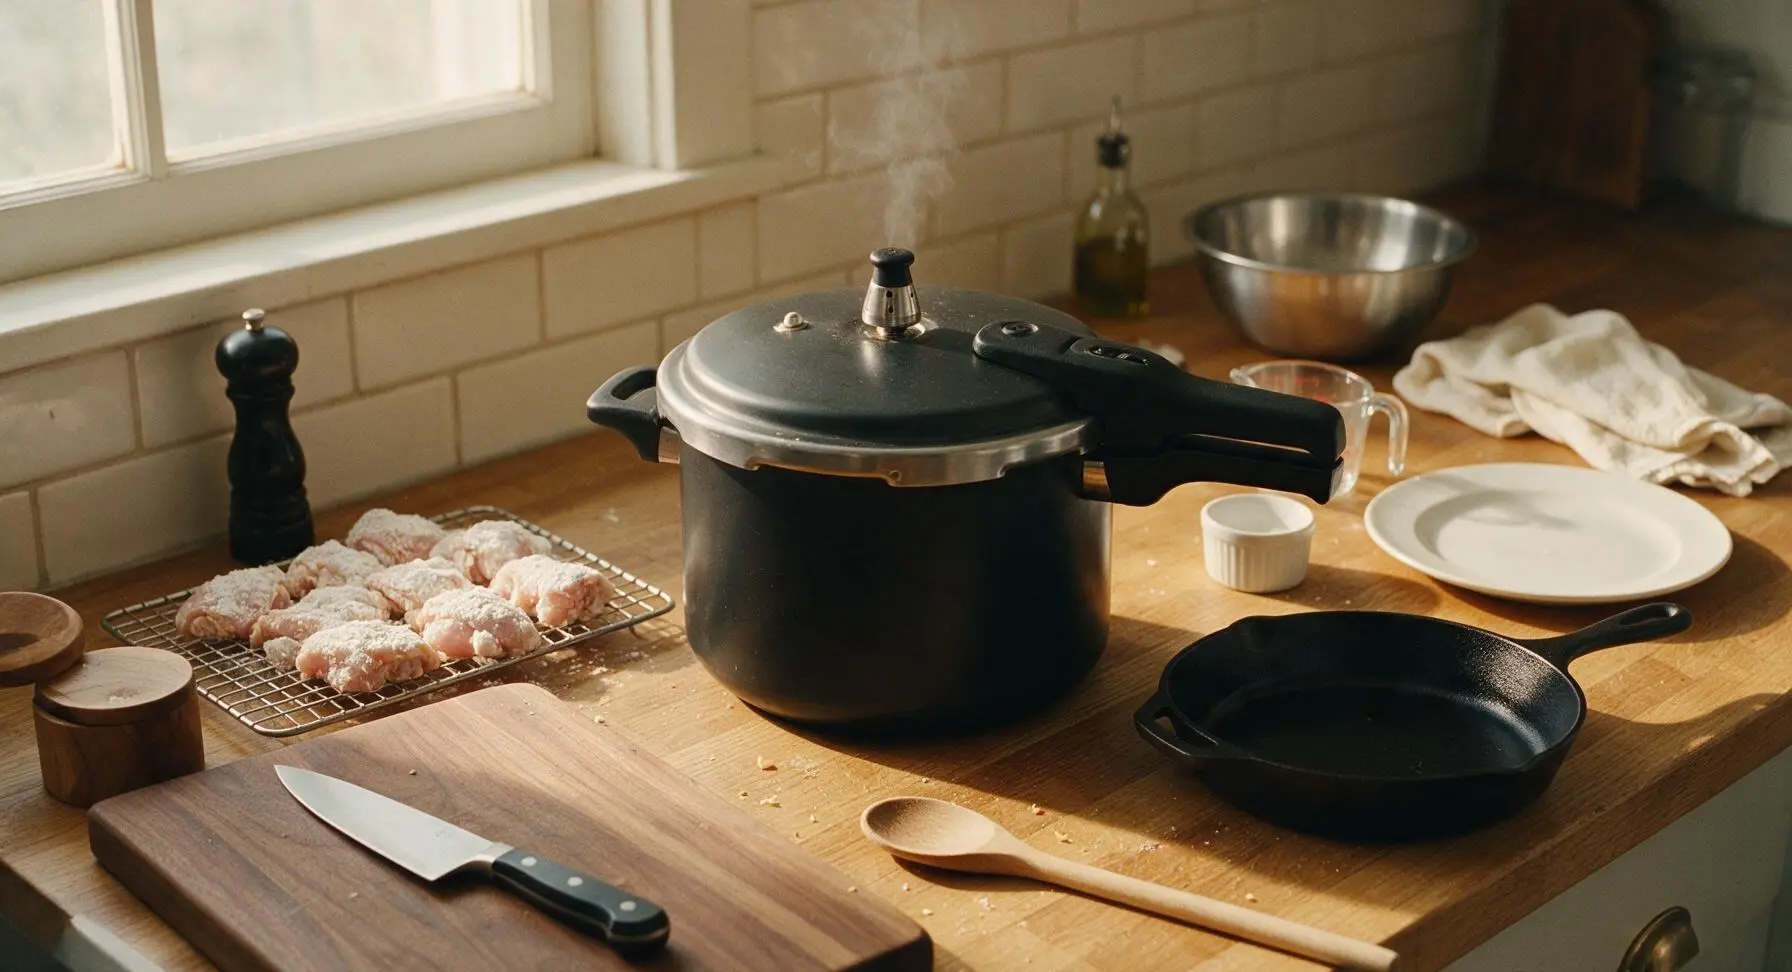
Working one piece at a time, lift chicken from the buttermilk brine, letting excess buttermilk drip off for 3 seconds. Dredge fully in the seasoned flour, pressing firmly so flour adheres to every skin crevice, then set pieces on the chrome wire cooling rack for 5 minutes to let the coating set, which prevents crust from slipping during frying.
Pressure Fry Chicken
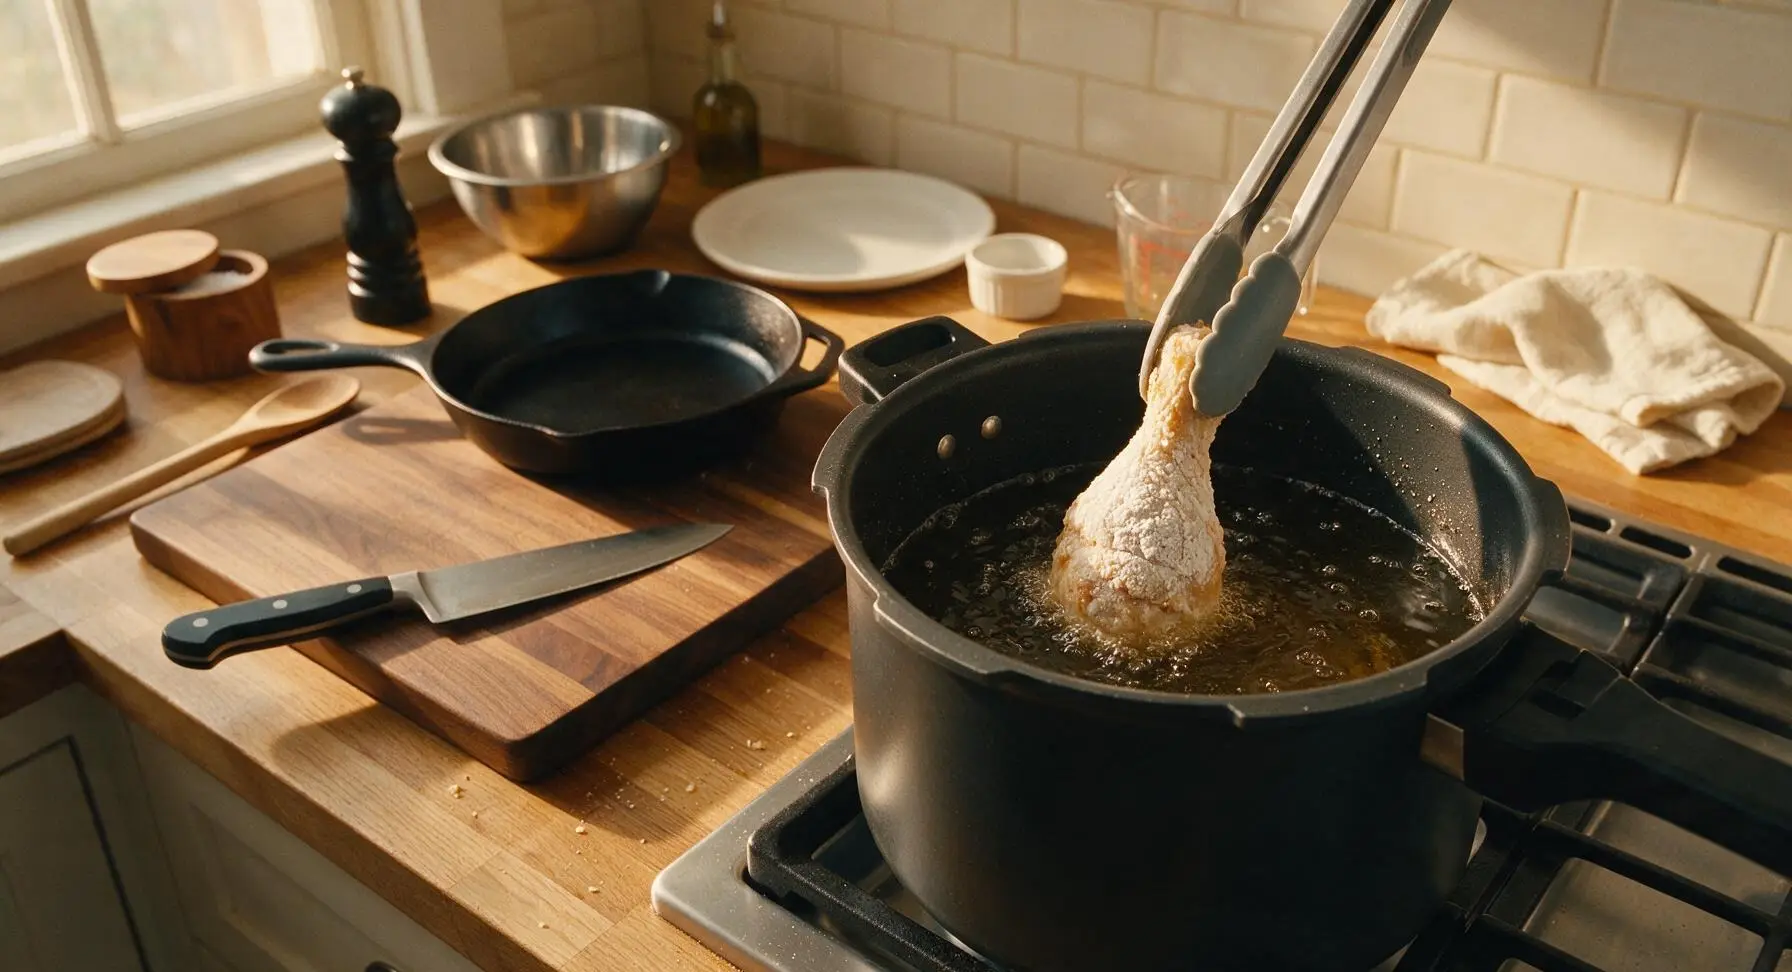
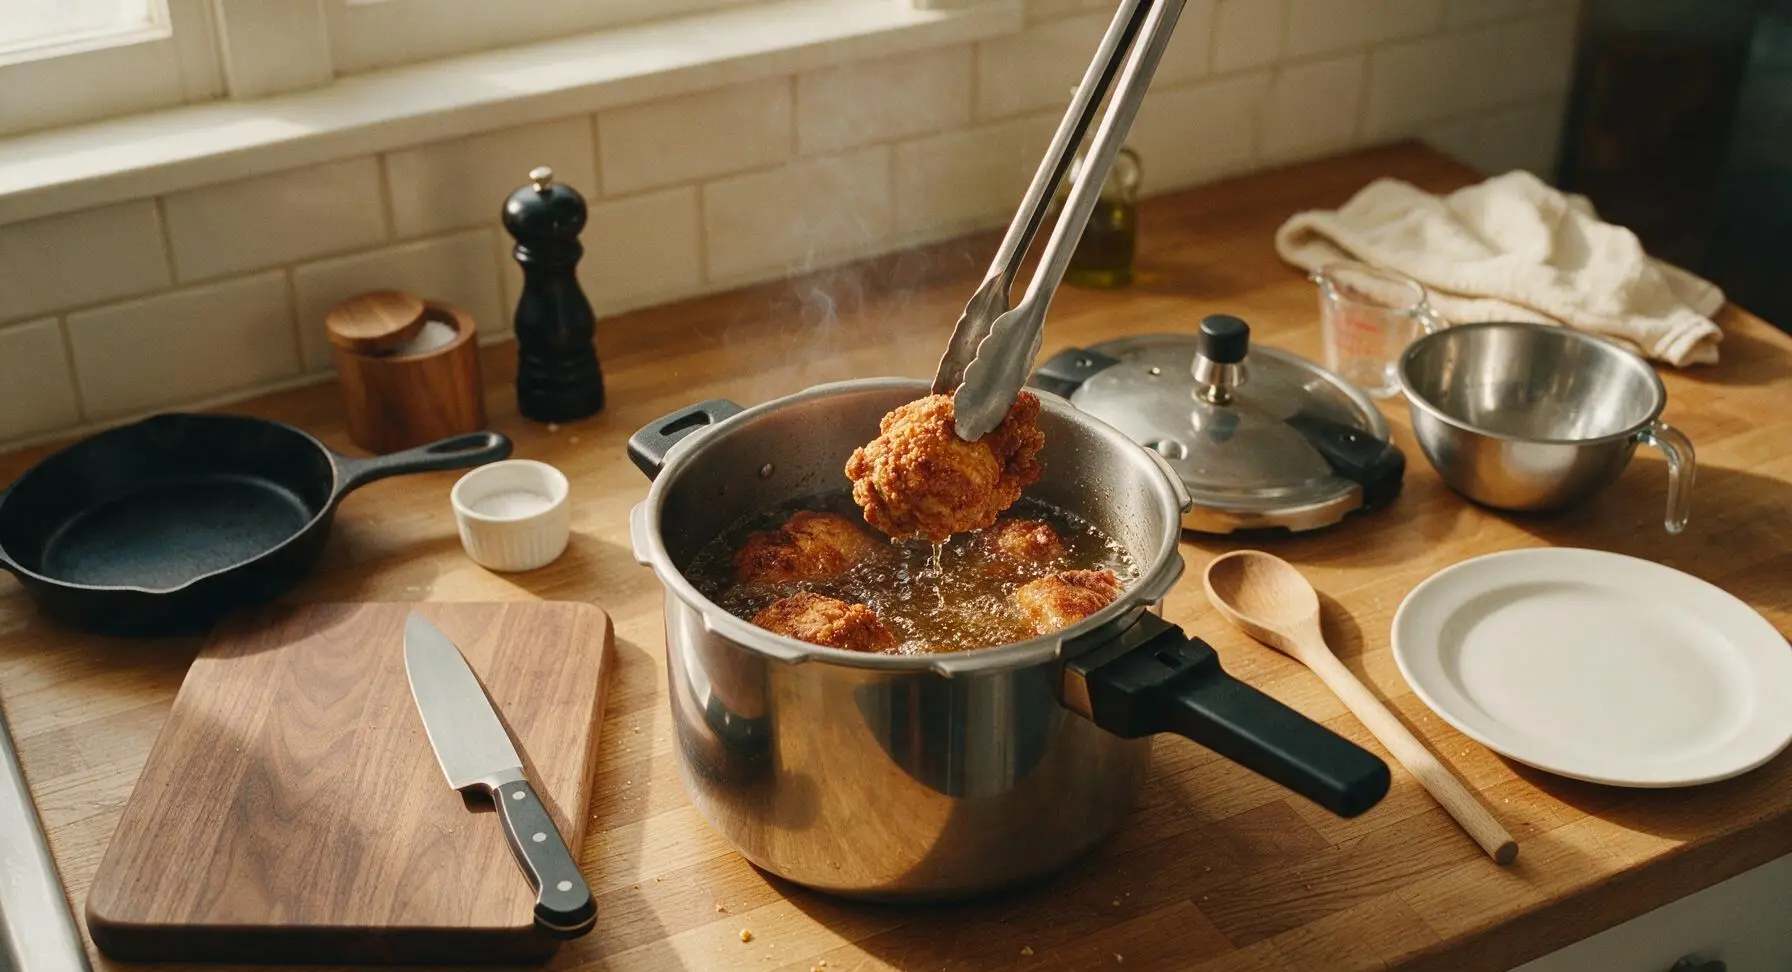
Use the silicone-tipped stainless steel tongs to carefully lower 3 chicken pieces into the preheated 350°F oil, taking care not to splash hot oil; do not overcrowd the pot. Lock the pressure cooker lid securely in place, confirming the pressure release valve is set to the sealed position. Cook over medium heat for exactly 8 minutes, maintaining steady pressure per your cooker’s gauge, adjusting heat as needed to keep oil temperature between 340-360°F. After safely releasing pressure and removing the first batch of cooked chicken, repeat the frying process for the remaining 3 pieces, bringing oil back to 350°F before sealing the lid.
Release Pressure Safely
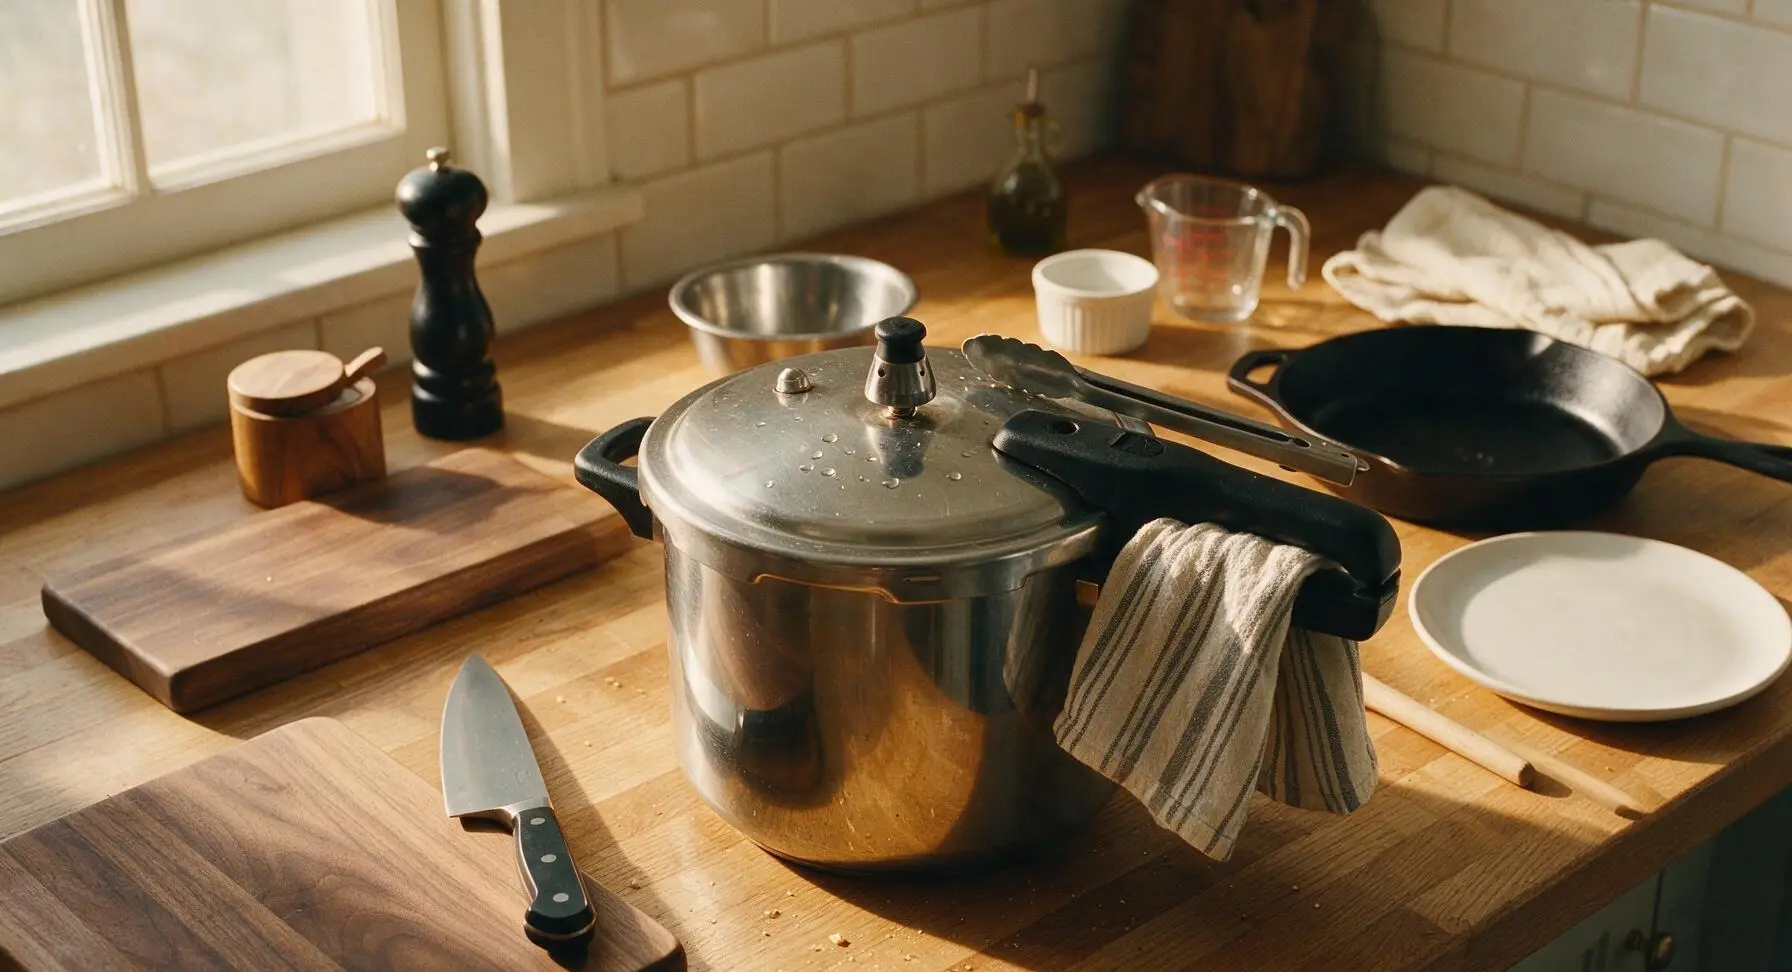
After 8 minutes of cooking per batch, turn off the heat. To safely release pressure without oil spray, use oven mitts to move the pot to the sink and run cool tap water over the upper edge of the lid (never let water enter the pressure valve) until the pressure indicator drops fully, signaling all internal pressure is released. Never attempt to force the lid open while pressure remains.
Check Doneness, Drain
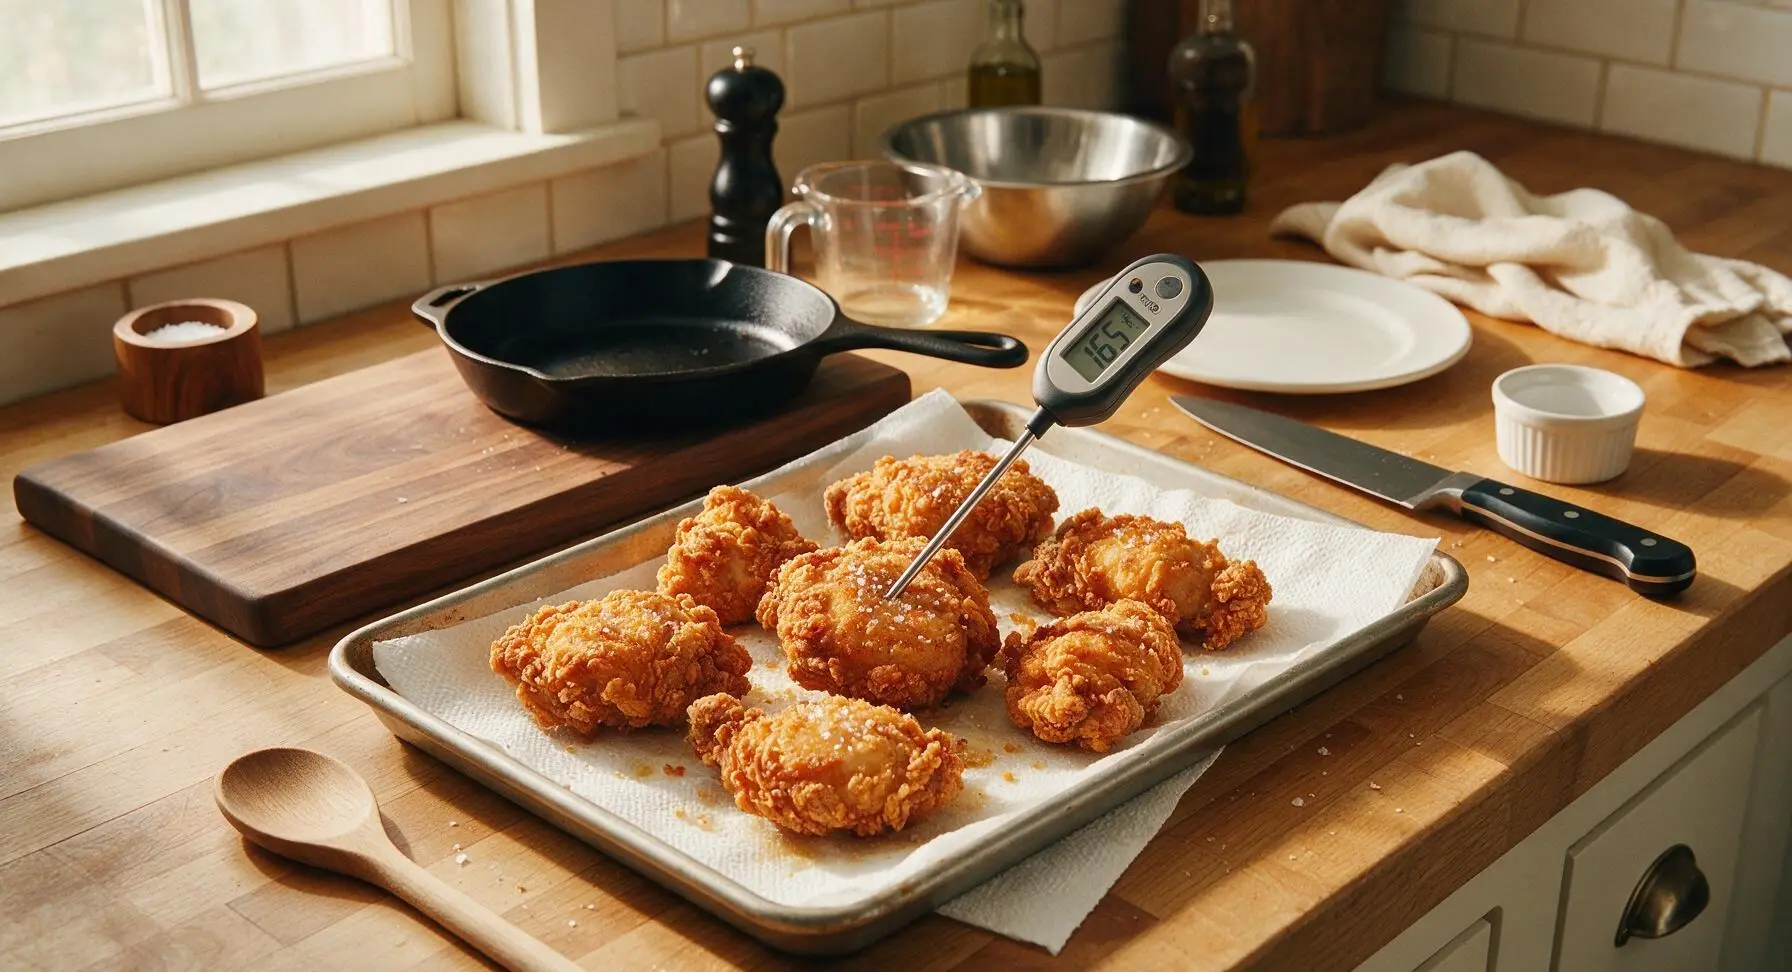
Carefully unlock and remove the pressure cooker lid, tilting it away from your face to avoid escaping steam. Use tongs to lift chicken pieces from the oil, letting excess oil drain back into the pot for 5 seconds per piece. Transfer chicken to the paper towel-lined aluminum baking sheet, then insert the digital instant-read thermometer into the thickest part of each piece (avoiding bone) to confirm an internal temperature of 165°F (74°C). Sprinkle lightly with flaky sea salt immediately while hot.
Rest and Plate Chicken
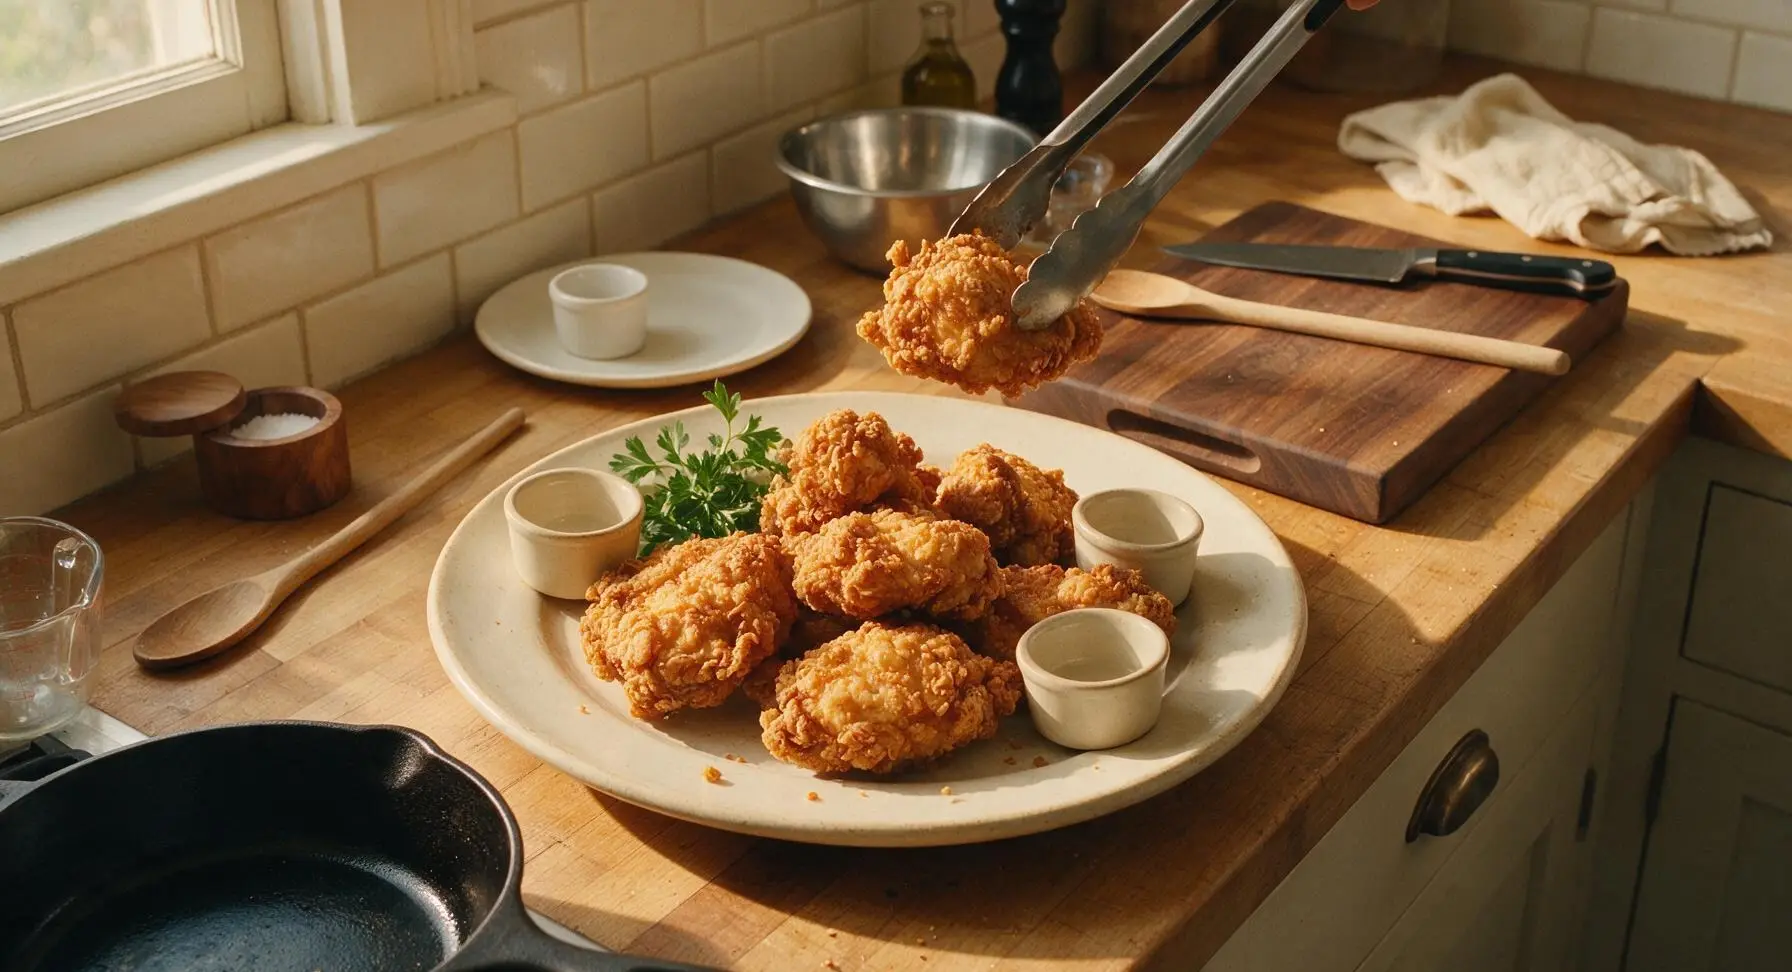
Let chicken rest on the lined baking sheet for 3 minutes to let excess oil drain and the crust set fully. Transfer pieces to the large cream stoneware platter, tuck a sprig of fresh parsley between pieces for garnish, and serve hot with dipping sauces, pickles, and favorite summer sides.
Tips
2.Let floured chicken rest 5 minutes before frying: This short rest allows the flour to absorb moisture from the buttermilk and egg mixture, creating a thick, craggy, adherent crust that won’t slide off during cooking, rather than a thin, flaking coating that separates from the skin.
3.Avoid using the stovetop pressure quick-release valve for fried chicken: Releasing pressure through the top valve can spray hot oil out of the vent, creating a burn risk. The cool water pressure release method is the fastest, safest way to bring pressure down between batches.
4.Fry in small batches: Overcrowding the pot drops oil temperature rapidly, leading to soggy, grease-soaked crust rather than crisp, light coating. Cooking 3 pieces per batch in a 6-quart cooker maintains consistent oil temperature for even cooking.






Made this on my last car camping trip using my portable pressure cooker over the camp stove, and holy cow it worked like a charm. We had crispy fried chicken at the campsite instead of the usual sad hot dogs, and my hiking buddies lost their minds. The recipe is so straightforward even when you’re cooking off-grid with limited supplies. 10/10, will be a staple on all my future trips.
I really wanted to love this but I had a total disaster. I followed the directions exactly (I thought!) but when I went to pull the chicken out, the crust was burnt on the bottom and the chicken was still raw near the bone. I think my pressure cooker runs hotter than most? Total bummer because I wasted a whole pack of chicken and half a bottle of oil trying this for my date night in.
If you’re a heat fan like me, add an extra teaspoon of cayenne and a pinch of smoked paprika to the flour mix! I did that last night and it paired so well with collard greens and mac and cheese for dinner. The pressure cooker method is way less messy than deep frying on the stovetop too, I barely had any oil splatters all over my stove for once. Game. Changer.
OMG y’all, this pressure fried chicken is a total game changer! I was so skeptical about frying chicken in my pressure cooker because I thought it’d come out soggy, but that crust was CRUNCHY just like the cast iron fried chicken my grandma used to make. 20 minute cook time? Are you kidding? I got this on the table for Sunday family dinner in no time, and my kids practically fought over the last drumstick. Already planning to make a double batch for our neighborhood potluck next weekend!
Made this last night for my roommate’s birthday and he swears it’s better than the fried chicken from that famous spot we wait 2 hours in line for in Harlem. I didn’t have buttermilk so I used regular whole milk mixed with a tablespoon of vinegar as a substitute, and it still turned out juicy as hell. Crispy outside, tender inside, no dry breast meat at all. Will be making this every other week for sure.
I was so excited to try this since I’ve been missing good southern fried chicken since going gluten free. I swapped the all purpose flour for a 1:1 gluten free flour blend, and while the chicken was super juicy, the crust didn’t get as crispy as I hoped, it was a little gummy. Wondering if I needed to add a little more cornstarch to the blend? Also, for a medium difficulty recipe, I wish there were more notes about how much oil to actually add to the pressure cooker because I definitely overfilled it the first go round.
This came out really tasty! The crust seasoning is spot on, perfect amount of paprika and garlic powder. I knocked off one star because it took me a couple trial runs to get the oil temperature right so the crust didn’t slide off—definitely a medium difficulty like the recipe says, not for total newbies. Once I nailed that temp though? SO good. I prepped a big batch on Sunday and it reheated beautifully in the air fryer for quick lunches all week.
Brought this to our church potluck last Sunday and people were swarming the platter before I even set it down! Multiple people asked for the recipe, one lady said it was the best fried chicken she’d had since she was a kid visiting her grandparents in Alabama. I used a mix of drumsticks and thighs because they’re always the crowd favorites, and the seasoning had just the right little kick of cayenne without being too spicy for the kids.