Quarter Rack of Ribs

Quarter Rack of Ribs
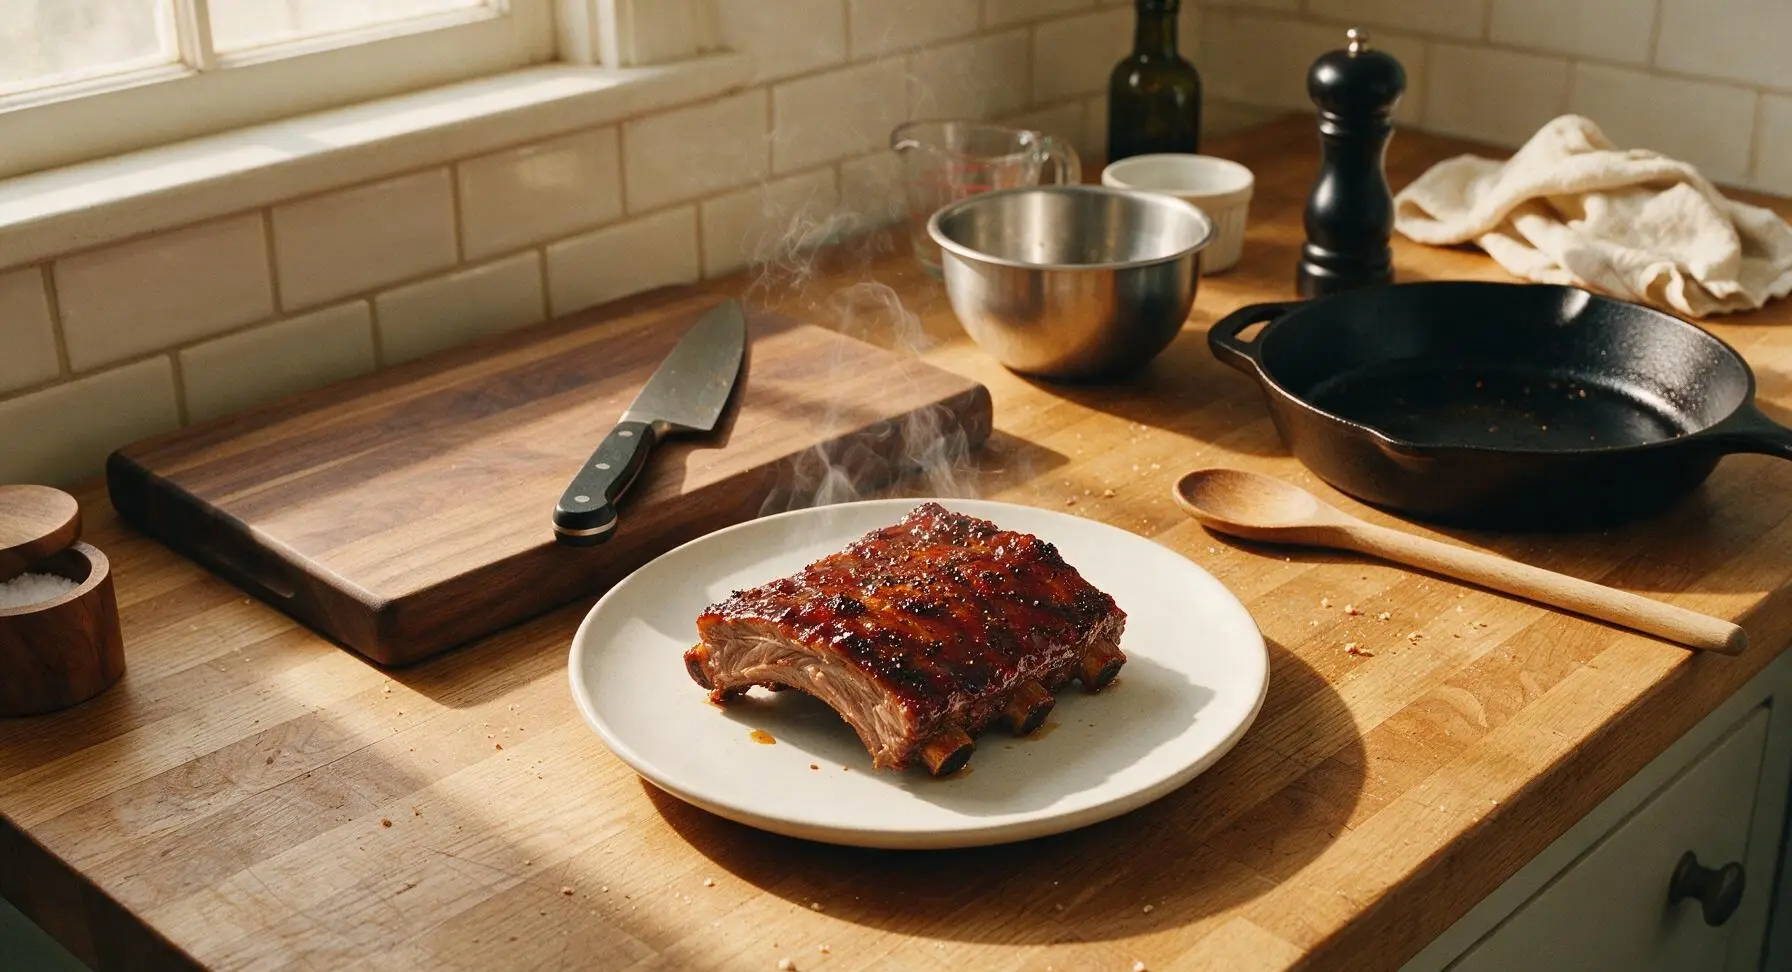
⏱️ cook time 2 hours 25 minutes
🍽️ servings 2
⚡ Difficulty medium

intro

Tender, fall-off-the-bone quarter rack of pork ribs with a smoky dry rub and sticky caramelized BBQ glaze, a classic summer cookout staple packed with deep, savory-sweet flavor.

Ingredients
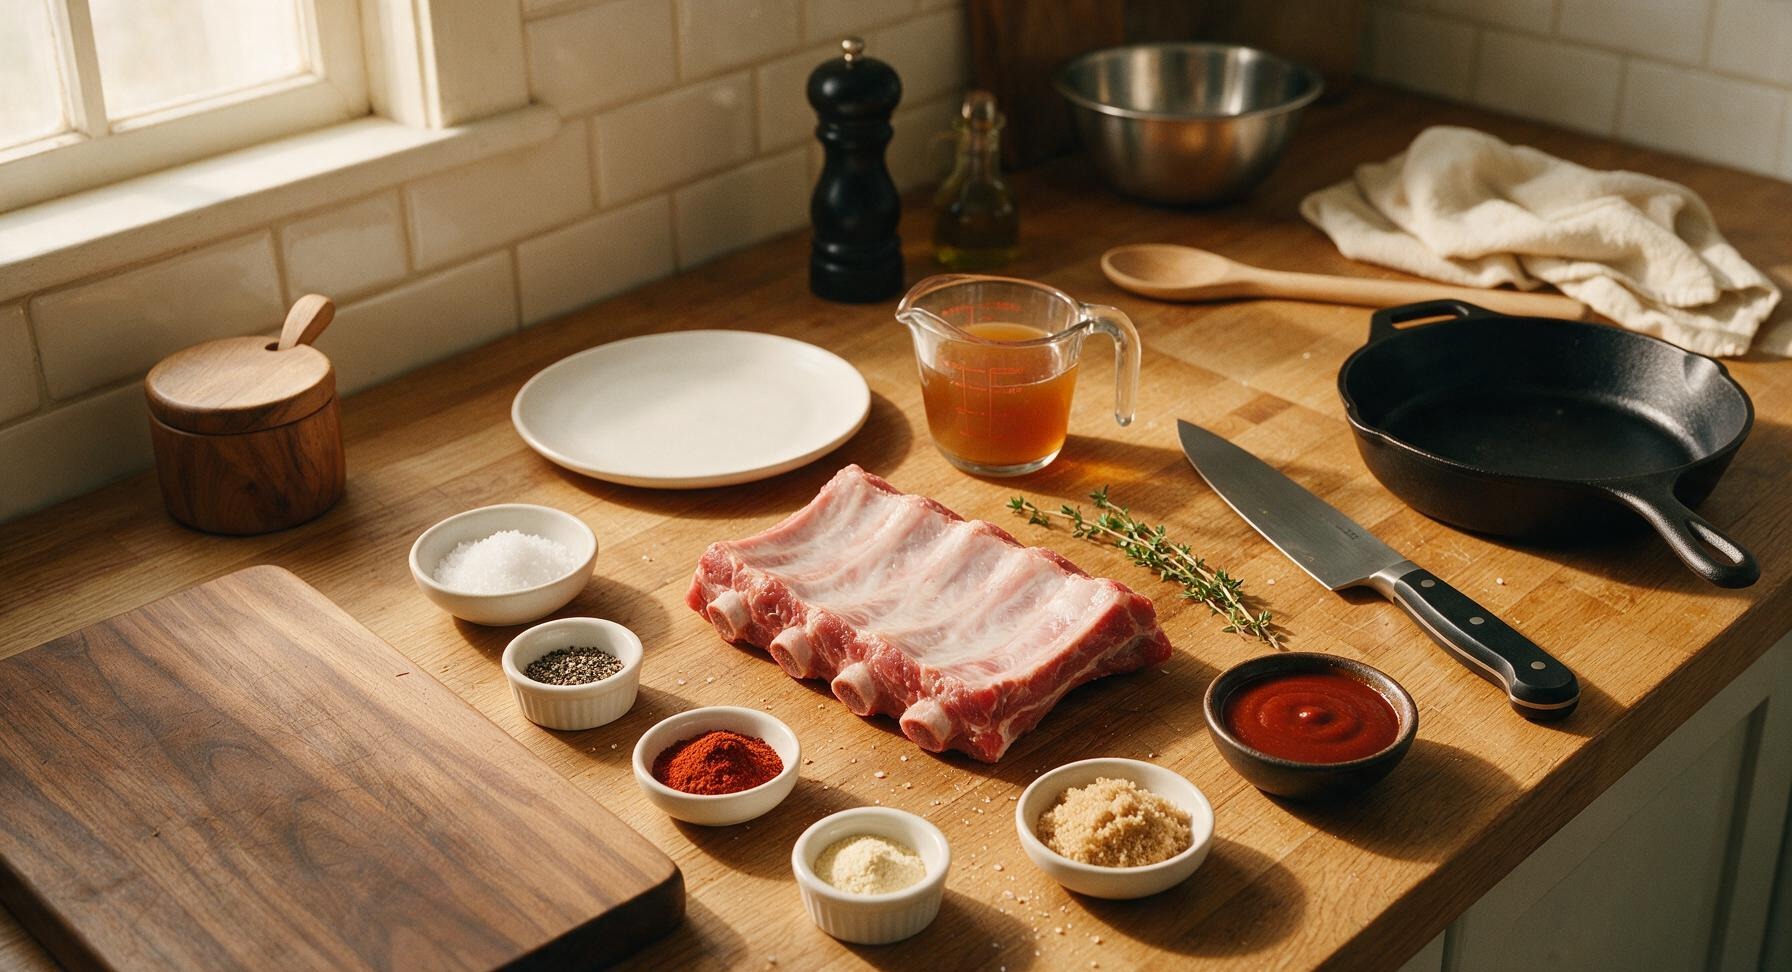
Pork spare ribs (quarter rack, St. Louis cut, 3-4 bones) 450g
Kosher salt 1 tbsp
Freshly cracked black pepper 1 tsp
Smoked paprika 1 tbsp
Garlic powder 1 tsp
Light brown sugar 1 tbsp
Apple cider vinegar 2 tbsp
Tomato-based tangy BBQ sauce 120ml
Fresh thyme sprigs 2 sprigs

Steps

1

Prep and Trim Ribs

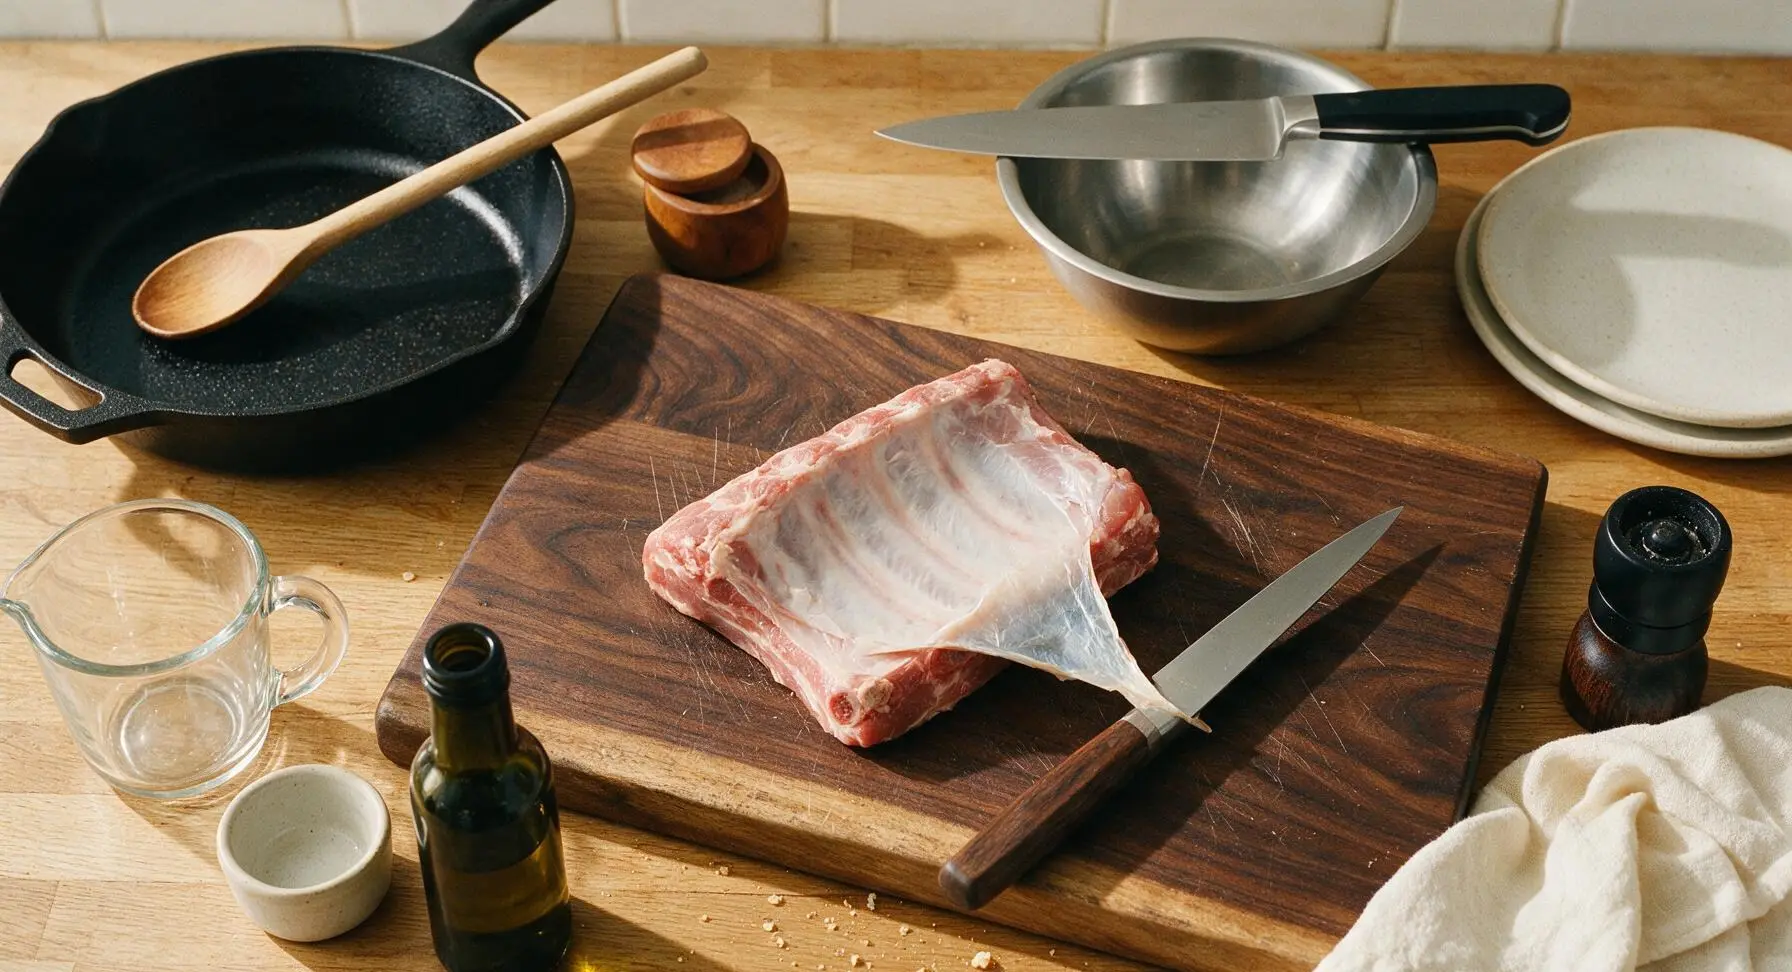
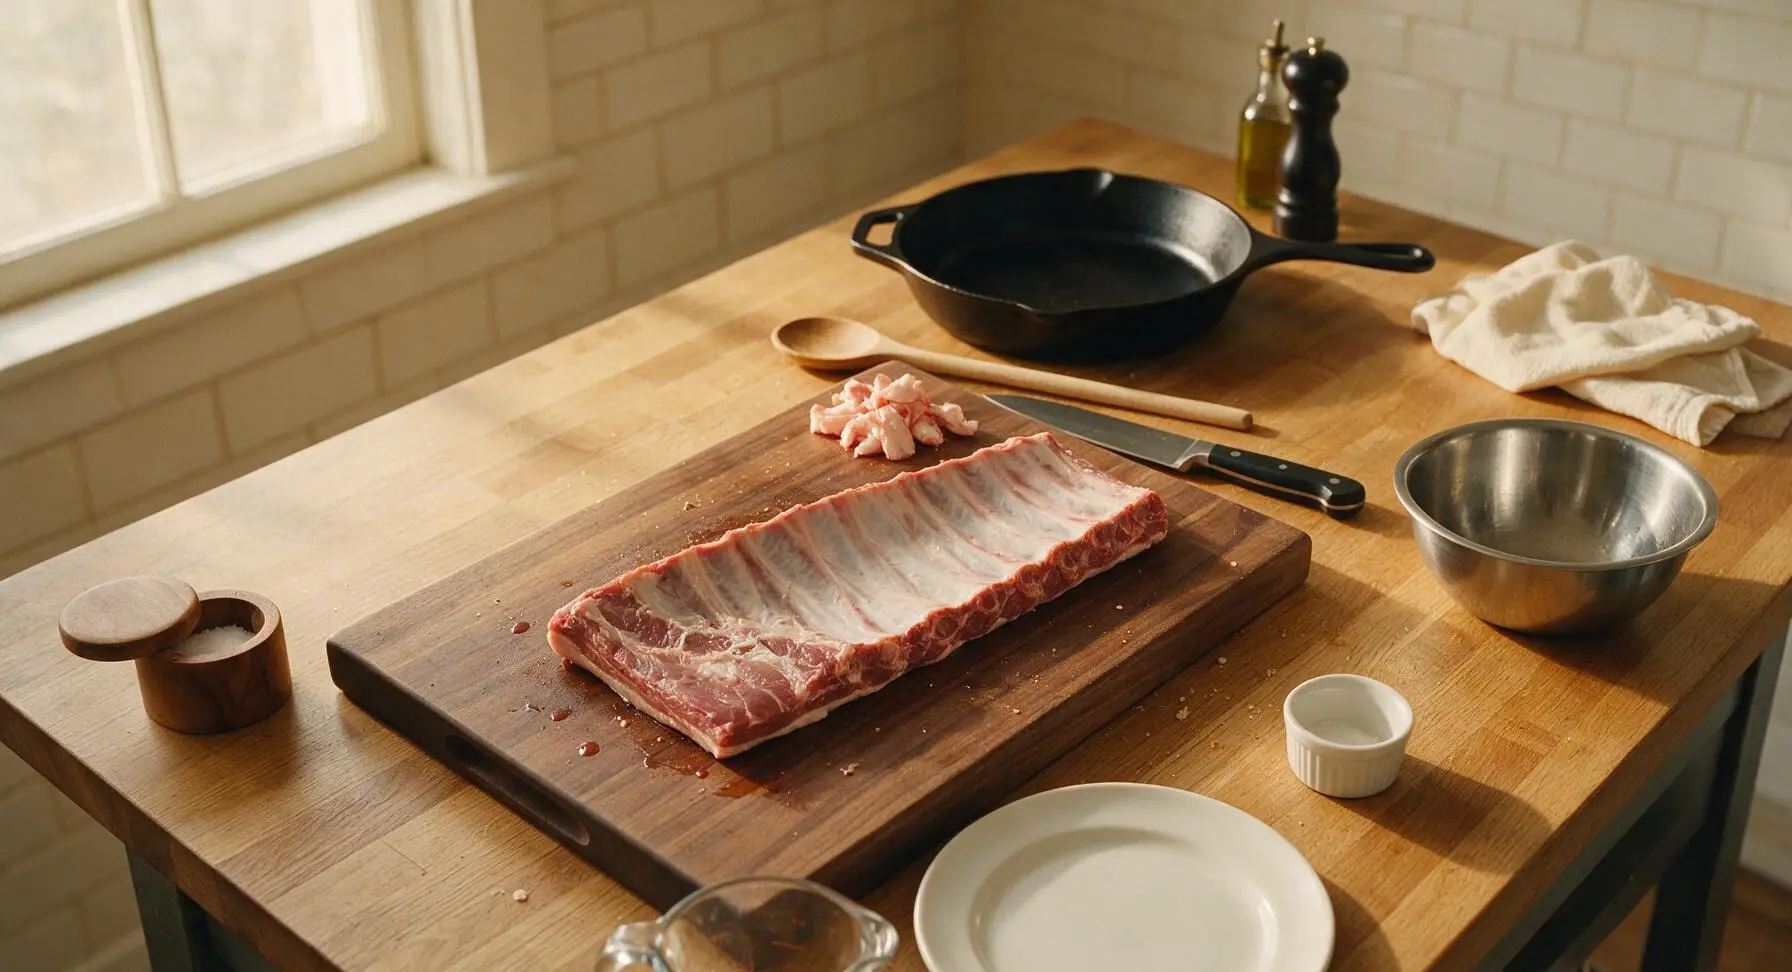
Remove the quarter rack of ribs from packaging, pat completely dry with paper towels (use the indigo kitchen towel for quick dabs if needed). Place the ribs bone-side up on the maple cutting board. Use the 6-inch walnut-handled boning knife to slip the tip under the tough silvery membrane covering the bone side, grip the loose edge with a paper towel for traction, and peel the membrane away in one full sheet. Trim any thick, hard fat deposits from the meat surface, leaving a thin 1/8-inch fat cap to keep meat moist during cooking.
Step 1
step1:Prep and Trim Ribs
Step 1
step1:Prep and Trim Ribs
2

Mix Dry Rub

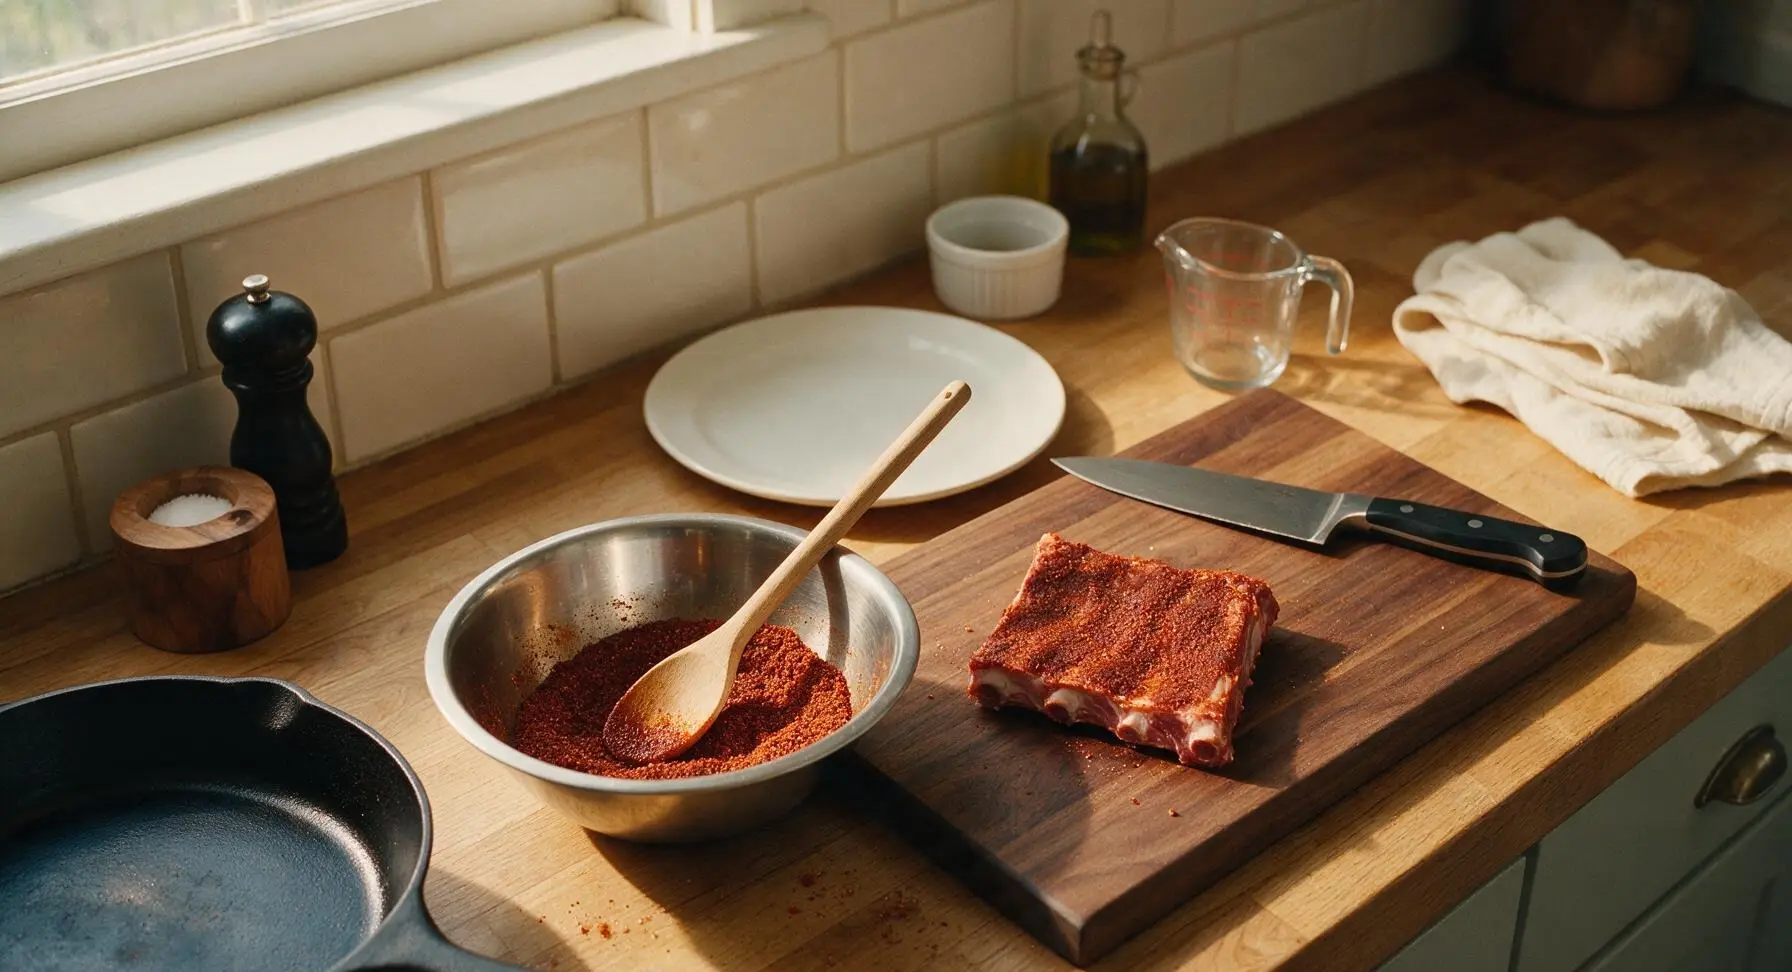
Add 1 tablespoon kosher salt, 1 teaspoon cracked black pepper, 1 tablespoon smoked paprika, 1 teaspoon garlic powder, and 1 tablespoon light brown sugar to the medium stainless steel mixing bowl. Use the small beech wood spoon to stir the ingredients together, pressing out any clumps of brown sugar against the bowl side, until the rub is a uniform deep reddish-brown with no streaks of separate spices.
Step 2
step2:Mix Dry Rub
3

Coat Ribs with Rub

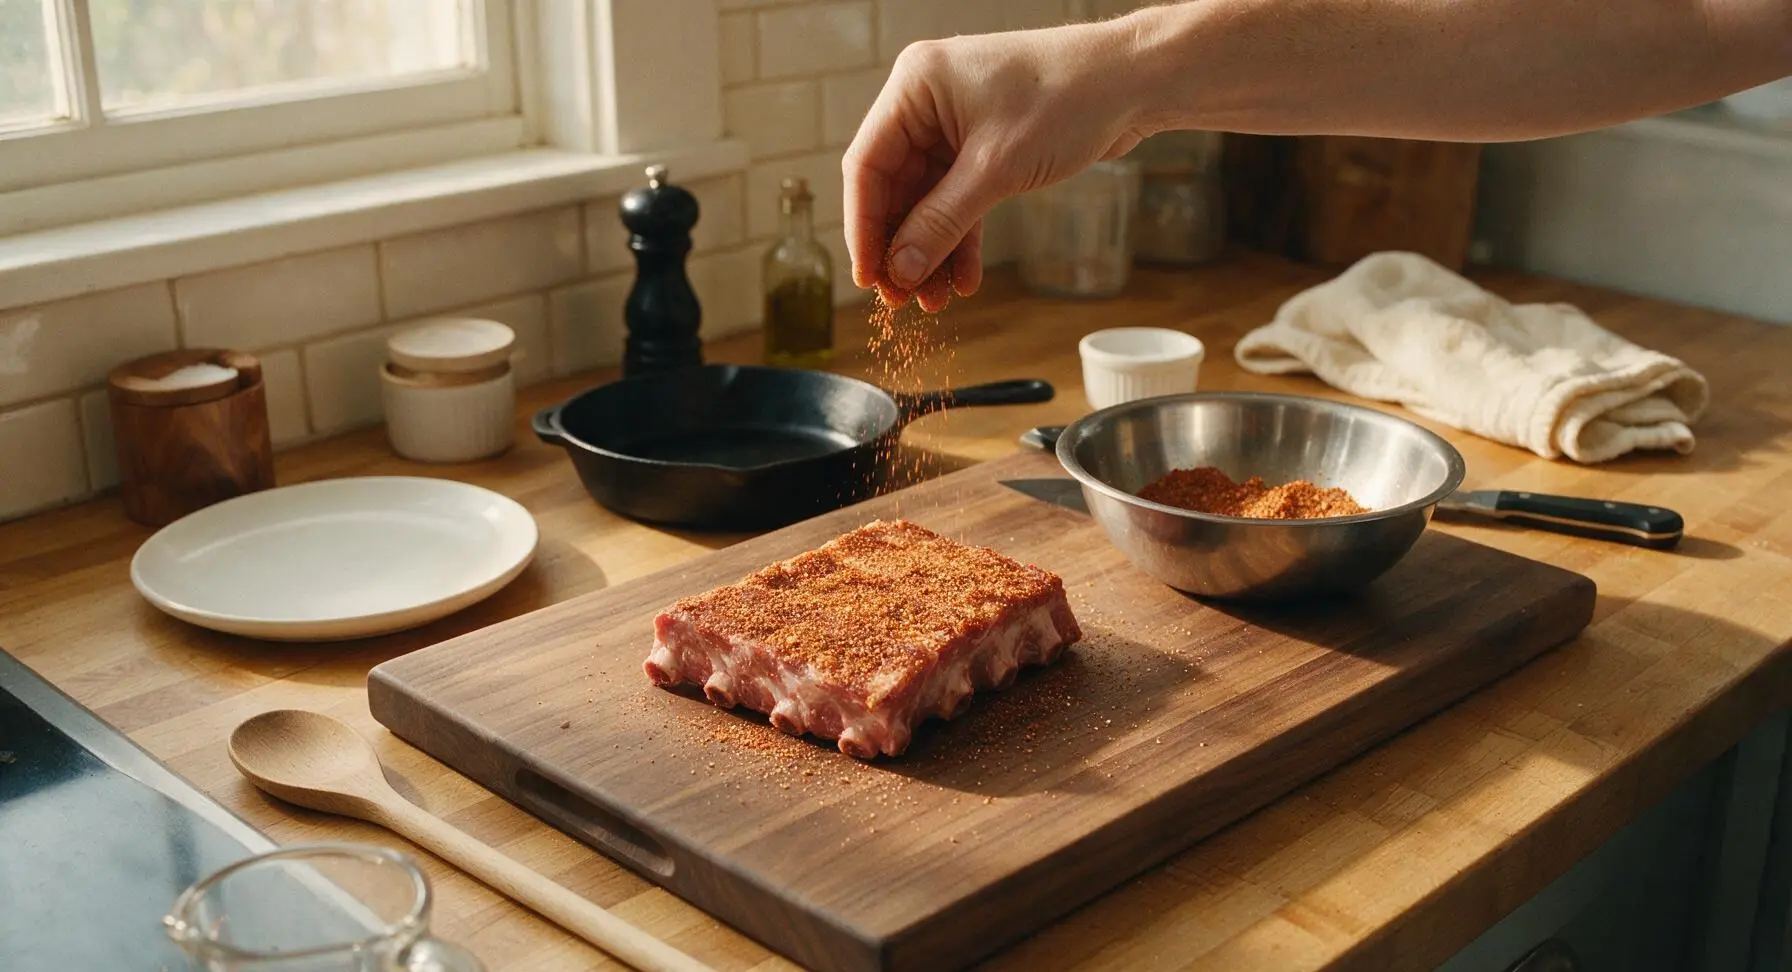
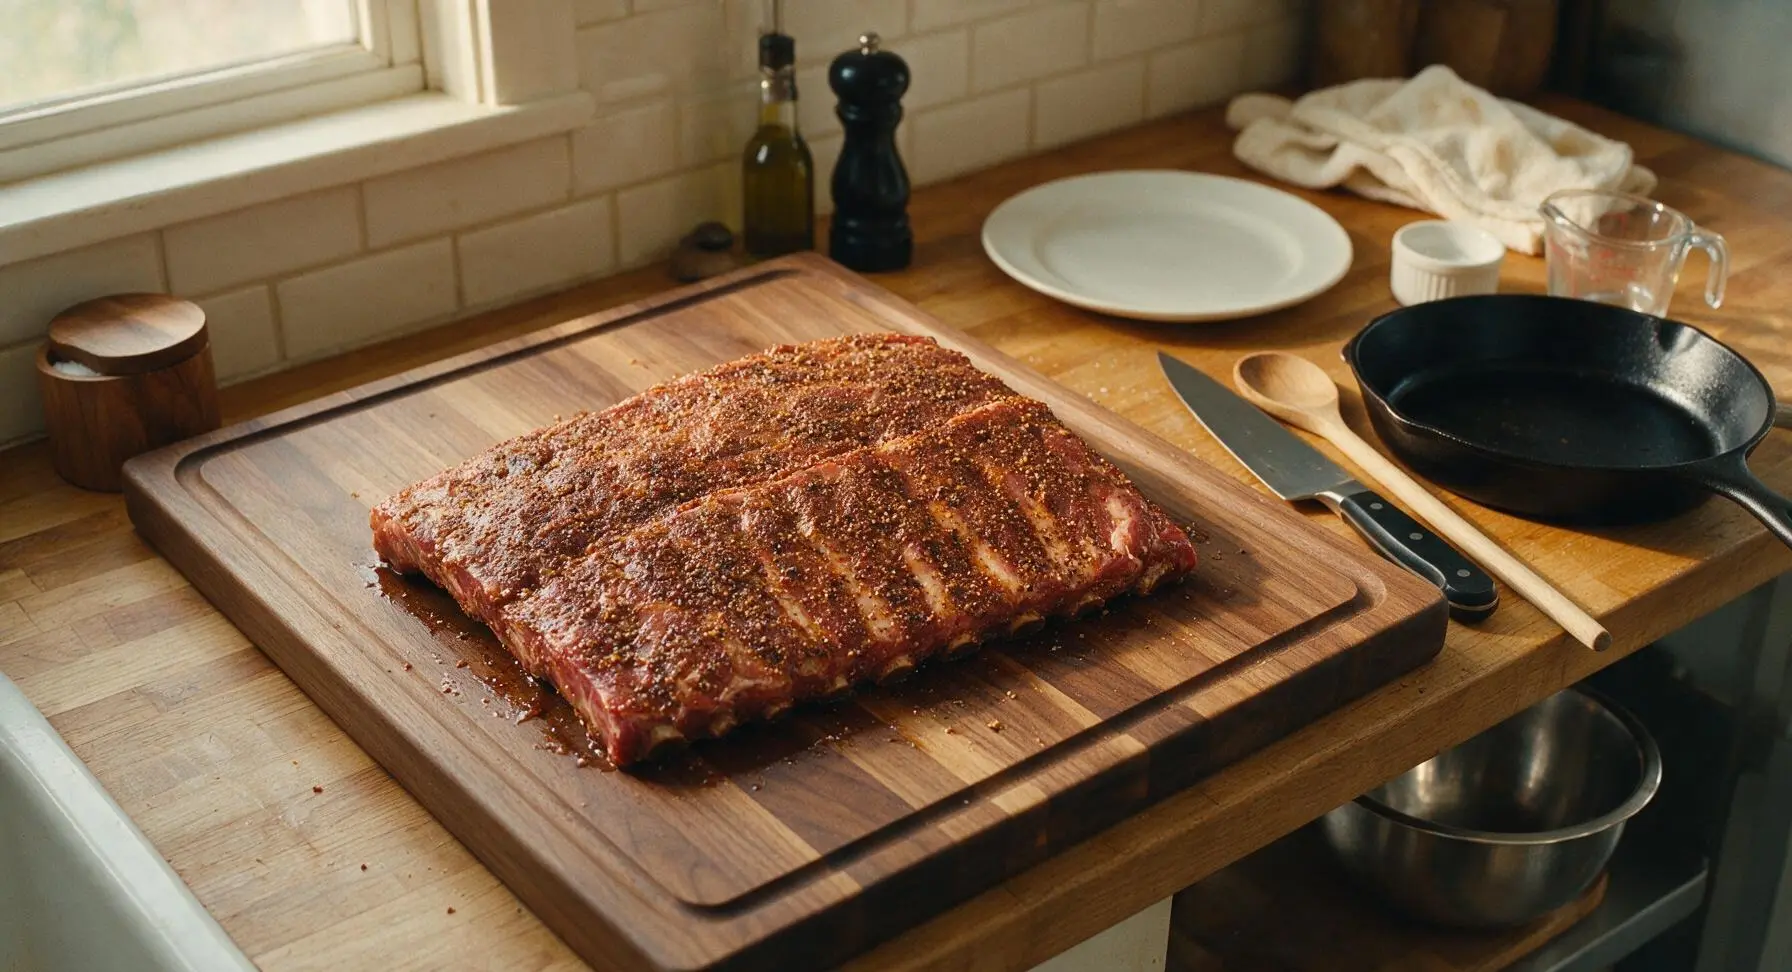
Sprinkle the dry rub evenly over every surface of the trimmed rib rack—meat side, bone side, and all cut edges. Press the rub gently into the meat with clean fingertips to help it adhere, creating a thin, even coating with no thick clumps of spice. Let the seasoned ribs rest at room temperature for 20 minutes to allow the salt to penetrate and the meat to warm slightly for even cooking. The surface will turn slightly glossy as salt draws out natural meat moisture.
Step 3
step3:Coat Ribs with Rub
Step 3
step3:Coat Ribs with Rub
4

Prep Cooking Station

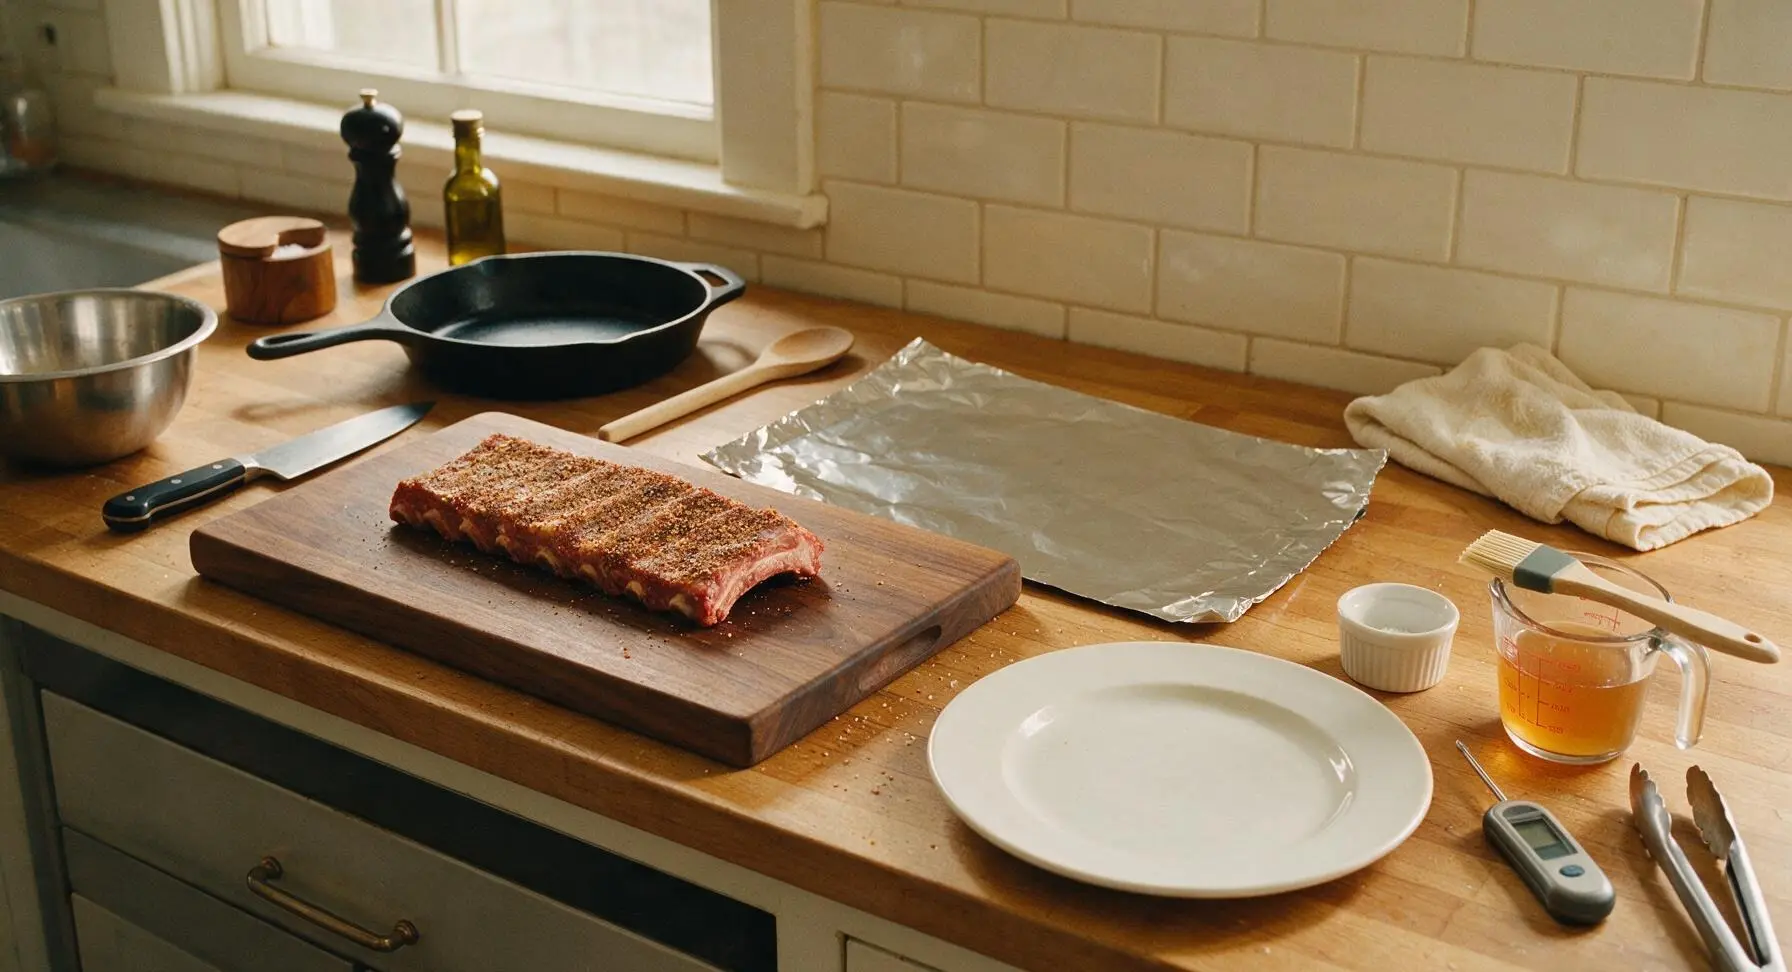
Preheat your grill or smoker to 275°F (135°C), configured for indirect heat so the ribs will not sit directly over open flame. Pour 2 tablespoons of apple cider vinegar into a small prep cup from the stainless steel measuring set, lay out a 12x18 inch sheet of heavy-duty aluminum foil, and set the silicone basting brush, digital meat thermometer, and stainless steel tongs within easy reach on the counter.
Step 4
step4:Prep Cooking Station
5

Slow Cook Ribs

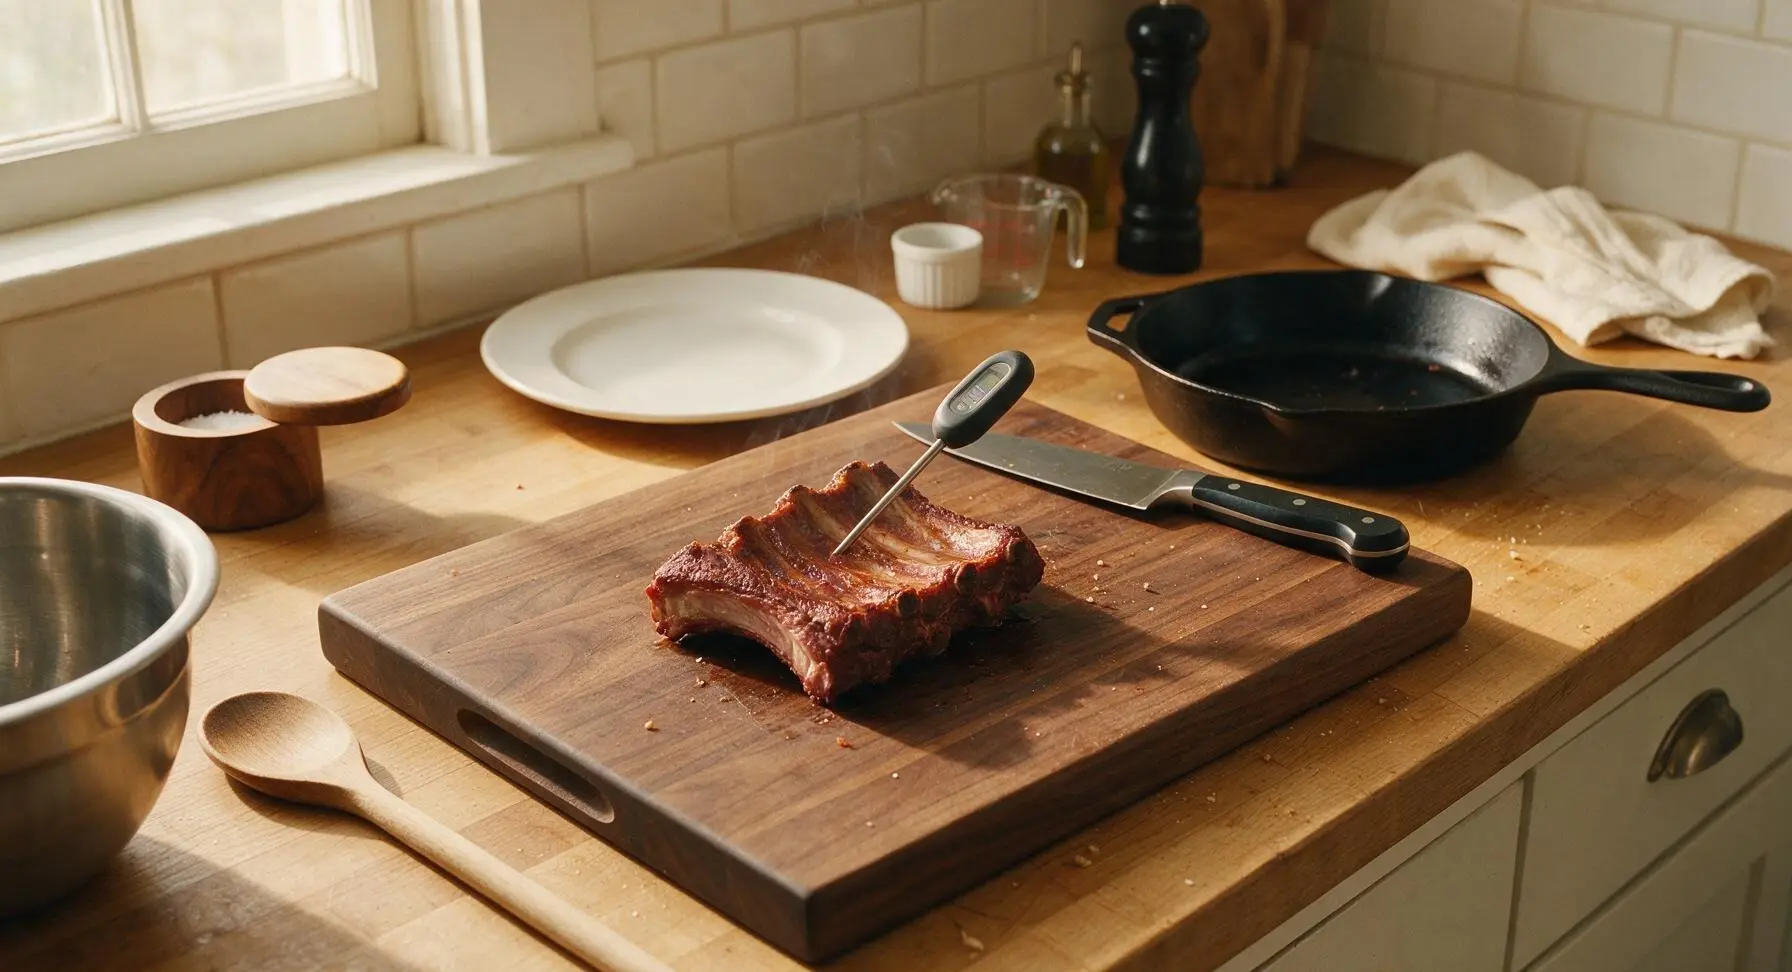
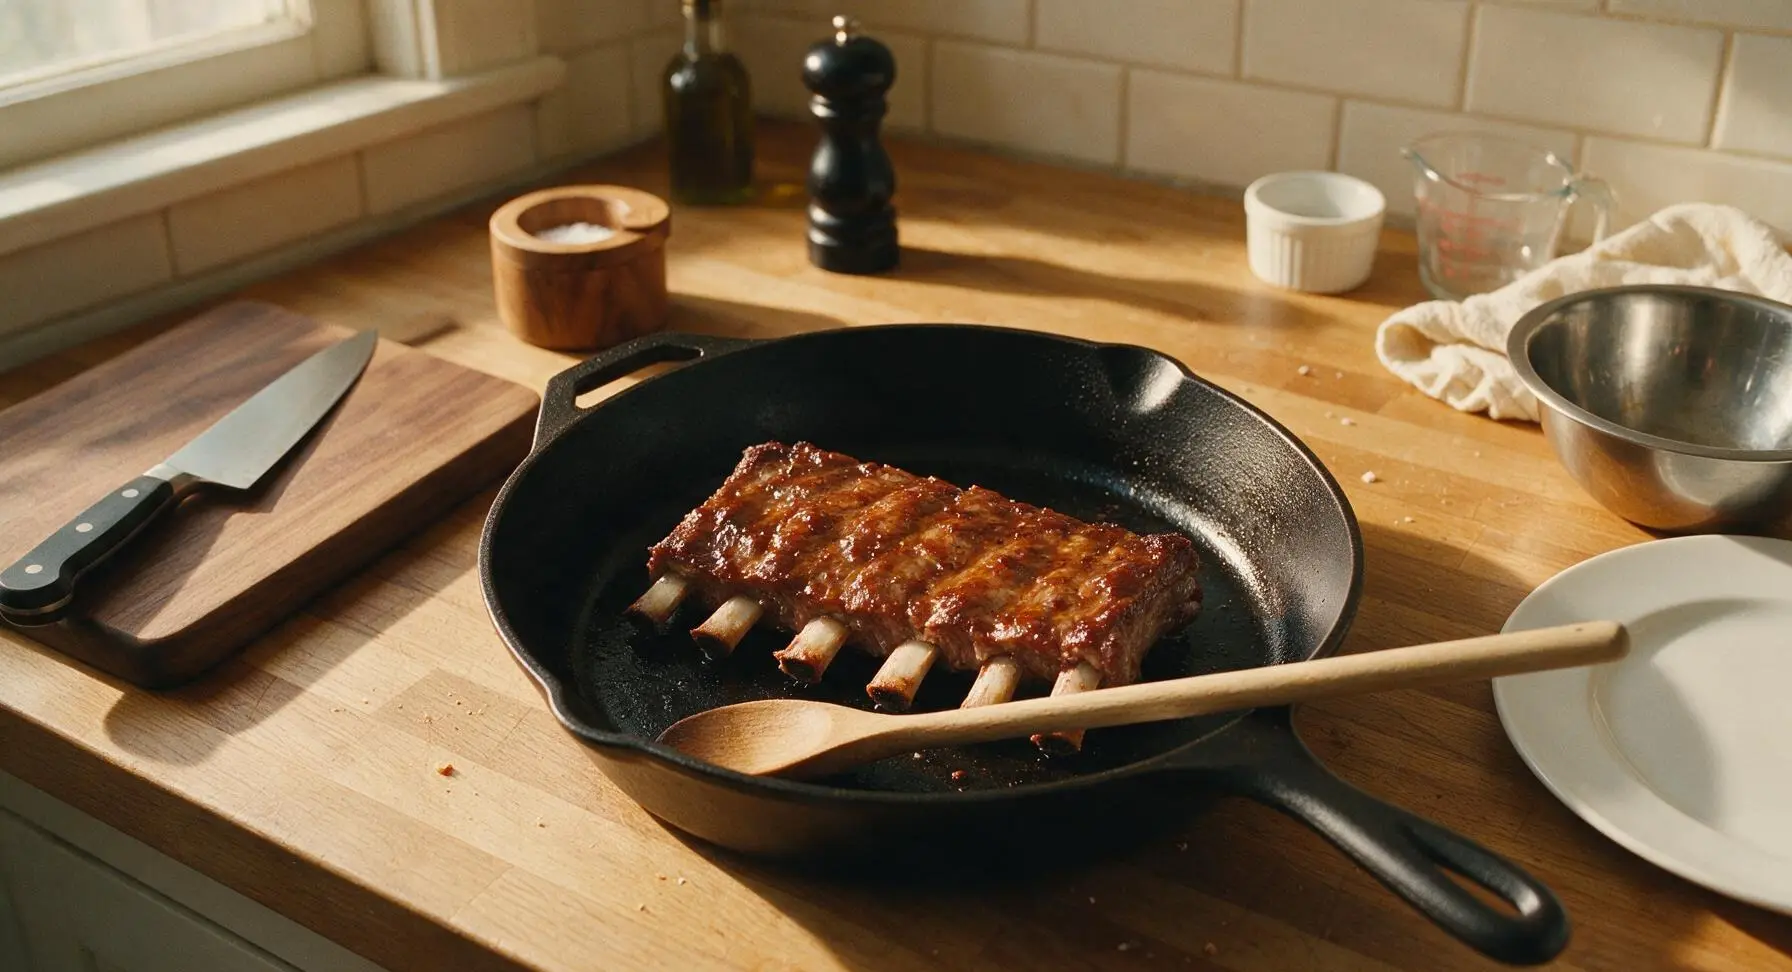
Place the seasoned rib rack bone-side down on the grill’s indirect heat zone. Close the grill lid and cook for 2 full hours, mopping the rib surface with apple cider vinegar using the basting brush every 30 minutes to keep the meat moist. Do not flip the ribs during this cooking period. The ribs are ready to glaze when the meat pulls back 1/4 inch from the cut ends of the bones, and the internal temperature reads 190°F (88°C) when probed with the meat thermometer in the thickest part of the meat (avoid touching bone for an accurate read).
Step 5
step5:Slow Cook Ribs
Step 5
step5:Slow Cook Ribs
6

Apply BBQ Glaze

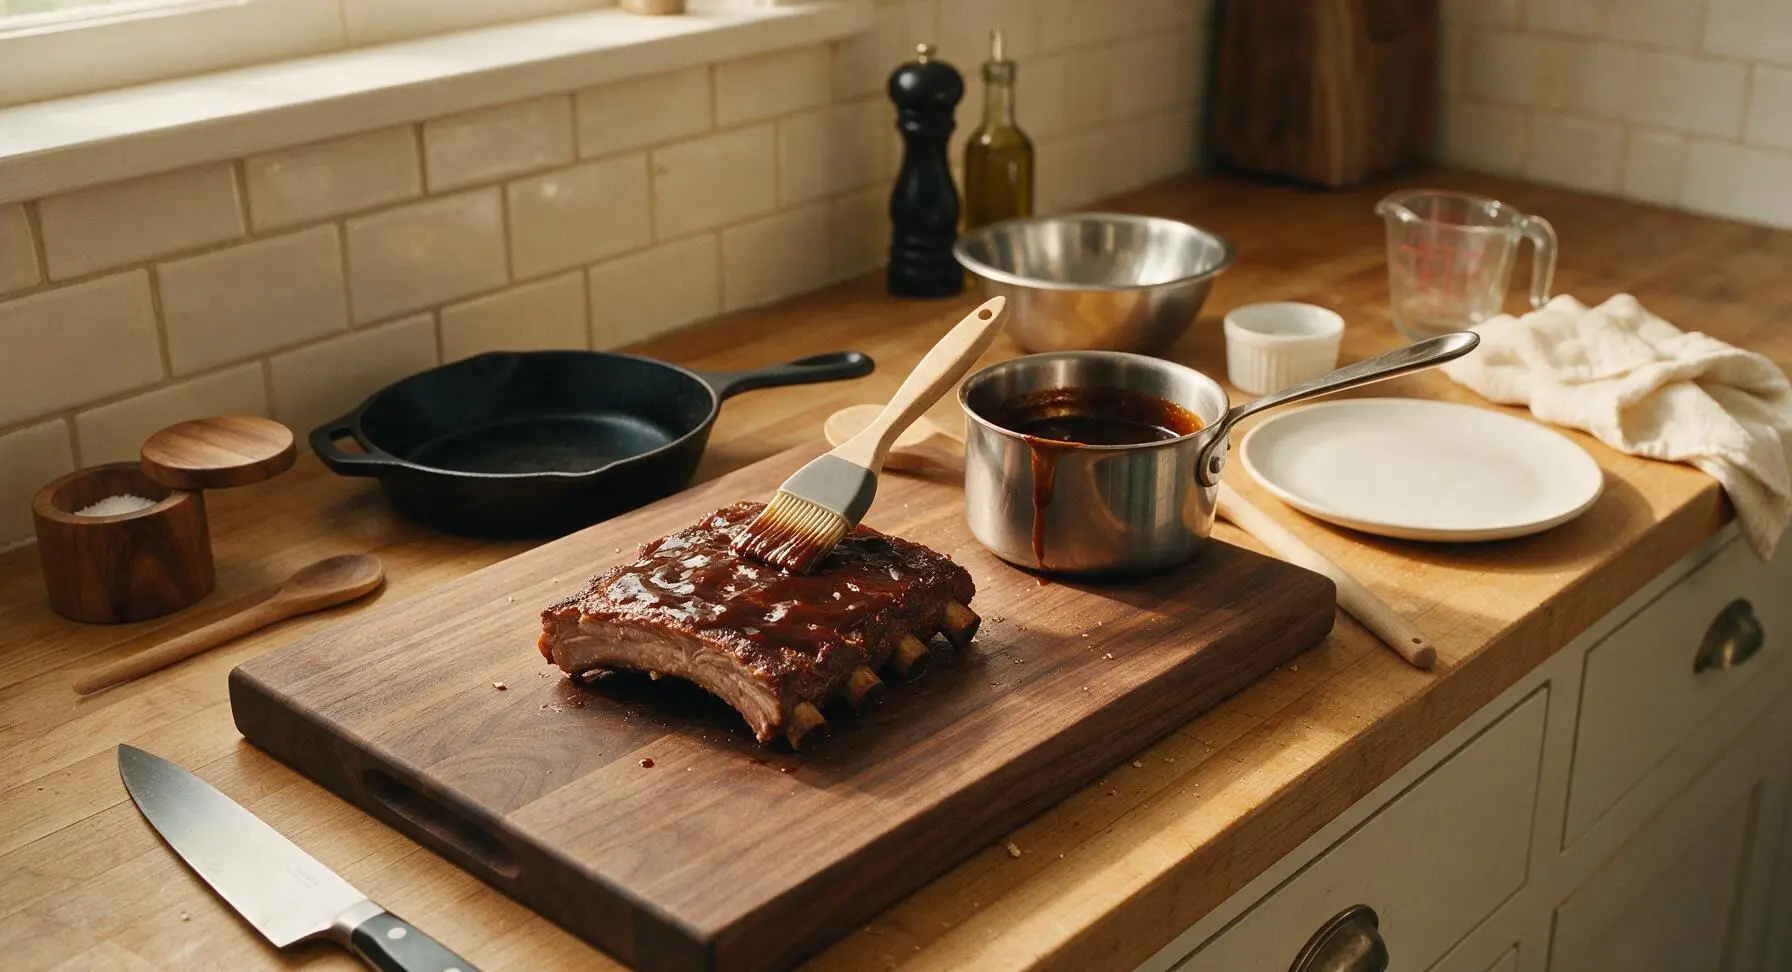
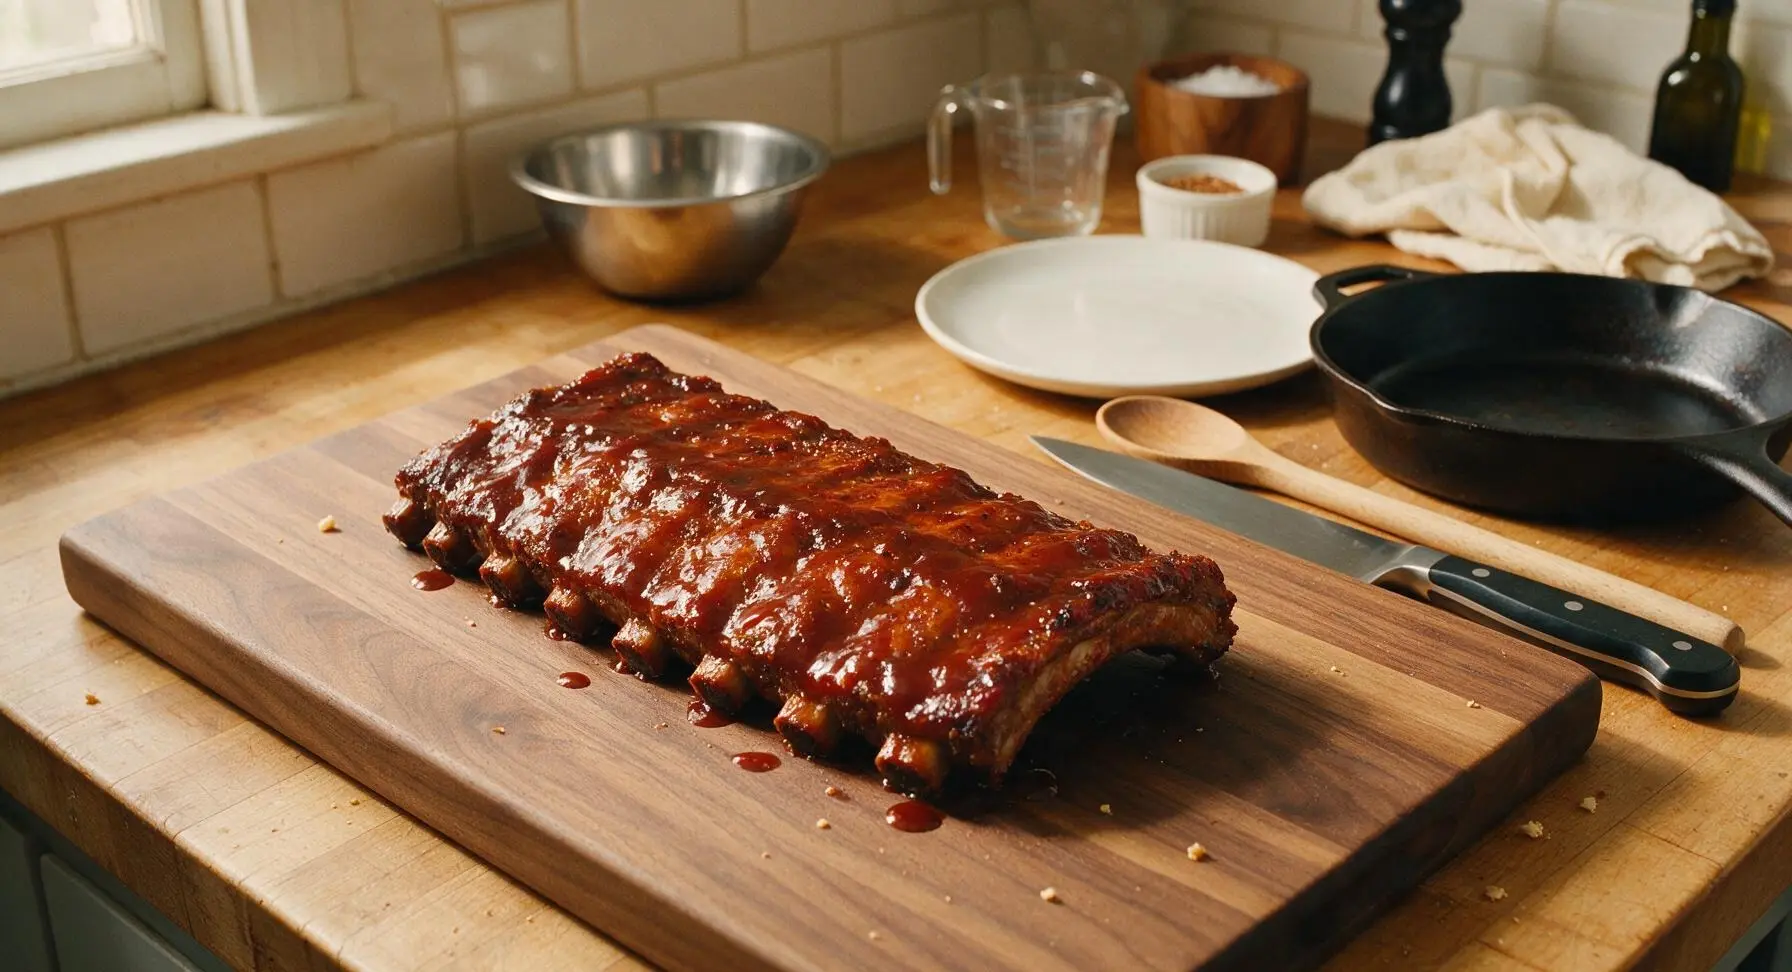
Pour 80ml of the BBQ sauce into the small stainless steel sauce pot, warm over low heat for 2 minutes until thinned slightly for easy spreading. Use the silicone basting brush to slather a thick, even layer of warm sauce over every surface of the ribs. Reserve the remaining 40ml of BBQ sauce for serving.
Step 6
step6:Apply BBQ Glaze
Step 6
step6:Apply BBQ Glaze
7

Caramelize Sauce

Return the sauced ribs to the grill’s indirect heat zone, close the lid, and cook for an additional 15 minutes at 300°F (150°C) until the sauce is sticky, caramelized, and dotted with small dark charred spots. Watch closely to avoid burning, as the sugar in the sauce will blacken quickly if left too long. Remove the ribs from the grill and tent loosely with aluminum foil on the cutting board, letting them rest for 10 minutes to allow juices to redistribute.
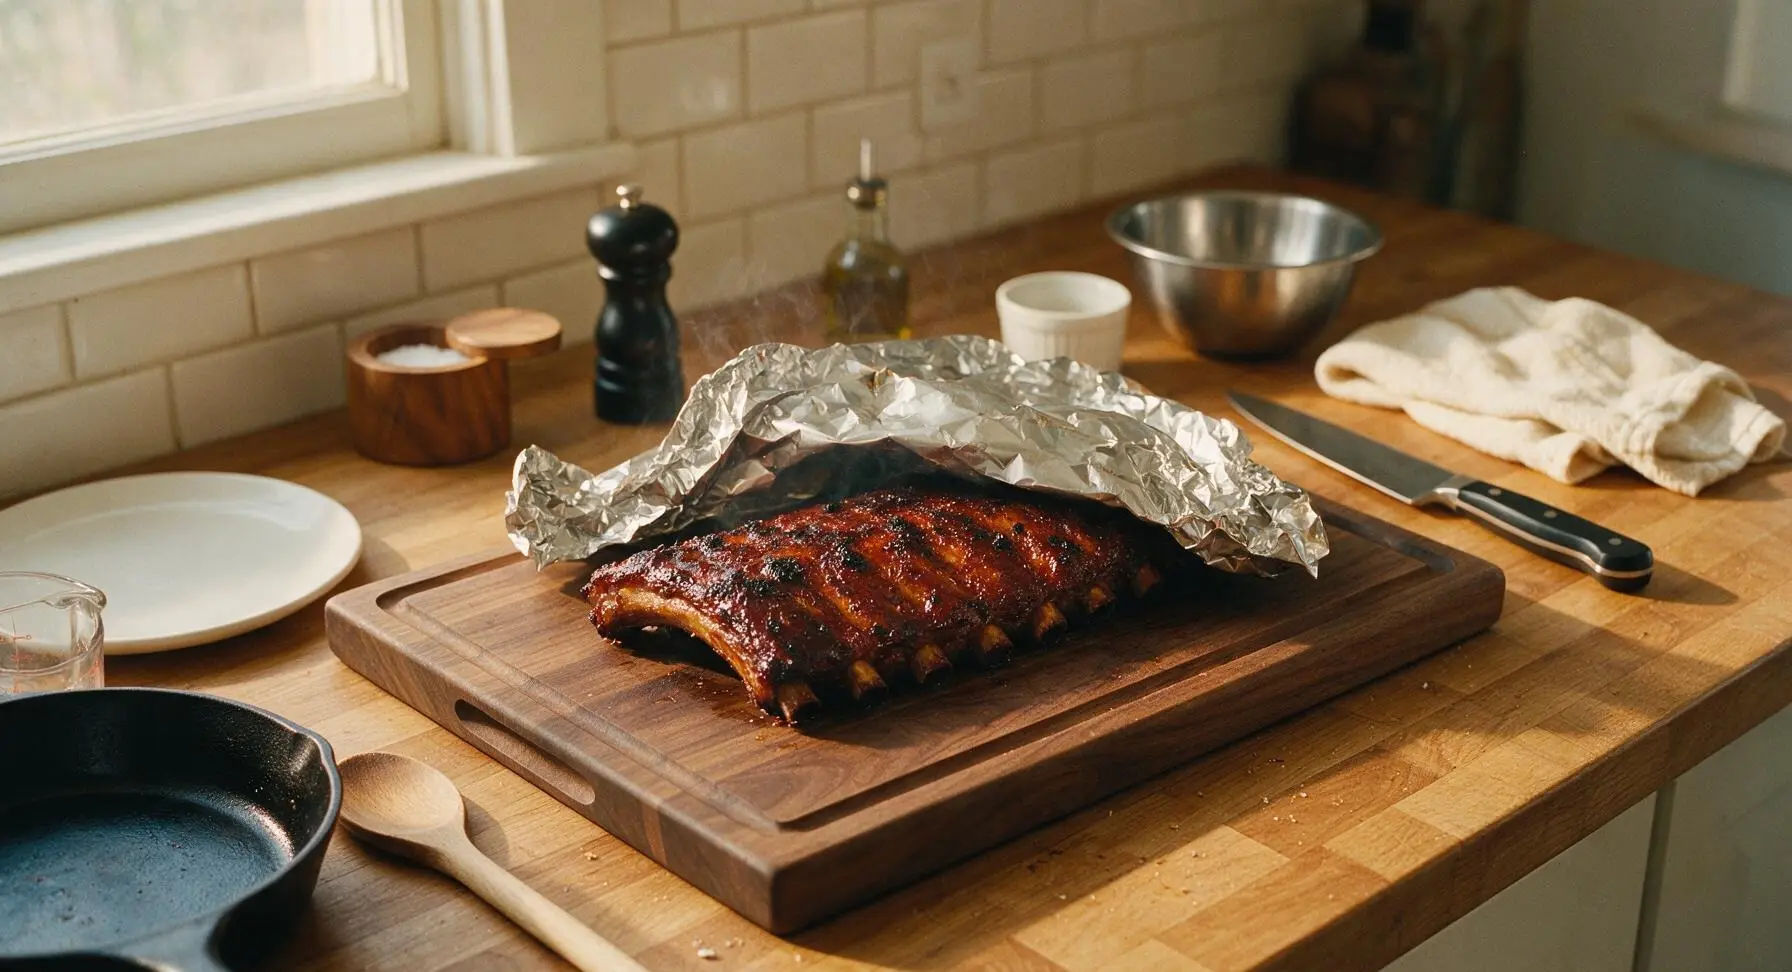
Step 7
step7:Caramelize Sauce
8

Plate and Serve

Line the matte terracotta dinner plate with a small sheet of brown kraft paper. Use the stainless steel tongs to transfer the rested quarter rack of ribs to the plate, angled so the bone ends point toward the 10 o’clock position for easy handling. Pour the reserved BBQ sauce into the small clear glass ramekin and set it to the right of the ribs, then tuck a fresh thyme sprig at the 2 o’clock position as a bright green garnish. Serve immediately.
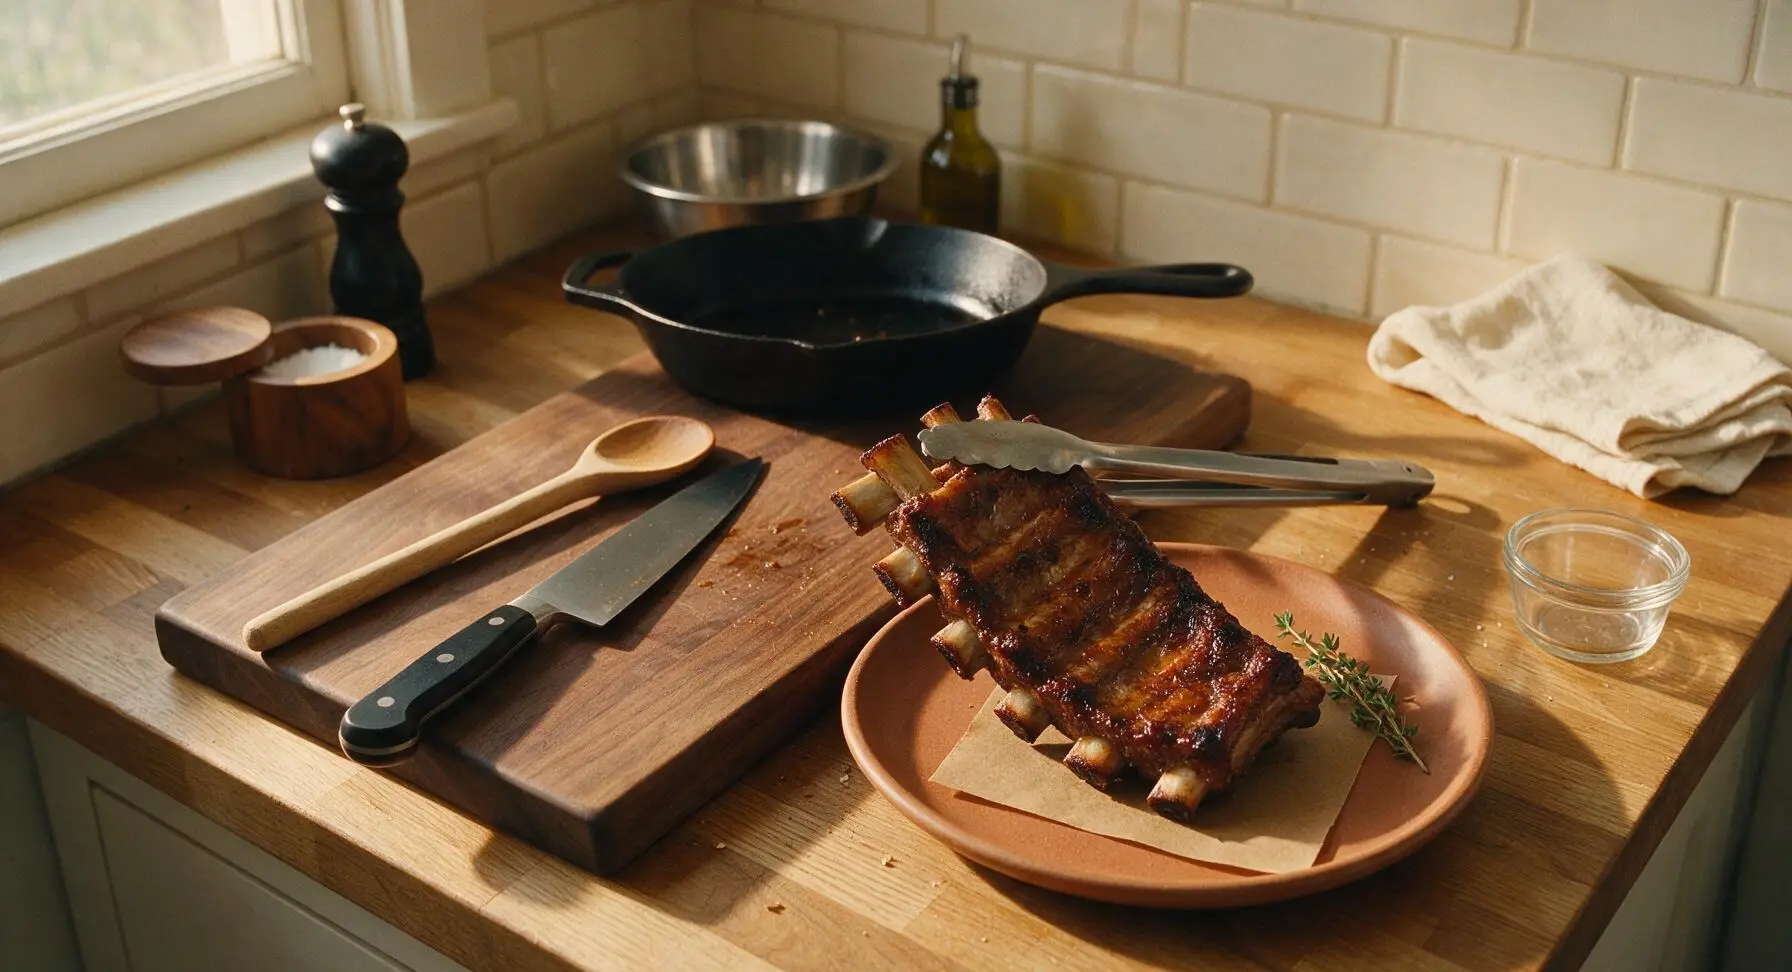
Step 8
step8:Plate and Serve

Tips

1.Always remove the tough silvery membrane from the bone side of the ribs before seasoning: if left intact, it will turn chewy and rubbery during cooking, and block dry rub and sauce from penetrating the meat for full flavor.
2.Maintain a steady 275°F grill temperature for the slow cook phase: cranking the heat higher will cause the outer meat to seize up and turn dry, while consistent low heat slowly breaks down tough connective tissue for that signature tender, fall-off-the-bone texture.
3.Let the ribs rest for a full 10 minutes after coming off the grill, tented loosely with foil: this allows hot, rendered fat and juices to settle back into the meat fibers instead of running out onto the plate the second you cut into the ribs.
✨ You May Also Like

BBQ & Grilling
🍜 United States

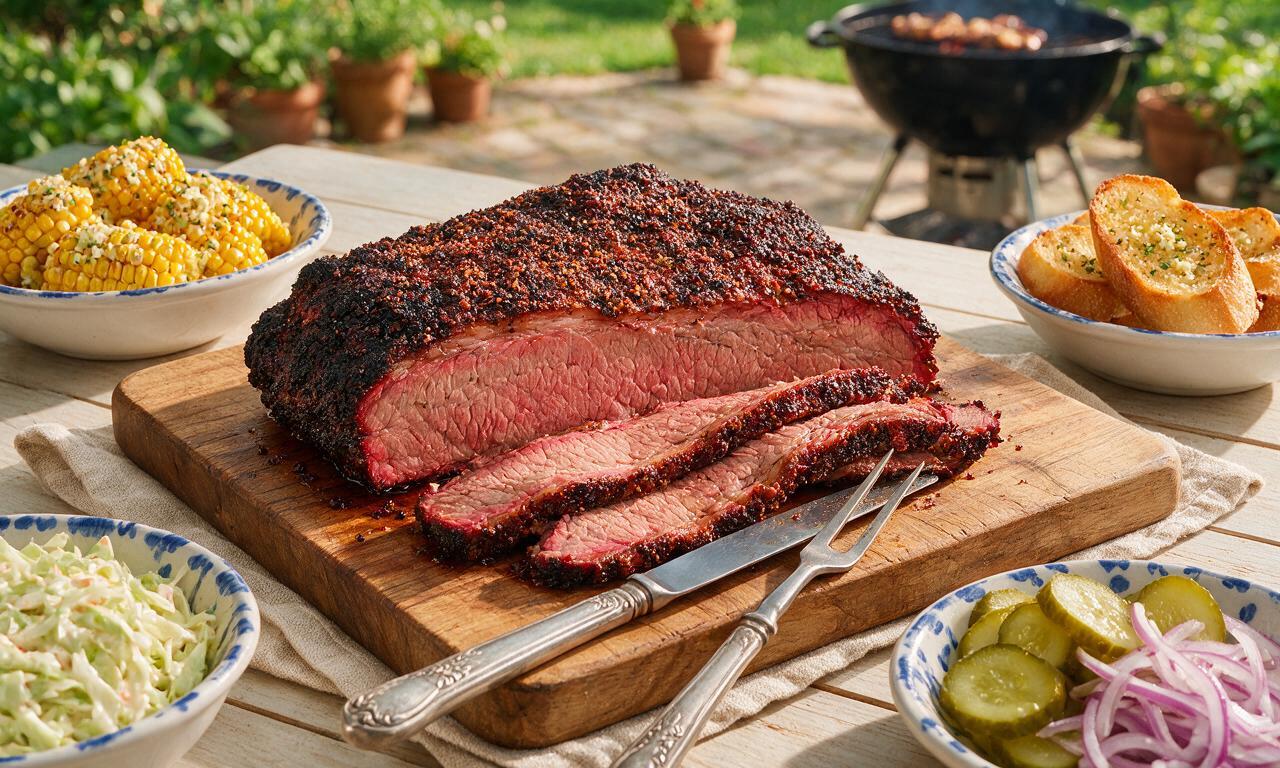
Tender, melt-in-your-mouth beef brisket with a crisp, spiced bark, slow-smoked to deep smoky perfection, the iconic centerpiece of Texas backyard barbecue.

⏱️ 12 hours BBQ & Grilling ★ 4.4
BBQ & Grilling
🍜 Korea

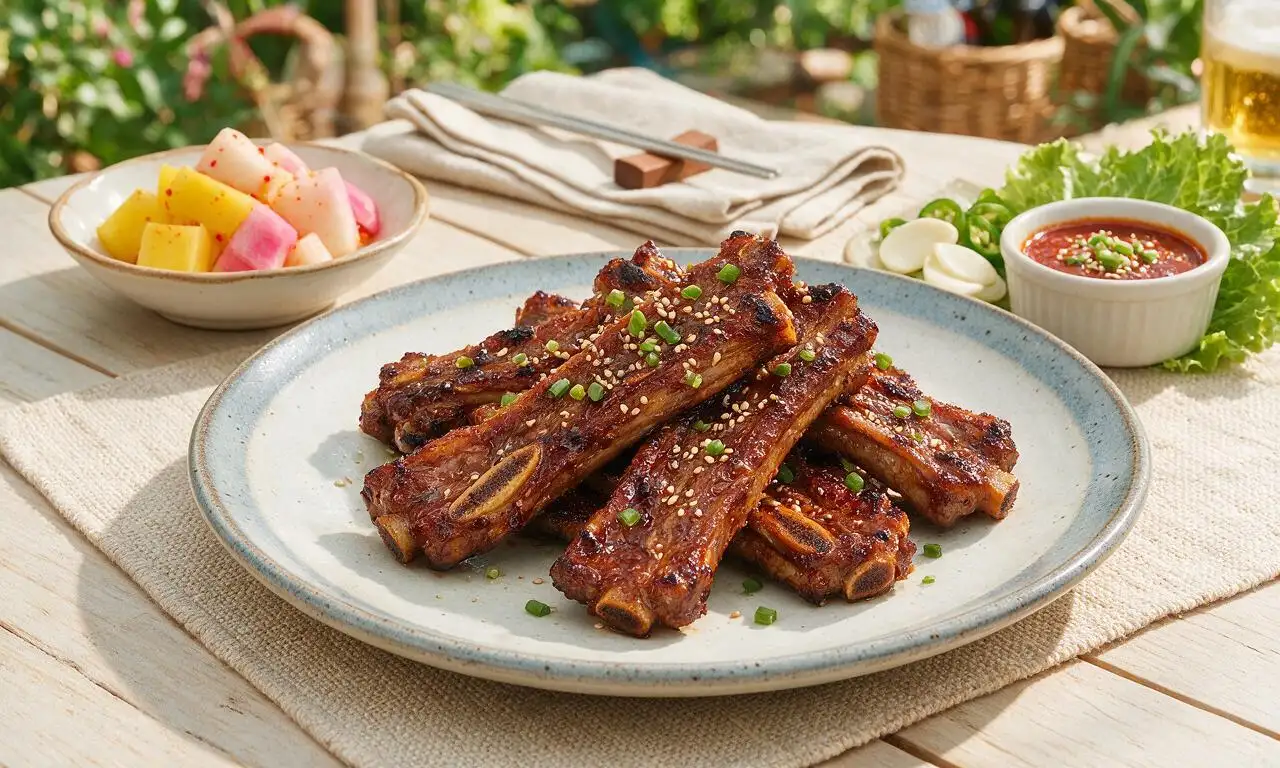
Tender, sweet-savory marinated beef short ribs, a beloved Korean BBQ staple with caramelized, slightly charred edges and deep umami flavor, perfect for outdoor summer gatherings.

⏱️ 4 hours 2BBQ & Grilling ★ 4.8
BBQ & Grilling
🍜 United States

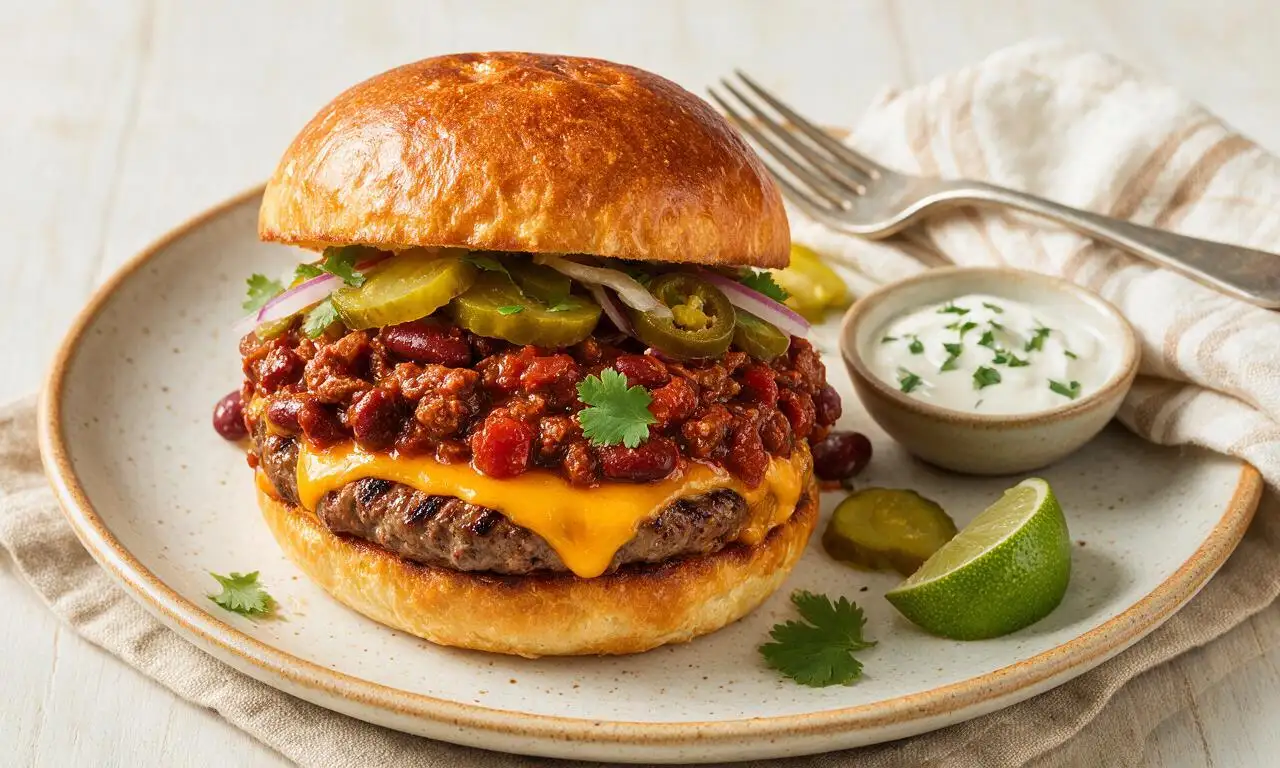
Juicy grilled beef patties topped with smoky homemade chili, melted cheddar, and tangy pickles on toasted brioche buns for a hearty, flavor-packed handheld meal.

⏱️ 40 minuteBBQ & Grilling ★ 4.7
BBQ & Grilling
🍜 United States

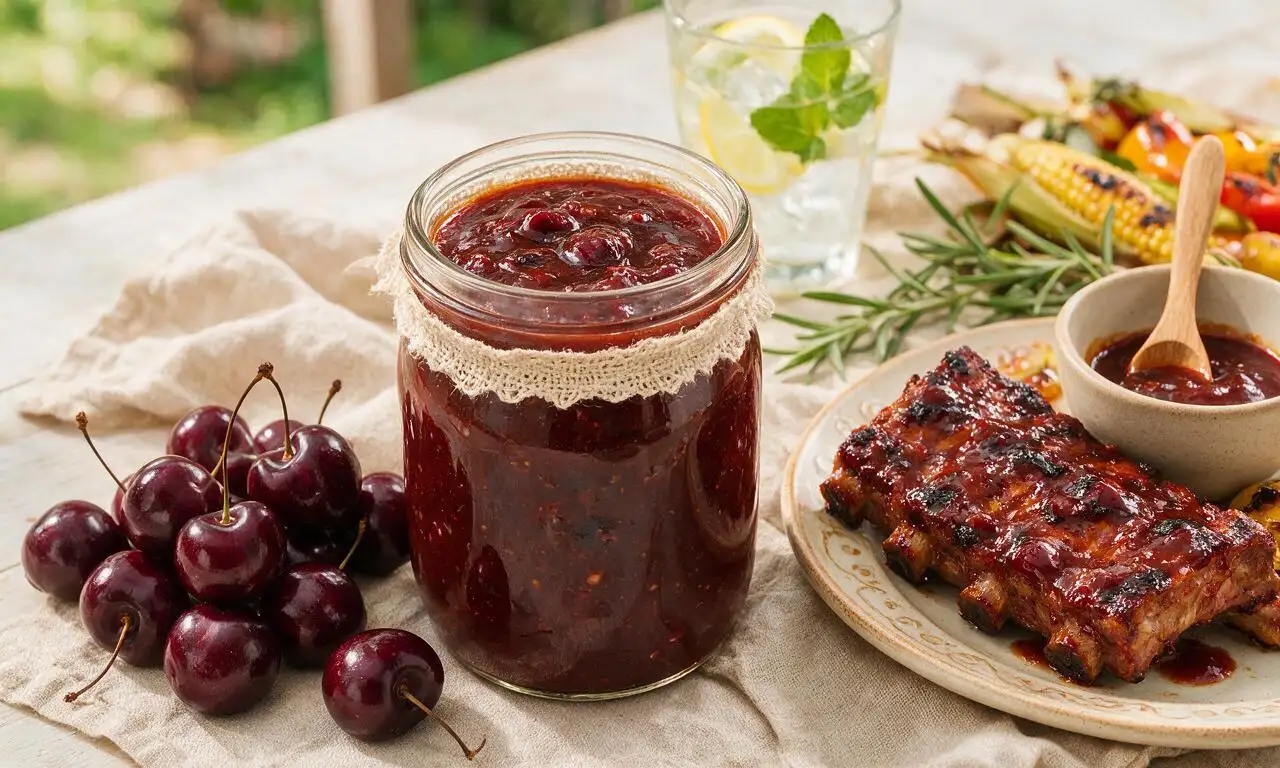
A sweet, smoky, tangy BBQ sauce brightened with peak-season dark cherries, ideal for glazing grilled ribs, chicken, pork, or summer roasted veggies.

⏱️ 35 minuteBBQ & Grilling ★ 4.7
BBQ & Grilling
🍜 United States

Rich, smoky, slightly sweet homemade bourbon BBQ sauce with deep caramel notes, ideal for glazing grilled ribs, chicken, and burgers at cookouts.

⏱️ 25 minuteBBQ & Grilling ★ 4.7
BBQ & Grilling
🍜 United States

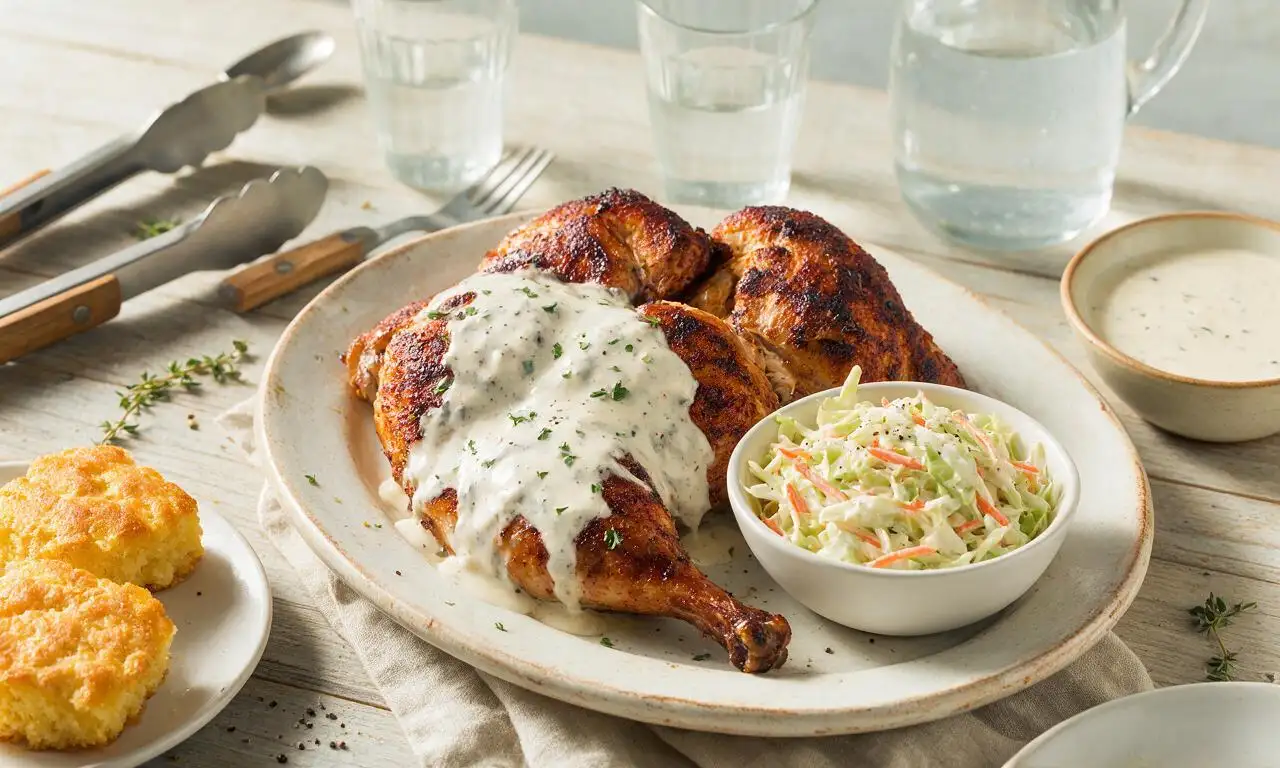
Iconic Alabama-style BBQ featuring tender hickory-smoked chicken slathered in tangy creamy white sauce, a beloved regional Southern cookout staple.

⏱️ 3 hoursBBQ & Grilling ★ 5

Quarter Rack of Ribs:Frequently Asked Questions

1.What exactly is a St. Louis cut quarter rack of spare ribs? ▾
A St. Louis cut quarter rack is a 3-4 bone portion of trimmed pork spare ribs, with tough cartilage, pointy rib tips, and excess hard fat removed for a uniform, rectangular shape. It cooks far more evenly than untrimmed spare ribs, delivers that classic fall-off-the-bone texture, and is the ideal single serving for one person.
2.Can I use baby back ribs instead of St. Louis cut spare ribs for this recipe? ▾
Absolutely, you can swap in a 3-4 bone quarter rack of baby back ribs, just cut your cook time by 15-20% since baby backs are smaller, leaner, and have less connective tissue than spare ribs. Keep your cooking temperature consistent, and test for doneness early to avoid drying out the thinner, more delicate meat.
3.How do I get that signature fall-off-the-bone tender texture without overcooking? ▾
Low, slow cooking is non-negotiable here: hold your grill or oven at a steady 275°F, and never crank the heat to rush the process. Cook until the meat pulls back ¼ inch from the bone ends, and a toothpick slides into the thickest part with almost no resistance—this takes 1.5 to 2 hours for a quarter rack.
4.Do I need to remove the silverskin from the back of the ribs before cooking? ▾
Yes, always peel off the thin, papery silverskin membrane from the bone side of the rack before applying your dry rub. If left on, it turns tough and chewy as it cooks, blocks rub flavor from penetrating the meat, and ruins that perfect tender bite. Use a paper towel to grip the edge and pull it off in one smooth sheet.
5.How far in advance can I apply the dry rub to the ribs? ▾
You can apply the salt, pepper, smoked paprika, and garlic powder dry rub anywhere from 1 hour to 12 hours before cooking, as long as you store the rubbed ribs covered in the fridge. For the best flavor penetration and juiciness, aim for a 2-hour rest minimum—this lets salt draw out moisture that dissolves spices and reabsorbs into the meat.
6.Can I make these ribs in the oven if I don’t have an outdoor grill? ▾
Absolutely, oven-cooked ribs turn out incredibly tender with the right setup. Place your rubbed quarter rack on a wire rack set inside a rimmed baking sheet, cook at 275°F for 1.5 hours, then brush with BBQ glaze and broil for 2-3 minutes at the end to get that sticky, caramelized exterior you’d get from a grill.
7.What’s the best wood for adding smoky flavor if I’m using a charcoal grill? ▾
For classic, balanced smokiness that doesn’t overpower the pork, use hickory or oak wood chips soaked in water for 30 minutes before adding them to your coals. Skip strong, resinous woods like pine or mesquite for this recipe—mesquite in particular can turn bitter with longer cook times, even on a small quarter rack.
8.When should I apply the BBQ glaze so it gets sticky without burning? ▾
Wait to brush on your sweet BBQ glaze until the last 15-20 minutes of cook time. Glazes have high sugar content that burns quickly at cooking temperatures, so applying it late lets it caramelize into that perfect sticky coating without turning charred, blackened, or bitter before the ribs finish cooking all the way through.
9.How do I know when my quarter rack of ribs is done, without cutting into it? ▾
Skip the guesswork with two simple, no-cut tests: first, check if the meat has pulled back roughly ¼ inch from the cut ends of the bones. Second, pick up the rack with tongs in the middle—if it bends easily and a small crack forms on the top surface when lifted, it’s perfectly tender and ready to rest.
10.Do I need to wrap my ribs in foil while they cook? ▾
Wrapping is totally optional for a small quarter rack, but it can speed up cook time by 20-30 minutes and lock in extra moisture. If you wrap, do it after the first hour of cooking, when the rub has set into a nice crust, and leave the foil open for the final 15 minutes after glazing to avoid a soggy exterior.
11.How long should I let the ribs rest after cooking before serving? ▾
Let your finished quarter rack rest loosely tented with foil for 8-10 minutes after you pull it from the heat. This short rest lets the hot, fast-moving juices in the meat redistribute evenly through every bite, instead of running all over your plate when you cut into the ribs immediately after cooking.
12.Can I use pre-made BBQ sauce for the glaze, or do I need to make it from scratch? ▾
Pre-made BBQ sauce works perfectly for this recipe, no homemade version required. To elevate store-bought sauce, stir in a pinch of extra smoked paprika and a teaspoon of apple cider vinegar before brushing it on—this cuts the cloying sweetness of many commercial sauces and adds bright, smoky depth that pairs perfectly with pork.
13.Why are my ribs tough and chewy even after cooking for the recommended time? ▾
Tough, chewy ribs almost always come from one of two issues: cooking at too high a temperature, which seizes up meat proteins before connective tissue can break down, or not cooking them long enough for tough collagen to melt into silky, tender fat. Stick to a steady 275°F and test for doneness instead of relying strictly on cook time.
14.What side dishes pair best with this quarter rack of ribs for a summer cookout? ▾
These savory-sweet ribs pair perfectly with classic cookout sides: creamy coleslaw to cut through the rich meat, tangy potato salad, buttered corn on the cob, baked beans, or crispy dill pickle slices. For a lighter option, serve them with a simple green salad tossed in vinaigrette to balance the sticky, sweet glaze.
15.Can I cook these ribs ahead of time for a party, and reheat them without drying them out? ▾
Absolutely, these ribs hold up beautifully when made ahead. Cook the rubbed ribs fully without the glaze, let them cool, then store covered in the fridge for up to 3 days. When ready to serve, reheat them covered on a 250°F grill or oven for 20 minutes, then brush on glaze and cook 15 more minutes to caramelize.
16.Should I use a mop sauce on the ribs while they cook? ▾
A mop sauce is totally optional for a small quarter rack, but it can add extra moisture and flavor if you’re cooking on a dry, hot grill. If you use one, stick to a thin, vinegar-based mop (no added sugar) and apply it every 30 minutes during the first hour of cooking—skip sugary mops early on to avoid burning the exterior.
17.Can I make this recipe if I only have a gas grill, no charcoal or smoker? ▾
You can get great smoky ribs on a gas grill, no charcoal required. Turn on only one burner to hold a steady 275°F, place the ribs on the unlit side for indirect heat, and set a small foil packet of soaked wood chips poked with holes directly on the lit burner to generate gentle, classic cookout smoke.
18.How many people does one quarter rack of ribs serve? ▾
One St. Louis cut quarter rack (3-4 meaty bones) is a perfect single serving for most adults, especially when paired with 2-3 hearty cookout sides. If you’re serving big eaters or teenagers, plan for 1.5 quarter racks per person, or round out the spread with extra sides like cornbread to fill out the meal.

Comments (4)

2 days ago

OMG this quarter rack of ribs recipe is a total game changer! I made these for our Sunday family dinner last night and even my super picky 7 year old asked for seconds. The rub has the perfect balance of sweet and smoky, I didn’t even have to run to the store for fancy ingredients. Cook time was totally spot on too, ribs were fall-off-the-bone tender without being mushy. 10/10 will be making these for our next neighborhood potluck!

yesterday

Wait did you use the oven method or did you smoke them? I’ve got a small charcoal grill on my apartment patio and I’m wondering if I can adapt this without a big smoker!

yesterday

So glad your family loved them! You can absolutely adapt this for a charcoal grill — just set it up for indirect heat, keep the temp around 275°F, and add a small wood chip packet for that smoky flavor if you’d like. The total cook time will be pretty close to the oven method, just check for tenderness at the 2 hour mark!

3 days ago

Made a double batch of these ribs for my weekly meal prep and they held up perfectly all week! I was worried ribs would get dry reheated, but if you wrap them tight in foil with a little splash of apple juice when you reheat, they taste just as good as day one. Medium difficulty is spot on — you don’t need any pro skills, just a little patience for the cook time. My only note is I added a little extra paprika to the rub because I love that bold flavor, would highly recommend.

1 week ago

Tried this for my boyfriend’s birthday cookout and he said these were better than the ribs we get at our favorite local BBQ spot! SO good. I did end up having to add 15 extra minutes of cook time because my oven runs a little cool, so definitely keep that in mind if your oven has hot/cold spots. Worth every minute of wait though, the glaze caramelized so nicely at the end.

5 days ago

Happy birthday to your boyfriend! Great call on adjusting the cook time for your oven — oven temp variance is super common, so checking for that bend test (when the rib cracks slightly when you lift one end) is always the best way to know they’re done, no matter the timer!

5 days ago

Full transparency, this was my first time ever making ribs and I was so nervous I’d mess them up! The step-by-step instructions were so easy to follow though, no confusing jargon at all. My roommate came home from work while they were cooking and said the whole apartment smelled like a BBQ restaurant. Will absolutely be making these again, maybe even a full rack next time!

2 days ago

So jealous your first rib attempt went this well! My first try a few years back was so tough we ended up ordering pizza 😂 Definitely going to give this recipe a shot this weekend now that I see new cooks can nail it.