
quick hamburger meat

title 1
quick hamburger meat
⏱️ cook time 10 minutes
🍽️ servings 4
⚡ Difficulty easy

intro

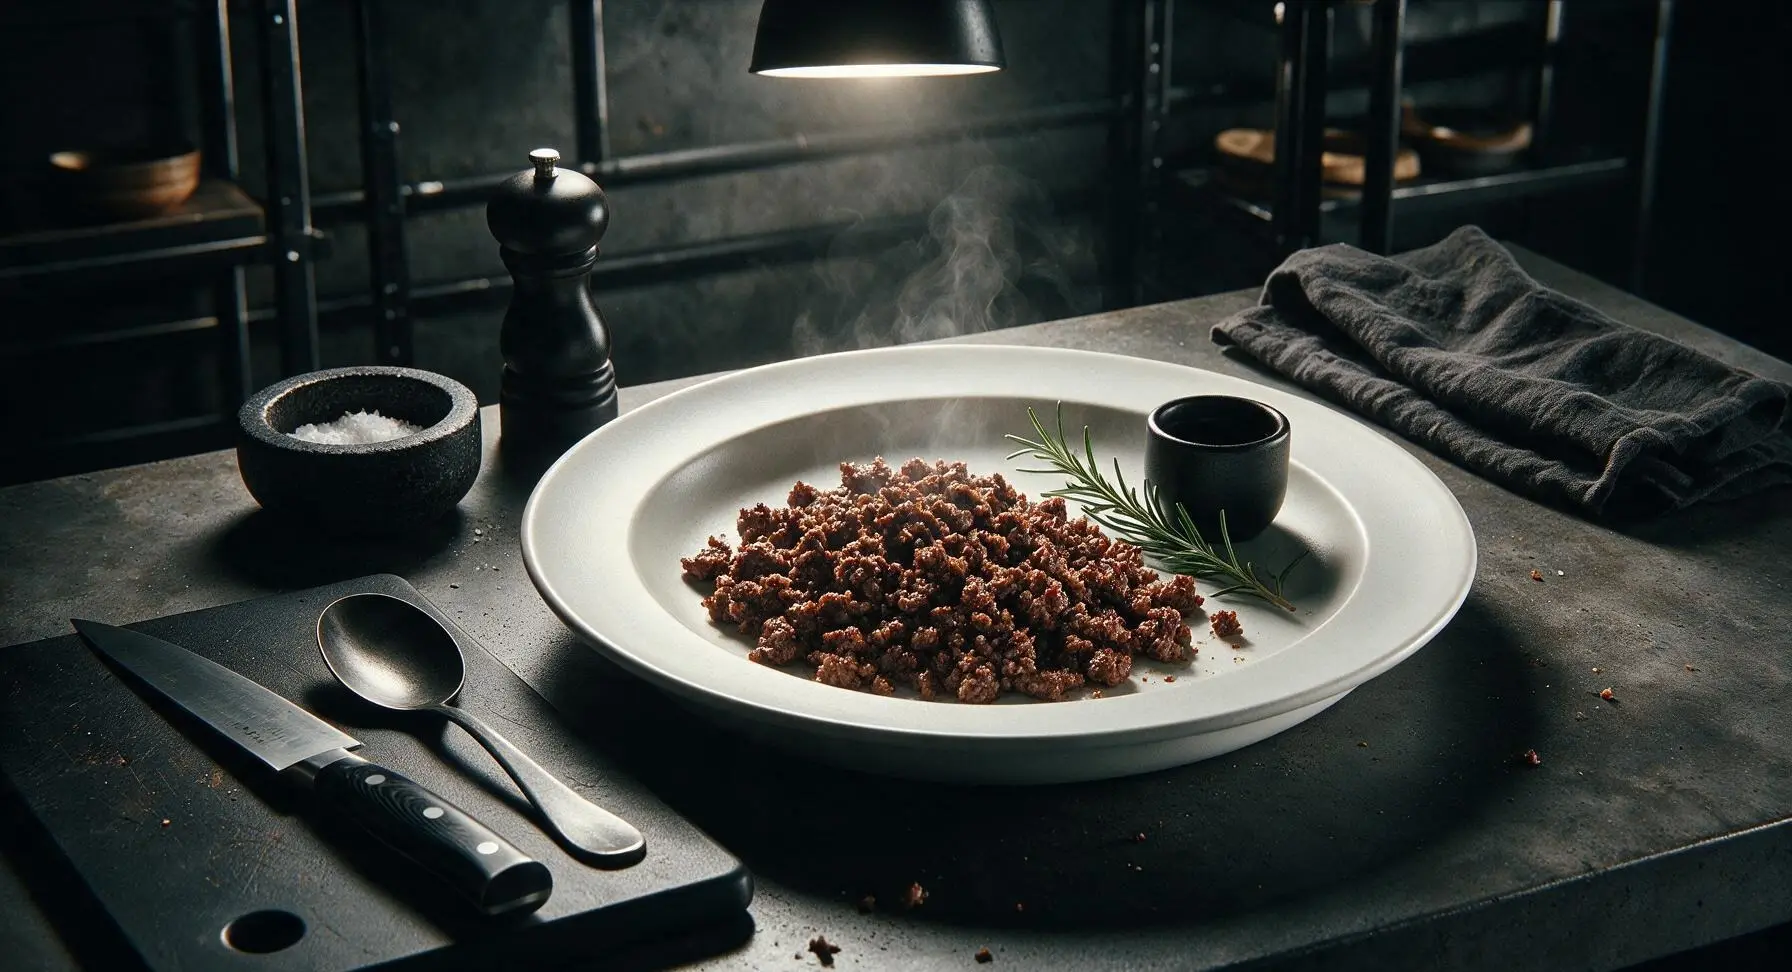
Juicy, deeply browned crumbled hamburger meat, seasoned to savory perfection, ready in 15 minutes flat to use in tacos, pasta, sloppy joes, or as a simple weeknight protein.

Ingredients
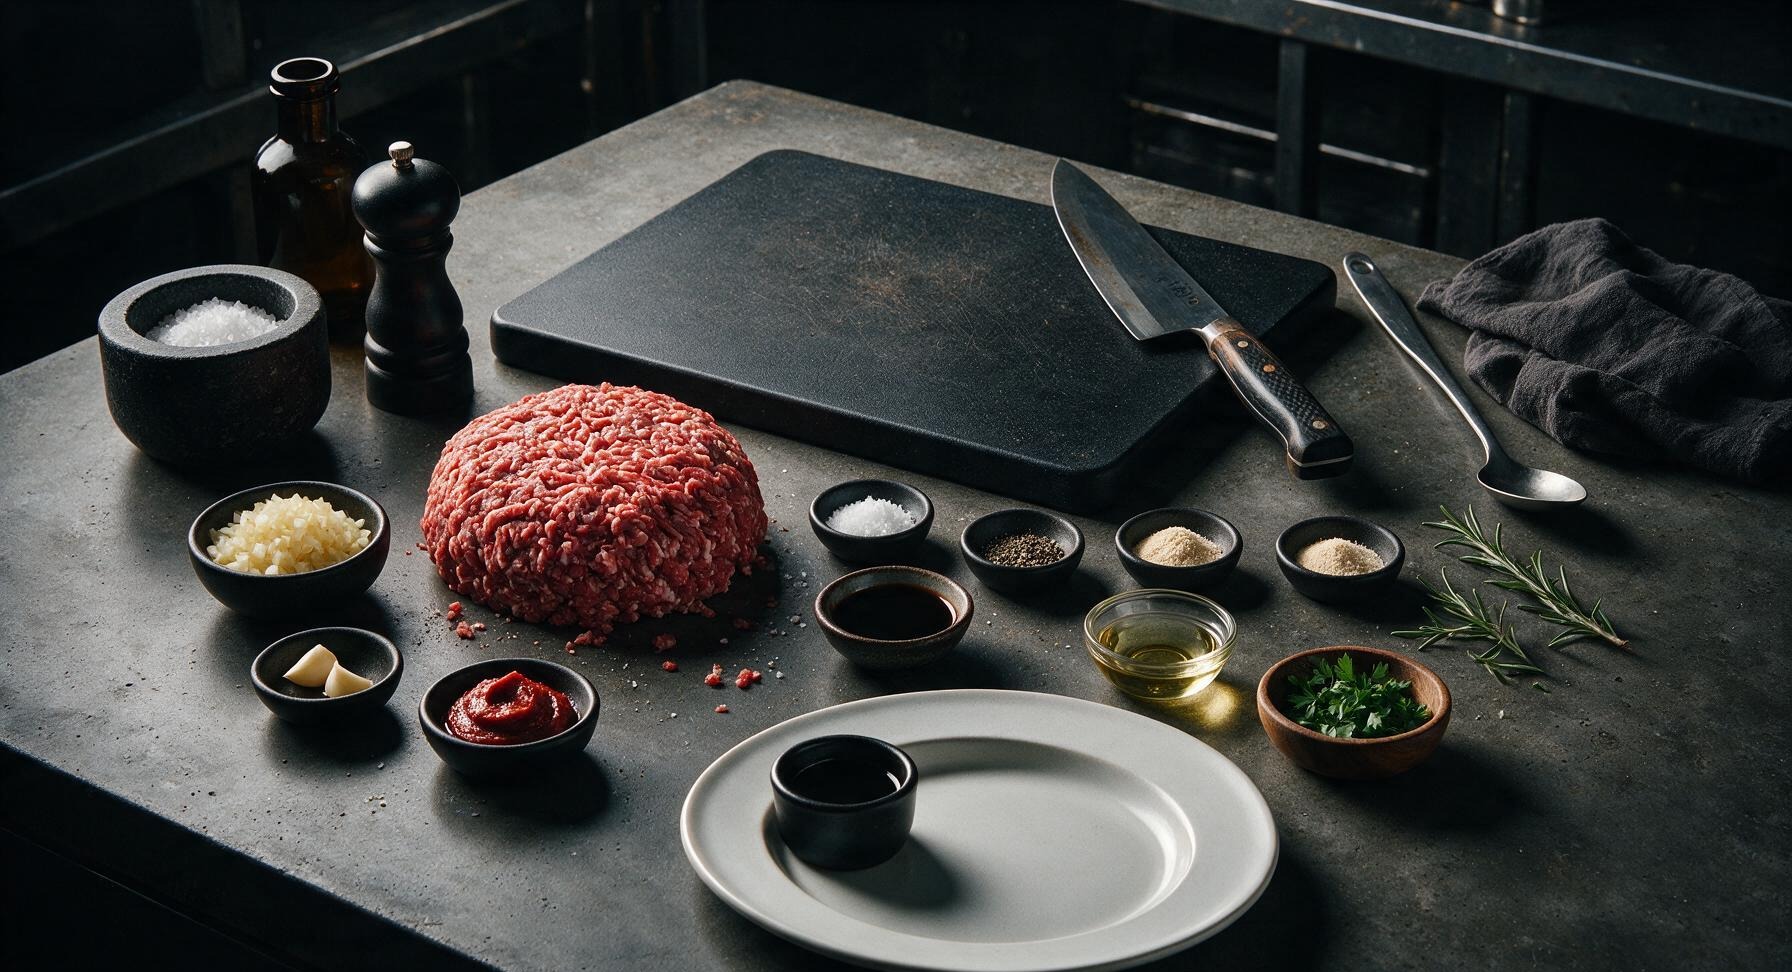
80/20 lean ground beef 500g
Small yellow onion 1 (100g, finely diced)
Garlic cloves 2 (10g, minced)
Tomato paste 1 tbsp (15g)
Worcestershire sauce 1 tbsp (15ml)
Kosher salt 1 tsp (5g)
Freshly ground black pepper 1/2 tsp (2g)
Garlic powder 1/2 tsp (2g)
Onion powder 1/2 tsp (2g)
Neutral canola oil 1 tbsp (15ml)
Fresh flat-leaf parsley 2 tbsp (5g, chopped)

Steps

1

Dice Onion and Garlic

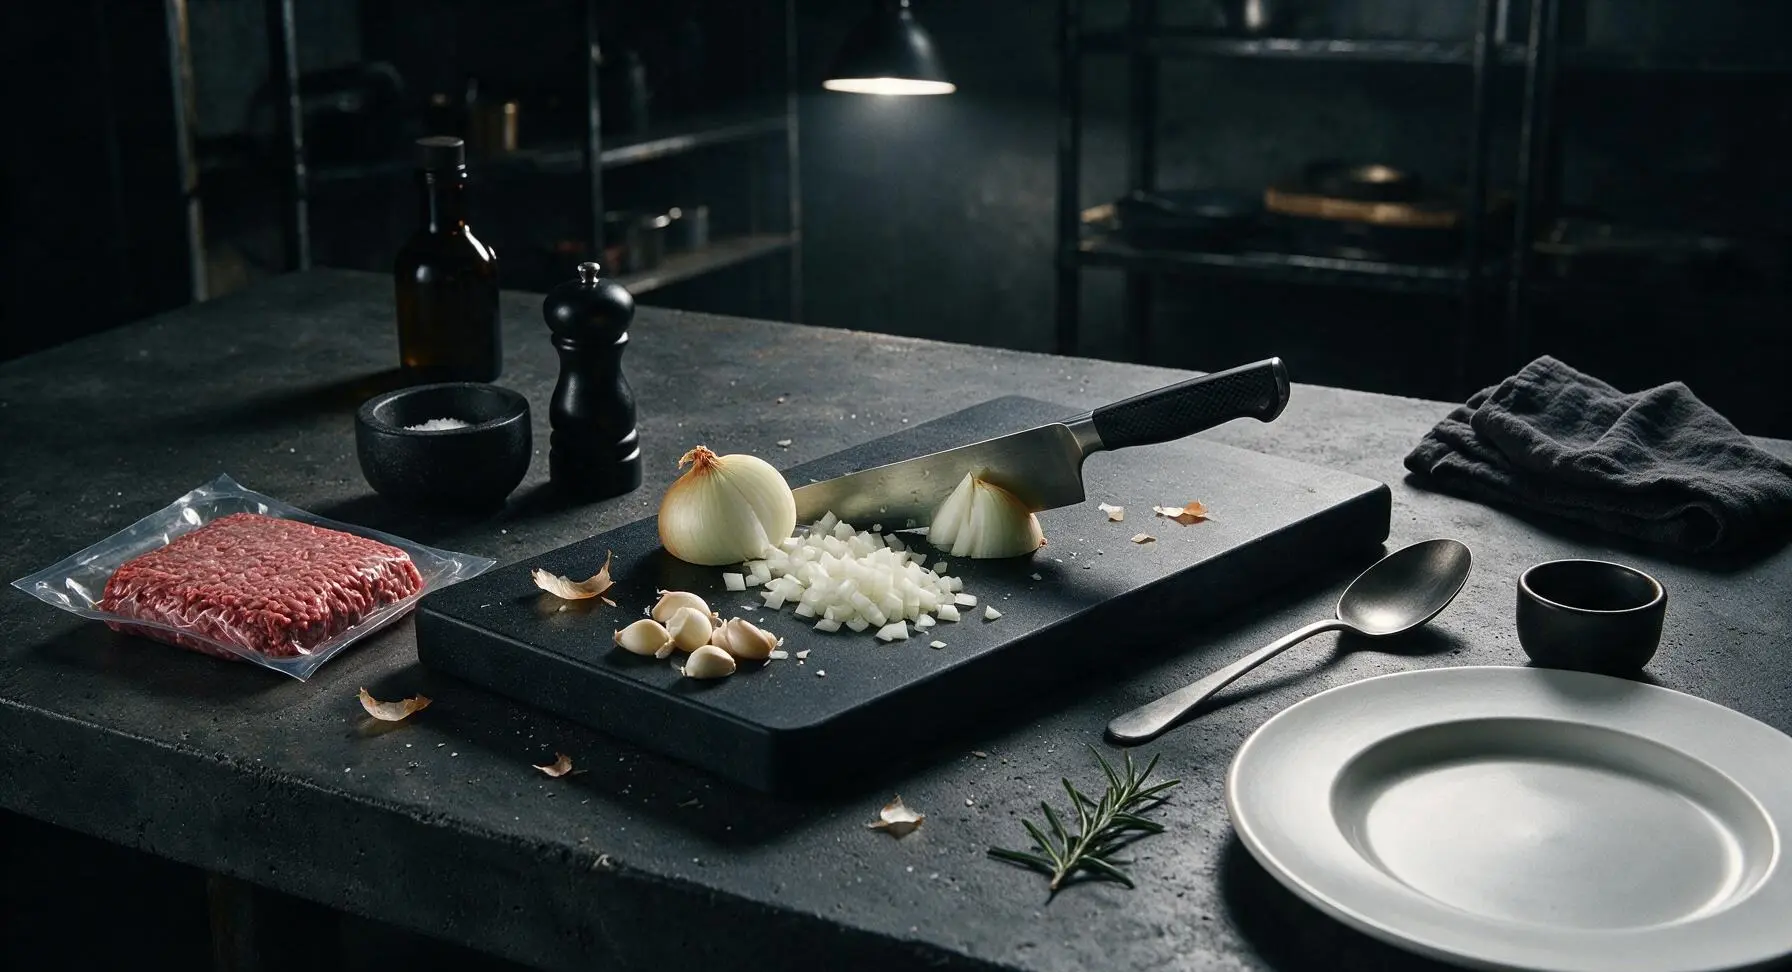
Place the small yellow onion on the maple cutting board. Using the 6-inch chef’s knife, trim the root and stem ends, peel off the papery outer skin, then dice the onion into uniform 5mm pieces. Peel the two garlic cloves and mince finely into 1mm pieces, setting both aside on the corner of the cutting board. This prep takes approximately 3 minutes; no need to rinse the board between prepping aromatics and cooking beef.
Step 1
step1:Dice Onion and Garlic
2

Heat Oil in Skillet

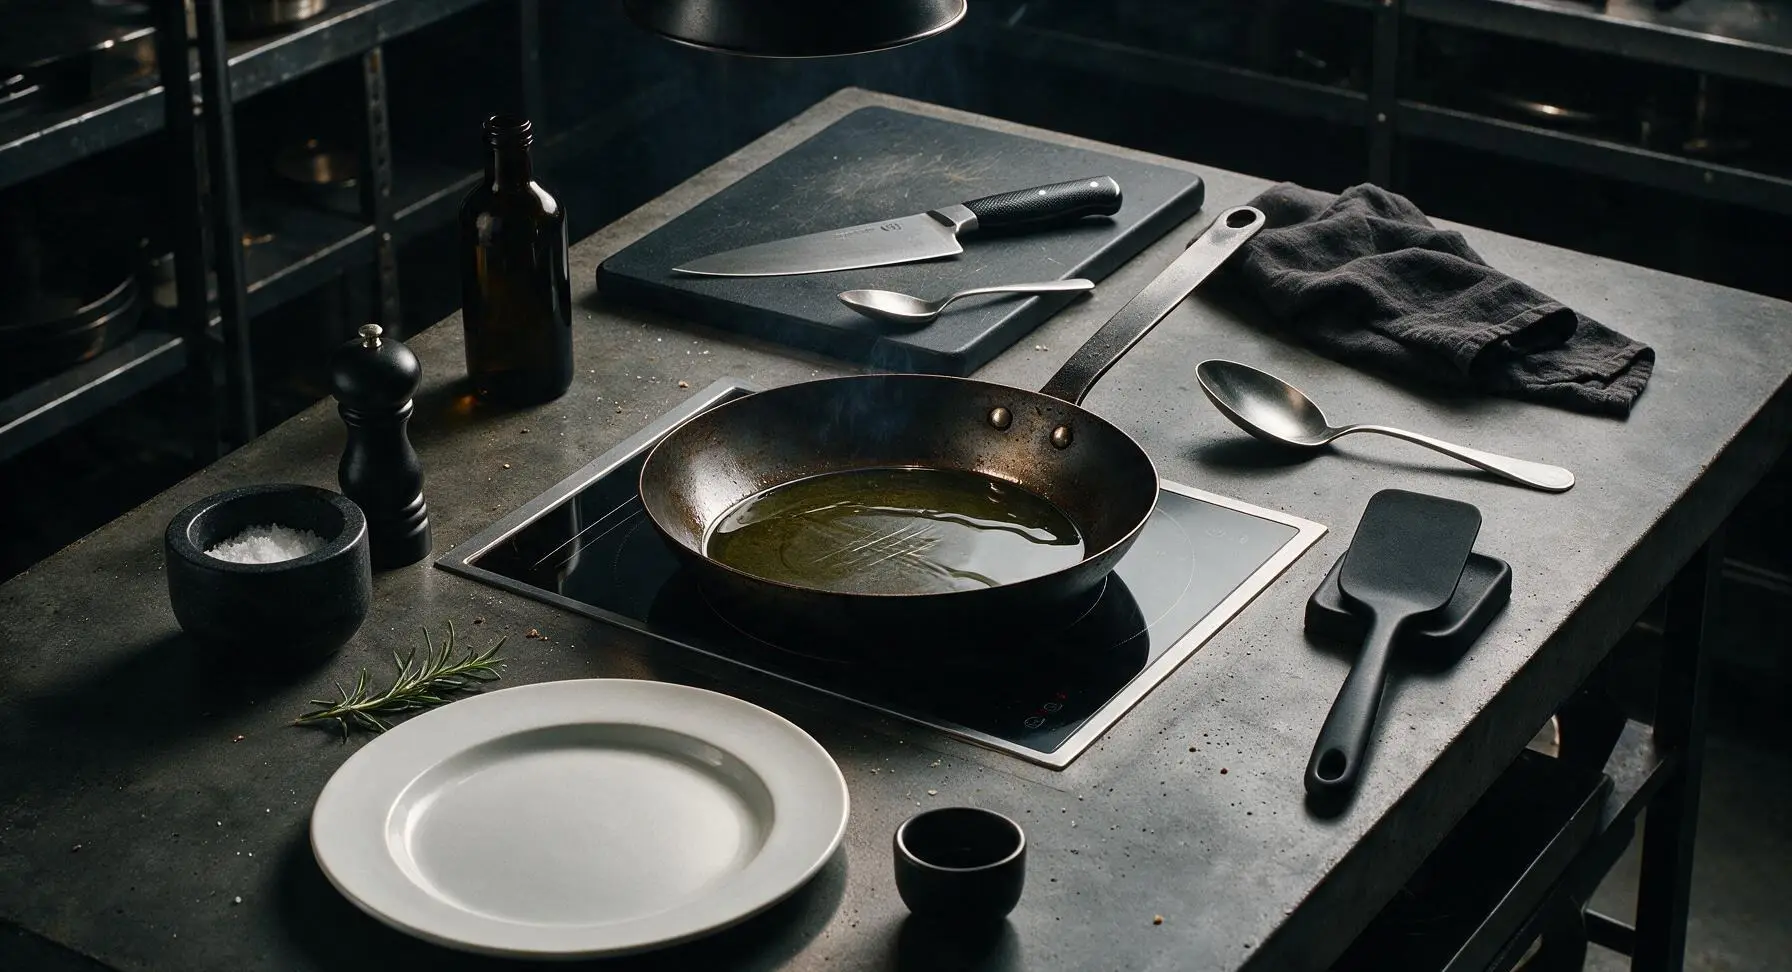
Turn the induction cooktop to medium-high heat (375°F / 190°C). Add the 1 tablespoon of canola oil to the carbon steel skillet, tilting the pan to coat the bottom evenly. Heat for 1 minute until the oil shimmers and just begins to send up faint wispy trails of smoke, indicating it is hot enough to sear the beef without sticking.
Step 2
step2:Heat Oil in Skillet
3

Sauté Aromatics Until Soft

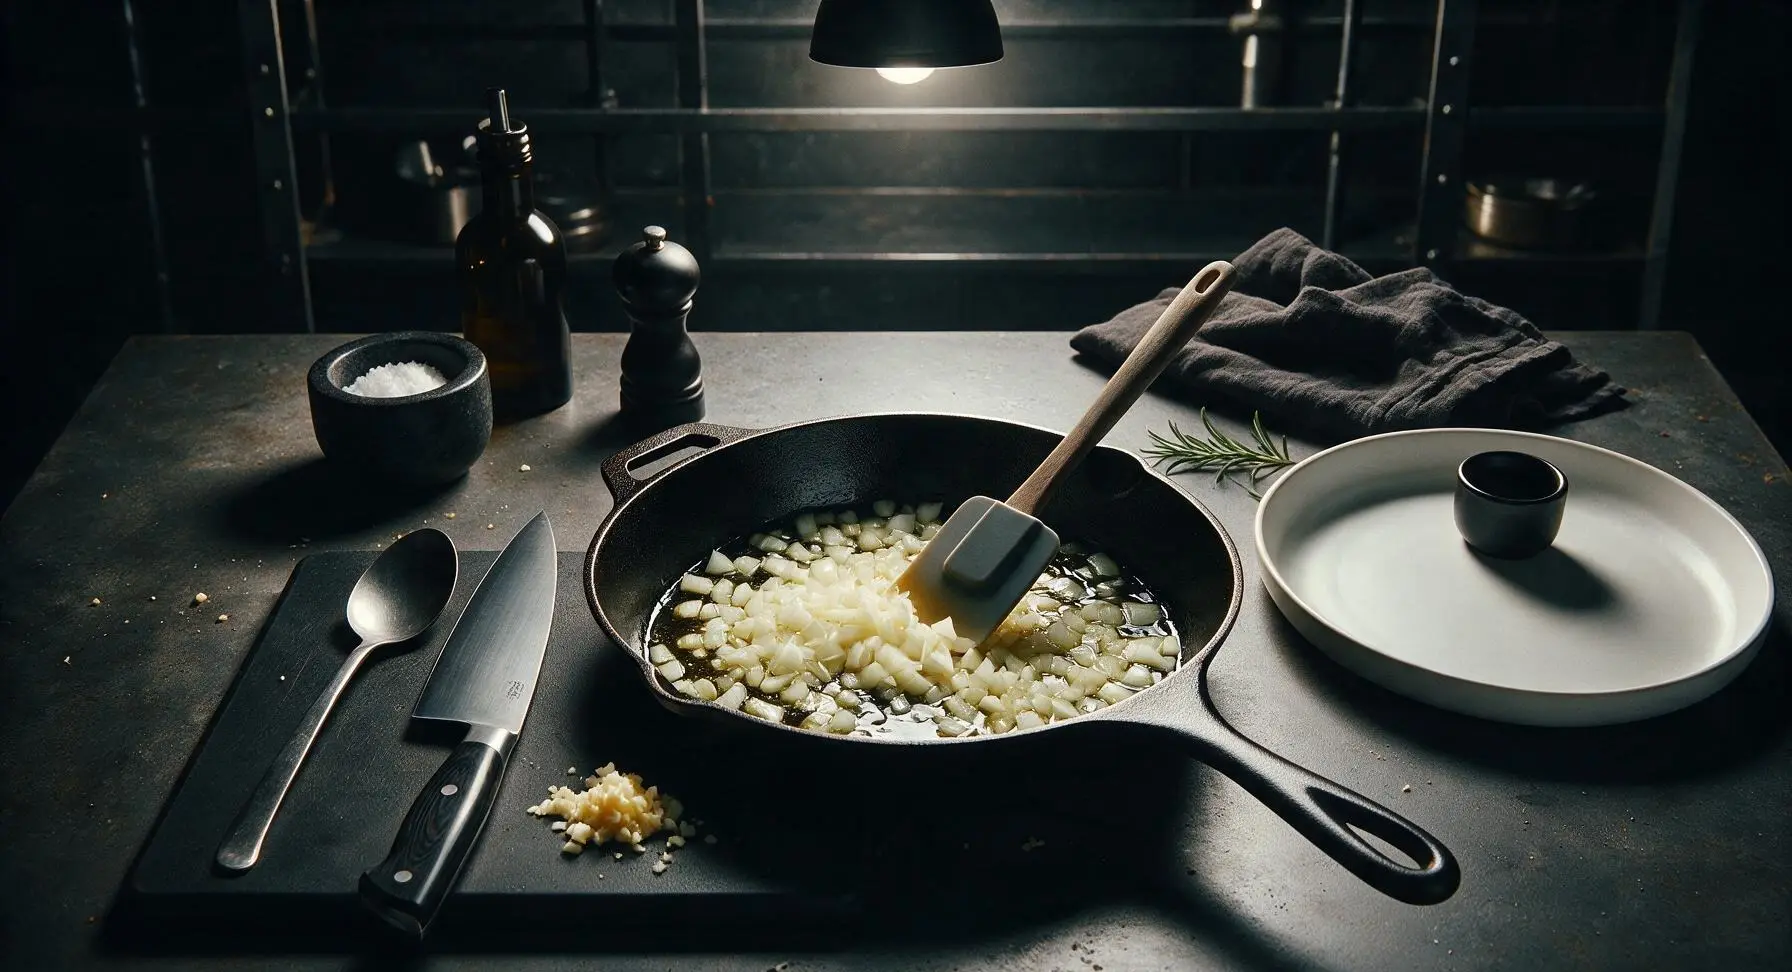
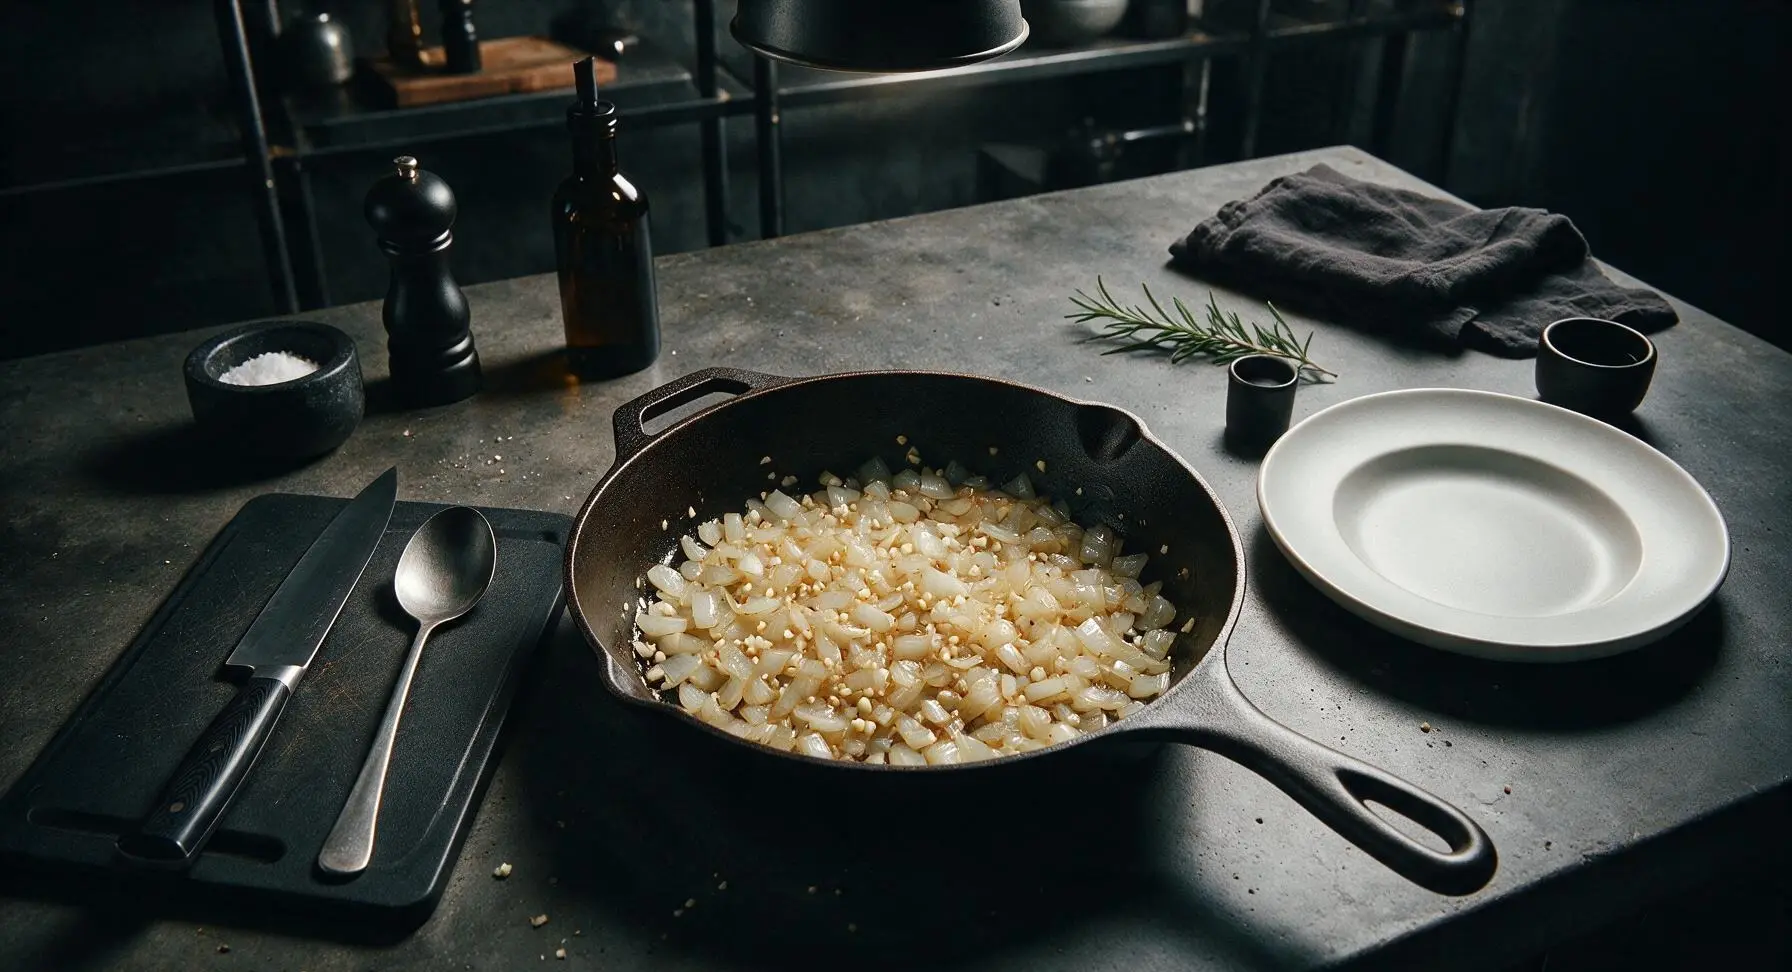
Add the diced onion to the hot oil, stirring with the silicone spatula to coat in oil. Sauté for 2 minutes, stirring occasionally, until the onion turns translucent and softens at the edges, with no raw sharp bite remaining. Add the minced garlic to the pan and sauté for 30 seconds more, until fragrant — do not let the garlic turn brown, as it will develop a bitter, off flavor.
Step 3
step3:Sauté Aromatics Until Soft
Step 3
step3:Sauté Aromatics Until Soft
4

Brown the Ground Beef

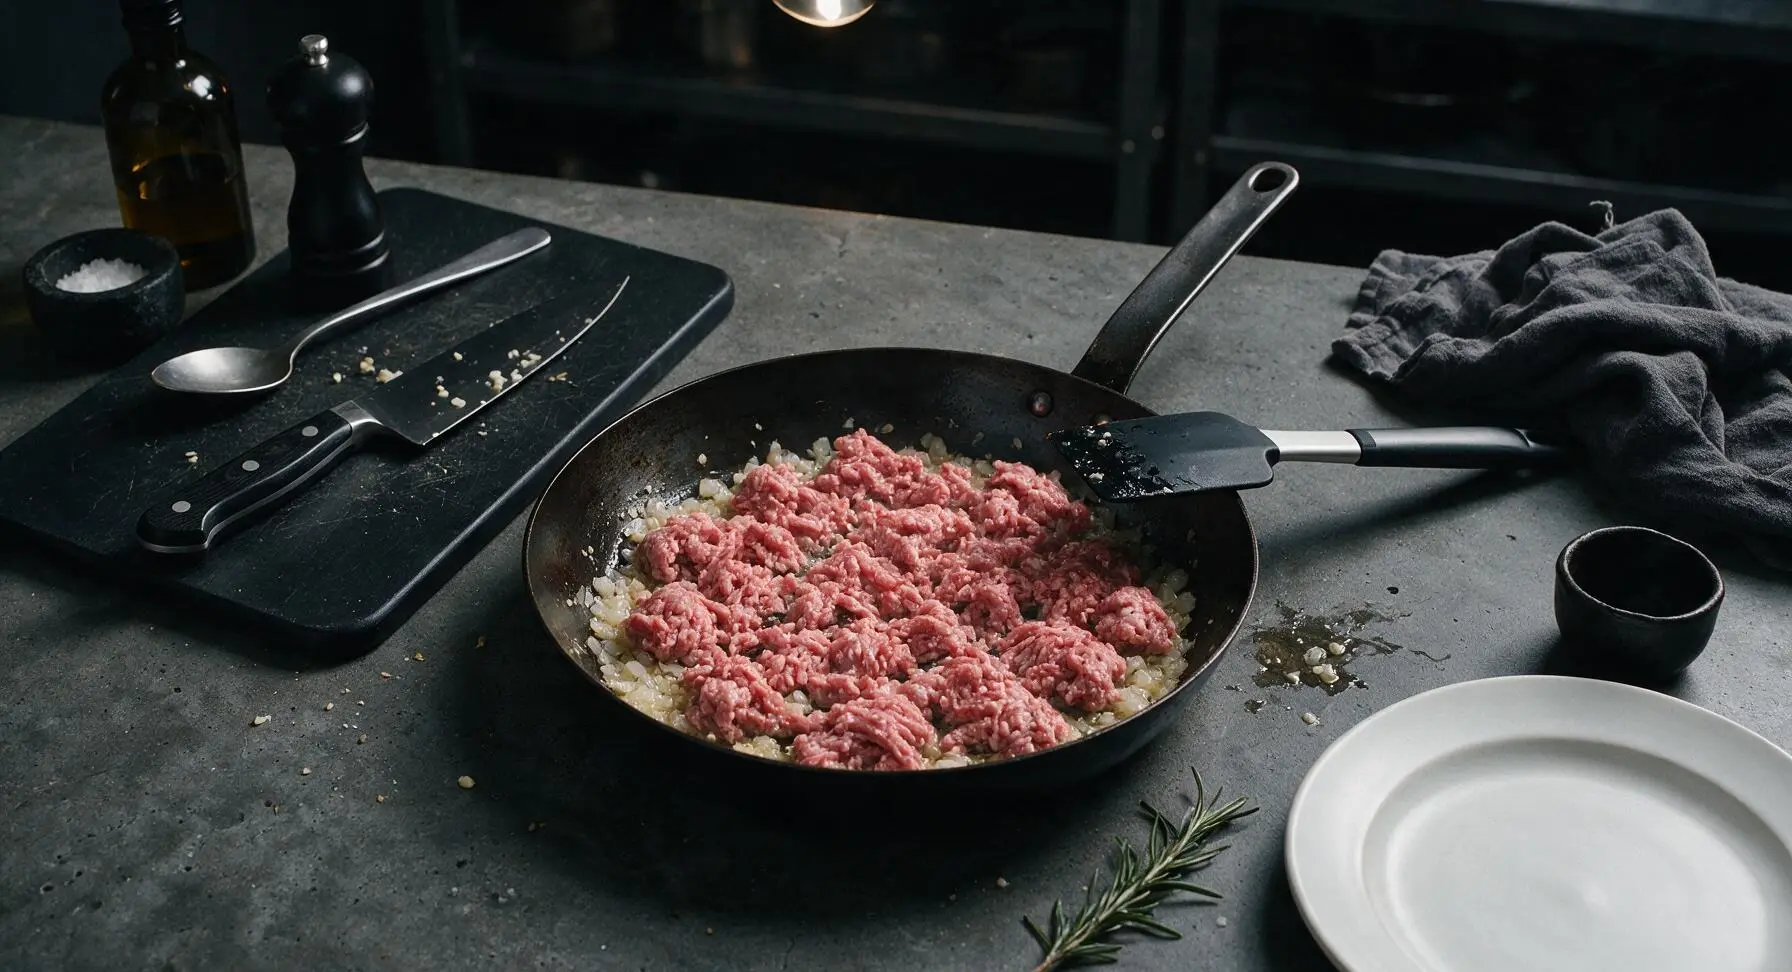
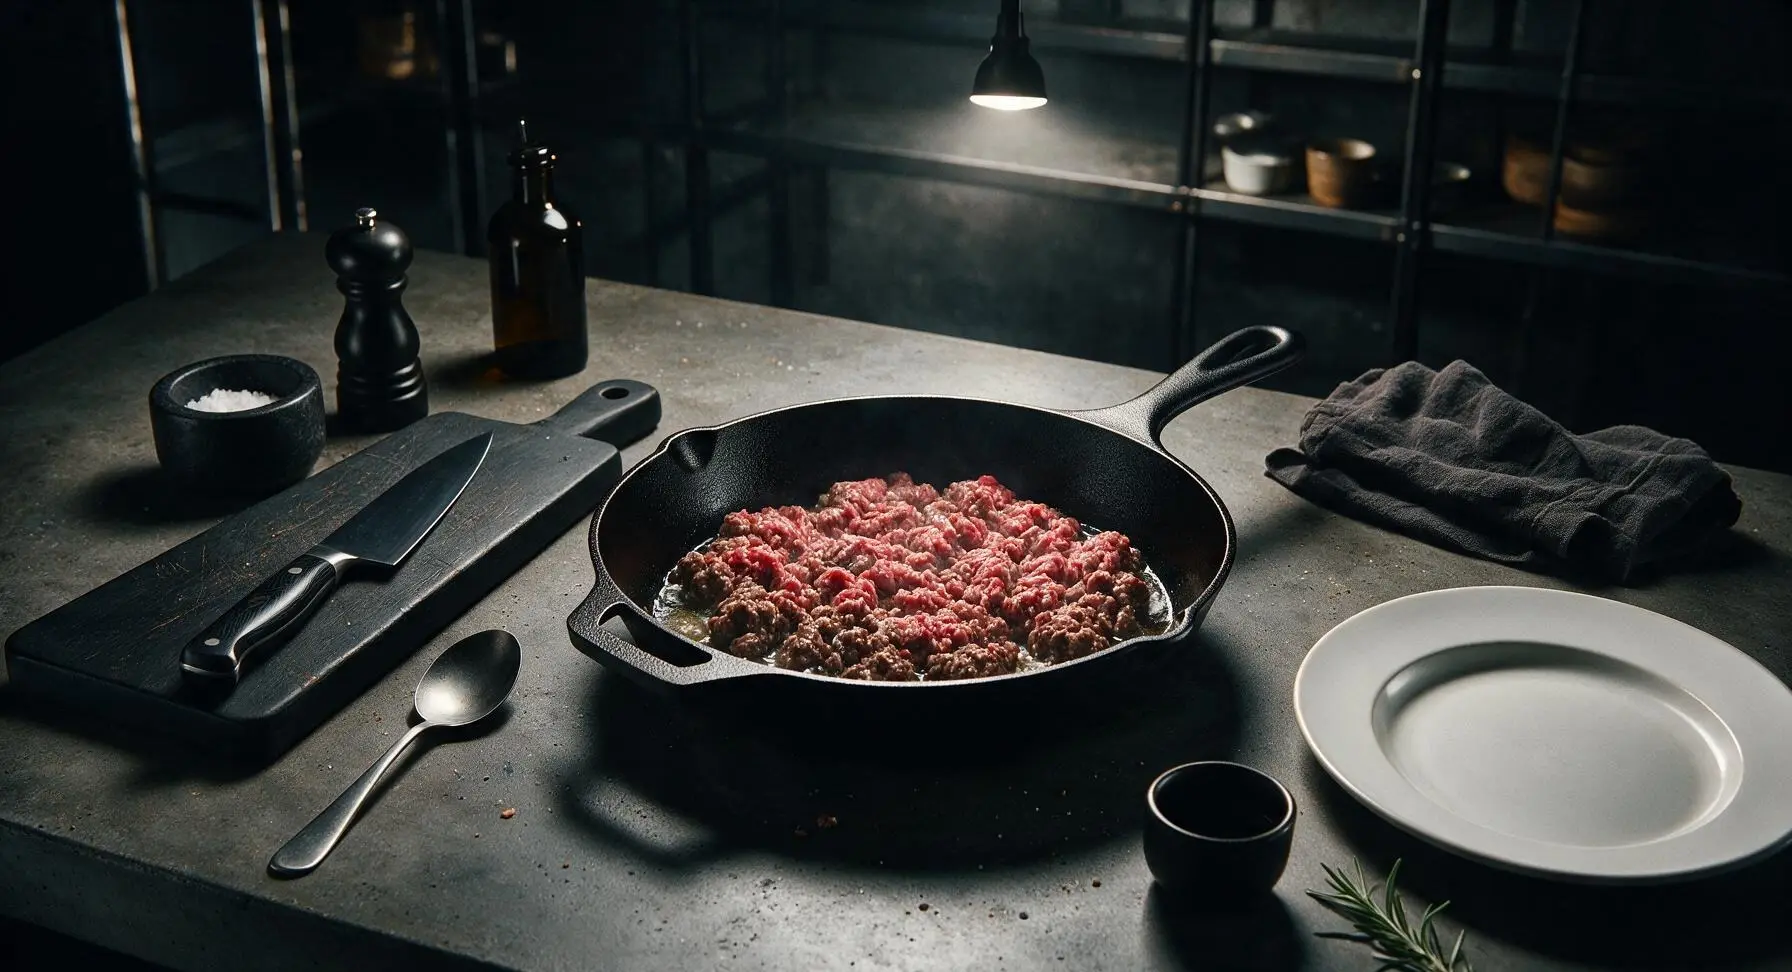
Crumble the 500g of 80/20 ground beef directly into the skillet with the sautéed aromatics, breaking it into large 2-3cm chunks with the edge of the silicone spatula. Let the beef cook undisturbed for 3 minutes to develop a deep brown crust on the bottom, which builds rich savory Maillard reaction flavor. Do not stir constantly during this searing step, as constant movement will prevent proper browning.
Step 4
step4:Brown the Ground Beef
Step 4
step4:Brown the Ground Beef
5

Break Beef Into Crumbles

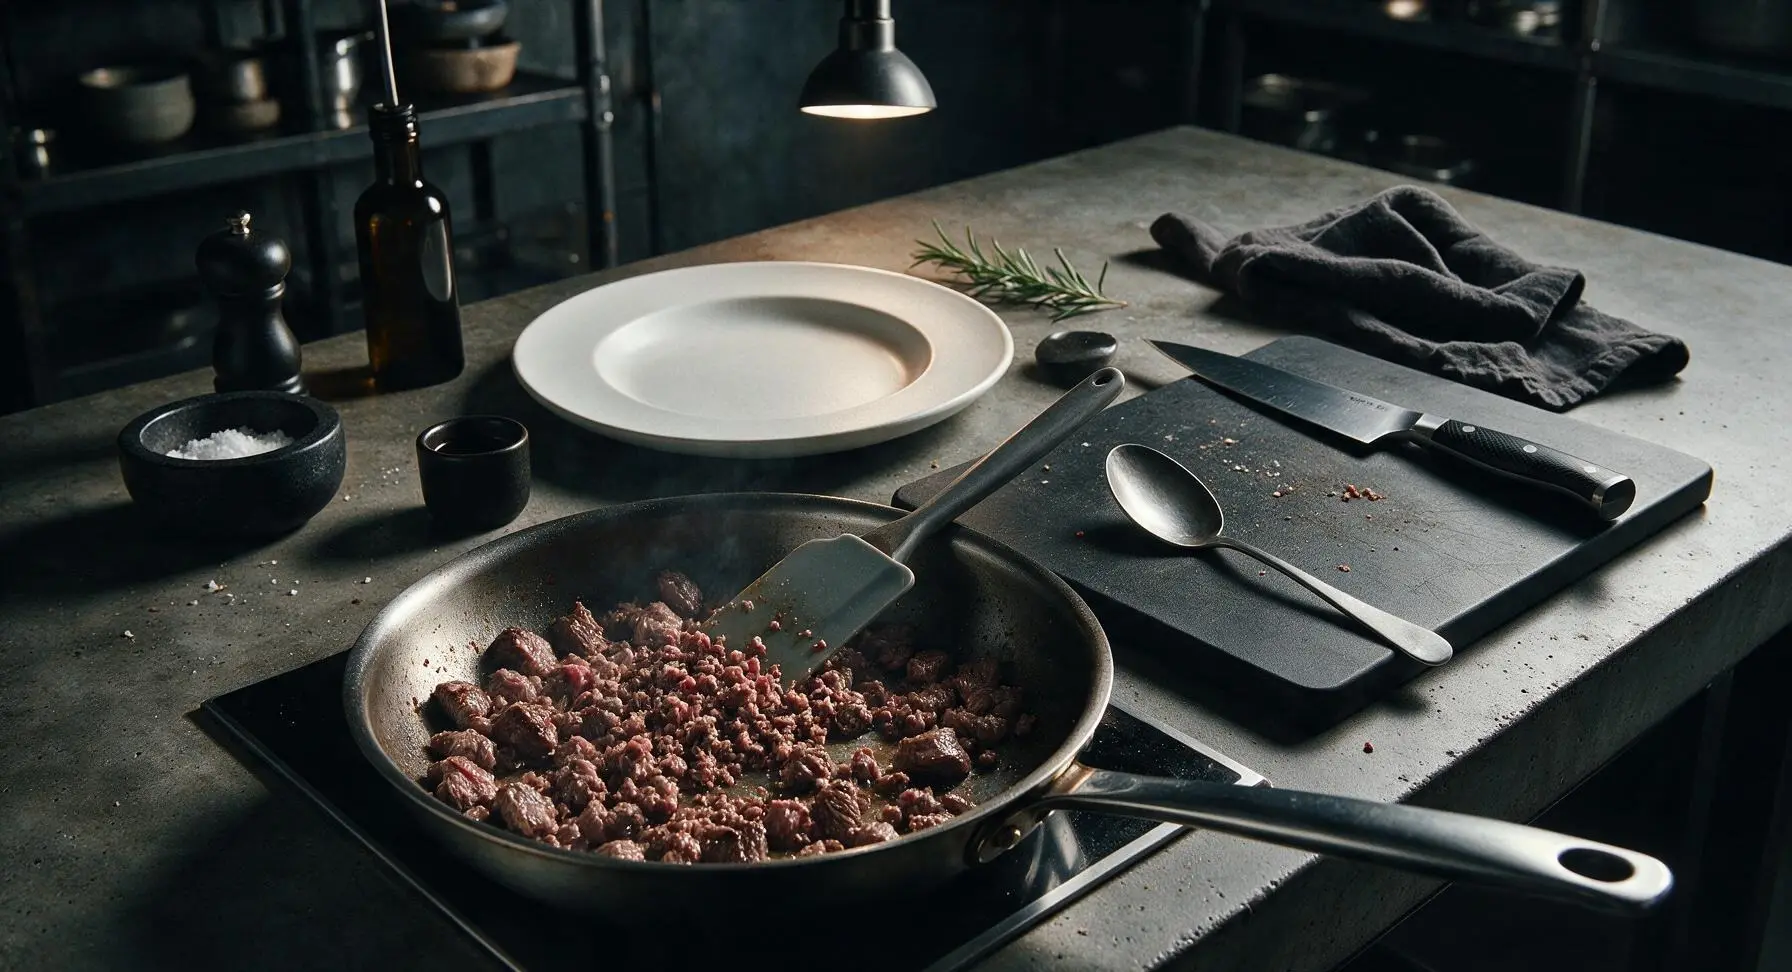
After the 3-minute sear, use the silicone spatula to break the beef chunks into smaller, uniform 5-8mm crumbles, stirring to flip the uncooked pink portions down to the hot pan surface. Cook for an additional 2 minutes, stirring occasionally, until almost all pink is gone from the meat — a faint hint of pink is fine, as residual pan heat will finish cooking the beef off-heat.
Step 5
step5:Break Beef Into Crumbles
6

Add Seasonings and Paste

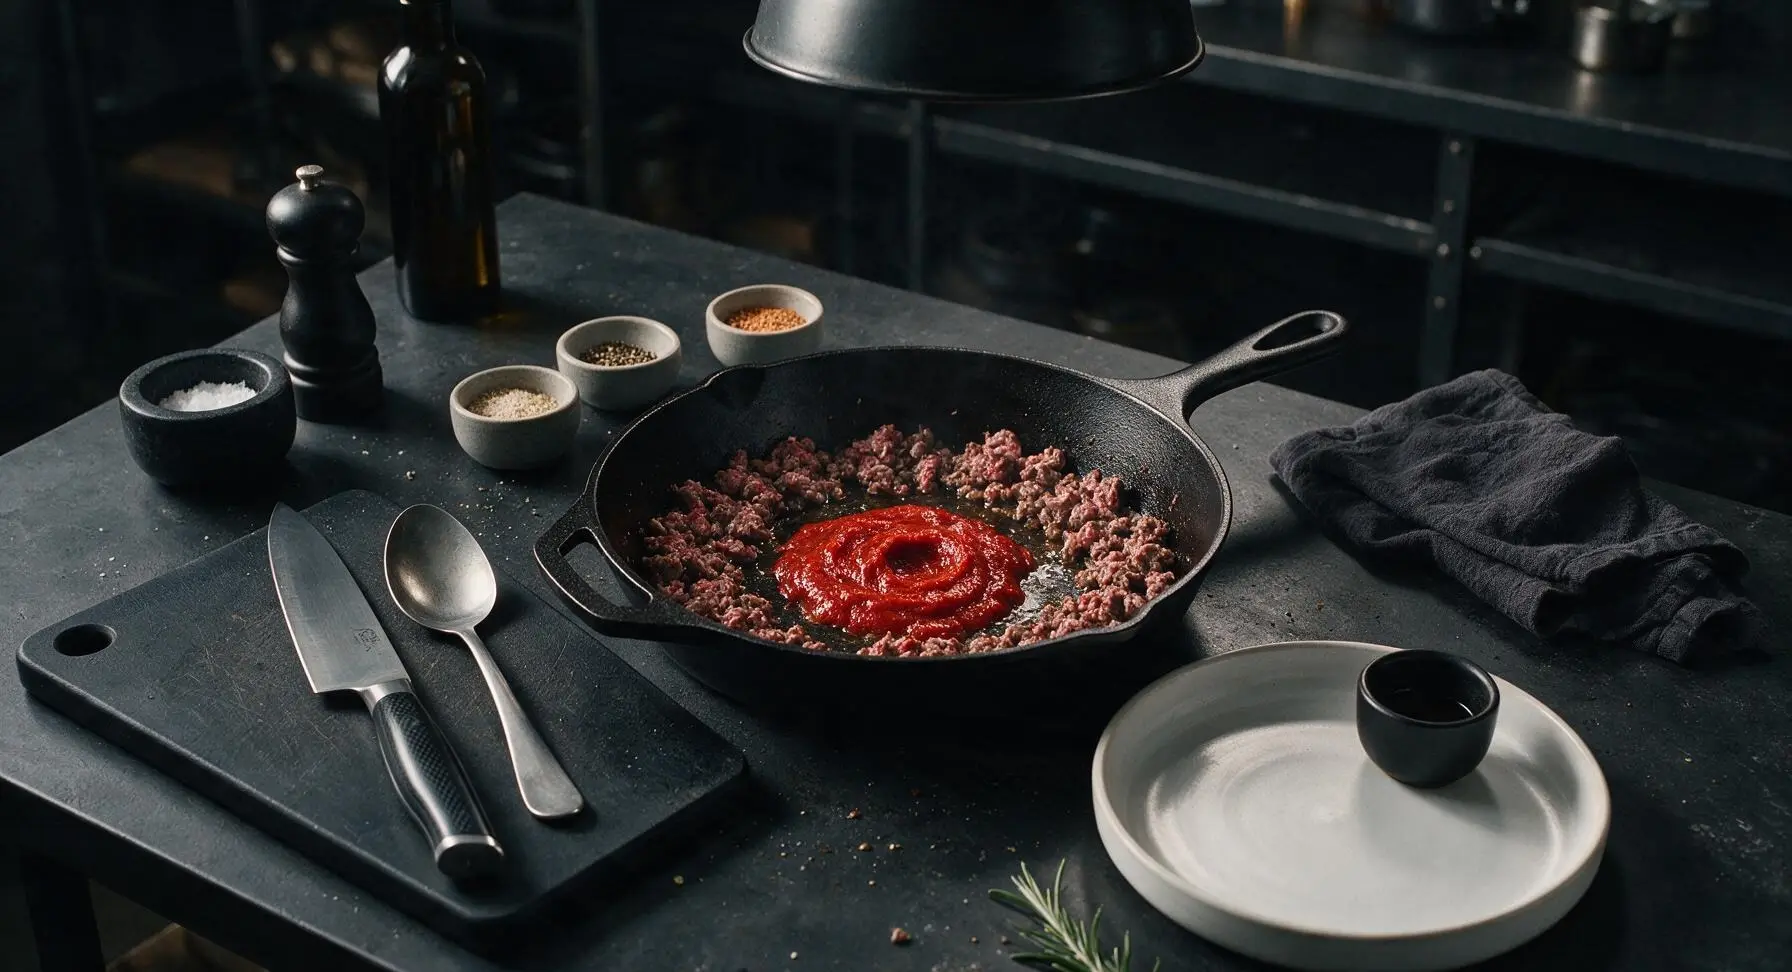
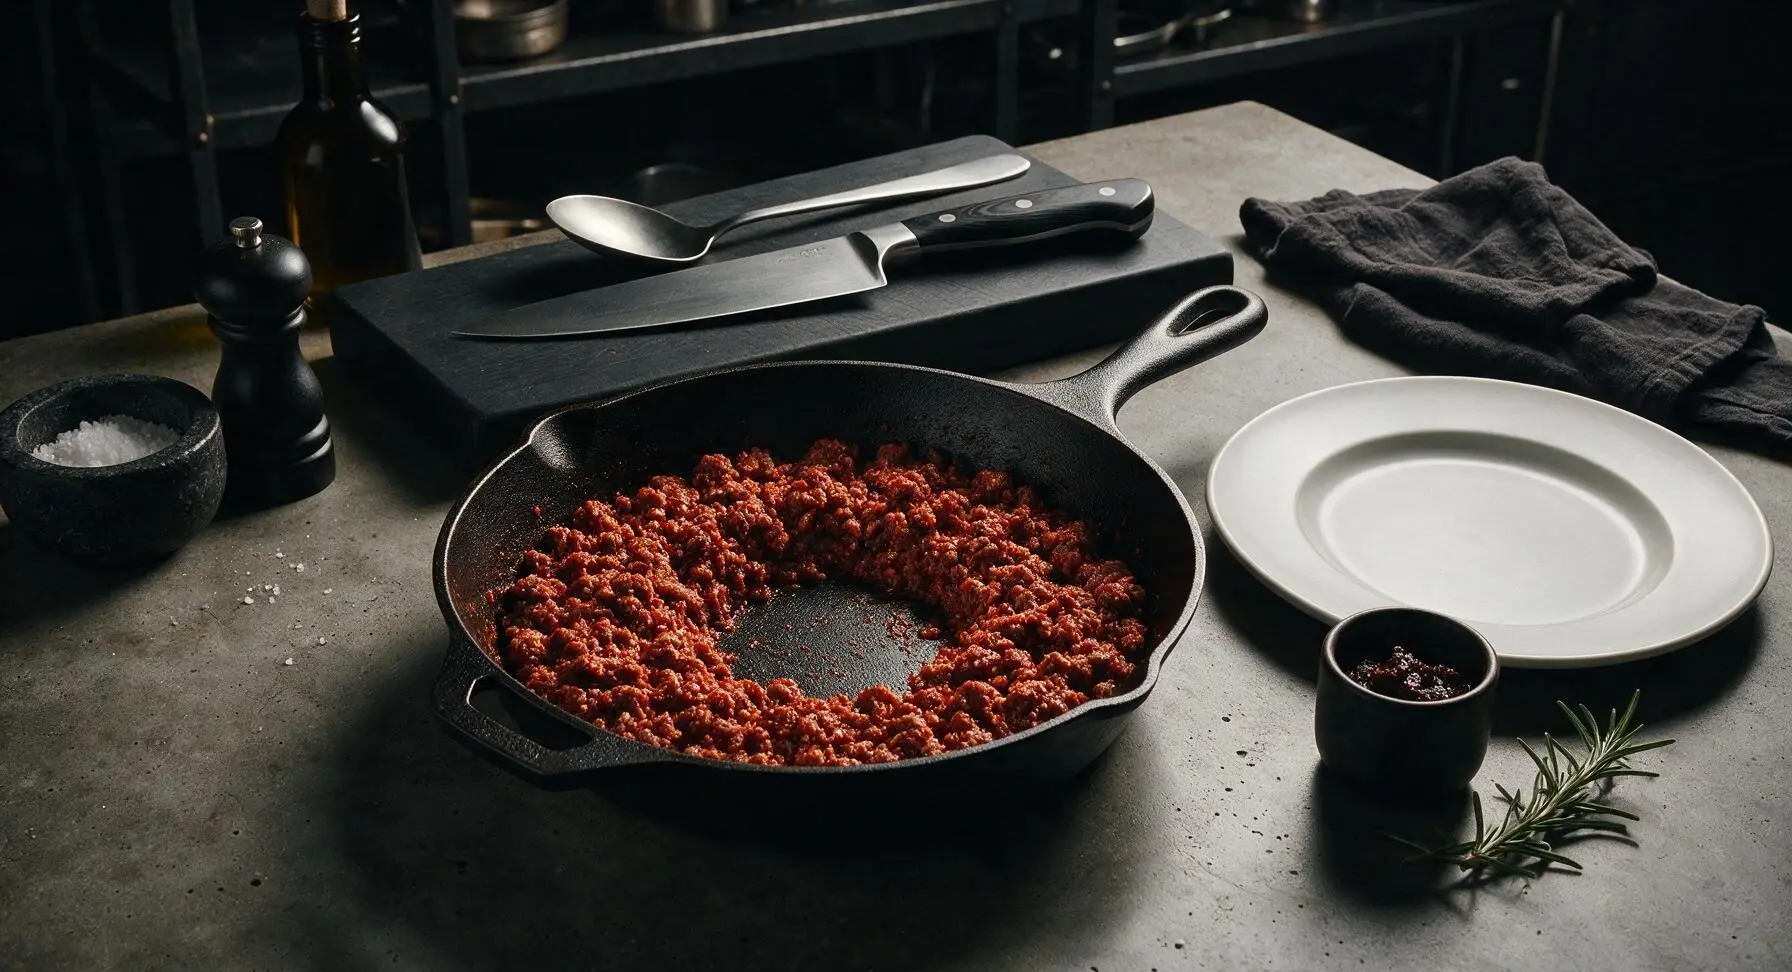
Push the beef crumbles to the sides of the skillet to create a small empty well in the center of the pan. Add the 1 tablespoon of tomato paste to the well, cooking it for 30 seconds until it darkens slightly and smells sweet and rich. Add the 1 teaspoon kosher salt, 1/2 teaspoon black pepper, 1/2 teaspoon garlic powder, 1/2 teaspoon onion powder, and 1 tablespoon Worcestershire sauce to the pan, stirring thoroughly to coat all beef crumbles evenly in the seasoning and tomato paste.
Step 6
step6:Add Seasonings and Paste
Step 6
step6:Add Seasonings and Paste
7

Simmer to Blend Flavors

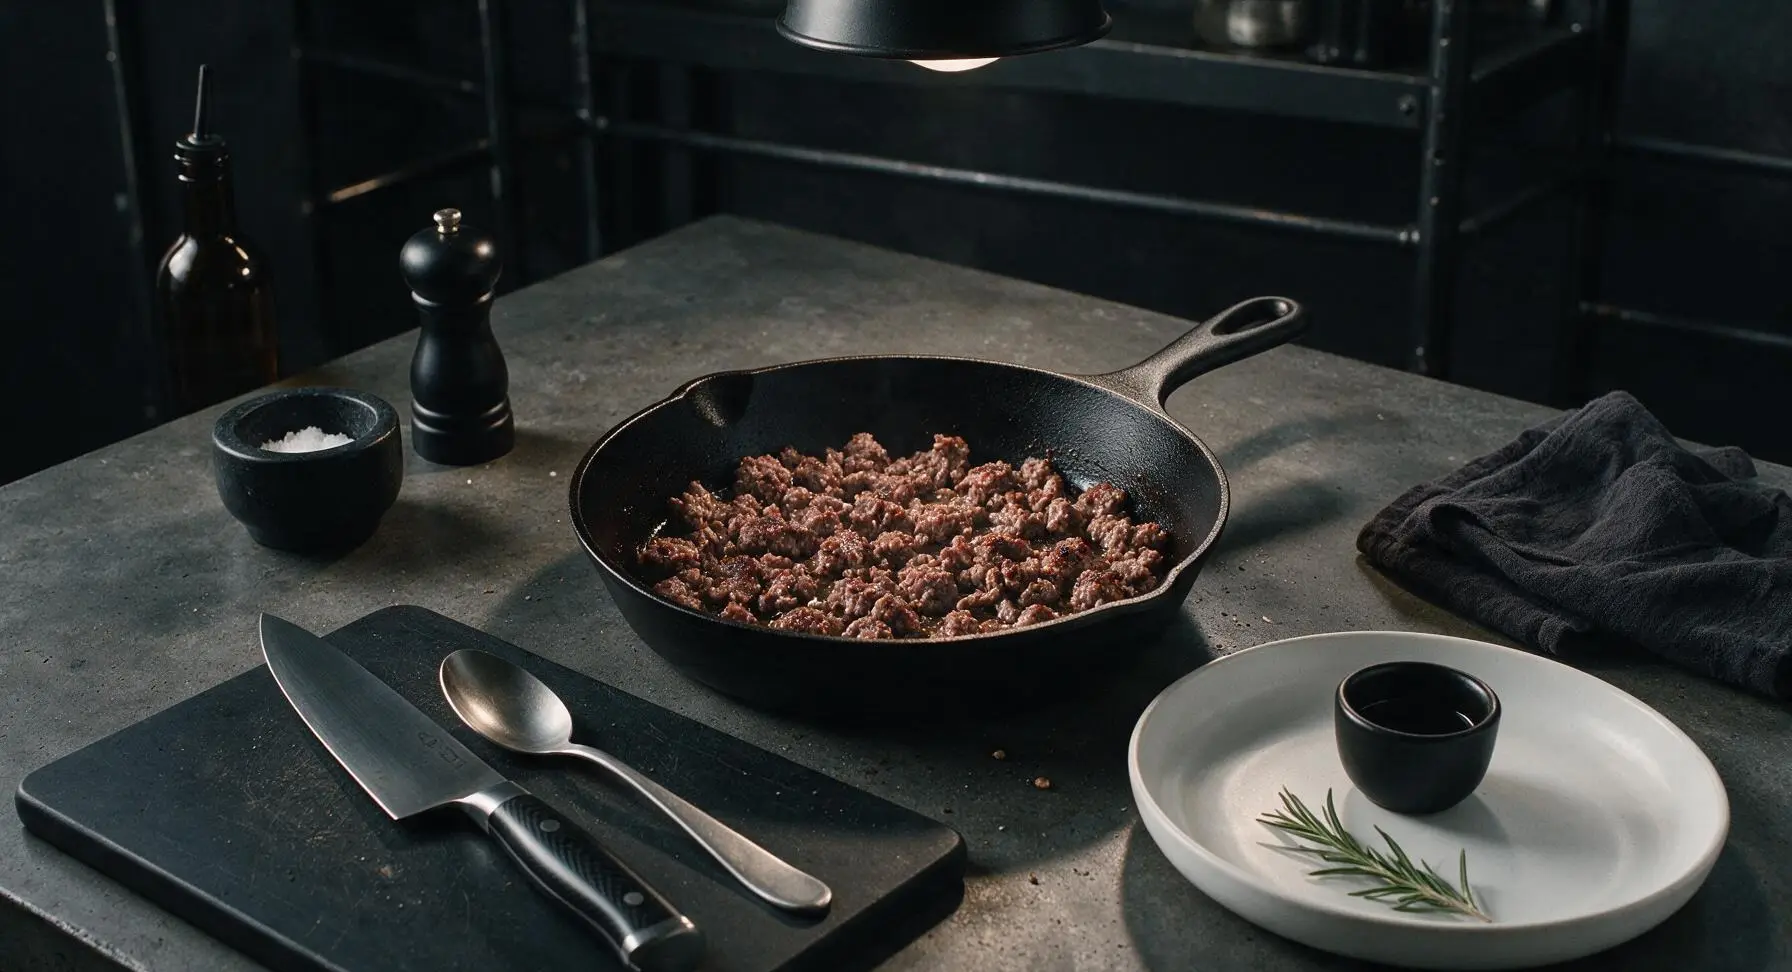
Reduce the cooktop heat to medium-low (325°F / 160°C), stir the beef mixture once more, then let it simmer for 2 minutes to let the spices meld and any excess liquid evaporate. The finished meat should be crumbly, not soupy, with no remaining raw pink color, and crisp, browned edges on about 20% of the crumbles for texture. Turn off the cooktop heat.
Step 7
step7:Simmer to Blend Flavors
8

Plate and Garnish

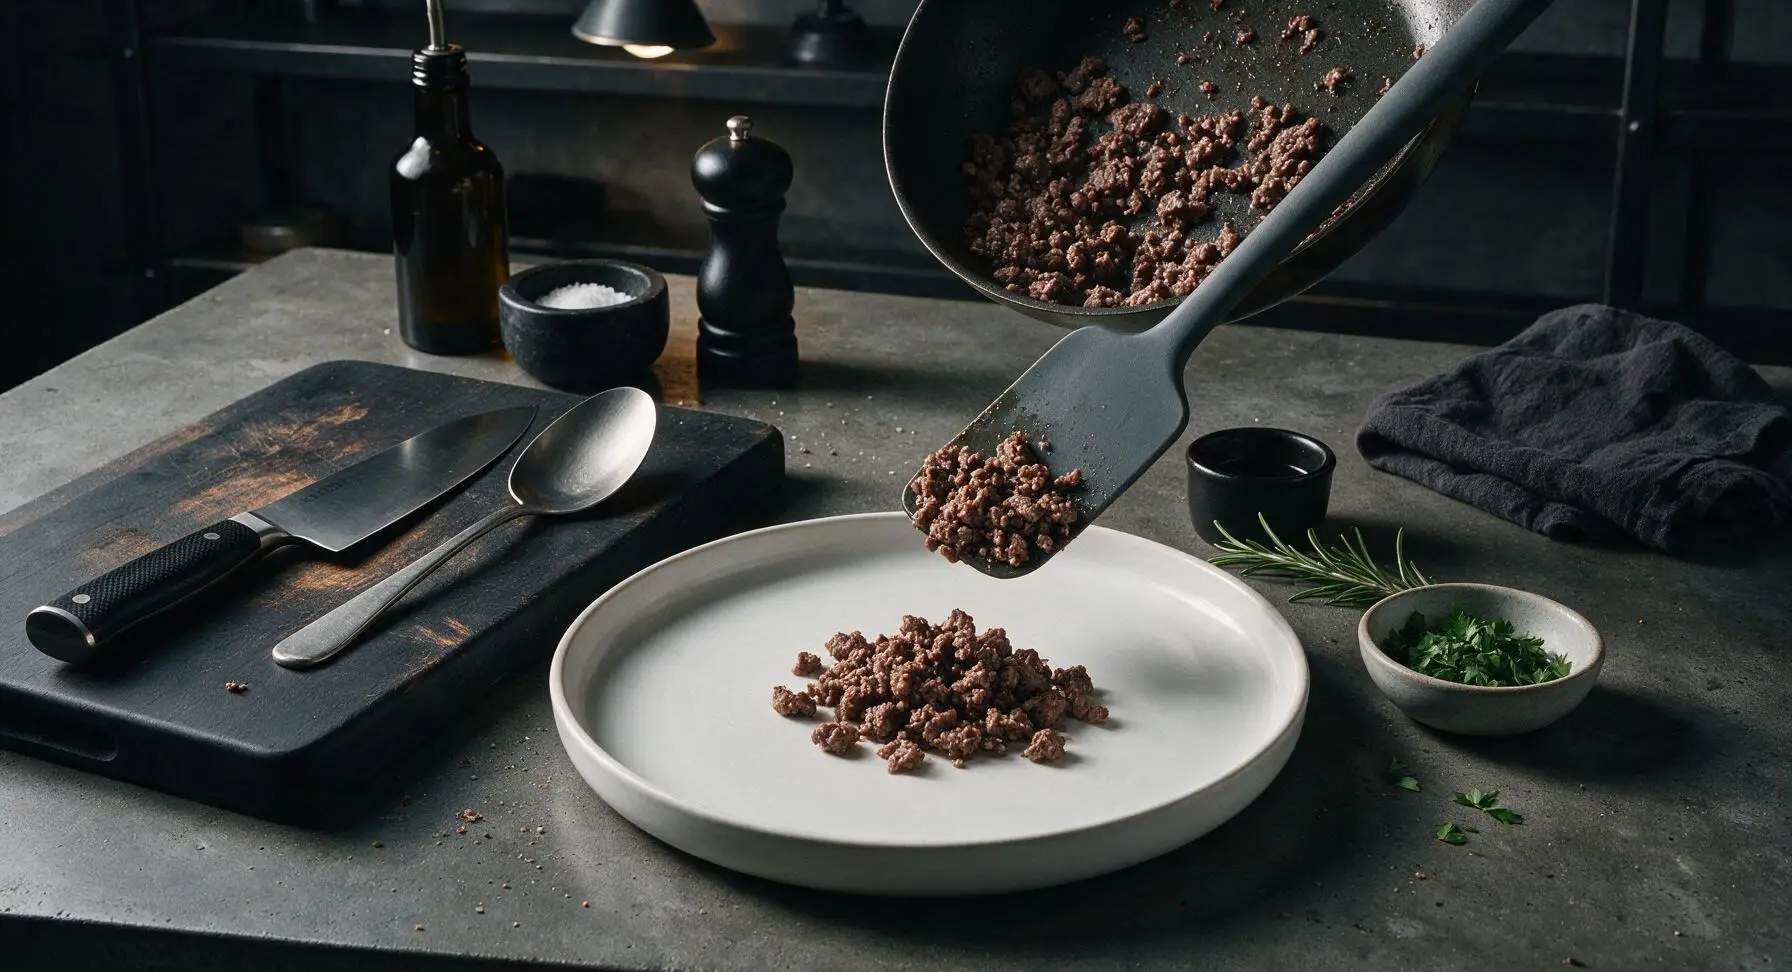
Transfer the cooked hamburger meat from the skillet to the waiting matte off-white ceramic dinner plate, mounding it gently in the center. Sprinkle the 2 tablespoons of chopped fresh flat-leaf parsley across the top as a bright, fresh garnish. Let rest for 1 minute before serving, so juices redistribute through the crumbles for maximum juiciness.
Step 8
step8:Plate and Garnish

Tips

1.Choose 80/20 ground beef over leaner blends: the 20% fat content renders as the meat cooks, creating rich, deep browning without the meat drying out, and eliminates the need to drain excess fat for the best, most beefy flavor.
2.Avoid constant stirring during the initial sear: leaving the beef undisturbed for 3 minutes allows the Maillard browning reaction to develop on the meat surface, creating the savory, deep flavor that makes homemade hamburger meat taste far better than soggy, steamed fast-food crumbles.
3.Toast tomato paste before mixing it into the beef: cooking the paste for 30 seconds in the hot pan well removes its raw, metallic canned taste and brings out its natural sweet, umami depth that elevates the entire dish without requiring extra ingredients.


✨ You May Also Like

Main Course
🍜 United Kingdom

A showstopping classic of tender seared beef, savory mushroom duxelles, and crisp prosciutto wrapped in flaky golden puff pastry, baked to juicy perfection.

⏱️ 2 hours 1Main Course ★ 4.7
Main Course
🍜 India

Tender charred marinated chicken simmered in a rich, spiced creamy tomato sauce, this iconic Anglo-Indian curry pairs perfectly with basmati rice or warm naan.

⏱️ 50 minuteMain Course ★ 4.6
Main Course
🍜 Thailand

Classic tangy, sweet, and savory Thai stir-fried rice noodles with shrimp, tofu, and crunchy garnishes, balancing all five core Thai flavor profiles.

⏱️ 30 minuteMain Course ★ 4.5
Main Course
🍜 United Kingdom

Crispy golden beer-battered cod and fluffy double-fried chips, served with tangy tartar sauce and malt vinegar: the timeless, beloved British pub comfort classic.

⏱️ 45 minuteMain Course ★ 4.7
Main Course
🍜 Mexico

Smoky, chile-marinated pork tacos with caramelized pineapple, fresh cilantro, and lime: a beloved classic Mexican street food perfect for casual summer gatherings.

⏱️ 1 hour 45Main Course ★ 4.8
Main Course
🍜 United States

Crunchy Fritos corn chips layered with savory beef chili and melted cheddar, topped with cool, zesty fixings for a beloved, cozy Tex-Mex comfort food.

⏱️ 35 minuteMain Course ★ 4.8

quick hamburger meat:Frequently Asked Questions

1.Why do you recommend 80/20 ground beef instead of a leaner blend? ▾
The 80/20 lean-to-fat ratio strikes the perfect balance for juicy, flavorful crumbles without excess grease. The rendered fat cooks the onion and garlic directly without needing extra oil, and you won’t end up with the dry, chalky texture that ultra-lean 90/10 or 93/7 ground beef often develops when browned quickly over high heat.
2.Do I need to drain all the fat after browning the beef? ▾
For 80/20 beef, you usually only need to drain excess fat if you see more than 1-2 tablespoons pooled in the pan after browning. A small amount of fat carries the flavor of the tomato paste, Worcestershire, garlic, and onion, so draining every last bit will leave your meat bland and less juicy for tacos, pasta, or sloppy joes.
3.Can I make this hamburger meat ahead for meal prep? ▾
Absolutely! Let the cooked hamburger meat cool completely, then store it in an airtight container in the fridge for up to 4 days, or freeze for up to 3 months. Reheat it in a skillet over medium-low with a splash of water or beef broth to loosen it up and bring back that juicy texture before using it in meals.
4.Why use tomato paste instead of tomato sauce for this recipe? ▾
Tomato paste has a concentrated, deep, umami-rich tomato flavor that cooks down in just 1-2 minutes without adding extra moisture that would make your crumbled meat soggy. Tomato sauce would water down the tasty browned bits on the pan bottom and make the meat too wet for uses like taco filling or sloppy joe base.
5.How do I get deeply browned crumbles instead of gray, steamed meat? ▾
Start with a preheated, heavy-bottomed skillet over medium-high heat, and don’t stir the beef immediately after adding it to the pan. Let it sit undisturbed for 3-4 minutes to form a nice browned crust on the bottom, then break it apart with a spatula to finish cooking—this avoids steaming the meat as it releases moisture.
6.Can I substitute ground turkey or chicken for the beef? ▾
You can swap in ground turkey or chicken, but opt for a 93/7 blend to avoid dryness, and add 1 tablespoon of olive oil to the pan before cooking since poultry has far less natural fat than 80/20 beef. You may also want to add an extra dash of Worcestershire to amp up the savoriness that beef fat naturally provides.
7.How small should I dice the yellow onion for this recipe? ▾
Aim for a ¼-inch small dice so the onion cooks fully and softens in the same short 15-minute cook time as the rest of the ingredients. Larger chunks will stay crunchy and undercooked, while finely minced onion will burn quickly before the beef finishes browning, throwing off the dish’s balanced savoriness.
8.Is there a good substitute for Worcestershire sauce if I don’t have any? ▾
Worcestershire adds deep, tangy, umami depth that ties all the other flavors together, but if you don’t have it on hand, swap it for 1 teaspoon of soy sauce mixed with ¼ teaspoon of apple cider vinegar and a tiny pinch of brown sugar to match its tangy, savory profile in a pinch.
9.What’s the best way to break the beef up into even, consistent crumbles? ▾
Use a stiff metal spatula or a potato masher to press and break the beef apart once it’s had time to brown on the first side. This will give you evenly sized, pea-to-dime sized crumbles that cook consistently, instead of uneven chunks that are either overcooked and dry or undercooked in the center.
10.Can I add extra seasonings to customize this for different meals? ▾
Definitely! For taco use, stir in a teaspoon of chili powder and cumin after browning; for pasta add a pinch of Italian seasoning and red pepper flakes; for sloppy joes stir in a tablespoon of brown sugar and a splash of apple cider vinegar. The base recipe is intentionally neutral to work for any weeknight use.
11.Why cook the tomato paste with the aromatics instead of stirring it in at the end? ▾
Cooking tomato paste for 60-90 seconds with the onion and garlic toasts it, mutes its raw, metallic taste, and caramelizes its natural sugars to bring out a rich, deep flavor. Stirring it in at the end would leave a sharp, raw tomato aftertaste that doesn’t blend as smoothly with the seasoned beef.
12.Does this really only take 15 minutes to make from start to finish? ▾
From pulling ingredients out of your fridge to having finished, seasoned meat ready to use, it takes exactly 15 minutes as written. Prep work (dicing the onion, mincing garlic) takes 5 minutes, and the actual cook time over medium-high heat is 10 minutes flat, making it perfect for rushed weeknight schedules.
13.Should I season the meat with salt and pepper at the start or end of cooking? ▾
Add a light pinch of salt when you first add the beef to the pan to draw out a little moisture for better browning, then do a final taste test and adjust salt and pepper right at the end after adding the tomato paste and Worcestershire. This prevents over-salting, since those two ingredients already contain sodium.
14.Can I make this with frozen ground beef if I forget to thaw it? ▾
You can, if you’re in a real pinch! Place the frozen block of beef in the skillet over medium-low, cover, and flip every 2 minutes to thaw the outer layer, scraping off browned crumbles as you go. It adds about 5 minutes to total cook time, and you’ll still get nice browned crumbles if you let them crisp after thawing.
15.What should I do if my finished meat turns out too greasy? ▾
If you end up with excess grease after browning, simply tilt the pan and spoon out any extra into a heatproof container—never pour grease down your drain, as it causes costly pipe clogs! Leave about 1 tablespoon of fat in the pan to carry seasoning flavor before adding tomato paste and Worcestershire.
16.What are the best ways to use this quick hamburger meat? ▾
This versatile seasoned meat works as a base for so many quick meals: toss it with marinara for spaghetti, pile it on buns with extra sauce for sloppy joes, stuff it into taco shells or tortillas, top a baked potato, mix it into mac and cheese, or serve it over rice with steamed veggies for a fast dinner.

Comments (6)

2 days ago

OMG this is a total game changer for our crazy weeknights! I’m usually scrambling to get dinner on the table between soccer practice and homework help, and this came together in literally 10 minutes like it said. My kids devoured it — I tossed it with some mac and cheese for them and my husband ate his piled on a brioche bun. SO good, will be making this on repeat for meal prep too!

yesterday

So glad this worked for your busy family schedule! Love the idea of pairing it with mac and cheese — that’s such a kid-friendly win, I’ll have to try that myself soon.

yesterday

Wait the mac and cheese hack is genius! I did taco bowls with mine last night and it was chef’s kiss, but my 7 year old would lose his mind over hamburger mac.

1 week ago

Bro I can barely boil water without burning it and this turned out perfect. No fancy ingredients, no weird steps, just straight up tasty hamburger meat in 10 minutes. Used it for sloppy joes last night and didn’t have to order takeout for the third night in a row. Win.

30 minutes ago

Super quick and tasty! Only thing I did differently was add a little extra garlic powder and a pinch of red pepper flakes for some heat. Perfect to toss over rice for a fast meal between study sessions. Would be 5 stars but I wish there was a note about draining the grease — almost forgot and it was a little too greasy for my taste.

5 minutes ago

Thanks for the honest feedback! Great call on the garlic and red pepper flakes, those are awesome add-ins. I’ll add a quick note about draining excess grease to the recipe steps to help other folks out, appreciate the heads up!

3 days ago

I make a big batch of this every Sunday for the week and it holds up so well! I use it for lettuce wraps, spaghetti topping, nachos, you name it. Way better than the pre-seasoned grocery store hamburger meat that’s loaded with weird preservatives. 10 minute cook time is no joke, I’ve timed it.

2 days ago

How long does this keep in the fridge for? I want to make it for work lunches this week but don’t want it to go bad!

2 days ago

I keep mine in an airtight container for up to 4 days and it’s totally fine! Just reheat it for 30 seconds in the microwave and it tastes just as good as night one.

yesterday

Y’all, I brought this to my neighborhood potluck last night mixed with baked beans and everyone was asking for the recipe! It’s so simple but the seasoning is perfect — not too salty, just the right amount of savoriness. I’ll be using this as my go-to hamburger base from now on.

2 hours ago

Oh the baked beans addition sounds insane! I’m hosting a cookout next weekend and was looking for a quick dish to bring, definitely gonna steal that idea.

just now

Used this meat for taco night tonight and it was chef’s kiss! The seasoning is so well balanced I didn’t have to add a single thing extra. My partner who is super picky about his tacos even went back for seconds. 10/10, adding this to our regular weeknight rotation.



