
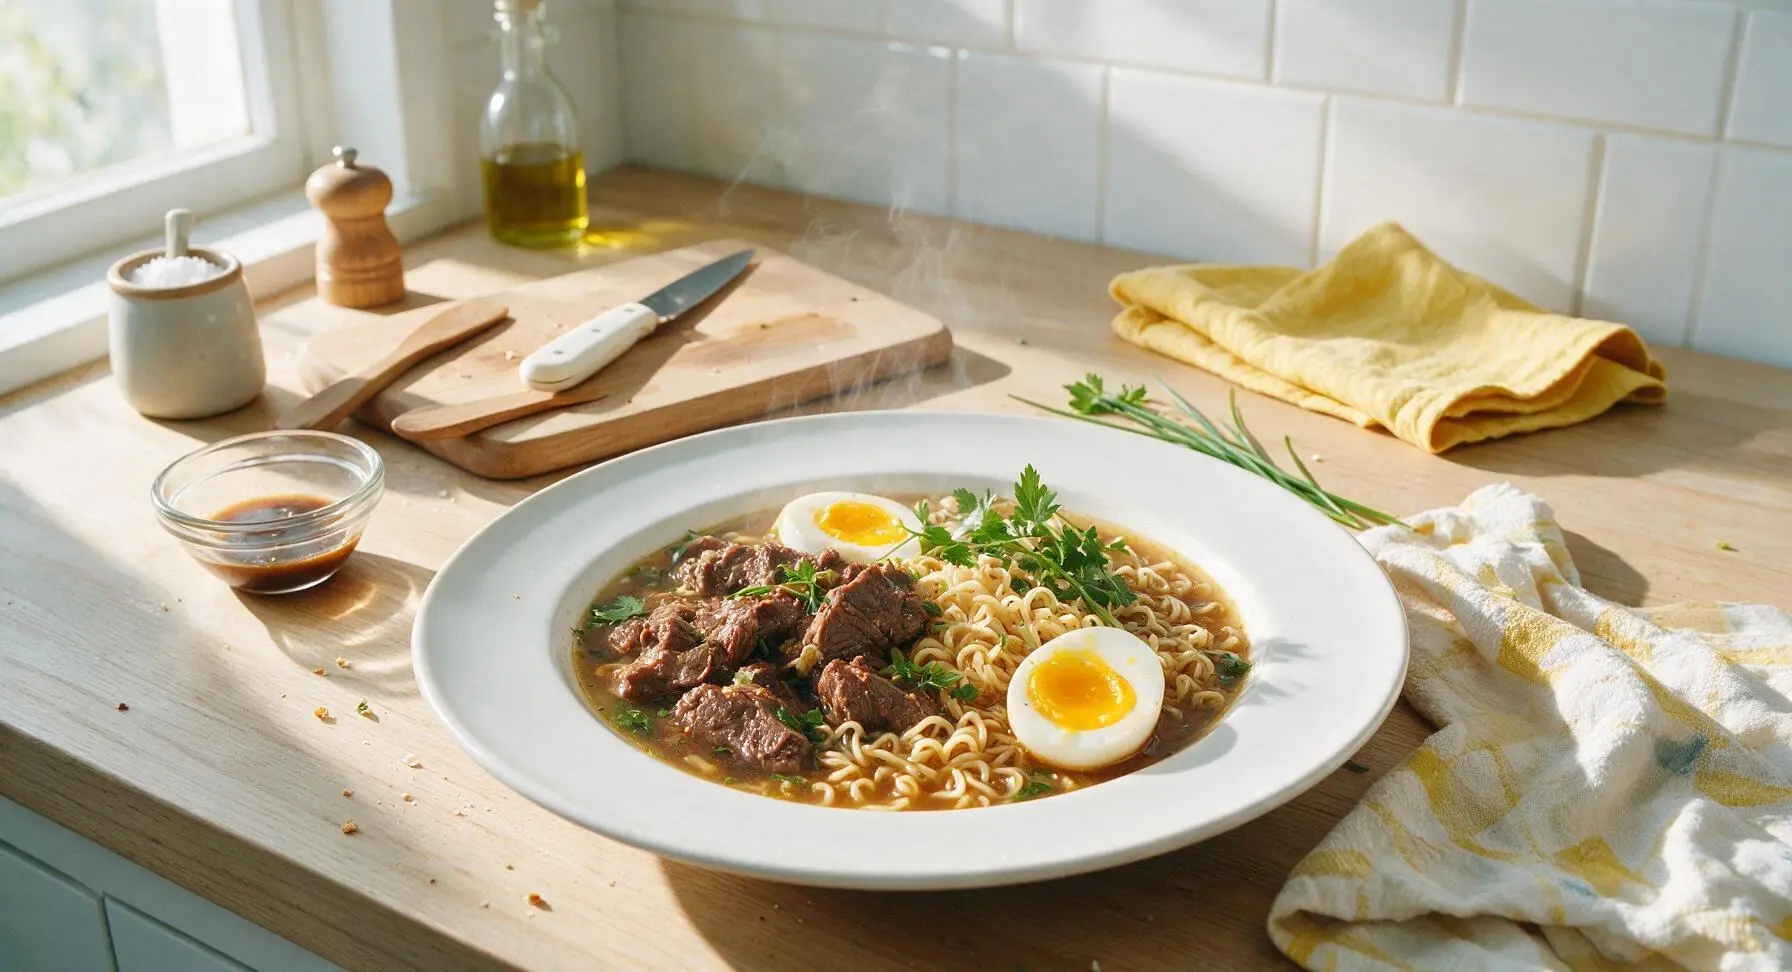
ramen beef

title 1
ramen beef
⏱️ cook time 40 minutes
🍽️ servings 4
⚡ Difficulty medium

intro

Tender soy-braised beef, springy ramen noodles, and jammy soft-boiled eggs in savory umami broth. This cozy dish is quick enough for weeknights, perfect for cold winter evenings.

Ingredients
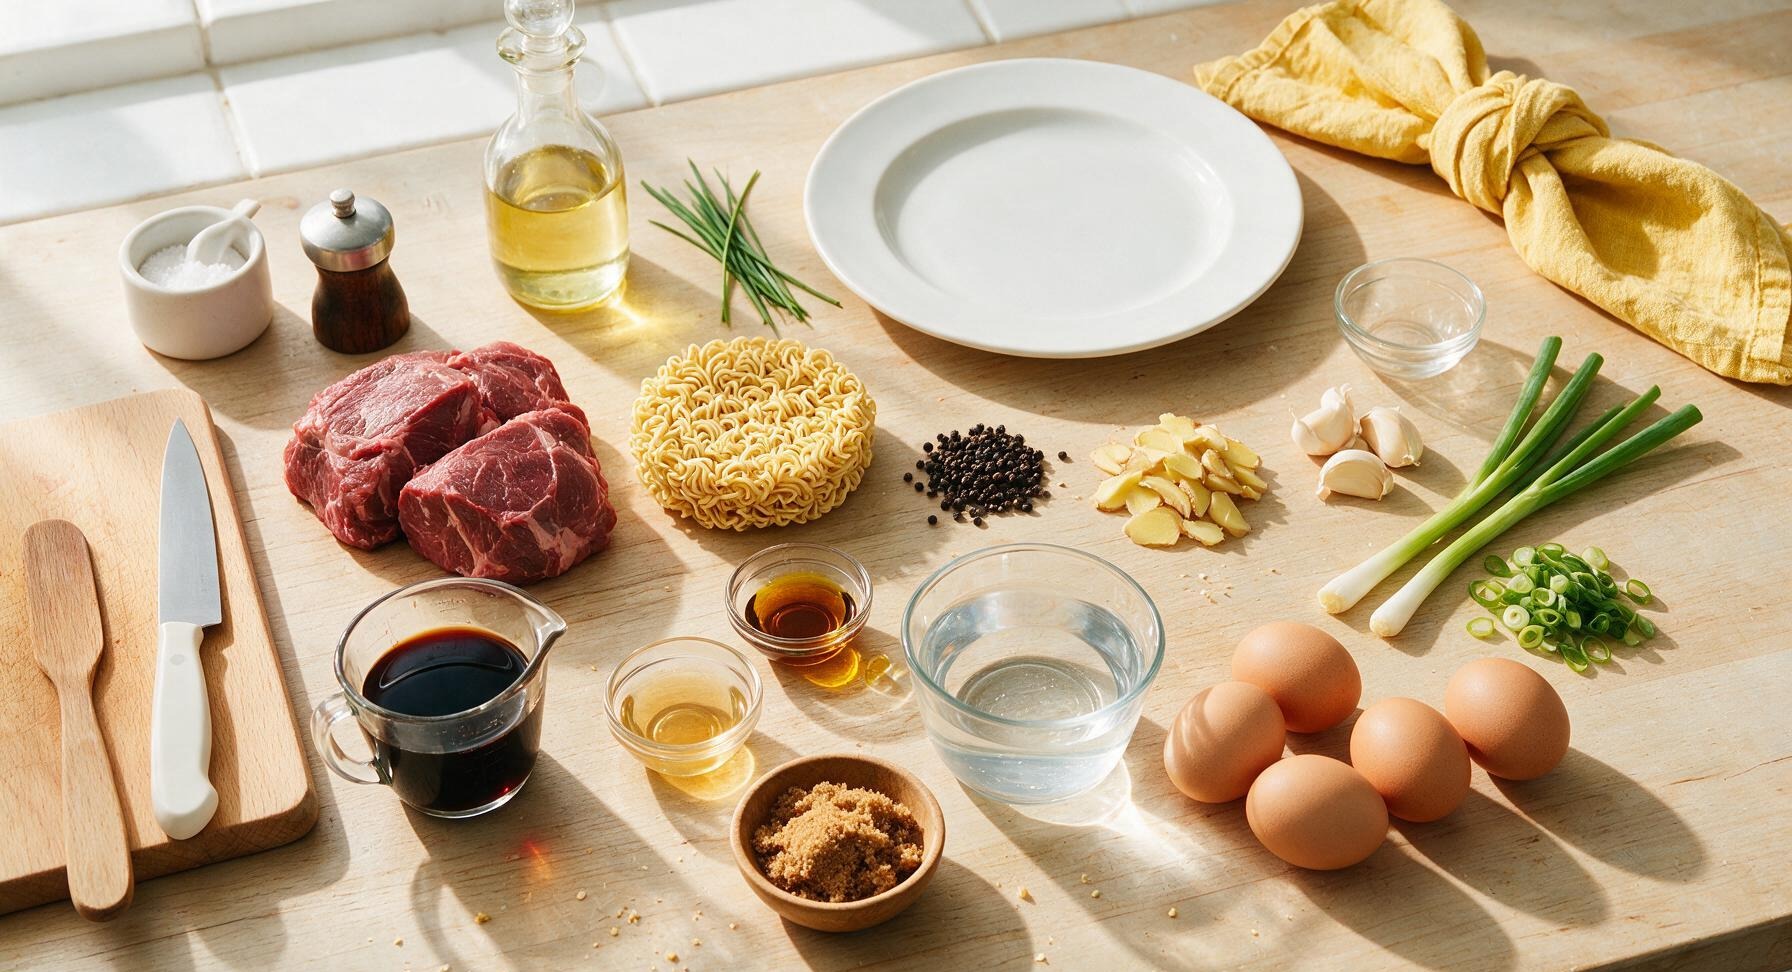
Boneless beef chuck roast 500g, cut into 2 equal chunks
Dried ramen noodles 300g
Low-sodium soy sauce 120ml
Mirin 60ml
Light brown sugar 2 tbsp, packed
Fresh ginger 5cm knob, thinly sliced
Garlic cloves 4, lightly crushed
Scallions 4 stalks (2 whole for braising, 2 thinly sliced for garnish)
Large eggs 4
Whole black peppercorns 1 tsp
Toasted sesame oil 1 tsp, plus extra for optional drizzle
Cold water 1.2L

Steps

1

Prep beef for searing

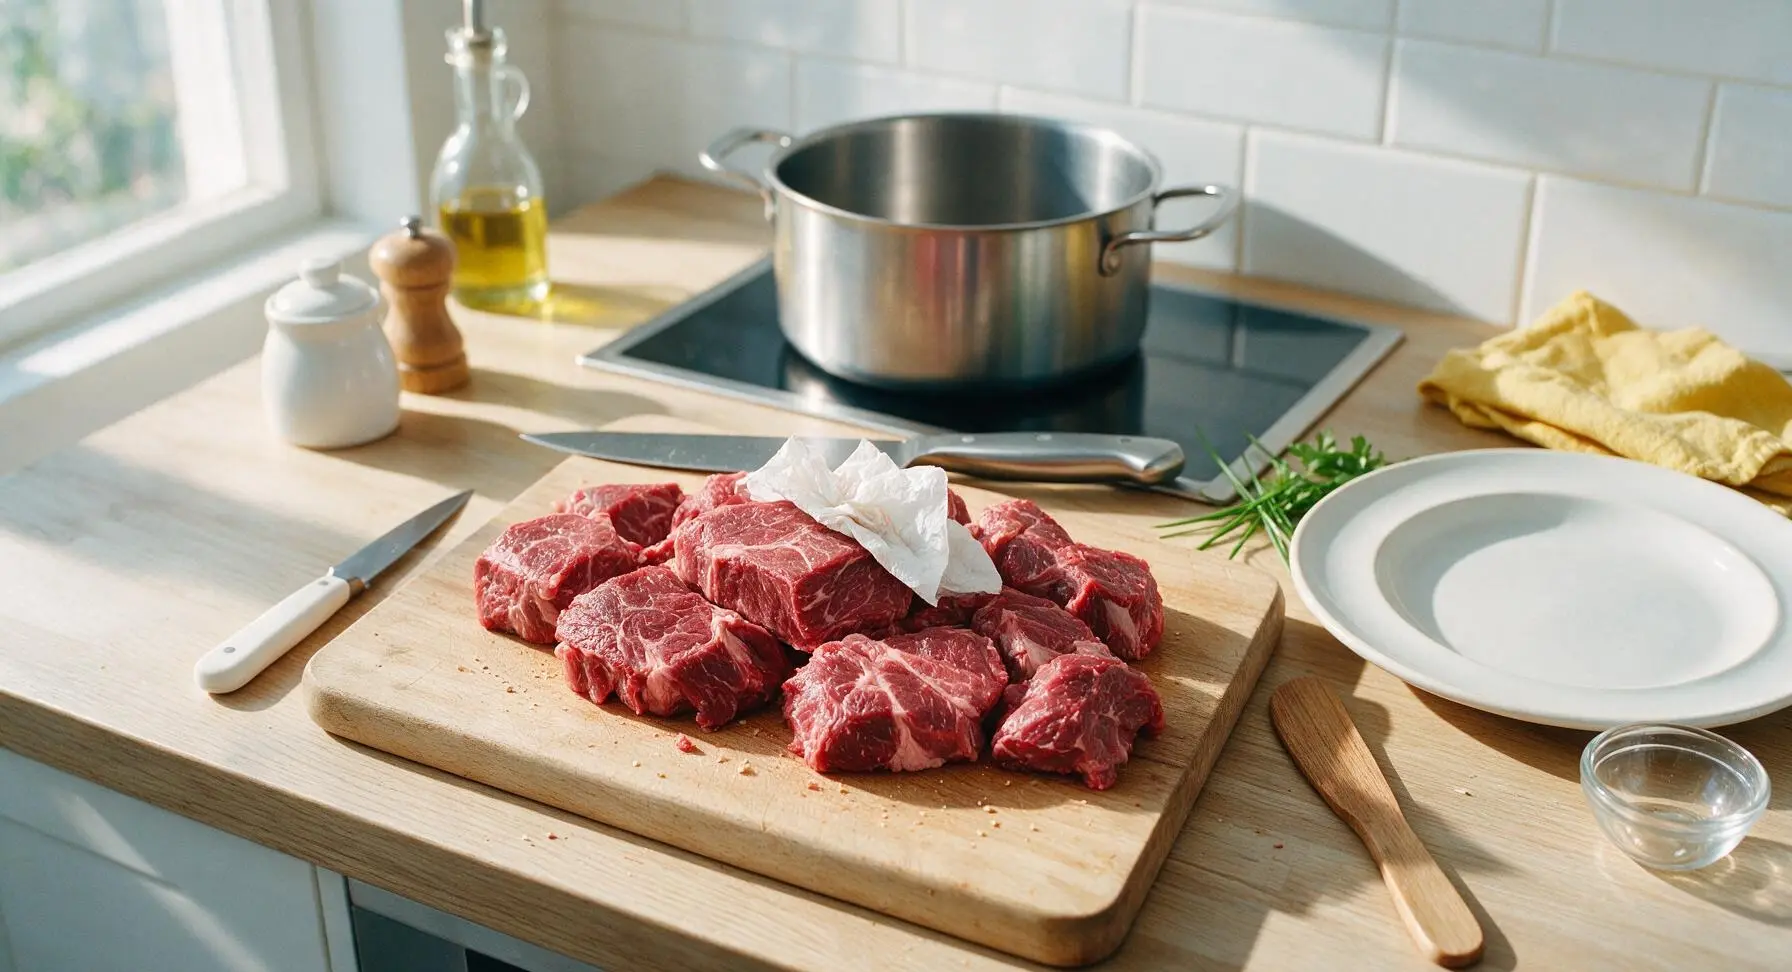
Set the acacia wood cutting board at the center of the counter. Place the 500g beef chuck chunks on the board, and pat thoroughly dry on all sides with paper towels to remove all surface moisture—this is critical for building a deep, flavorful sear. Season lightly with 1/4 teaspoon fine salt, rubbing evenly into all surfaces of the meat.
Step 1
step1:Prep beef for searing
2

Sear beef to deep crust

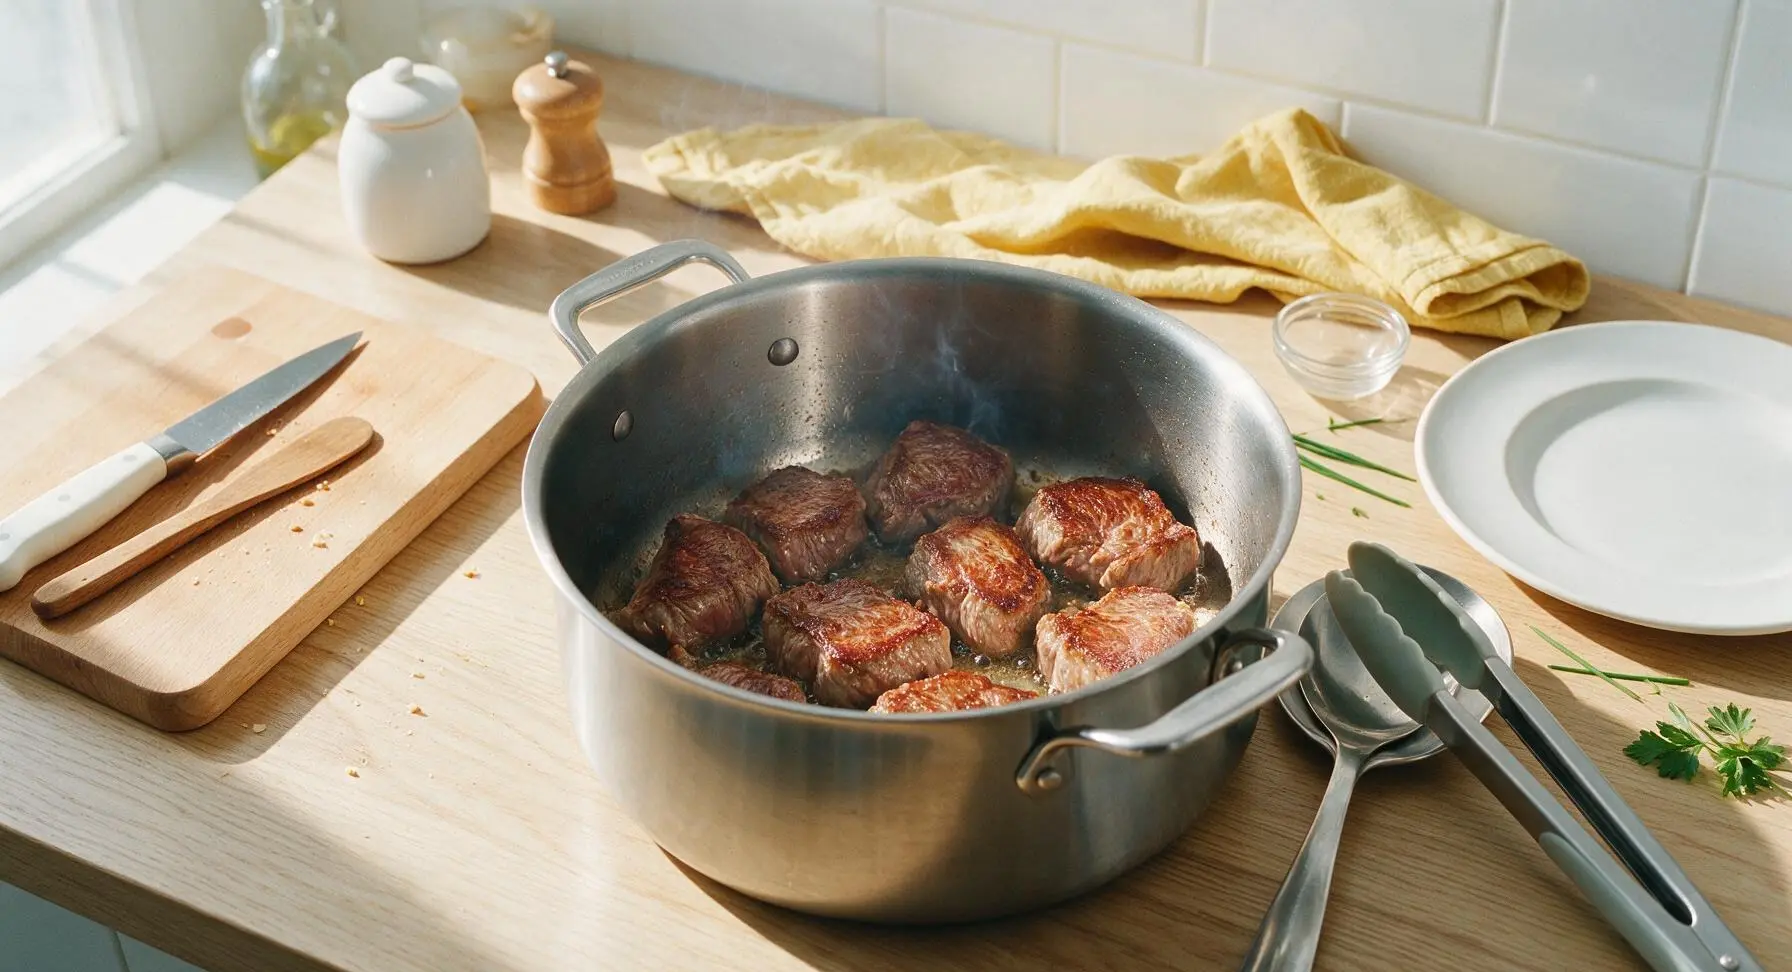
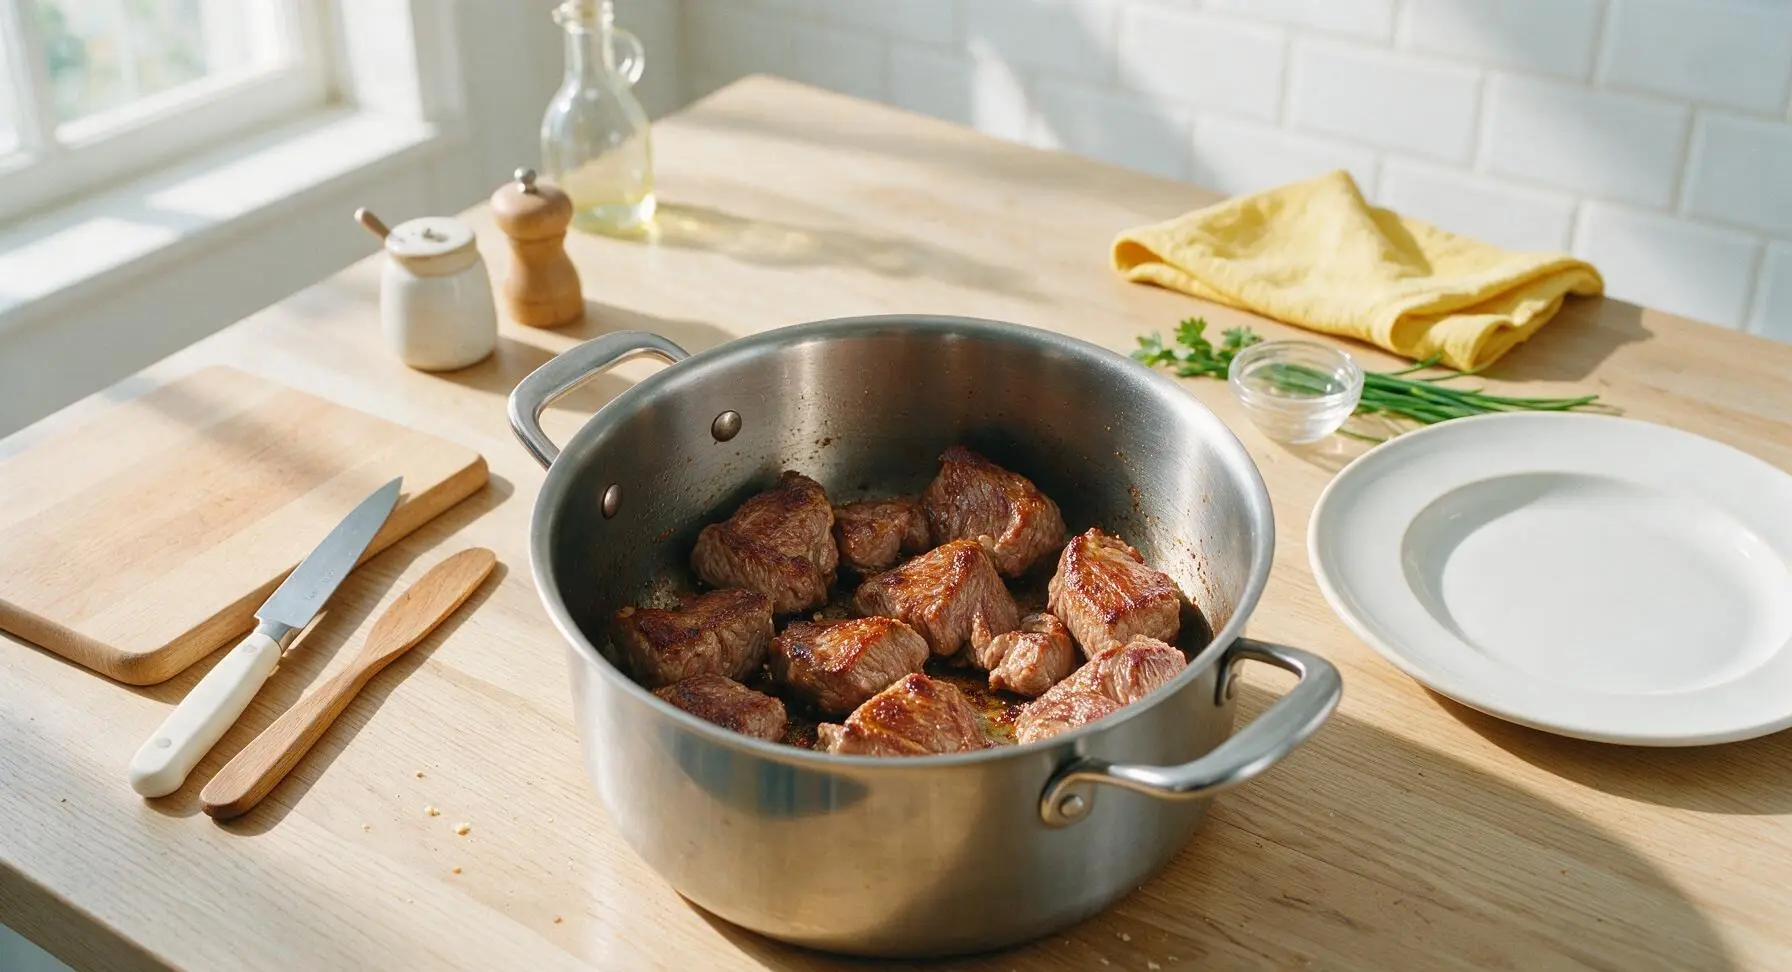
Add 1 teaspoon toasted sesame oil to the 3L stainless steel stock pot, heat over medium-high (175C) until the oil shimmers and just starts to send up faint wisps of smoke. Use the silicone-tipped tongs to carefully lower the beef chunks into the pot. Sear for 3-4 minutes per side, turning only once per side, until a deep, caramelized golden-brown crust forms on every surface. Resist moving the beef while searing to allow the crust to develop fully.
Step 2
step2:Sear beef to deep crust
Step 2
step2:Sear beef to deep crust
3

Add braising aromatics

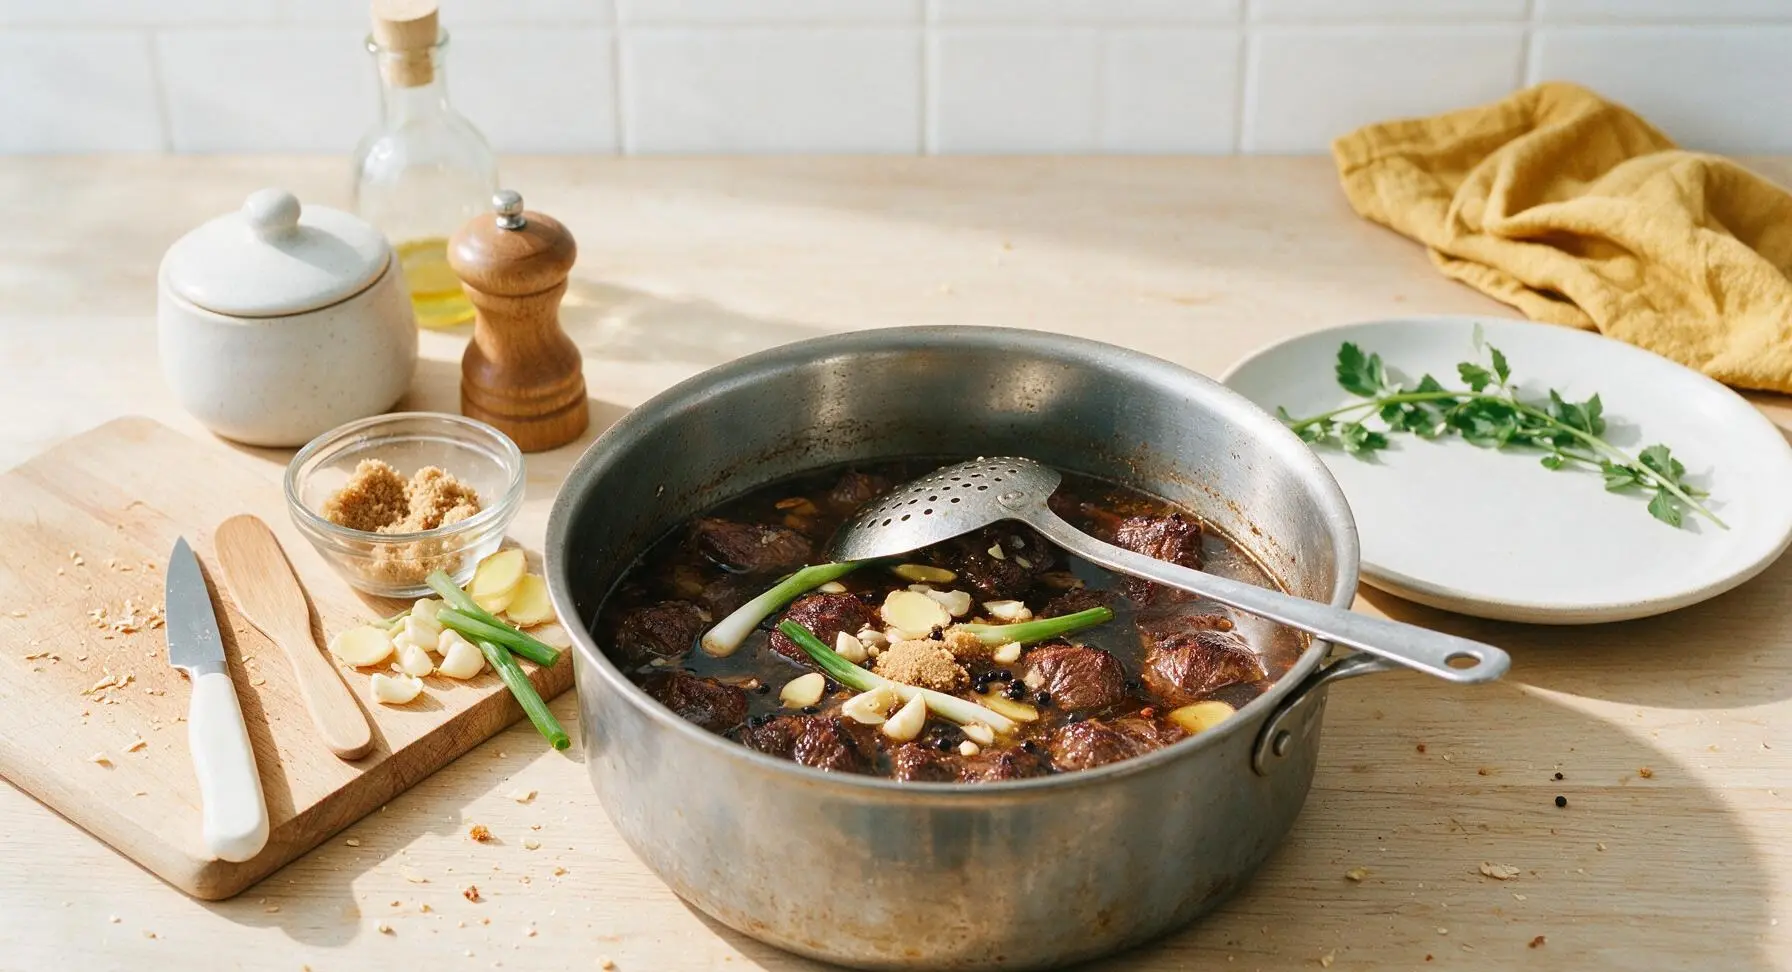
Reduce heat to medium (150C). Add the sliced ginger, crushed garlic, 2 whole scallions, whole black peppercorns, packed light brown sugar, low-sodium soy sauce, and mirin to the pot with the seared beef. Stir gently with the long-handled skimmer spoon to dissolve the sugar, scraping up all the browned fond bits from the pot bottom to incorporate into the liquid for deeper flavor. Pour in 1.2L cold water, ensuring the liquid covers 3/4 of the height of the beef chunks.
Step 3
step3:Add braising aromatics
4

Simmer beef until tender

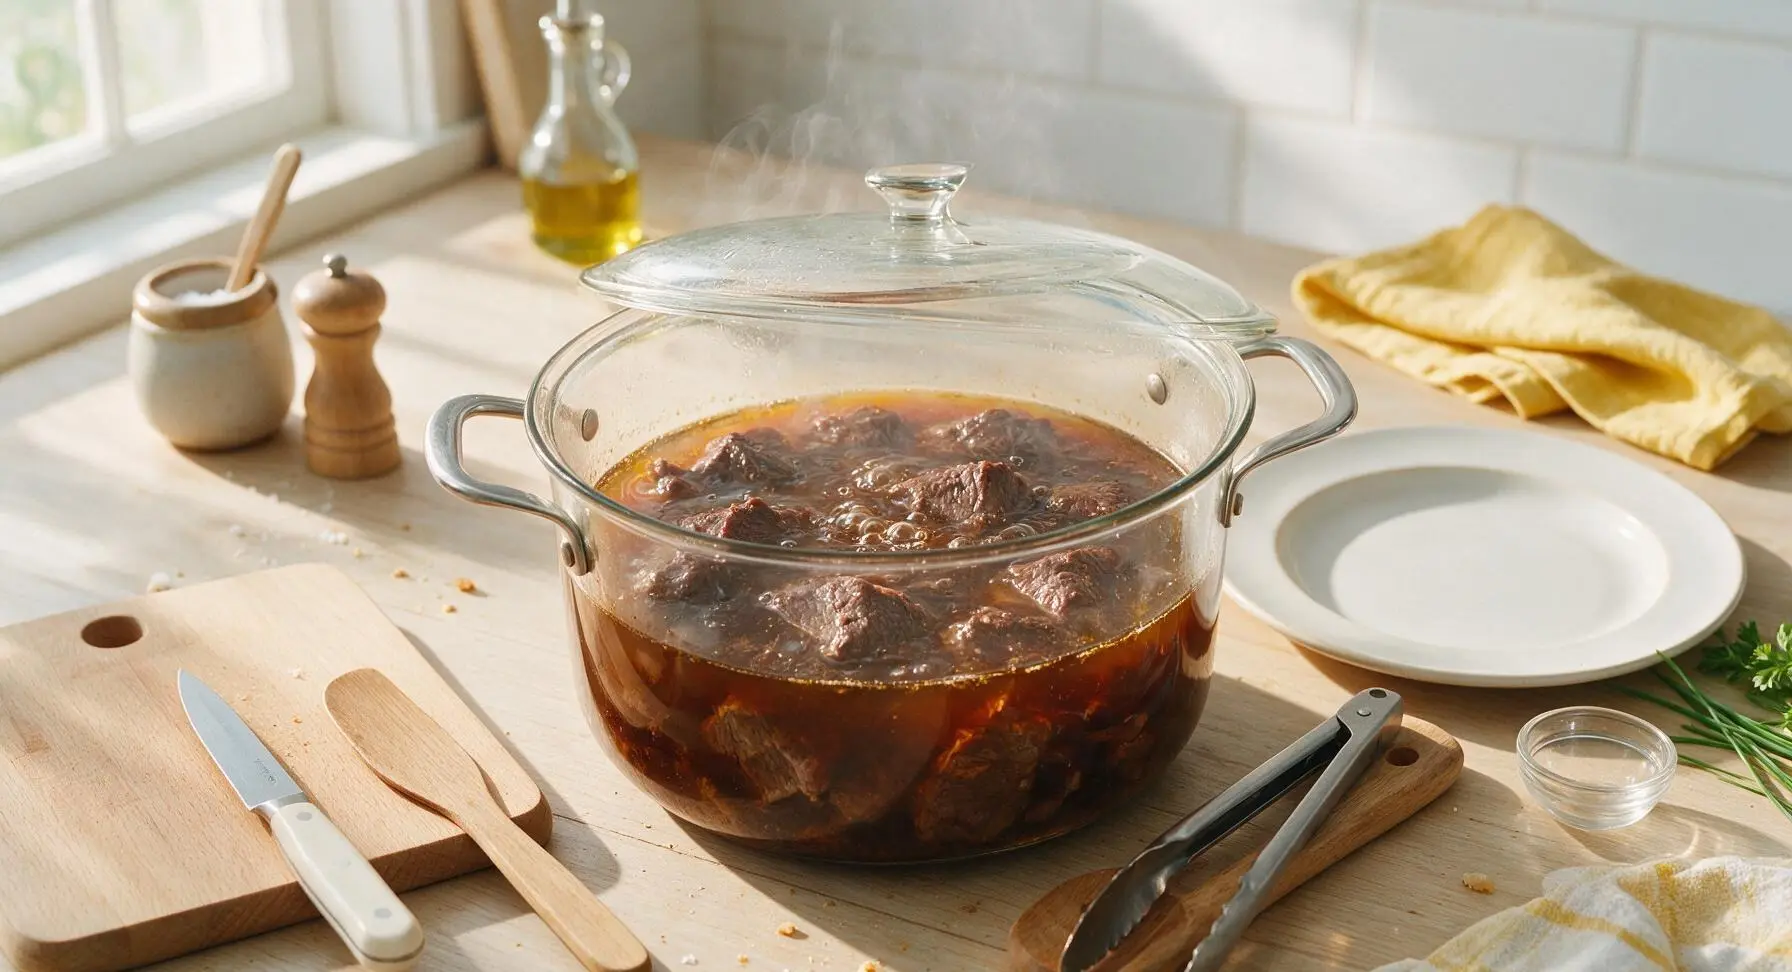
Bring the liquid to a gentle simmer (small bubbles breaking the surface every 2-3 seconds, avoid a hard rolling boil which will make beef tough), then reduce heat to low (120C). Cover the pot with the clear glass lid, leaving a 1cm gap at the edge to prevent boil-over. Braise for 30 minutes, until the beef is tender enough to pierce easily with a fork but not so soft it falls apart when lifted. Use the tongs to turn the beef chunks once at the 15 minute mark for even cooking.
Step 4
step4:Simmer beef until tender
5

Cook eggs and noodles

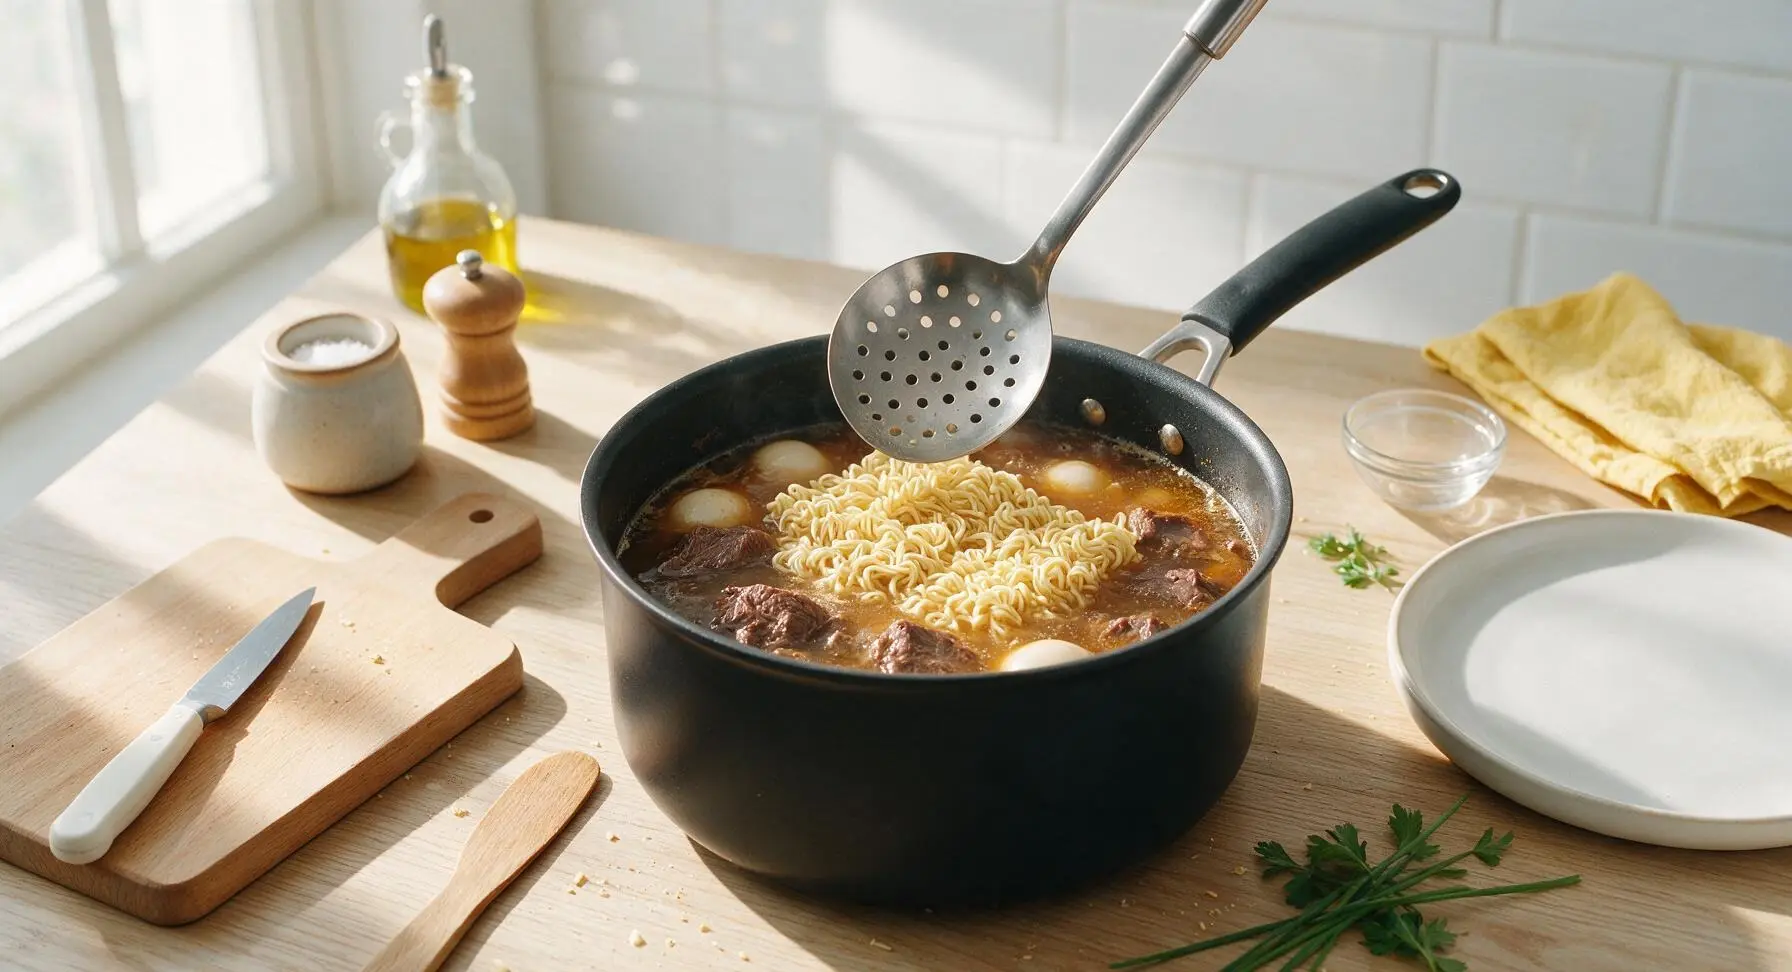
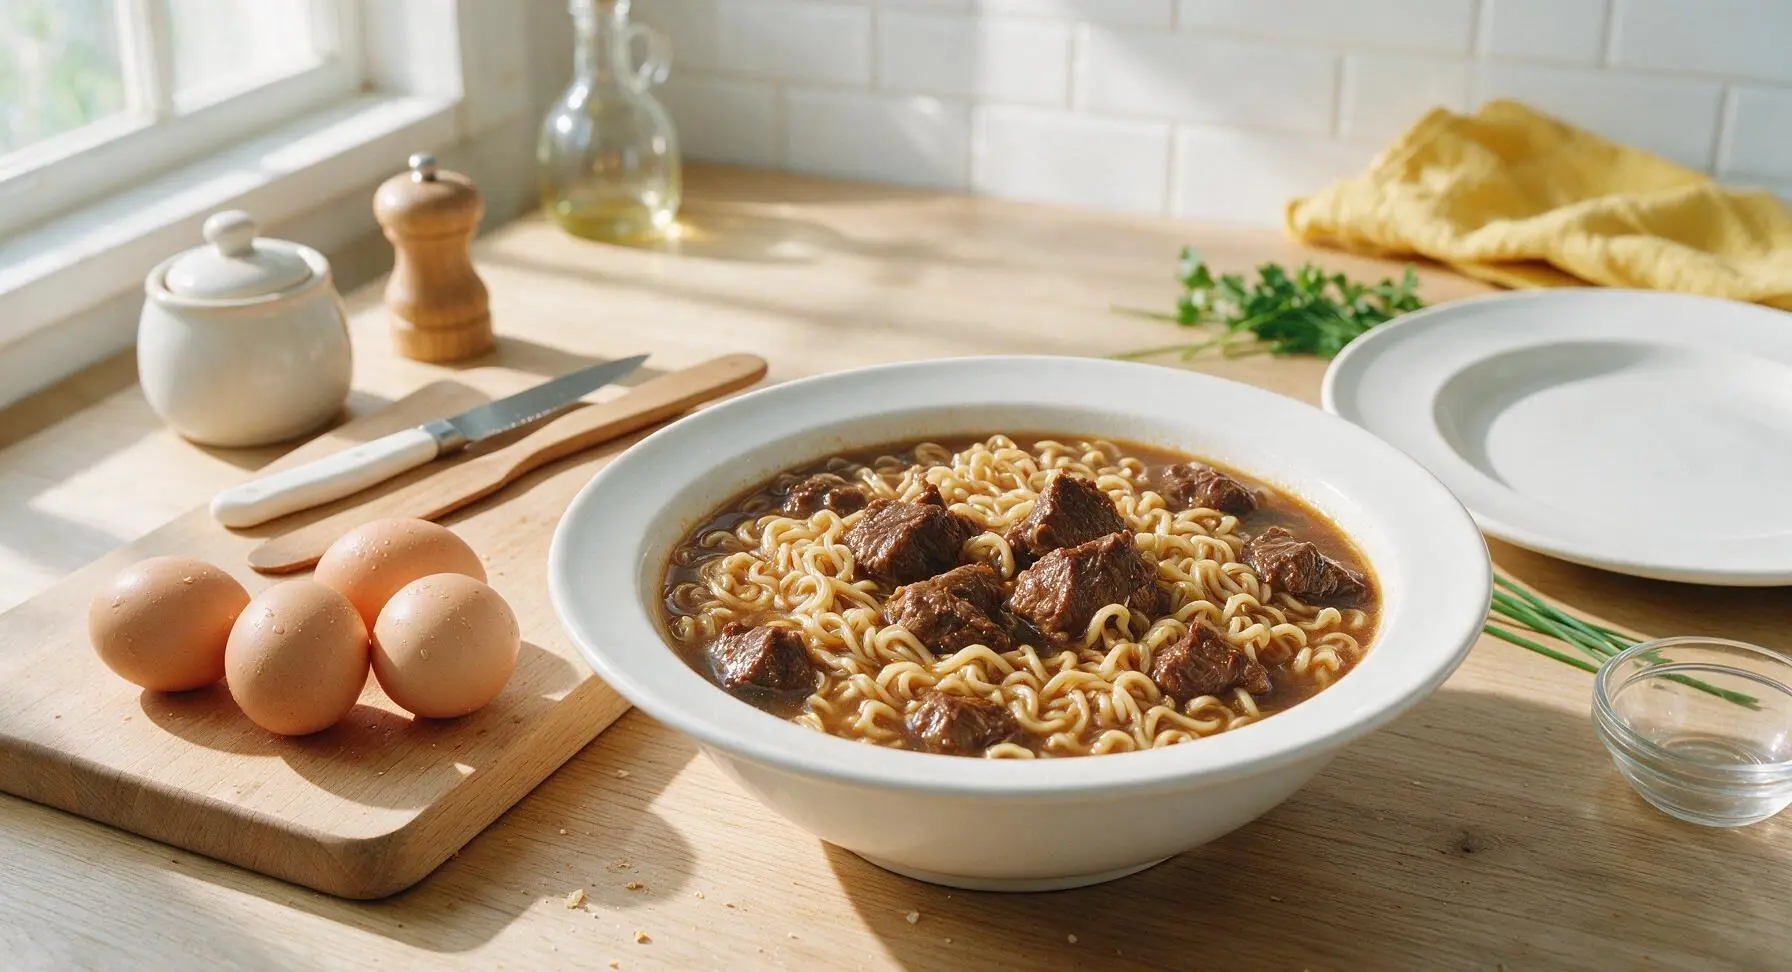
After 30 minutes of braising, use the tongs to gently nestle the 4 large eggs into the simmering braising liquid around the beef, ensuring they are fully submerged. Cook for 3 minutes, then add the dried ramen noodles to the pot, pushing them under the liquid surface with the skimmer spoon to soften evenly. Cook for an additional 3 minutes, until noodles are tender with a slight springy bite, and eggs have cooked for exactly 6 minutes total for a soft, runny yolk. Use the skimmer to lift eggs out immediately and set on the corner of the acacia wood cutting board to cool for 2 minutes before peeling to avoid overcooking the yolk.
Step 5
step5:Cook eggs and noodles
Step 5
step5:Cook eggs and noodles
6

Slice beef, peel eggs

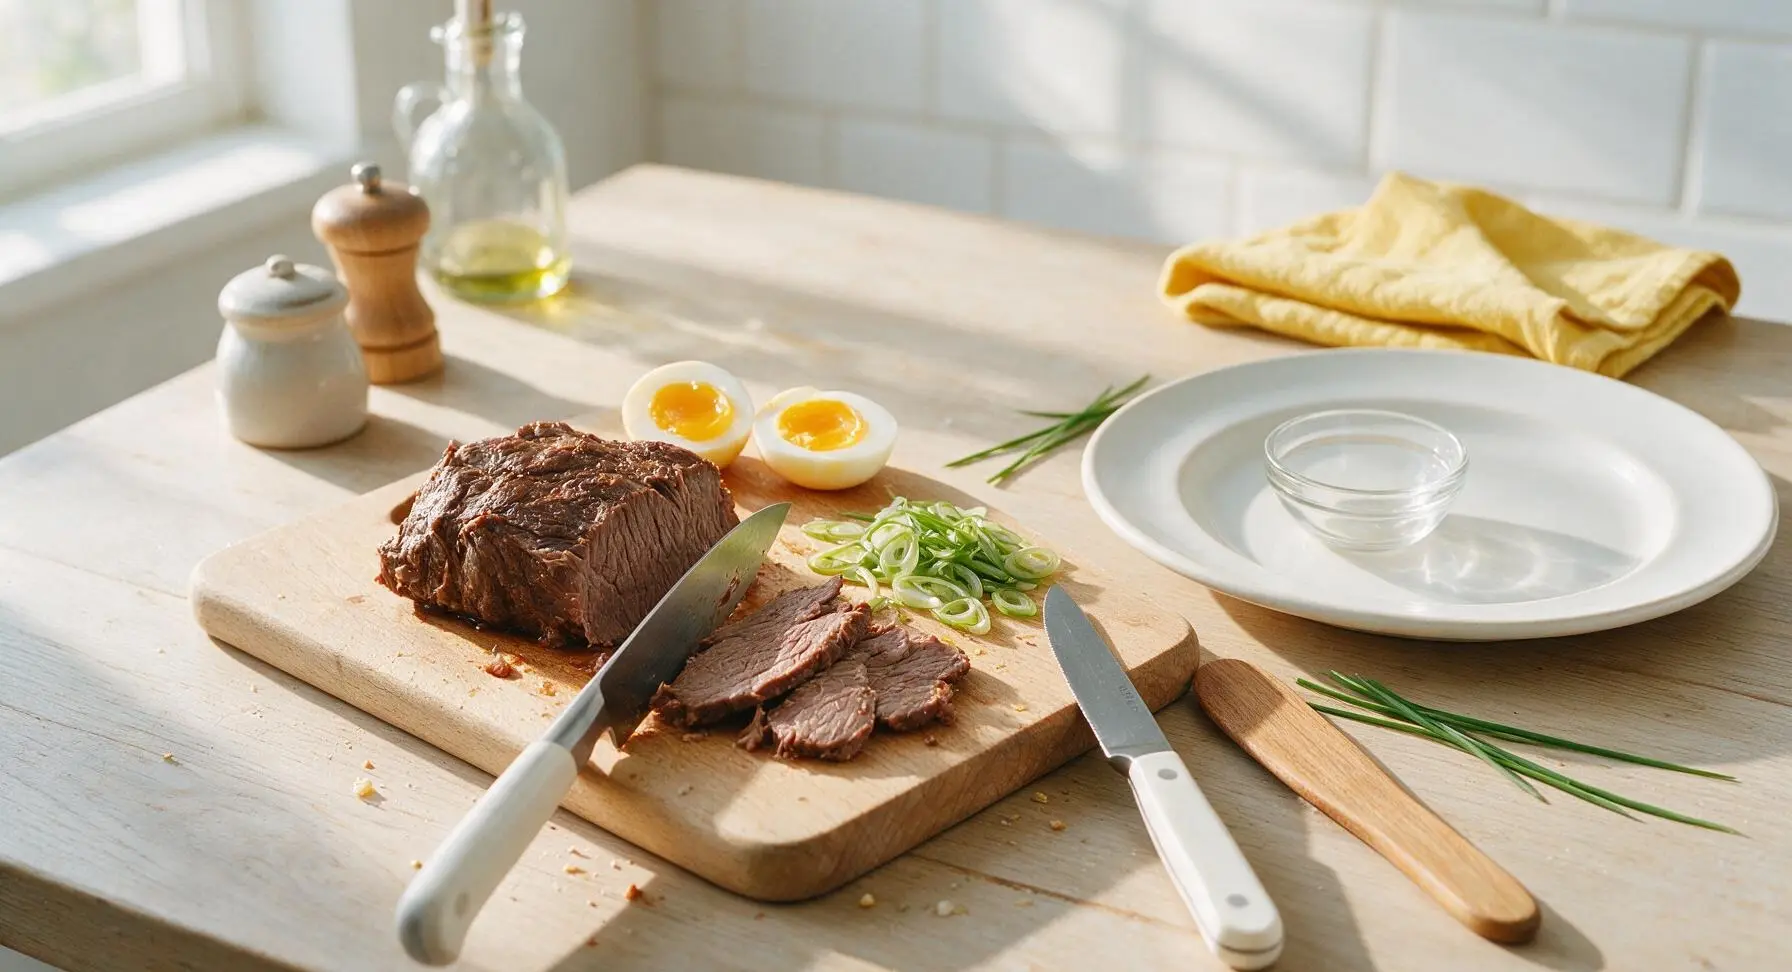
Use the tongs to lift the cooked beef chunks from the pot and transfer them to the acacia wood cutting board. Let rest for 3 minutes to allow juices to redistribute, then use the chef's knife to slice the beef against the grain into 5mm thick slices. Peel the cooled eggs, and cut each in half lengthwise to reveal the soft, golden runny yolk. Thinly slice the remaining 2 scallions for garnish.
Step 6
step6:Slice beef, peel eggs
7

Assemble ramen bowls

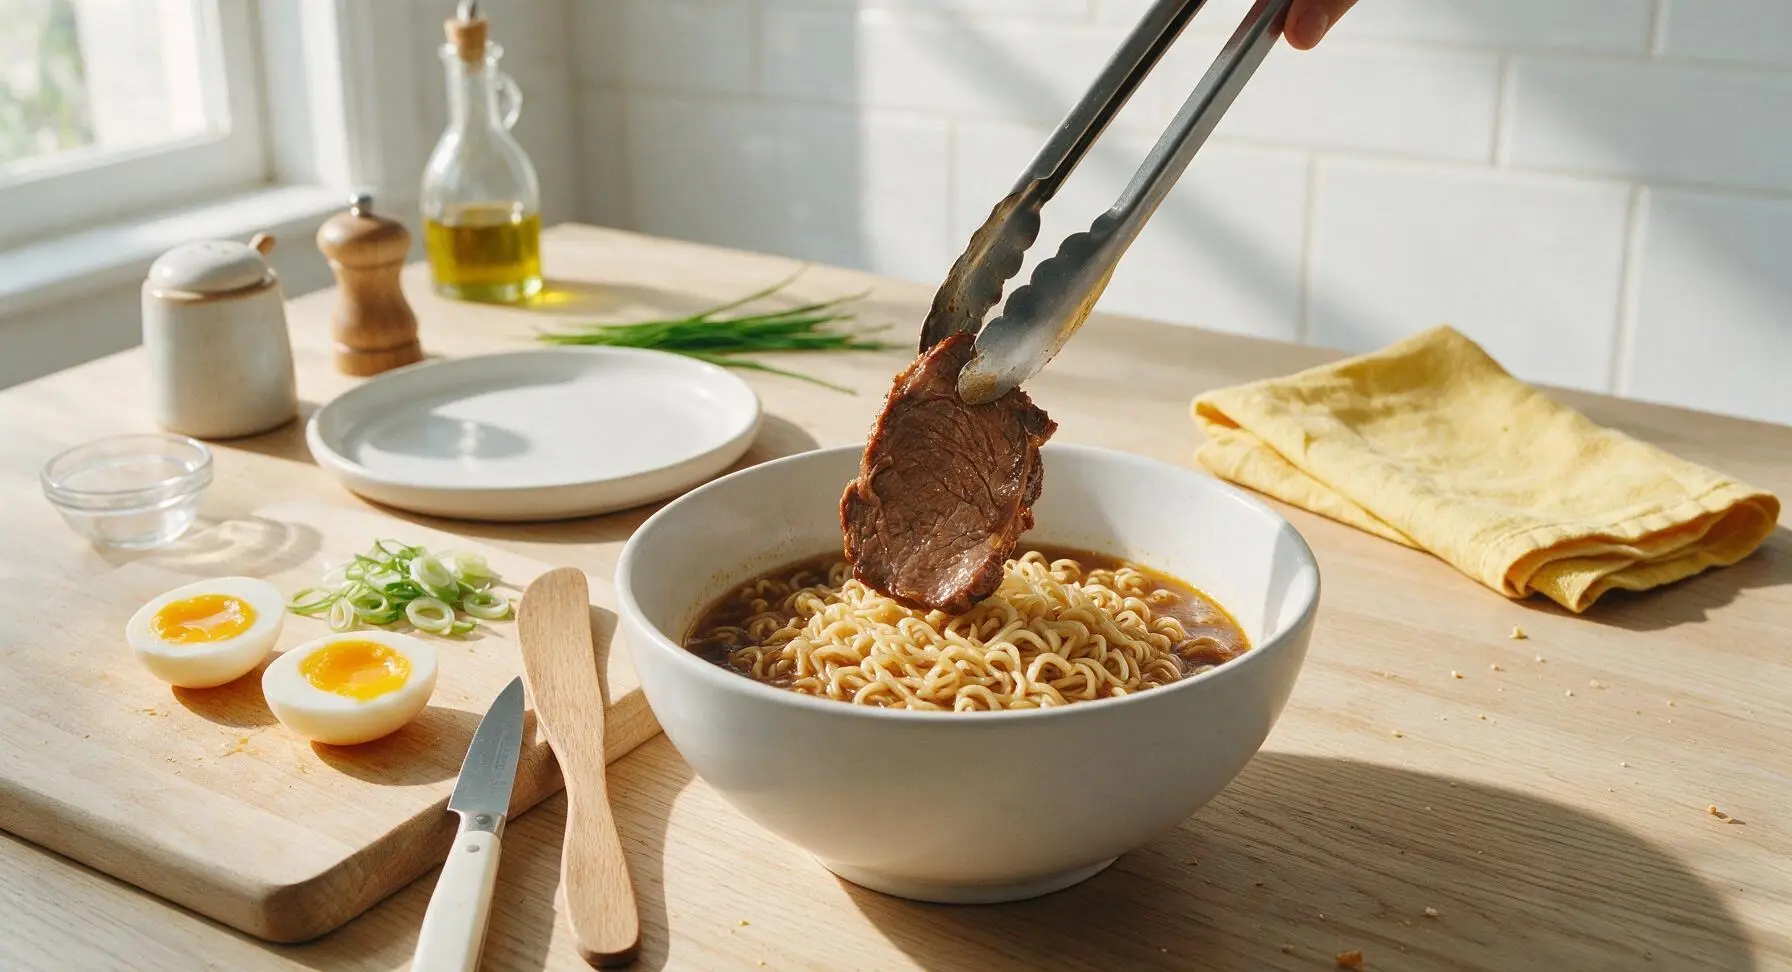
Divide the cooked noodles and braising broth evenly between the 4 deep matte white ceramic ramen bowls. Fan the sliced beef in a half-circle across the top of the noodles, tuck 2 egg halves into each bowl next to the beef, and sprinkle thinly sliced scallions generously over the top. Drizzle a tiny drop of toasted sesame oil over each bowl if desired.
Step 7
step7:Assemble ramen bowls

Tips

1.Pat beef completely dry before searing: any remaining surface moisture will cause the beef to steam instead of forming a deep, caramelized crust that adds rich, roasted umami flavor to the braising broth.
2.Keep the braise at a gentle simmer, not a rolling boil: high heat will make beef muscle fibers seize and tighten, resulting in tough, chewy meat instead of the tender, juicy texture this recipe is known for.
3.Slice beef against the grain after resting: resting for 3 minutes lets juices redistribute so they don’t pour out onto the cutting board when sliced, and cutting against the grain shortens tough muscle fibers for a melt-in-your-mouth bite, even if you slightly overcook the beef.


✨ You May Also Like

Main Course
🍜 United Kingdom

A showstopping classic of tender seared beef, savory mushroom duxelles, and crisp prosciutto wrapped in flaky golden puff pastry, baked to juicy perfection.

⏱️ 2 hours 1Main Course ★ 4.7
Main Course
🍜 India

Tender charred marinated chicken simmered in a rich, spiced creamy tomato sauce, this iconic Anglo-Indian curry pairs perfectly with basmati rice or warm naan.

⏱️ 50 minuteMain Course ★ 4.6
Main Course
🍜 Thailand

Classic tangy, sweet, and savory Thai stir-fried rice noodles with shrimp, tofu, and crunchy garnishes, balancing all five core Thai flavor profiles.

⏱️ 30 minuteMain Course ★ 4.5
Main Course
🍜 United Kingdom

Crispy golden beer-battered cod and fluffy double-fried chips, served with tangy tartar sauce and malt vinegar: the timeless, beloved British pub comfort classic.

⏱️ 45 minuteMain Course ★ 4.7
Main Course
🍜 Mexico

Smoky, chile-marinated pork tacos with caramelized pineapple, fresh cilantro, and lime: a beloved classic Mexican street food perfect for casual summer gatherings.

⏱️ 1 hour 45Main Course ★ 4.8
Main Course
🍜 United States

Crunchy Fritos corn chips layered with savory beef chili and melted cheddar, topped with cool, zesty fixings for a beloved, cozy Tex-Mex comfort food.

⏱️ 35 minuteMain Course ★ 4.8

ramen beef:Frequently Asked Questions

1.Can I use a different cut of beef instead of chuck roast for this recipe? ▾
Chuck roast is ideal because its marbled connective tissue breaks down into juicy, tender bites during braising, but you can swap in boneless short ribs or brisket if needed. Skip extra-lean cuts like sirloin or eye of round, as these will turn tough and dry even with long, slow cooking, no matter how carefully you prepare them.
2.How do I keep the beef tender instead of it turning out tough and chewy? ▾
The key is low, slow braising—never boil the beef at a rolling simmer, as high heat will make muscle fibers seize up. Cook it covered at 325°F for 2.5 to 3 hours until a fork slides in easily, and always slice the finished beef against the grain to cut through long muscle fibers for the most tender bite.
3.What’s a good non-alcoholic substitute for mirin in this recipe? ▾
You can make a quick stand-in by mixing 2 tablespoons of white grape juice with 1/4 teaspoon of unseasoned rice vinegar for every 2 tablespoons of mirin, to match its mild sweet-tart profile. Low-sodium teriyaki sauce cut with a splash of water works too, though it will add a slightly deeper soy note to the final broth.
4.Can I make the braised beef ahead of time for faster weeknight meals? ▾
Absolutely—this braised beef actually tastes better after resting in its cooking liquid for 1 to 2 days in the fridge, as the flavors deepen and meld. Make a big batch on Sunday, skim any solidified fat off the top when you’re ready to serve, reheat gently, and boil fresh ramen noodles in 10 minutes for a quick dinner.
5.How do I make that perfect jammy soft-boiled egg to top this ramen? ▾
Start with room-temperature eggs to prevent cracking, lower them gently into rolling boiling water, and cook for exactly 6.5 minutes. Plunge them immediately into an ice water bath for 5 minutes to stop the cooking process and make peeling easy—this gives you fully set whites and a runny, golden, jammy yolk that pairs perfectly with the savory broth.
6.Do I have to use low-sodium soy sauce, or can I use regular? ▾
I strongly recommend low-sodium soy sauce here, because the braising liquid reduces as the beef cooks, which concentrates salt levels quickly. If you only have regular soy sauce, cut it with 2 tablespoons of water per 1/4 cup of soy, and taste the broth right before serving to adjust seasoning so it doesn’t end up overly salty.
7.Can I use fresh ramen noodles instead of dried for this recipe? ▾
Fresh ramen works beautifully and will give you an even springier, chewier texture—just cut the cook time down to 2 to 3 minutes instead of the 4 to 5 minutes dried noodles need. No matter which type you use, don’t overcook the noodles; pull them when they still have a slight firm bite to avoid mushy, limp texture.
8.What’s the best way to sear the beef to build deep, rich flavor? ▾
First, pat the beef completely dry with paper towels, cut it into 2-inch chunks, and season lightly with black pepper. Sear in a hot, heavy-bottomed pot with a thin layer of neutral oil for 3 to 4 minutes per side until deep golden brown. Don’t crowd the pot—sear in batches if needed, otherwise the beef will steam instead of developing a flavorful crust.
9.Can I add extra vegetables to this savory ramen beef? ▾
Of course! Quick-cooking options like baby bok choy, sliced shiitake mushrooms, sweet corn, or thin-sliced scallions work beautifully. Add heartier veggies like carrot matchsticks 10 minutes before the beef finishes braising, and toss tender greens into the hot broth right before serving so they wilt just slightly without turning mushy.
10.How should I store leftovers, and how long will they keep? ▾
Store cooled beef and broth separately from cooked noodles and eggs in airtight containers in the fridge for up to 4 days. Don’t store cooked noodles in the broth, as they’ll absorb all the liquid and turn unpleasantly mushy. For the best texture, cook a fresh batch of noodles each time you reheat a serving.
11.What can I use if I don’t have light brown sugar for the braise? ▾
If you’re out of light brown sugar, use an equal amount of dark brown sugar for a slightly deeper molasses note, or 1 tablespoon of granulated sugar plus 1 teaspoon of molasses per tablespoon of light brown sugar. Avoid swapping in honey or maple syrup directly, as their strong, distinct flavors will throw off the broth’s umami balance.
12.Can I make this recipe in a slow cooker or Instant Pot? ▾
Yes! For a slow cooker, sear the beef first on the stovetop, then add all braising ingredients and cook on LOW for 6 to 7 hours until fork-tender. For an Instant Pot, use the saute setting to sear, then cook on high pressure for 35 minutes, with a 15-minute natural pressure release to keep the beef juicy.
13.My braising broth is too sweet—how do I fix that? ▾
Overly sweet broth usually comes from measuring mirin or brown sugar too generously, or using a less salty soy sauce than expected. Fix it by stirring in a tiny splash of unseasoned rice vinegar and a pinch of fine salt, 1/4 teaspoon at a time, tasting as you go, until the sweet, salty, and umami notes feel properly balanced.
14.What are some easy toppings to customize my ramen beef bowl? ▾
Top your bowl with thinly sliced scallions, toasted white sesame seeds, a dollop of chili crisp for a spicy kick, crumbled nori strips, pickled red ginger, or a light pinch of white pepper. Keep toppings light so they don’t overpower the rich, savory braised beef and umami broth that’s the star of the dish.

Comments (7)

2 days ago

Made this for a potluck with my roommate’s friends last night and everyone was begging for the recipe! The beef came out so tender and the savory umami flavor is next level. I did sub low-sodium soy sauce because that’s what I had on hand, and it still slapped. 10/10 no notes.

yesterday

Wait did you serve it over regular ramen noodles or the fresh ones? I’ve only ever used the cheap instant packs and I’m nervous to splurge on fresh if it’s not a big difference!

yesterday

Great question! Both work beautifully, but fresh ramen noodles will give you a chewier, more restaurant-style texture. If you use instant packs, just ditch the included seasoning packets since the beef has so much flavor on its own!

5 minutes ago

Pretty solid! Cook time was right around 40 minutes like it said, which was perfect for me between my kid’s soccer practice and homework time. Only reason I’m knocking a star is I overcooked the beef a little when I got distracted helping with math homework, so it was a touch chewy. Flavor was still chef’s kiss though, and my kid loved it even with the slightly chewy beef.

just now

So glad the flavor worked for you and your kid! Next time, try turning the heat down a touch when you sear the beef and set a timer for the simmer step — it’ll help keep it melt-in-your-mouth tender even if you get pulled away for a minute!

1 week ago

I meal prepped this on Sunday and ate it for lunches all week! It held up so much better than I thought it would — the beef didn’t get soggy at all, and the flavor got even better as it sat in the fridge. It was SO good. Threw a soft boiled egg on top each serving and it felt like I was getting takeout for $3 a serving. Absolute game changer for my work lunch routine.

3 days ago

Flavor was great, but I struggled with the cook time? I’m a pretty experienced home cook and it took me closer to an hour to get everything on the table, mostly because I had to slice the beef super thin to get it tender like the recipe says. Maybe note that popping the beef in the freezer for 20 minutes first makes slicing way easier?

2 days ago

Oh thank you for that freezer tip! I tried making this last week and hacking away at the beef was so frustrating, I ended up with super thick chunks that were tough. Will definitely try that trick next time!

2 days ago

That’s such a great pro tip, Rob! We’ll absolutely add that note to the recipe instructions — partially freezing the beef for 15-20 minutes does make thin slicing so much easier, and helps the beef cook faster and more evenly too. So glad you loved the flavor even with the extra prep time!

30 minutes ago

OMG, made this for my boyfriend’s birthday dinner since he’s obsessed with all things ramen, and he said it was better than the ramen shop we go to downtown! I added a little corn and sliced scallions on top for garnish, and paired it with some gyoza on the side. He already asked when we’re making it again. Win!

5 minutes ago

Did you add any chili oil? I’m a sucker for spicy food and I’m wondering if a drizzle on top would work well here or throw off the savory flavor balance!

2 weeks ago

I’ve been trying to find more hearty recipes that my teen grandson will actually eat when he comes over after school, and this was a massive hit. He ate three helpings! It was a little more involved than my usual go-to recipes, but the instructions were so clear that I didn’t get lost at any step. Will be making this for his next visit for sure.

yesterday

Really tasty recipe! The only tweak I made was adding a splash of rice vinegar at the end to cut the richness a little, which I thought made the flavor pop even more. I used thinly sliced chuck roast like the recipe recommended and it came out perfectly tender after simmering. Great go-to for quick weeknight meals.

2 hours ago

That rice vinegar tweak is genius! A little bright acid is the perfect complement to the rich, savory beef — we love that you made it your own. Thanks for sharing the tip!



