
ramen cheese
intro
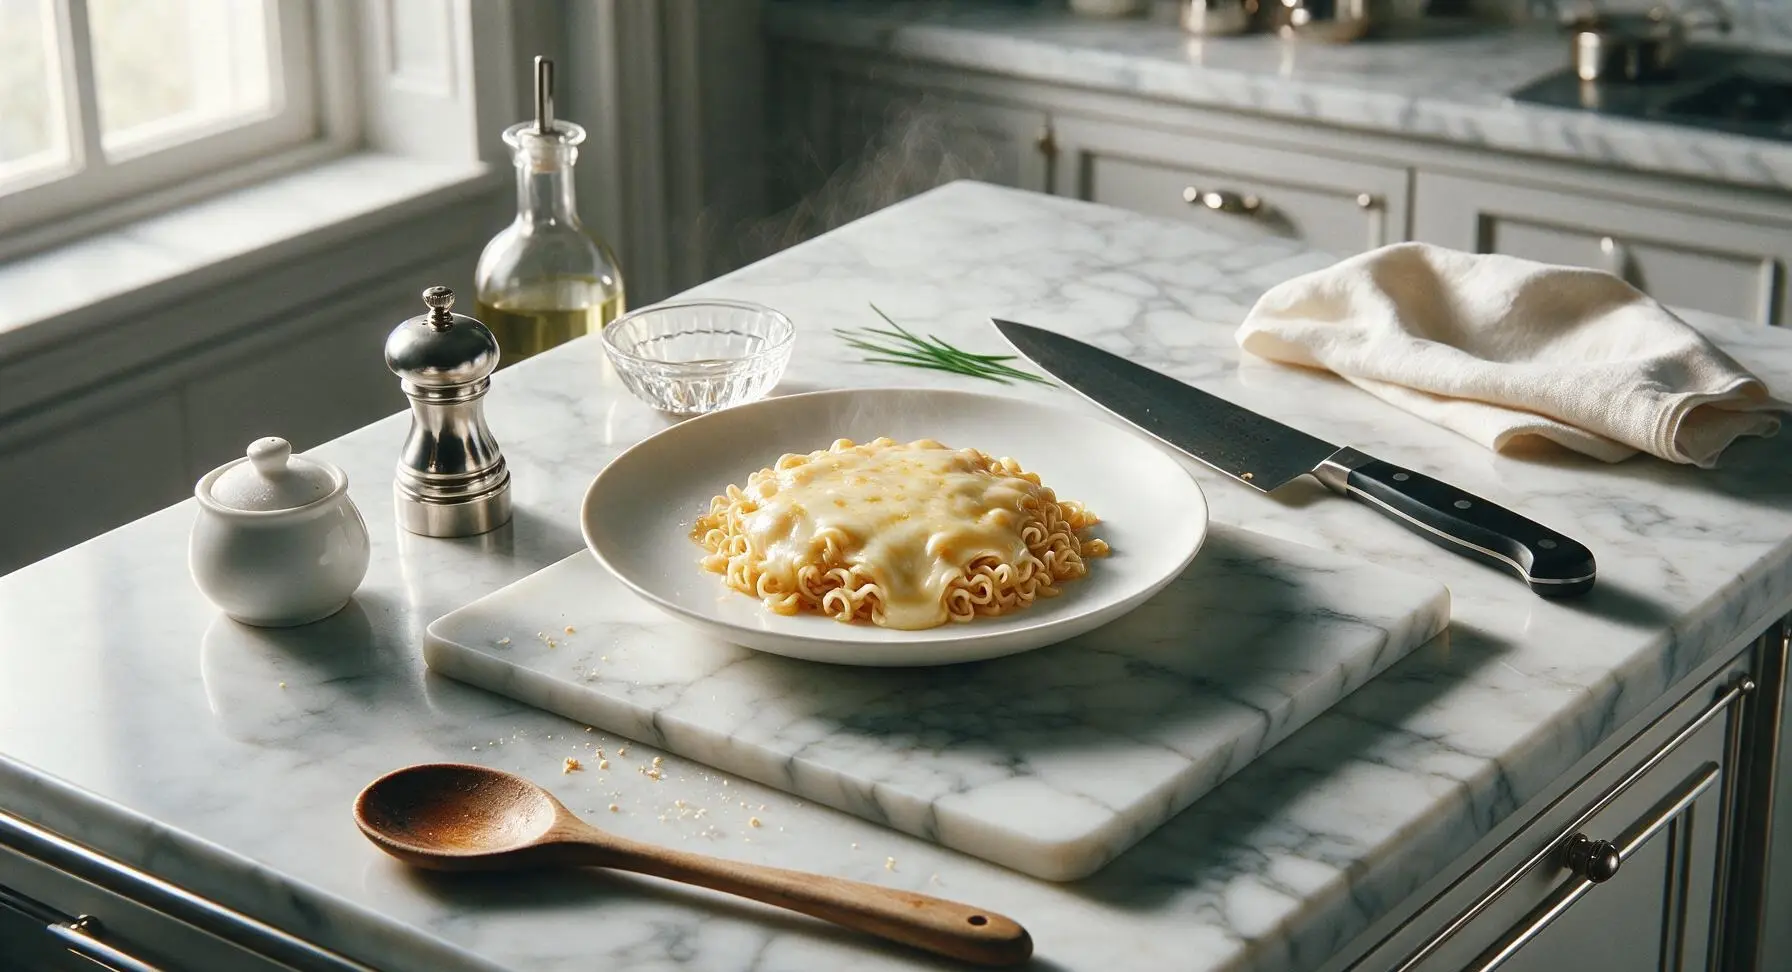
Gooey, umami-rich Korean-American instant ramen topped with perfectly melted cheese, a cozy, ultra-satisfying comfort meal ready in 15 minutes flat.
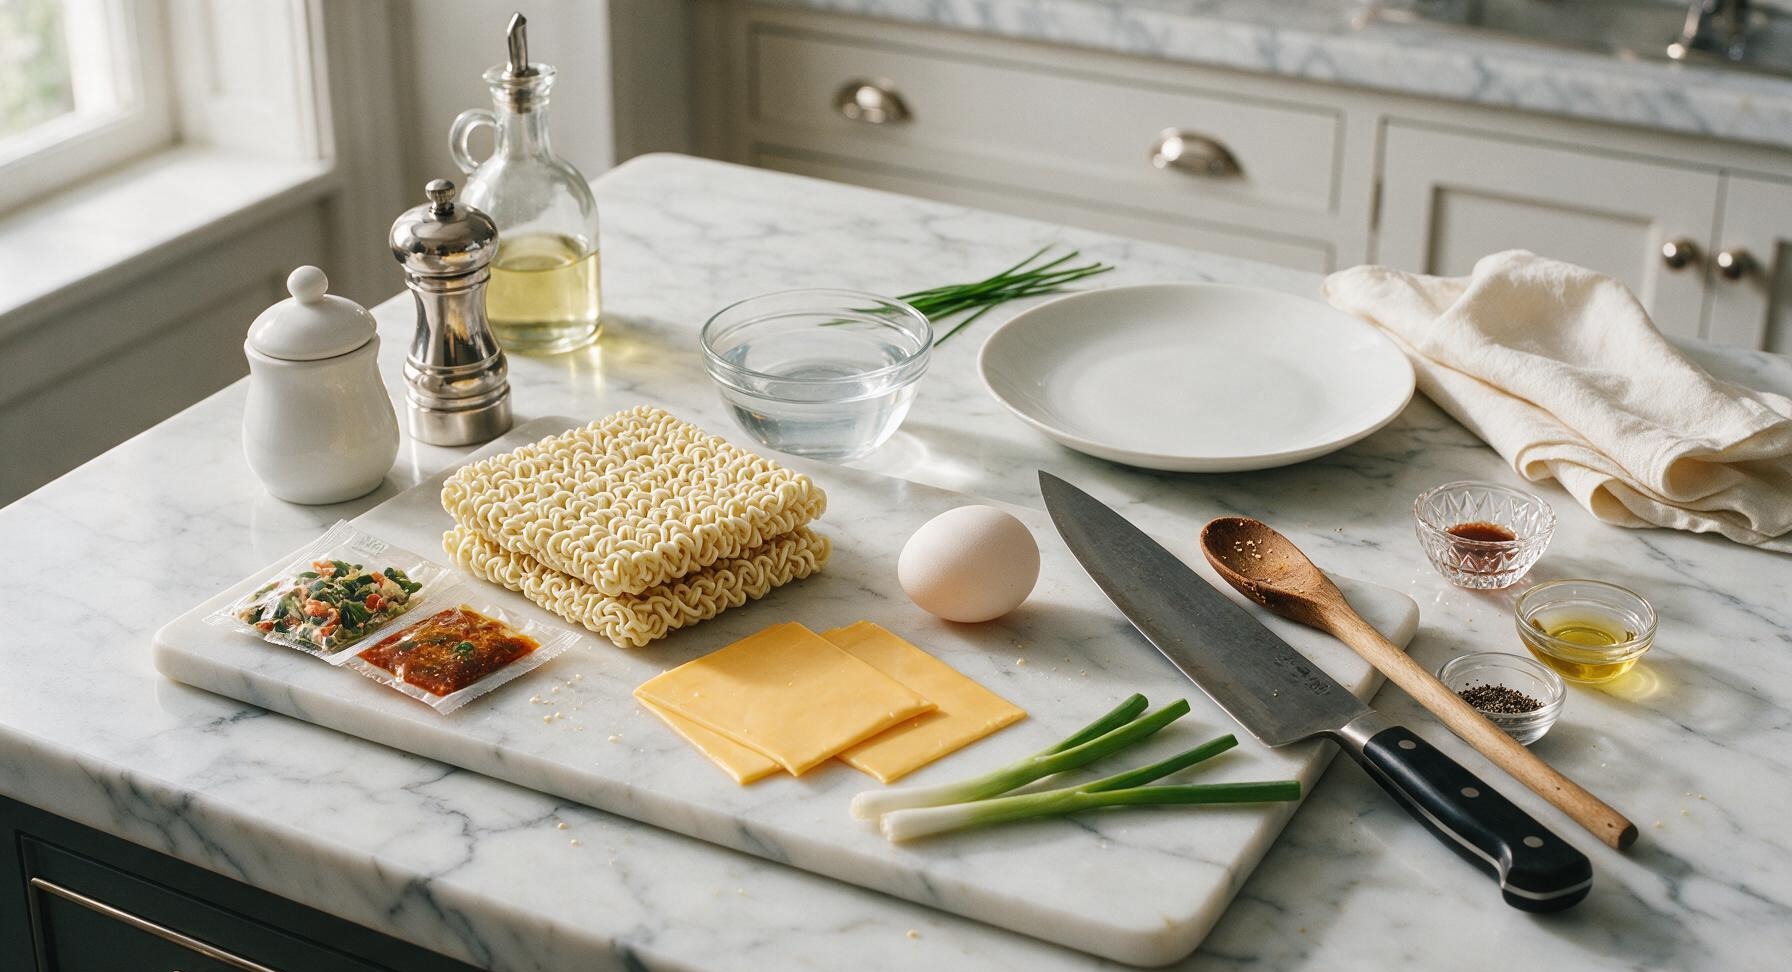
Ingredients
Steps
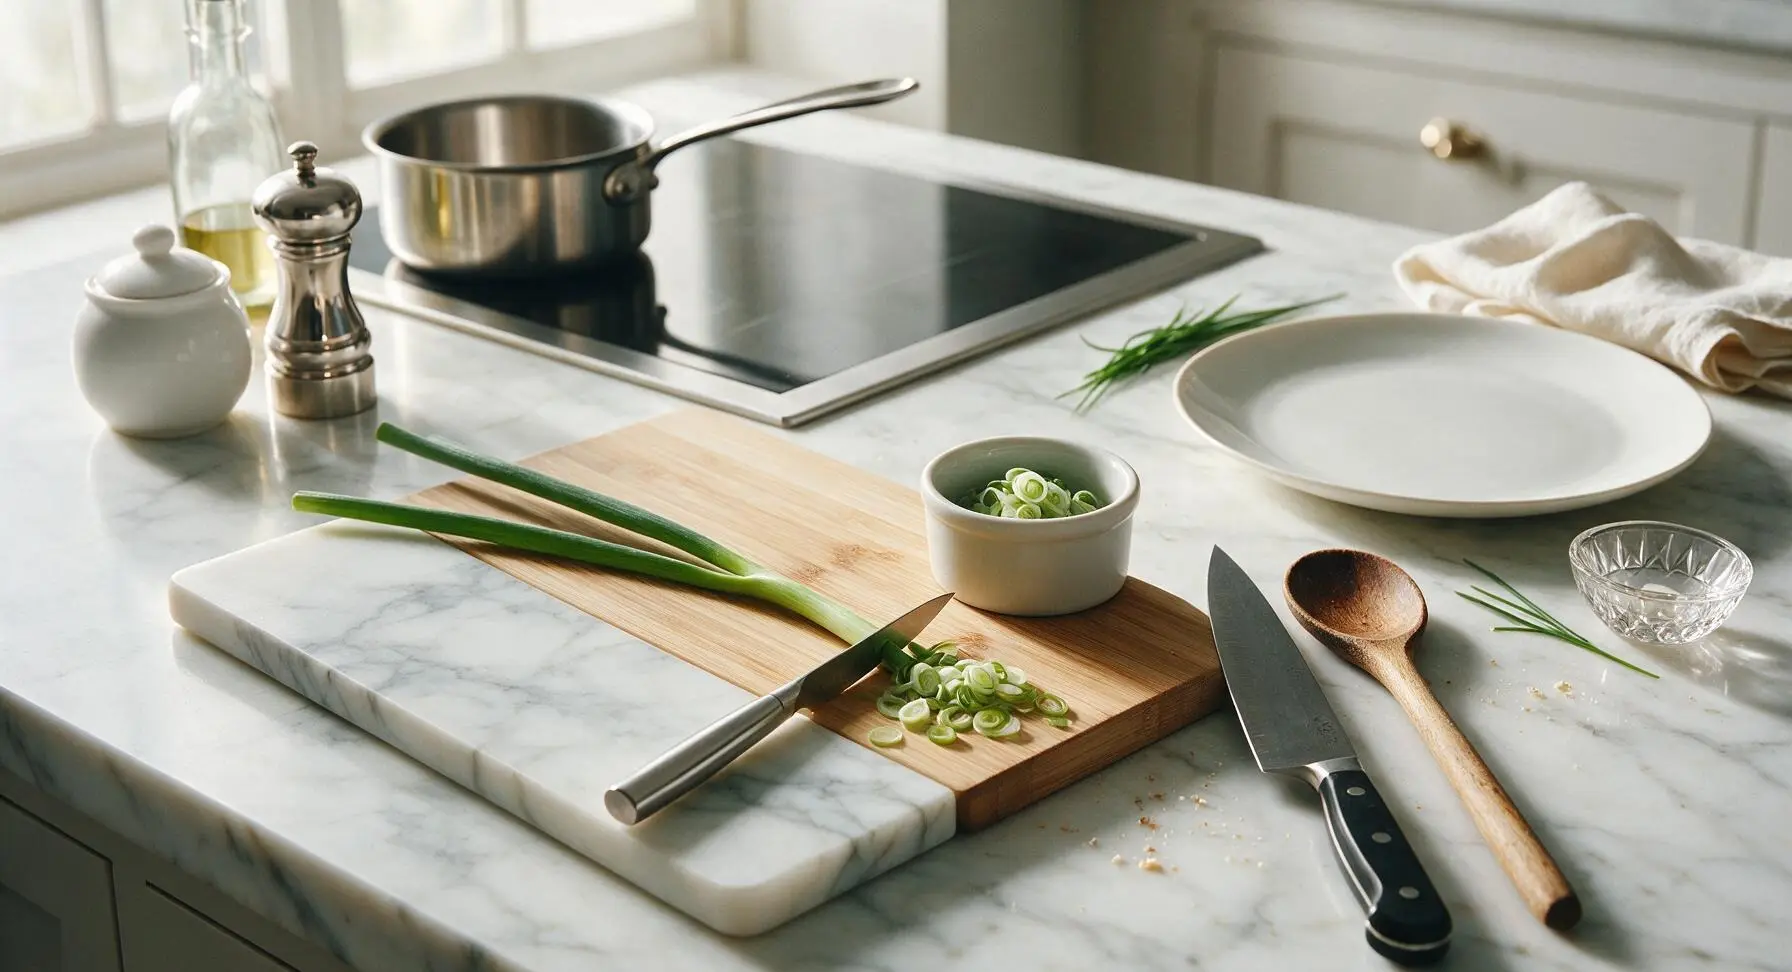
Prep Green Onion Garnish
Place the 2 green onion stalks on the fixed light bamboo cutting board. Use the 3-inch stainless steel paring knife to thinly slice the green tops and pale white sections into 3mm rounds, discarding the dry root ends. Transfer the sliced onions to the fixed 7cm matte white ceramic ramekin and set aside; this step takes approximately 2 minutes. Do not chop the onions too finely, as larger rounds add bright, fresh texture against the rich cheese and broth.
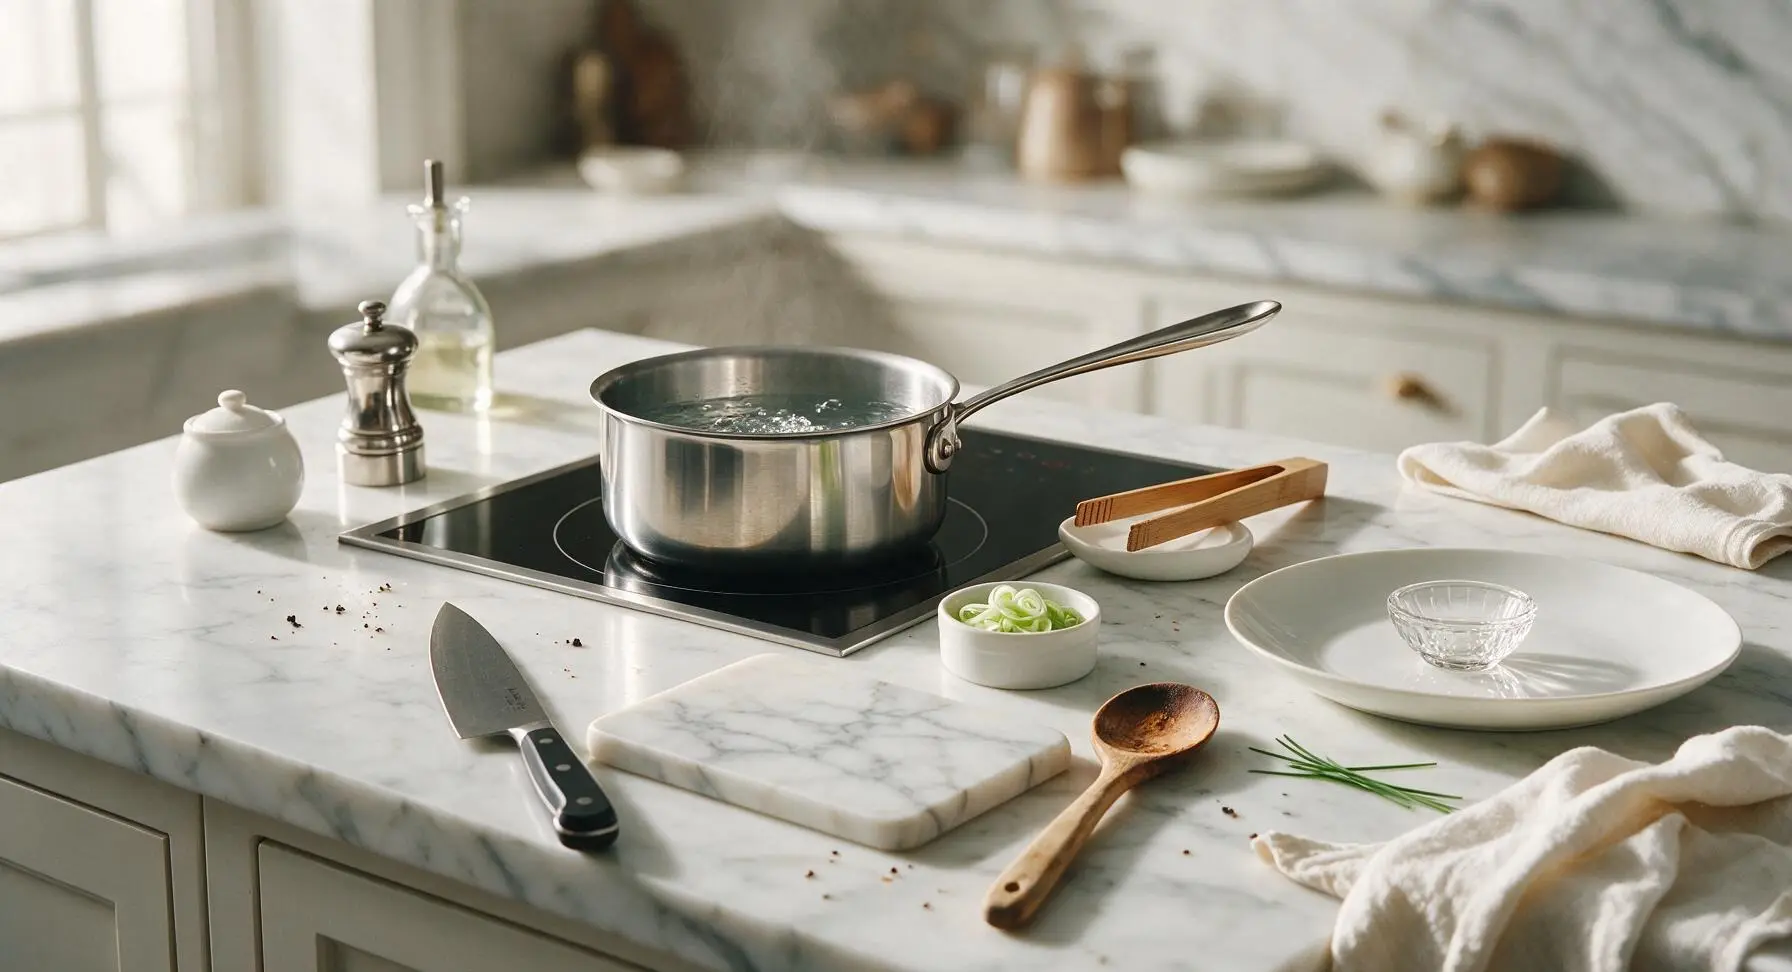
Bring Water to Boil
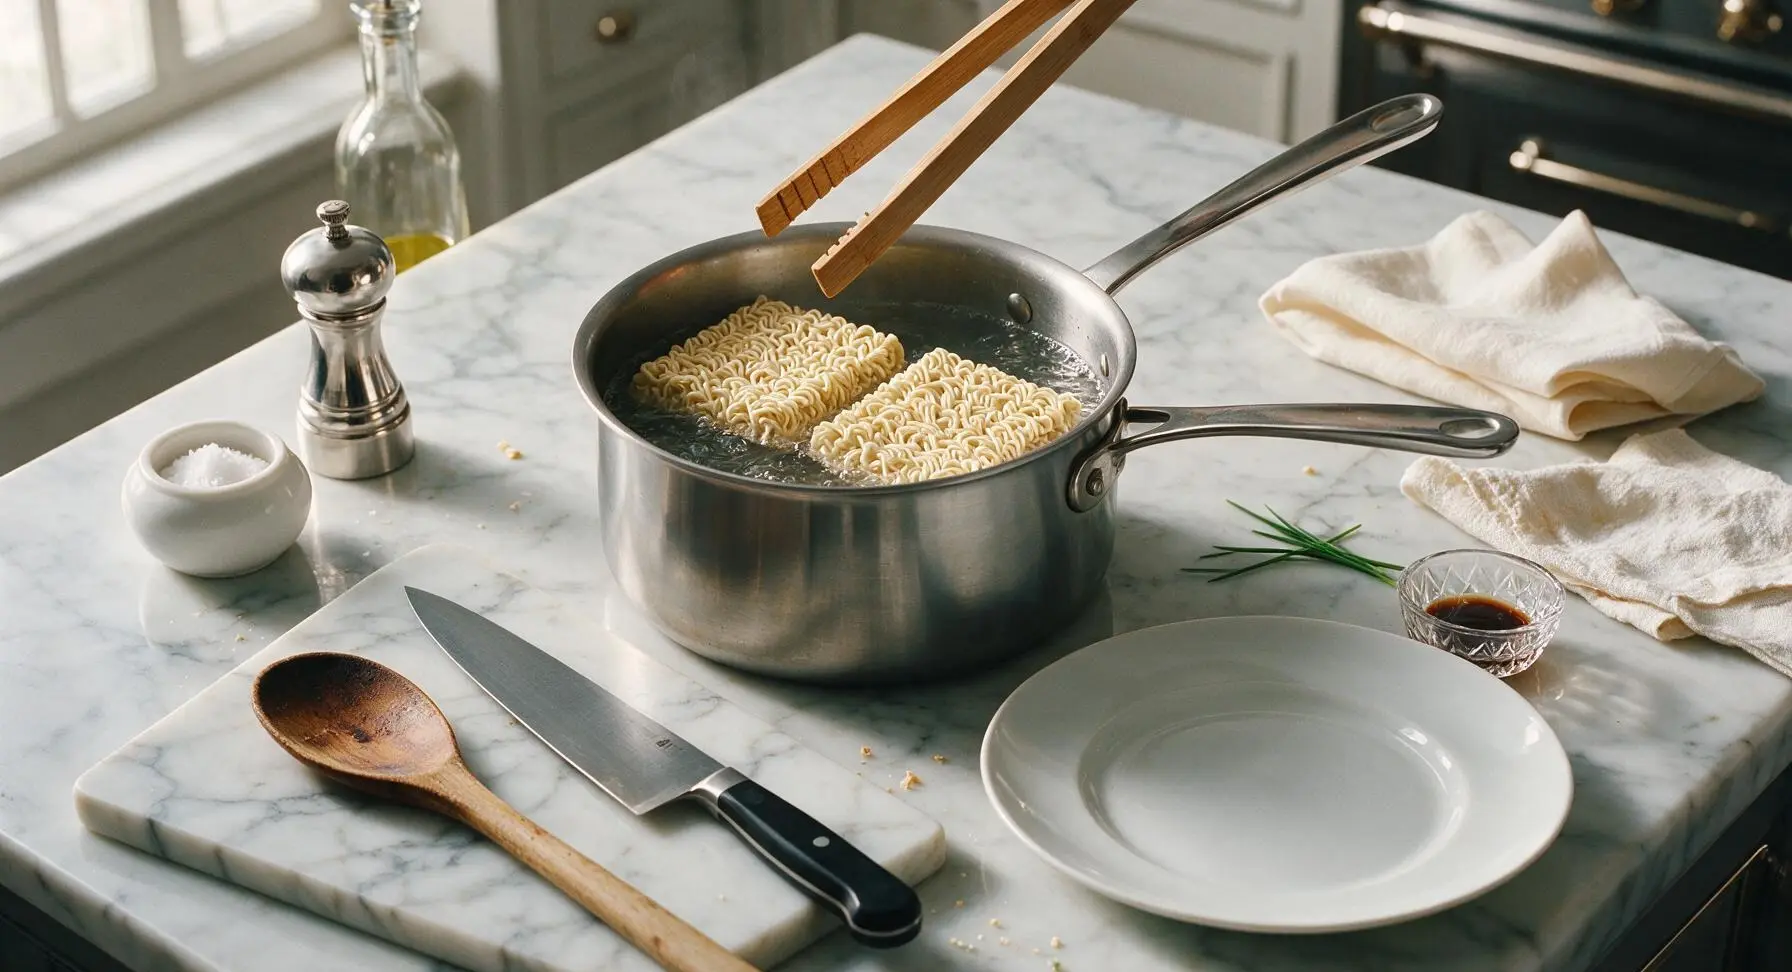
Pour 2.5 cups (600ml) of cold water into the 1.5L stainless steel saucepan, then move the pan to the center burner of the induction cooktop. Turn heat to high, and bring water to a full rolling boil (approximately 3 minutes), identified by large, continuous bubbles breaking across the water surface and a faint wisp of steam rising from the pan.
Cook Ramen Noodles
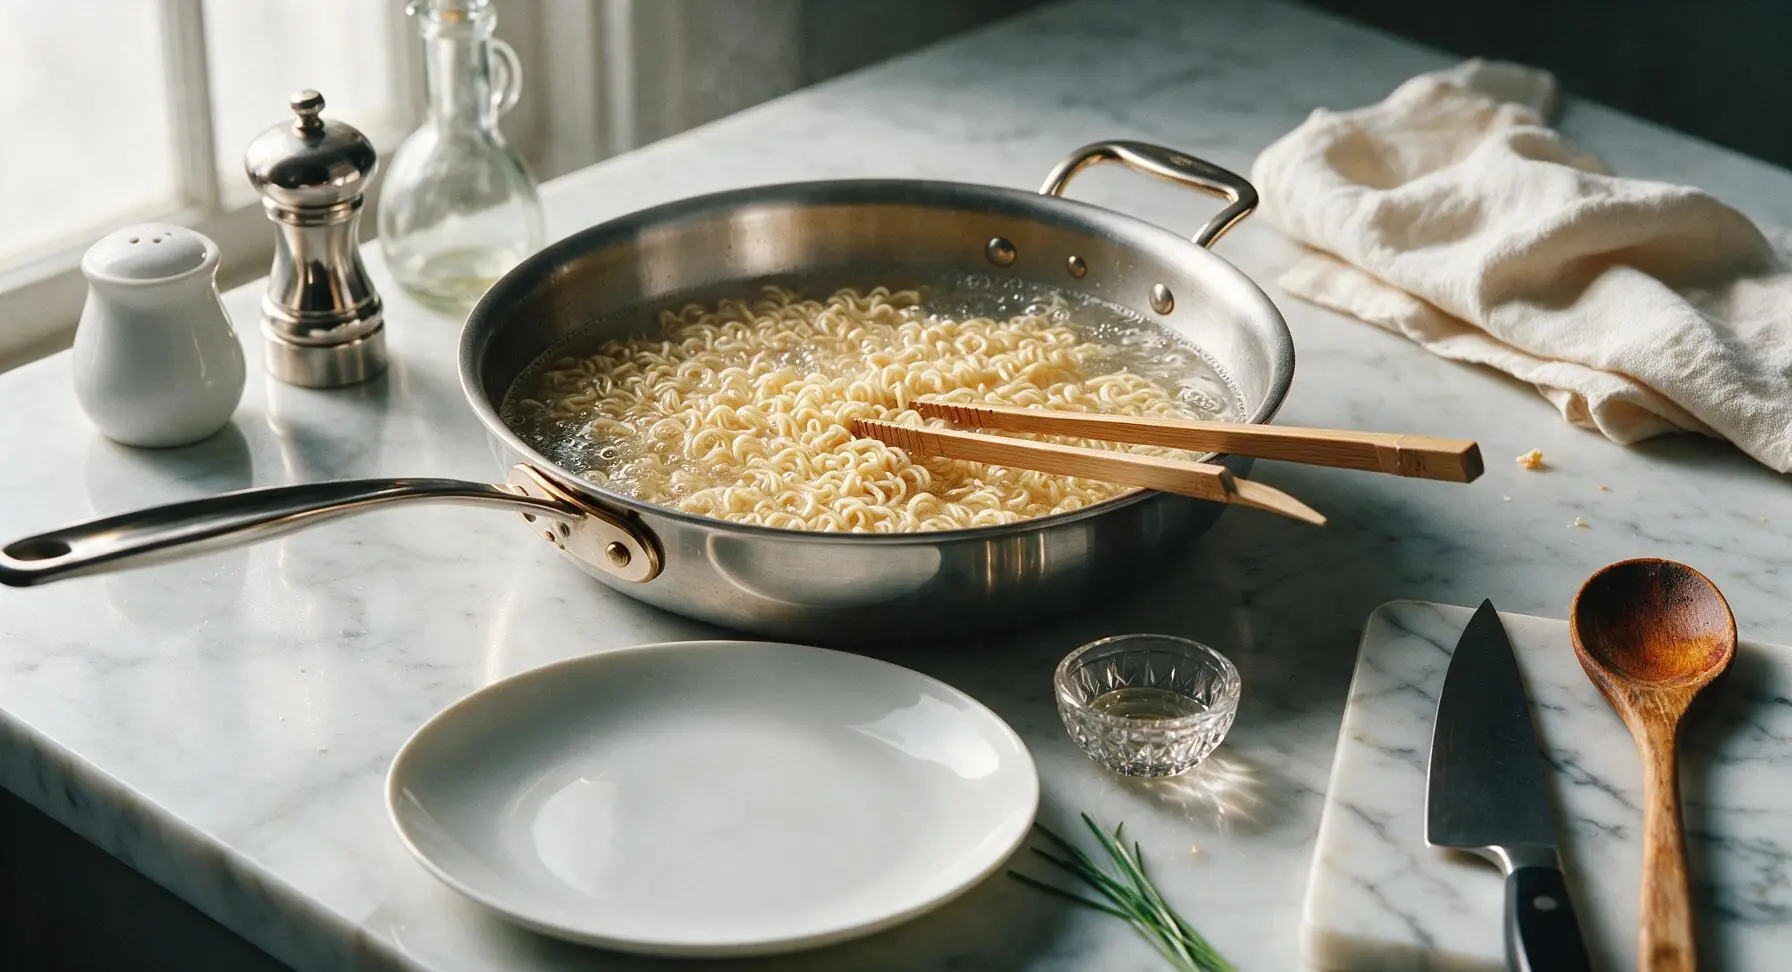
Add both blocks of dried ramyeon noodles to the boiling water, using the bamboo tongs to gently separate the noodle strands as they soften. Cook for exactly 2 minutes, stirring occasionally, until noodles are tender but still retain a slight firm bite (al dente) at their center. Do not overcook, as noodles will continue to absorb broth and soften after heat is turned off.
Stir in Soup Base
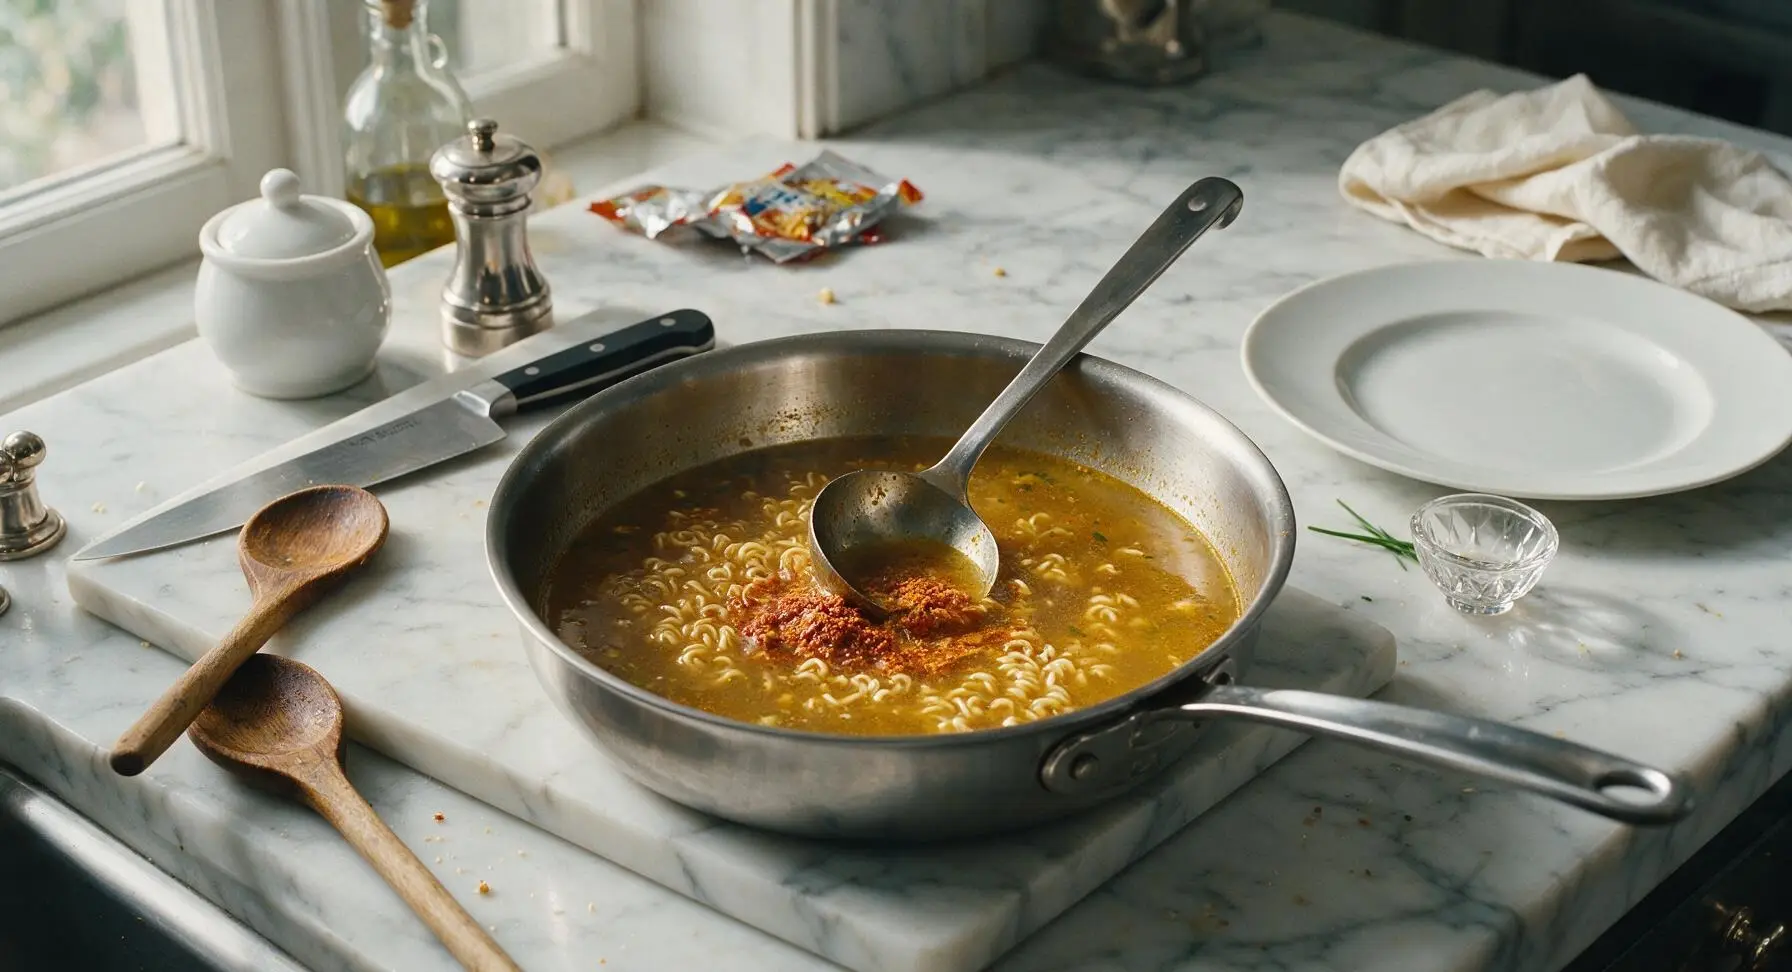
Tear open the included dried vegetable and powdered soup base packets from the ramyeon packs, adding all contents to the pan with noodles. Retrieve the stainless steel soup ladle from its under-cabinet hook, and use it to stir the seasoning into the boiling broth for 30 seconds, until the powder is fully dissolved and the broth turns a deep, rich golden brown with tiny flecks of dried vegetable visible throughout. Return the ladle to the spoon rest after stirring.
Poach the Egg
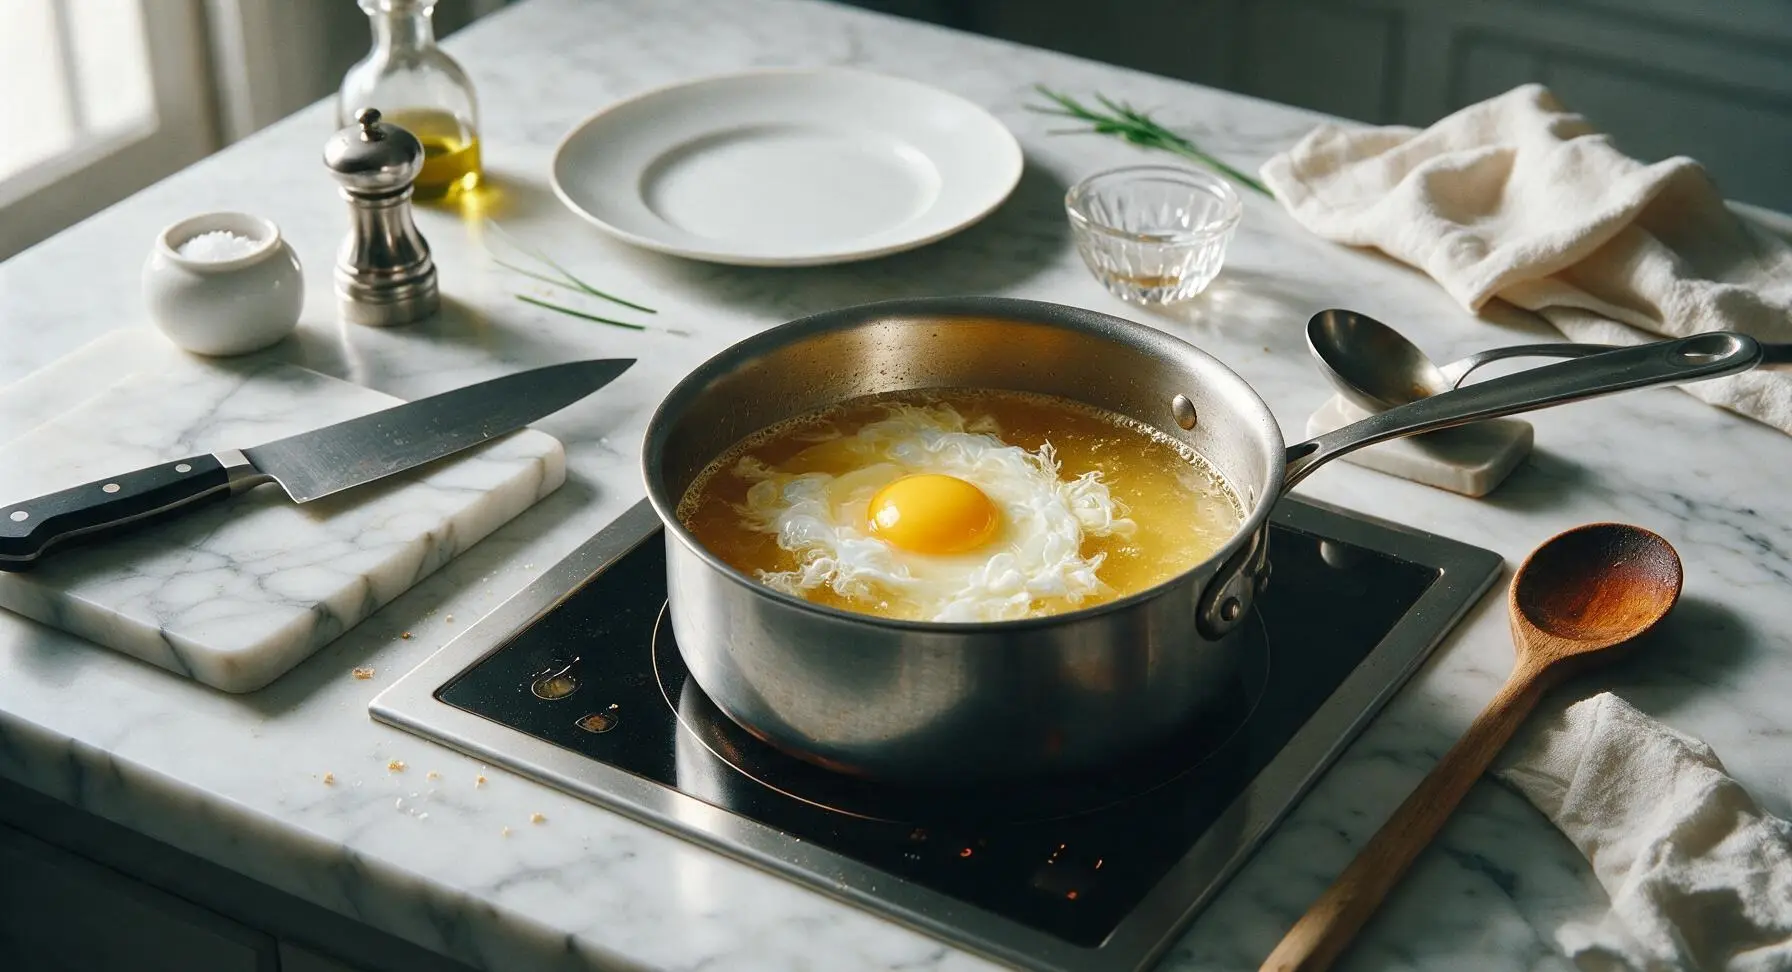
Crack the large egg directly into the center of the gently boiling broth, taking care not to break the yolk. Reduce heat to medium-low, and let the egg poach for 1 full minute, until the egg white is fully opaque and set, but the yolk remains soft and runny. Avoid stirring directly over the egg to prevent breaking the yolk.
Top with Cheese
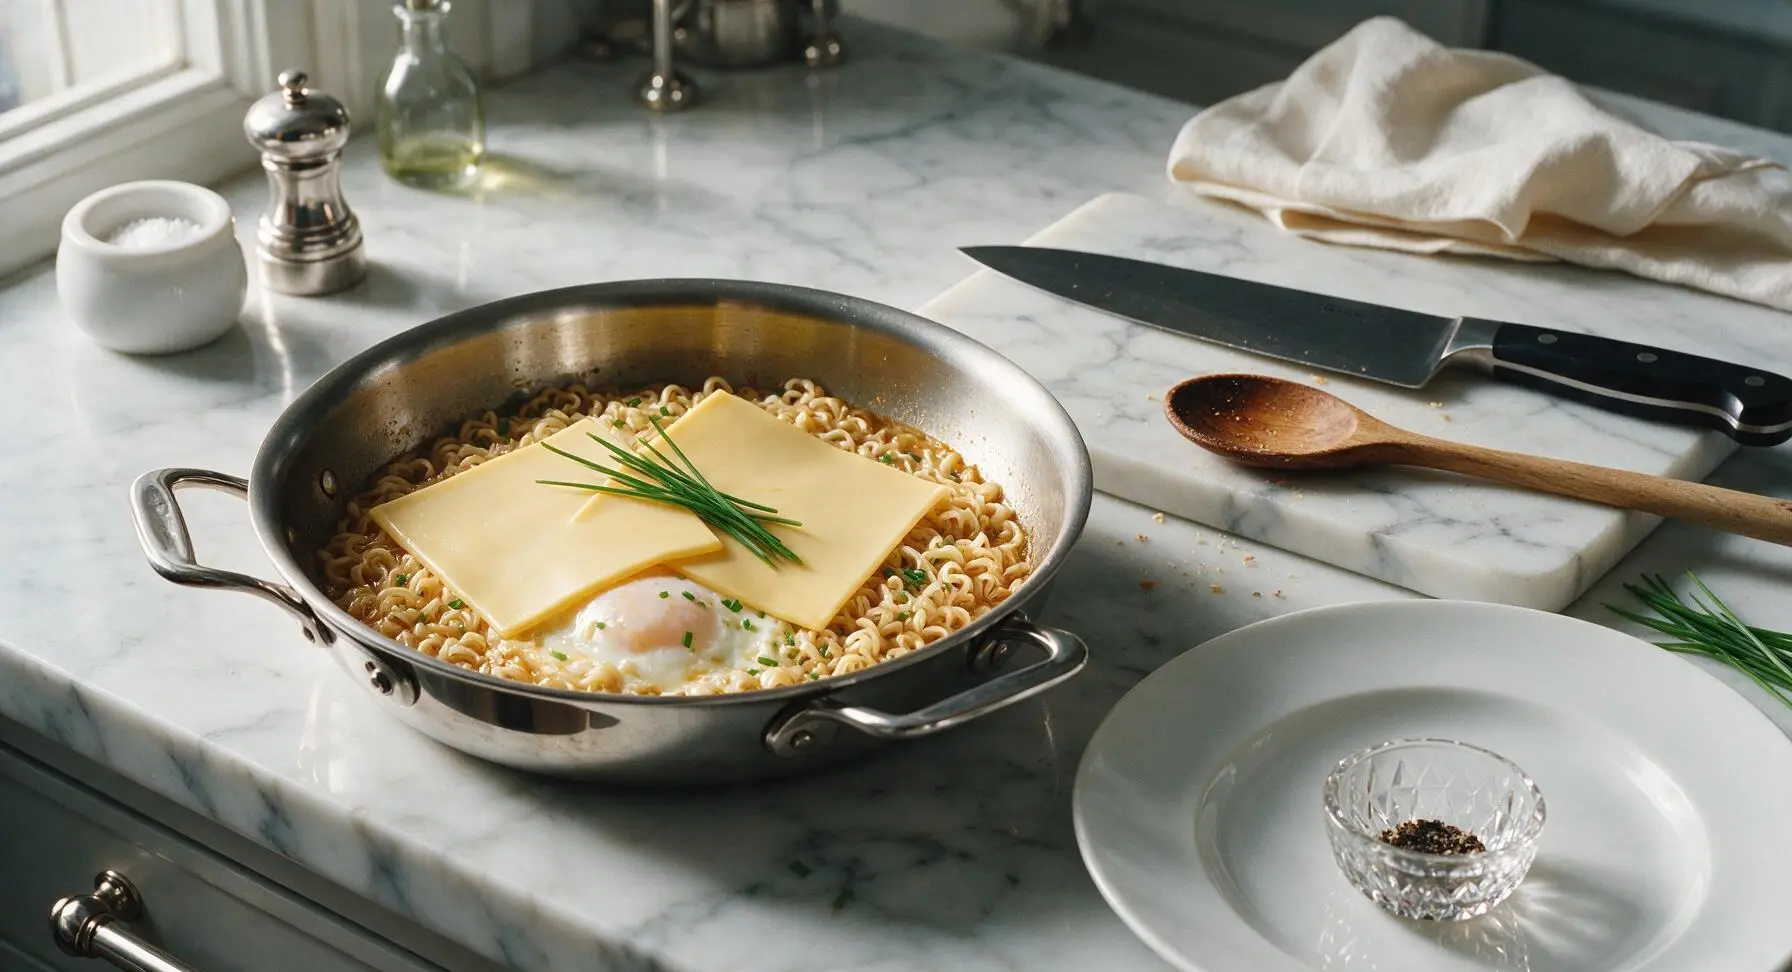
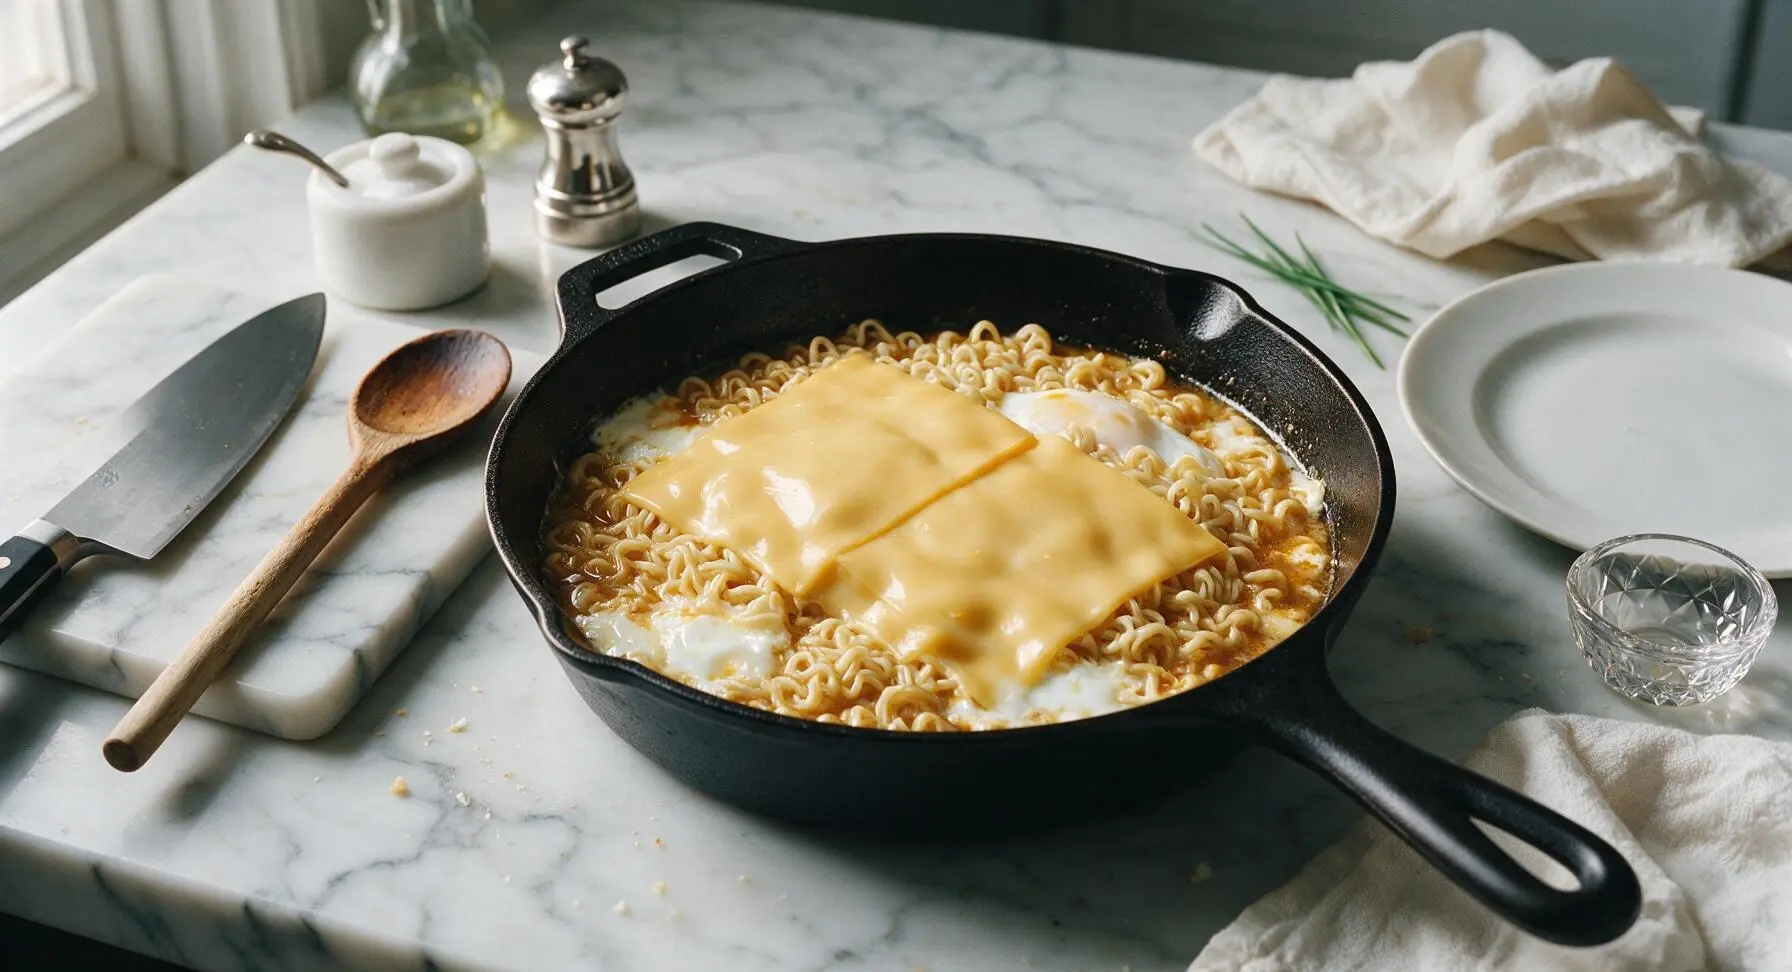
Turn off the heat under the pan. Lay the two slices of American cheese directly over the top of the hot noodles and poached egg, overlapping slightly in the center of the pan. Let the residual heat from the ramen melt the cheese for 1 full minute, until the cheese edges turn translucent and start to ooze down between the noodles, creating a creamy, rich layer.
Transfer to Serving Bowl
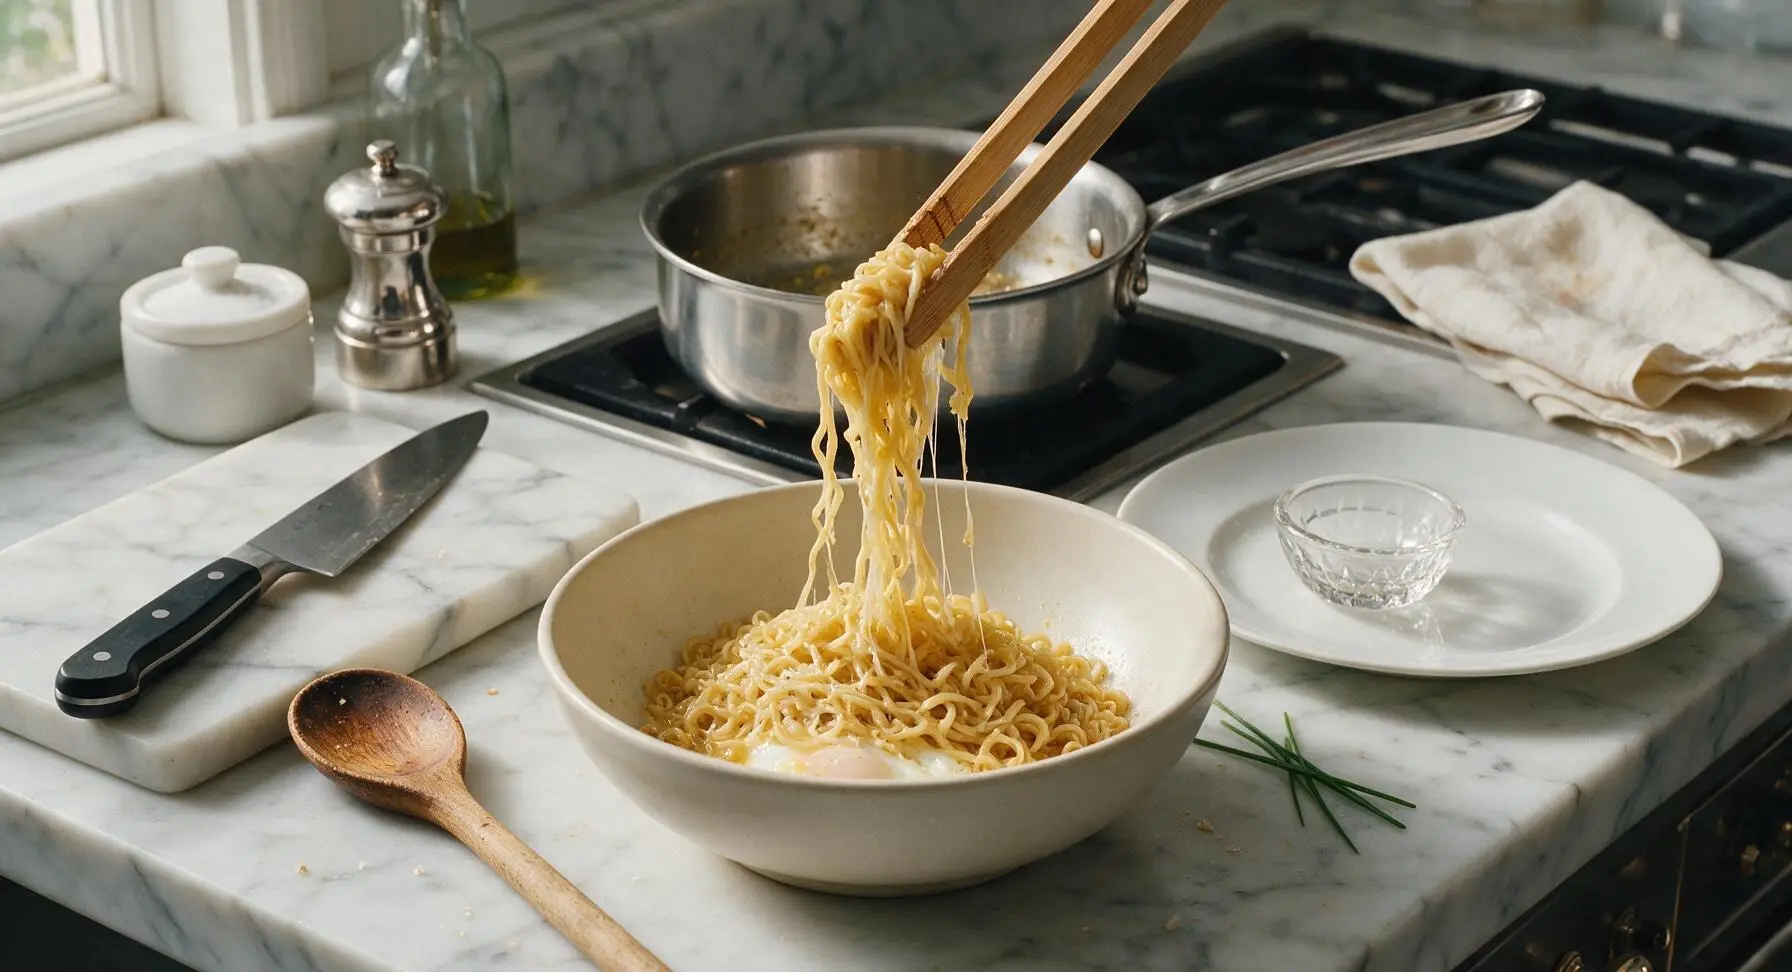
Retrieve the deep matte cream ceramic ramen bowl from the under-counter shelf, and place it front center of the counter. Carefully lift the saucepan, and pour all contents (noodles, broth, poached egg, melted cheese) into the bowl. Use the bamboo tongs to gently lift and arrange the noodles slightly so the poached egg is partially visible at the surface, and the melted cheese drapes evenly over the top.
Add Final Garnishes
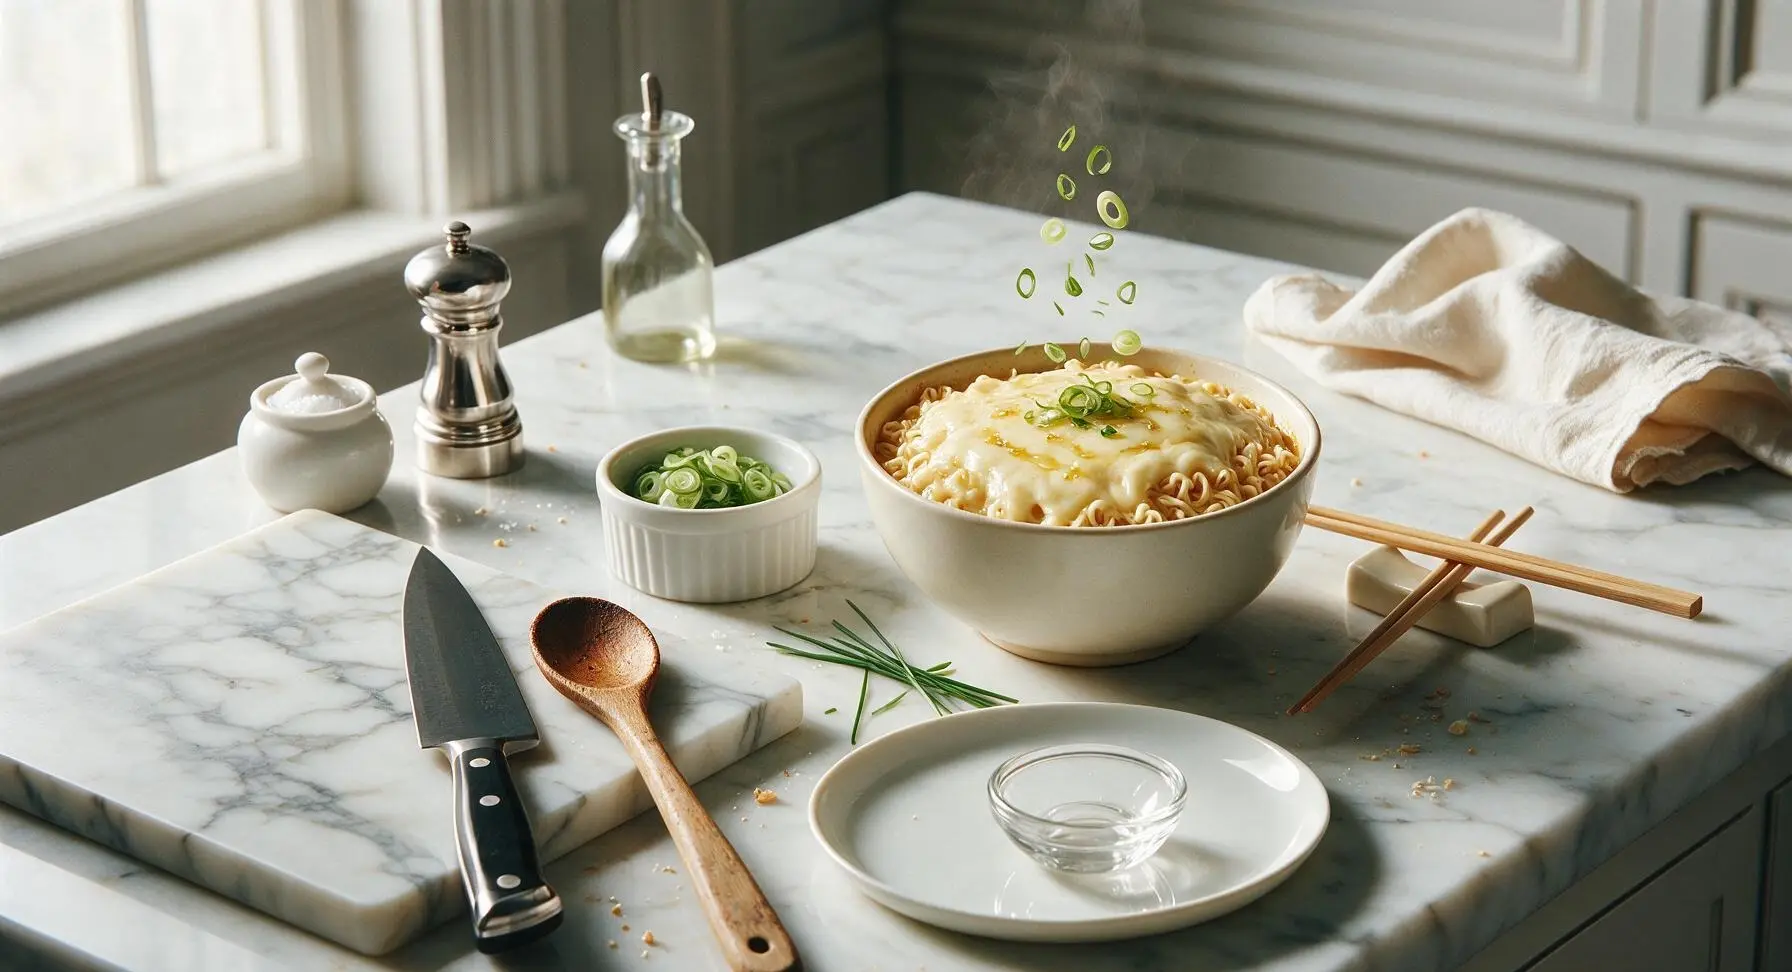
Drizzle 1 teaspoon of toasted sesame oil over the top of the ramen, sprinkle with the sliced green onions from the white ramekin, and add one light twist of fresh black pepper from the pepper mill. Do not stir the ramen, so the melted cheese remains gooey and visible on the surface. Serve immediately while hot, with chopsticks.
Tips
2.Resist the urge to cook noodles for the full 3-4 minutes listed on the ramen package: Instant noodles continue to absorb hot broth and soften for 2-3 minutes after you turn off the heat, so stopping at 2 minutes of boil time ensures noodles stay chewy and springy rather than turning mushy by the time you eat.
3.Skip stirring immediately after adding the cheese: Letting the cheese melt undisturbed on top creates a rich, stretchy cheese cap across the ramen surface, rather than mixing fully into the broth and diluting the concentrated cheesy flavor in every bite.






OMG y’all this is such a game changer! I was so tired of plain boring ramen for quick weeknight lunches and this took literally 10 minutes total. The gooey cheese pull is insane, my 7 year old asked for seconds before he even finished his first bowl. Will be adding this to our regular rotation for sure! SO good.
Bro this saved me during finals week. No fancy equipment, 10 minutes, costs like $2 total to make? I’ve made it 4 nights in a row and my roommate keeps stealing bites off my plate. Absolute dorm meal staple, no cap.
Made a big batch of this for our neighborhood potluck last weekend and people were hovering over the crockpot! I kept it warm on low and set out toppings like chopped green onions, crumbled bacon, and hot sauce. Everyone was asking for the recipe, total hit!
Really tasty! Only reason I’m not giving 5 stars is that I tried to meal prep this for the week and the cheese got a little clumpy when I reheated it in the microwave. Flavor was spot on though, even my picky husband ate it without complaining.
Just made this after a late shift at the hospital and it hit SO hard. I added a dash of chili flakes and a runny fried egg on top, chef’s kiss. Can’t believe how quick it is, exactly what I needed when I got home too tired to cook anything fancy.
As someone who puts cheese on literally everything, this recipe was made for me. I used a blend of pepper jack and cream cheese like another commenter suggested and it was so rich and gooey, perfect for a cold snowy night last week. 10/10, no notes.
My teens are obsessed with this! I used to fight them to eat something other than takeout after school, but now they make this themselves all the time. It’s easy enough that even my 14 year old who burns toast can pull it off without making a huge mess. Win for everyone!
This is such a budget friendly win! I bought generic ramen and store brand shredded cheese, total cost per serving was less than $1.50. Way better than paying for takeout when I’m craving something cheesy and salty. Will be making this at least once a week.
Really good! I used gluten free ramen noodles and dairy free cheese to fit my dietary restrictions and it turned out way better than I expected. The texture of the DF cheese got a little stringy but the flavor was totally there, would make again.
Made these as individual cups for our game day watch party last Sunday and they vanished in 10 minutes. I topped each with a little crumbled chorizo and lime wedge, people were going back for thirds. So much easier than making a big complicated appetizer.
Wait why did I never think to add cheese to ramen before?? This is so simple but so delicious, I ate the whole bowl standing up at the stove because I couldn’t wait for it to cool down. Zero cleanup too, which is my favorite part when I don’t feel like doing dishes after work.