
Ratatouille Grilled Cheese
intro
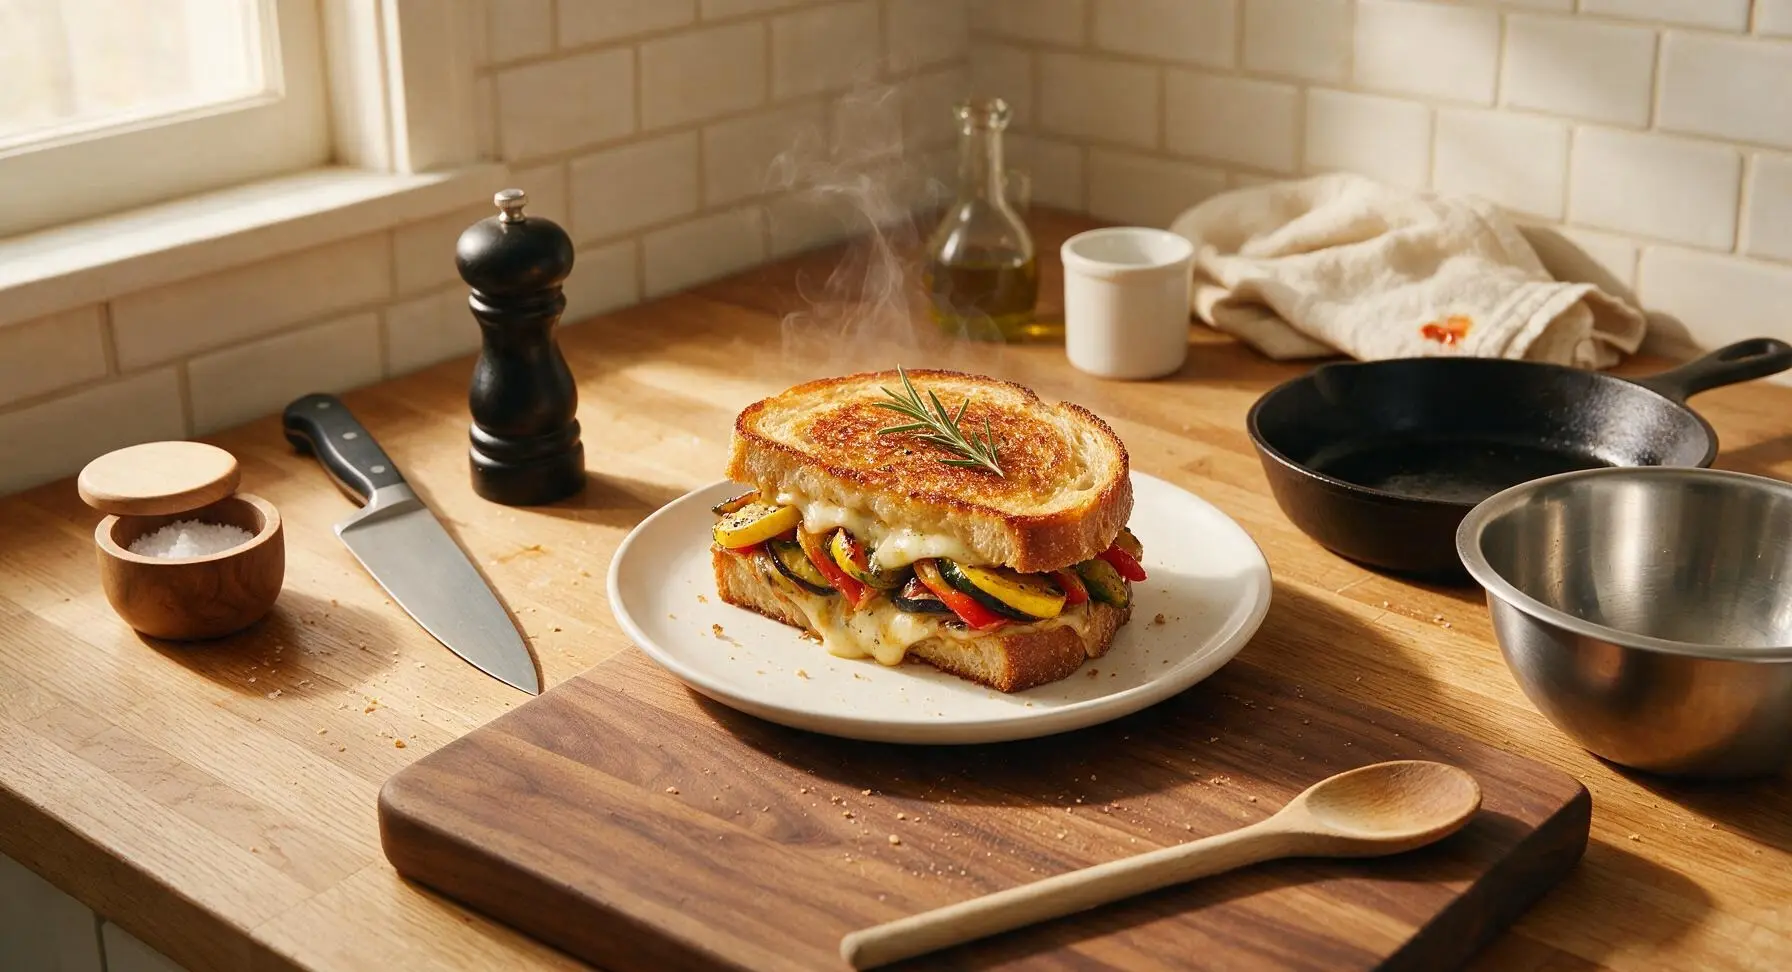
Crispy buttered sourdough oozing with nutty melted gruyère, layered with bright herb-kissed Provençal summer vegetables—this cozy, bright twist on grilled cheese is pure comfort.
Ingredients
Steps
Prep Summer Vegetables
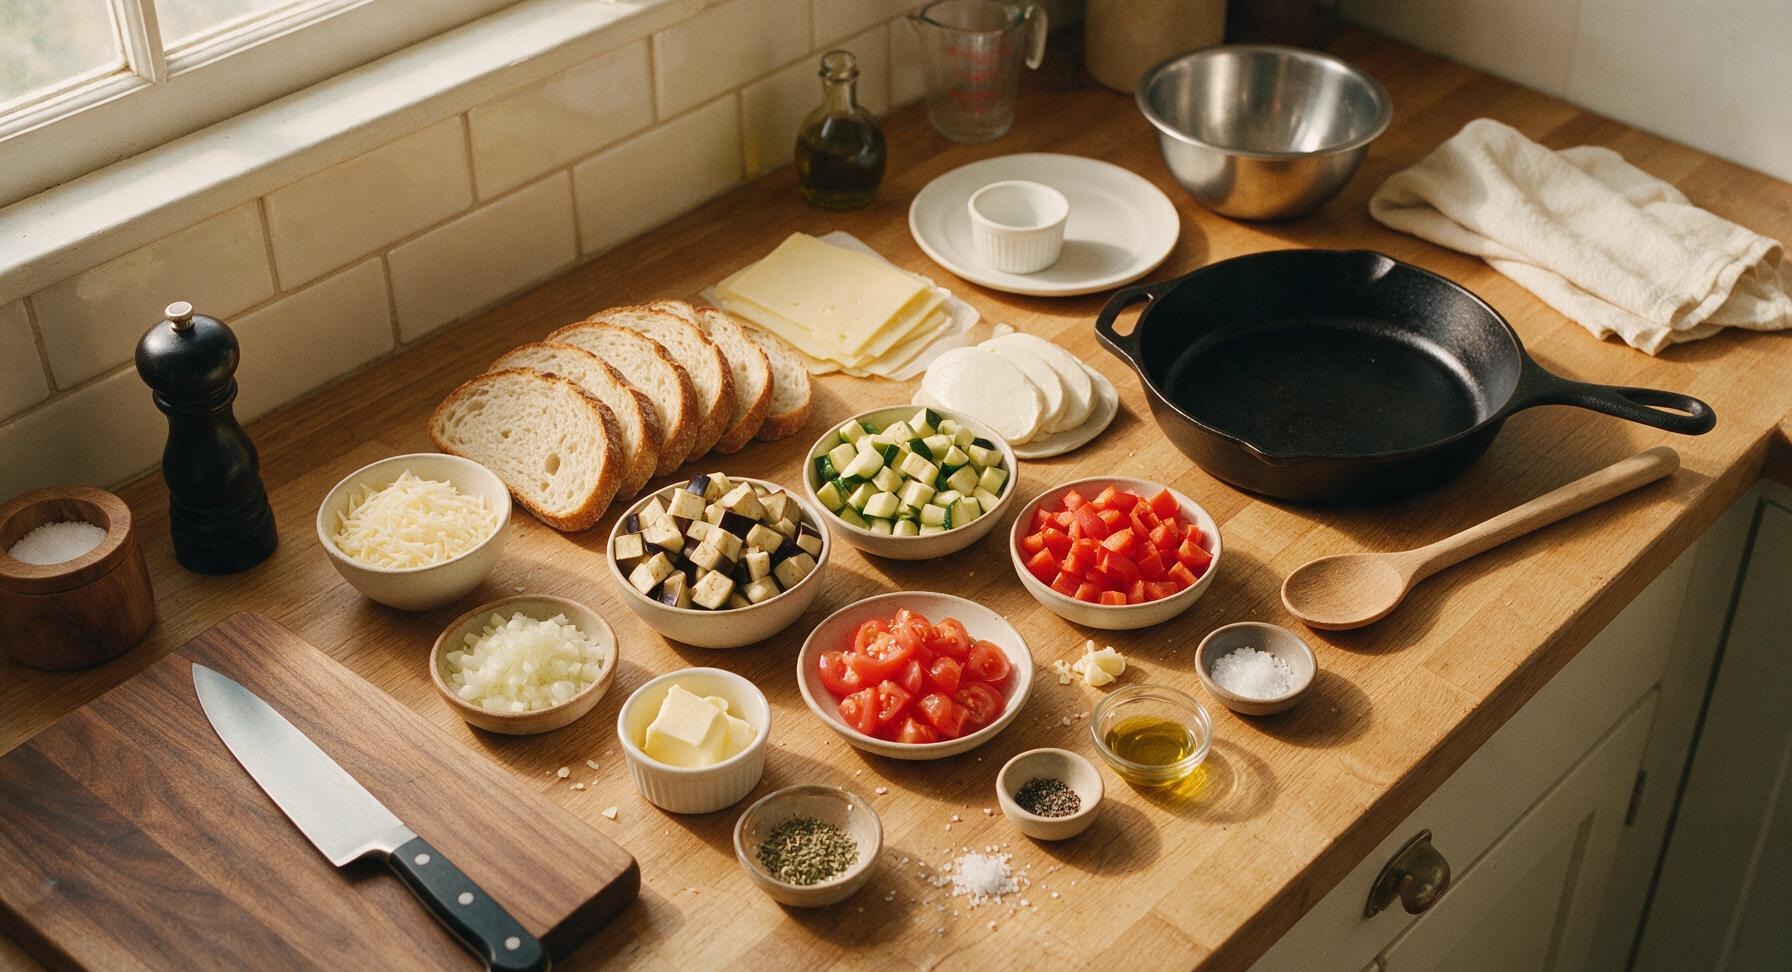
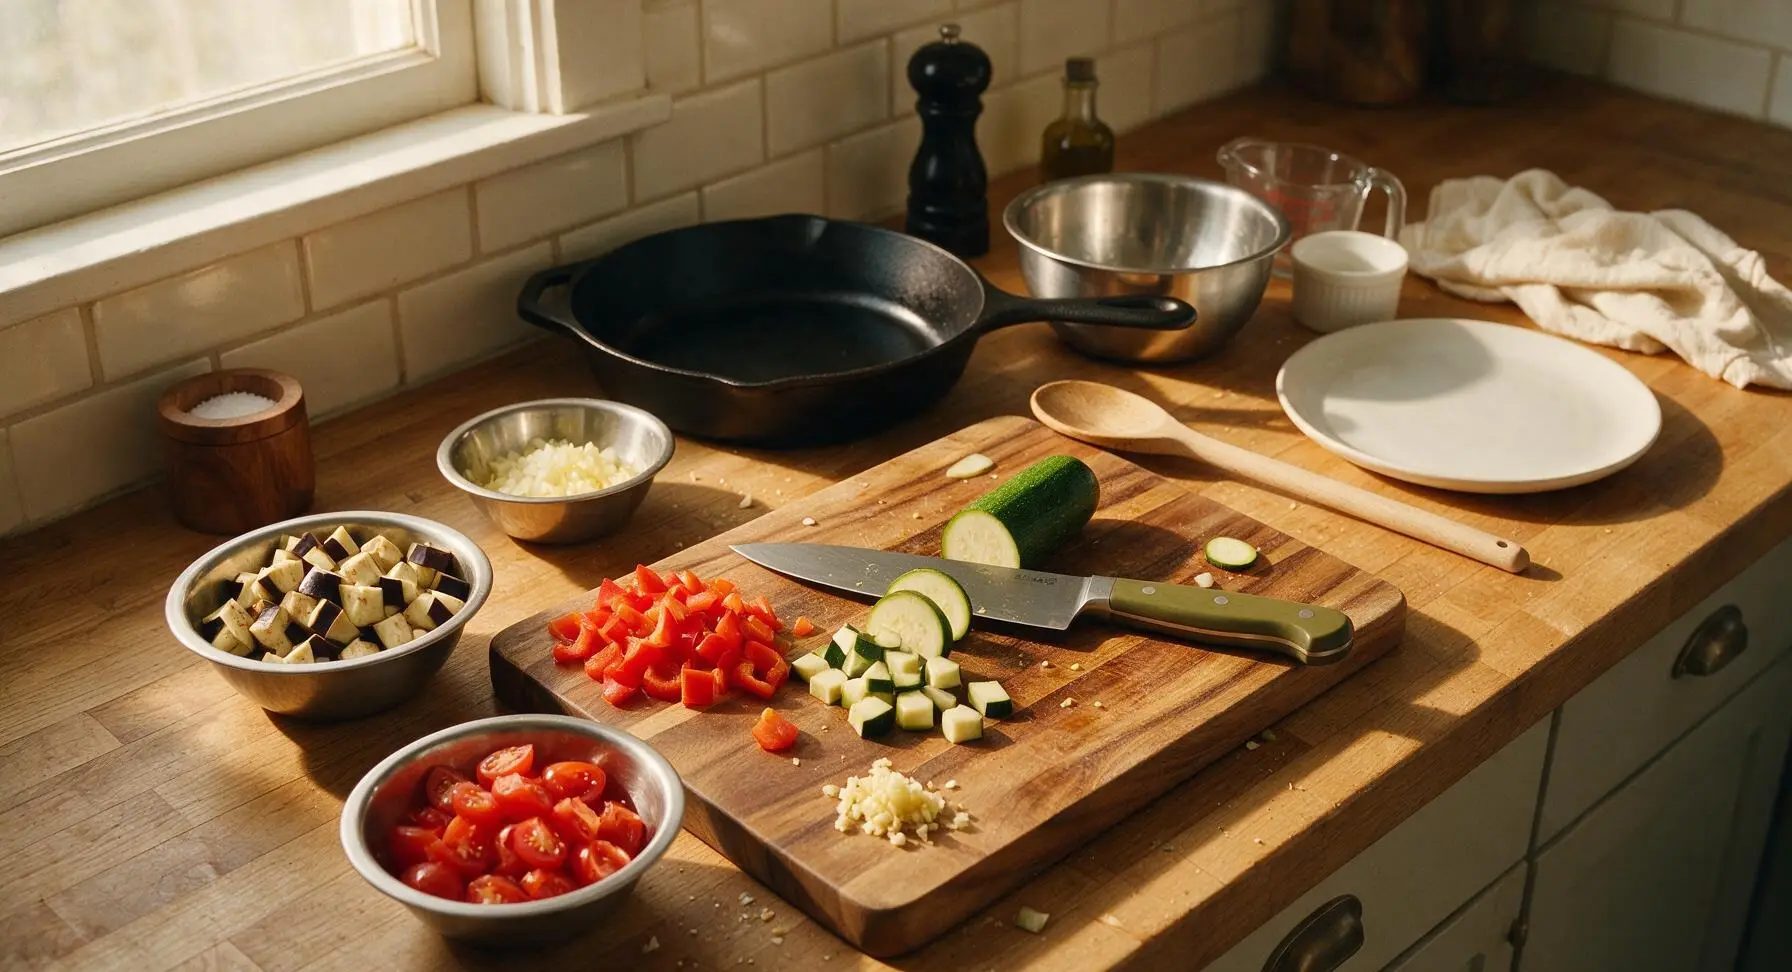
Set the acacia wood cutting board at the center of the work area. Using the 8-inch chef knife, dice the eggplant, zucchini, seeded red bell pepper, and seeded roma tomatoes into uniform 1cm cubes, finely dice the yellow onion, and mince the garlic cloves. Keep each prepped vegetable separate in the small stainless steel prep bowls to ensure even cooking later. Toss the diced eggplant with 1/4 tsp flaky sea salt, let rest 5 minutes to draw out bitter excess moisture, then pat fully dry with a corner of the oatmeal linen towel.
Sauté Ratatouille Medley
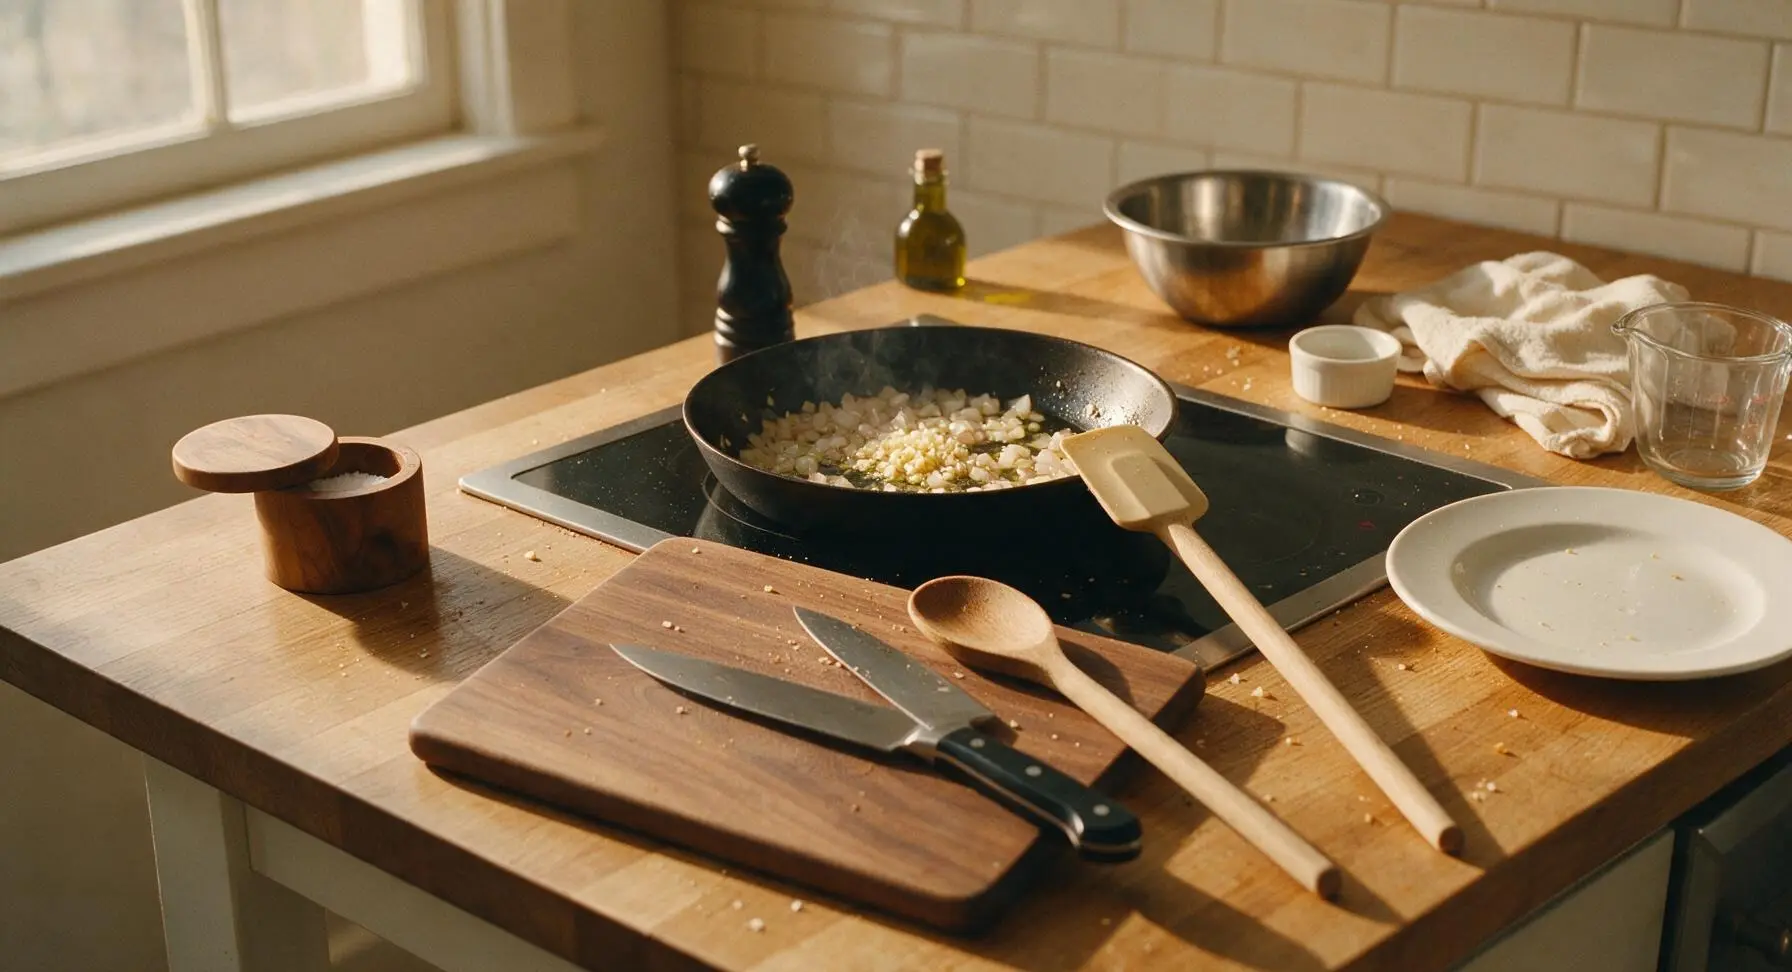
Place the 10-inch matte black carbon steel skillet on the flush induction cooktop zone at the back of the counter, heat to medium (350°F/175°C). Add 1 tbsp extra-virgin olive oil, then sauté diced onion for 3 minutes until soft and translucent. Add minced garlic and herbes de Provence, cook 30 seconds until fragrant, then add patted-dry eggplant. Cook 5 minutes, stirring occasionally with the beige silicone spatula, until eggplant is tender and light golden brown. Add zucchini and red bell pepper, cook 4 minutes, then fold in diced tomatoes. Season with 1/2 tsp flaky sea salt and black pepper, reduce heat to low, simmer 5 minutes until vegetables are tender but not mushy, with no excess watery liquid pooling in the pan. Transfer cooked ratatouille to a clean prep bowl and set aside.
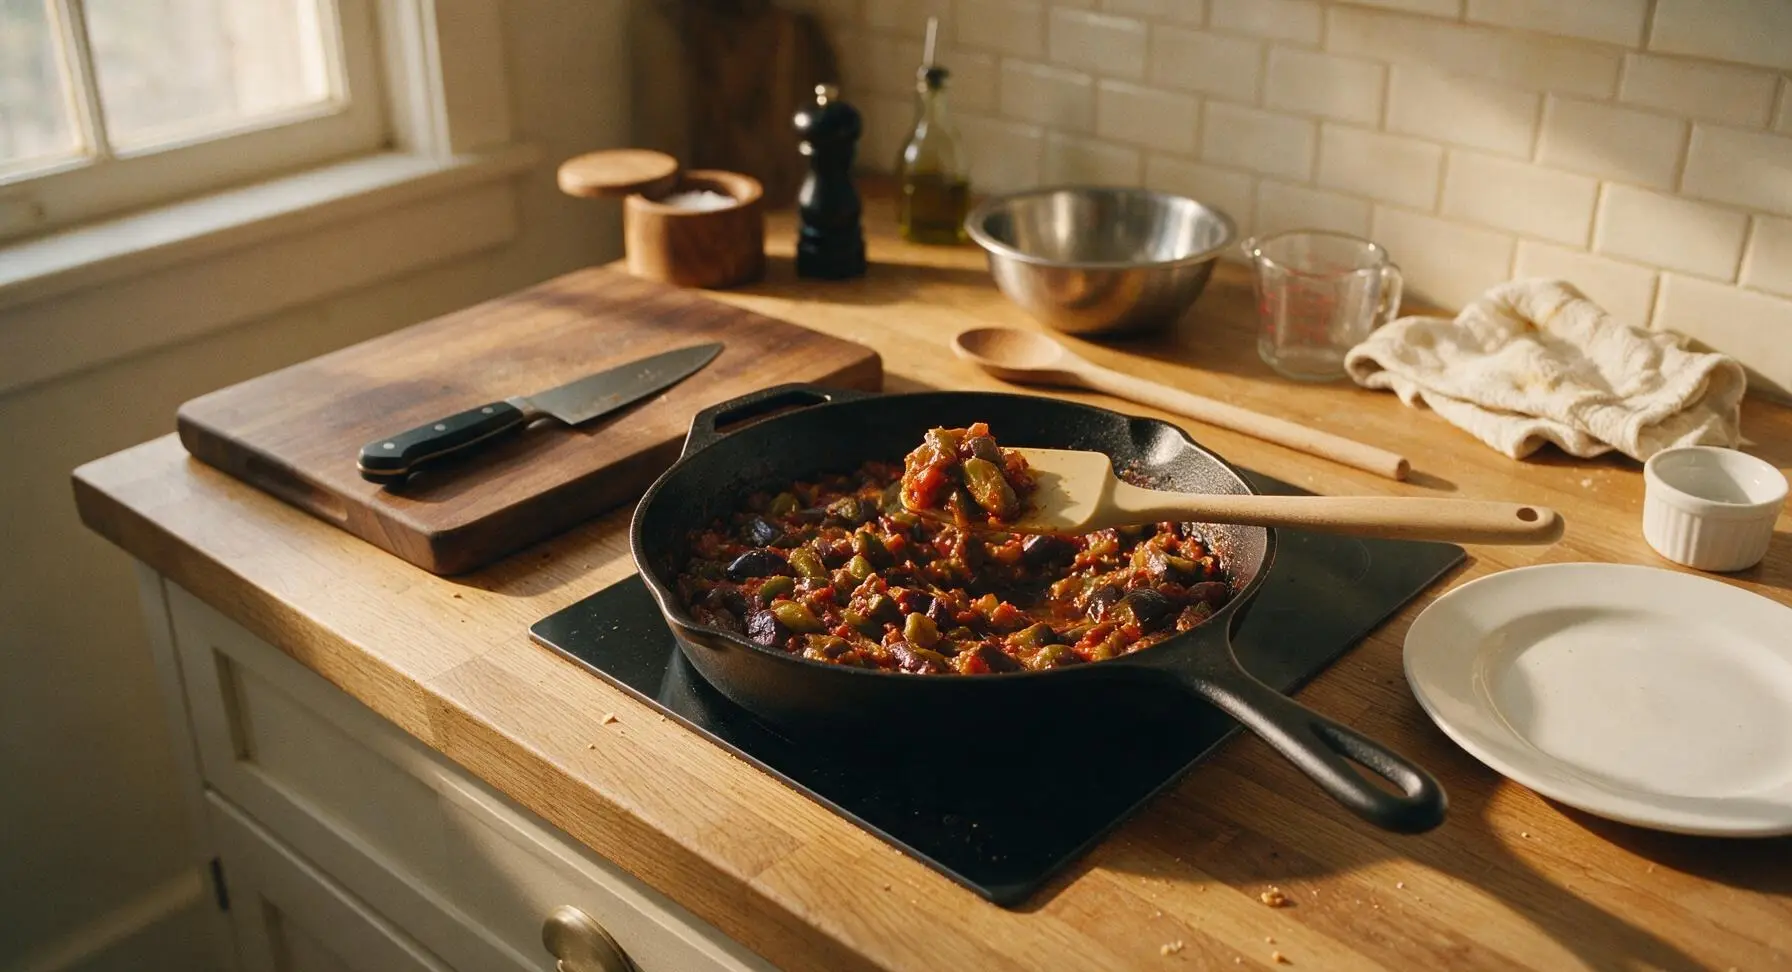
Prep Bread and Cheese
Wipe any remaining vegetable bits from the skillet with the linen towel, return to medium-low heat (325°F/160°C). Using the serrated bread knife, slice gruyère and low-moisture mozzarella into thin, even 2mm slices. Lay 4 sourdough slices on the acacia cutting board, place softened butter in the clear glass measuring cup, and use the metal pastry brush to spread 1 tsp of butter evenly across the outer face of each bread slice, covering every edge to prevent bare, un-toasted spots.
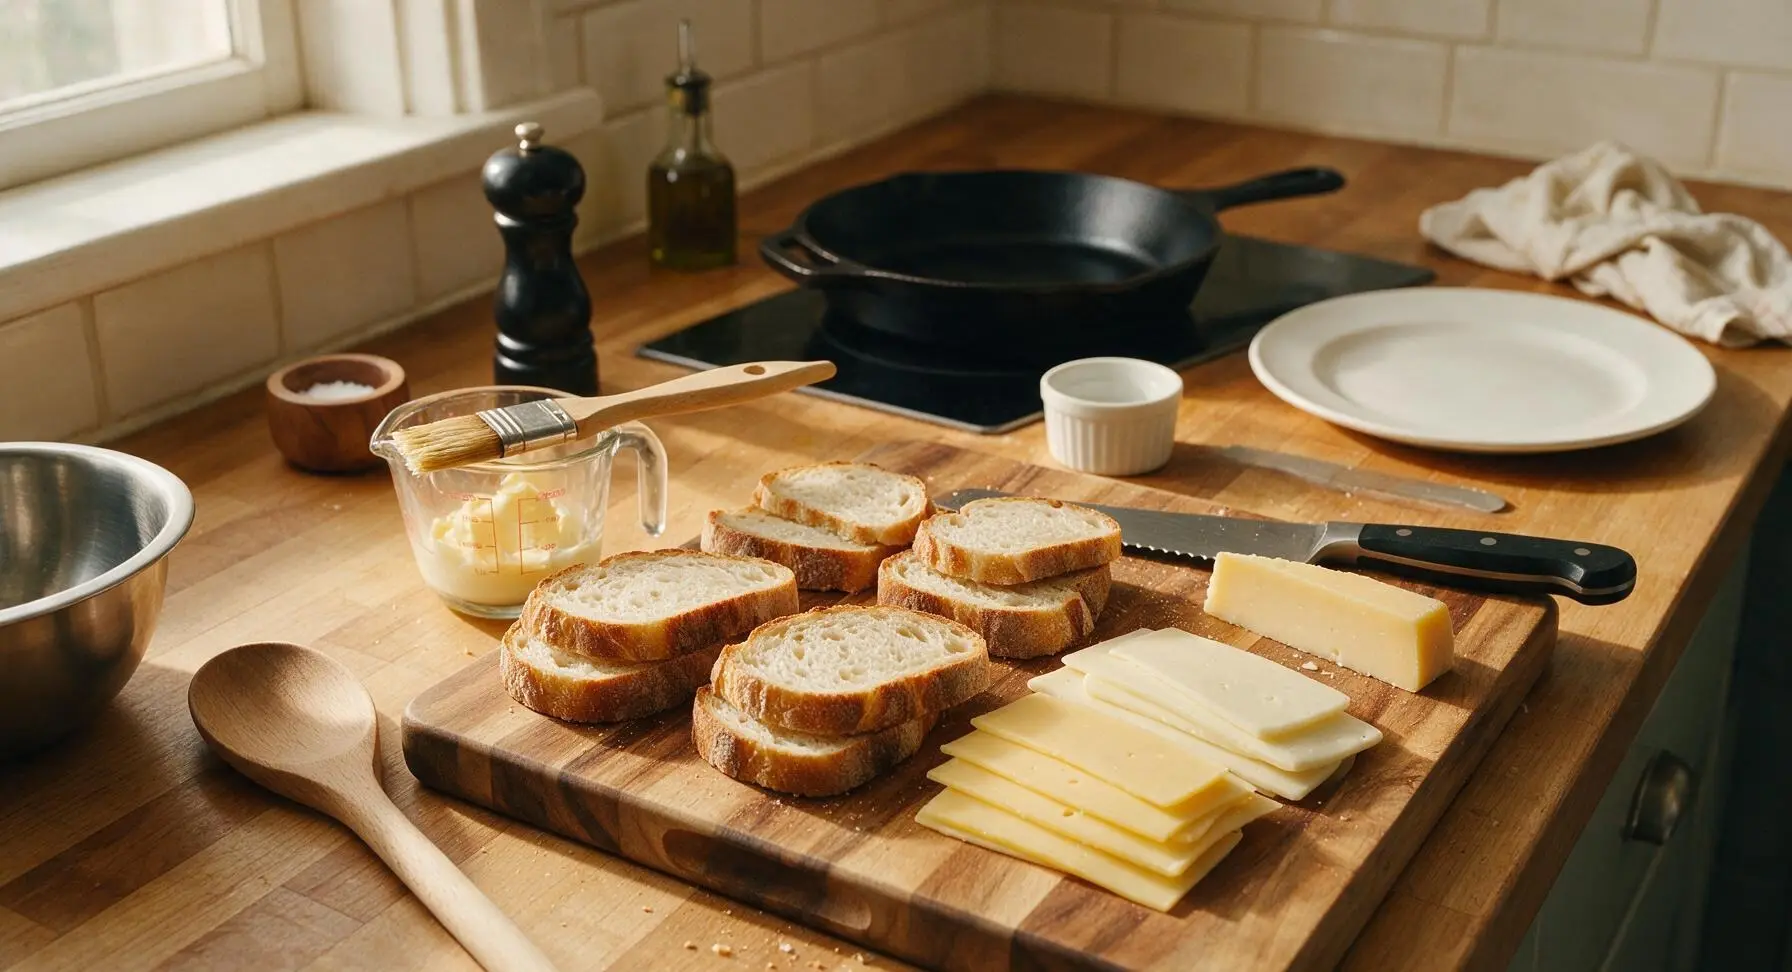
Layer Sandwich Fillings
Flip all buttered bread slices so the buttered side faces down. On 4 of the slices, layer a thin base of gruyère, top with 1/4 of the cooled ratatouille spread in an even 1cm layer (press gently on the veggie layer to squeeze out any trapped moisture to avoid soggy bread), then add a layer of mozzarella and a final thin top layer of gruyère to help seal the sandwich edges as it melts. Place the remaining 4 bread slices on top, buttered side facing up, and press gently to adhere the layers.
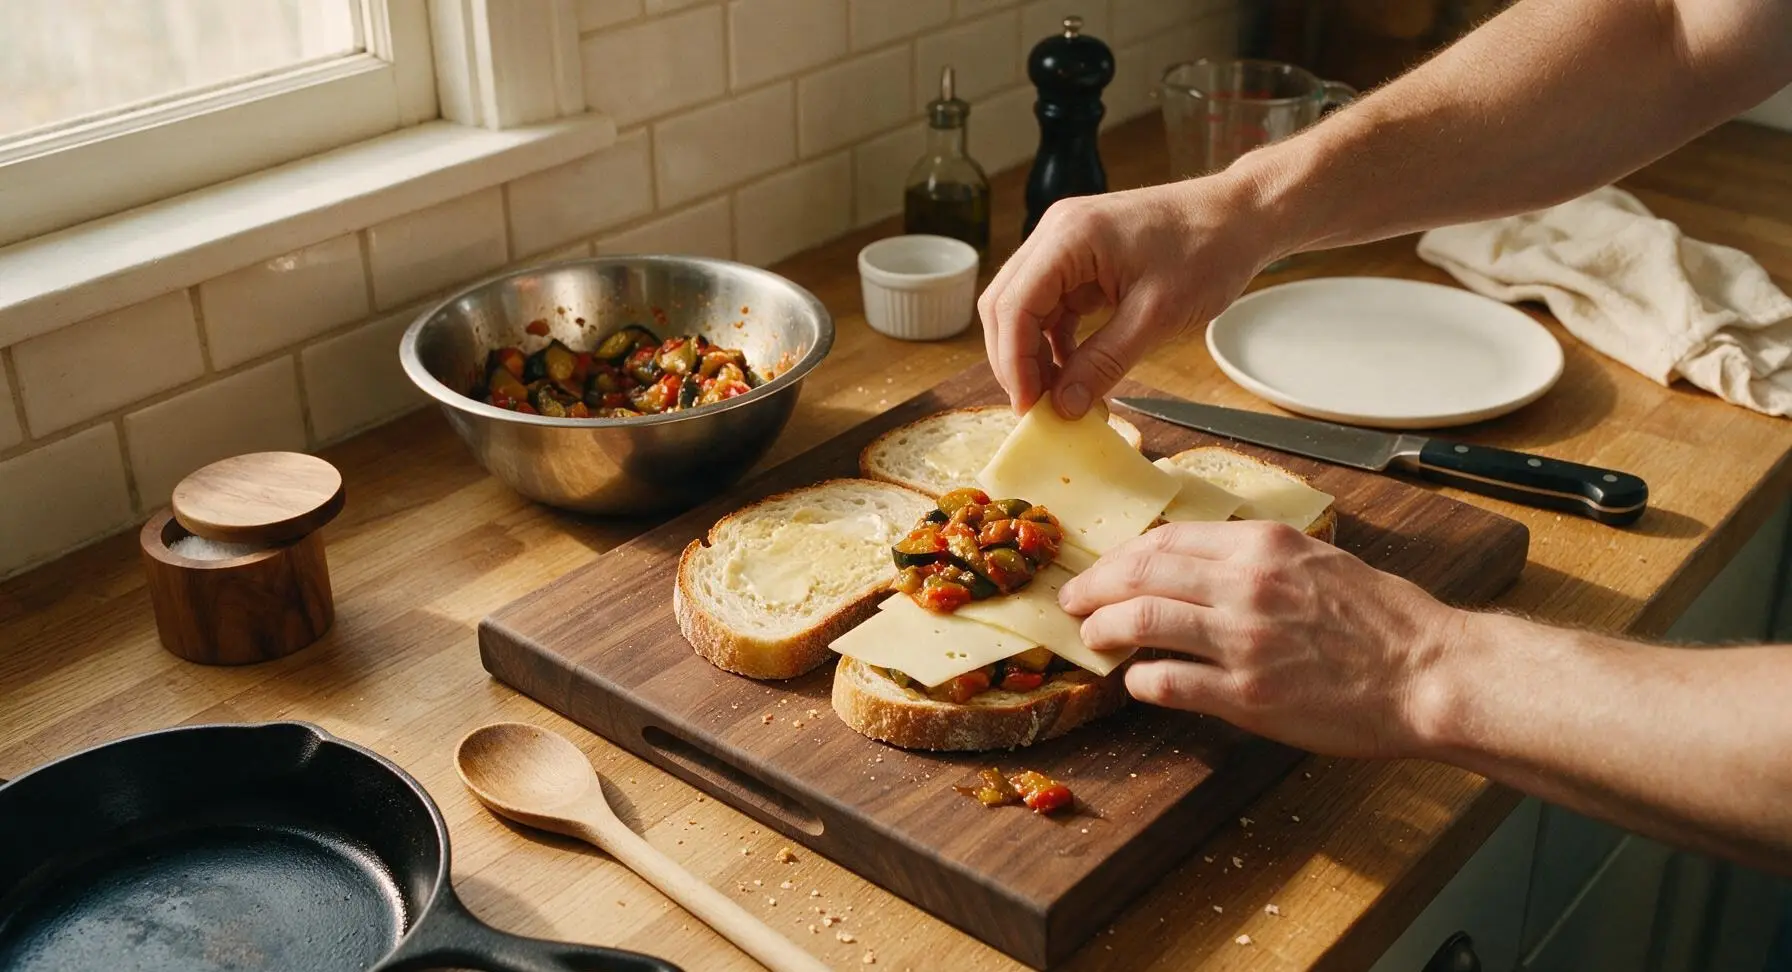
Grill Sandwiches Crisp
Working in batches of 2 to avoid crowding the skillet, place assembled sandwiches in the preheated pan. Cook 3-4 minutes on the first side, pressing gently with the silicone spatula every minute to ensure even bread-to-pan contact, until the first side is deep golden brown and crispy, and the bottom cheese layer starts to melt. Carefully flip each sandwich with the spatula, cook 3-4 minutes on the second side until equally golden, with all cheese fully melted and oozing slightly at the sandwich edges. Transfer cooked sandwiches to the matte cream ceramic dinner plate as you work, tent loosely with a small piece of foil to keep warm while cooking remaining batches.
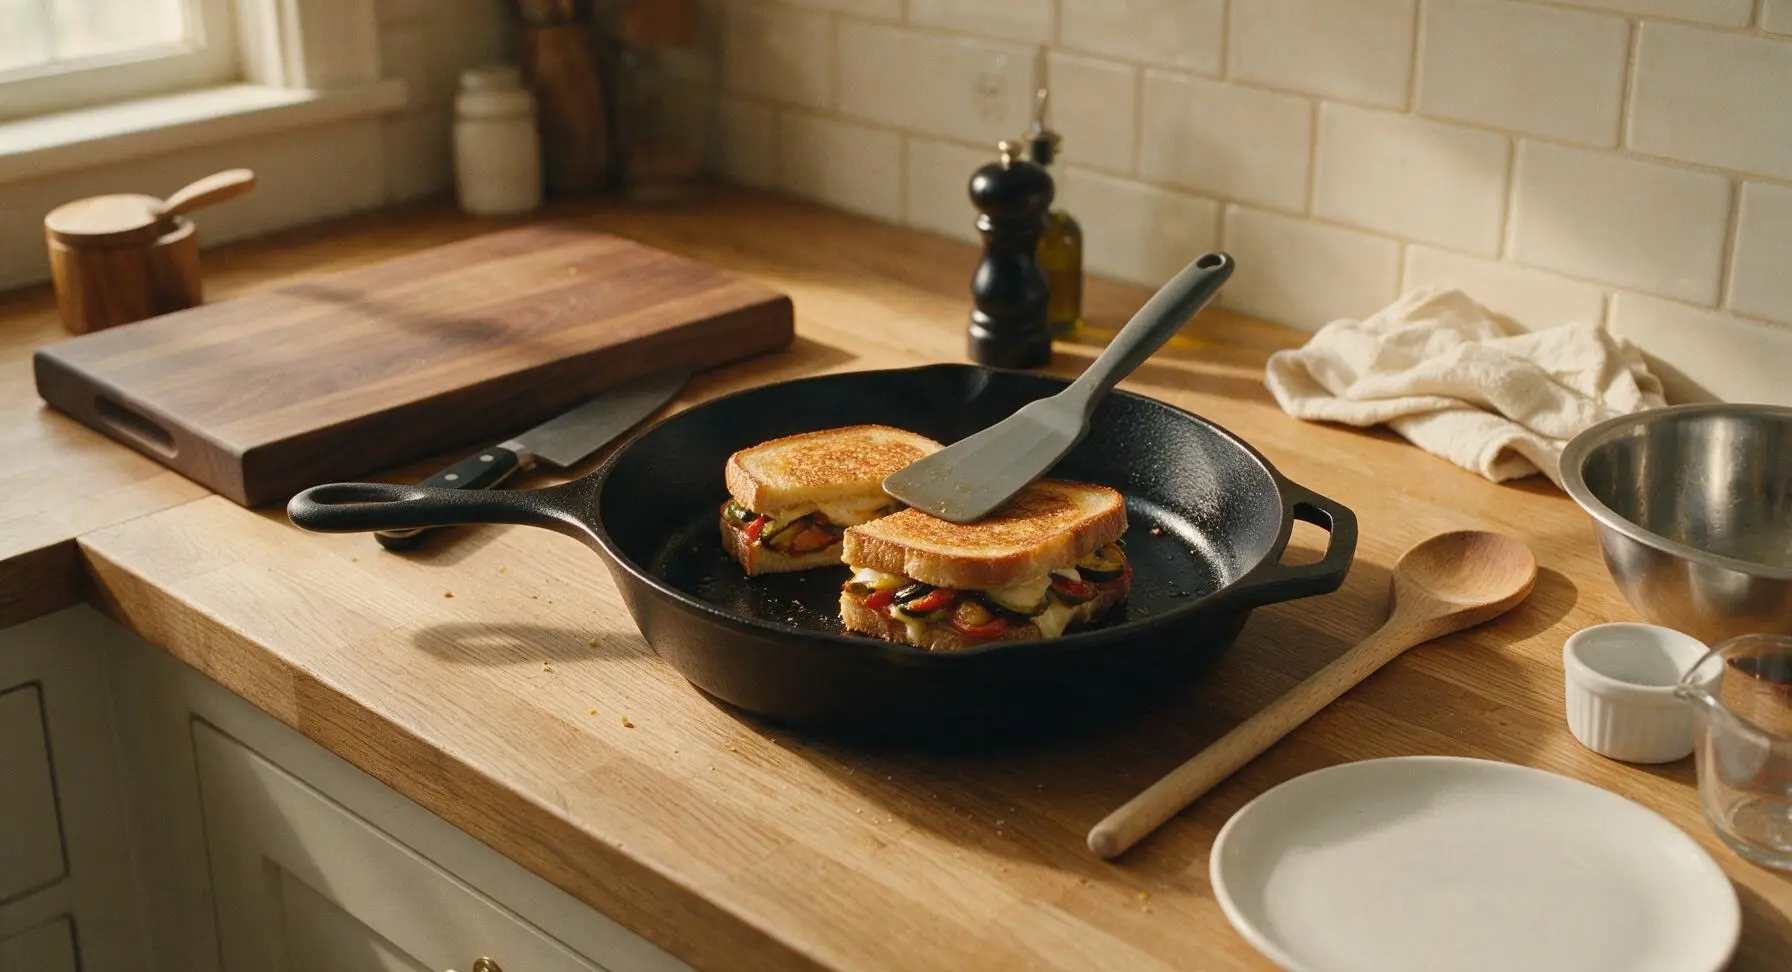
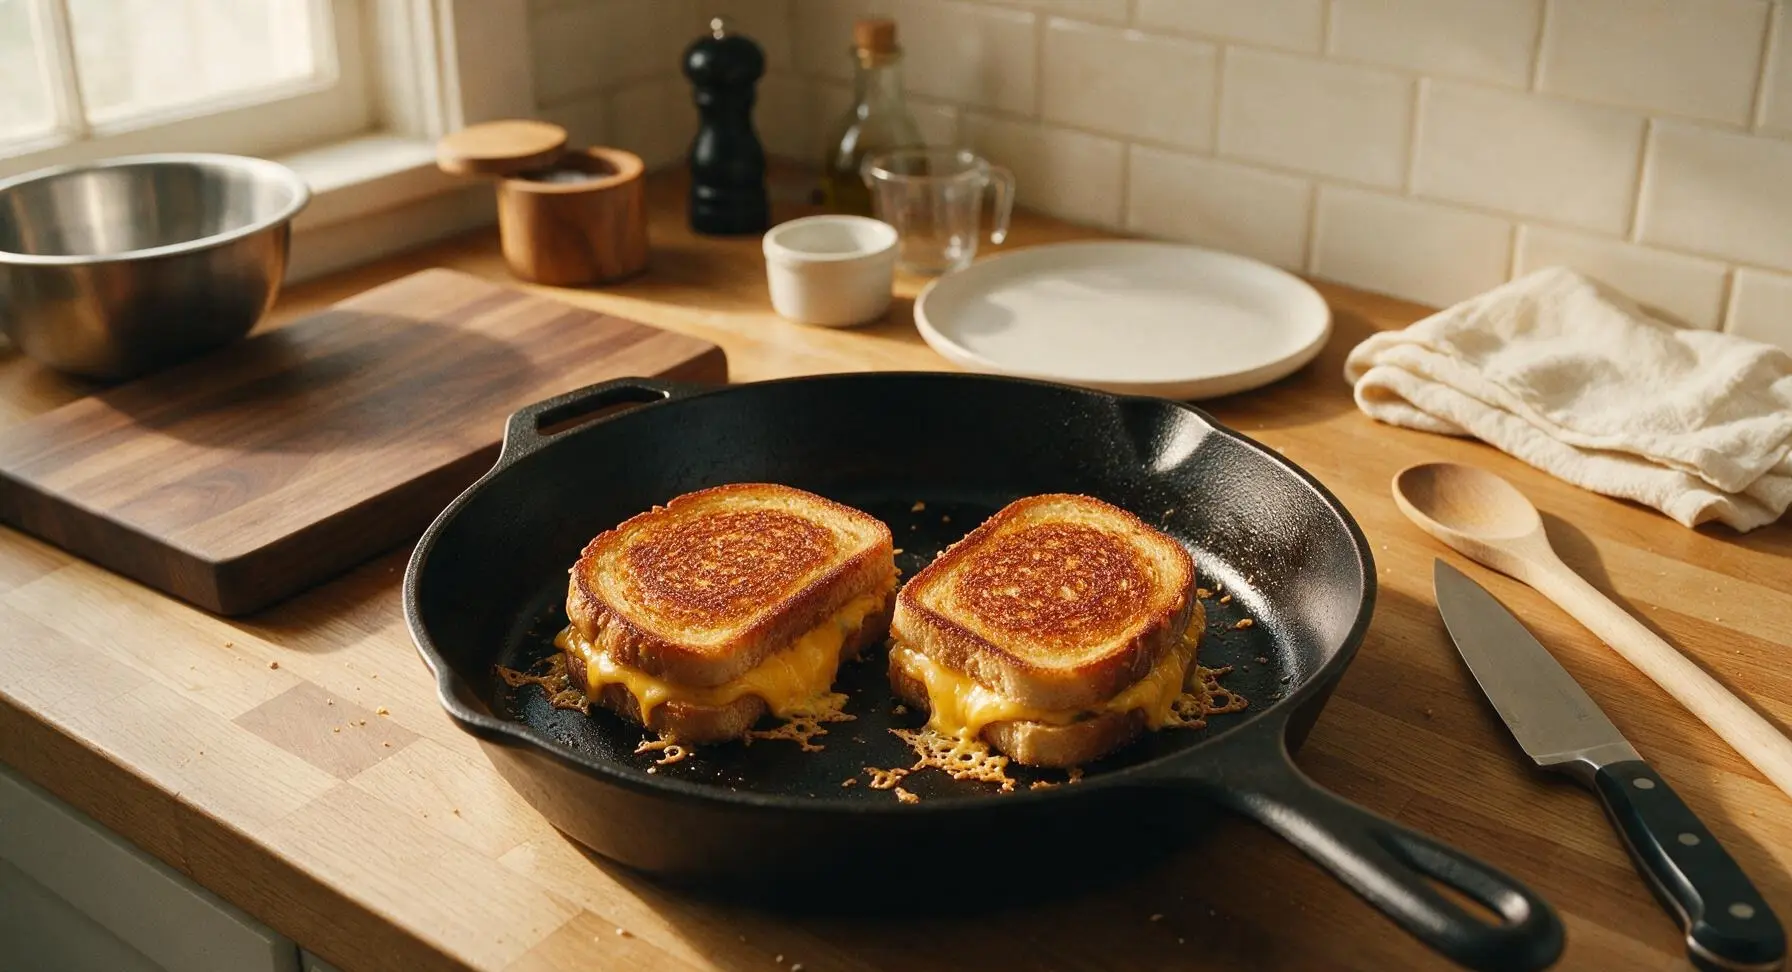
Rest and Slice Sandwiches
Once all sandwiches are cooked, transfer them from the plate back to the acacia wood cutting board, and let rest 2 minutes to allow the melted cheese to set slightly (this prevents filling from sliding out when cut). Using the serrated bread knife, slice each sandwich diagonally into two equal triangular halves. Sprinkle the crispy crusts lightly with the remaining 1/4 tsp flaky sea salt.
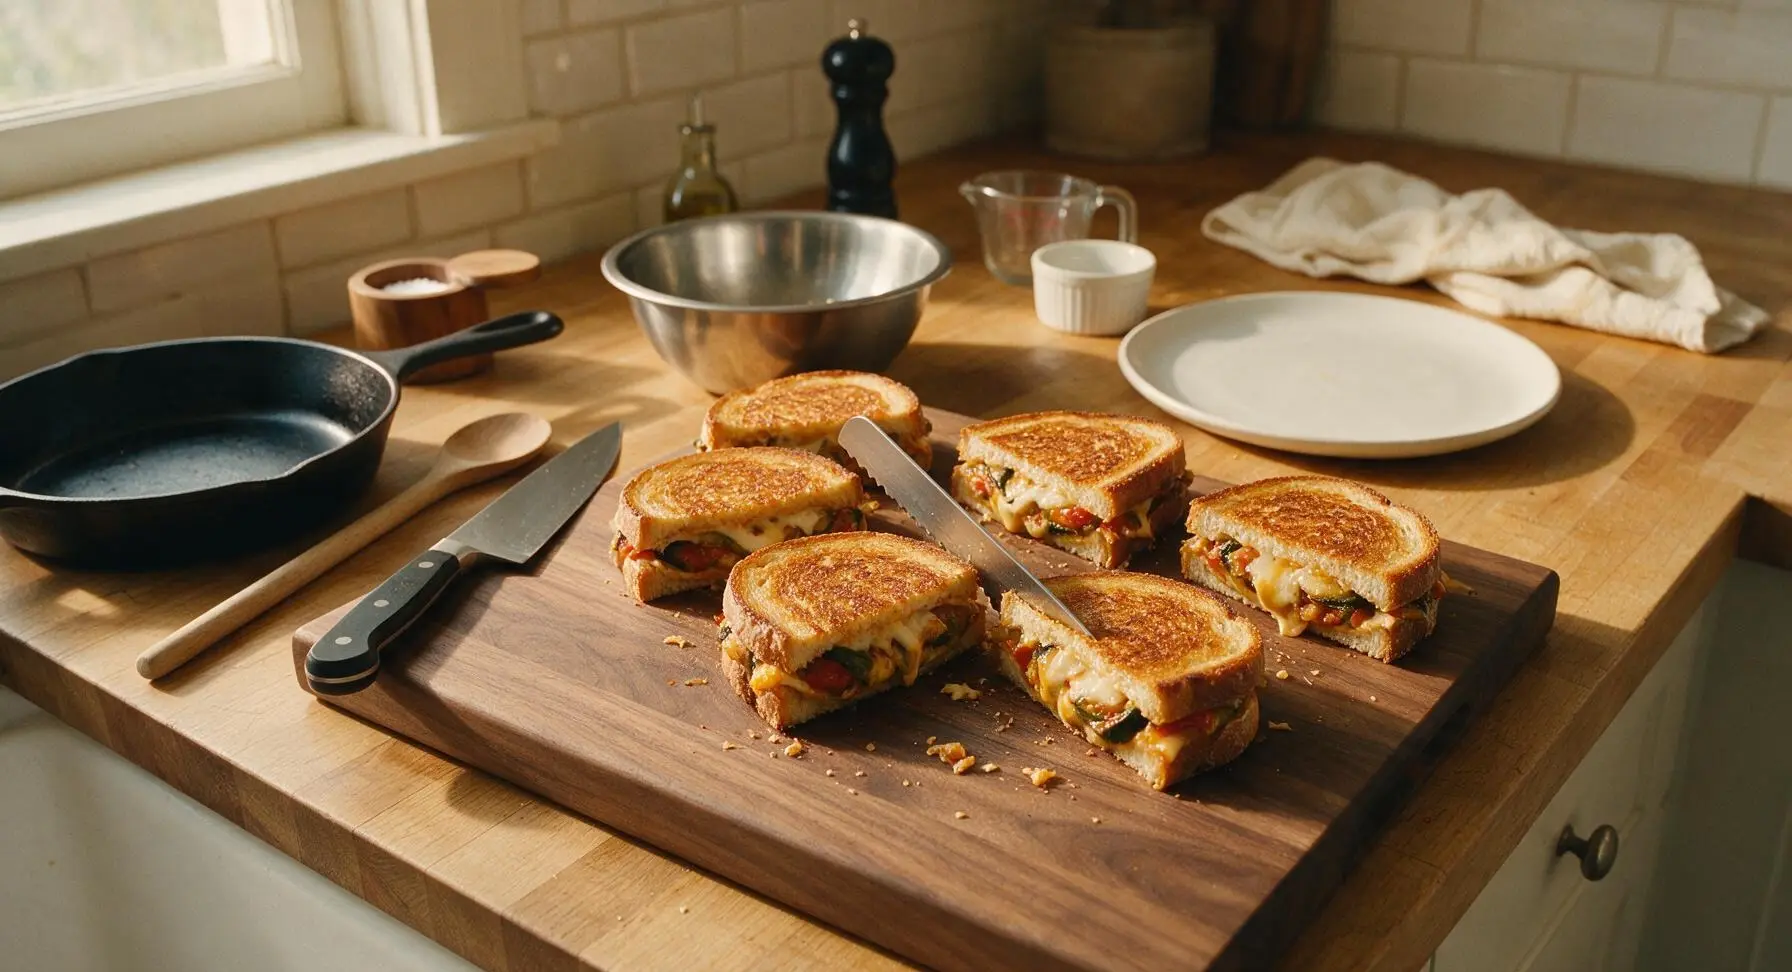
Plate and Serve Warm
Arrange the sliced sandwich halves on the matte cream ceramic dinner plate, leaning two halves against each other to showcase the melted cheese and vegetable layers. Garnish with a small sprig of fresh thyme plucked from the bunch on the counter, and serve immediately while the cheese is still stretchy and the bread remains crisp.
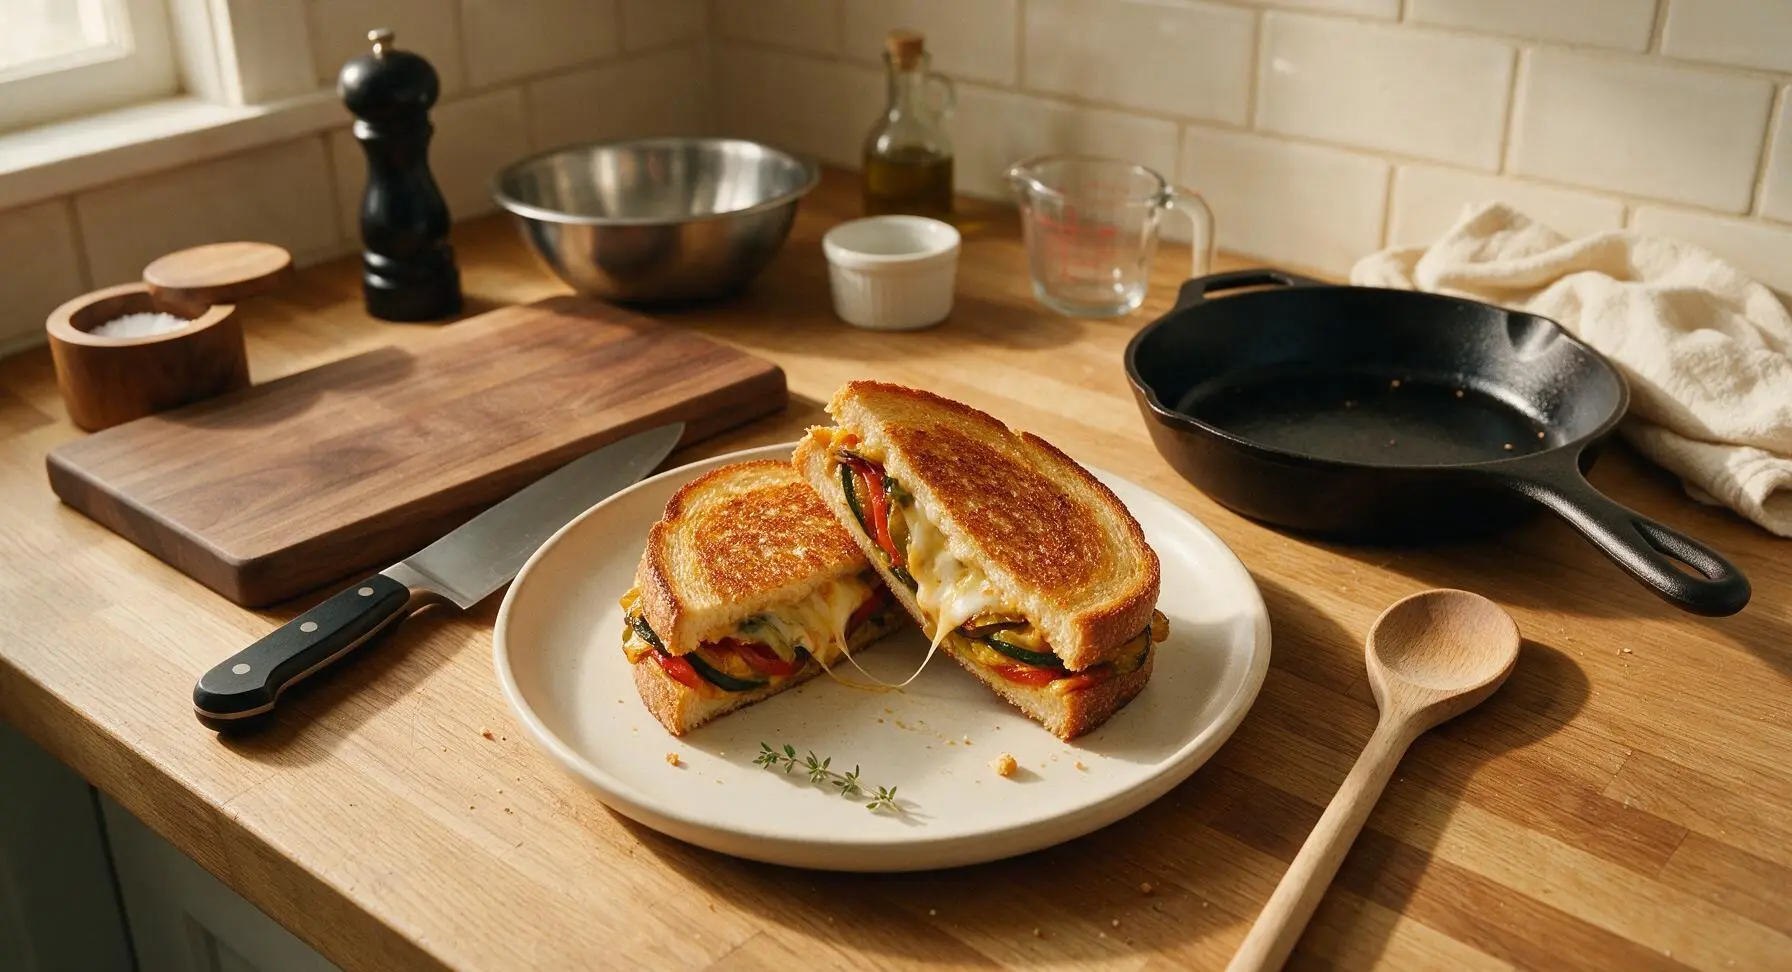
Tips
2.Use low-moisture mozzarella instead of fresh mozzarella for this recipe: fresh mozzarella releases large amounts of whey as it melts, which will soak through the bread, while low-moisture mozzarella melts smoothly without excess liquid.
3.Cook sandwiches over medium-low heat, not high heat: high heat will burn the buttered bread before the cheese fully melts and the ratatouille warms through, leading to charred crusts and cold, un-melted filling.






OMG this ratatouille grilled cheese is a total game changer! My kids used to turn their noses up at any veggie sandwich, but they devoured two halves each last night for family dinner. I added a little extra mozzarella because we’re cheese fiends in this house, and it was SO good. 10/10 will be adding this to our weekly meal prep rotation!
I brought these cut into bite-sized squares to our neighborhood potluck last weekend and people were begging me for the recipe before I even left! It’s so easy to throw together even when you’re crunched for time, and the flavor combo is way fancier than the 25 minute cook time makes it sound. Total crowd pleaser!
I was fully convinced a veggie forward grilled cheese couldn’t hold a candle to my classic bacon and cheddar version, but wow, was I wrong. The roasted veggie depth is insane. Only knock is I wish I’d let the ratatouille drain a little longer before piling it on — my first sandwich was a little soggy. Still ate the whole thing though, no regrets.
As someone who only has a tiny dorm grill and barely knows how to boil pasta, this was so easy to nail! I used pre-chopped frozen roasted veggies to cut down even more on prep, and it turned out restaurant quality. My roommate stole half of mine and is already begging me to make it again this week.
Made this with gluten-free sourdough and dairy-free provolone for my food sensitivity crew, and it turned out perfectly crispy and gooey just like the regular version! I roasted a big batch of the ratatouille veggies earlier in the week so assembly took literally 5 minutes. Obsessed.
Made this as a midnight snack after a long work shift, and it hit so much better than takeout. I added a sprinkle of red pepper flakes for a little heat, which paired so nicely with the melty cheese and tender veggies. Only note is I wish I’d used a sturdier bread — my sourdough was a little too soft and got a touch squishy when I pressed it. Still 10/10 for a quick, satisfying bite.