
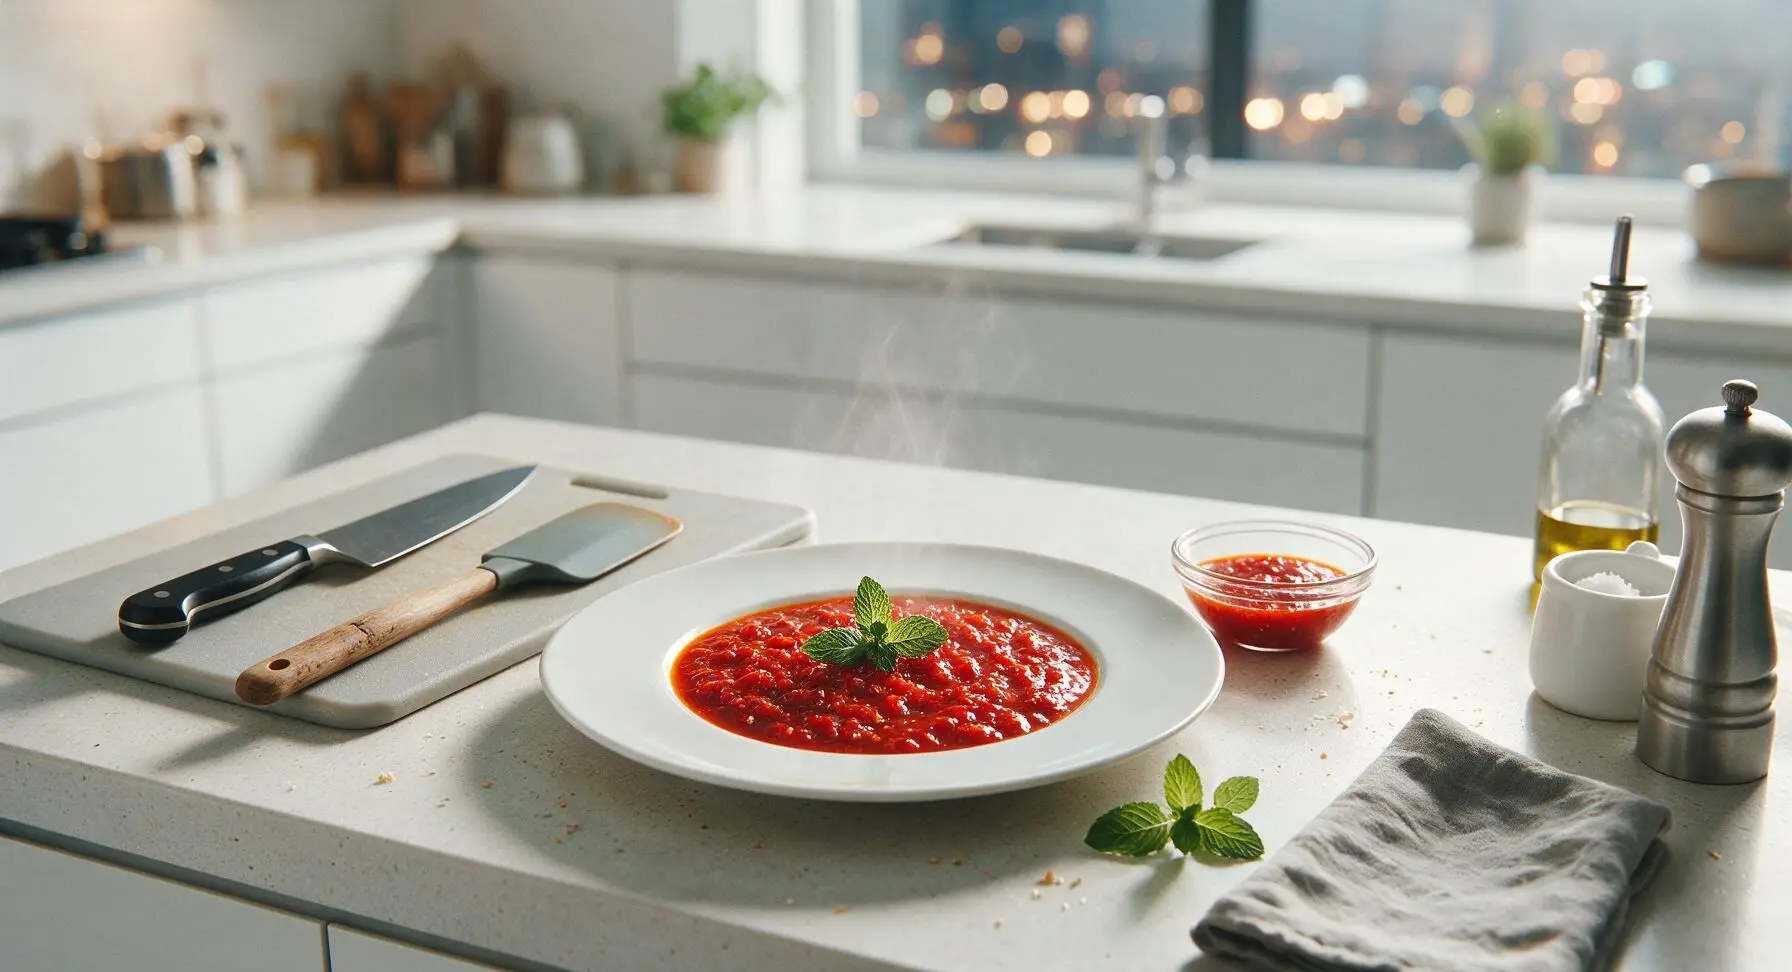
red chilli sauce

title 1
red chilli sauce
⏱️ cook time 25 minutes
🍽️ servings 16
⚡ Difficulty easy

intro

Bright, glossy, perfectly balanced homemade red chilli sauce with a gentle kick, tangy depth, and subtle savoriness. Ideal for drizzling on grilled meats, dipping dumplings, or spicing up any summer BBQ spread.

Ingredients
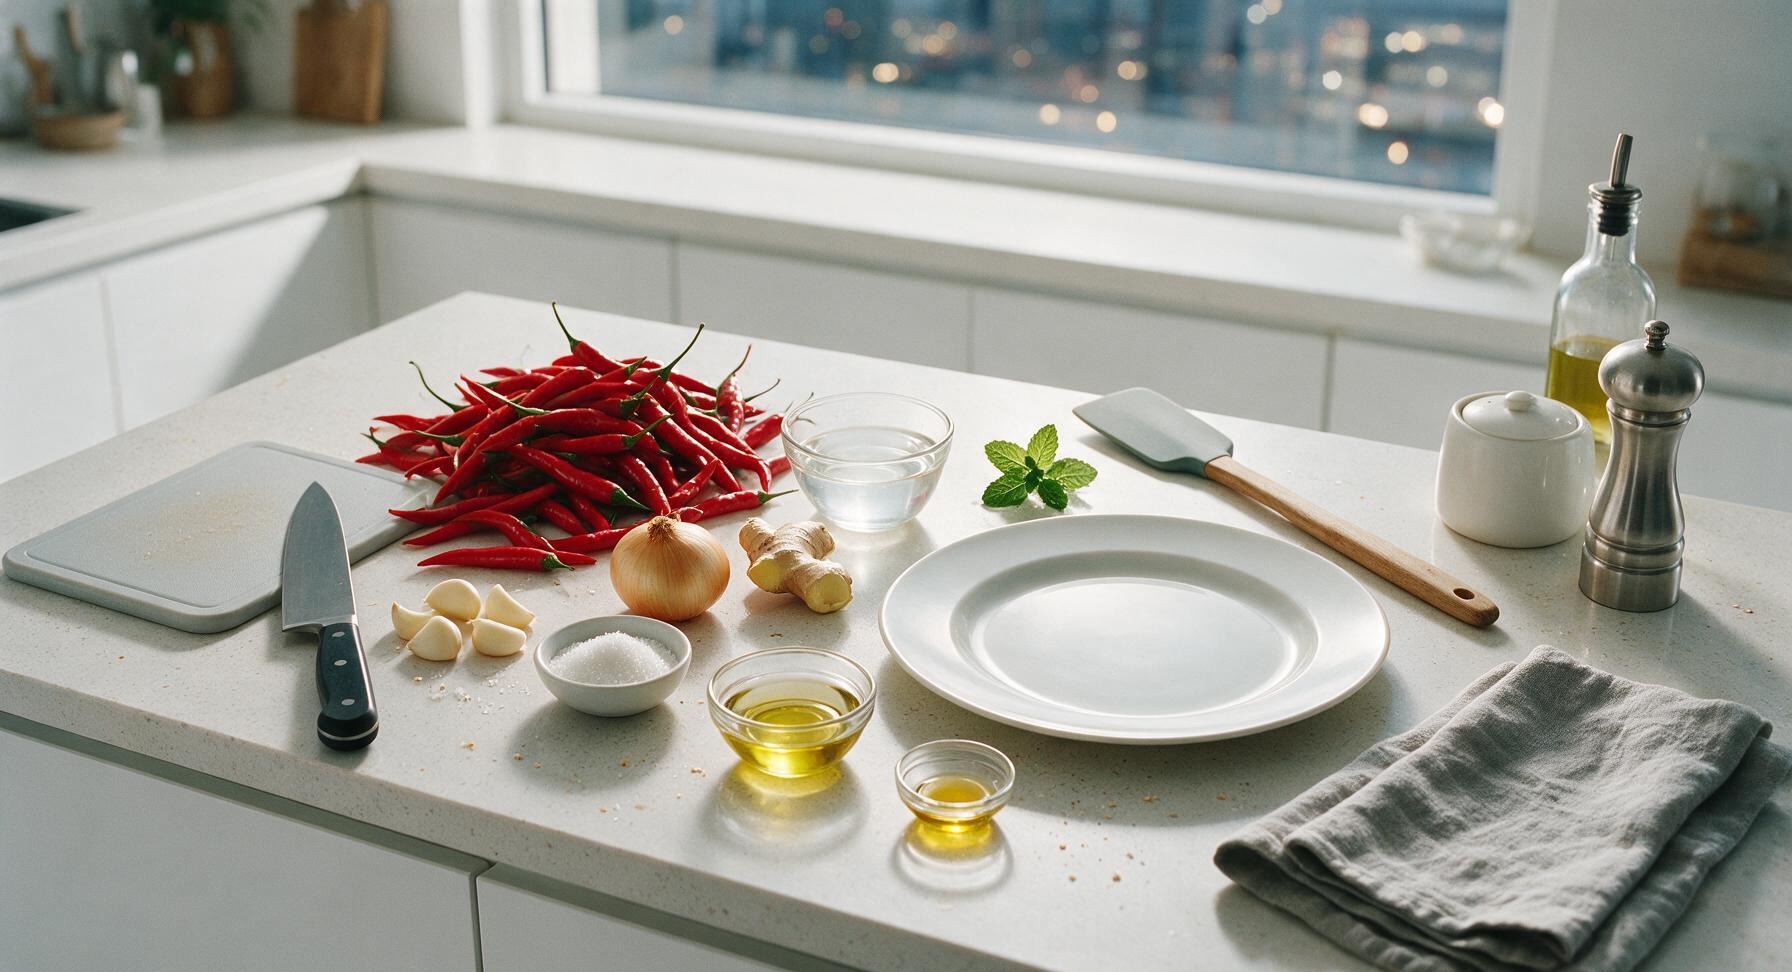
Fresh red cayenne chillies 450g
Garlic cloves 30g (6 cloves)
Small yellow onion 120g (1 small)
Fresh ginger 15g (1 thumb-sized piece)
White distilled vinegar 120ml
Granulated white sugar 25g (2 tbsp)
Fine sea salt 15g (1 tbsp)
Neutral canola oil 30ml (2 tbsp)
Toasted sesame oil 5ml (1 tsp)

Steps

1

Prep Chilli and Aromatics

Rinse the fresh red cayenne chillies under cool running water, then pat dry with the cream kitchen towel. Use the 6-inch chef’s knife on the acacia cutting board to trim off and discard the green chilli stems. Peel the ginger, garlic, and small yellow onion, then roughly chop all ingredients into 2cm pieces—no uniform cuts are needed, as the mixture will be blended later. Wear disposable gloves when handling chillies if you have sensitive skin to avoid capsaicin irritation.
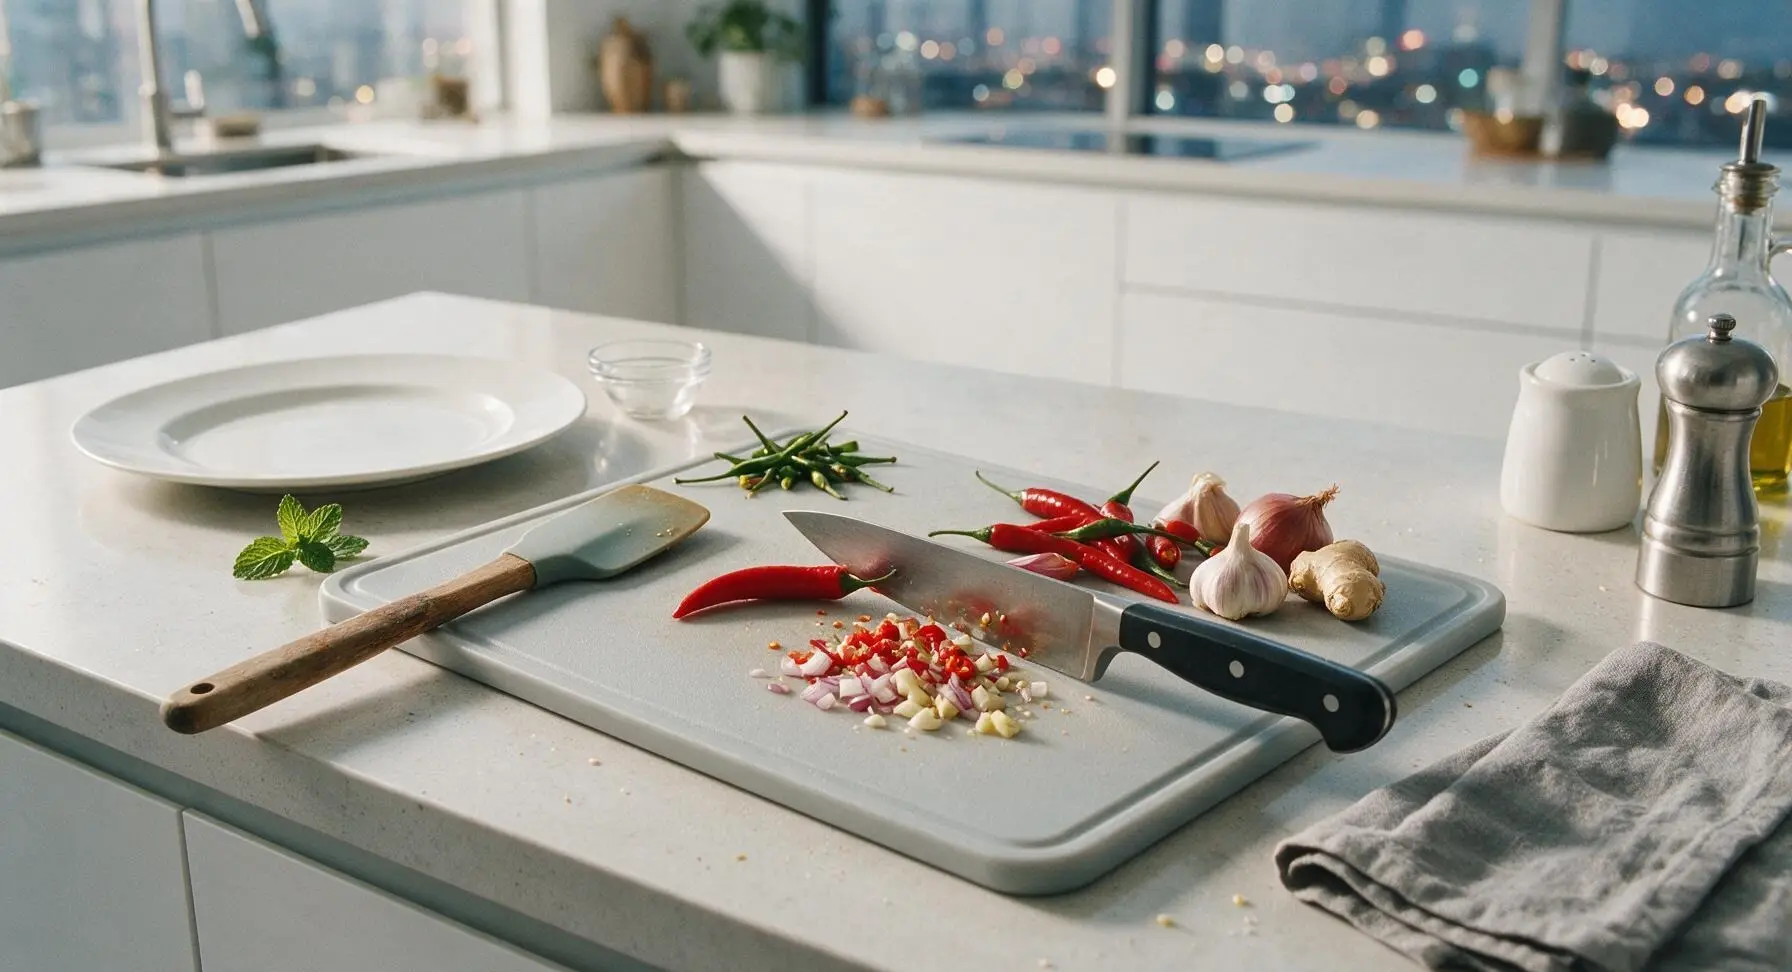
Step 1
step1:Prep Chilli and Aromatics
2

Blend Chilli Base

Transfer all chopped chillies, garlic, ginger, and onion to the blender jar. Pour in 120ml white distilled vinegar, then secure the lid. Blend on high speed for 45-60 seconds, until the mixture forms a coarse, slightly textured purée with tiny visible flecks of chilli skin—do not blend until completely smooth, as a little texture adds pleasant depth to the finished sauce.
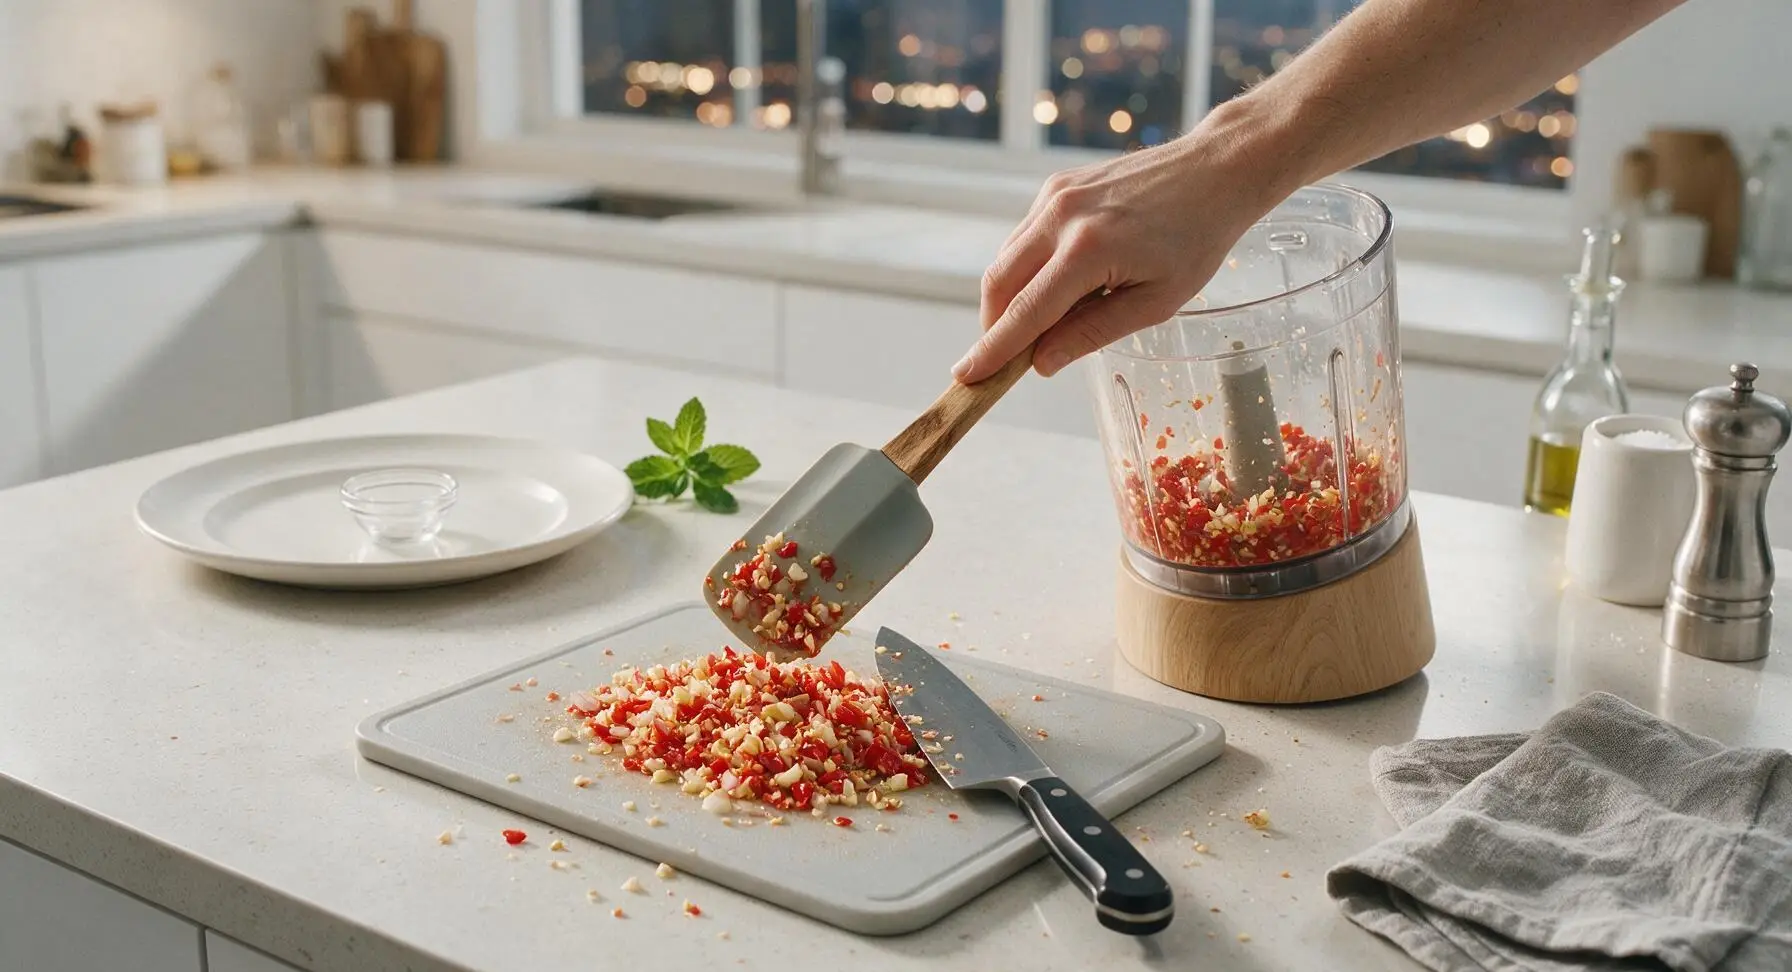
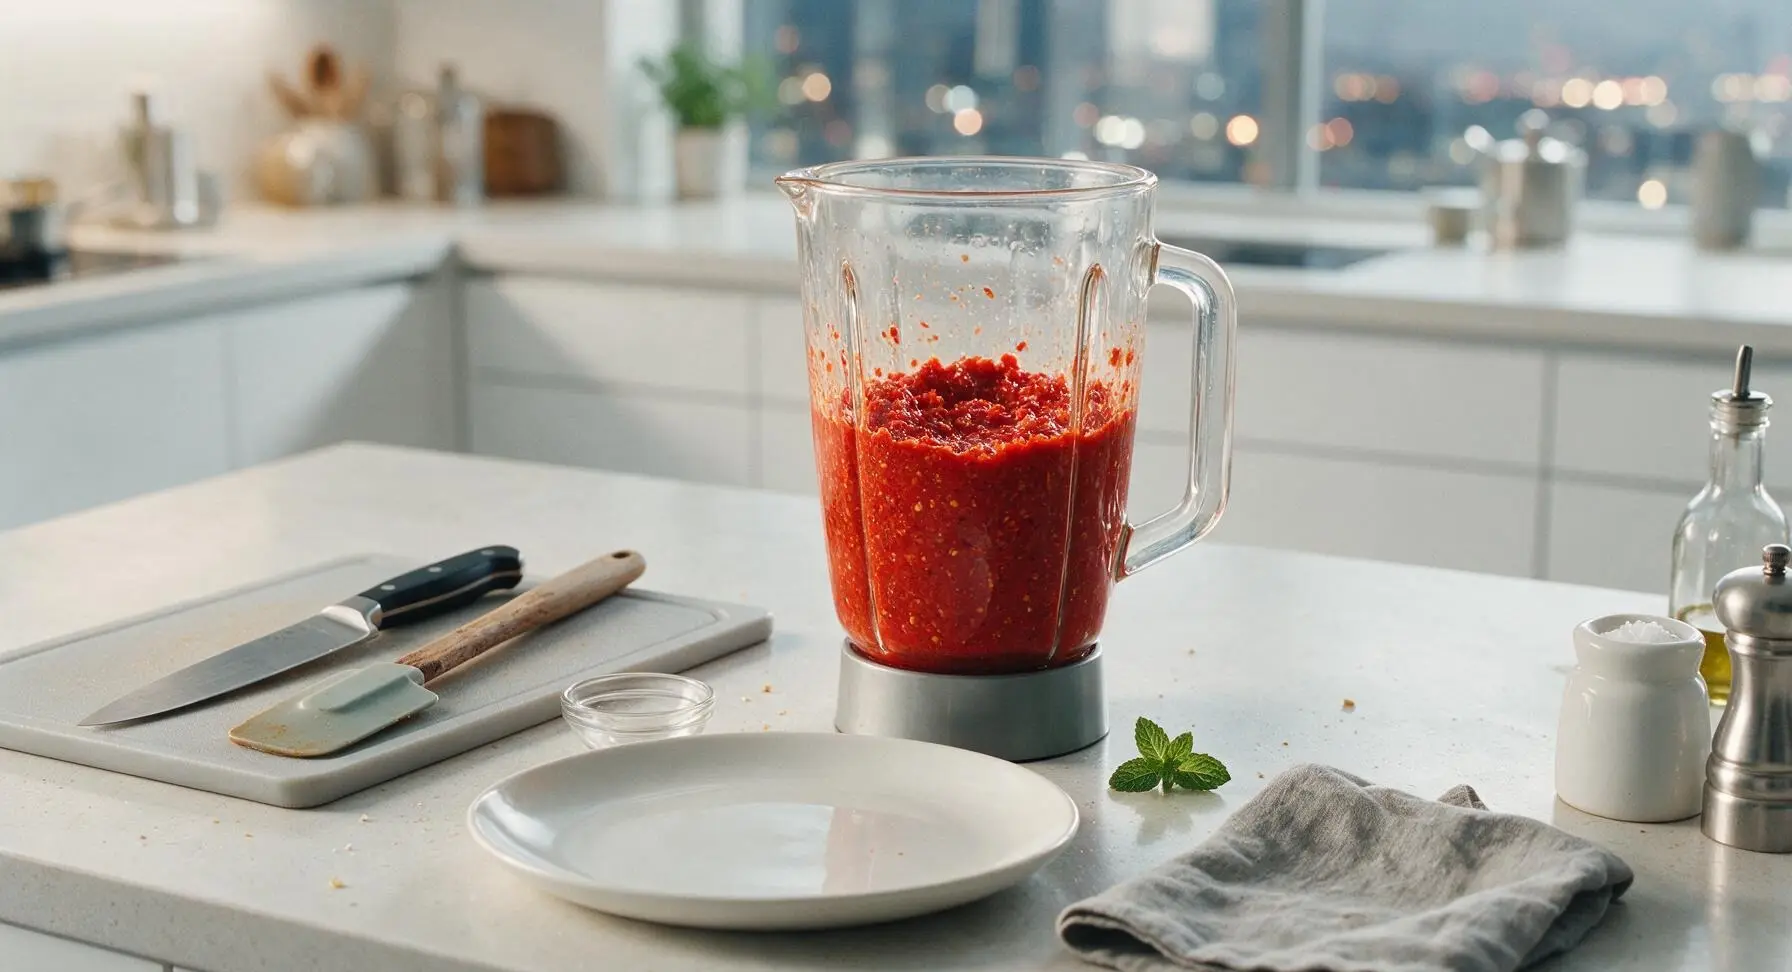
Step 2
step2:Blend Chilli Base
Step 2
step2:Blend Chilli Base
3

Heat Oil in Saucepan

Place the 1L stainless steel saucepan on the embedded center-right induction burner set to medium heat. Add 2 tablespoons (30ml) neutral canola oil, and heat for 1-2 minutes until the oil shimmers but does not smoke. Test the temperature by dropping in a small piece of chopped onion; it should sizzle gently immediately on contact.
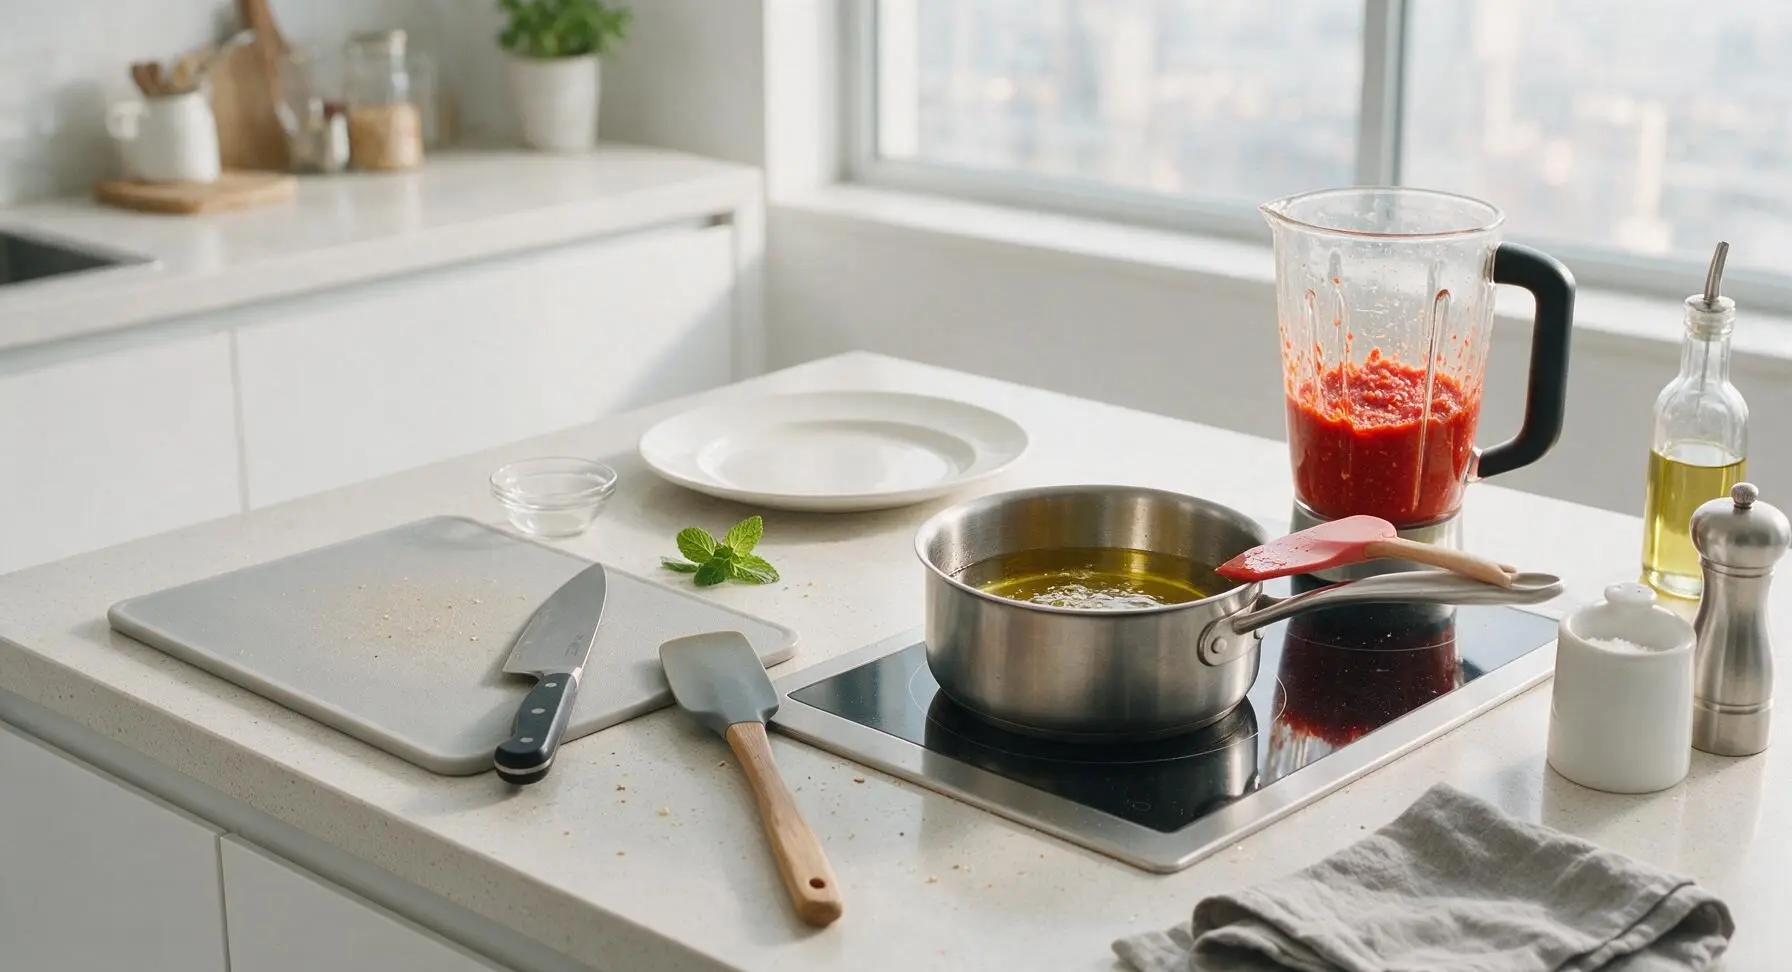
Step 3
step3:Heat Oil in Saucepan
4

Simmer Chilli Base

Carefully pour the blended chilli purée into the hot oil—stand back slightly, as the mixture may sputter initially. Stir gently with the silicone spatula to combine with the oil, then bring the mixture to a low, gentle simmer (reduce heat to medium-low if it starts to bubble too vigorously). Cook uncovered for 10 minutes, stirring every 2 minutes to prevent sticking to the pan bottom, until the sharp raw smell of vinegar mellows and the mixture darkens slightly to a rich crimson.
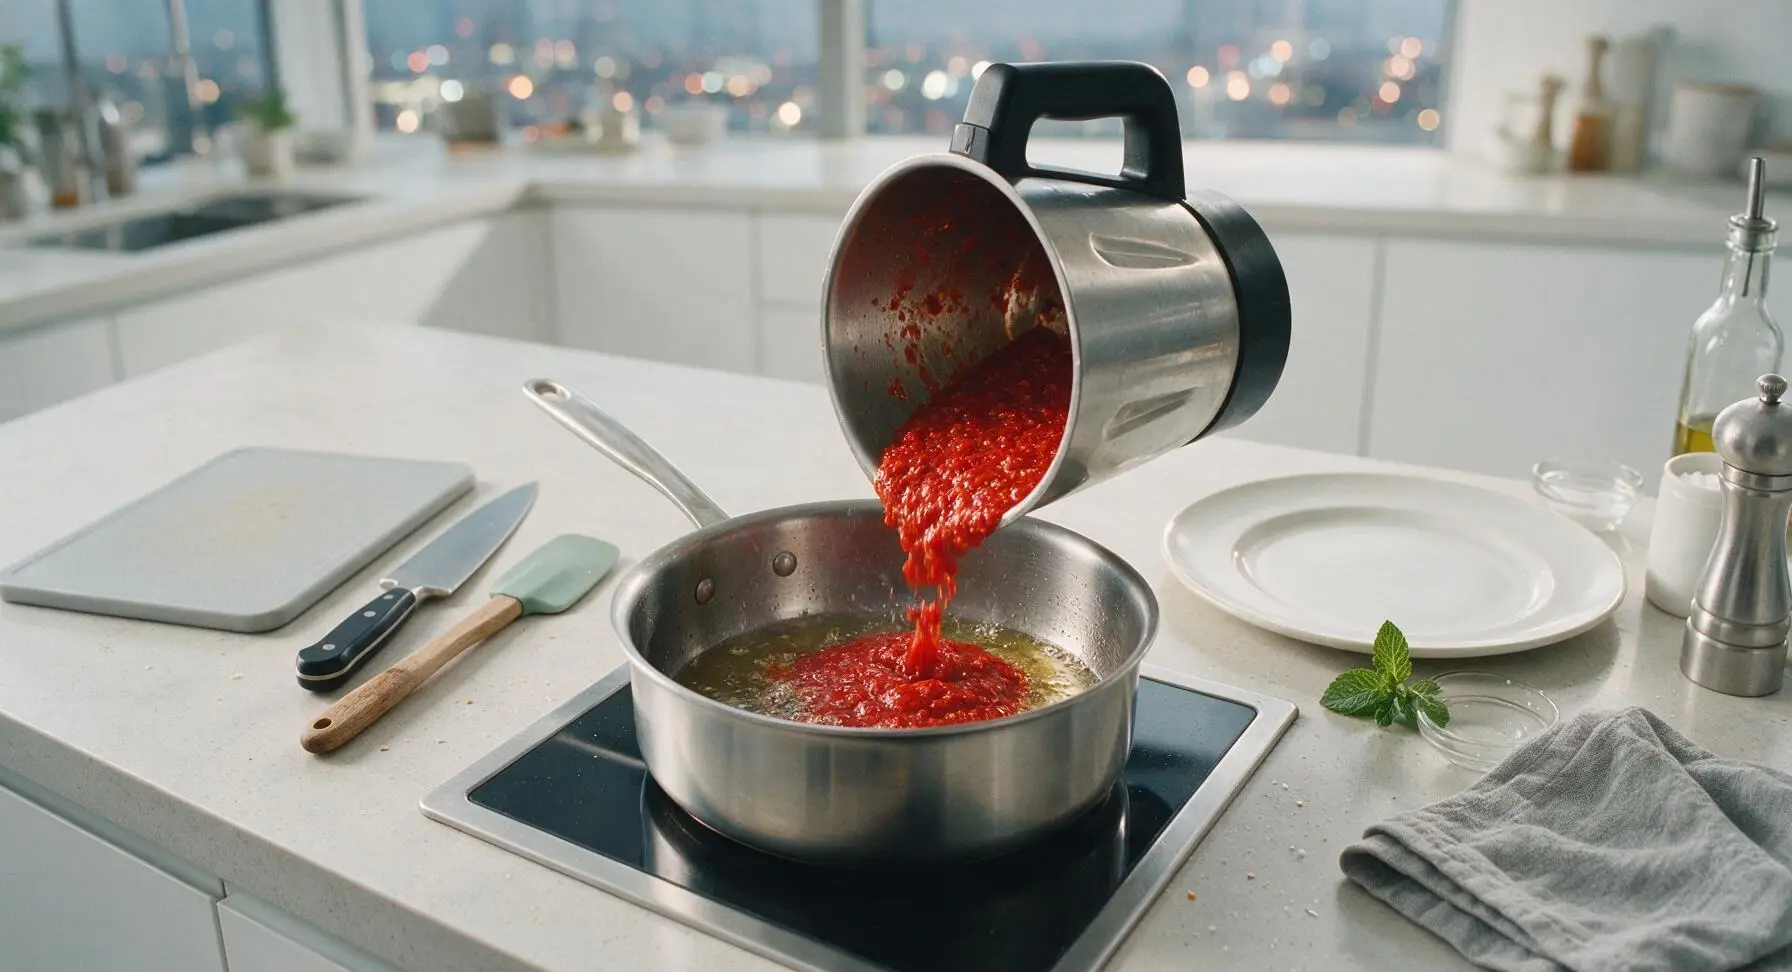
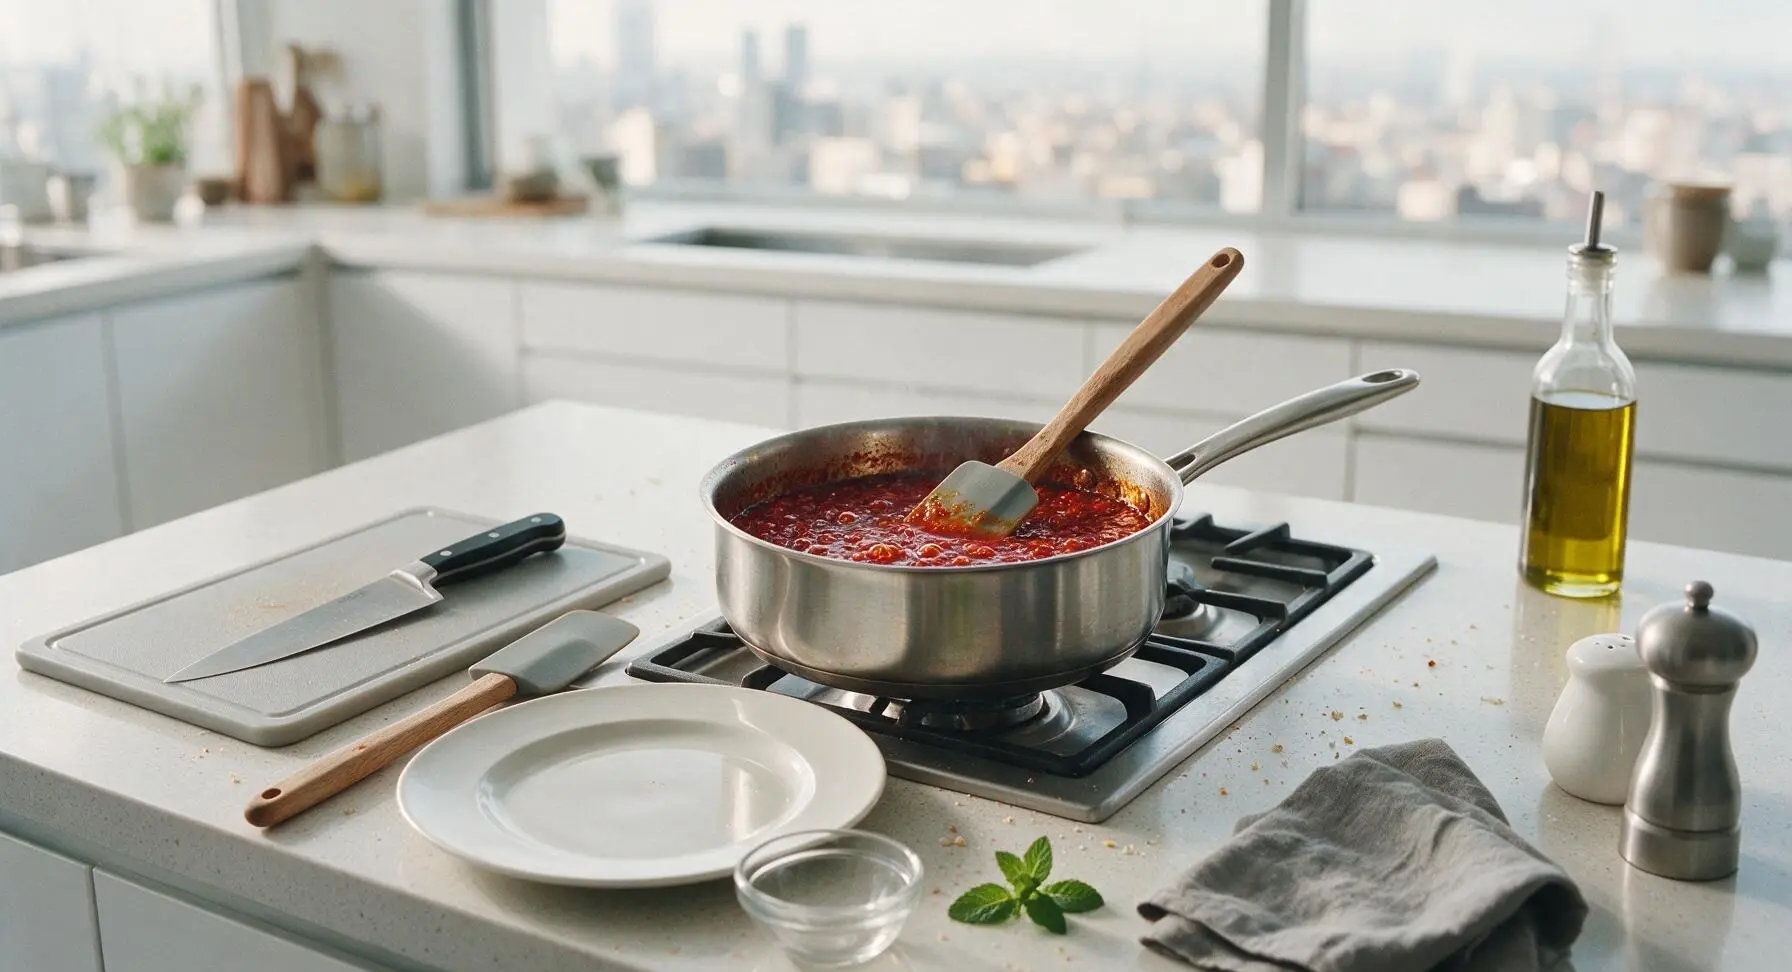
Step 4
step4:Simmer Chilli Base
Step 4
step4:Simmer Chilli Base
5

Season and Balance Flavor

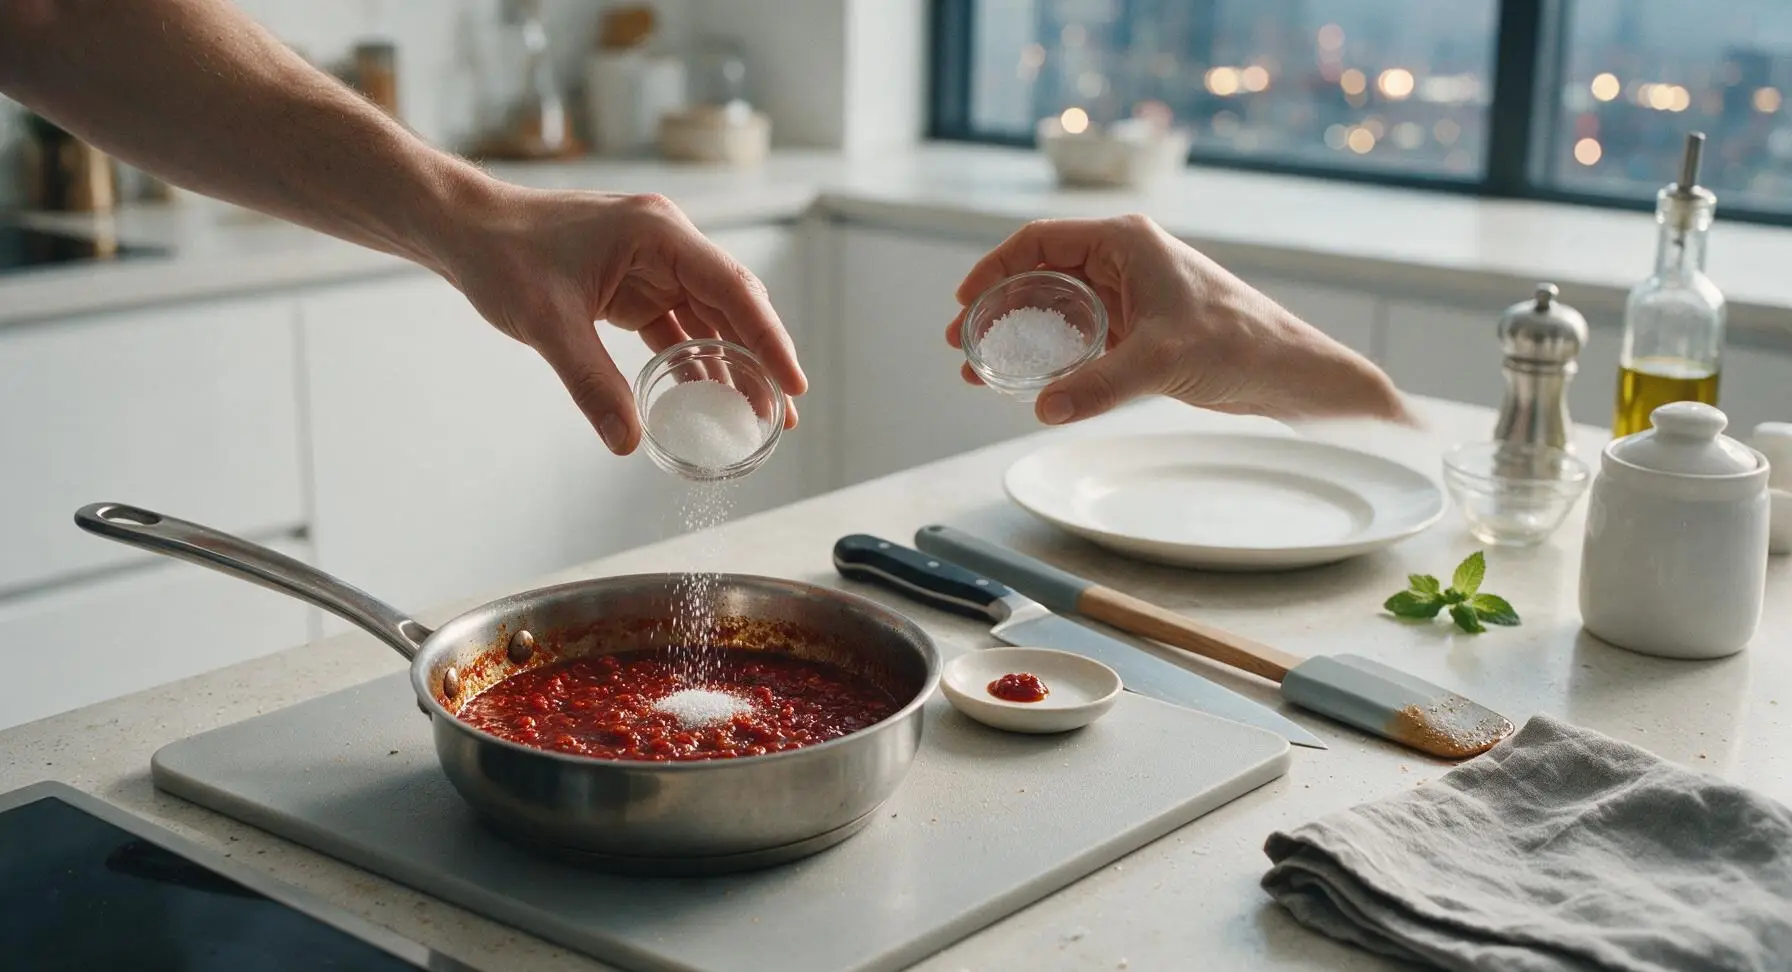
Add 2 tablespoons (25g) granulated sugar, 1 tablespoon (15g) fine sea salt, and 1 teaspoon (5ml) toasted sesame oil to the simmering chilli mixture. Stir thoroughly with the silicone spatula to dissolve the sugar and salt completely. Taste a small cooled sample (dab a drop on the white tasting dish to avoid burning your tongue) and adjust: add more salt for savoriness, more sugar to cut excess acidity, or a splash more vinegar if the sauce tastes flat.
Step 5
step5:Season and Balance Flavor
6

Thicken Sauce to Finish

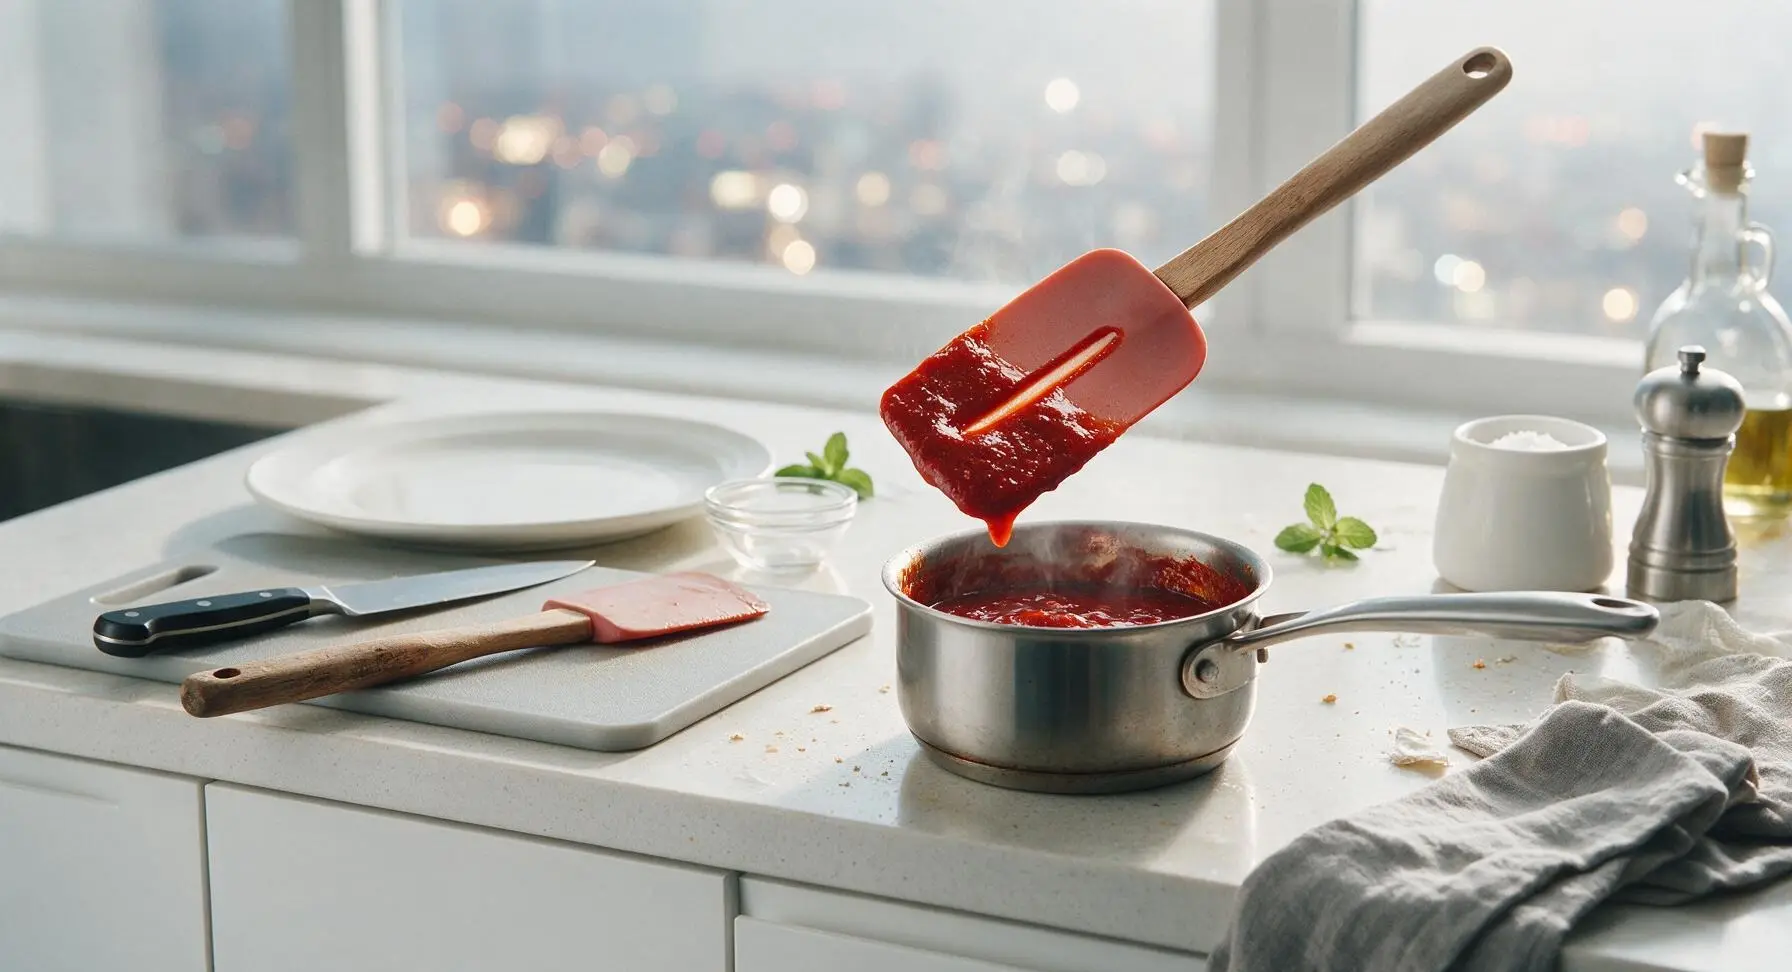
Continue simmering the sauce uncovered for another 10 minutes, stirring occasionally, until it thickens enough to coat the back of the silicone spatula. When you run your finger across the sauce-coated spatula, the line should hold cleanly without sauce running through it. Total volume will reduce by roughly one quarter, concentrating flavor. Turn off the heat and let the sauce cool for 15 minutes in the pan.
Step 6
step6:Thicken Sauce to Finish
7

Jar Cooled Sauce

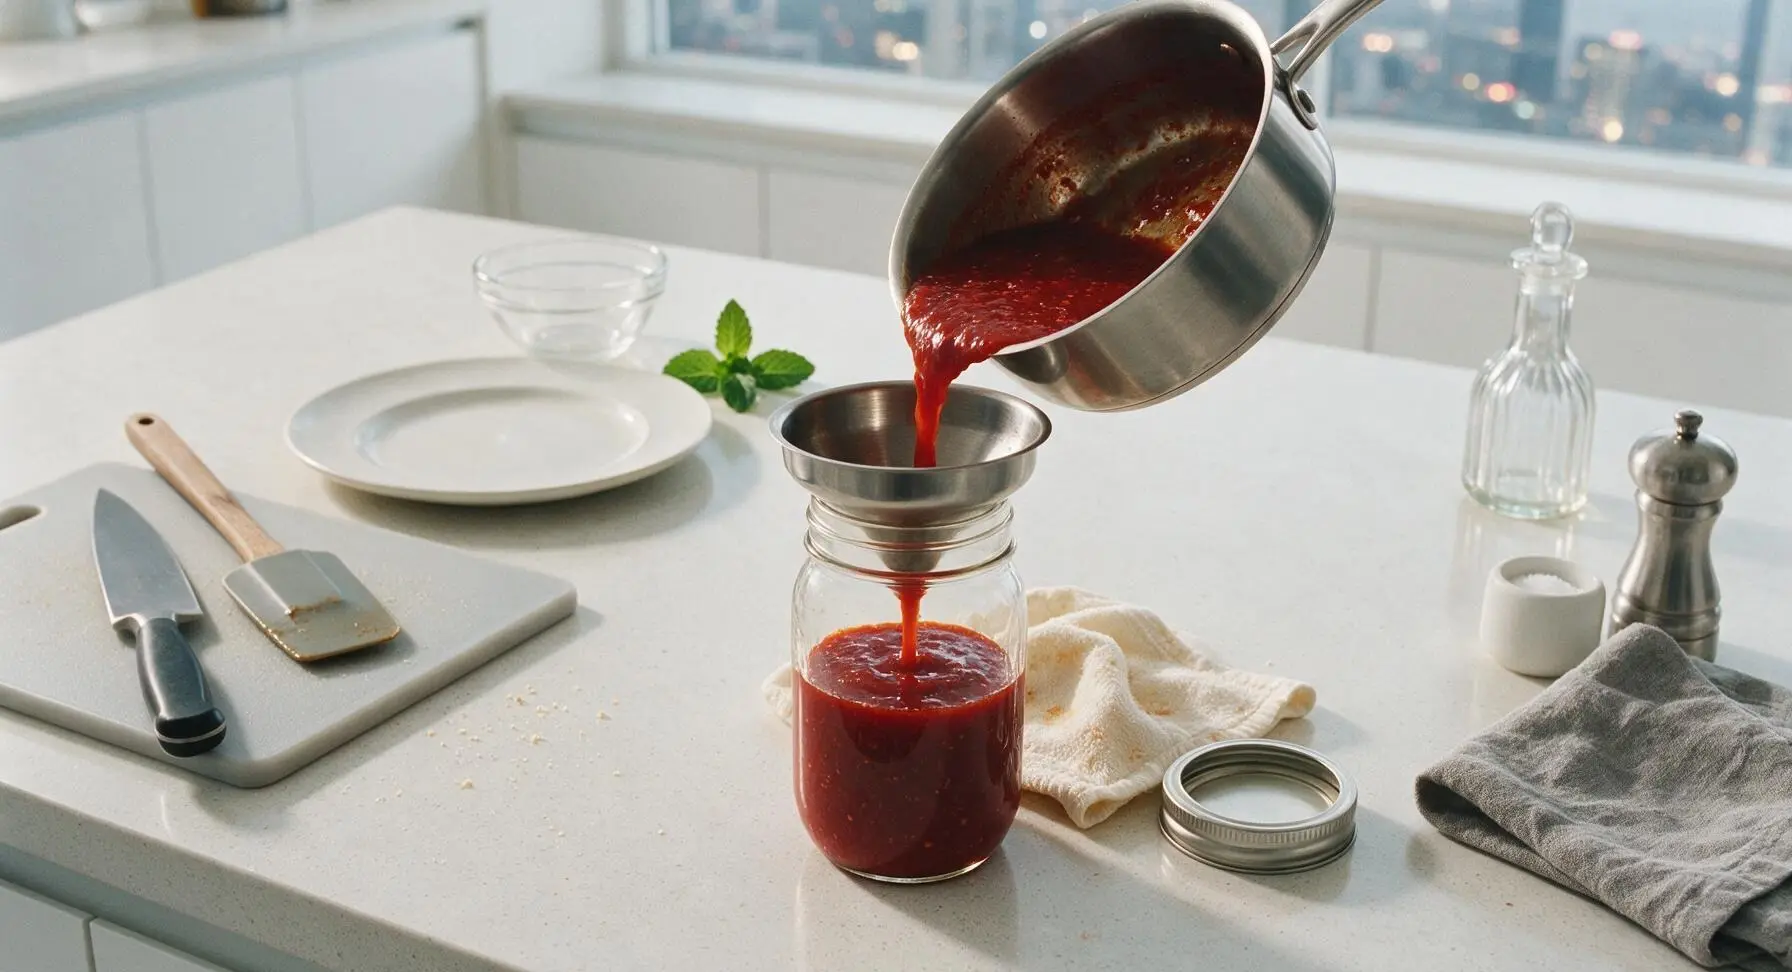
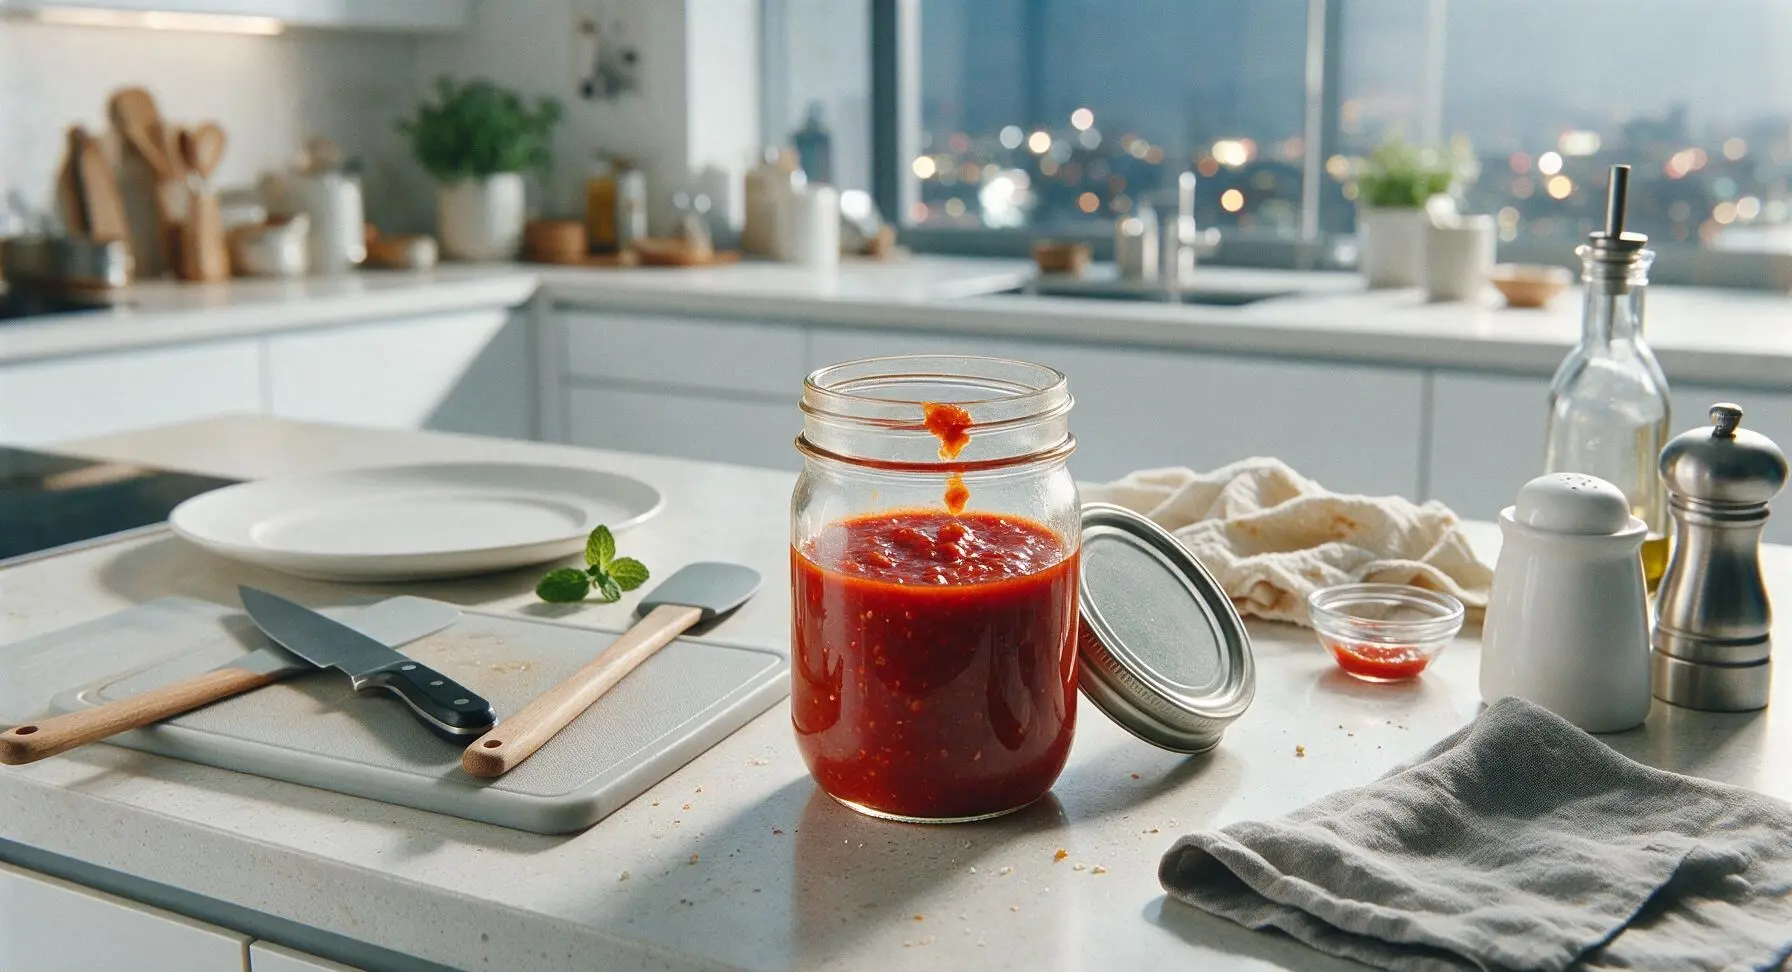
Place the stainless steel canning funnel in the mouth of the clean, dry 500ml clear glass canning jar. Carefully pour the cooled red chilli sauce through the funnel into the jar, leaving 1cm of headspace at the top. Wipe any drips from the outside of the jar with a corner of the cream kitchen towel, then set the brushed silver screw-top lid loosely on the jar.
Step 7
step7:Jar Cooled Sauce
Step 7
step7:Jar Cooled Sauce

Tips

1.Adjust heat level to your preference: for milder sauce, remove the seeds and white inner pith from half the chillies before chopping, as this pith holds 70% of the capsaicin that creates chilli heat; for extra spice, add 2-3 dried arbol chillies to the blender with the fresh ingredients.
2.Let the sealed jar of sauce rest in the refrigerator for 24 hours before using, as the sharp, bright flavors will mellow and meld into a more balanced, complex taste; properly stored in a sterilized jar, the sauce will keep refrigerated for up to 3 weeks.
3.Avoid cooking the sauce over high heat, as this will burn the garlic and ginger, creating a bitter off-flavor that cannot be fixed. Maintain a medium-low heat to keep a gentle simmer, stirring regularly to prevent the thickening sauce from catching and burning on the pan bottom.


✨ You May Also Like

BBQ & Grilling
🍜 United States

Tender, melt-in-your-mouth beef brisket with a crisp, spiced bark, slow-smoked to deep smoky perfection, the iconic centerpiece of Texas backyard barbecue.

⏱️ 12 hours BBQ & Grilling ★ 4.4
BBQ & Grilling
🍜 Korea

Tender, sweet-savory marinated beef short ribs, a beloved Korean BBQ staple with caramelized, slightly charred edges and deep umami flavor, perfect for outdoor summer gatherings.

⏱️ 4 hours 2BBQ & Grilling ★ 4.8
BBQ & Grilling
🍜 United States

Juicy grilled beef patties topped with smoky homemade chili, melted cheddar, and tangy pickles on toasted brioche buns for a hearty, flavor-packed handheld meal.

⏱️ 40 minuteBBQ & Grilling ★ 4.7
BBQ & Grilling
🍜 United States

A sweet, smoky, tangy BBQ sauce brightened with peak-season dark cherries, ideal for glazing grilled ribs, chicken, pork, or summer roasted veggies.

⏱️ 35 minuteBBQ & Grilling ★ 4.7
BBQ & Grilling
🍜 United States

Rich, smoky, slightly sweet homemade bourbon BBQ sauce with deep caramel notes, ideal for glazing grilled ribs, chicken, and burgers at cookouts.

⏱️ 25 minuteBBQ & Grilling ★ 4.7
BBQ & Grilling
🍜 United States

Iconic Alabama-style BBQ featuring tender hickory-smoked chicken slathered in tangy creamy white sauce, a beloved regional Southern cookout staple.

⏱️ 3 hoursBBQ & Grilling ★ 5

red chilli sauce:Frequently Asked Questions

1.How spicy will this sauce turn out if I follow the recipe exactly with fresh red cayenne chilis? ▾
Fresh red cayennes clock in at 30,000–50,000 Scoville Heat Units, so you’ll get a gentle, noticeable kick that doesn’t overpower food, not a searing burn. If you prefer extra mild sauce, swap 1/3 of the cayennes for diced ripe red bell pepper and strip out all inner chili membranes and seeds before cooking.
2.Can I substitute white distilled vinegar for a different type of vinegar if that’s all I have? ▾
White distilled vinegar gives the sauce that classic bright, sharp tang without adding competing flavors, but you can swap it for unseasoned rice vinegar for a softer tang, or apple cider vinegar for a subtle fruity note. Avoid aged, dark vinegars like balsamic, as they muddy the bright red color and overpower the delicate chili flavor.
3.How long does this homemade red chili sauce last in the fridge? ▾
When stored in a tightly sealed, sterilized glass jar, this sauce will stay fresh for 3 to 4 weeks in the refrigerator. The high vinegar content acts as a natural preservative, but always use a clean spoon to scoop or pour sauce from the jar to avoid introducing bacteria that can cause early spoilage.
4.Do I need to leave the chili seeds in to get the right flavor and texture? ▾
Leaving seeds in will amp up the heat slightly and add a tiny bit of rustic texture, but it’s totally optional. For a smoother, milder sauce, slice each chili lengthwise and scrape out seeds and pale inner membranes with a spoon tip before chopping—you won’t lose any of that bright, fresh chili aroma.
5.Can I freeze this sauce to make it last longer? ▾
Absolutely! This sauce freezes beautifully for up to 6 months. Pour cooled sauce into ice cube trays, freeze solid, then pop the cubes out into a labeled freezer bag. Thaw individual cubes in the fridge as needed, or toss a frozen cube straight into stir fries, marinades, or dressings for a quick flavor boost.
6.What’s the best way to get that perfectly smooth, glossy texture the recipe mentions? ▾
After simmering ingredients until the onion, garlic, and ginger are completely soft, let the mixture cool for 10 minutes, then blend it in a high-speed blender for 60 to 90 seconds. For an extra silky finish, pour blended sauce through a fine-mesh sieve to press out any remaining tiny bits of skin or seed.
7.I don’t have fresh red cayenne chilis on hand—what’s a good substitute? ▾
If fresh cayennes are hard to find, use an equal weight of fresh red tabasco chilis for a nearly identical heat level and bright flavor, or all red serranos for a slightly milder, equally bright end result. Avoid dried cayennes here, as they give the sauce a deep, raisiny flavor instead of the intended bright, fresh profile.
8.Do I have to cook the sauce, or can I blend raw ingredients for a fresher taste? ▾
A quick 10 to 12 minute simmer softens the onion, garlic, and ginger so they blend smoothly, mellows out harsh raw garlic and onion bite, and helps the flavors meld together. If you skip cooking, the sauce will taste sharp, overly garlicky, and have a gritty, chunky texture from firm raw veggies.
9.How can I adjust the sauce if it comes out too tangy from the vinegar? ▾
If the tang feels too sharp after blending, stir in 1/4 teaspoon of fine sea salt and a tiny pinch (1/8 teaspoon) of white sugar at a time, tasting as you go, until the flavor balances out. Don’t add too much sugar—you just want to round out the vinegar bite, not make the sauce taste sweet.
10.Is this sauce thick enough to use as a dip for dumplings and egg rolls? ▾
The base recipe has a pourable, drizzleable consistency perfect for grilled meats and BBQ, but it’s easy to thicken for dipping. After blending, simmer the sauce uncovered for 3 to 5 extra minutes, stirring often, until it reaches your preferred thickness—just remember it thickens a little more as it cools.
11.Can I can this sauce in a water bath canner for pantry shelf storage? ▾
Because this recipe has a high vinegar content (a pH of 4.0 or lower, which is safe for water bath canning), you can process filled, sterilized jars in a boiling water bath for 10 minutes for shelf-stable storage lasting up to 18 months. Adjust processing time for altitude if you live above 1,000 feet.
12.Why do I need to use a small yellow onion instead of a red or sweet onion here? ▾
Small yellow onions have a mild, balanced savory flavor that cooks down to subtle sweetness without overpowering the chilis, and they don’t discolor the bright red sauce the way red onions can. If you only have a sweet white onion, use 25% less since sweet onions have a more pronounced sugary flavor.
13.Will the fresh ginger make the sauce taste overly spicy or gingery? ▾
The small amount of fresh ginger in this recipe adds a warm, bright, aromatic background note, not a strong ginger bite. You only need a 1-inch knob for a full batch, so it won’t overpower the chili, garlic, and tangy vinegar flavors. You can leave it out if you dislike ginger, though you’ll miss that subtle depth.
14.How do I avoid getting chili burn on my hands while prepping fresh cayennes? ▾
Cayenne capsaicin can irritate skin, so wear disposable nitrile gloves while slicing and seeding chilis if you have sensitive skin. If you go gloveless, wash hands thoroughly with dish soap and cold water immediately after prepping, and avoid touching your eyes, nose, or face for at least an hour.
15.Can I add extra ingredients to customize the sauce to my taste? ▾
Absolutely! Once you master the base recipe, stir in a tablespoon of soy sauce or fish sauce for extra umami, a pinch of smoked paprika for a smoky BBQ twist, or a handful of fresh cilantro before blending for a bright, herby note. Add extras in small amounts and taste often to keep flavors balanced.
16.Why is my sauce turning a dull, dark red instead of the bright glossy red described? ▾
Dull color usually comes from overcooking chilis, using old, slightly wrinkled chilis past their prime, or using dark vinegar instead of clear white distilled vinegar. Keep the simmer at medium-low (no rolling boils) and use firm, bright red, blemish-free cayennes for that vivid, glossy red finish.
17.Is this sauce the same as popular store-bought sriracha? ▾
It has a similar bright chili and garlic profile, but this homemade version is less thick, less sweet, and has a sharper, fresher tang from white distilled vinegar instead of the aged, fermented base used in commercial sriracha. It works as a sriracha swap if you add a tiny pinch of sugar to match that subtle sweetness.
18.What are some creative ways to use this sauce beyond drizzling on grilled meats and dipping dumplings? ▾
Don’t limit this versatile sauce! Stir a spoonful into mayo for a zesty sandwich spread, mix it into burger meat or meatloaf for a subtle kick, toss it with roasted veggies, whisk it into vinaigrettes, or brush it on corn on the cob at your next summer BBQ. It adds a bright tangy kick to almost any savory dish.

Comments (8)

2 days ago

OMG this homemade red chili sauce is a total game changer! I made it for our weekend backyard BBQ and everyone was begging for the recipe. Drizzled it on grilled chicken, burgers, even dipped our fries in it — SO good. Took barely any time to throw together, way better than the store-bought junk that’s full of weird preservatives.

yesterday

Wait did you adjust the heat level at all? I’m making this for a group that has a couple people who can’t handle super spicy food, wondering if I cut the chili seeds it’ll still taste good?

yesterday

Great question! You can absolutely remove all or most of the seeds to dial back the heat without losing that rich, bright chili flavor — just add a tiny pinch of smoked paprika to keep that depth if you go seedless!

1 week ago

My kids are OBSESSED with this sauce! I was worried it’d be too hot for them so I used half mild red chilies, and they’ve been putting it on everything from eggs at breakfast to their after-school nuggets. Super easy to make, I even prepped a double batch on Sunday to use for meal prep all week. Total win for busy weeknights!

5 days ago

That’s such a smart swap for kid-friendly heat! So glad your family is loving it — double batches freeze really well too if you want to stock up for later!

30 minutes ago

As someone who puts hot sauce on literally every meal, I can confirm this recipe slaps. Added an extra habanero for extra kick and let it simmer a couple extra minutes to thicken it up, and it’s better than any fancy boutique hot sauce I’ve paid $12 a bottle for. Only tiny knock is I wish it had a little more garlic depth, but that’s an easy fix for next time. 10/10, will be making this monthly.

2 weeks ago

Made this for a work potluck last week and people were literally hovering around the bowl asking who brought the sauce! It’s so versatile — I’ve tossed it with roasted veggies, mixed it into mayo for a spicy sandwich spread, even used it as a marinade for shrimp. Only note is that it thickens a lot as it cools, so don’t panic if it seems runny right after cooking.

1 week ago

Oh my gosh I was at that potluck!!! I’ve been searching for this recipe ever since — I ate way too many of those shrimp you marinated, no regrets

1 week ago

Love that you’re getting creative with uses! You’re totally right about the thickening as it cools — if it gets too thick in the fridge, just stir in a teaspoon of warm water or white vinegar to thin it back out.

yesterday

Tried this recipe last night for our taco night spread and it was a hit! Only thing I did differently was add a splash of lime juice at the end for a little extra zing, and it paired perfectly with carnitas and street corn. Will definitely be bringing a jar of this to our next neighborhood block party.

2 hours ago

The lime juice addition sounds chef’s kiss! I’m making this for taco night tomorrow, definitely stealing that tip.

5 minutes ago

Super easy to make in my tiny dorm kitchen with barely any equipment! I only had a cheap blender and basic pantry ingredients, and it turned out way better than I expected. Way cheaper than buying hot sauce every week, saves me so much money on my tight college budget.

3 days ago

I’ve tried so many homemade red chili sauce recipes that turned out either watery, bland, or so vinegary they made my eyes water, and this one is perfect right out the gate. The cook time is exactly 25 minutes like it says, no weird fancy ingredients, balanced heat and tang. I canned a few jars to give to family for Christmas gifts and they all loved them.

2 days ago

Wait did you do a water bath can for these jars? I want to make some to give as gifts too but I’m nervous about messing up the canning part!

2 days ago

How thoughtful to make jars as gifts! If you’re water bath canning, process the jars for 15 minutes to make them shelf stable — just make sure you leave 1/2 inch of headspace in each jar before sealing!

2 hours ago

Finally got around to making this after seeing the comment about adding lime juice, and WOW. I mixed a spoonful into my morning michelada this weekend and it was *chef’s kiss*. Only mistake I made was not making a bigger batch — my roommate stole half the jar within 10 minutes of me finishing it.

30 minutes ago

Roommates are the worst (affectionate) when it comes to good homemade sauce! I had to hide my last batch in the back of the fridge behind the pickles so my roommate wouldn’t drink it straight.



