
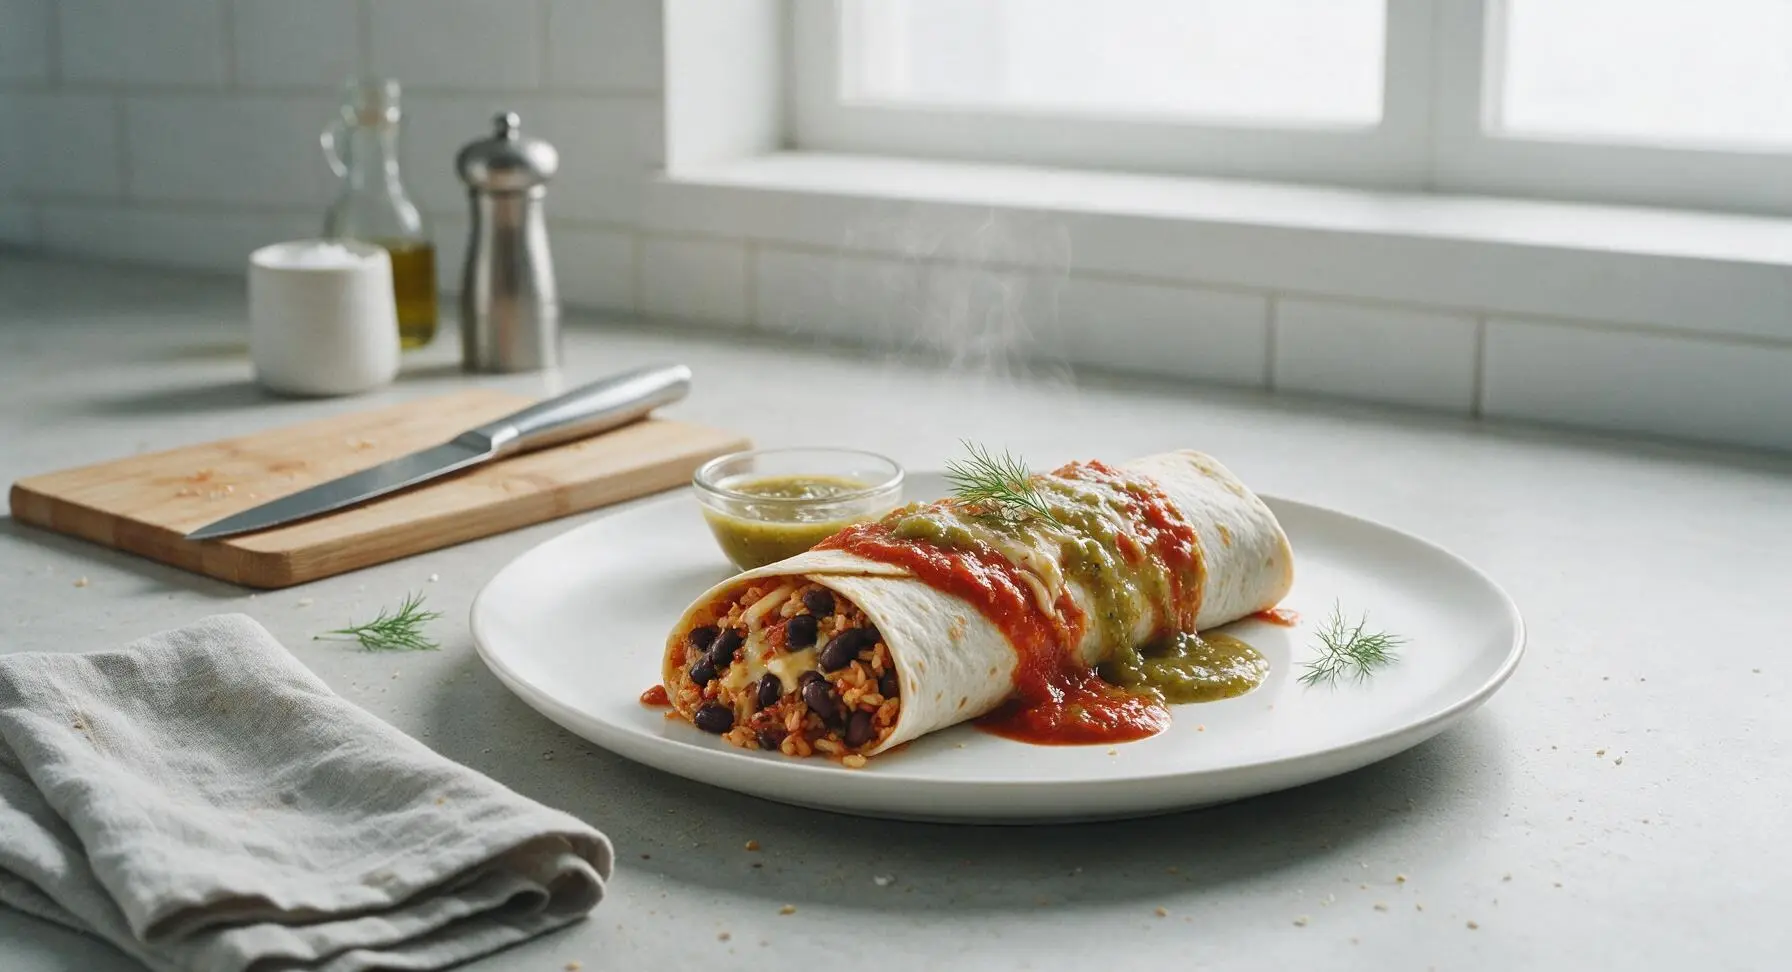
red green burrito

title 1
red green burrito
⏱️ cook time 20 minutes
🍽️ servings 4
⚡ Difficulty easy

intro

Hearty, flavor-packed Tex-Mex burritos stuffed with spiced black beans, rice, and melted cheese, smothered in vivid red chili and tangy green tomatillo sauce for a cozy, satisfying weeknight meal.

Ingredients
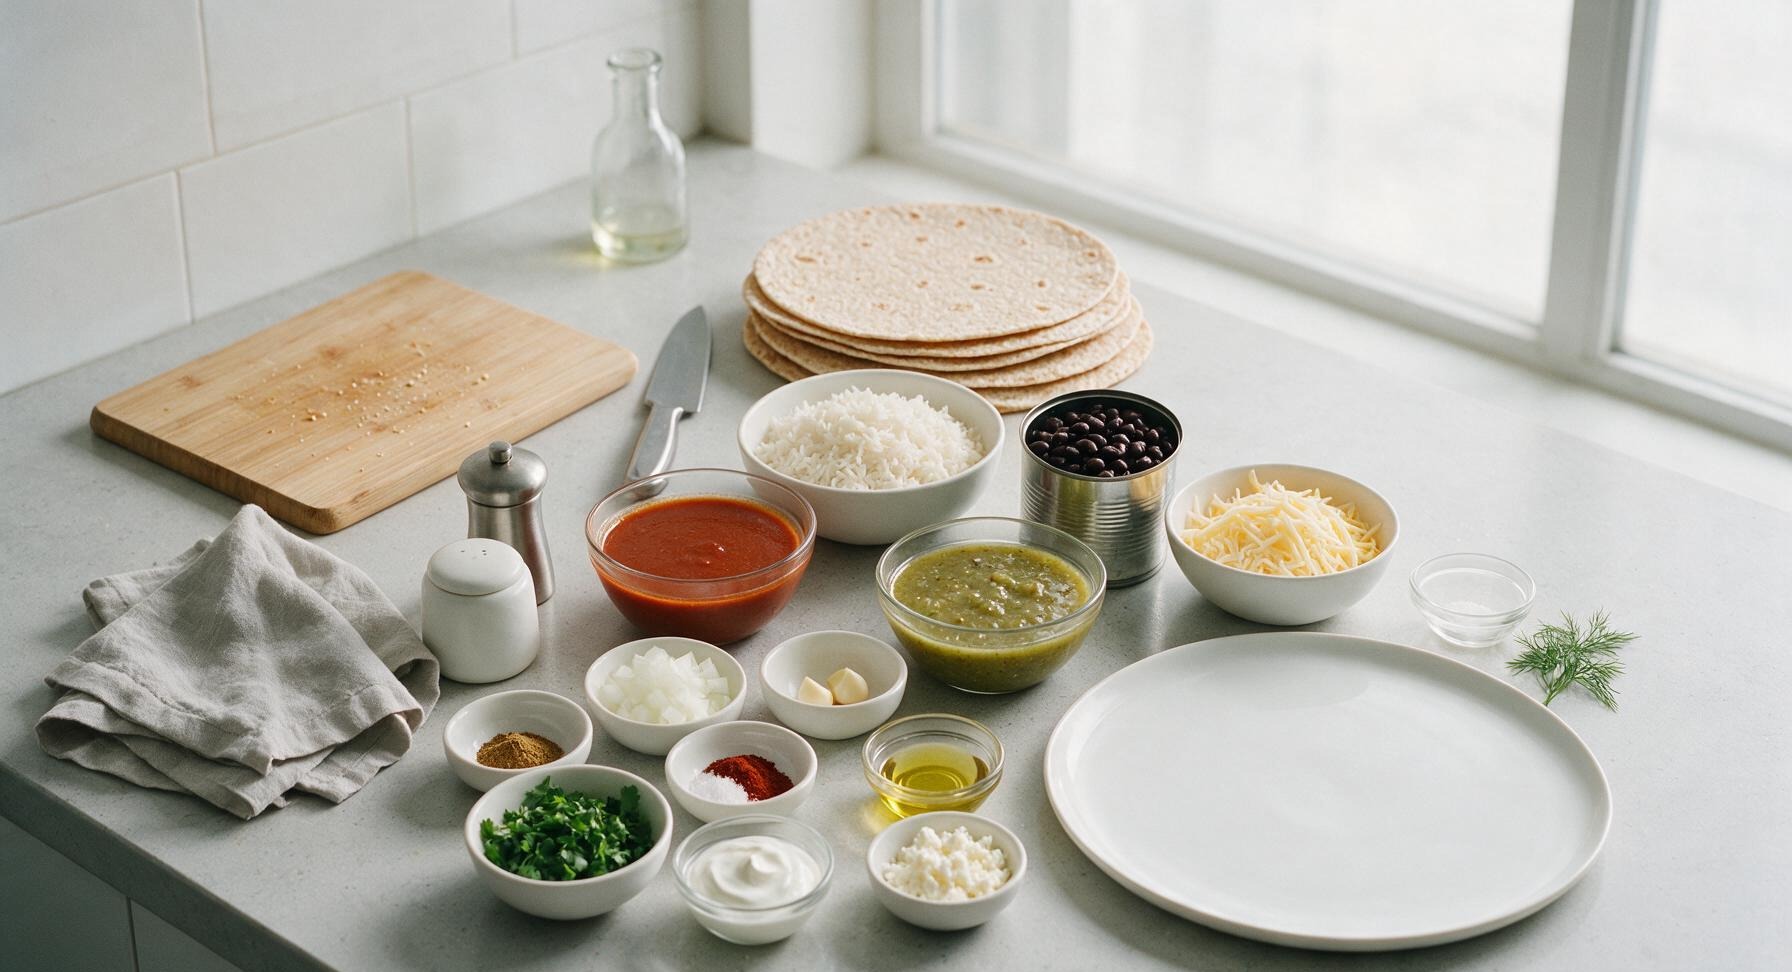
10-inch whole-wheat flour tortillas 4 each
Cooked long-grain white rice 1 cup
Canned black beans (rinsed, drained) 1 (15oz) can
Shredded Monterey Jack cheese 1 cup
Red enchilada sauce 1 cup
Green tomatillo salsa 1 cup
Small white onion (diced) 1 each
Garlic cloves (minced) 2 each
Ground cumin 1 tsp
Smoked paprika 1 tsp
Kosher salt 1/2 tsp
Fresh cilantro (chopped, for garnish) 1/4 cup
Sour cream 1/4 cup
Crumbled cotija cheese 2 tbsp
Neutral canola oil 1 tbsp

Steps

1

Sauté Bean Filling Base

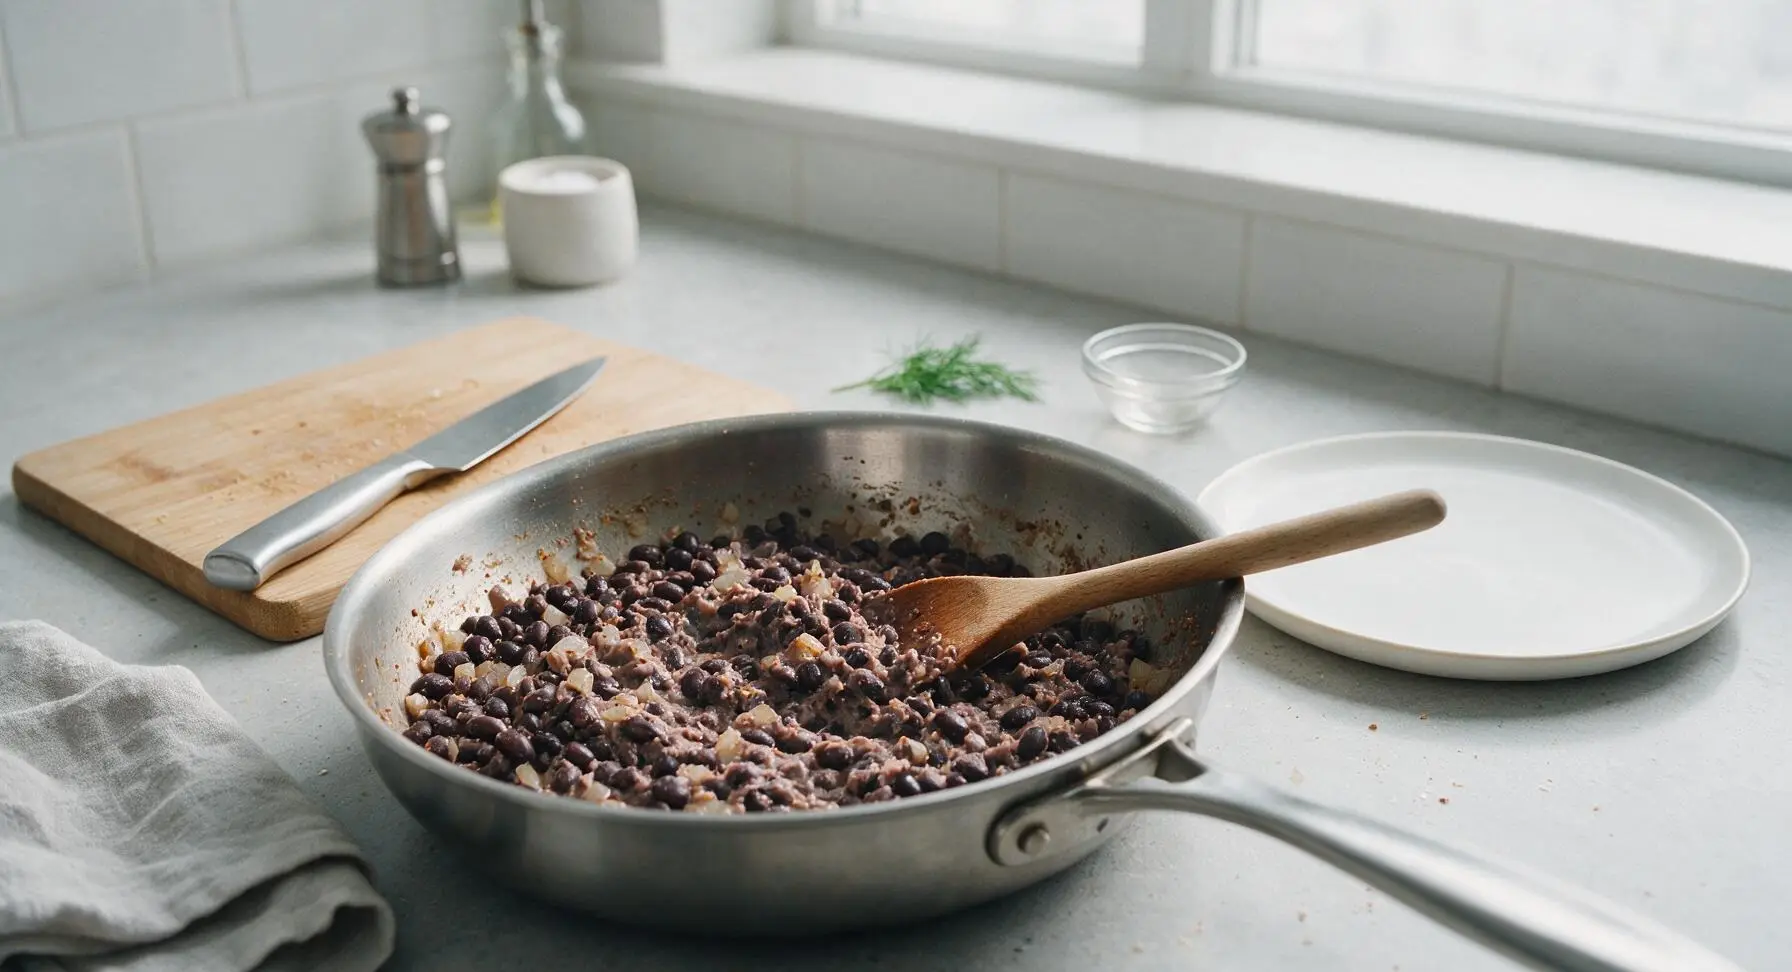
Heat 1 tablespoon neutral canola oil in the stainless steel skillet over medium heat (350°F/175°C). Add diced white onion and cook for 3 minutes until soft and translucent, then add minced garlic, ground cumin, and smoked paprika, stirring constantly with the beech wood mixing spoon for 30 seconds until fragrant. Add rinsed, drained black beans and 1/2 teaspoon kosher salt, stir to coat, and cook for 4 minutes, mashing 1/3 of the beans gently with the back of the spoon to create a creamy texture. The filling should hold together slightly when stirred, with no loose watery liquid left in the pan.
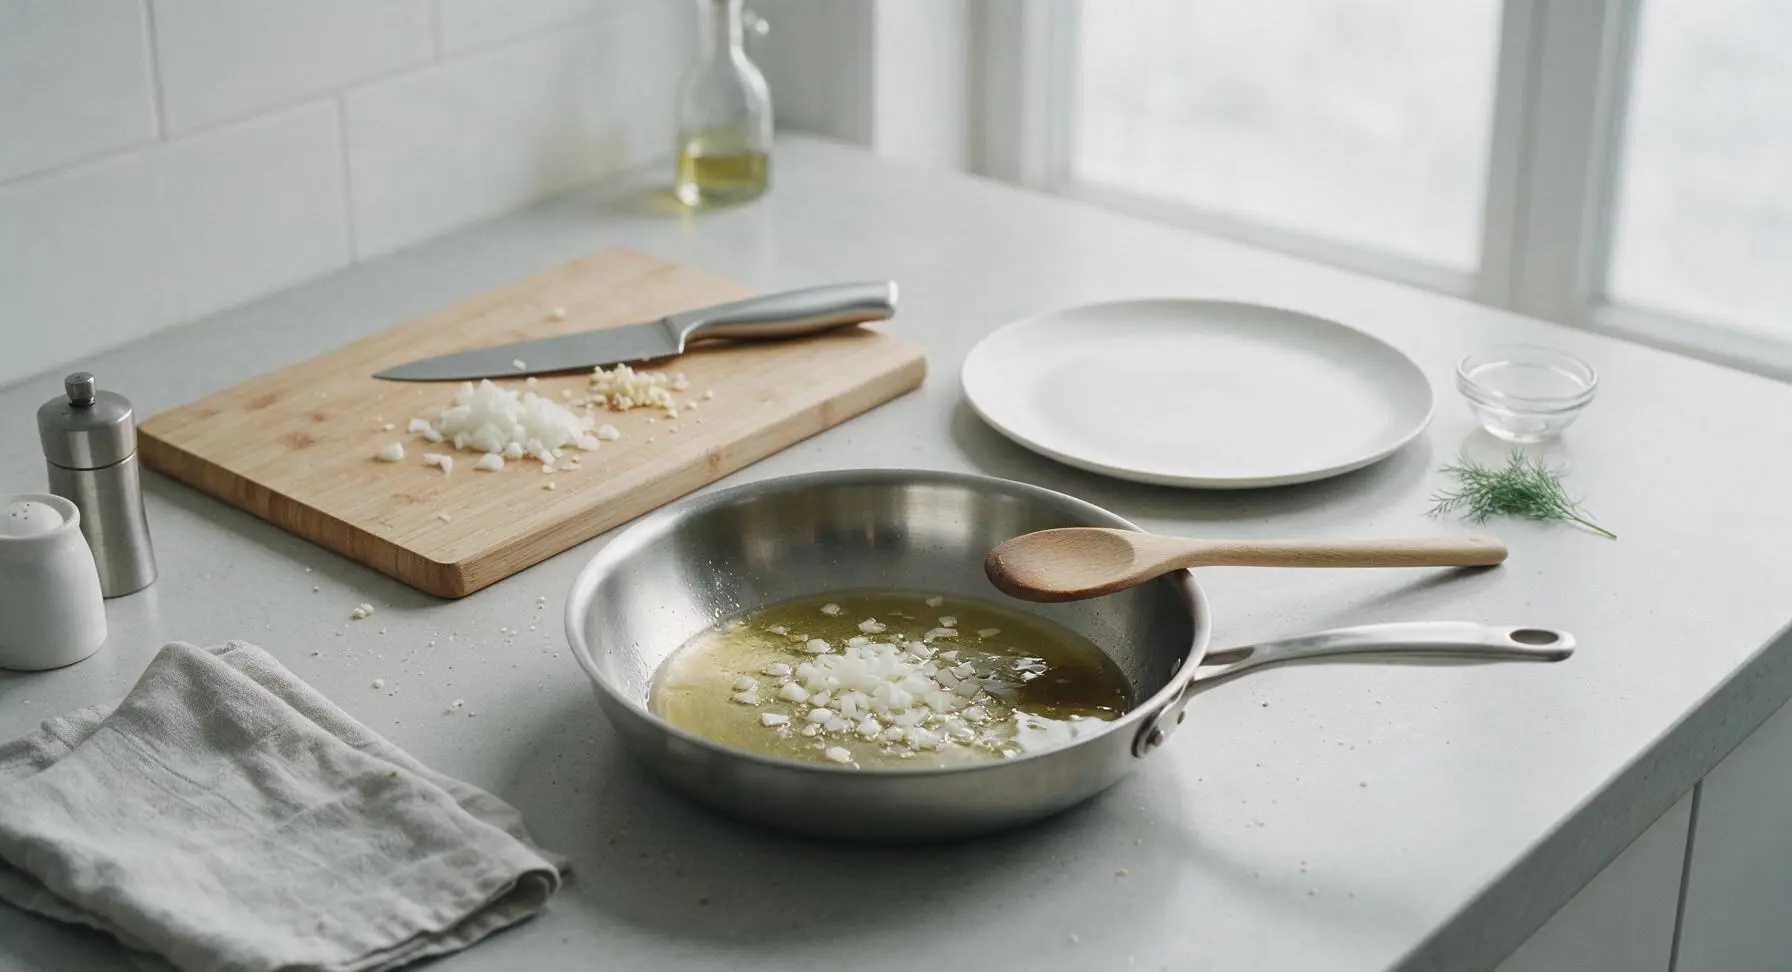
Step 1
step1:Sauté Bean Filling Base
Step 1
step1:Sauté Bean Filling Base
2

Warm Tortillas for Rolling

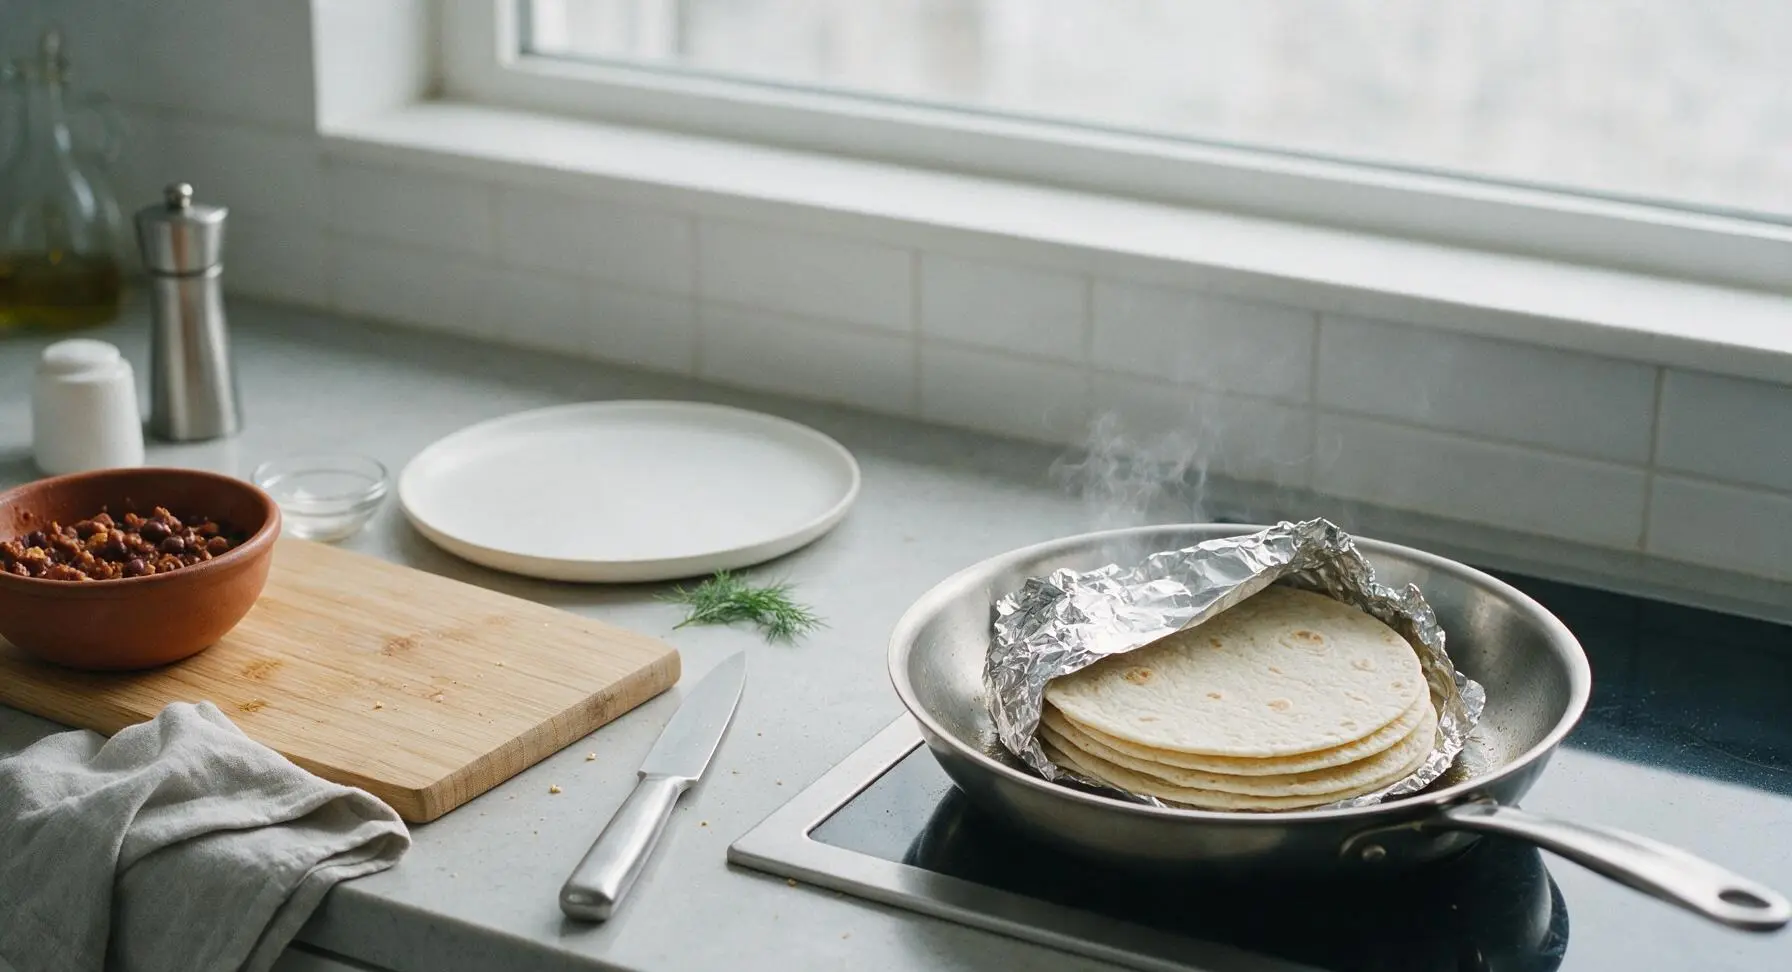
Tear a small sheet of aluminum foil from the fixed roll at back left, stack the 4 flour tortillas on the foil, and wrap tightly. Transfer the cooked bean filling to one of the terracotta pinch bowls set on the left edge of the cutting board, then place the foil-wrapped tortilla stack in the stainless steel skillet over lowest heat for 3 minutes until soft and pliable. Do not let the tortillas crisp or brown – they should bend easily without cracking when folded, which prevents tearing during rolling.
Step 2
step2:Warm Tortillas for Rolling
3

Assemble Burrito Fillings

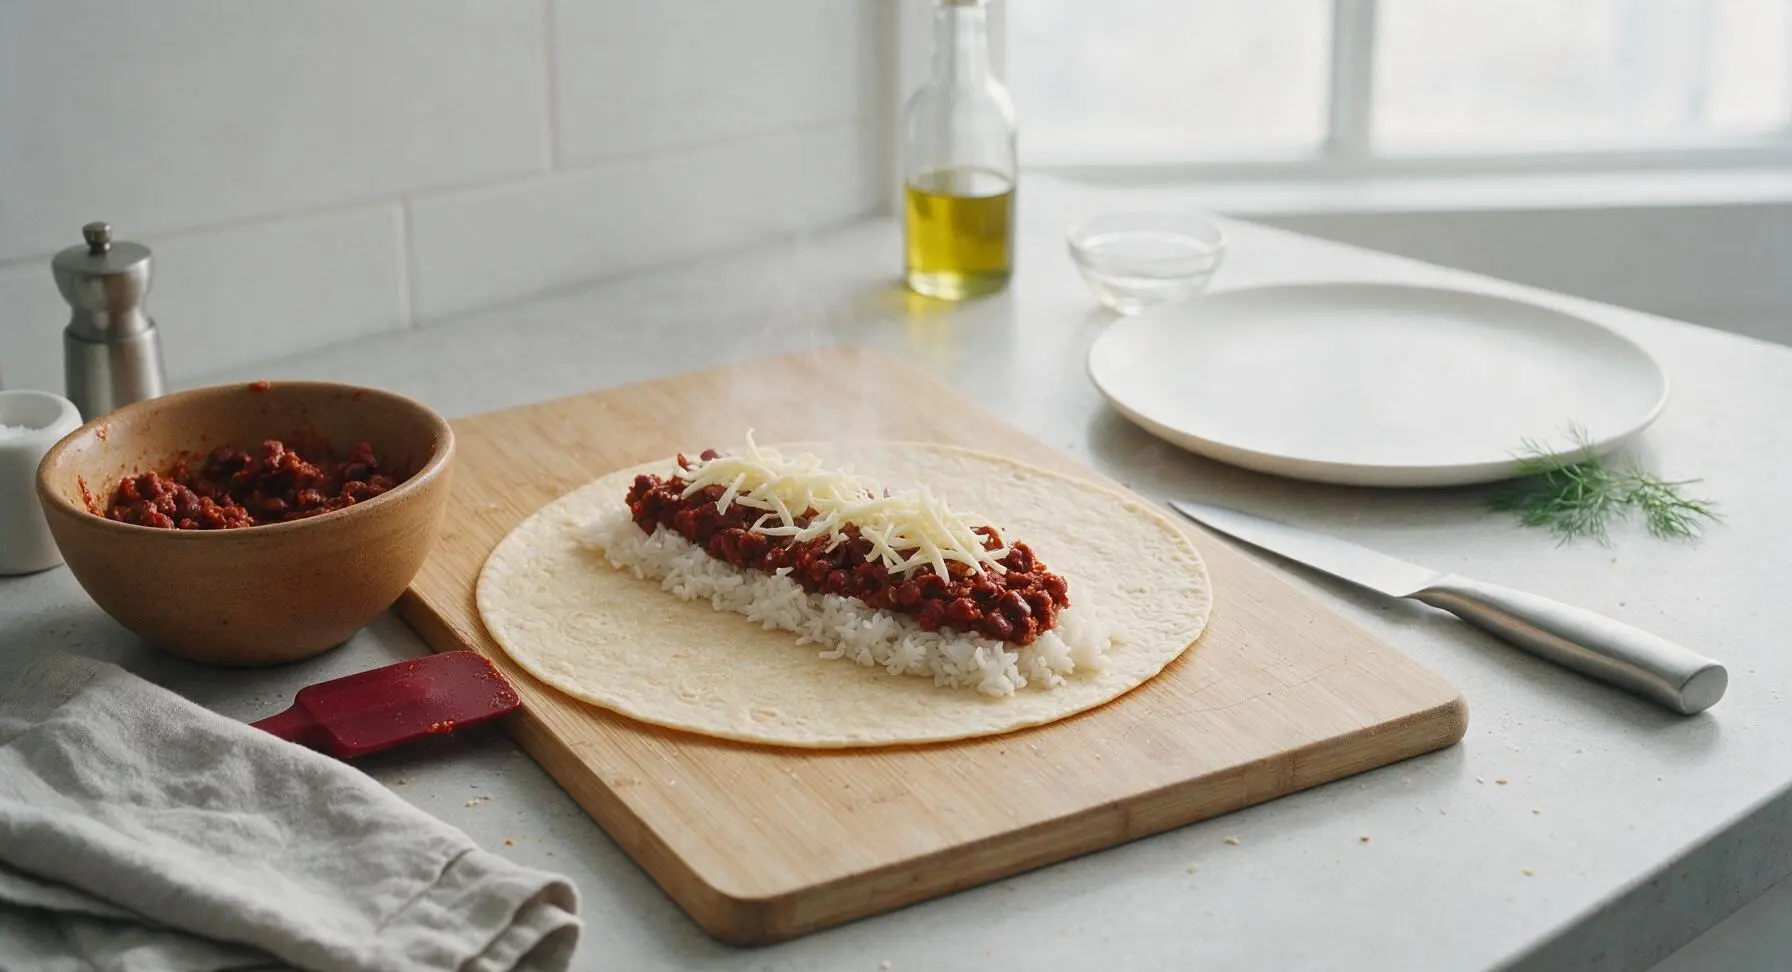
Lay one warm tortilla flat on the acacia wood cutting board. Spoon 1/4 cup cooked rice down the center third of the tortilla, leaving a 2-inch border at the top and bottom. Top the rice with 1/4 of the bean mixture, then 2 tablespoons shredded Monterey Jack cheese. Do not overfill – overstuffed tortillas will tear and leak sauce during broiling.
Step 3
step3:Assemble Burrito Fillings
4

Roll Burritos Tightly

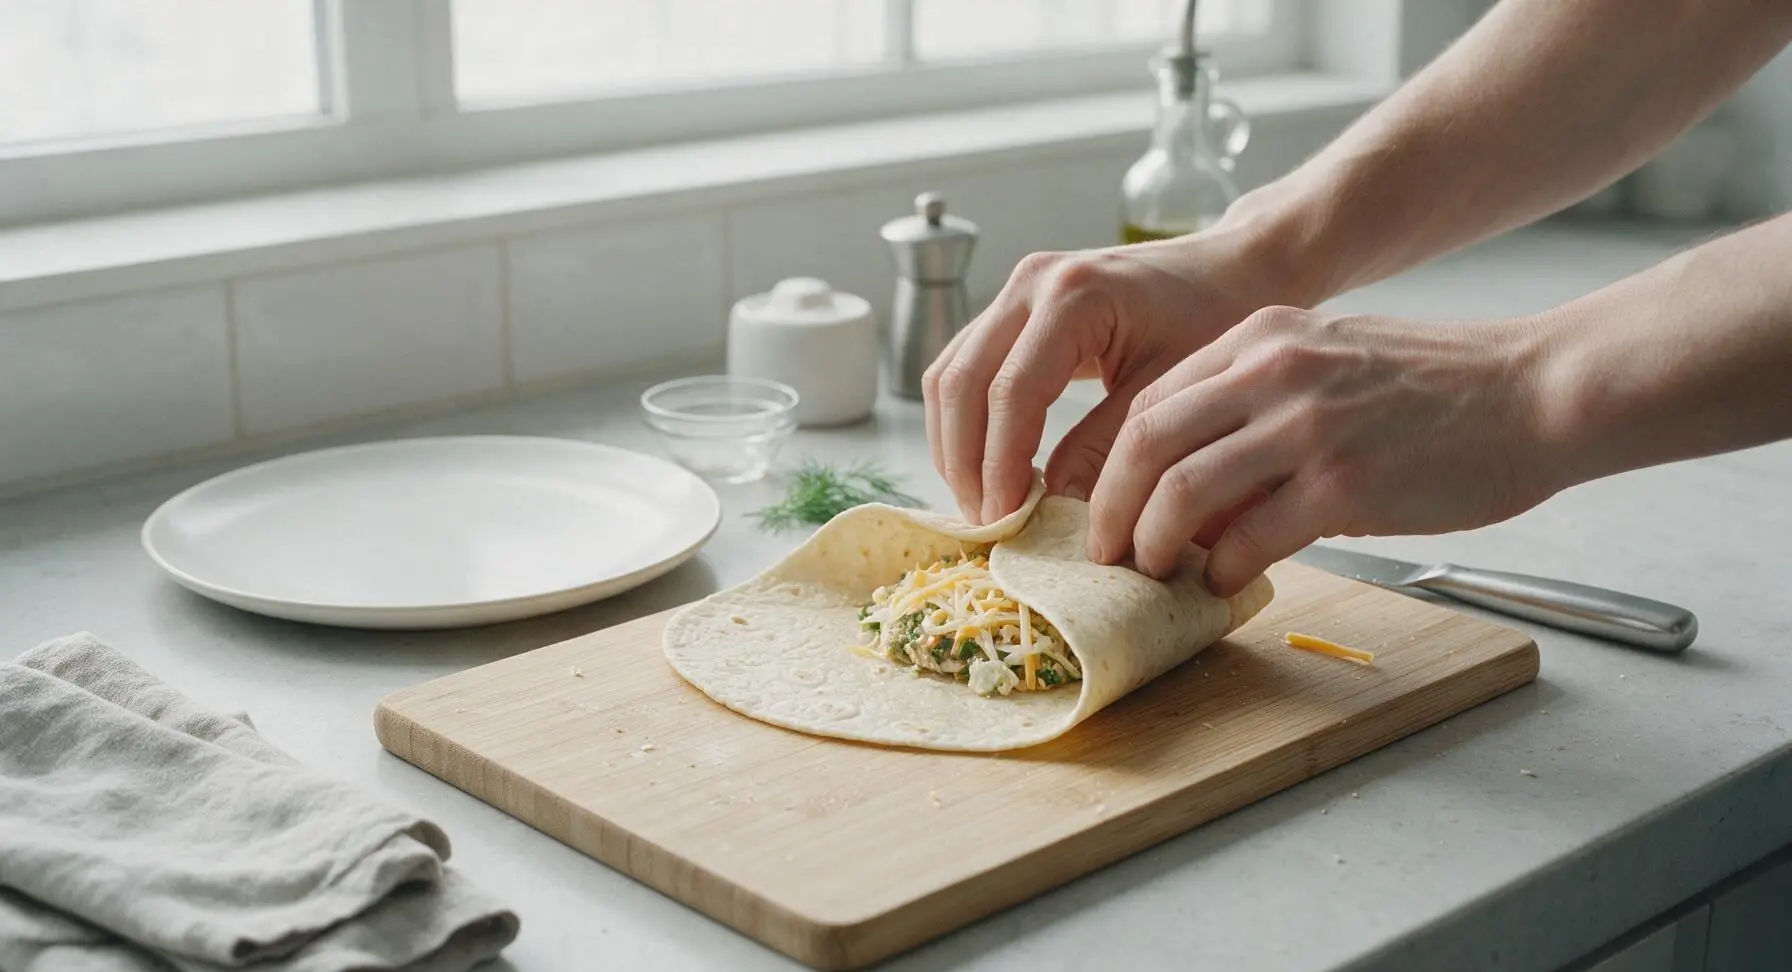
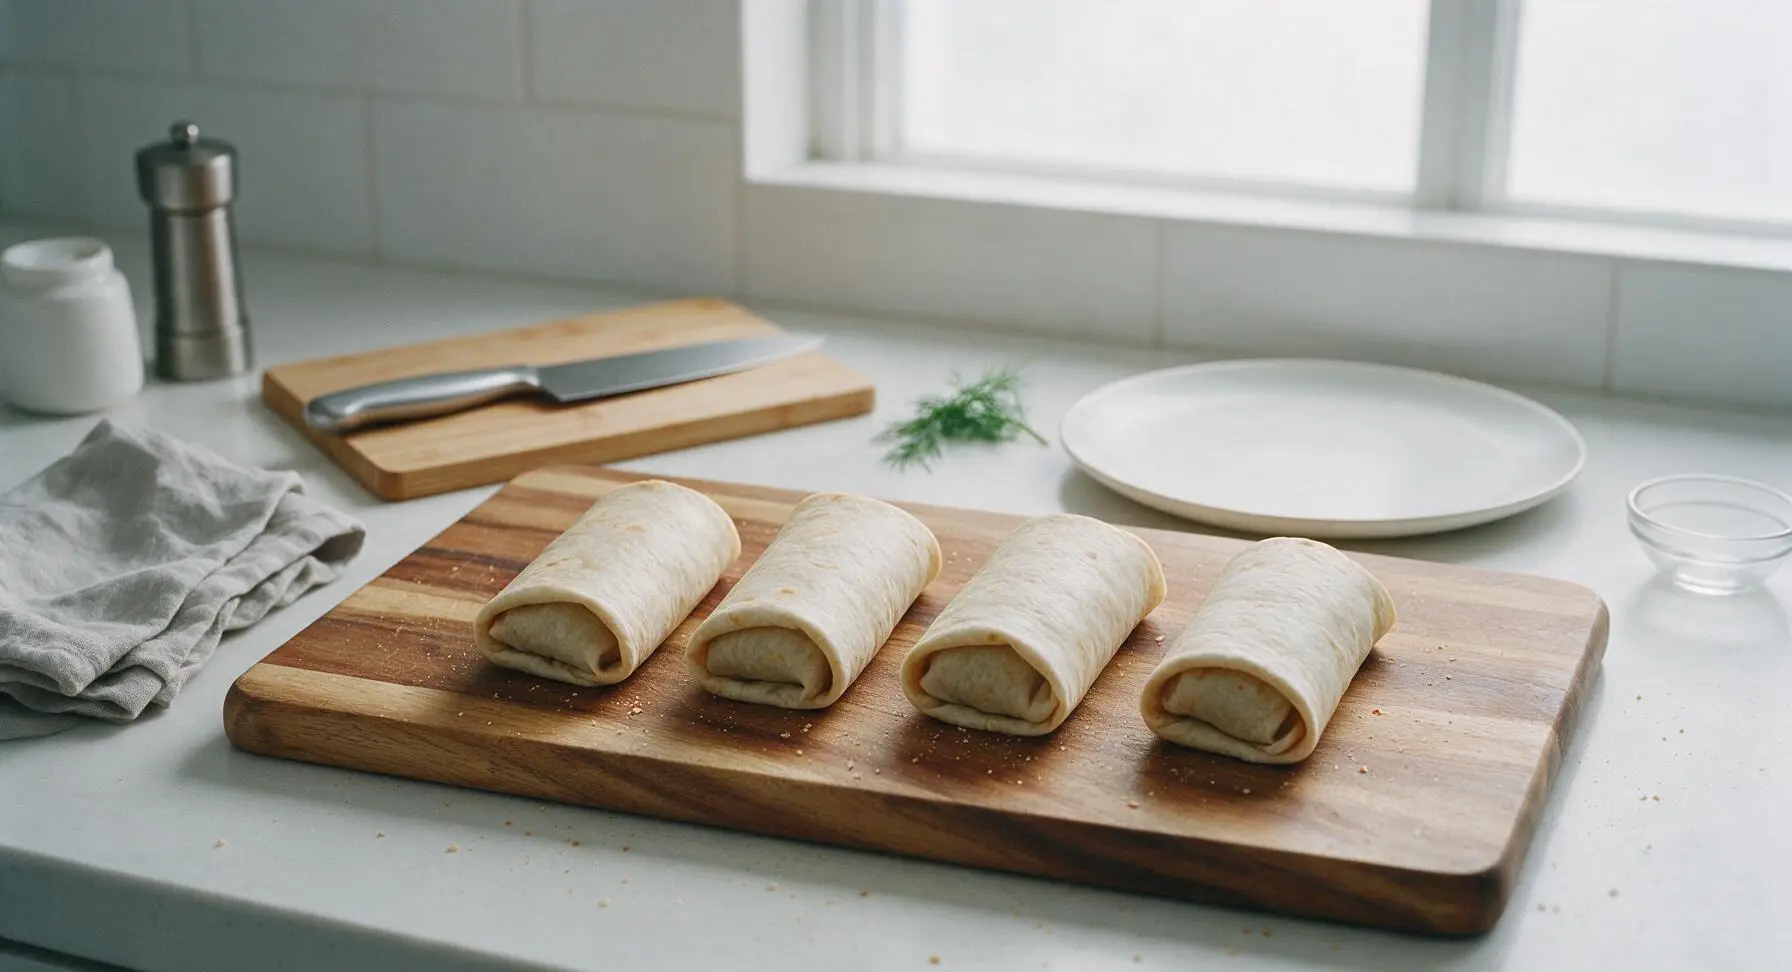
Fold the top and bottom 2-inch borders of the tortilla in over the filling, then roll the tortilla tightly from one long side to the other to create a sealed, cylindrical burrito. Place each rolled burrito seam-side down directly on the cutting board to prevent unrolling, and repeat with remaining tortillas and filling. The finished rolls should be firm, with no filling peeking out of the seams.
Step 4
step4:Roll Burritos Tightly
Step 4
step4:Roll Burritos Tightly
5

Top with Dual Sauces

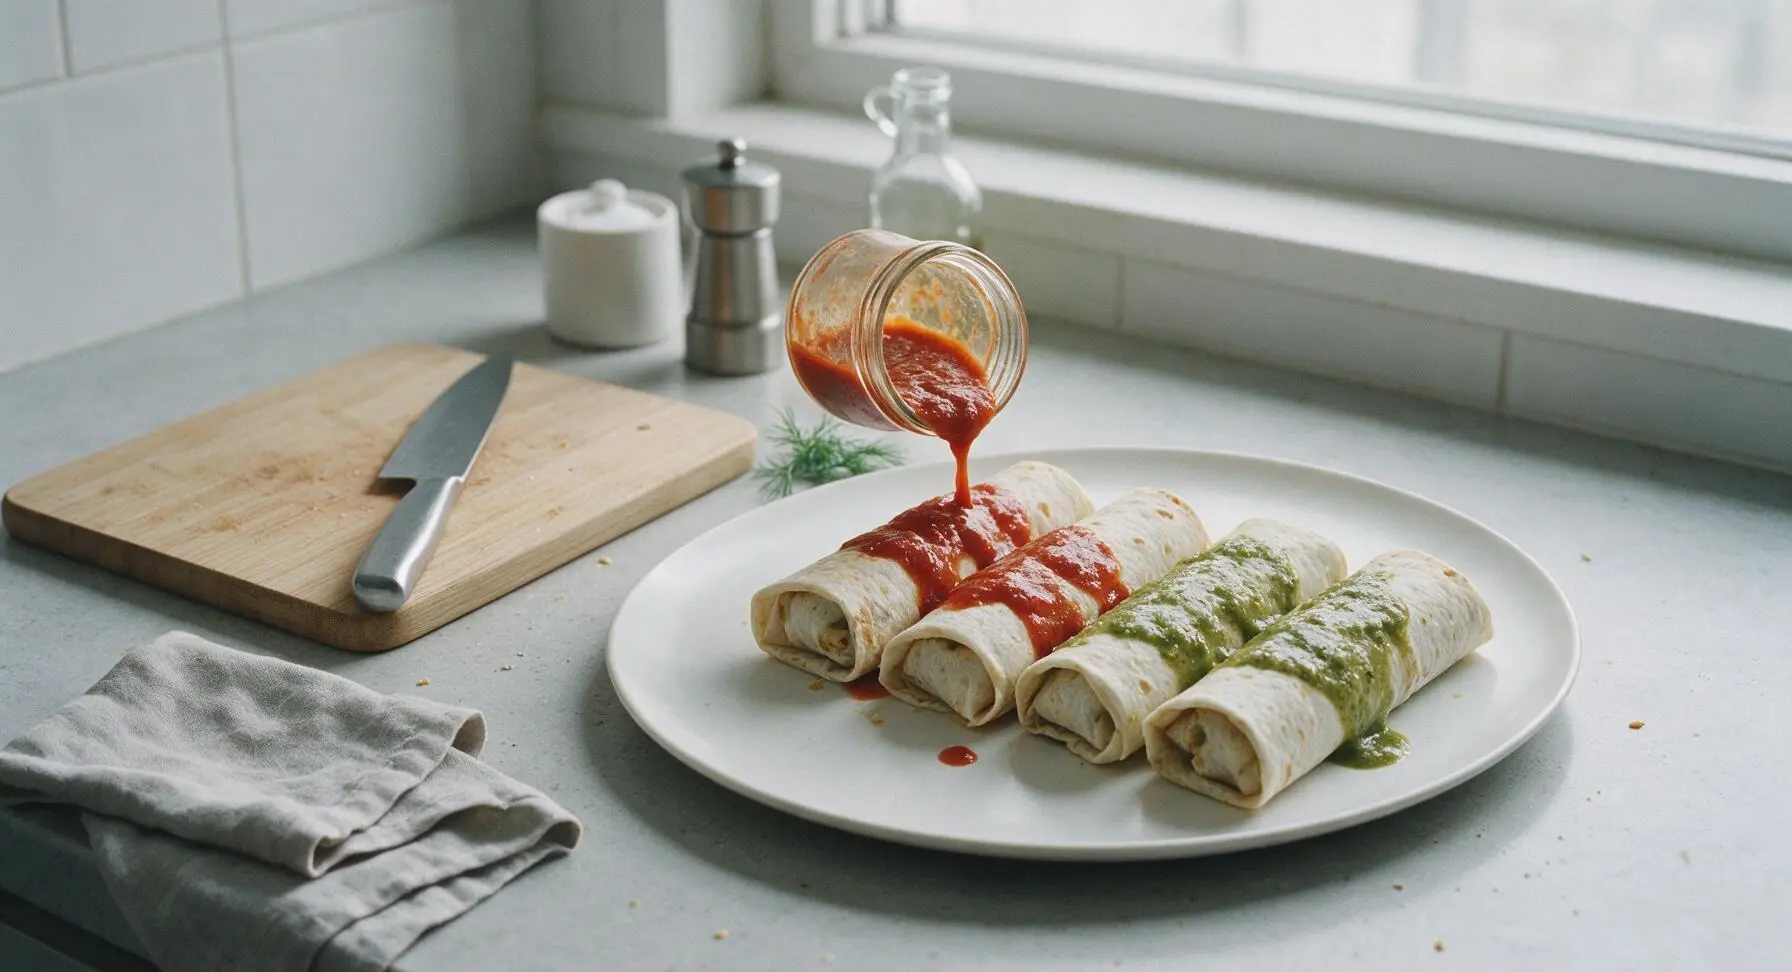
Pull the top matte cream ceramic dinner plate from the stacked set at back right, then transfer the rolled burritos to the plate, arranging them in a single tight row. Pour 1/2 cup red enchilada sauce evenly over the left two burritos, and 1/2 cup green tomatillo salsa evenly over the right two burritos, creating a clean red-green divide across the plate. Do not mix the sauces – the distinct color contrast and separate flavor profiles are the signature of this dish.
Step 5
step5:Top with Dual Sauces
6

Broil to Melt Cheese

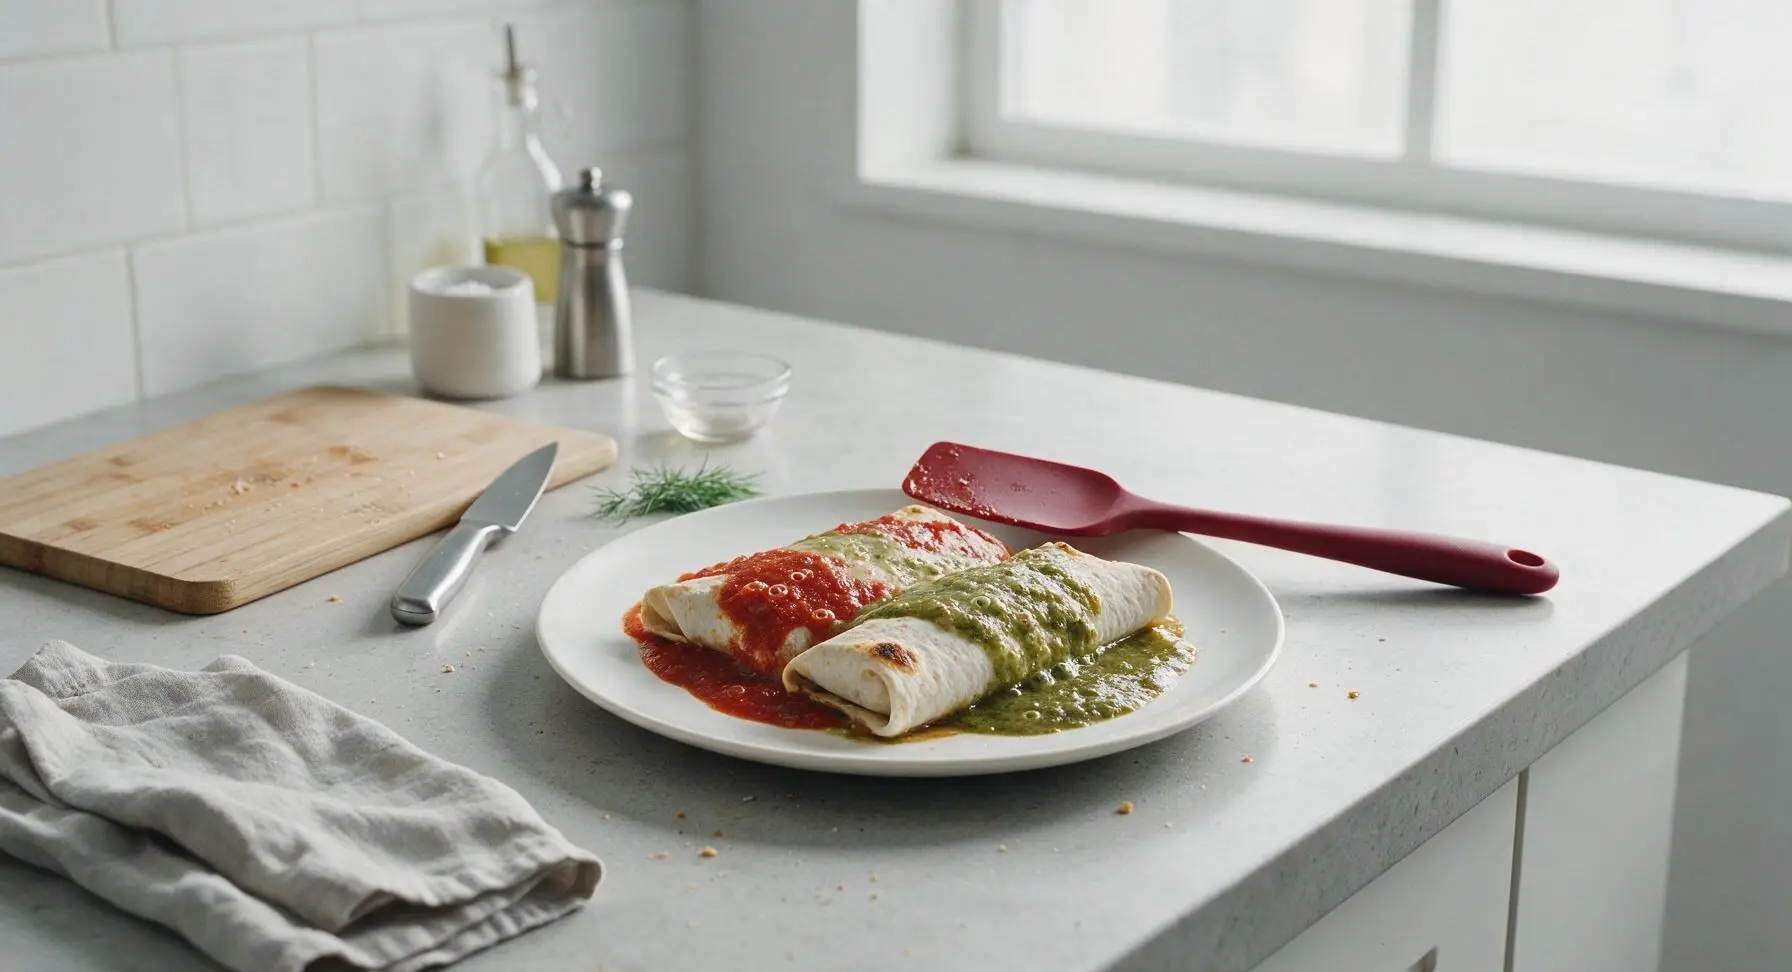
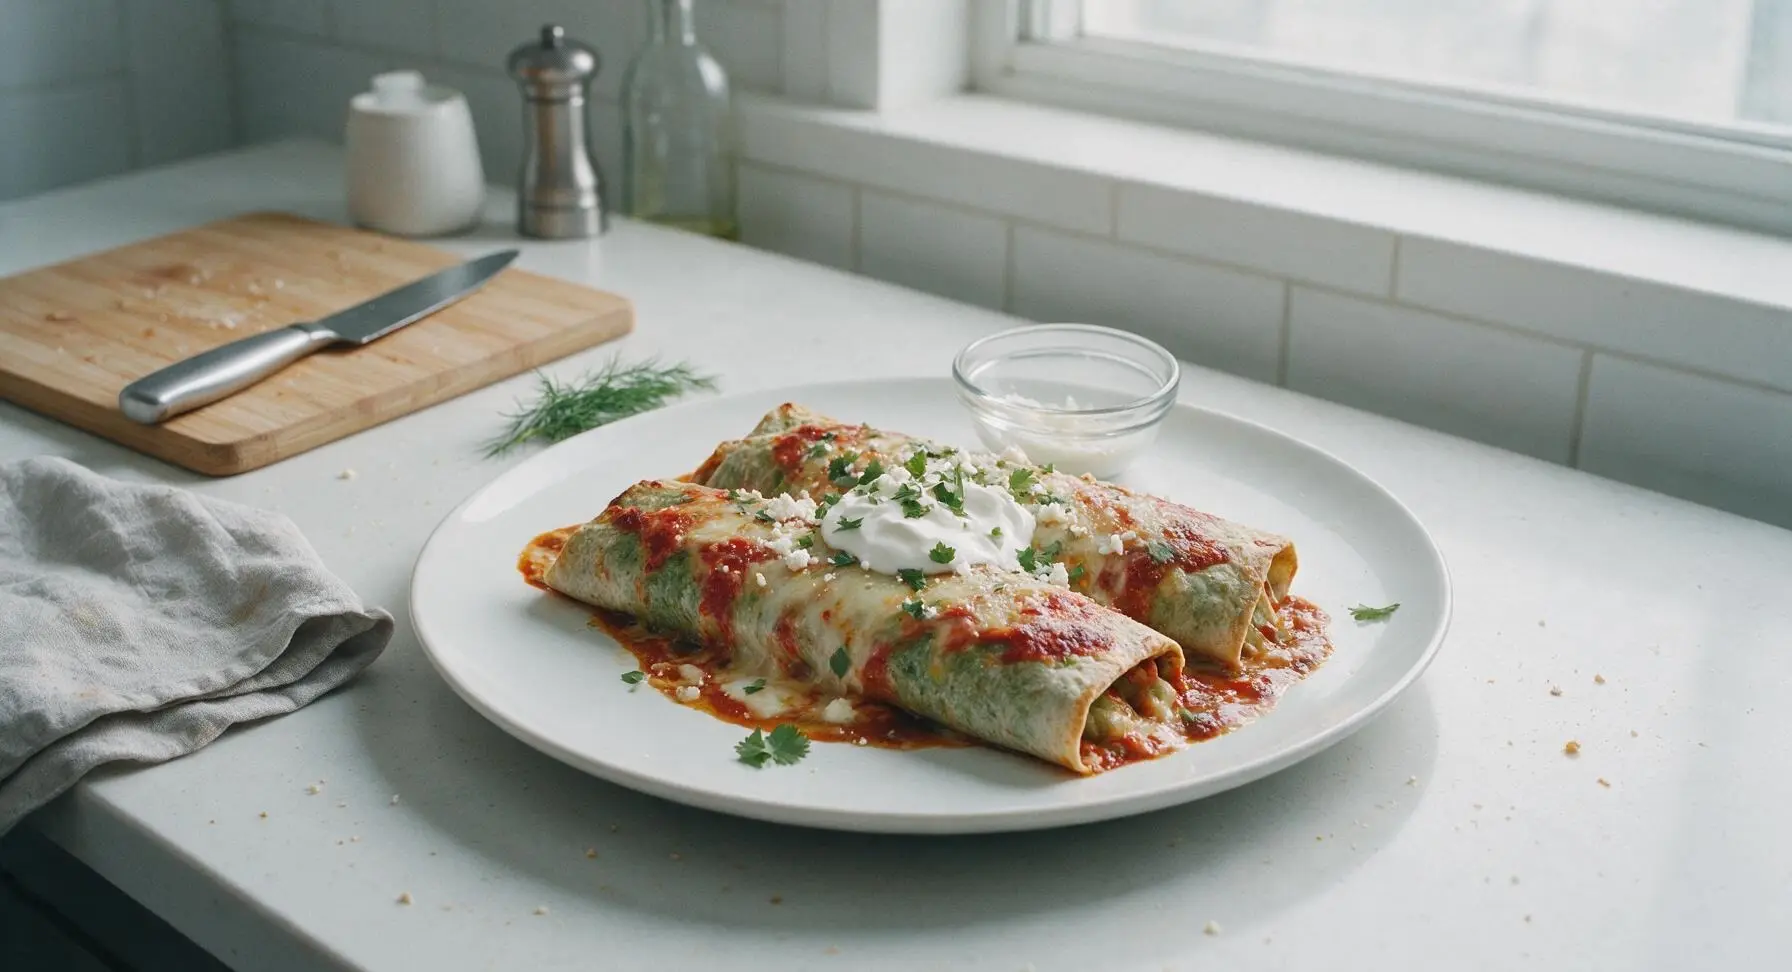
Place the plate of sauced burritos under a high broiler (500°F/260°C) for 2-3 minutes, watching closely, until the cheese inside is fully melted and the sauces are bubbling gently around the edges. Do not broil longer than 3 minutes, as the tortilla edges will burn quickly. Remove from heat using the silicone spatula, top with a 1/4 cup dollop of sour cream placed at the center of the plate where the sauces meet, then sprinkle with chopped cilantro and crumbled cotija cheese.
Step 6
step6:Broil to Melt Cheese
Step 6
step6:Broil to Melt Cheese

Tips

1.Warm tortillas before rolling to prevent cracking: Cold tortillas split easily when folded, leading to filling leaks while broiling. Wrapping in foil traps steam to keep them soft, pliable, and tear-resistant.
2.Mash only 1/3 of the black beans for the filling: Mashing a portion creates a creamy, cohesive texture that binds the rice and cheese together so fillings don’t fall out when you take a bite, while leaving most beans whole adds hearty texture and bite.
3.Keep red and green sauces separate rather than mixing them: The rich, smoky red enchilada sauce and bright, tangy green tomatillo salsa complement each other best when you get a bit of both in each bite, rather than blending into a muddled, single-note sauce.


✨ You May Also Like

Main Course
🍜 United Kingdom

A showstopping classic of tender seared beef, savory mushroom duxelles, and crisp prosciutto wrapped in flaky golden puff pastry, baked to juicy perfection.

⏱️ 2 hours 1Main Course ★ 4.7
Main Course
🍜 India

Tender charred marinated chicken simmered in a rich, spiced creamy tomato sauce, this iconic Anglo-Indian curry pairs perfectly with basmati rice or warm naan.

⏱️ 50 minuteMain Course ★ 4.6
Main Course
🍜 Thailand

Classic tangy, sweet, and savory Thai stir-fried rice noodles with shrimp, tofu, and crunchy garnishes, balancing all five core Thai flavor profiles.

⏱️ 30 minuteMain Course ★ 4.5
Main Course
🍜 United Kingdom

Crispy golden beer-battered cod and fluffy double-fried chips, served with tangy tartar sauce and malt vinegar: the timeless, beloved British pub comfort classic.

⏱️ 45 minuteMain Course ★ 4.7
Main Course
🍜 Mexico

Smoky, chile-marinated pork tacos with caramelized pineapple, fresh cilantro, and lime: a beloved classic Mexican street food perfect for casual summer gatherings.

⏱️ 1 hour 45Main Course ★ 4.8
Main Course
🍜 United States

Crunchy Fritos corn chips layered with savory beef chili and melted cheddar, topped with cool, zesty fixings for a beloved, cozy Tex-Mex comfort food.

⏱️ 35 minuteMain Course ★ 4.8

red green burrito:Frequently Asked Questions

1.Why is this dish called Red Green Burrito? ▾
The name comes from the two vibrant, contrasting sauces that top the finished burritos! One side gets smothered in rich, savory red enchilada sauce, while the other is coated in bright, tangy green tomatillo sauce, so you get both bold, classic Tex-Mex flavor profiles in every bite without muddling them together.
2.Can I prep these burritos ahead of time for busy weeknights? ▾
Absolutely! Assemble the stuffed, rolled burritos (hold off on adding the two sauces) 2–3 days in advance, wrap tightly, and store in the fridge. When ready to eat, bake at 375°F for 20 minutes until heated through, then top with warm red and green sauces right before serving to avoid soggy tortillas.
3.Do I have to use 10-inch whole-wheat tortillas for this recipe? ▾
No hard rule here! 10-inch regular white flour tortillas work perfectly if you prefer a softer, milder flavor. Just make sure whatever tortilla you pick is sturdy enough to hold the filling without tearing—warm them for 10 seconds in the microwave before rolling to make them extra flexible.
4.My canned black beans always taste bland—how do I boost their flavor? ▾
Great question! After rinsing and draining your black beans, toss them in a small pan over medium heat with ½ teaspoon cumin, a pinch of garlic powder, a dash of smoked paprika, and salt for 3–4 minutes. This toasts the spices and deepens bean flavor so the filling doesn’t taste flat next to the bold sauces.
5.Can I add meat to these burritos for a non-vegetarian version? ▾
Totally! This recipe is super customizable. Fold in seasoned ground beef, shredded rotisserie chicken, or sautéed chorizo along with the rice, beans, and cheese before rolling. Just make sure any meat you add is fully cooked first, and drain excess grease so it doesn’t make your tortilla soggy under the sauces.
6.How do I keep my burritos from getting soggy after adding the sauces? ▾
The key is to warm your red enchilada and green tomatillo sauces separately right before serving, and pour them over the burritos immediately before eating. If you bake the assembled burritos, leave the sauces off until the burritos are hot and crisp on the edges, rather than baking them sauce-covered the whole time.
7.Can I use a different cheese if I don’t have Monterey Jack? ▾
Absolutely! Monterey Jack is ideal because it melts smoothly and has a mild, creamy flavor that doesn’t overpower the sauces, but you can swap it for shredded pepper Jack for a little heat, a cheddar-mozzarella mix, or Oaxaca cheese for that classic stretchy Tex-Mex texture. Shred it fresh for the best melt.
8.Do I have to use long-grain white rice, or can I swap for another type of rice? ▾
Long-grain white rice works best here because it stays light and fluffy, with separate grains that don’t get mushy inside the burrito. That said, you can swap for cooked brown rice for extra fiber, or cilantro-lime rice for a bright flavor boost—just avoid sticky short-grain rice, which makes the filling feel dense.
9.How do I roll burritos so filling doesn’t fall out while I’m eating? ▾
Start by warming your tortilla first to prevent cracking. Spoon filling in a straight line down the center, leaving 2 inches of space at the top and bottom. Fold those short edges over the filling first, then tuck one long side tight against the filling and roll firmly to make a sealed, leak-proof wrap.
10.Can I freeze these burritos for quick future meals? ▾
Yes, these freeze beautifully! Assemble and roll the burritos without the sauces, wrap each individually in aluminum foil, and stash them in the freezer for up to 3 months. To reheat, bake at 400°F for 30 minutes (or microwave for 2–3 minutes wrapped in a damp paper towel), then top with warm red and green sauces to serve.

Comments (10)

2 days ago

OMG these red green burritos are a total game changer for our weeknight family dinners! I threw them together in 20 minutes flat after soccer practice, and my three kids devoured every bite without complaining about veggies for once. Used a little extra enchilada sauce on top and it was chef’s kiss. 10/10 will be adding to our regular meal prep rotation!

yesterday

Wait did you use red or green sauce for the inside? I’m making these for a potluck this weekend and wanna make sure I get the ratio right!

yesterday

So glad your family loved them! For potlucks, I recommend doing half red sauce mixed with shredded chicken and half green sauce with roasted veggies inside, that way there’s something for everyone. Just pop them in the oven for 10 minutes to reheat if you make them ahead!

3 days ago

As someone who can barely boil water without messing up, this recipe was SO easy to follow. Cook time was actually 20 minutes like it said no cap, no random fancy ingredients I had to run to three stores for. Perfect for my dorm meal prep this week, I wrapped them individually and froze half for late study nights.

2 days ago

Love that this works for dorm cooking! Pro tip: if you don’t have an oven in your dorm, you can heat these up in the microwave for 90 seconds and they still taste amazing, just crisp the tortilla a little in a pan if you have access to one.

1 week ago

Brought these to my neighborhood block party last weekend and people were asking me for the recipe before I even set the platter down! The mix of red and green sauce gives such a fun depth of flavor you don’t get from regular old burritos. I added a little cilantro lime rice on the side and it was perfect.

5 days ago

Made these vegan by swapping the cheese for dairy-free pepper jack and using jackfruit instead of ground beef, and they came out incredible! The red green sauce combo is so flavorful I didn’t even miss the meat. My meat-eating roommate stole two out of the fridge last night lmao.

3 days ago

Oh that jackfruit swap is genius! Did you season the jackfruit at all before adding it in, or just toss it with the sauces?

2 days ago

@PlantBasedBabe I tossed it with a little taco seasoning while I sautéed it for 5 minutes first! Soaked up the sauce perfectly.

yesterday

Was skeptical of a burrito with both red and green sauce at first, thought it would be too saucy and messy, but wow it’s perfectly balanced. Made these for my son’s birthday dinner and he said they’re better than the local Mexican takeout we get every Friday. High bar to clear, tbh.

2 hours ago

That is such a high compliment, thank you! The key is to warm the tortillas for 10 seconds in the microwave before filling them so they don’t tear, even with all that delicious sauce inside.

2 weeks ago

These hold up so well in the fridge for 4 days! I make a batch every Sunday, grab one on my way out to work, and heat it up at my desk. Way cheaper than buying lunch out, and the flavor doesn’t get weird after sitting in the fridge like some burrito recipes do. 10/10 for busy work weeks.

30 minutes ago

Added a pickled jalapeño slice inside each burrito for a little extra kick, and it took these to the next level! The recipe is super customizable, which I love because I can make a mild batch for my toddler and a spicy batch for me and my partner without extra work.

5 minutes ago

Great call on the jalapeños! I’m gonna do that next time I make these, my husband loves super spicy food and I thought the base recipe was perfect for my little one too.

2 hours ago

Wait, can I use store-bought red and green enchilada sauce for this? I don’t have time to make sauce from scratch on a school night, haha. Don’t judge me!!

30 minutes ago

Girl I used store bought last week and it was still SO good, no one could tell. Just get the medium heat kind not the mild, the mild is super bland.

5 minutes ago

No judgment at all! Store-bought sauce works perfectly for this recipe, it’s actually what I use on busy weeknights too. I like to stir a little extra garlic powder into the store-bought sauce to give it a homemade taste without the work.

5 days ago

Wrapped a couple of these in foil and brought them on our day hike last weekend, and they were the perfect trail lunch! No weird sogginess, even after being in my pack for 3 hours. Way better than squished granola bars, that’s for sure.

3 days ago

What a great idea for trail food! I’ll have to remember that for my next camping trip, wrapping them in foil keeps them warm for a couple hours too if you heat them up right before you leave.

just now

Made these for a casual brunch with my girlfriends yesterday, served them with mimosas and a side of chips and guac, and everyone was raving. The 20 minute cook time meant I didn’t have to wake up at the crack of dawn to prep, which is my favorite part. Will absolutely be making again!



