
Red Pepper Mac and Cheese

title 1
Red Pepper Mac and Cheese
⏱️ cook time 30 minutes
🍽️ servings 4
⚡ Difficulty easy

intro

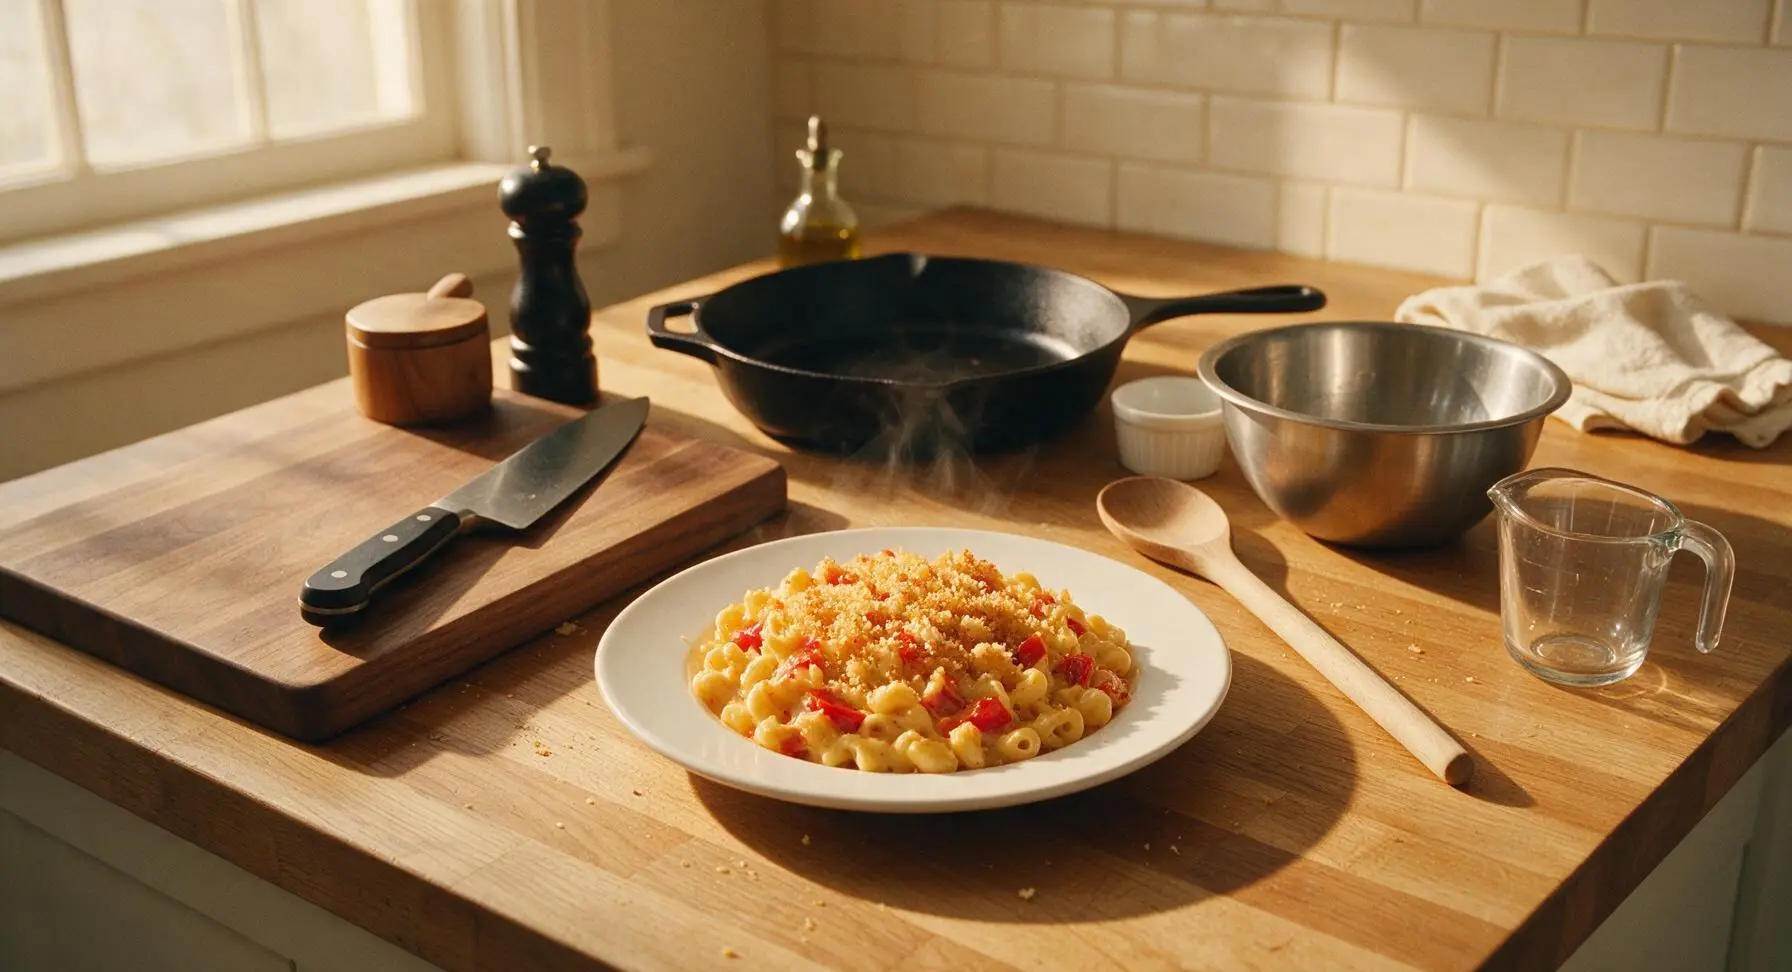
Creamy, smoky roasted red pepper mac and cheese with a crispy panko top, balancing sharp cheddar and bright, earthy pepper for cozy, satisfying weeknight comfort.

Ingredients
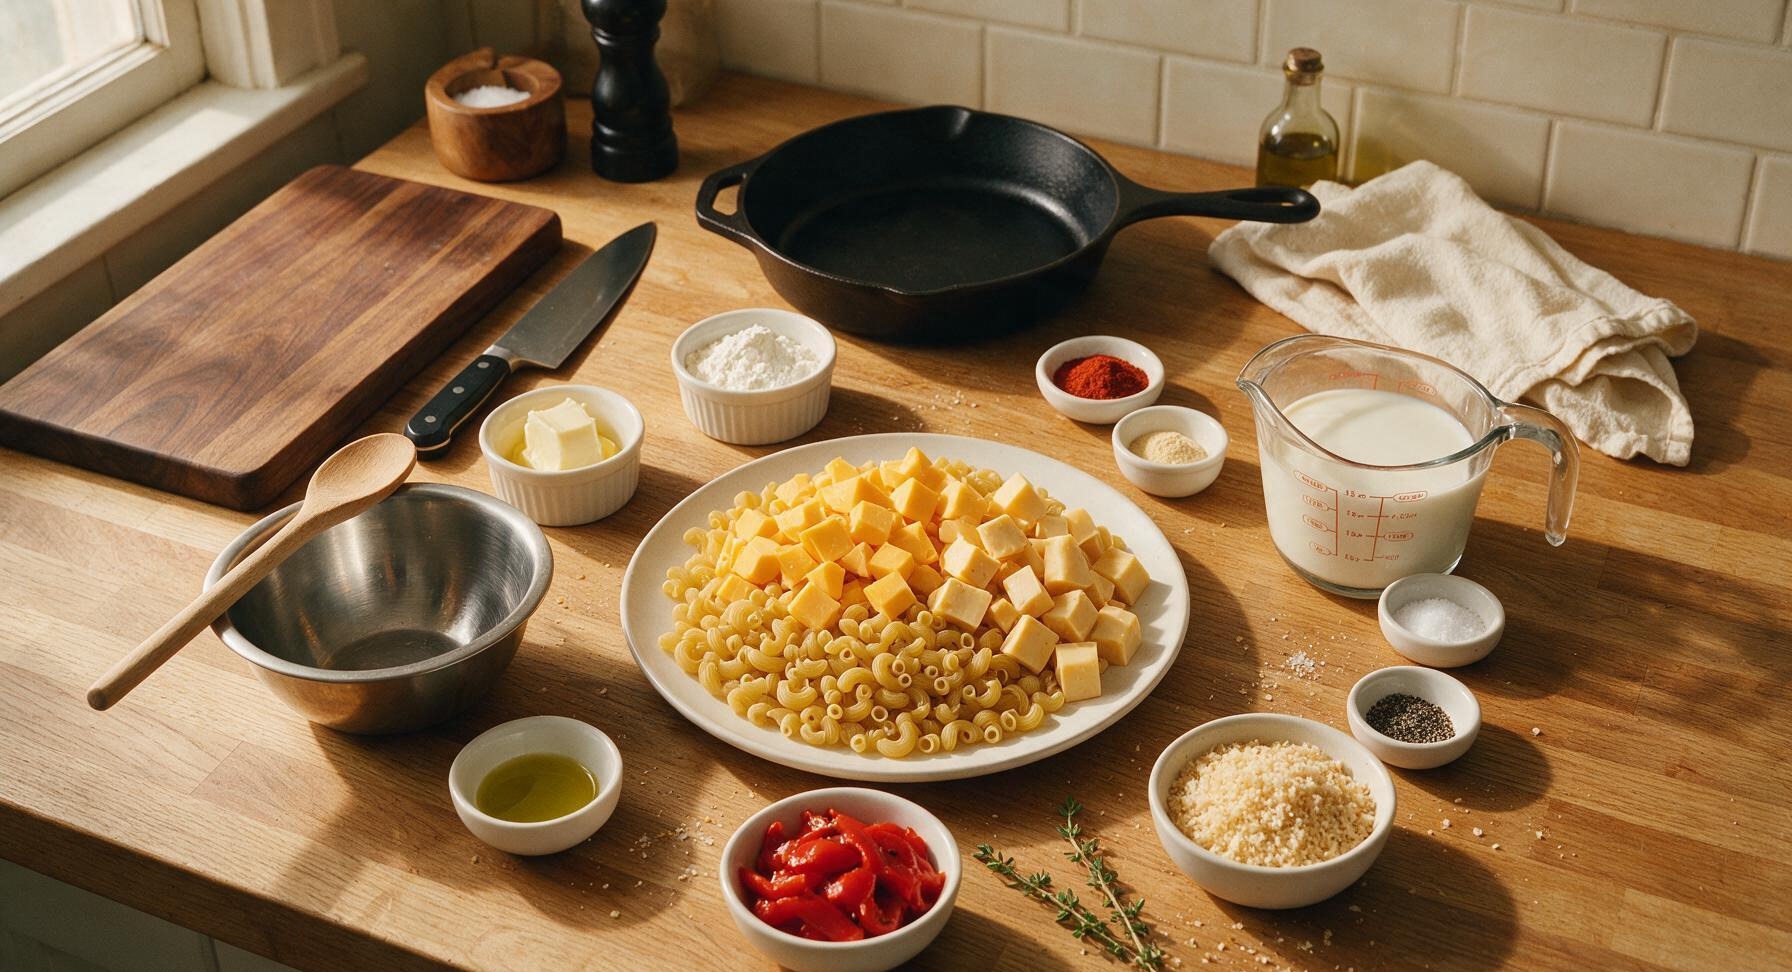
Dried ridged elbow macaroni 225g
Sharp yellow cheddar cheese 170g
Smoked gouda cheese 85g
Jarred roasted red bell peppers (drained) 120g
Unsalted butter 2 tbsp
All-purpose flour 2 tbsp
Whole milk 1.75 cups
Smoked paprika 1 tsp
Garlic powder 1/2 tsp
Kosher salt 1 tsp
Freshly ground black pepper 1/4 tsp
Panko breadcrumbs 1/3 cup
Fresh thyme 2 sprigs
Extra virgin olive oil 1 tsp

Steps

1

Boil the Elbow Pasta

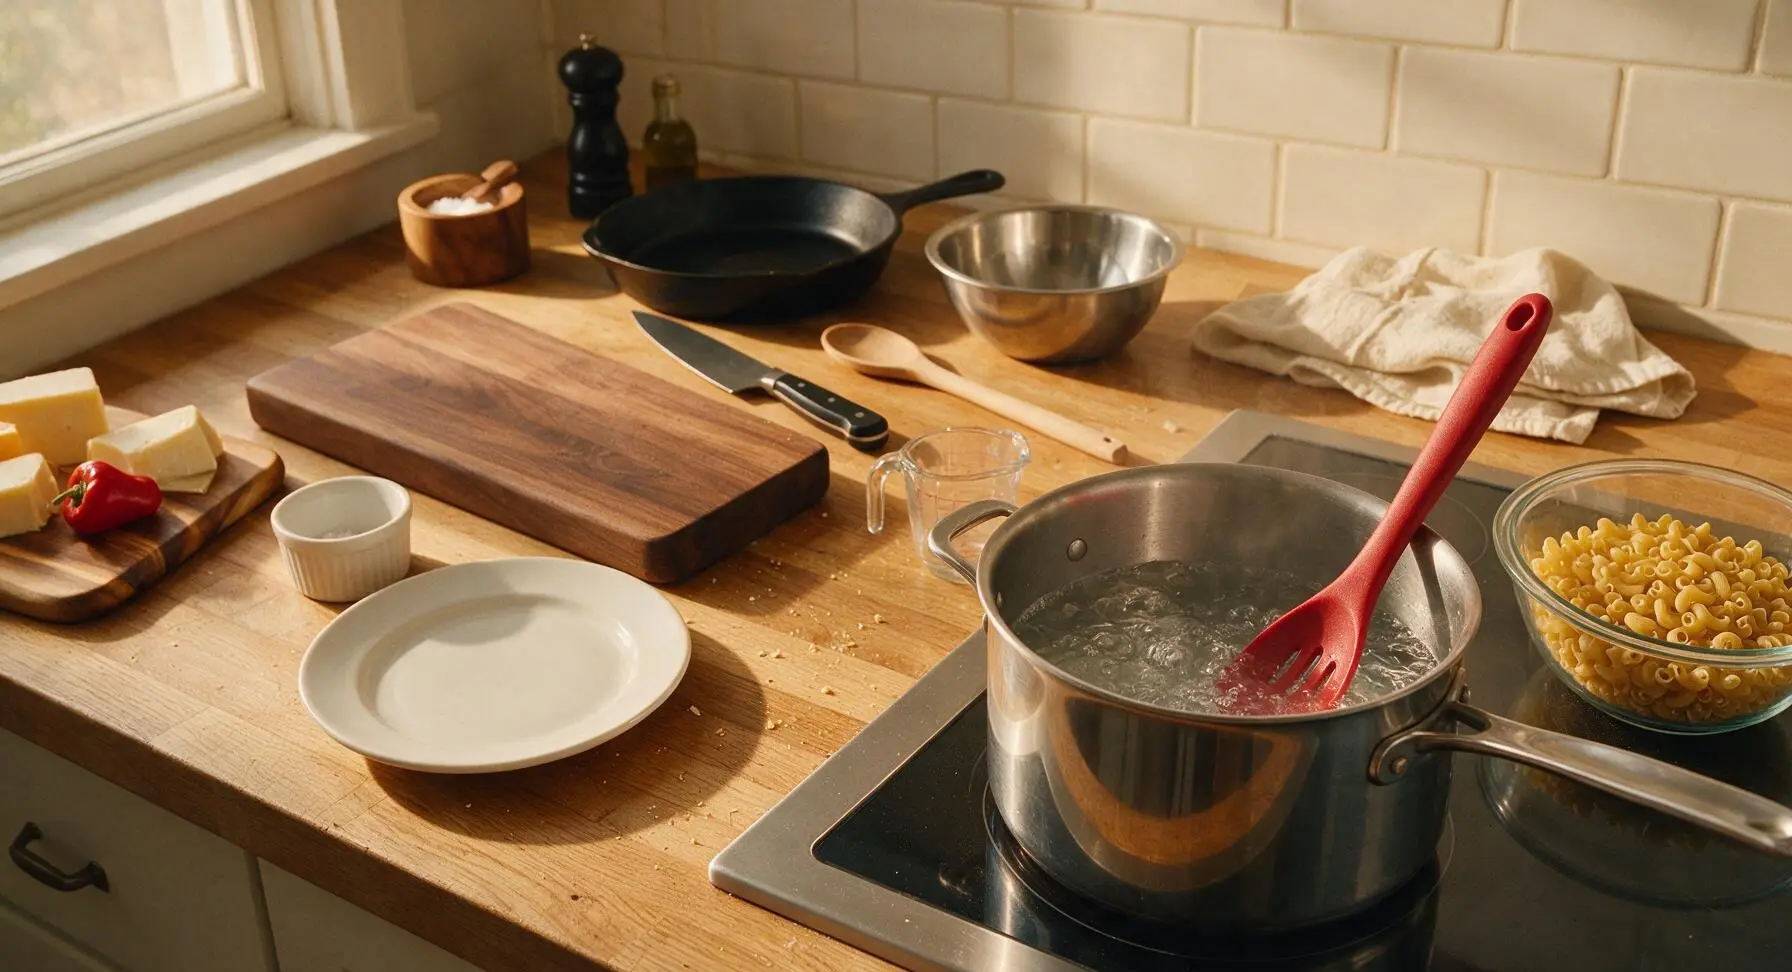
Fill the 3-quart stainless steel stock pot 2/3 full of water, add 1/2 tsp kosher salt, and bring to a rolling boil over high heat. Add 225g dried elbow macaroni, stir once with the slotted silicone spoon, and cook for 2 minutes less than the package al dente instruction (usually 6-7 minutes total), so pasta is firm to the bite and will finish cooking in the sauce. Drain pasta in the fine mesh stainless steel colander and set aside; do not rinse.
Step 1
step1:Boil the Elbow Pasta
2

Grate the Cheeses

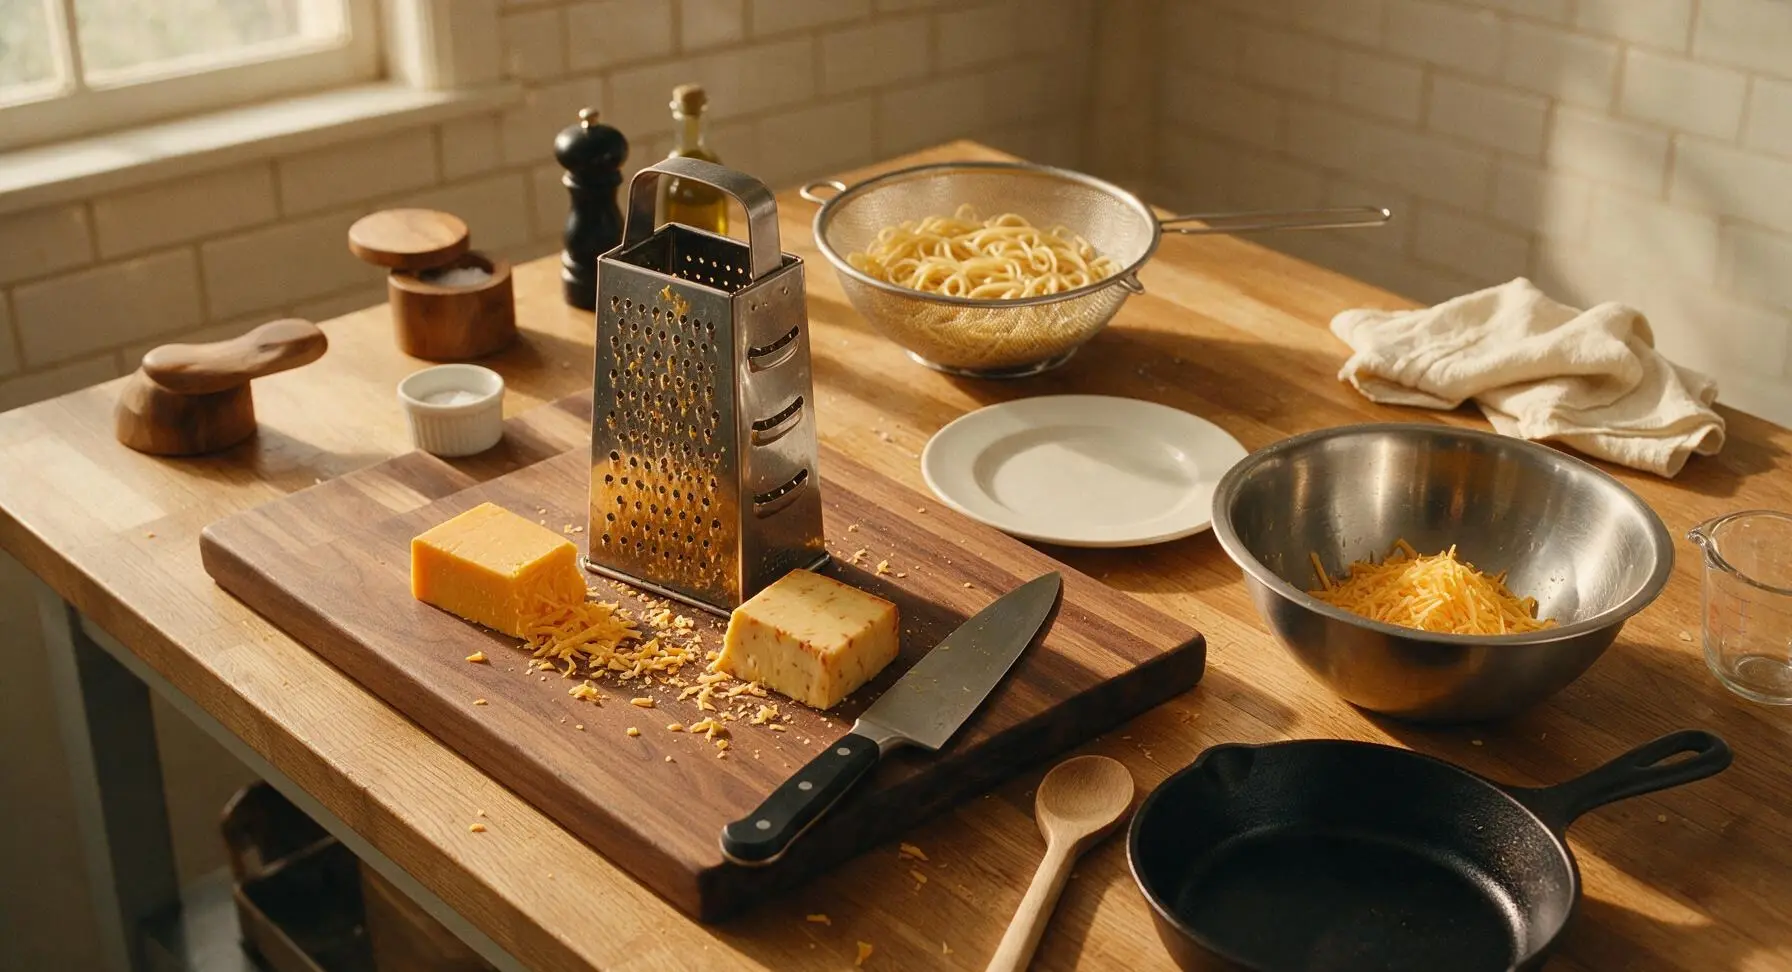
Place the stainless steel box grater on the acacia wood cutting board. Grate the 170g sharp cheddar and 85g smoked gouda on the large holes of the grater, transferring 3/4 of the grated cheese to the medium stainless steel mixing bowl, and setting the remaining 1/4 aside for the top layer. Avoid pre-shredded cheese, as it contains anti-caking agents that create a grainy sauce.
Step 2
step2:Grate the Cheeses
3

Blend Red Pepper Puree

Add the 120g drained roasted red peppers, 1/4 cup of the measured whole milk, 1 sprig of picked fresh thyme leaves, 1/2 tsp smoked paprika, and 1/2 tsp garlic powder to the small food processor. Blend on high for 30 seconds until completely smooth, with no visible pepper chunks remaining. Scrape down the sides of the processor bowl once halfway through if needed.
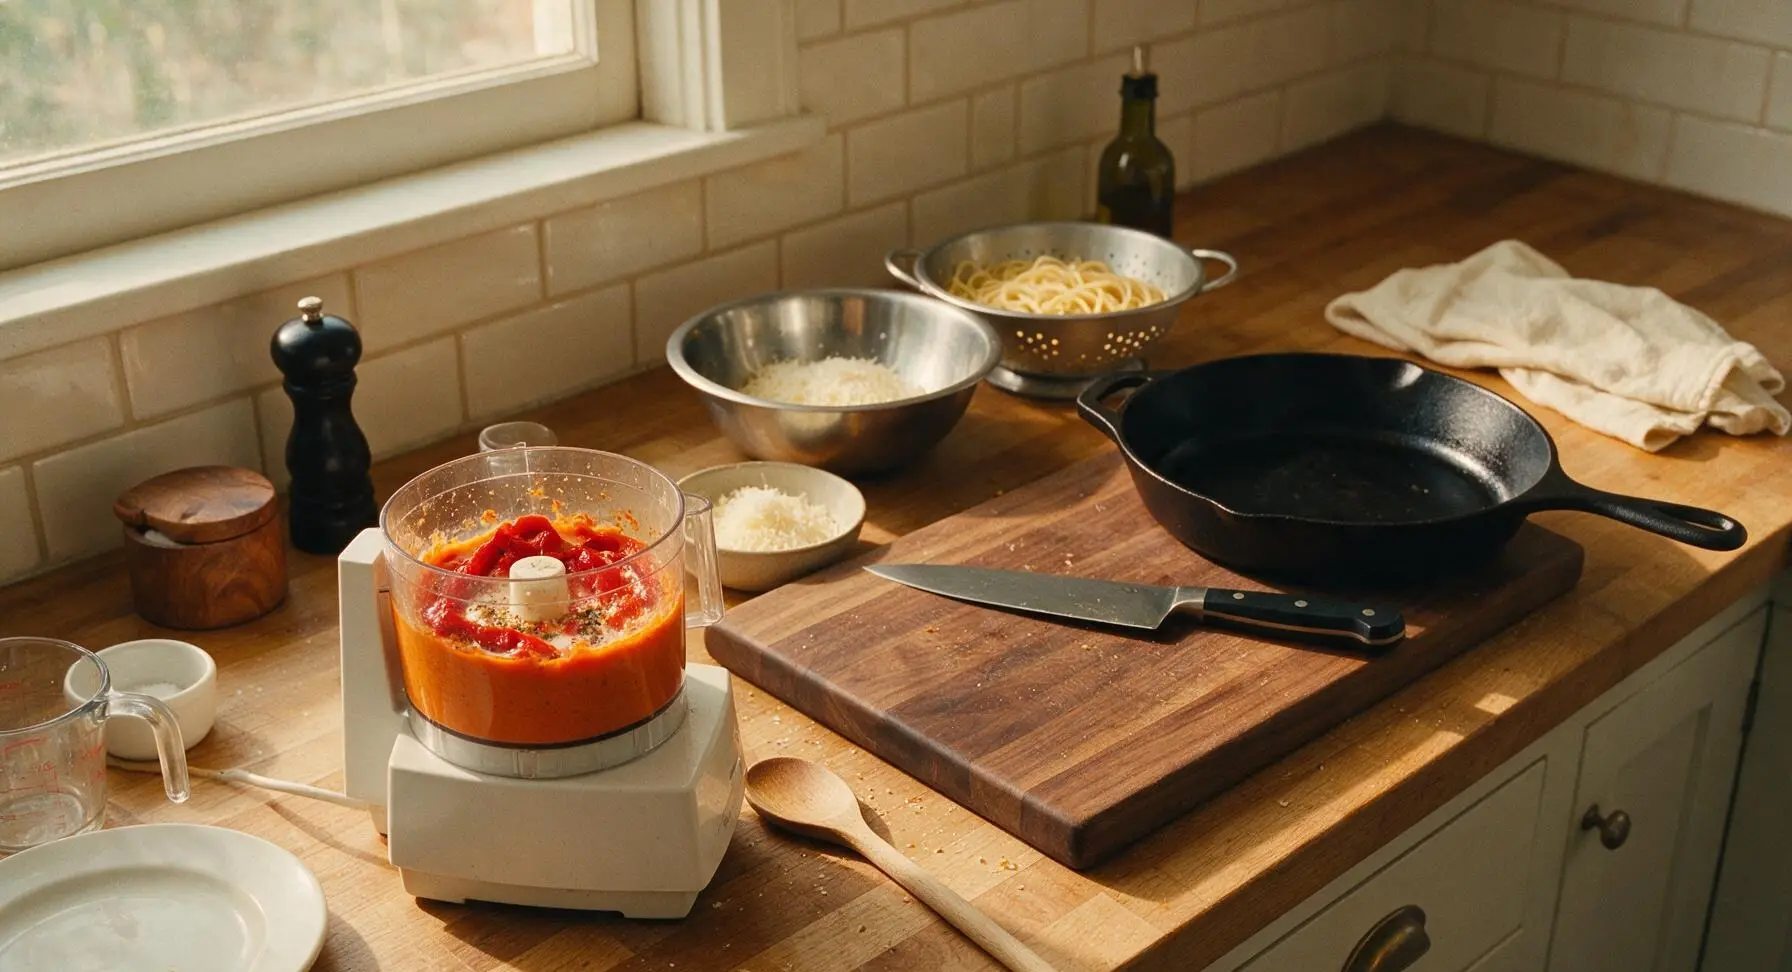
Step 3
step3:Blend Red Pepper Puree
4

Make the Cheese Sauce

Place the 10-inch matte cream ceramic skillet on the induction cooktop over medium heat. Add 1.5 tbsp of the unsalted butter, and once melted (about 1 minute), whisk in the 2 tbsp all-purpose flour to form a smooth roux, cooking for 1 minute until it smells nutty and pale golden. Slowly whisk in the remaining 1.5 cups whole milk, then the blended red pepper puree, stirring constantly with the silicone whisk until the mixture thickens to a coat-the-back-of-a-spoon consistency (3-4 minutes, 180°F). Remove the skillet from heat, stir in the 3/4 portion of grated cheese, remaining 1/2 tsp kosher salt, and 1/4 tsp black pepper, stirring until cheese is fully melted and smooth.
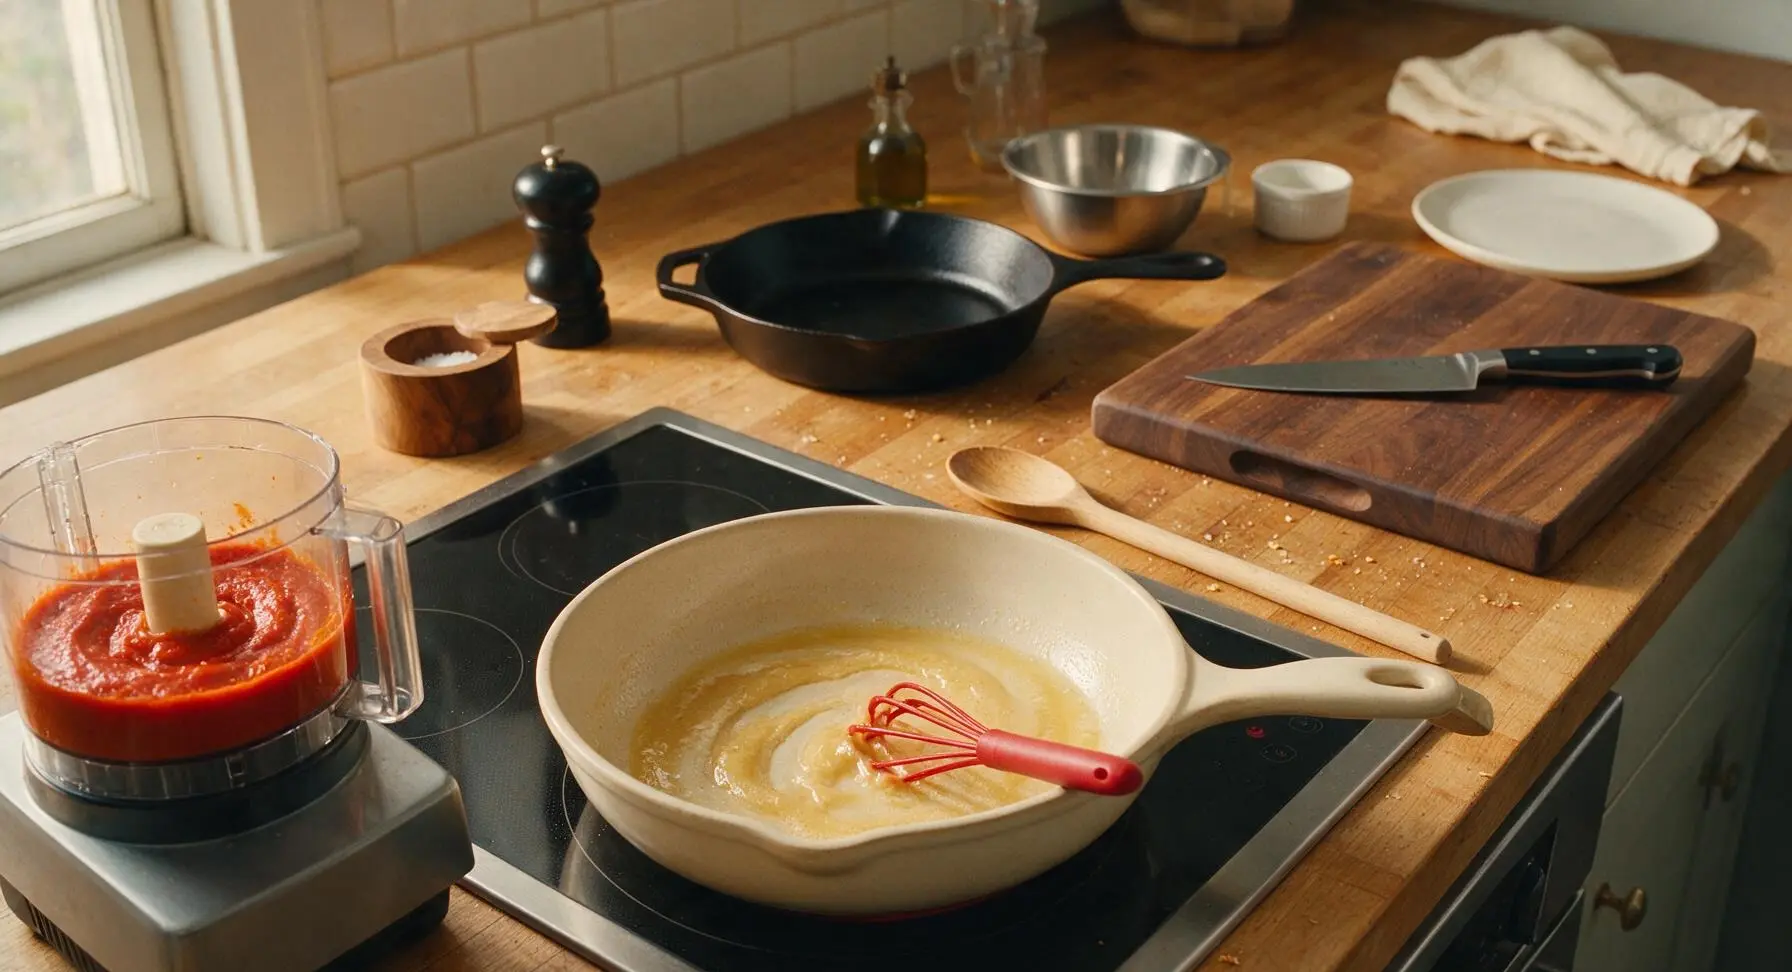
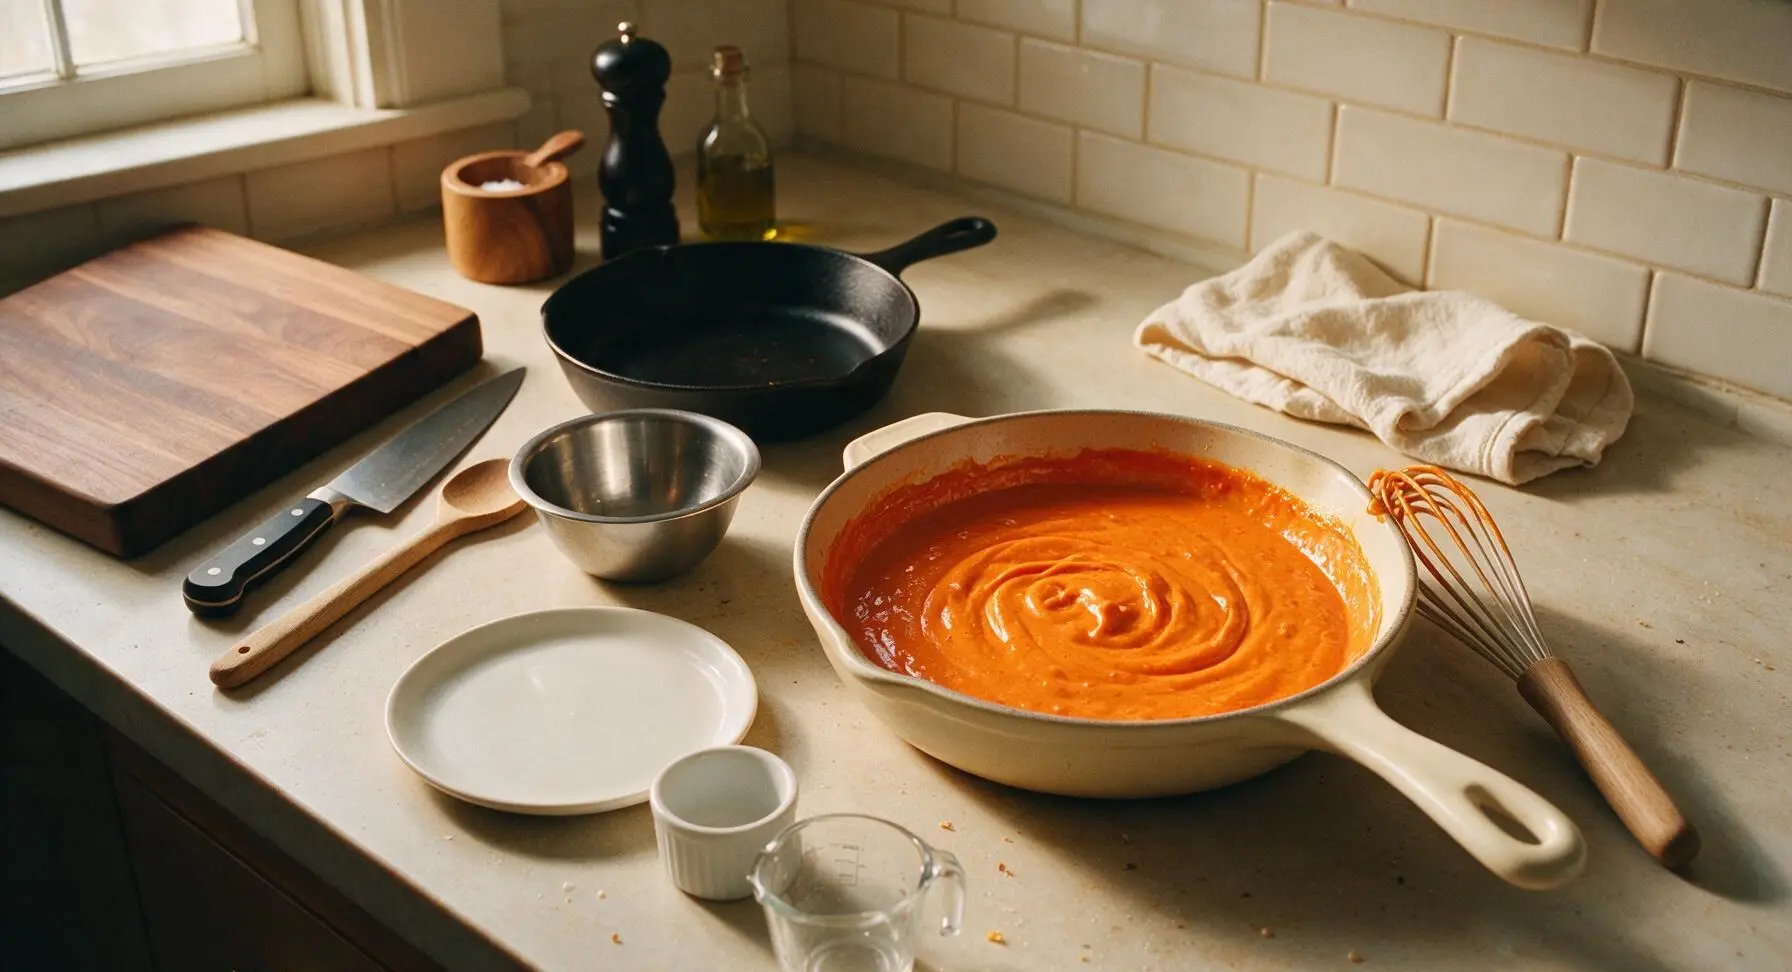
Step 4
step4:Make the Cheese Sauce
Step 4
step4:Make the Cheese Sauce
5

Combine Pasta and Sauce

Add the drained, slightly undercooked elbow macaroni to the skillet with the red pepper cheese sauce, stirring gently with the long slotted silicone spoon until every pasta noodle is evenly coated in the bright orange sauce, with no dry noodle patches visible. Taste and adjust salt if needed, keeping in mind the reserved cheese will add extra savoriness.
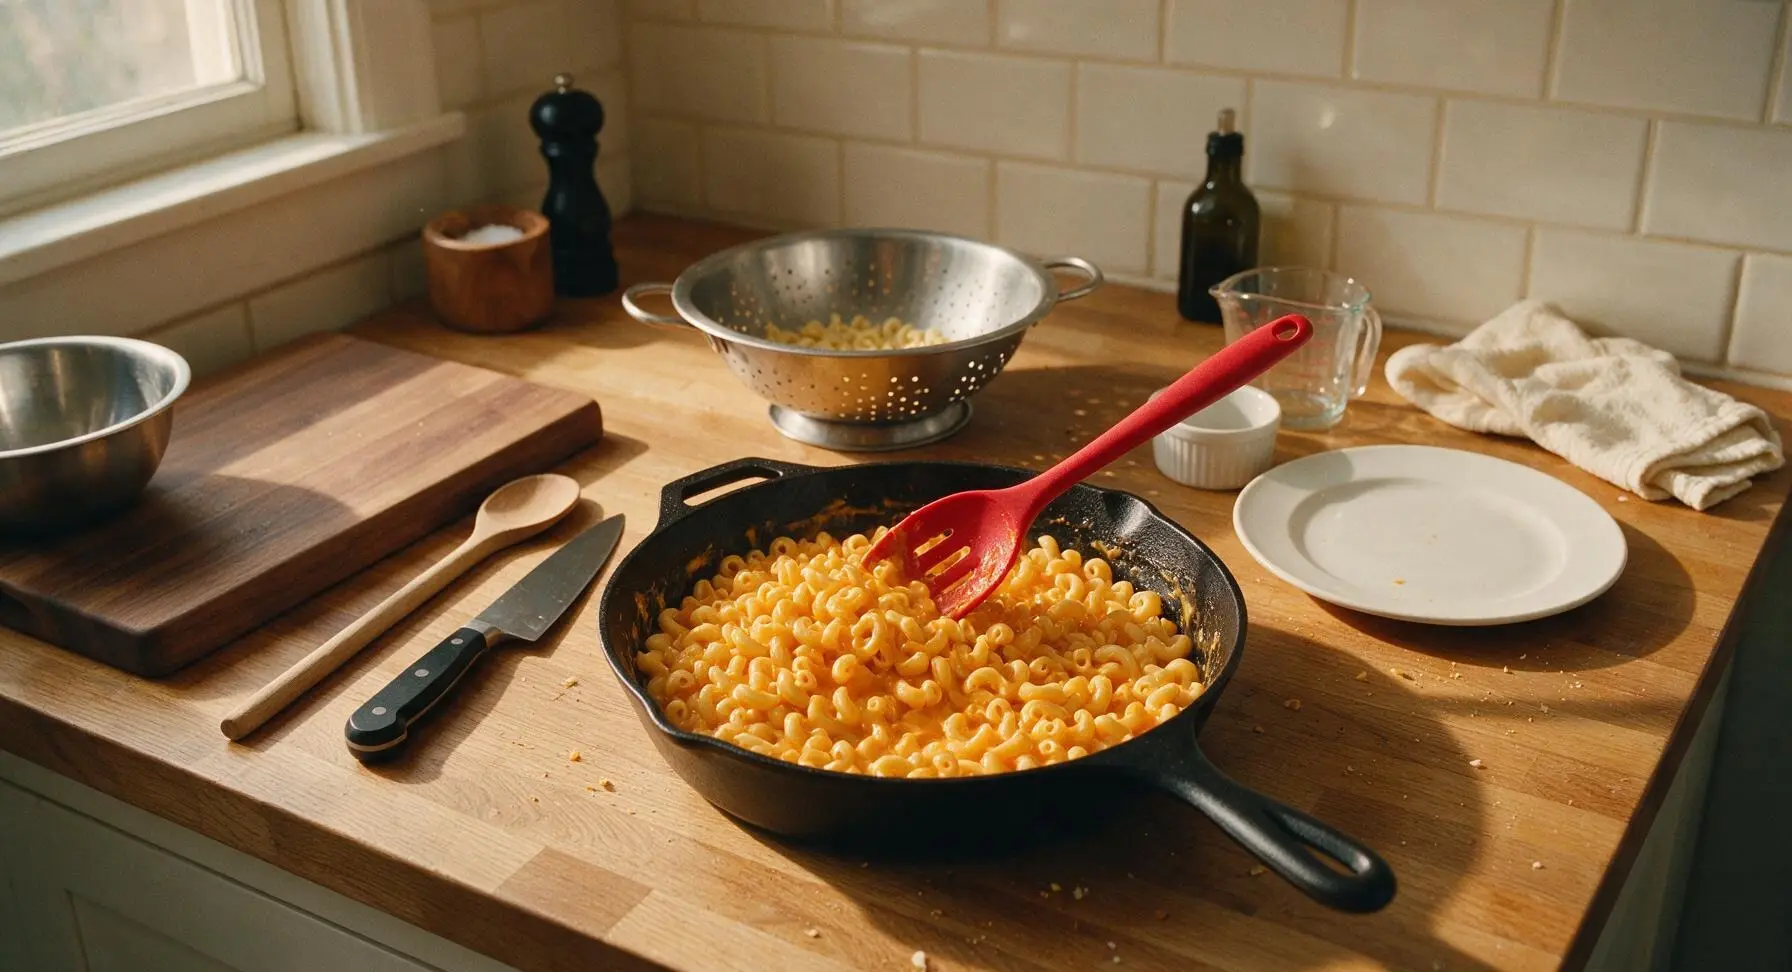
Step 5
step5:Combine Pasta and Sauce
6

Add Crispy Breadcrumb Topping

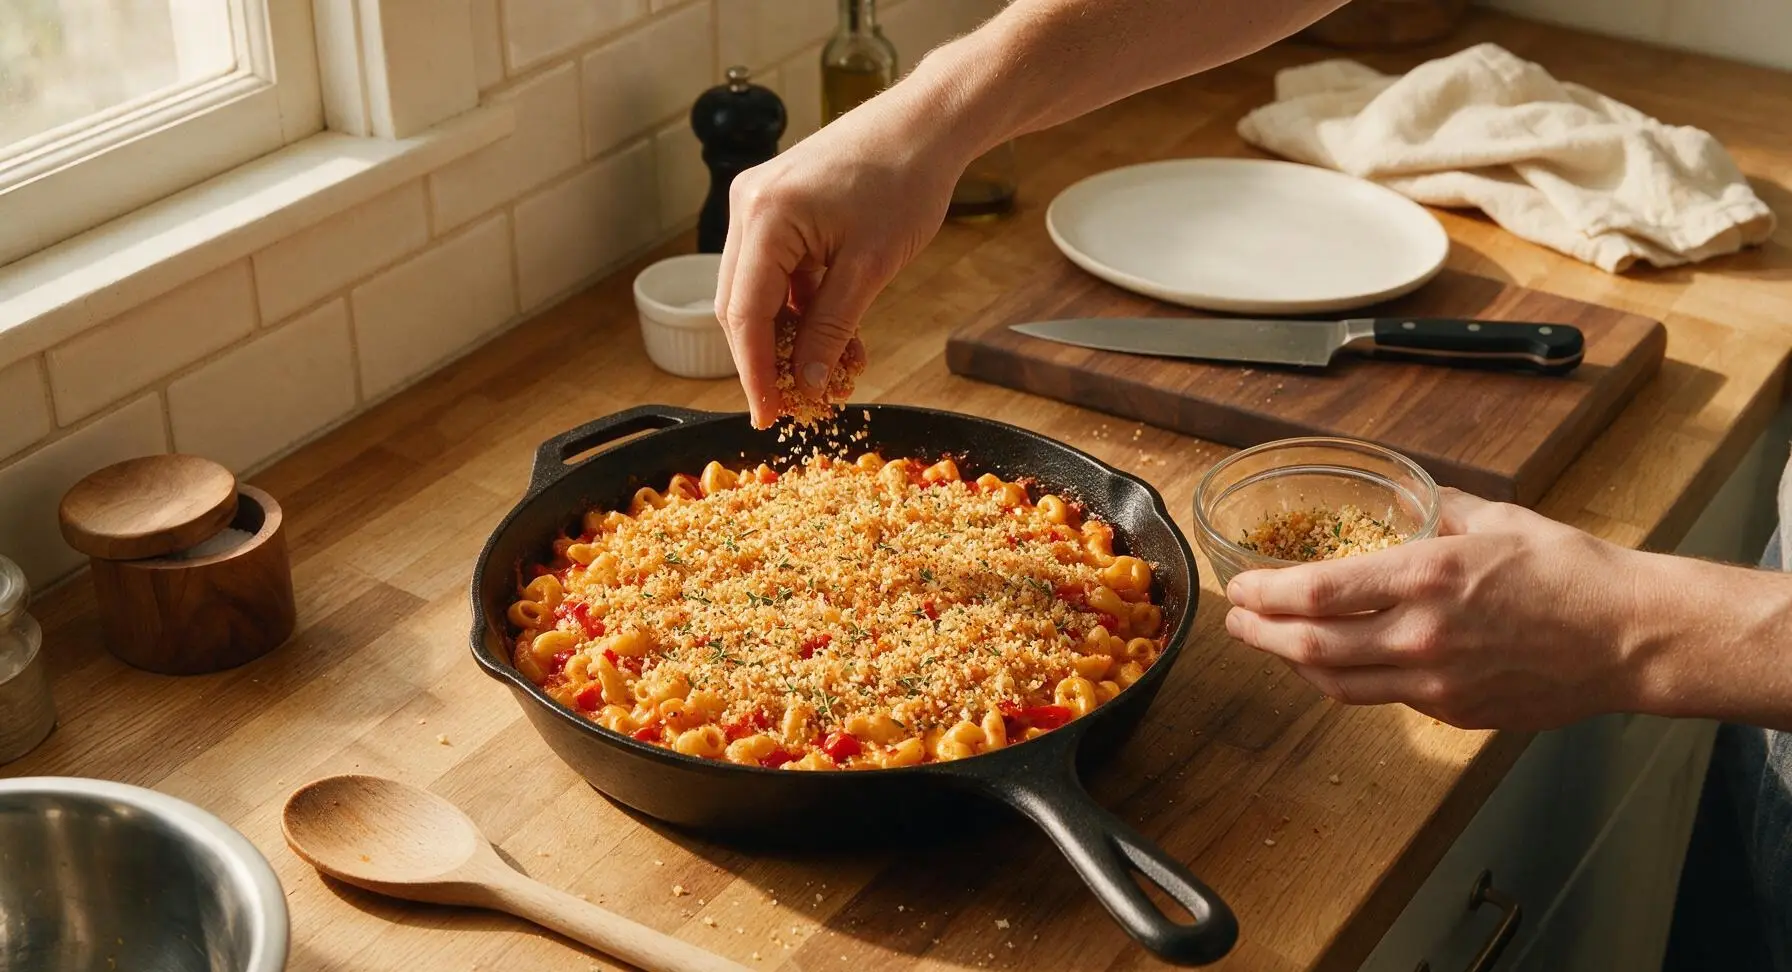
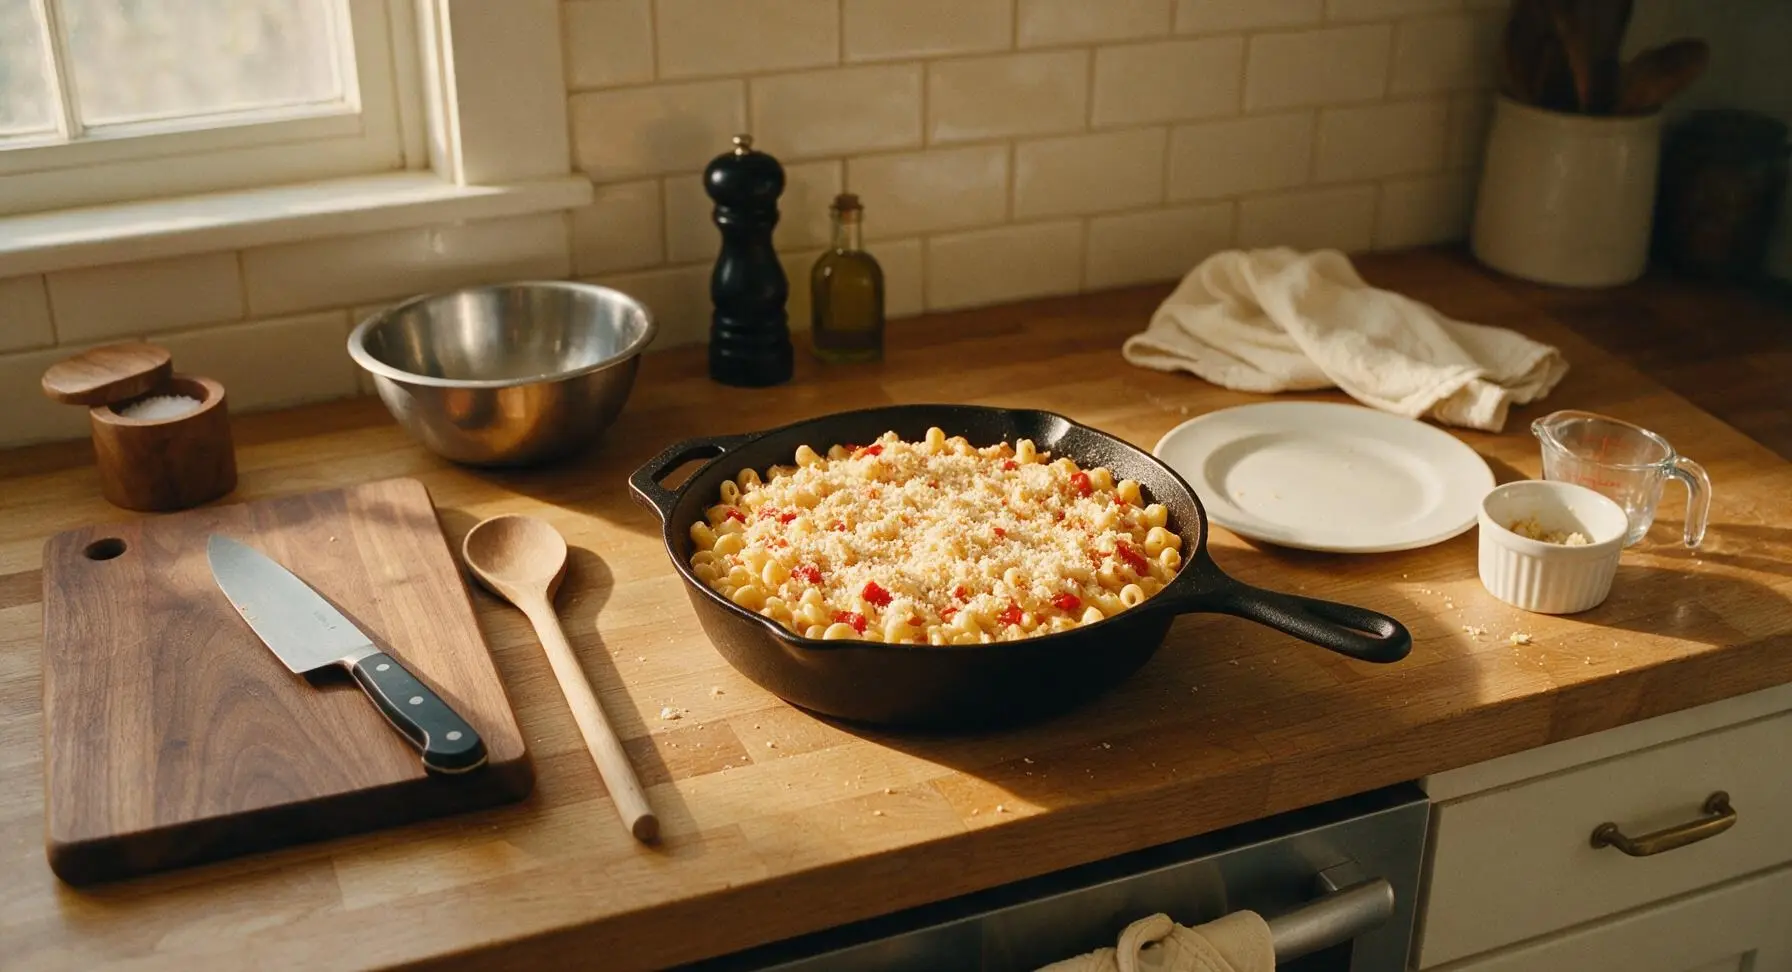
In the small glass ramekin, melt the remaining 0.5 tbsp unsalted butter in the microwave for 20 seconds. Stir in the 1/3 cup panko breadcrumbs, remaining 1/2 tsp smoked paprika, leaves from the second thyme sprig, and 1 tsp olive oil, mixing until crumbs are evenly coated. Sprinkle the buttered panko and reserved 1/4 grated cheese evenly over the top of the mac and cheese in the skillet.
Step 6
step6:Add Crispy Breadcrumb Topping
7

Bake Until Golden

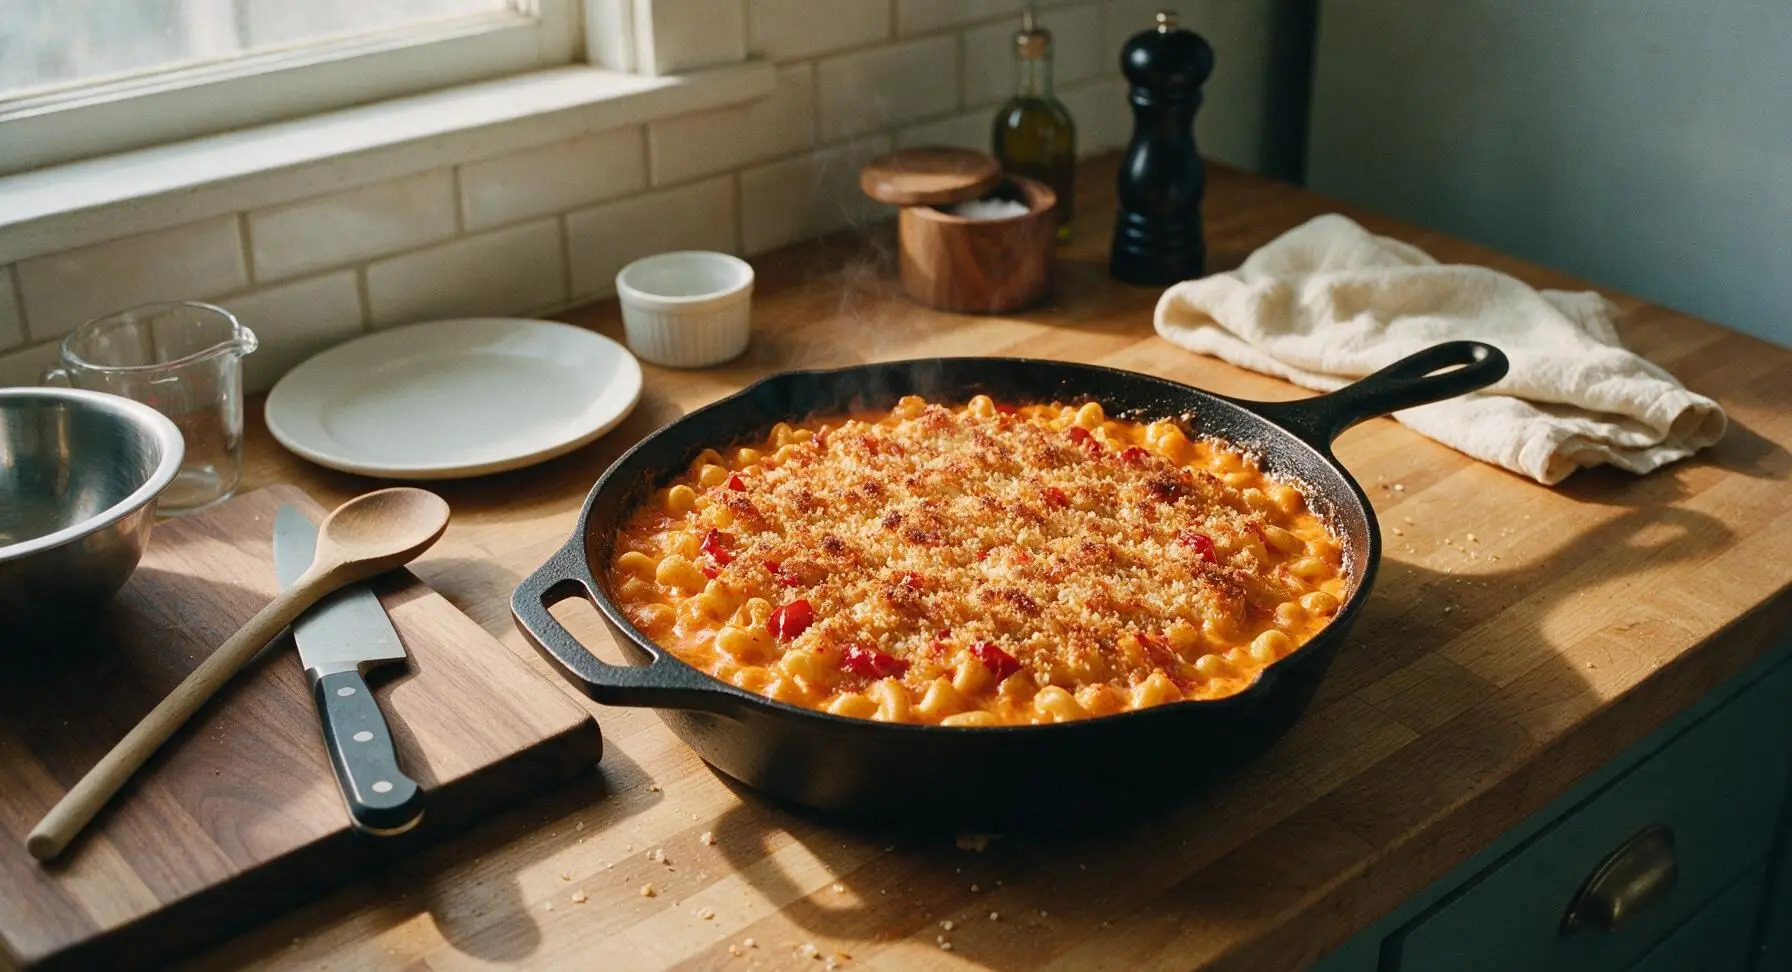
Place the oven-safe skillet in a preheated 400°F (200°C) oven, and bake for 15 minutes until the sauce is bubbling around the edges of the pan, and the breadcrumb topping is deep golden and crispy. Let rest for 5 minutes before serving to allow the sauce to set slightly.
Step 7
step7:Bake Until Golden
Step 7
step7:Bake Until Golden

Tips

1.Don’t rinse pasta after draining: the starchy coating on noodle surfaces helps the cheese sauce cling evenly, preventing slippery, separated mac and cheese that slides off noodles.
2.Remove the skillet from heat before stirring in the bulk of the cheese: overheating cheese causes milk proteins to curdle and separate, leading to a grainy, greasy sauce instead of a smooth, creamy texture.
3.Under-cook pasta by 2 minutes before adding it to the sauce: the noodles will absorb sauce and finish cooking as the mac and cheese bakes, preventing mushy, over-soft pasta in the final dish.


✨ You May Also Like

Main Course
🍜 United Kingdom

A showstopping classic of tender seared beef, savory mushroom duxelles, and crisp prosciutto wrapped in flaky golden puff pastry, baked to juicy perfection.

⏱️ 2 hours 1Main Course ★ 4.7
Main Course
🍜 India

Tender charred marinated chicken simmered in a rich, spiced creamy tomato sauce, this iconic Anglo-Indian curry pairs perfectly with basmati rice or warm naan.

⏱️ 50 minuteMain Course ★ 4.6
Main Course
🍜 Thailand

Classic tangy, sweet, and savory Thai stir-fried rice noodles with shrimp, tofu, and crunchy garnishes, balancing all five core Thai flavor profiles.

⏱️ 30 minuteMain Course ★ 4.5
Main Course
🍜 United Kingdom

Crispy golden beer-battered cod and fluffy double-fried chips, served with tangy tartar sauce and malt vinegar: the timeless, beloved British pub comfort classic.

⏱️ 45 minuteMain Course ★ 4.7
Main Course
🍜 Mexico

Smoky, chile-marinated pork tacos with caramelized pineapple, fresh cilantro, and lime: a beloved classic Mexican street food perfect for casual summer gatherings.

⏱️ 1 hour 45Main Course ★ 4.8
Main Course
🍜 United States

Crunchy Fritos corn chips layered with savory beef chili and melted cheddar, topped with cool, zesty fixings for a beloved, cozy Tex-Mex comfort food.

⏱️ 35 minuteMain Course ★ 4.8

Red Pepper Mac and Cheese:Frequently Asked Questions

1.Why do you recommend ridged elbow macaroni instead of smooth pasta for this dish? ▾
Ridged elbows are ideal here because their textured grooves catch and hold the thick, creamy roasted red pepper cheese sauce so every bite is evenly coated, instead of sauce pooling at the bottom of the dish. If you don’t have ridged elbows, cavatappi or small rigatoni work perfectly as swaps—just skip smooth, long noodles that let sauce slide right off.
2.Can I use fresh roasted red peppers instead of jarred for this recipe? ▾
Absolutely! Fresh home-roasted red peppers add an even brighter, sweeter depth if you have the time. Just roast whole peppers over a gas flame or under the broiler until blackened all over, steam in a covered bowl for 10 minutes, peel off the skins, remove seeds, and drain excess liquid before blending so your sauce doesn’t turn watery.
3.Can I swap the smoked gouda if I don’t have it on hand? ▾
You can, though the gouda adds that lovely subtle smoky note that pairs perfectly with sweet roasted red pepper and sharp yellow cheddar. Great swaps include smoked mozzarella for a milder, melty smoky pull, or an extra half cup of sharp cheddar plus ¼ teaspoon of smoked paprika to mimic that warm, smoky depth without a special grocery run.
4.How do I keep my cheese sauce from turning grainy? ▾
Grainy sauce almost always comes from overheating cheese or adding it too quickly. Take your butter and flour roux off the heat for 1 minute before whisking in warm milk, then turn the heat to low and add shredded cheese a small handful at a time, stirring constantly until melted. Never let the sauce come to a rolling boil once cheese is added.
5.What’s the best way to get that extra crispy panko top? ▾
For the crunchiest golden panko topping, toss the crumbs with 1 tablespoon of melted unsalted butter first, then spread in an even layer over the mac and cheese before baking. Bake uncovered for the last 10 minutes of cook time, and if you want extra browning, run it under the broiler for 30 to 60 seconds, watching closely to avoid burning.
6.Can I make this mac and cheese ahead of time for busy weeknights? ▾
Definitely! You can assemble the entire dish (hold off on adding the panko topping) up to 2 days in advance, cover tightly, and store it in the fridge. When you’re ready to bake, add the buttered panko, tack on 5 to 7 minutes of bake time to account for the cold dish, and cook until bubbly around the edges.
7.Can I adapt this recipe to be gluten-free? ▾
This recipe is already vegetarian as written, so no tweaks are needed for that diet. For a gluten-free version, swap regular ridged elbows for your favorite gluten-free short, ridged pasta, use gluten-free all-purpose flour for the roux, and confirm your panko and jarred peppers have no hidden gluten-containing additives.
8.I love a little heat—can I add spice to this red pepper mac and cheese? ▾
Absolutely, that’s a fantastic tweak! You can stir ¼ teaspoon of crushed red pepper flakes or a pinch of cayenne into the cheese sauce for subtle warmth, add diced pickled jalapeño when you mix in the roasted peppers, or swap a small amount of sharp cheddar for pepper jack for a creamy, evenly spicy kick.
9.Why is it so important to drain the jarred roasted red peppers well? ▾
Draining jarred roasted peppers thoroughly (even patting them lightly with a paper towel) keeps excess brine and watery pepper juice from thinning out your rich sharp cheddar and gouda sauce. If you skip this step, you’ll end up with a runny, separated sauce that doesn’t cling to pasta, instead of that thick, velvety texture you want.
10.How should I store leftover baked red pepper mac and cheese? ▾
Let leftovers cool completely to room temperature within 2 hours of baking, then transfer to an airtight container and keep it in the fridge for up to 4 days. I don’t recommend freezing this recipe, as the creamy cheese sauce tends to separate and turn grainy when thawed, and the panko topping loses all its crispness.
11.What’s the best way to reheat leftovers so they don’t dry out? ▾
For single servings, reheat in the microwave in 30-second bursts, stirring between each, and add a tiny splash of whole milk or half-and-half if the sauce feels too thick. For larger portions, reheat covered in a 350°F oven for 15 to 20 minutes, stirring once halfway through, until heated all the way through.

Comments (15)

2 days ago

OMG this red pepper mac and cheese is a total game changer! I threw it together on Sunday for my weekday lunches and it reheats like a dream, zero grainy cheese sauce. The subtle smoky kick from the roasted red peppers is chef’s kiss, and it only took me 28 minutes total? Perfect for busy work weeks. 10/10 will be making this biweekly for sure.

1 day ago

So happy to hear this works so well for your meal prep routine! The sauce stays creamy thanks to the extra splash of whole milk we stir in right at the end, which helps avoid that weird grainy texture when reheating. Great call making it ahead!

12 hours ago

I added crispy baked chickpeas on top when I made this last week and it was SO good! Added a perfect crunch and extra protein without making it feel heavy.

yesterday

My kids turned their noses up at regular boxed mac for weeks so I tried this on a whim for family dinner last night, and they both asked for SECONDS. Even my husband, who swears he hates roasted red peppers, went back for another helping. I can’t believe how easy it was, no fancy ingredients required! Total weeknight win.

20 hours ago

That makes our day to hear! We designed this recipe specifically to be approachable for picky eaters while still having enough flavor for the adults at the table. So glad it was a hit with your whole family!

1 week ago

Brought this to my neighborhood block party potluck this past weekend and people were asking me for the recipe before I even set the dish down! I topped it with a little extra panko breadcrumbs for crunch and it was a massive hit. Will 100% be making this for every gathering from now on.

3 days ago

As a college student with barely any cooking skills and a tiny dorm kitchen, this was perfect! I didn’t have fresh red peppers so I used a jar of roasted red peppers I had in my pantry and it still turned out amazing. 30 minutes start to finish, minimal cleanup, and way cheaper than takeout.

2 days ago

Wait jarred red peppers work? That’s a gamechanger, I never keep fresh ones around because they go bad before I use them. Gonna pick up a jar this week to make this!

5 days ago

This is so good but I wanted a little extra heat so I tossed in a pinch of red pepper flakes and a dash of hot sauce when I stirred the cheese in, and wow. Absolute comfort food, perfect for rainy nights when you don’t feel like putting in a ton of effort. I did think it needed a tiny bit more salt, but that’s an easy fix.

4 days ago

Love that customization! Adding red pepper flakes and hot sauce is such a great call for folks who like a little extra kick. We kept the base recipe mild so it’s kid-friendly, but totally encourage tweaking the seasoning to match your taste. Great tip!

2 days ago

I did the same thing! Also added a handful of pickled jalapeños on top for extra tang, *chef’s kiss*. 10/10 would recommend that add-in too.

2 weeks ago

I swapped the regular pasta for gluten-free elbow macaroni and used a gluten-free flour blend for the roux, and it turned out perfectly creamy! I was worried the sauce would be weird with GF flour but you couldn’t even tell the difference. Finally a mac and cheese recipe that doesn’t require weird specialty ingredients for GF folks.

2 weeks ago

That makes us so happy to hear! We test a lot of our recipes with gluten-free swaps to make sure they work for folks with dietary restrictions, so we’re thrilled the GF flour blend worked so well for you. Thanks for sharing your swap!

30 minutes ago

Made this last minute when my kid’s friend stayed for dinner, had all the ingredients in the fridge already, and it was done faster than delivery would’ve shown up. Everyone loved it, even the extra kid who claims he ‘hates all vegetables’. The red pepper blends right into the cheese sauce so you barely even notice it’s there, genius.

2 hours ago

Wait is it normal that the leftovers tasted even better the next day? The red pepper flavor got so much more intense after sitting in the fridge overnight, I was shocked. I ate it cold straight out of the container for lunch no shame, lol.

1 hour ago

Girl I do the exact same thing! Cold mac hits different, and the red pepper flavor really does pop more the next day. I made this 3 days ago and I’m still picking at the leftovers, no regrets.

5 minutes ago

I’m literally terrible at cooking, I burn toast half the time, and I managed to pull this off without any issues! The instructions were super clear, no weird complicated steps, and it looked exactly like the photos when I was done. My roommate thought I ordered it from a restaurant, lmao. So proud of myself right now.

2 minutes ago

That’s what we love to hear! We work really hard to make our easy recipes accessible for total beginners, so we’re stoked you nailed it on your first try. Great job!

just now

Same! I’m also a disaster in the kitchen and this came out perfect for me too. The key is not rushing the roux, right? I was scared I’d mess that part up but it was so easy.

3 days ago

I added a handful of fresh spinach to the sauce right before I mixed in the pasta to sneak in some extra greens, and it was amazing! The spinach wilts right down so you don’t get big leafy chunks, just extra veggie goodness. This recipe is such a great base to add whatever you have lying around in the fridge.

2 days ago

That’s such a smart swap! We love adding leafy greens to mac and cheese for extra nutrition too, and the creamy sauce hides the texture perfectly for anyone who’s iffy on veggies. Thanks for the great idea!

1 week ago

Made this for our football watch party on Sunday instead of the usual queso and chips, and it was gone by the end of the first quarter. I topped it with crumbled bacon and extra shredded cheddar, and the guys were raving about it. Way more filling than regular appetizers, will be on our game day rotation from now on.

2 days ago

Wait why have I never thought to add red pepper to mac and cheese before??? The sweetness from the peppers cuts through the richness of the cheese so perfectly, I ate two full bowls in one sitting no shame. My only note is that I wish there was a little more sauce, I like my mac extra creamy, so next time I’ll make a double batch of the cheese sauce.

1 day ago

Oh thank god I’m not the only one! I did a 1.5x batch of the sauce when I made it and it was perfect, exactly the creamy ratio I love. No dry mac over here!

20 hours ago

Great tip for folks who love extra saucy mac! If you double the sauce, just make sure to add the milk a little slower while you’re making the roux to keep it smooth. So glad you loved the flavor combo!

5 days ago

This recipe is so budget friendly! I already had pasta and cheese at home, grabbed a couple red peppers on sale for $1, and the whole dish cost me under $6 to make for 4 servings. Way better than spending $12 on a single serving of mac and cheese from the restaurant down the street. Obsessed.

3 days ago

Wait that’s such a good point! I’ve been wasting so much money on takeout mac lately, this is way cheaper and tastes better. I’m gonna grab red peppers on my next grocery run for sure.

3 days ago

We love creating recipes that are delicious and easy on the wallet! Using simple, accessible ingredients that don’t cost a fortune is one of our biggest priorities, so we’re glad this fits the bill for you.

1 week ago

I used fire roasted red peppers from a jar instead of fresh and the smoky flavor was next level. It made the whole dish taste like it came from a fancy BBQ spot, I’m not even kidding. Served it with grilled brats on the side and it was the perfect casual weekend dinner.

yesterday

I was craving something comforting after my long run yesterday and this hit the spot without making me feel super sluggish. It’s rich but not heavy, and the red pepper adds such a nice bright flavor that keeps it from feeling overly indulgent. I’ll definitely be adding this to my post-workout dinner rotation.

18 hours ago

Totally agree! I made this after my long run last week too, paired it with some grilled chicken and it was the perfect refuel meal. Not too heavy, packed with carbs and protein, exactly what I needed.



