
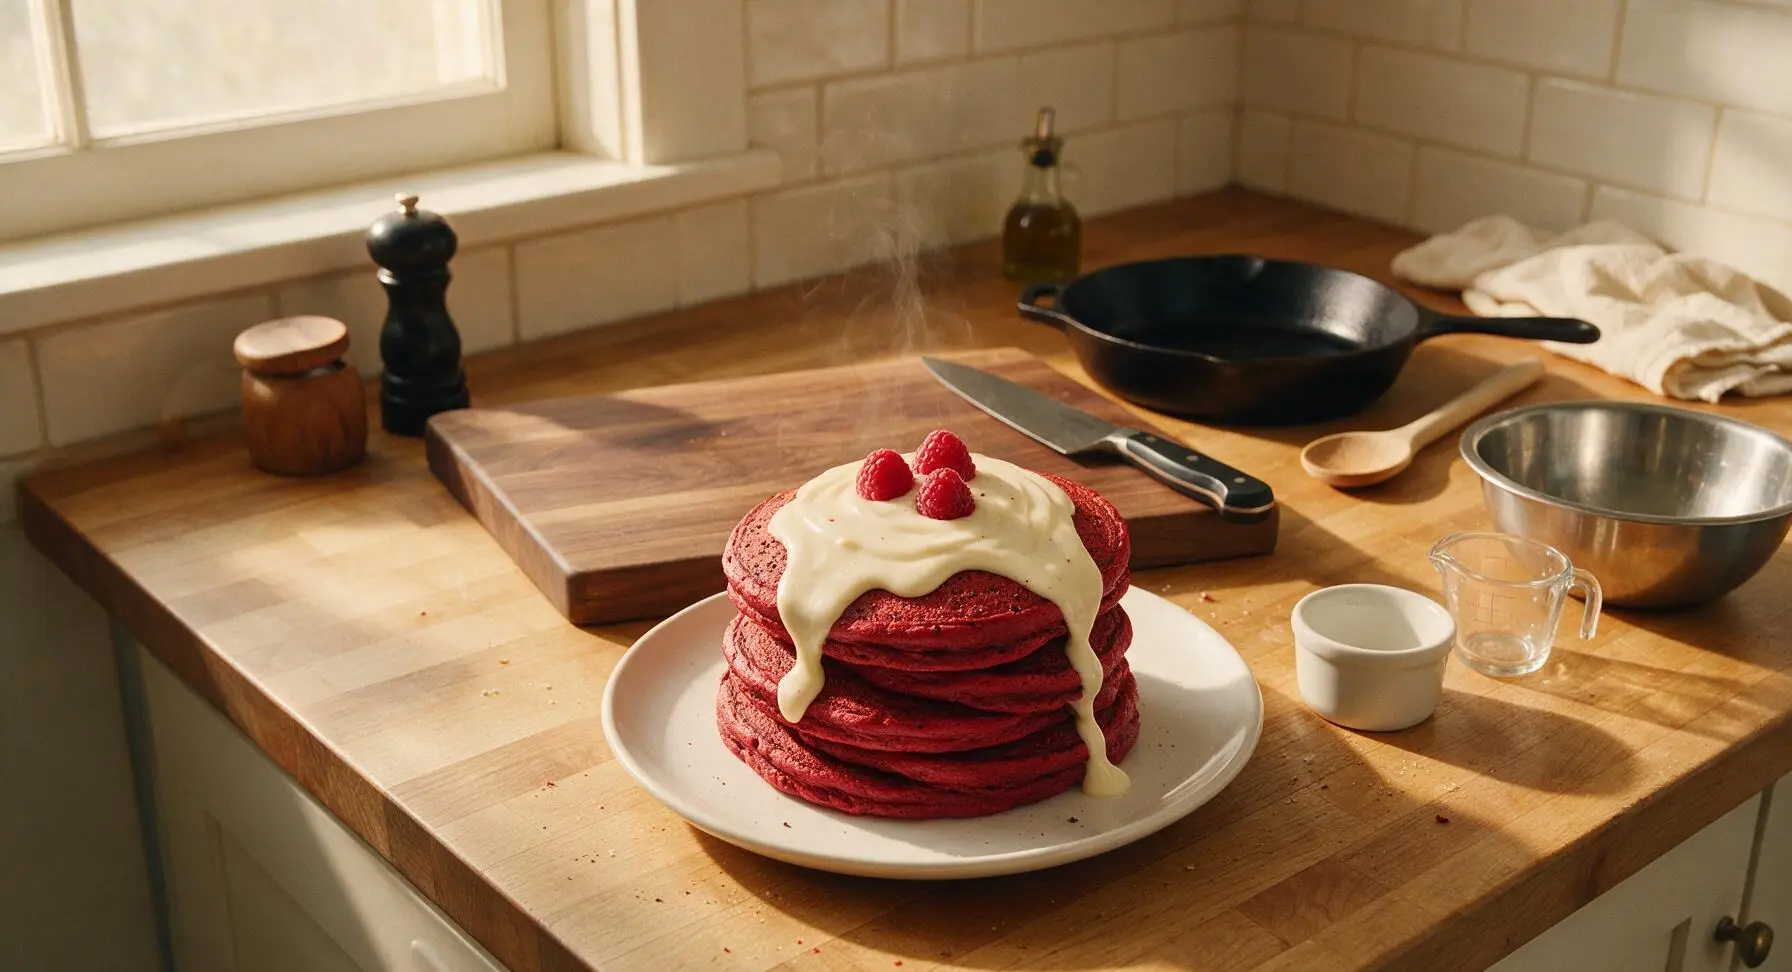
Red Velvet Pancakes

title 1
Red Velvet Pancakes
⏱️ cook time 20 minutes
🍽️ servings 4
⚡ Difficulty easy

intro

Fluffy, cocoa-kissed deep crimson pancakes topped with tangy cream cheese glaze, a festive, indulgent breakfast perfect for sweet, slow Valentine’s mornings.

Ingredients
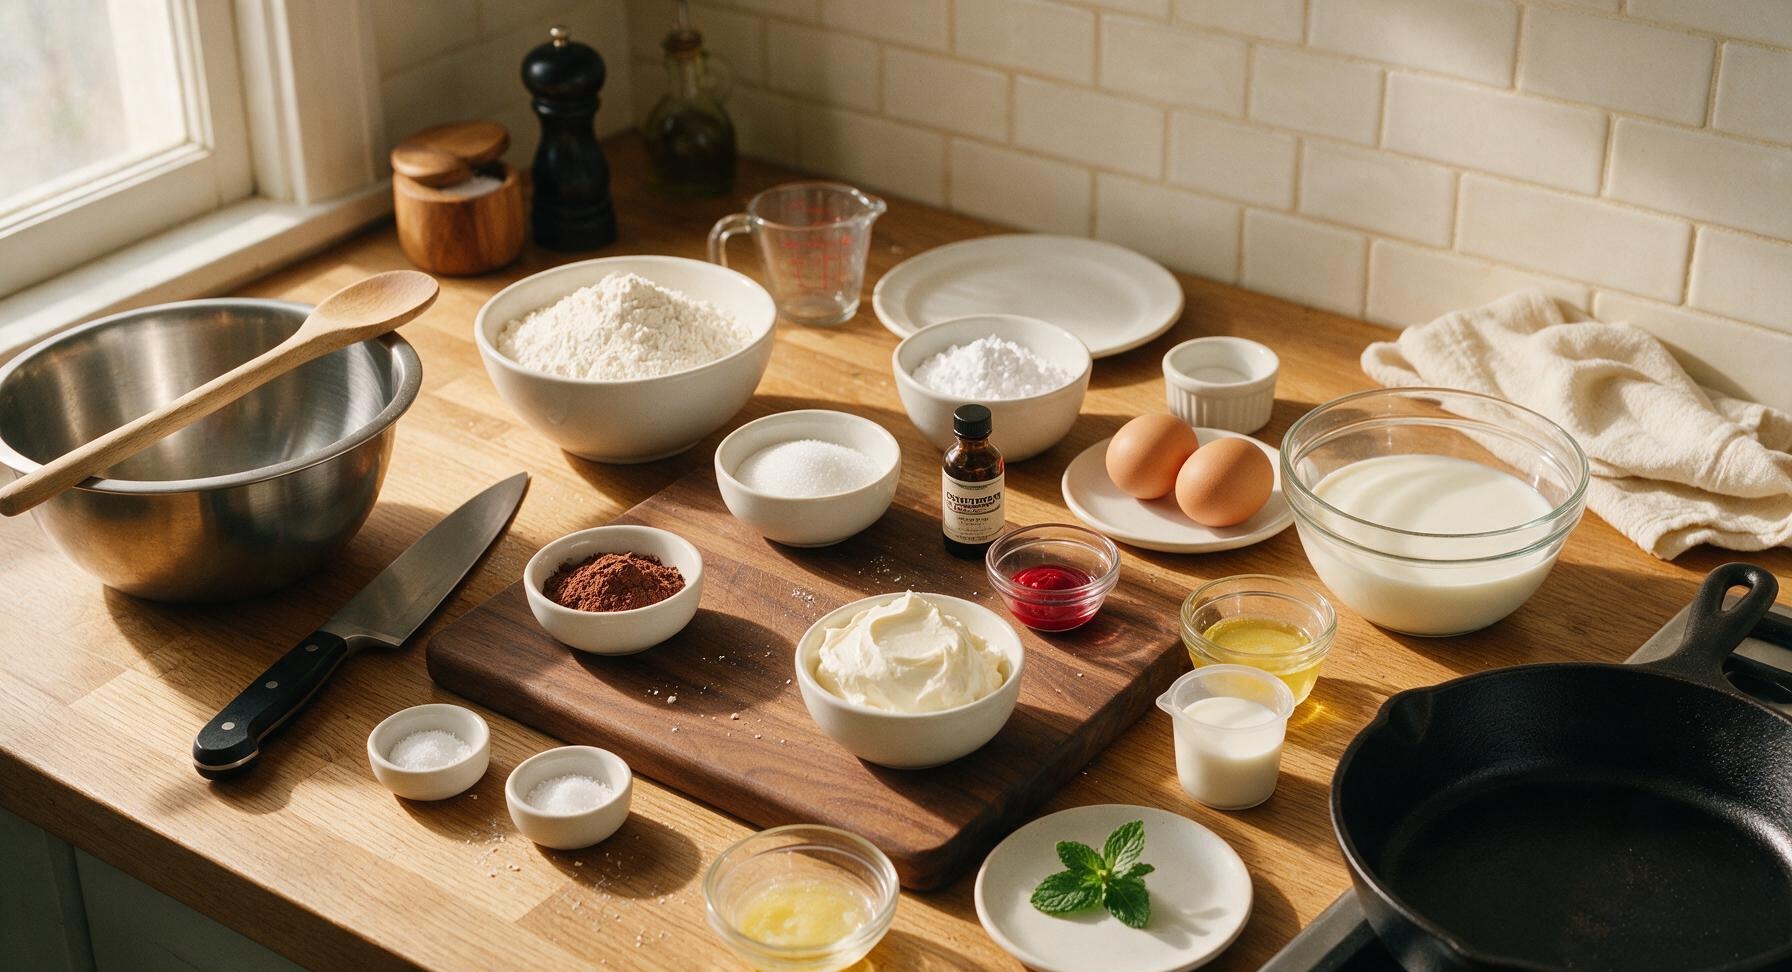
All-purpose flour 2 cups (240g)
Granulated sugar 3 tbsp
Unsweetened natural cocoa powder 2 tbsp
Baking powder 1 tsp
Baking soda 1/2 tsp
Fine sea salt 1/4 tsp
Large eggs 2 whole
Buttermilk 1.5 cups (360ml)
Unsalted butter, melted and cooled 3 tbsp
Pure vanilla extract 1.5 tsp (divided)
Red gel food coloring 1 tsp
Full-fat cream cheese, softened 4 oz (113g)
Powdered sugar 1/2 cup (60g)
Whole milk 2 tbsp
Fresh mint sprigs 2 small sprigs

Steps

1

Whisk Dry Ingredients

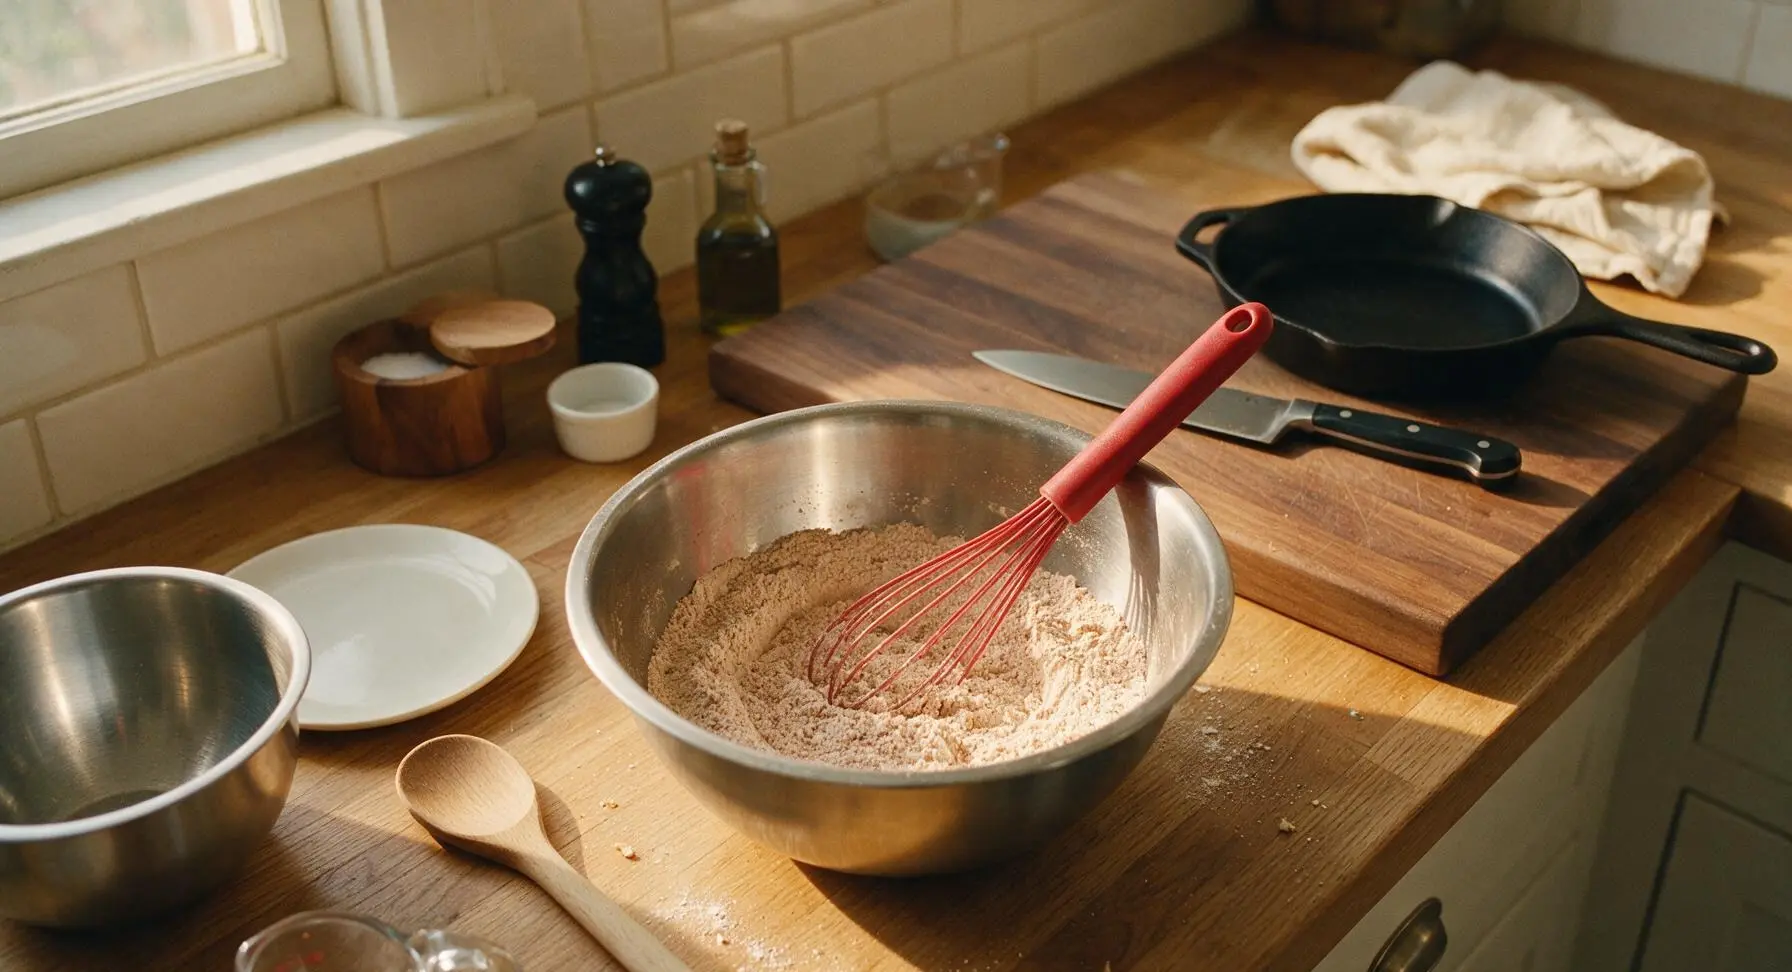
In the large 3L brushed stainless steel mixing bowl, combine 2 cups all-purpose flour, 3 tbsp granulated sugar, 2 tbsp unsweetened cocoa powder, 1 tsp baking powder, 1/2 tsp baking soda, and 1/4 tsp fine sea salt. Use the red-handled silicone whisk to stir for 30 seconds until all dry ingredients are fully and evenly combined, with no visible clumps of cocoa remaining. Set the bowl aside on the counter.
Step 1
step1:Whisk Dry Ingredients
2

Combine Wet Ingredients

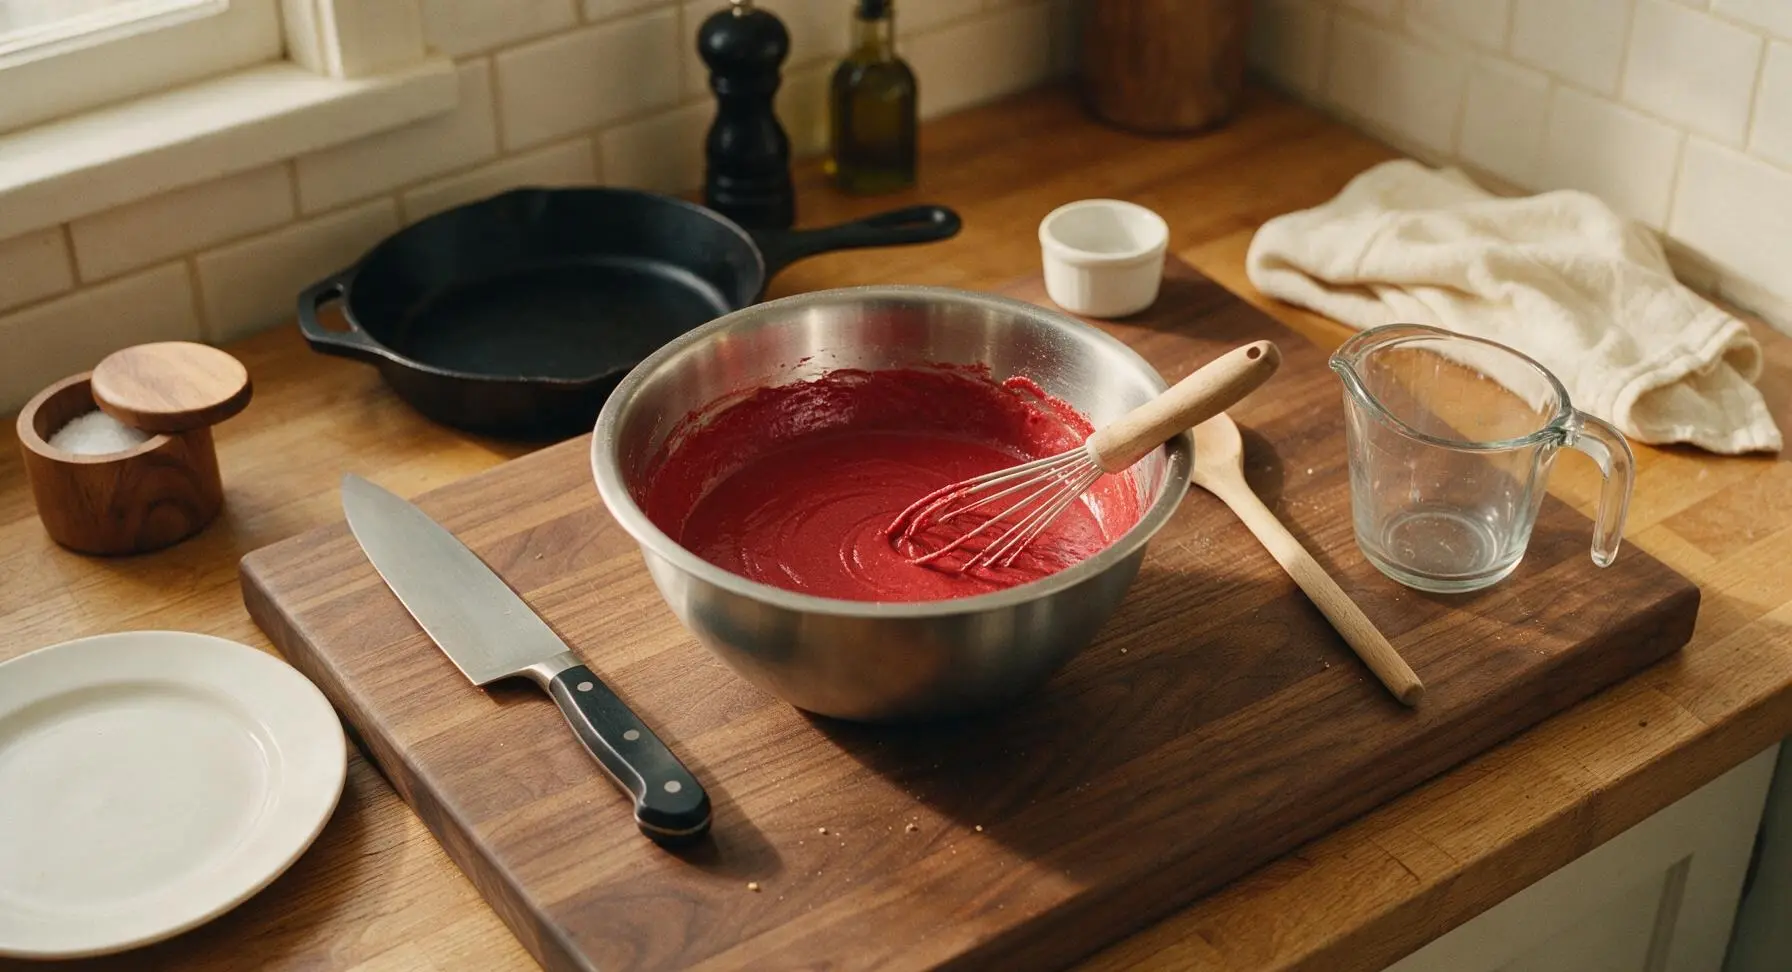
In the medium 2L brushed stainless steel mixing bowl, add 2 large eggs, 1.5 cups buttermilk, 3 tbsp cooled melted butter, 1 tsp vanilla extract, and 1 tsp red gel food coloring. Whisk vigorously for 45 seconds until the mixture is completely smooth, with a uniform deep crimson color and no streaks of egg or concentrated food coloring visible.
Step 2
step2:Combine Wet Ingredients
3

Combine Wet and Dry

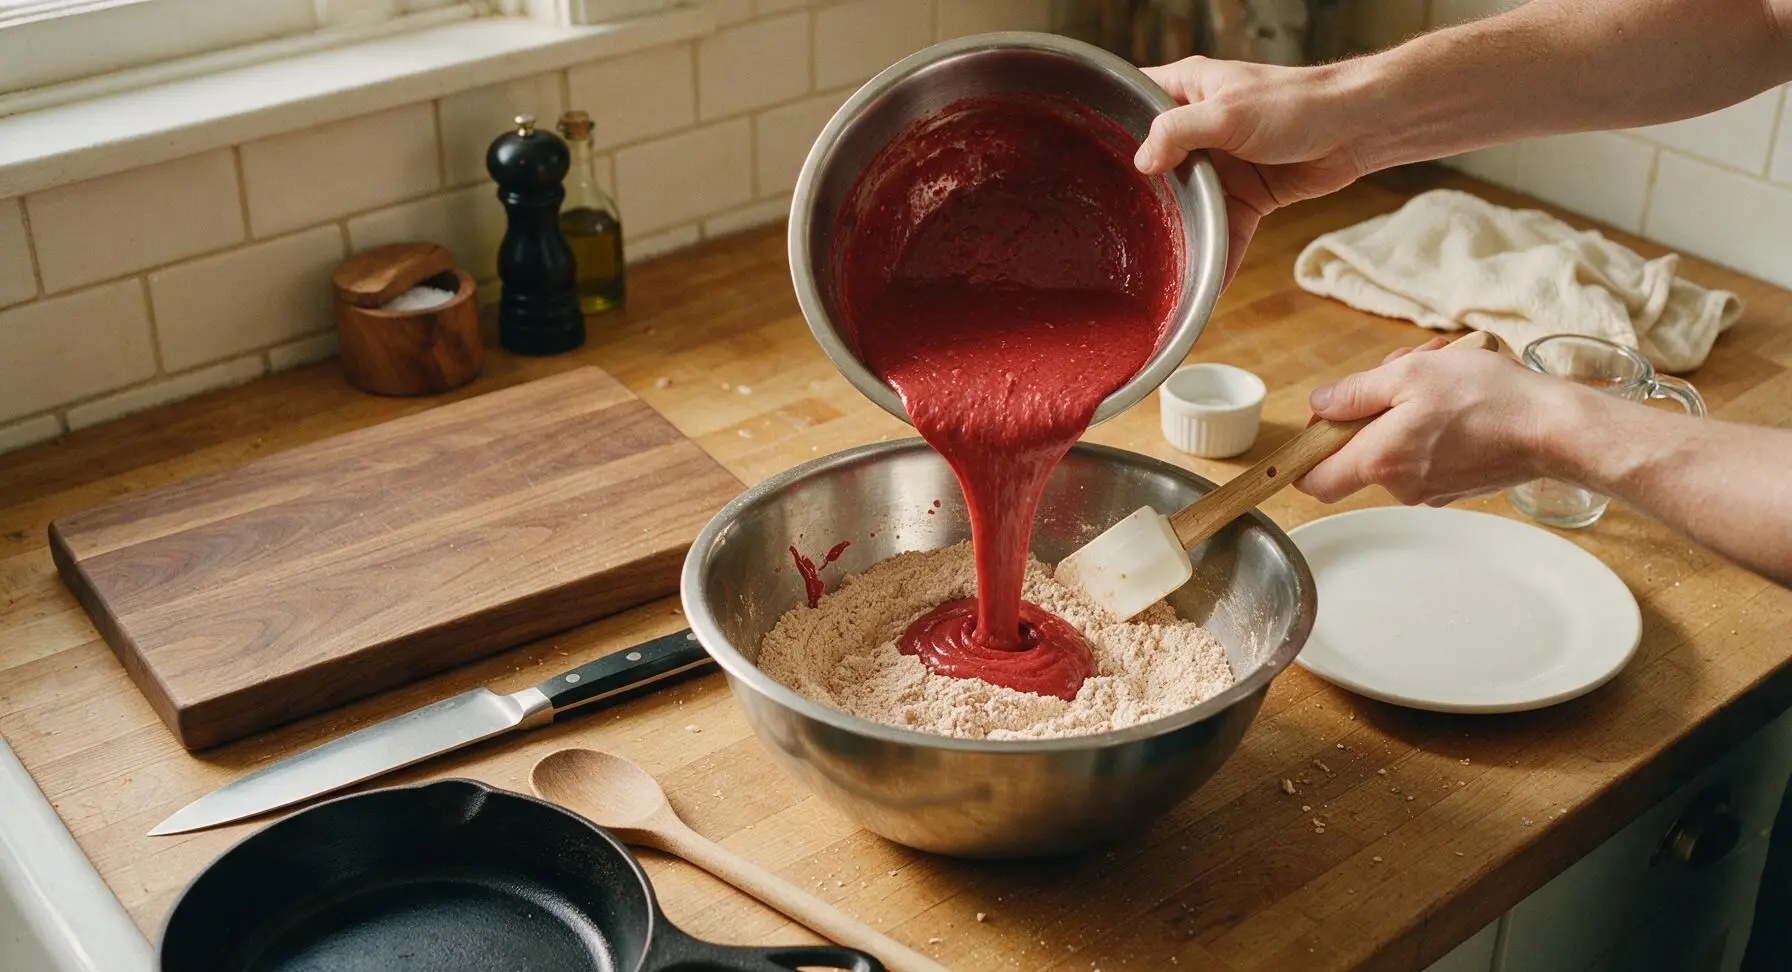
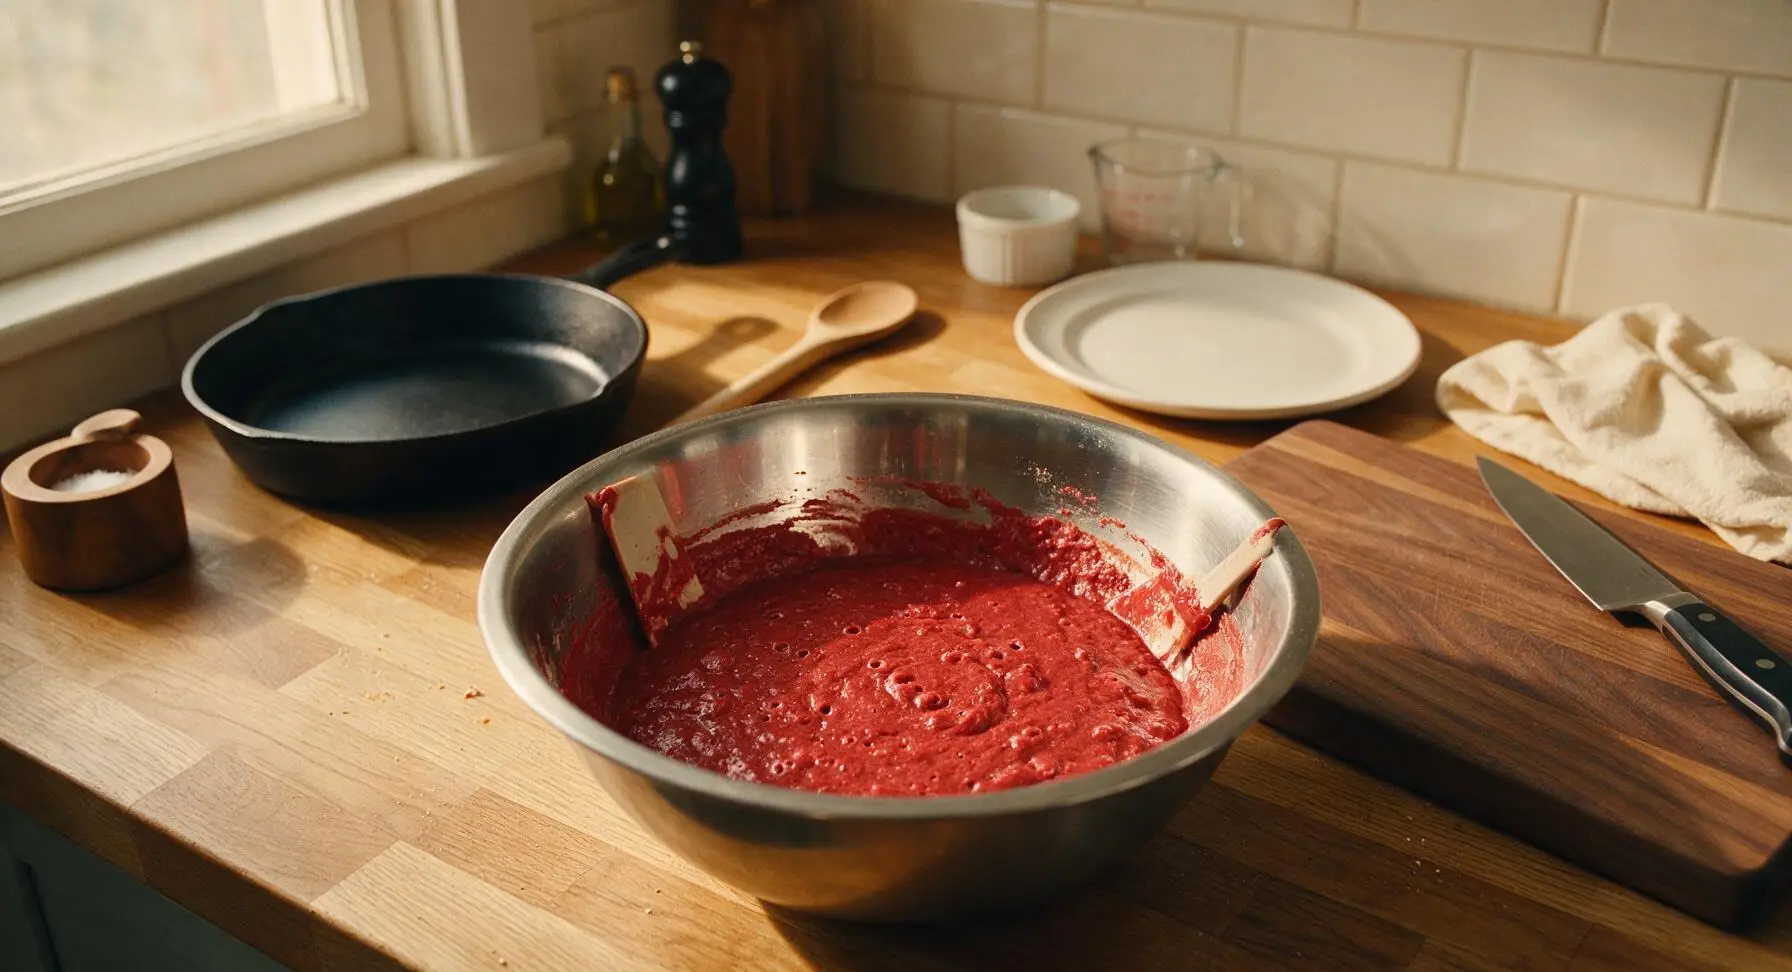
Pour the entire crimson wet ingredient mixture into the large bowl of dry ingredients. Use the birch-handled rubber spatula to gently fold the ingredients together just until no large dry flour streaks remain; the batter will be slightly lumpy. Stop mixing immediately once the last dry patch disappears to avoid developing gluten that causes tough pancakes. Let the batter rest for 5 minutes at room temperature while you preheat the cooking surface.
Step 3
step3:Combine Wet and Dry
Step 3
step3:Combine Wet and Dry
4

Preheat Cooking Griddle

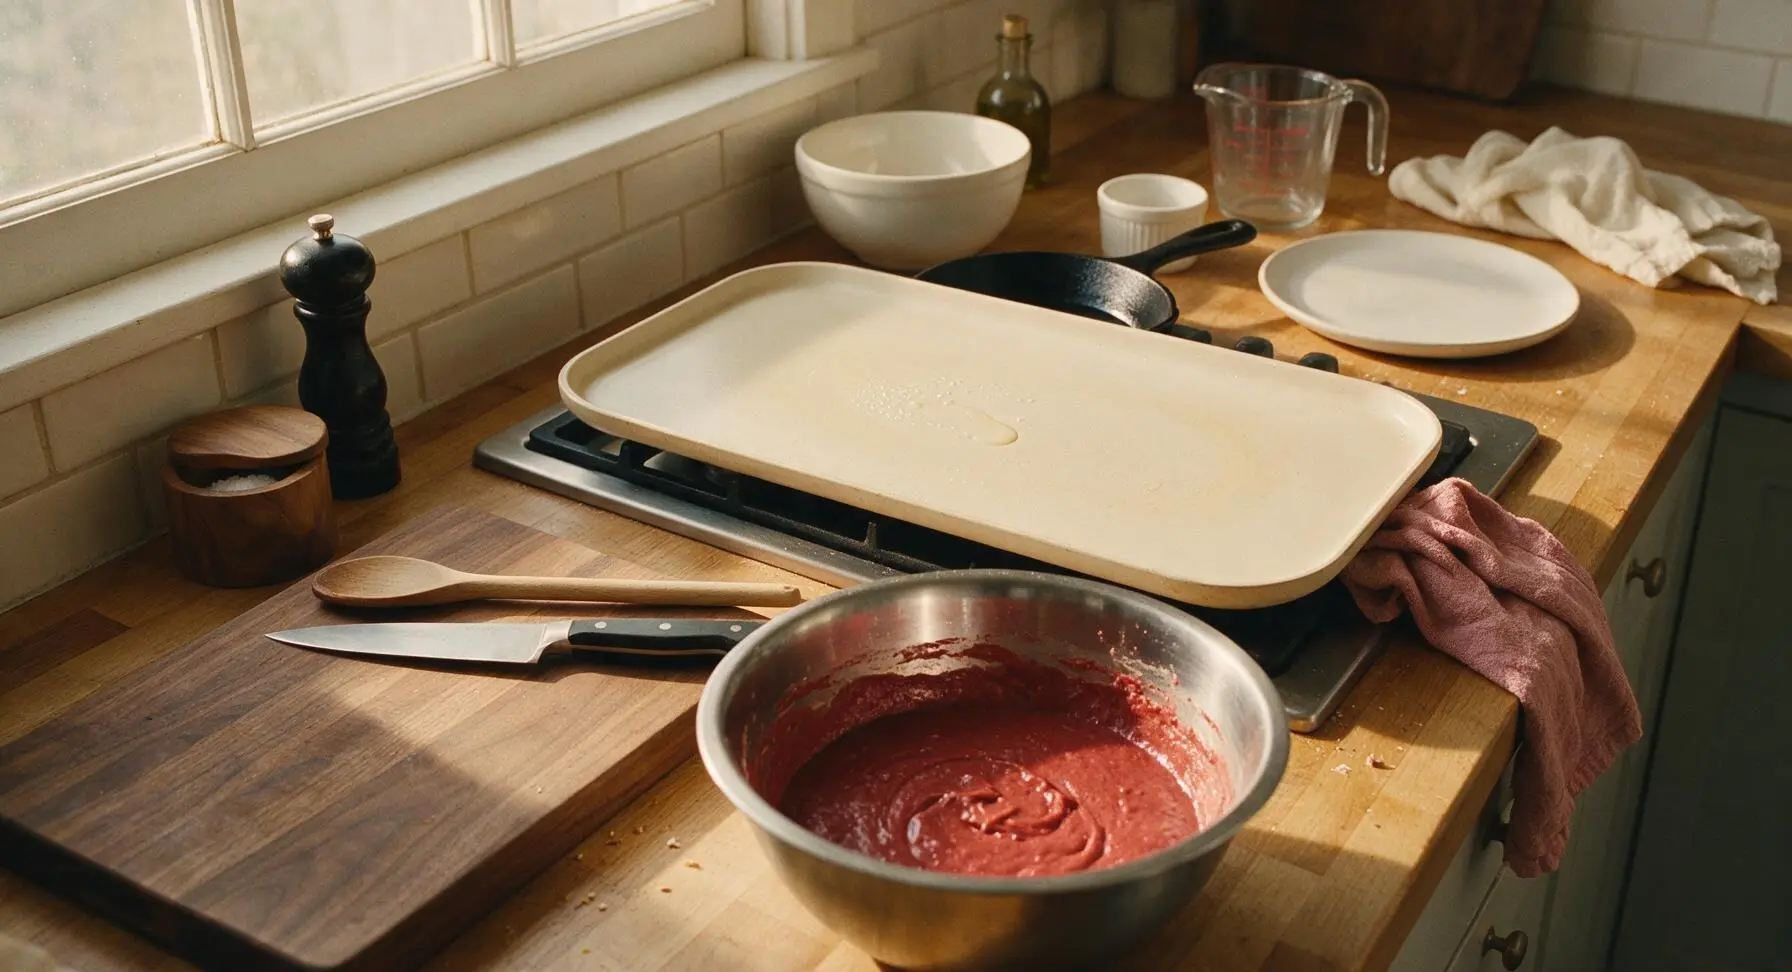
Place the 12-inch matte cream ceramic non-stick griddle on the stovetop over medium heat, preheating to 350°F (175°C). Test the surface temperature by sprinkling a single drop of cold water: it should dance and skitter across the surface and evaporate in 3-4 seconds when at the correct temperature. Lightly grease the surface with a thin pat of butter, wiping off any excess grease with a corner of the dusty rose linen towel.
Step 4
step4:Preheat Cooking Griddle
5

Pour Batter onto Griddle

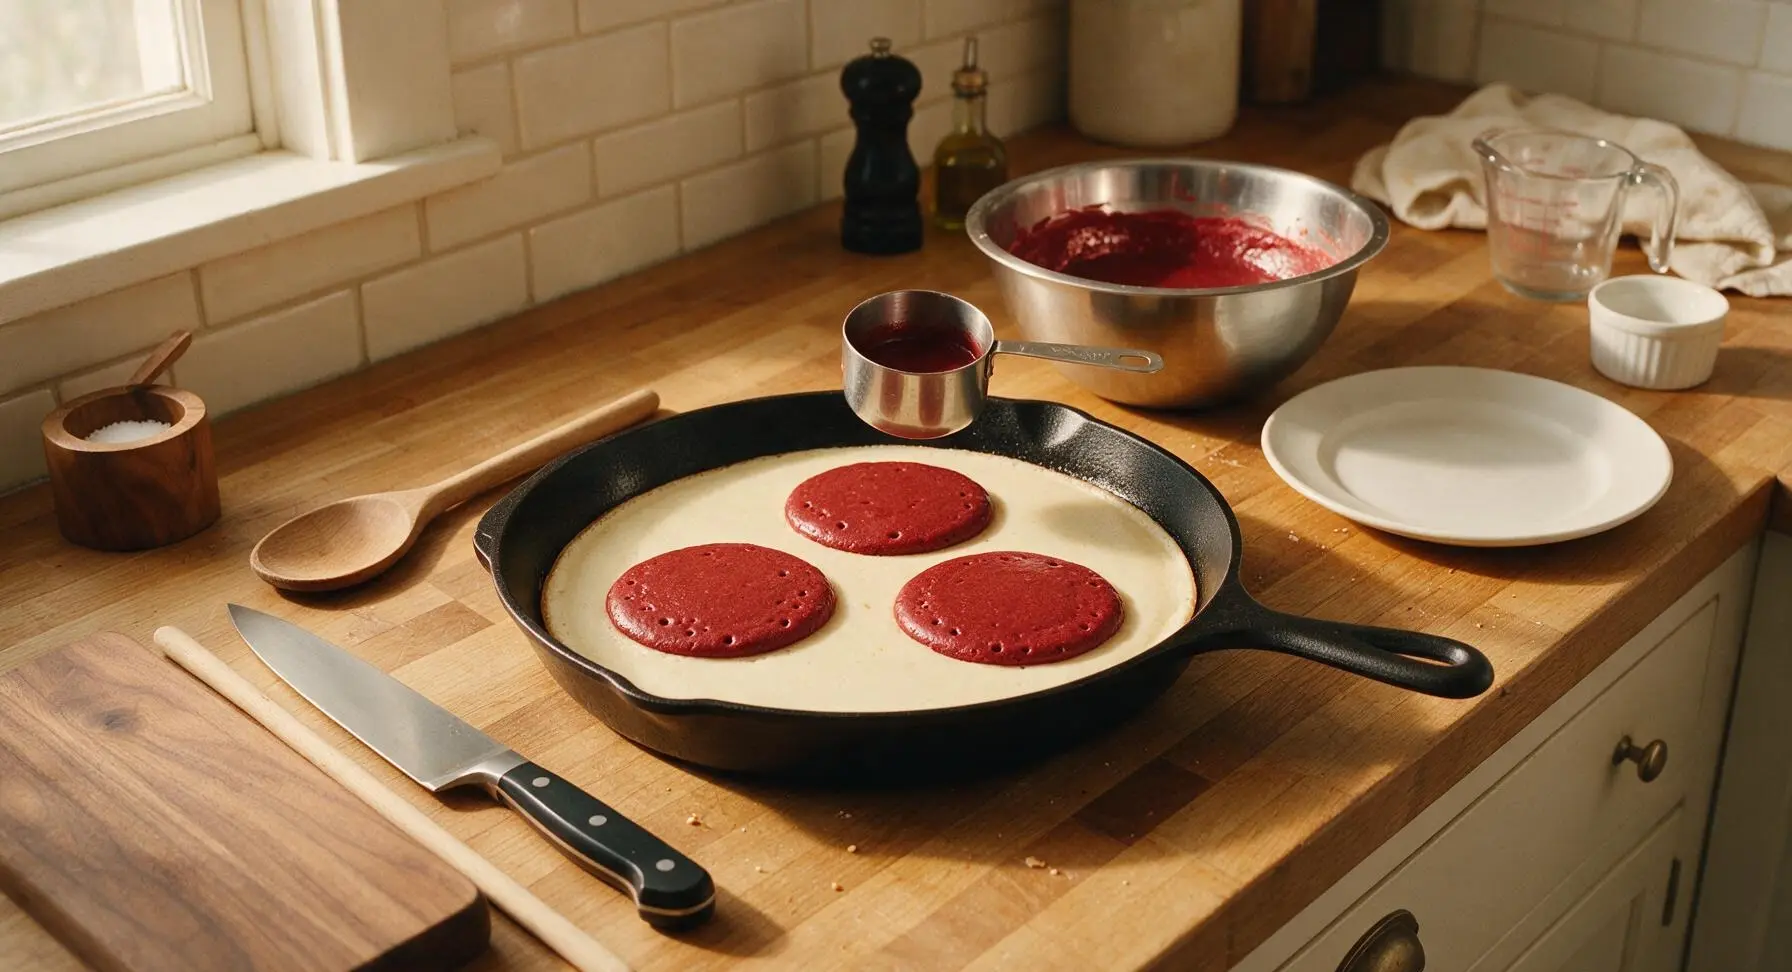
Use the 1/4 cup stainless steel measuring cup to scoop rested batter and pour it onto the preheated griddle, leaving 2 inches of space between each pancake to allow for spreading (3 pancakes per batch). Let the pancakes cook for 2-3 minutes, until small bubbles form and pop across the entire top surface, and the edges look set and slightly matte rather than wet and shiny.
Step 5
step5:Pour Batter onto Griddle
6

Flip and Cook Through

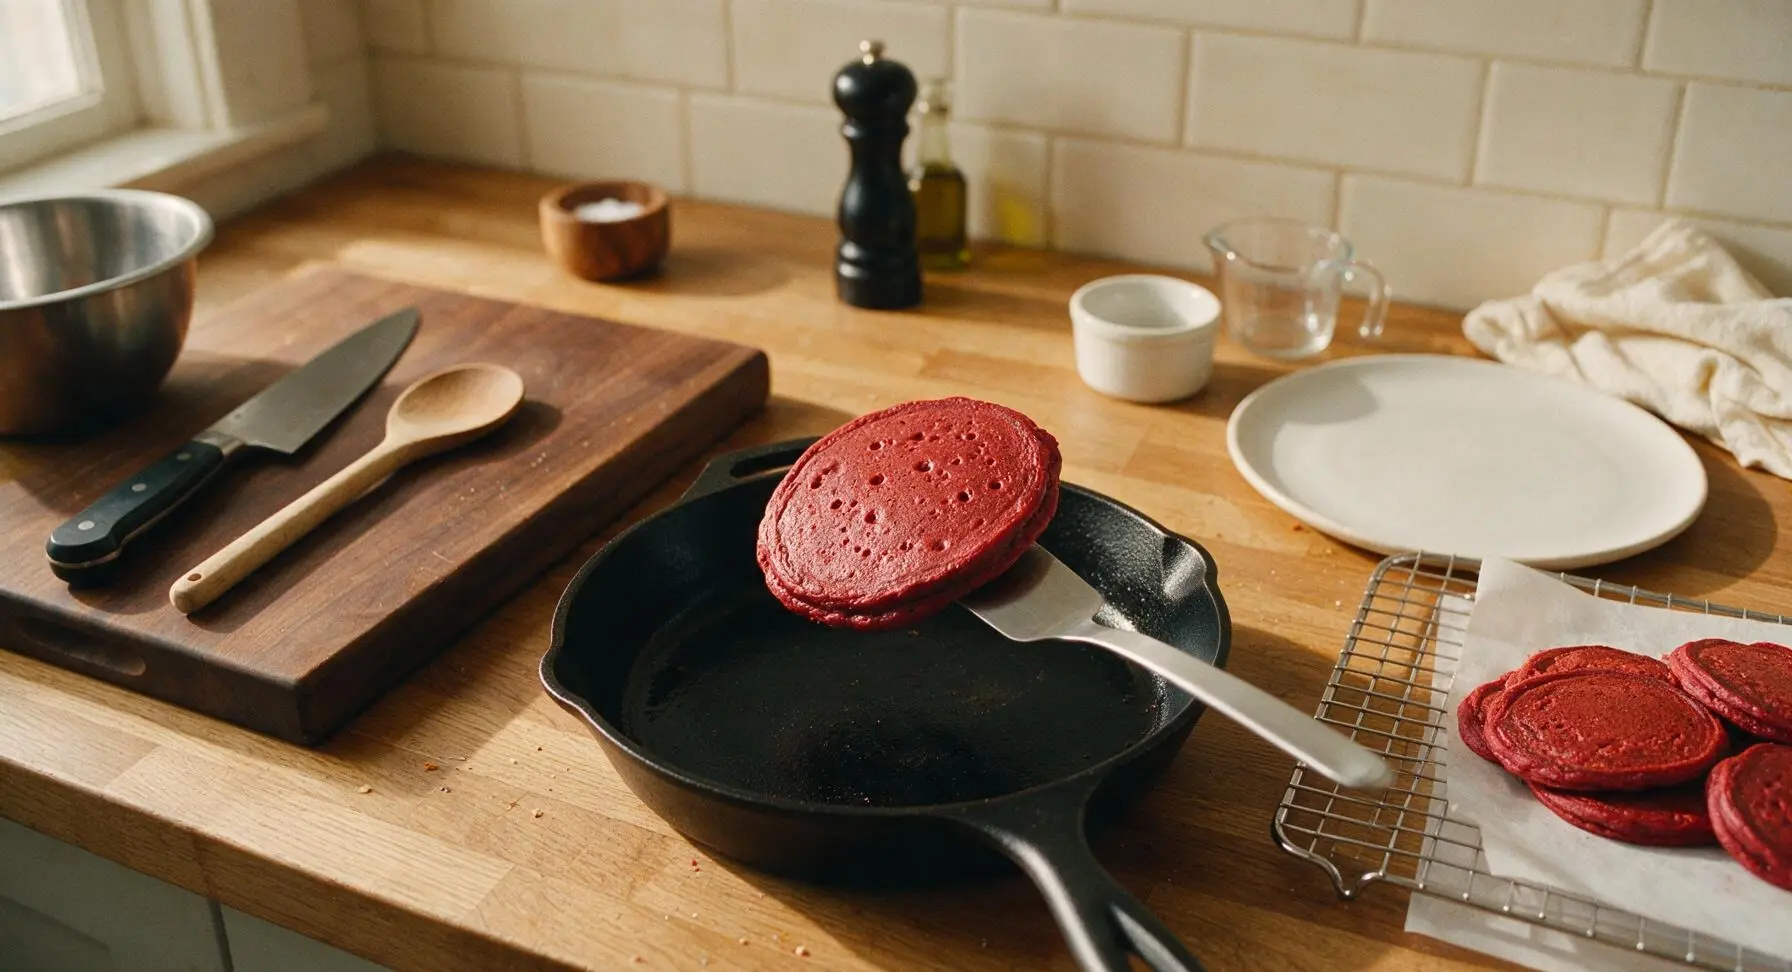
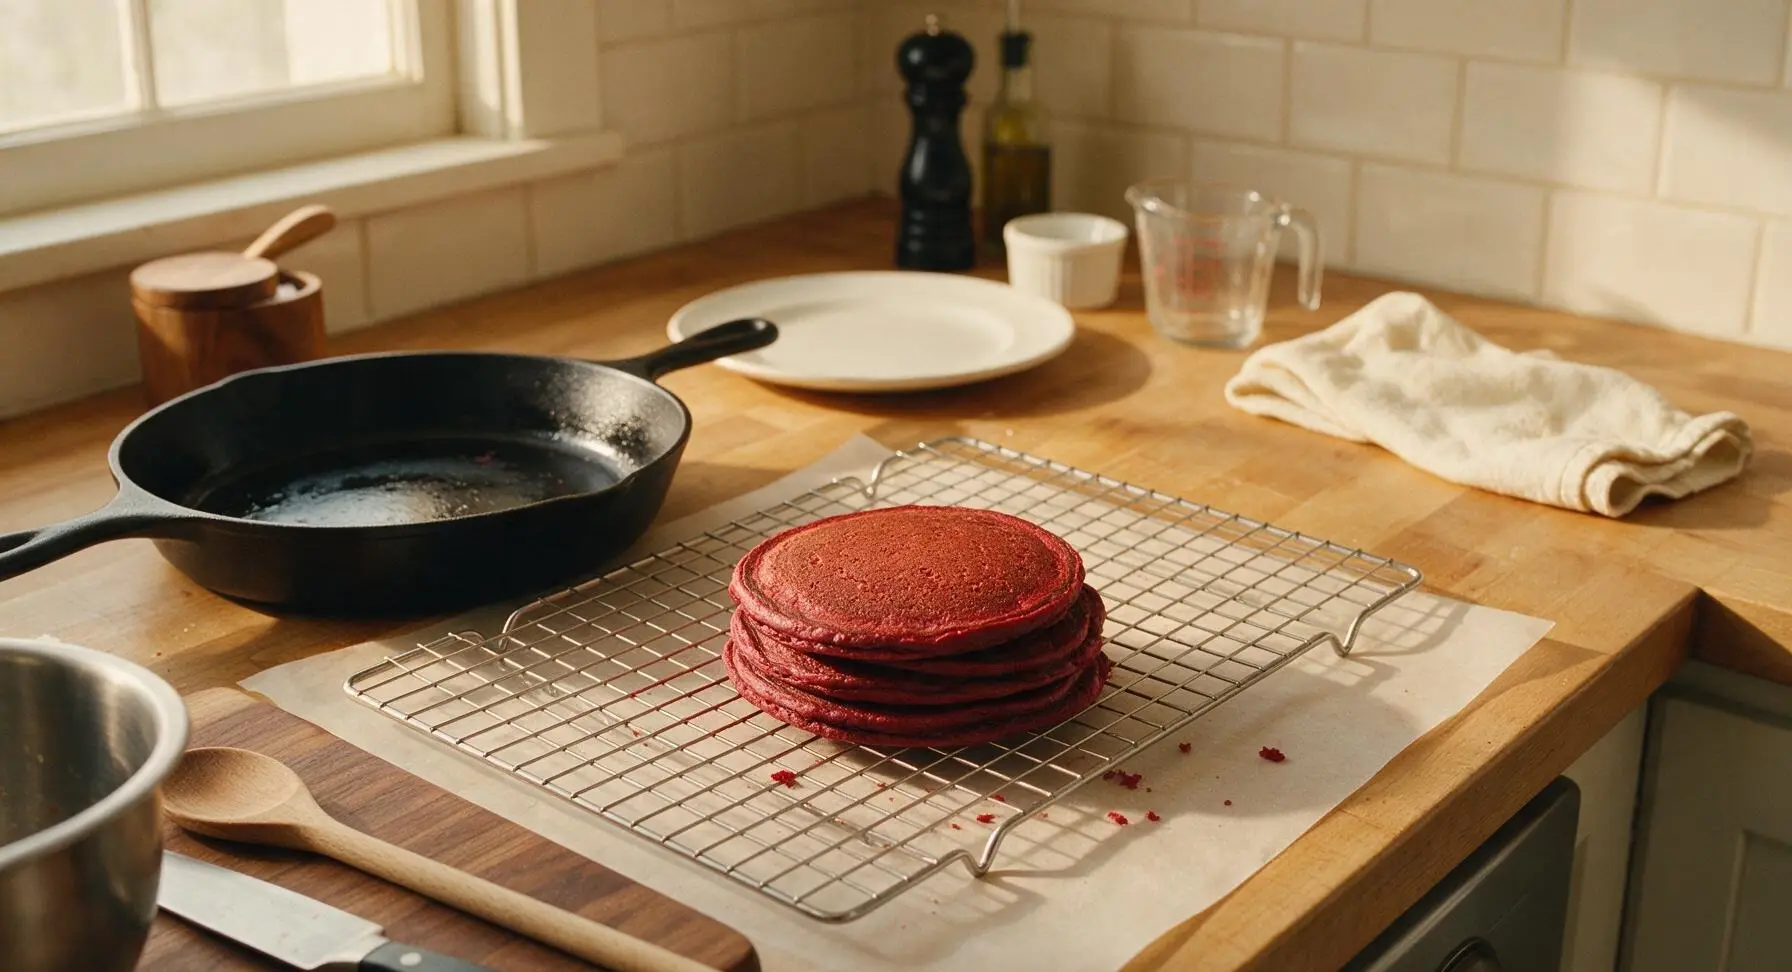
Slide the thin metal turner smoothly under each pancake in one quick motion, then flip carefully to avoid splattering. Cook the second side for an additional 1-2 minutes, until the pancake springs back gently when pressed lightly in the center with the turner, and no wet batter oozes from the edges. Transfer cooked pancakes to the parchment-lined chrome wire cooling rack to keep warm while you cook remaining batches, re-greasing the griddle lightly between batches as needed.
Step 6
step6:Flip and Cook Through
Step 6
step6:Flip and Cook Through
7

Mix Cream Cheese Glaze

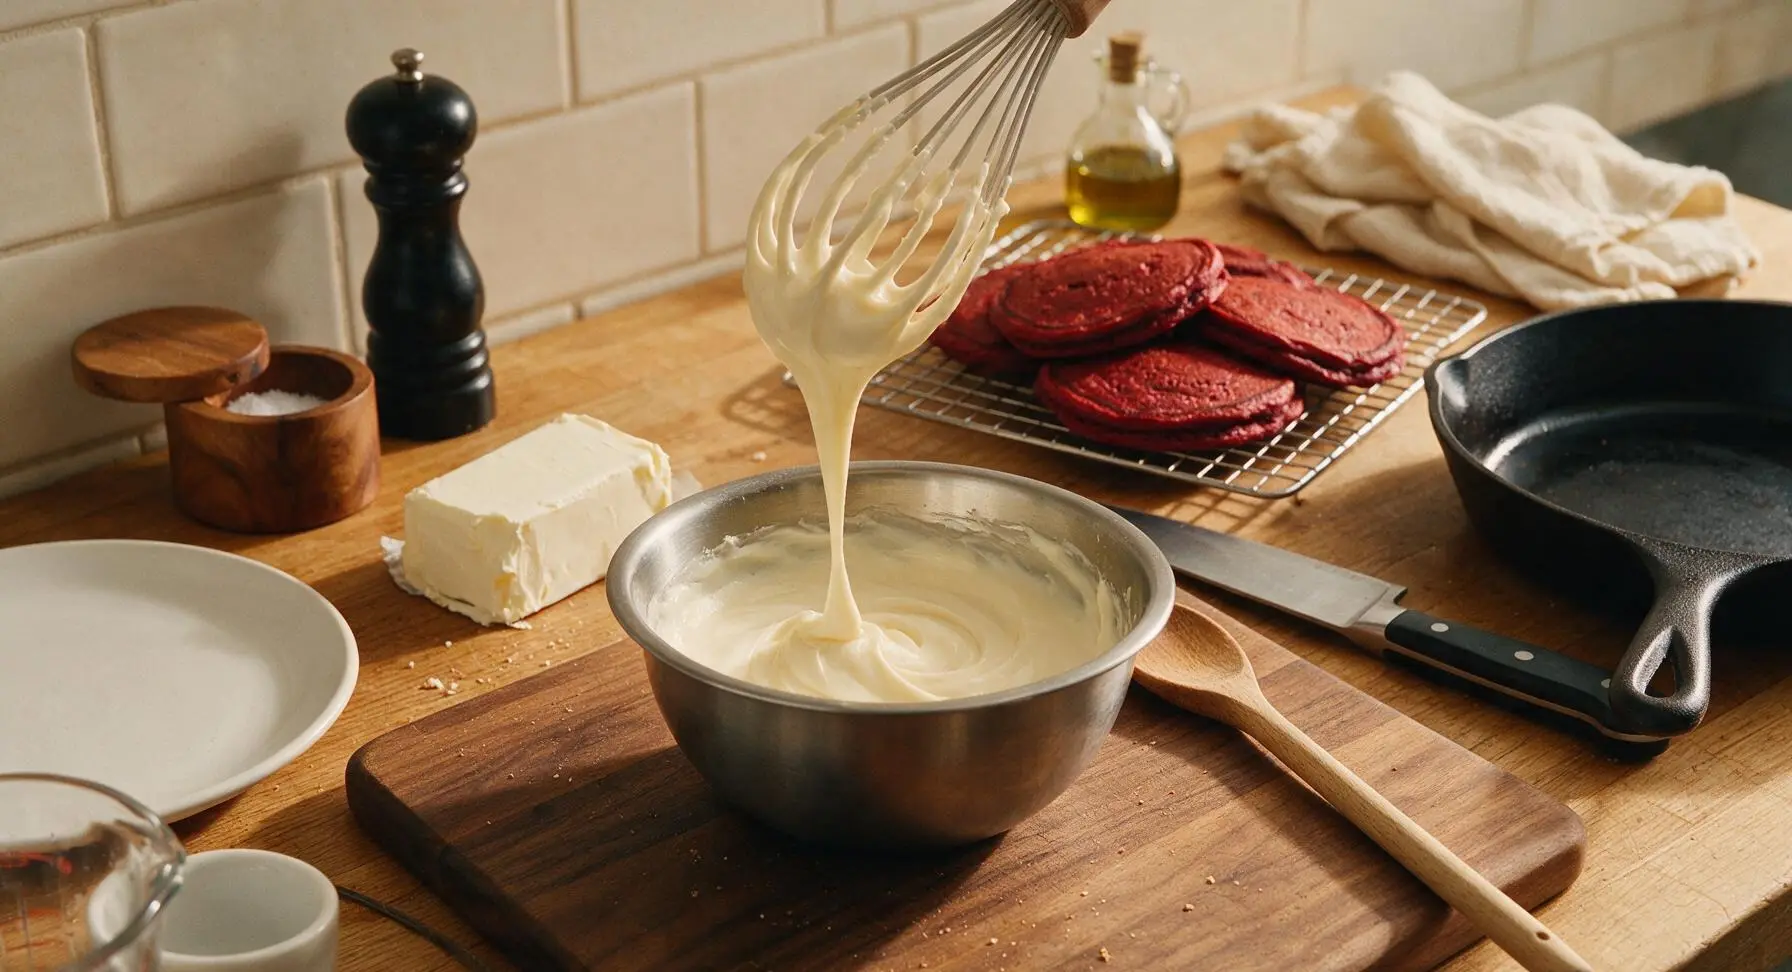
While the final batch of pancakes cooks, prepare the glaze in the small 1L brushed stainless steel mixing bowl: combine 4 oz softened full-fat cream cheese, 1/2 cup powdered sugar, 2 tbsp whole milk, and 1/2 tsp vanilla extract. Whisk with the silicone whisk for 1 minute until completely smooth, with a thick, pourable consistency that falls in a slow, unbroken ribbon when the whisk is lifted 3 inches above the bowl. Stir in an extra 1 tsp of milk if the glaze is too thick to drizzle easily.
Step 7
step7:Mix Cream Cheese Glaze
8

Plate and Garnish Pancakes

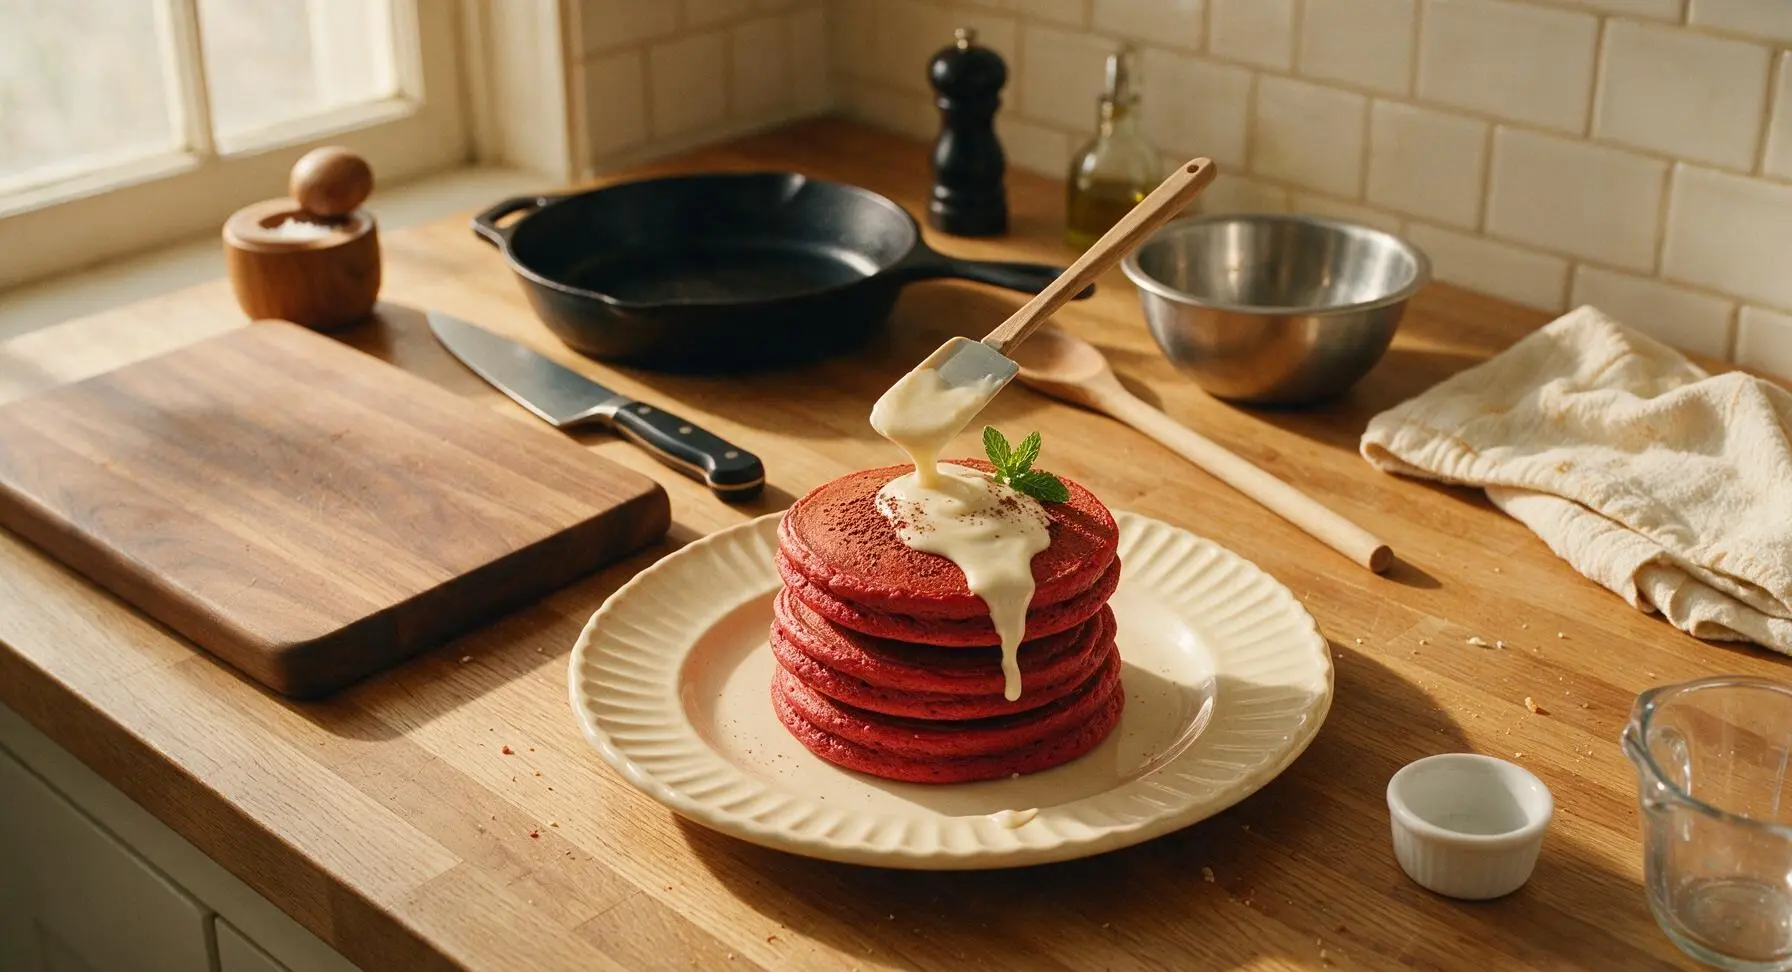
Stack 3 warm pancakes in a neat pile centered on the cream ceramic fluted-rim dinner plate. Use the small offset spatula to scoop cream cheese glaze and drizzle it generously over the top of the stack, letting it run naturally down the sides. Lightly dust the top with a pinch of unsweetened cocoa powder, tuck a small fresh mint sprig at the edge of the stack, and serve immediately while warm.
Step 8
step8:Plate and Garnish Pancakes

Tips

1.Opt for gel red food coloring over liquid: Liquid coloring adds excess moisture that can make pancakes dense, and requires far more product to reach a deep crimson shade, which often leaves a bitter aftertaste. Gel coloring is concentrated, so just 1 tsp delivers vibrant red color without changing batter texture or flavor.
2.Avoid overmixing the pancake batter: Overmixing develops gluten in the flour, leading to tough, chewy pancakes instead of light, fluffy results. Small lumps in the batter are normal and desirable; stop folding as soon as the last dry flour streak disappears.
3.Never press down on pancakes with the turner while cooking: Squeezing the pancakes pushes out all the delicate air pockets created by the leaveners, resulting in flat, dense discs. Let pancakes cook undisturbed, and only press very gently in the center to test if they spring back (the sign they are done).


✨ You May Also Like

Breakfast
🍜 United States

Crisp-edged, fluffy lard griddle cakes are a nostalgic homestyle staple, with rich savoriness from rendered lard, perfect topped with maple syrup or savory gravy.

⏱️ 25 minuteBreakfast ★ 4.8
Breakfast
🍜 United States

Flaky, buttery homemade buttermilk biscuits smothered in creamy, peppery pork sausage gravy: a beloved, hearty Southern American comfort food classic.

⏱️ 35 minuteBreakfast ★ 4.8
Breakfast
🍜 United States

Golden, custardy brioche stuffed with sweet cream cheese and fresh berries, pan-fried to crisp perfection. An indulgent, cozy breakfast perfect for slow weekend mornings.

⏱️ 30 minuteBreakfast ★ 4.7
Breakfast
🍜 United States

Flaky, buttery Southern-style biscuits stuffed with savory salty country ham, a portable, satisfying classic perfect for casual on-the-go meals.

⏱️ 25 minuteBreakfast ★ 4.8
Breakfast
🍜 United States

Iconic puffy baked pancake popularized in Seattle, with crisp golden edges and soft custardy center, served warm with classic sweet toppings.

⏱️ 35 minuteBreakfast ★ 4.6
Breakfast
🍜 United States

Fluffy, golden pancakes studded with juicy peak-summer mixed berries, drizzled with maple syrup for a bright, comforting, crowd-pleasing family breakfast.

⏱️ 25 minuteBreakfast ★ 4.7

Red Velvet Pancakes:Frequently Asked Questions

1.Why aren’t my red velvet pancakes turning that signature deep crimson color? ▾
This usually happens for two common reasons: you used Dutch-processed cocoa instead of unsweetened natural cocoa, or you relied on liquid food coloring instead of gel. Natural cocoa’s mild acidity amplifies red pigment, while gel food coloring delivers rich, deep crimson without thinning your pancake batter—just 1/2 to 1 teaspoon of gel is all you need for that classic hue.
2.Can I make these red velvet pancakes without red food coloring? ▾
You absolutely can, though they’ll have a lighter, muted reddish-brown hue from the cocoa instead of that signature deep crimson. For a natural dye swap, use 1 to 2 tablespoons of strained beet puree, and cut back 1 tablespoon of milk to keep batter consistency right. The subtle earthy sweetness of beets pairs beautifully with the tangy cream cheese glaze.
3.How do I keep my red velvet pancakes fluffy instead of flat and dense? ▾
First, don’t overmix your batter—small lumps are totally fine, as overworking the flour develops gluten that leads to tough, flat pancakes. Second, confirm your baking powder and baking soda are fresh by dropping a pinch into hot vinegar; they should fizz immediately. Finally, never press down on pancakes with your spatula while cooking, as that squeezes out light, fluffy air pockets.
4.Can I make the tangy cream cheese glaze ahead of time? ▾
Absolutely! You can make the cream cheese glaze up to 3 days ahead and store it in an airtight container in the fridge. It will thicken as it chills, so let it sit at room temperature for 10 to 15 minutes before drizzling, and give it a quick stir to bring back that smooth, pourable consistency perfect for topping warm, fresh pancakes.
5.What pan temperature works best to keep these pancakes from burning? ▾
Aim for medium-low heat, or 350°F if you’re using an electric griddle. The sugar and cocoa in the batter means these burn faster than plain pancakes, and their deep red color makes it hard to spot early browning. Test with a tiny drop of batter first—it should sizzle gently and set in 10 to 15 seconds if the temperature is just right.
6.Can I use whole wheat flour instead of all-purpose flour for this recipe? ▾
You can swap up to half of the all-purpose flour for white whole wheat flour without sacrificing that soft, fluffy texture. I don’t recommend using 100% whole wheat flour, as it will make pancakes dense, nutty, and heavy, masking that delicate cocoa-kissed red velvet flavor. For the half swap, add an extra 2 tablespoons of milk to keep batter thickness consistent.
7.How do I know when it’s time to flip the pancakes without ruining them? ▾
Wait until you see small, steady bubbles forming and popping across the entire surface of the pancake, and the edges look set and slightly matte—this usually takes 2 to 3 minutes for the first side. Resist the urge to peek early, as lifting the pancake before it sets can make it break or deflate. The second side only needs 1 to 2 minutes to cook through fully.
8.Can I mix up the pancake batter the night before to save time on busy mornings? ▾
You can prep the dry ingredients (flour, sugar, cocoa, baking powder, baking soda) in an airtight container the night before to cut down on morning work, but I don’t recommend mixing full wet and dry batter ahead. The leaveners activate as soon as they hit wet ingredients, so pre-mixed batter will lose its lift and lead to flat, dense pancakes by morning.
9.Why do my red velvet pancakes have a weird bitter aftertaste? ▾
That bitter flavor almost always comes from one of two culprits: you used too much unsweetened cocoa, or you used low-quality red food coloring. Stick to the recipe’s measured cocoa amount (just enough for that subtle chocolate kiss) and use gel food coloring, which delivers bold color without the harsh chemical aftertaste common in cheap liquid dye.
10.What mix-ins work well in these red velvet pancakes? ▾
Mini semi-sweet chocolate chips, finely chopped white chocolate, or a handful of crushed freeze-dried raspberries all work beautifully as mix-ins—just fold them in very gently after combining wet and dry ingredients, right before cooking. Skip heavy, wet mix-ins like fresh berry chunks, as they can sink to the pan bottom and burn before the pancake cooks through.
11.How do I keep cooked pancakes warm while I finish making the whole batch? ▾
Set your oven to 200°F, and place a wire rack over a baking sheet inside. As you finish cooking each pancake, set it on the rack in a single layer instead of stacking them on a plate. Stacking traps steam that makes pancakes soggy, while the rack lets air circulate to keep them fluffy, warm, and tender until you’re ready to glaze and serve.
12.Can I adapt this recipe to make gluten-free red velvet pancakes? ▾
Yes, you can easily make these gluten-free by swapping the all-purpose flour for a 1:1 gluten-free baking flour blend that contains xanthan gum. Skip generic gluten-free all-purpose blends without xanthan gum, as those will lead to crumbly, flat pancakes that don’t hold their shape. You won’t need to adjust any other ingredient measurements when using a 1:1 blend.
13.What can I use as a buttermilk substitute if I don’t have any on hand? ▾
You can make a quick homemade buttermilk stand-in in 5 minutes: add 1 tablespoon of white vinegar or fresh lemon juice to a liquid measuring cup, then pour in regular whole milk until you hit the 1-cup mark. Let it sit for 5 minutes until it curdles slightly, then use it exactly as you would store-bought buttermilk for that same tangy, tender crumb.
14.How should I store leftover red velvet pancakes, and what’s the best way to reheat them? ▾
Let leftover pancakes cool completely, then stack them between sheets of parchment paper to prevent sticking, and store them in an airtight container in the fridge for up to 3 days, or the freezer for up to 2 months. Reheat in the toaster, toaster oven, or microwave in 20-second bursts until warmed through, and they’ll taste just as fluffy as the day you made them.

Comments (7)

3 days ago

OMG, I made these for my kids’ Valentine’s Day breakfast and they went absolutely feral for them! So easy to throw together even on a chaotic school morning, and that tangy cream cheese drizzle is a total game changer. 10/10, no notes.

2 days ago

Right?! I stirred a little extra cocoa powder into my batch last weekend and it tasted exactly like fancy bakery red velvet cake, zero weird artificial aftertaste. I’ll never make another red velvet pancake recipe again.

yesterday

That makes my day to hear! Adding a tiny extra dash of cocoa is such a smart hack, I’m going to slip that into the recipe pro tip section later this week. So glad your crew loved them!

5 days ago

Took me 22 minutes total start to finish, which is basically right on the cook time estimate! Only heads up is I’d cut the red food coloring a tiny bit next time — mine came out neon cherry red instead of that deep classic velvet color because I used gel coloring without measuring. Still SO good though, my roommate ate half the batch before I even got to my second pancake.

3 days ago

Thanks for the honest feedback! Gel food coloring is way more concentrated than liquid, so you only need about 1/4 tsp to get that perfect deep red without the neon effect. Glad you and your roommate still enjoyed the flavor!

1 week ago

Meal prepped these on Sunday for quick weekday breakfasts and they reheat perfectly in the toaster! I skipped the cream cheese glaze to keep them a little less sweet for school mornings, and my kids still begged for seconds every single day. These are officially going into our regular breakfast rotation.

2 hours ago

Quick question for the group! Has anyone tried making these with plant-based milk and dairy-free cream cheese for the glaze? I’m hosting a potluck brunch next weekend and have a couple vegan friends coming, and these look way too good not to serve.

30 minutes ago

I did exactly that last month for my book club! Used oat milk and store-bought vegan cream cheese, and no one could even tell they were dairy free. Just add an extra splash of oat milk if the batter feels a little too thick when you mix it up.

yesterday

Made these for my partner’s birthday breakfast in bed and he said they’re better than the red velvet pancakes we get at our favorite fancy downtown brunch spot! That tiny hint of vinegar in the batter gives the perfect tang that’s missing from so many red velvet recipes I’ve tested over the years.

5 minutes ago

Wait the vinegar is such a secret weapon! I used to think red velvet was just chocolate cake with red dye, that subtle tang is what makes it hit different. I’m definitely testing these this Saturday for my movie night with friends.

just now

Happy birthday to your partner! That little splash of apple cider vinegar is totally the key to nailing that authentic red velvet flavor instead of just dyed chocolate pancakes. So glad you two loved them!

2 weeks ago

As someone who burns toast 90% of the time, I was shocked how easy these were to pull off! I didn’t have buttermilk on hand so I used regular milk with a tablespoon of lemon juice like my grandma taught me, and it worked like a charm. The pancakes were so fluffy, not dense at all. 10/10 would make again for late-night study snack sessions.

1 week ago

That lemon juice + regular milk buttermilk substitute is such a great hack for dorm cooking, no fancy grocery run required! I’m so stoked these turned out fluffy and delicious for you, even in between study sessions.

2 days ago

Brought these to my neighborhood potluck last weekend and people were hounding me for the recipe before I even set the platter down! I tossed a handful of mini white chocolate chips into the batter and it was chef’s kiss. These are going to be my go-to for every brunch and holiday gathering from now on.



