
reds burrito costco
intro
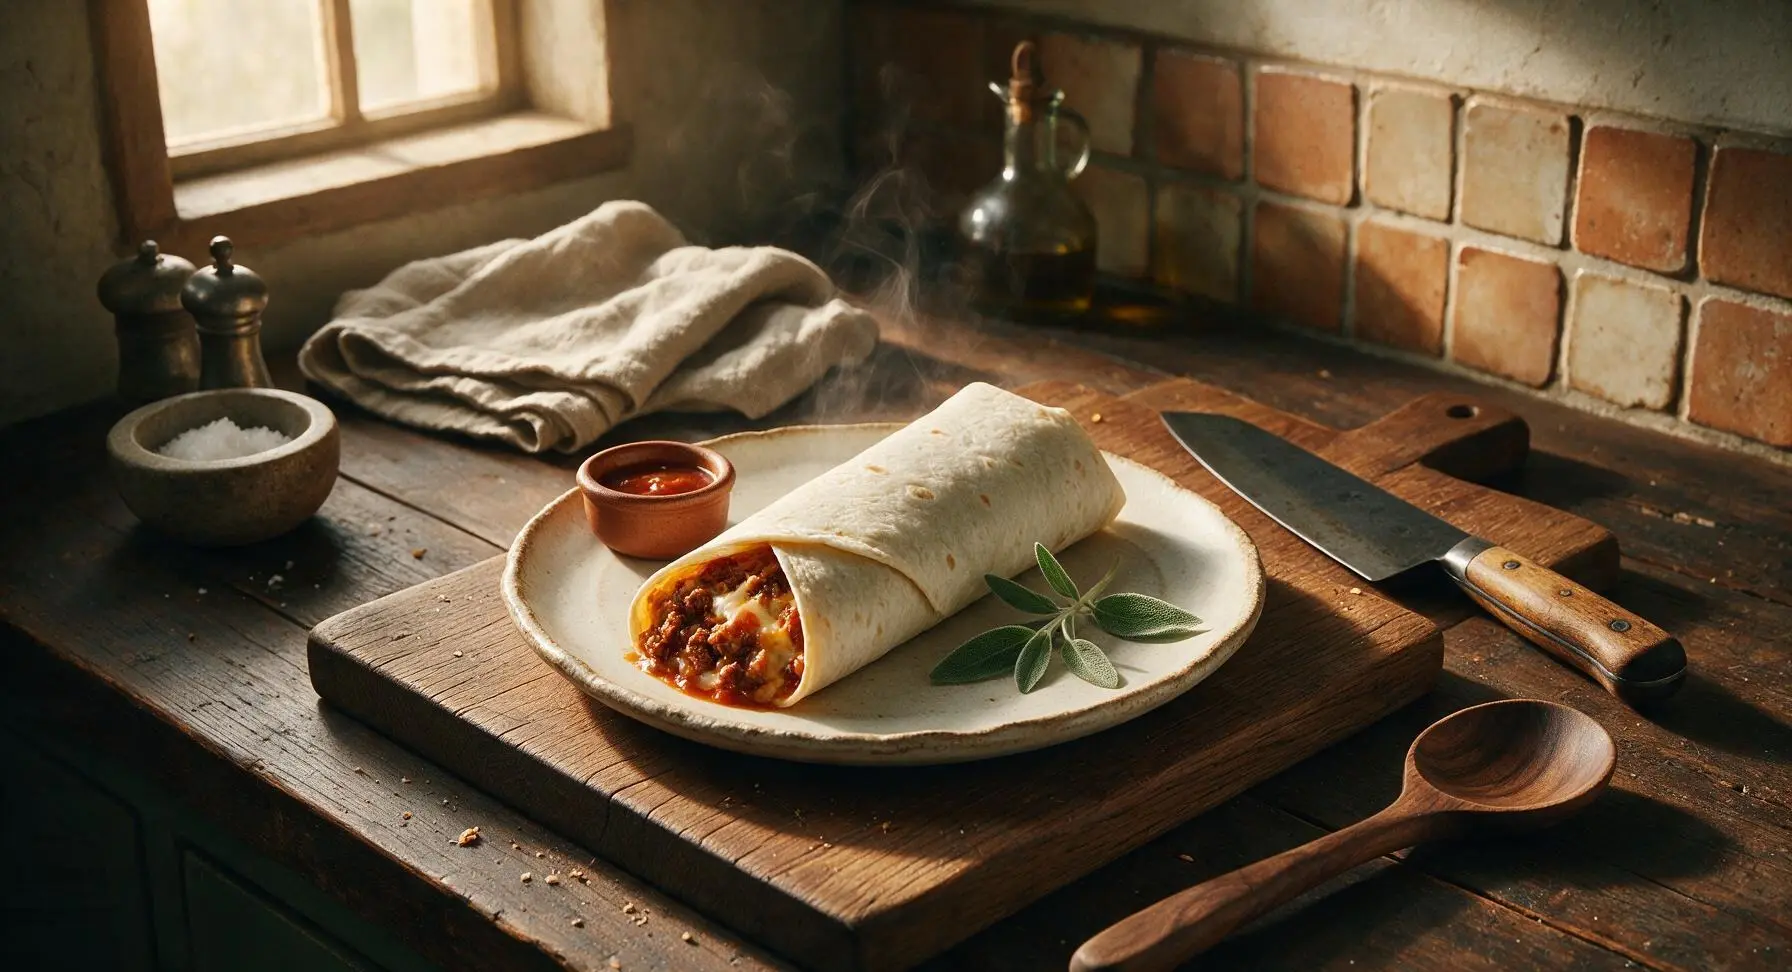
This spot-on copycat of Costco’s fan-favorite Red’s Burrito is packed with seasoned beef, melty cheese, and zesty red sauce, wrapped tight for a satisfying handheld comfort meal.
Ingredients
Steps
Prep Filling Components
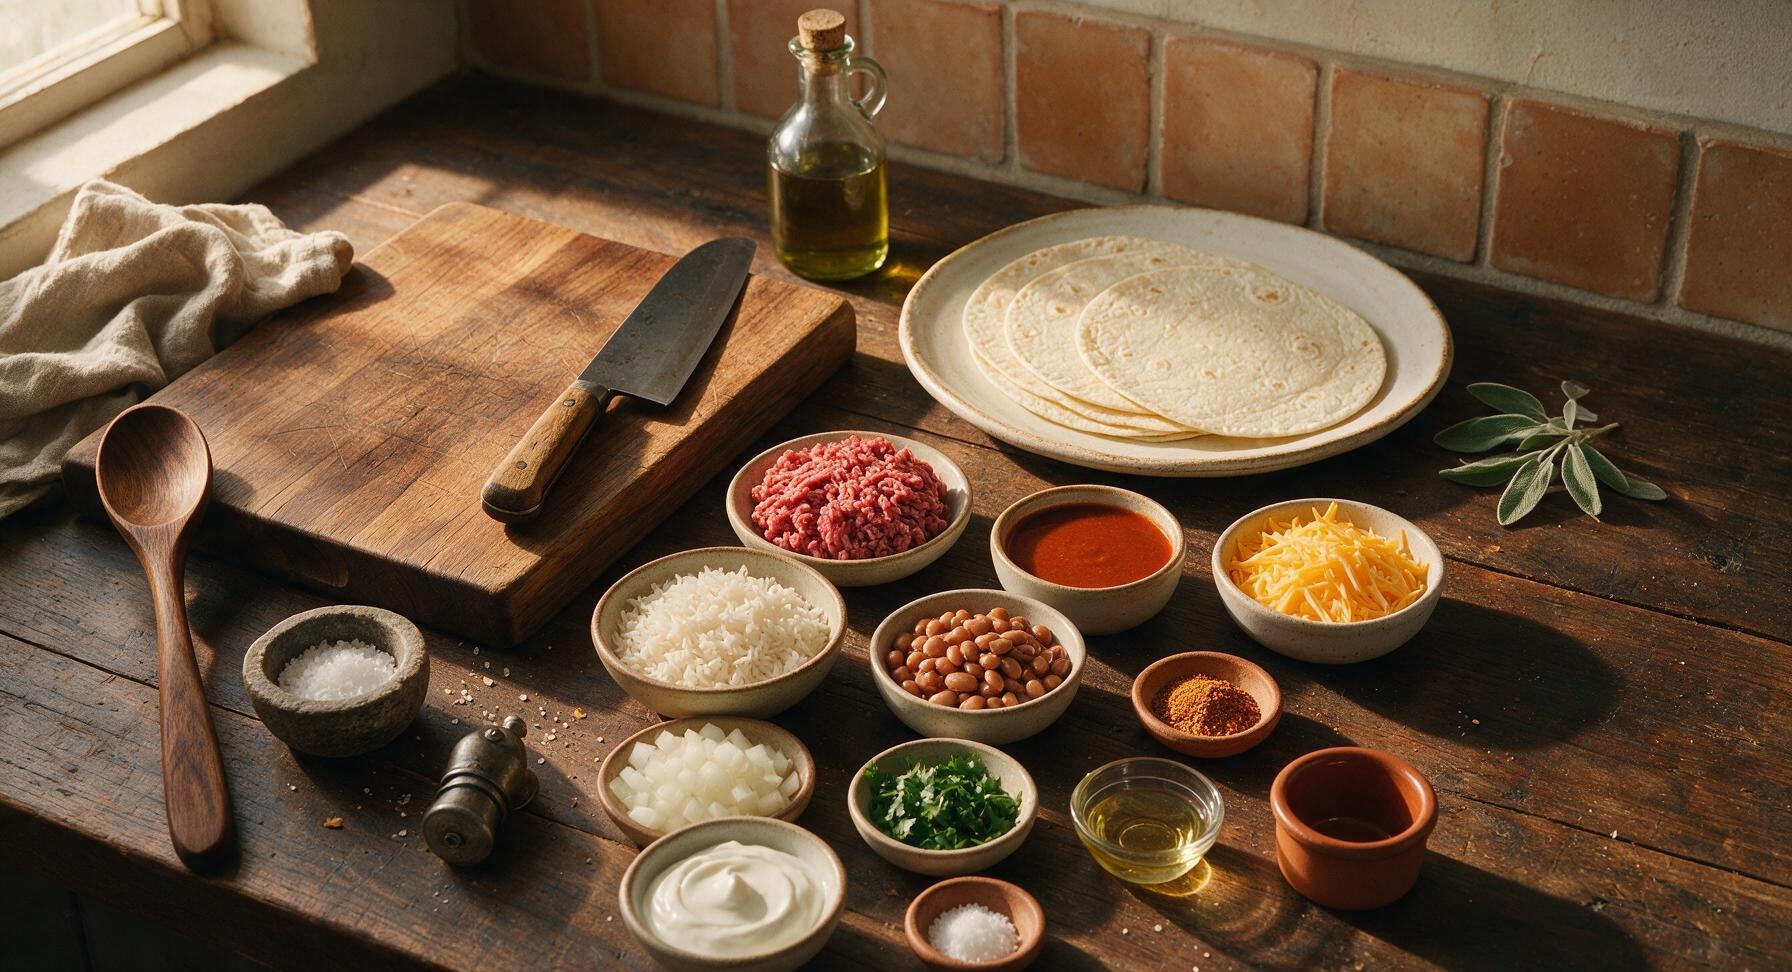
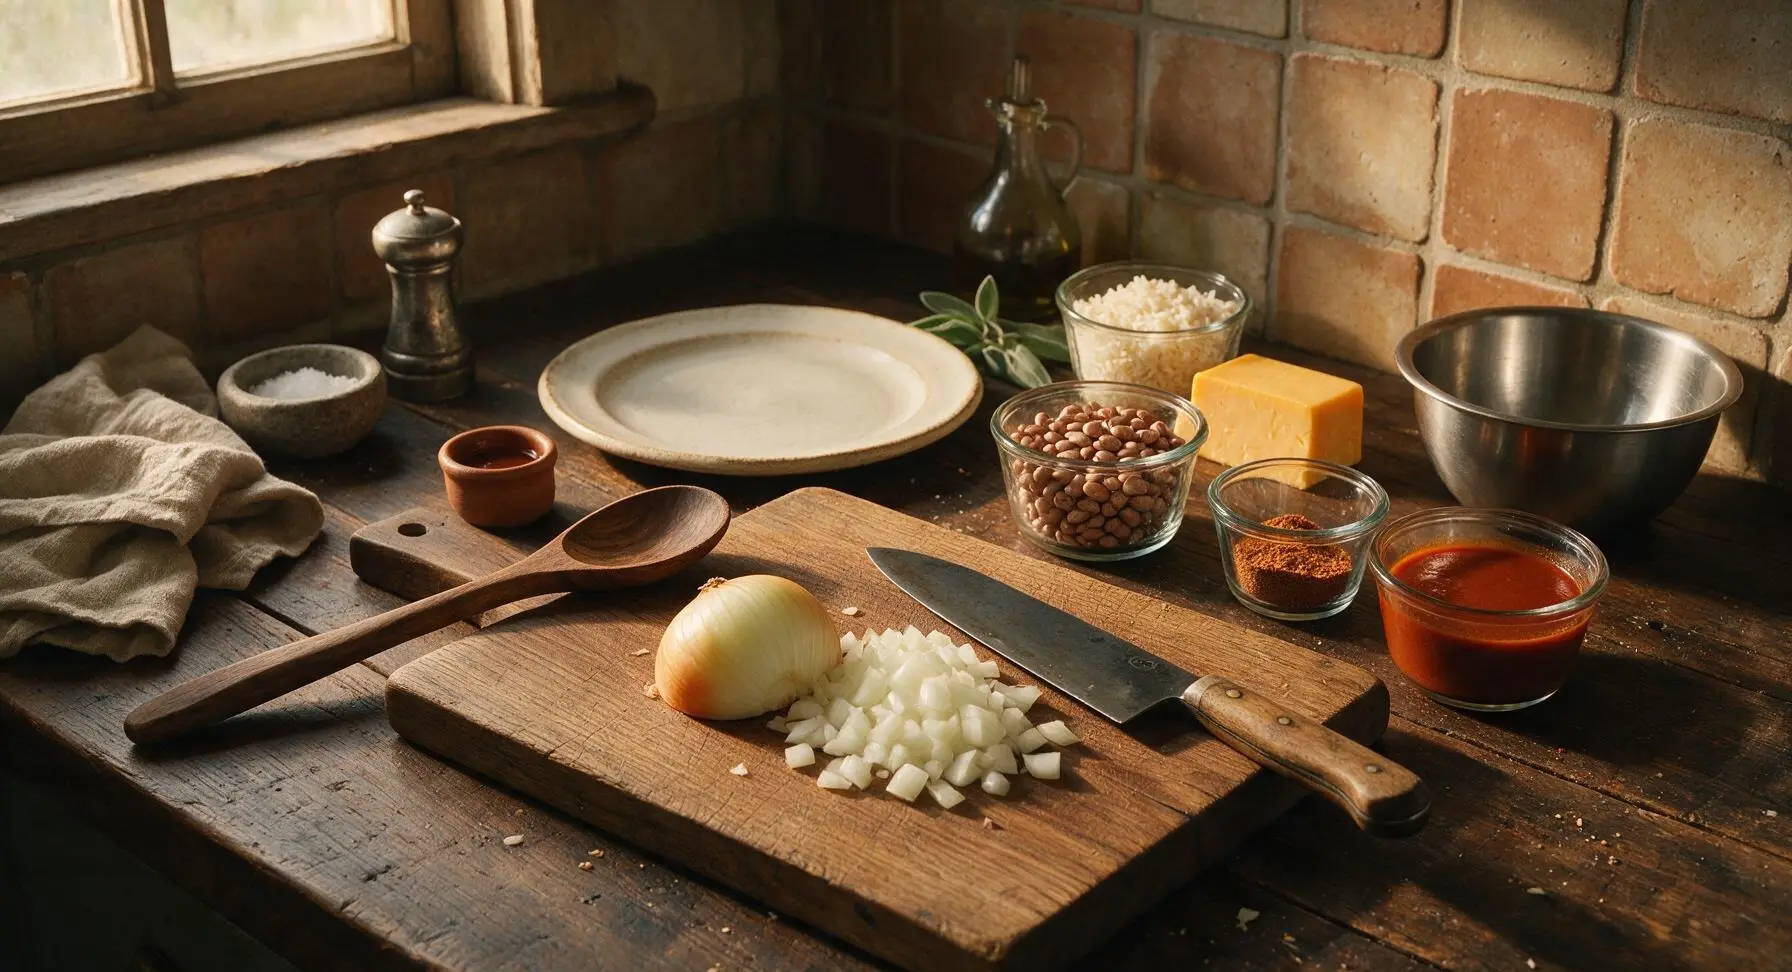
Dice 1/2 cup yellow onion into 1/4-inch pieces using the chef’s knife on the acacia cutting board. Measure out 1 cup cooked rice, 1/2 cup rinsed pinto beans, 2 tablespoons taco seasoning, and 1 cup red enchilada sauce into separate clear glass ramekins. Shred 120g sharp cheddar cheese if not pre-shredded, and set all prepped ingredients within arm’s reach of the stovetop. This prep takes roughly 5 minutes, so ingredients are ready to add once the beef cooks.
Brown Ground Beef
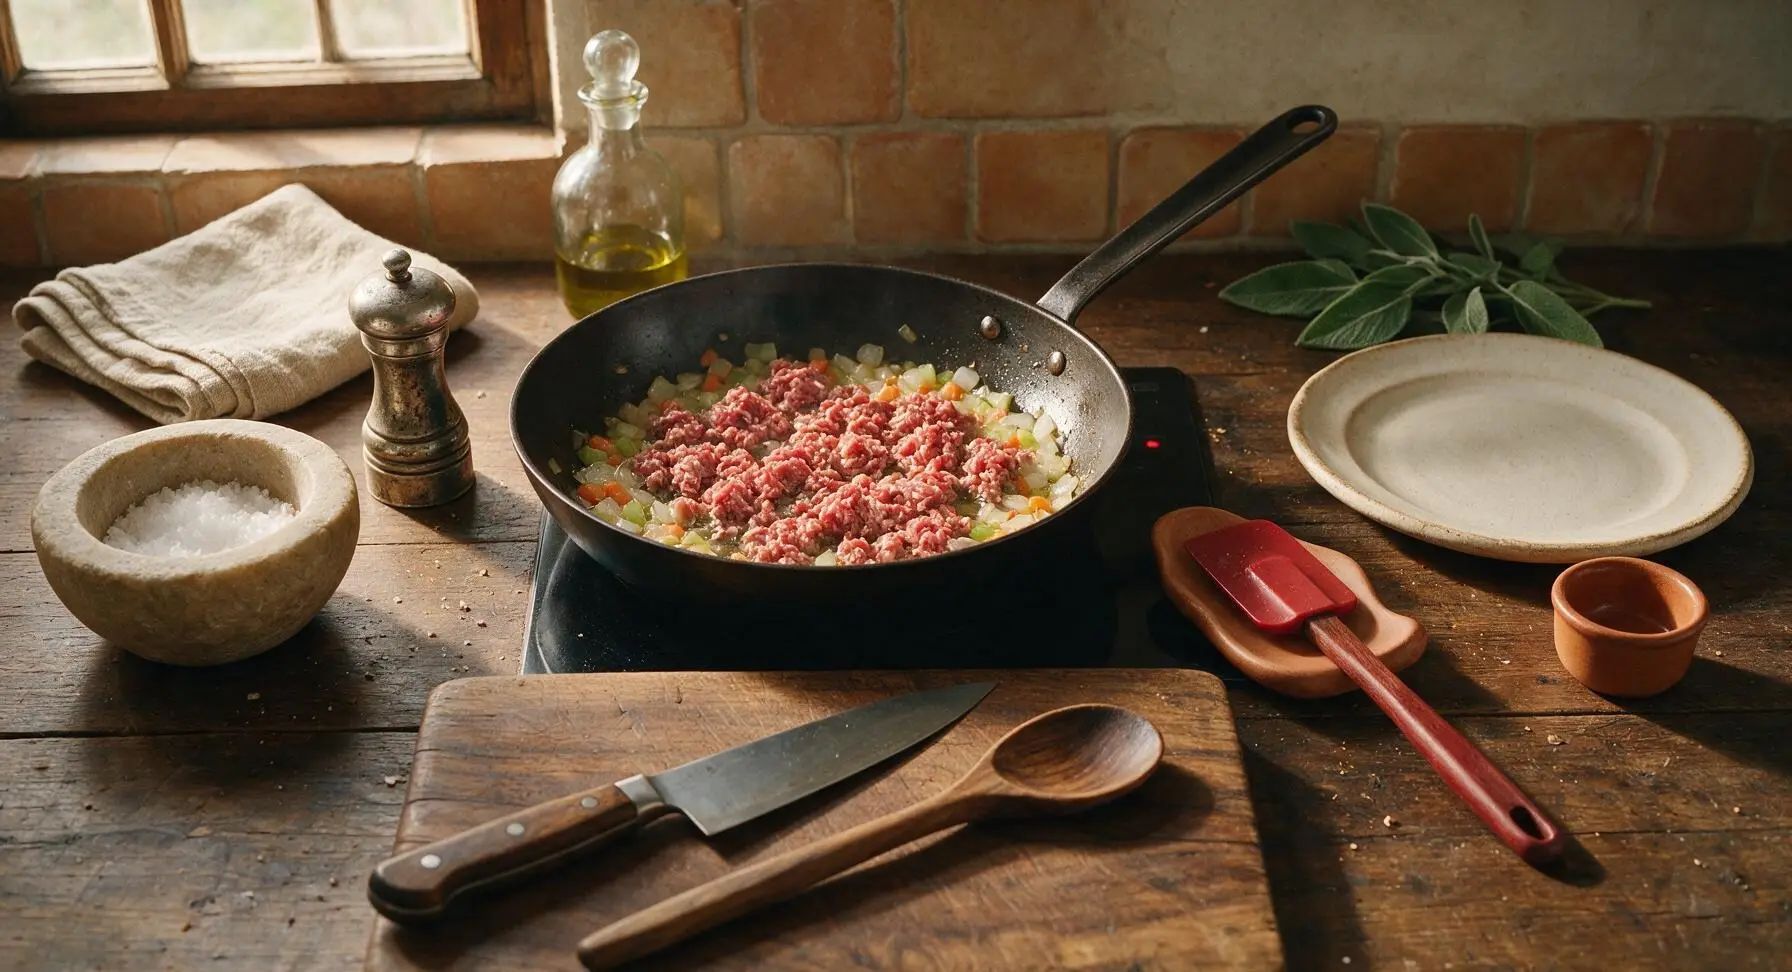
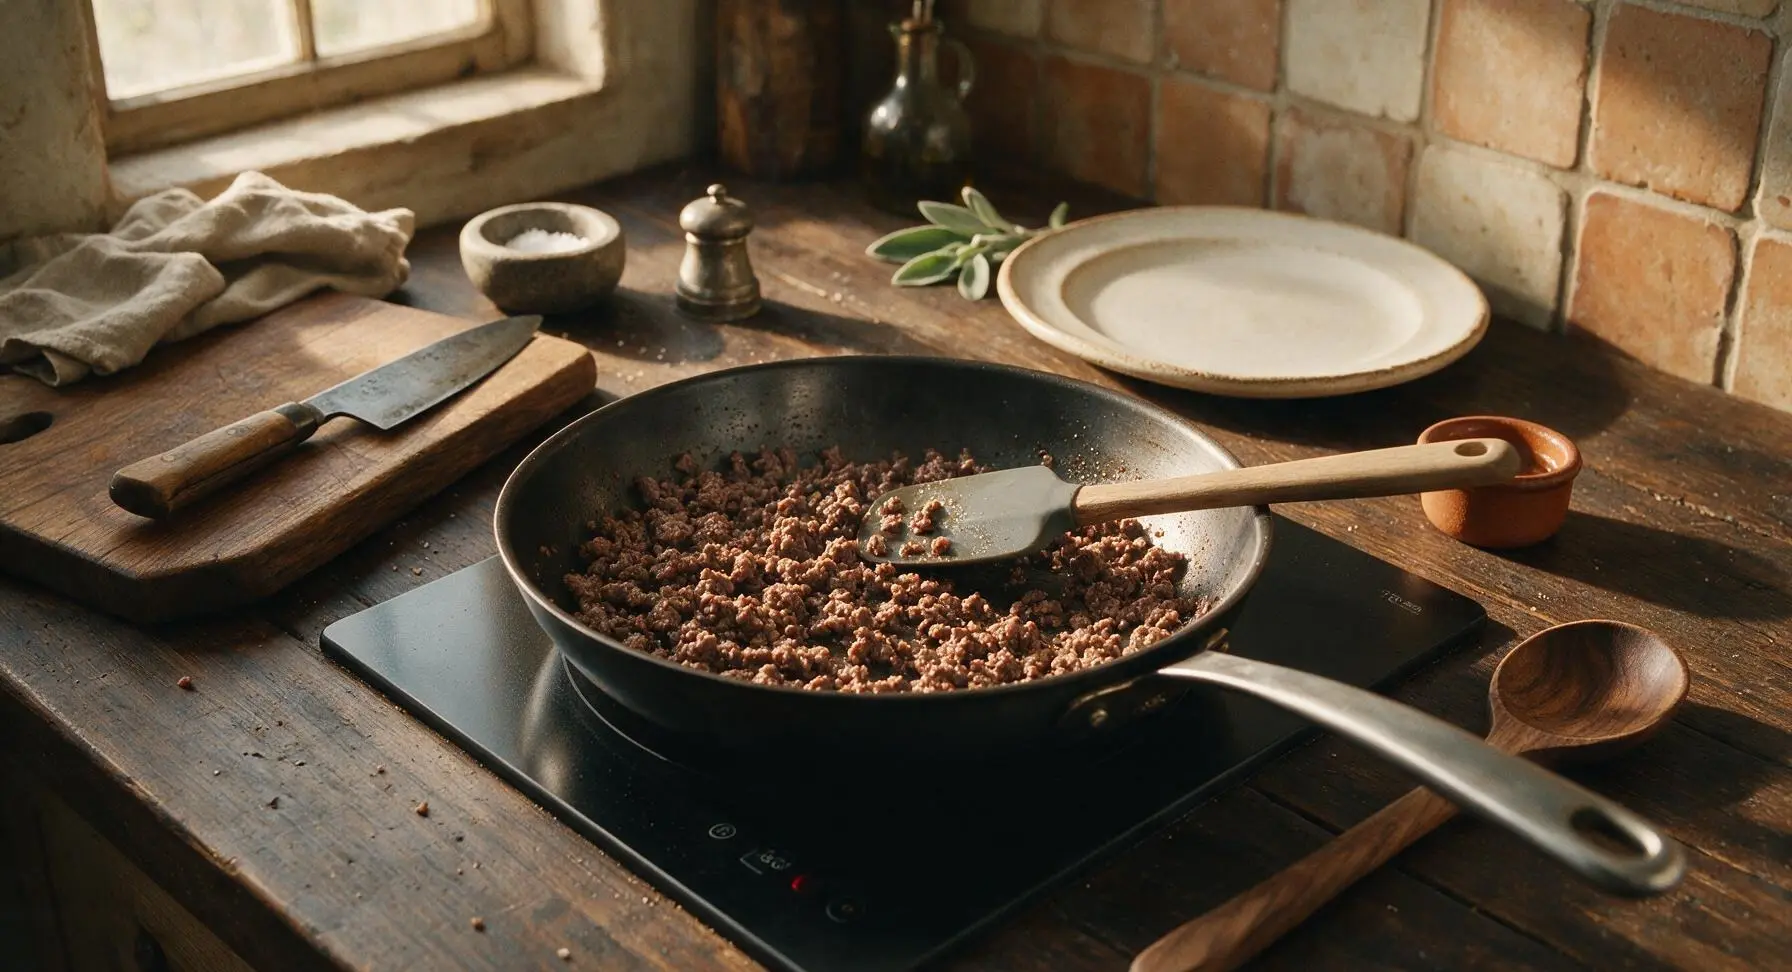
Place the 24cm carbon steel skillet on the induction burner set to medium heat (350°F / 175°C). Add 1 teaspoon neutral oil, then add the diced onion and sauté for 2 minutes until soft and translucent. Add 400g 85/15 ground beef to the skillet, breaking it apart into small crumbles with the silicone spatula as it cooks. Cook for 6-7 minutes until the beef is fully browned with no pink remaining, and any excess liquid has evaporated. Season lightly with 1/2 teaspoon kosher salt and a few twists of black pepper from the pepper mill.
Mix in Sauce and Beans
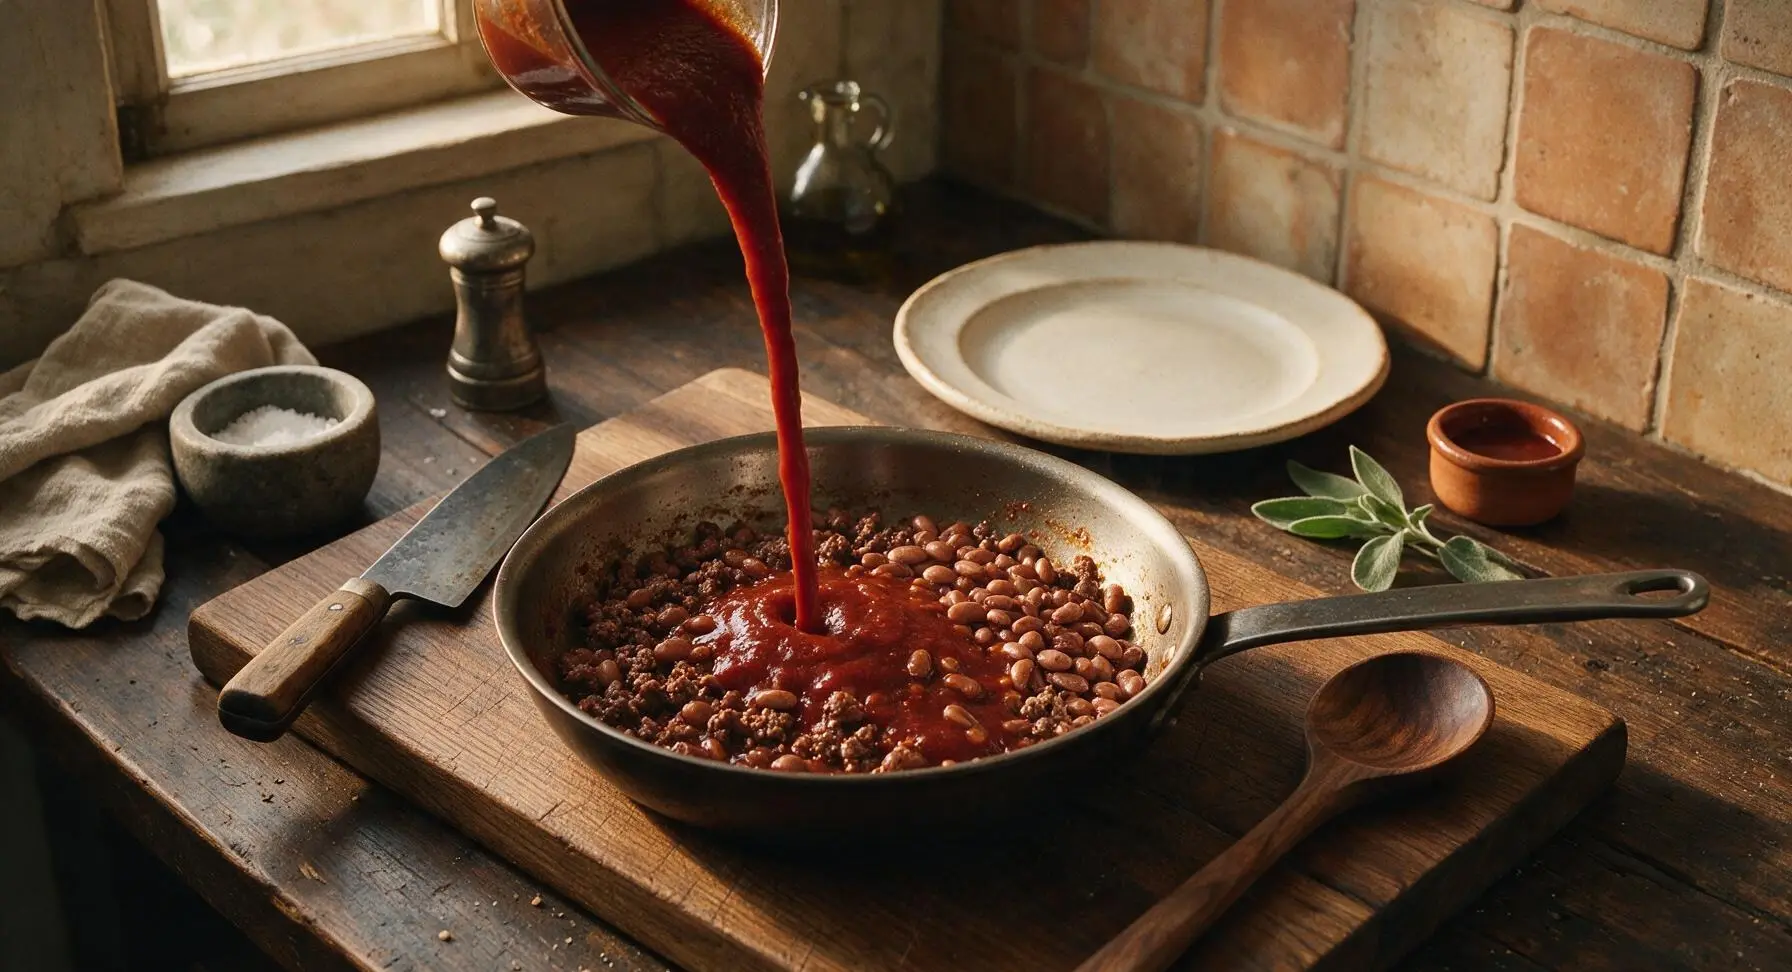
Pour the measured 2 tablespoons taco seasoning over the browned beef, stirring to coat all crumbles evenly for 30 seconds until fragrant. Add the 1 cup mild red enchilada sauce and 1/2 cup rinsed pinto beans to the skillet, stirring with the silicone spatula to combine. Reduce heat to medium-low (300°F / 150°C) and simmer for 3 minutes until the sauce thickens slightly and coats the beef crumbles, rather than pooling at the bottom of the pan. Taste and add the remaining 1/2 teaspoon salt only if needed, as taco seasoning and enchilada sauce often contain high sodium.
Warm Flour Tortillas
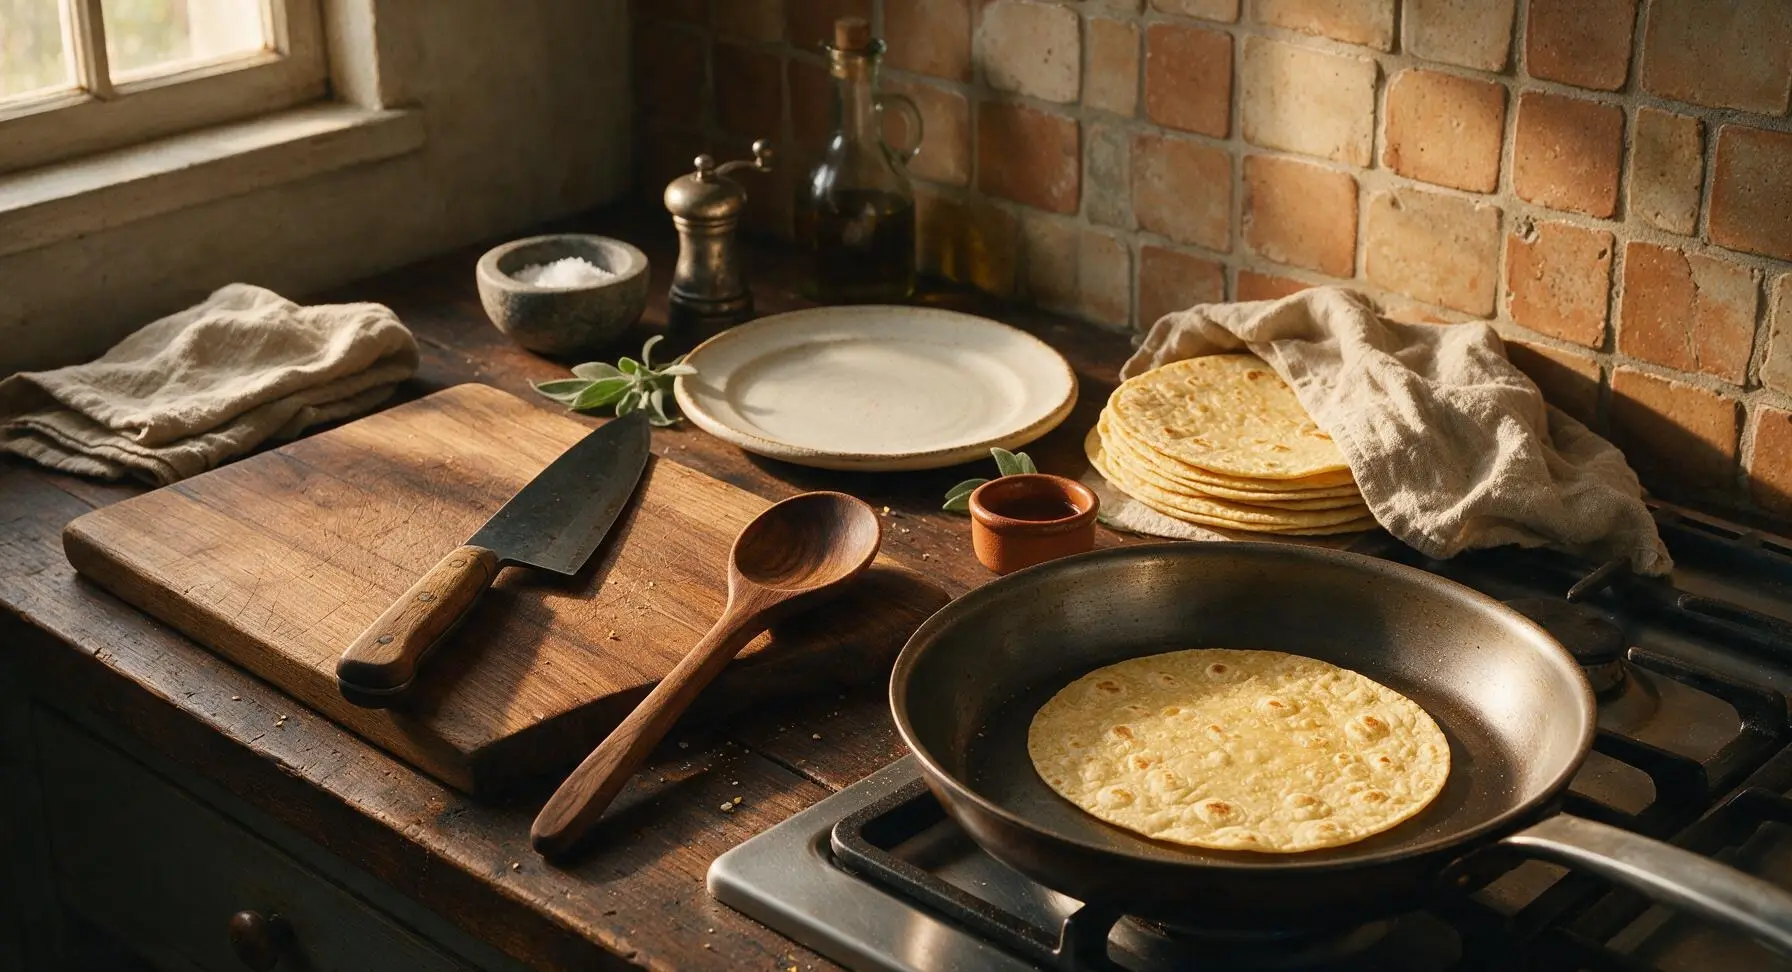
While the filling simmers, warm the 4 large 10-inch flour tortillas one at a time in a dry pan over low heat for 10 seconds per side, or wrap them in a damp paper towel and microwave for 30 seconds total. Warming tortillas prevents them from cracking when rolling, which is a common beginner mistake. Stack warmed tortillas on a small plate and cover with the corner of the terracotta kitchen towel to keep them soft and pliable until ready to fill.
Layer Burrito Fillings
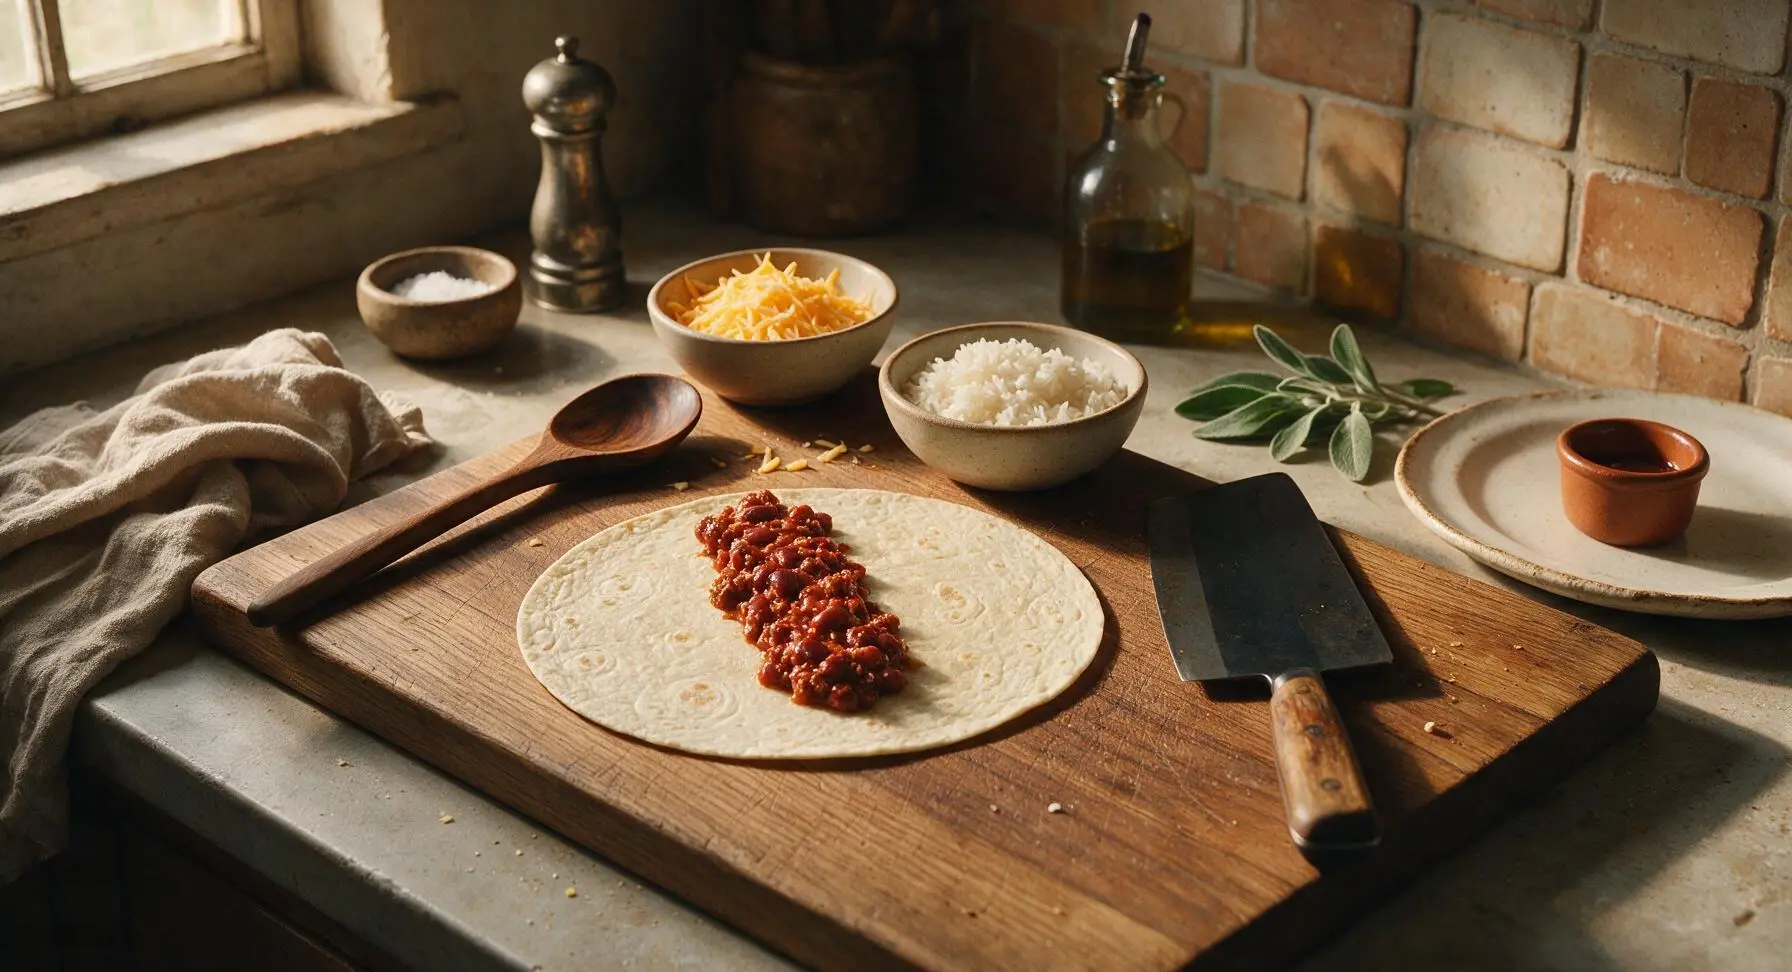
Lay one warm tortilla flat on the acacia cutting board. Add 1/4 of the beef and bean filling in a straight 4-inch line down the center of the tortilla, leaving 2 inches of space at the top and bottom edges to allow for folding. Top the beef with 1/4 cup cooked white rice, then 1/4 of the shredded cheddar cheese, making sure fillings are concentrated in the center and not spread too thin. Overfilling is the most common reason burritos split when rolling, so err on the side of slightly less filling if you are new to rolling.
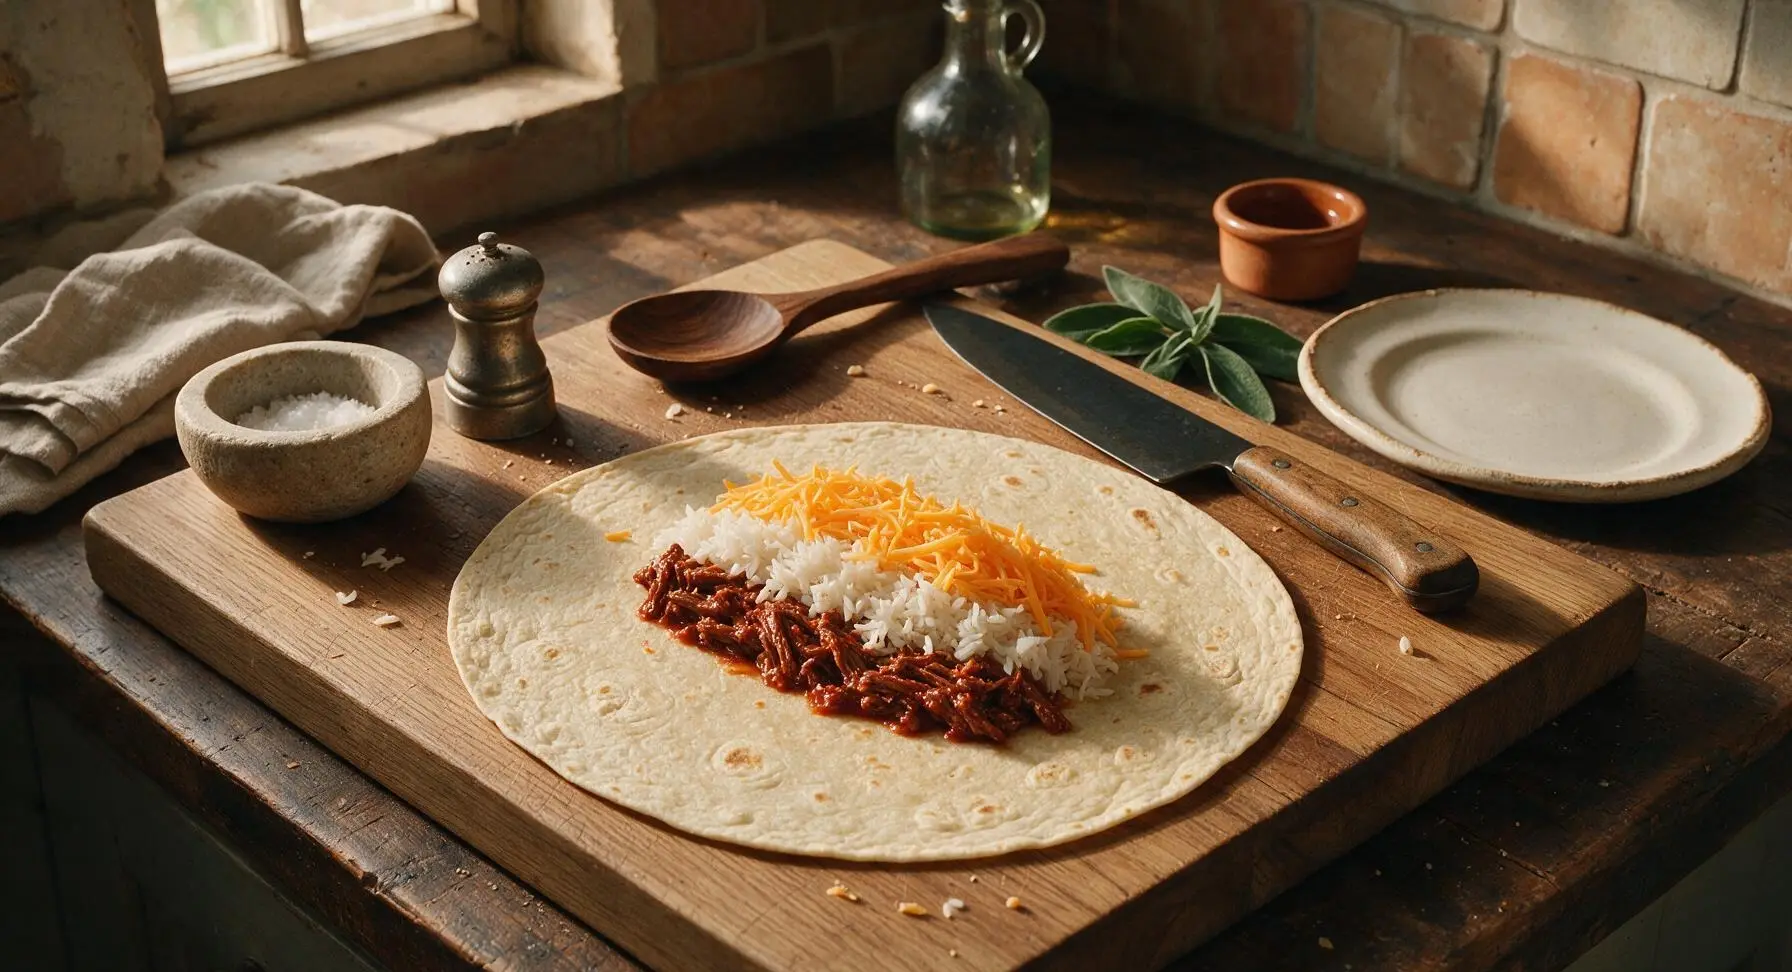
Roll Burritos Tightly
Fold the top and bottom 2-inch edges of the tortilla in over the ends of the filling line. Next, fold the left side of the tortilla tightly over the fillings, tucking it under the filling to create a tight seal, then continue rolling the burrito away from you until it is fully closed, with the seam side facing down. Apply gentle pressure as you roll to eliminate air pockets, which prevent fillings from falling out when eating. Repeat with the remaining 3 tortillas and fillings.
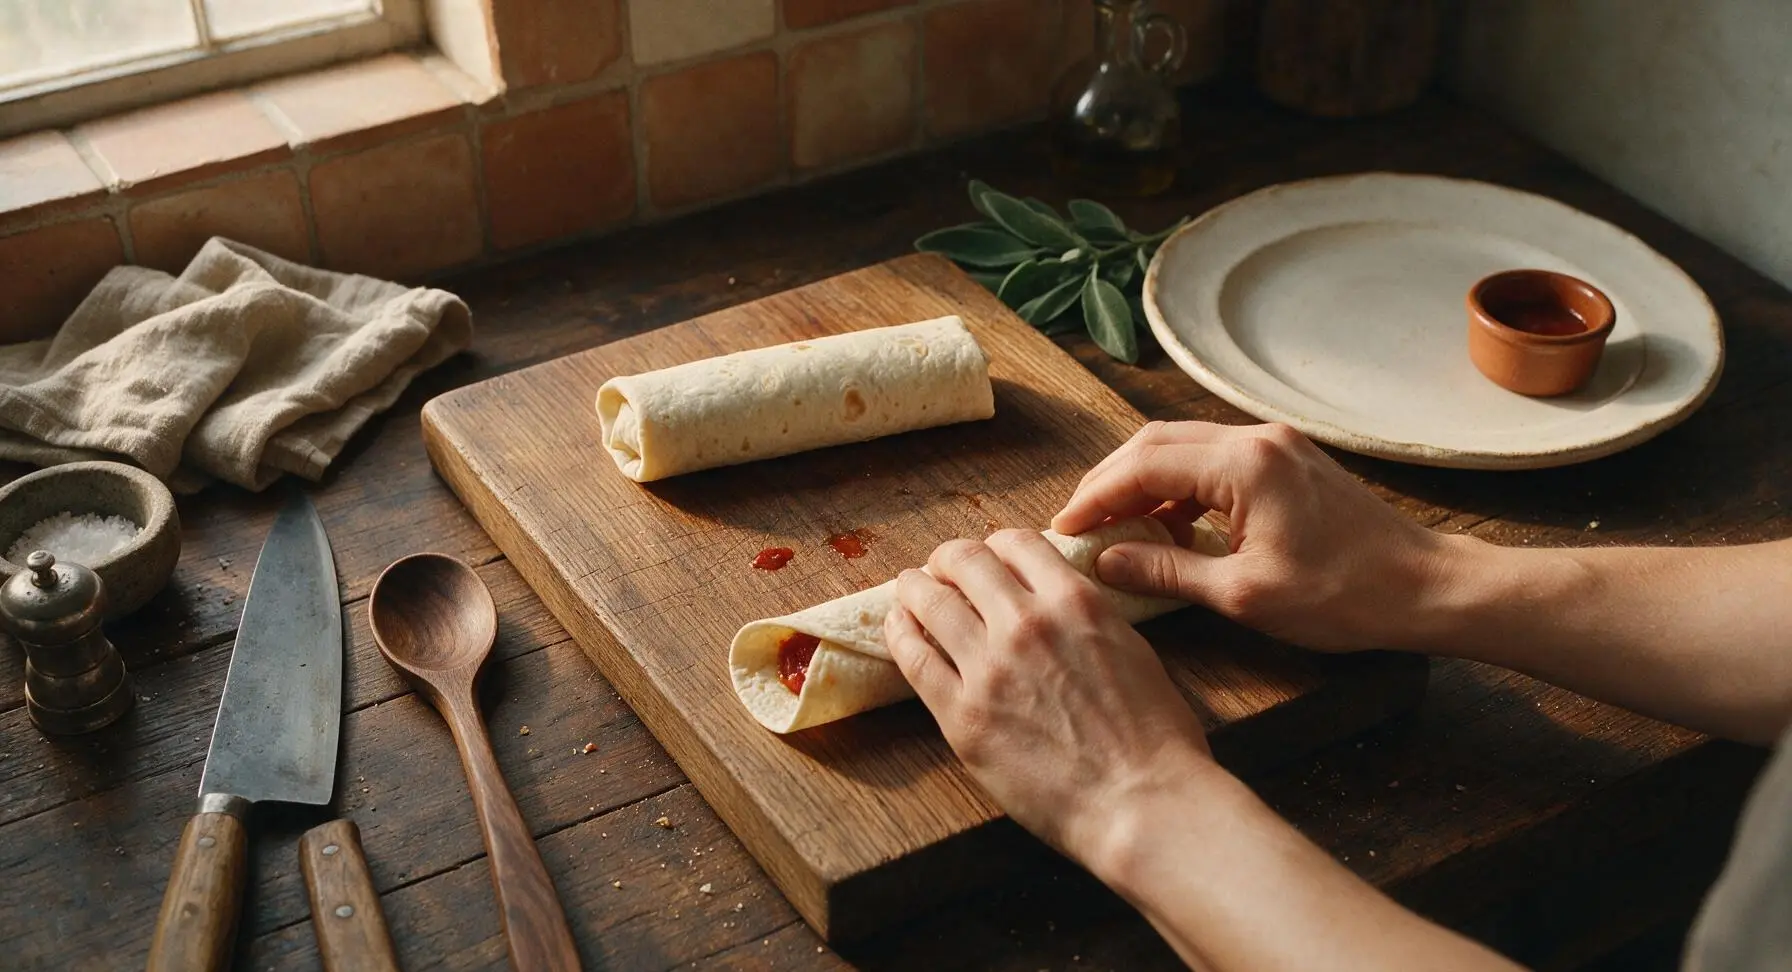
Toast Burritos Until Crisp
Return the skillet to medium heat (350°F / 175°C). Place the rolled burritos seam-side down in the dry skillet, working in batches if needed to avoid crowding the pan. Cook for 1.5 minutes per side, turning gently with the silicone spatula, until the tortilla is golden brown and slightly crisp on all sides, and the cheese inside is fully melted. You will see faint golden toasted spots on the tortilla exterior when it is ready.
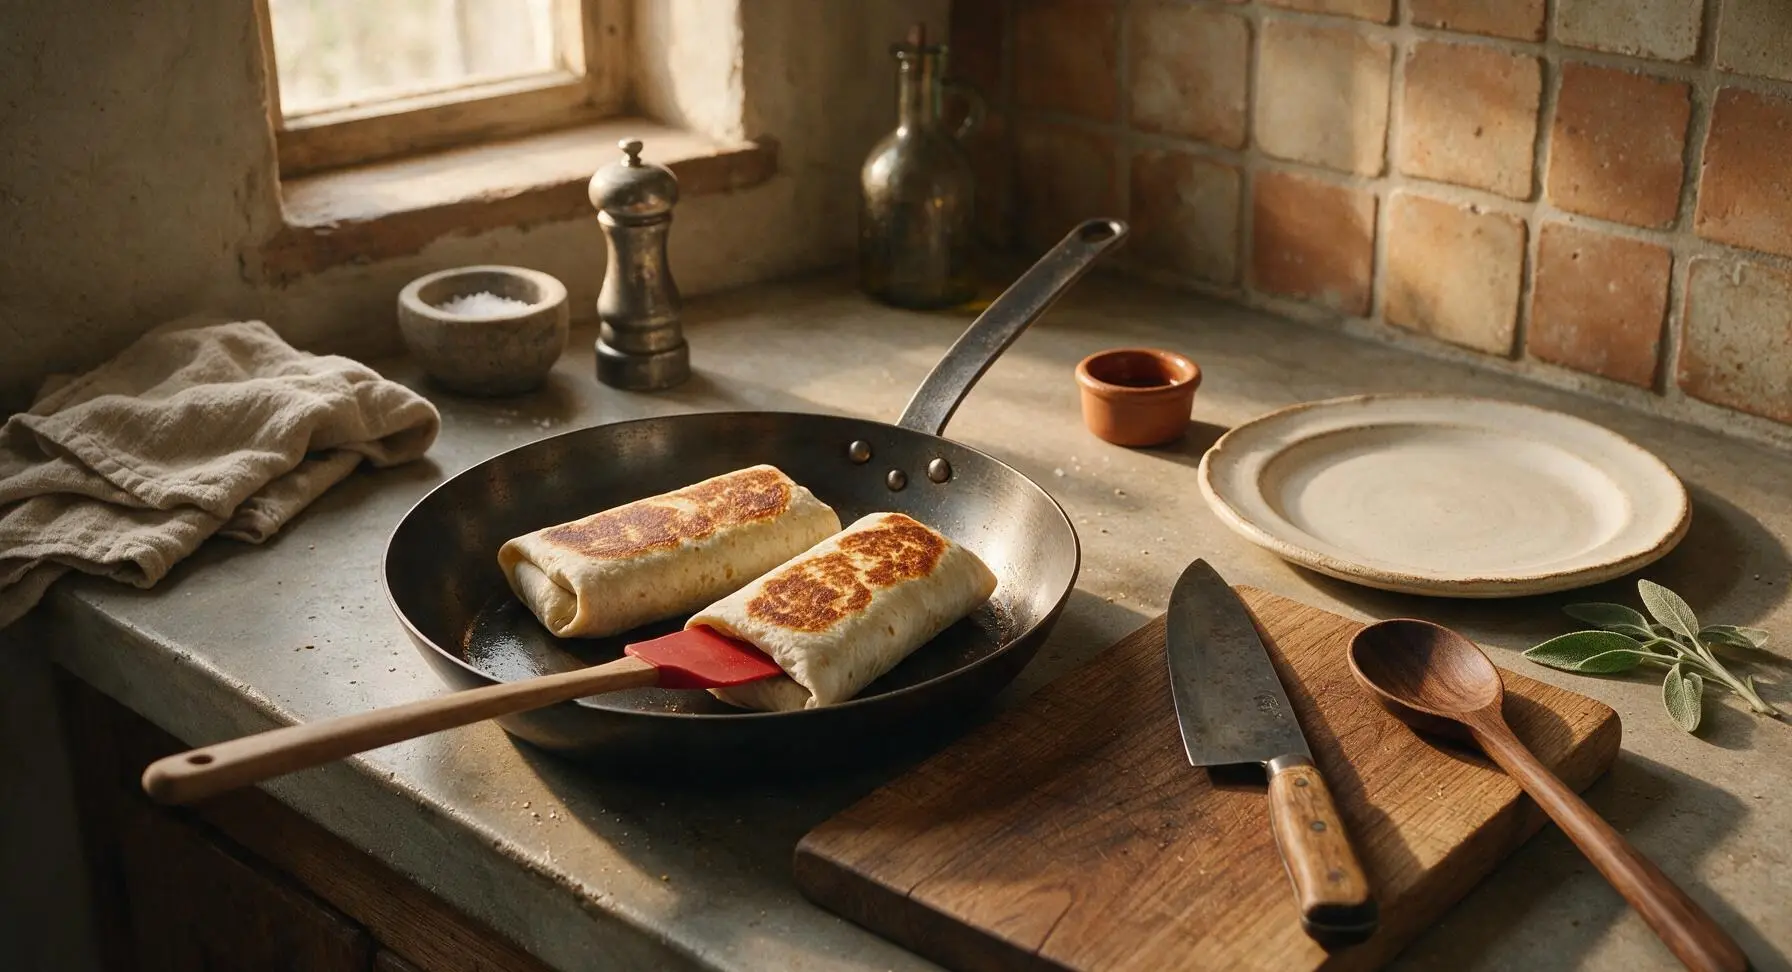
Rest and Plate Burritos
Transfer the toasted burritos to the terracotta dinner plate, and let them rest for 2 minutes to allow the cheese to set and fillings to cool slightly, preventing burns when biting in. Slice two of the burritos in half on a diagonal to show the cross-section filling. Garnish with a light sprinkle of chopped fresh cilantro, and serve with sour cream on the side for dipping.
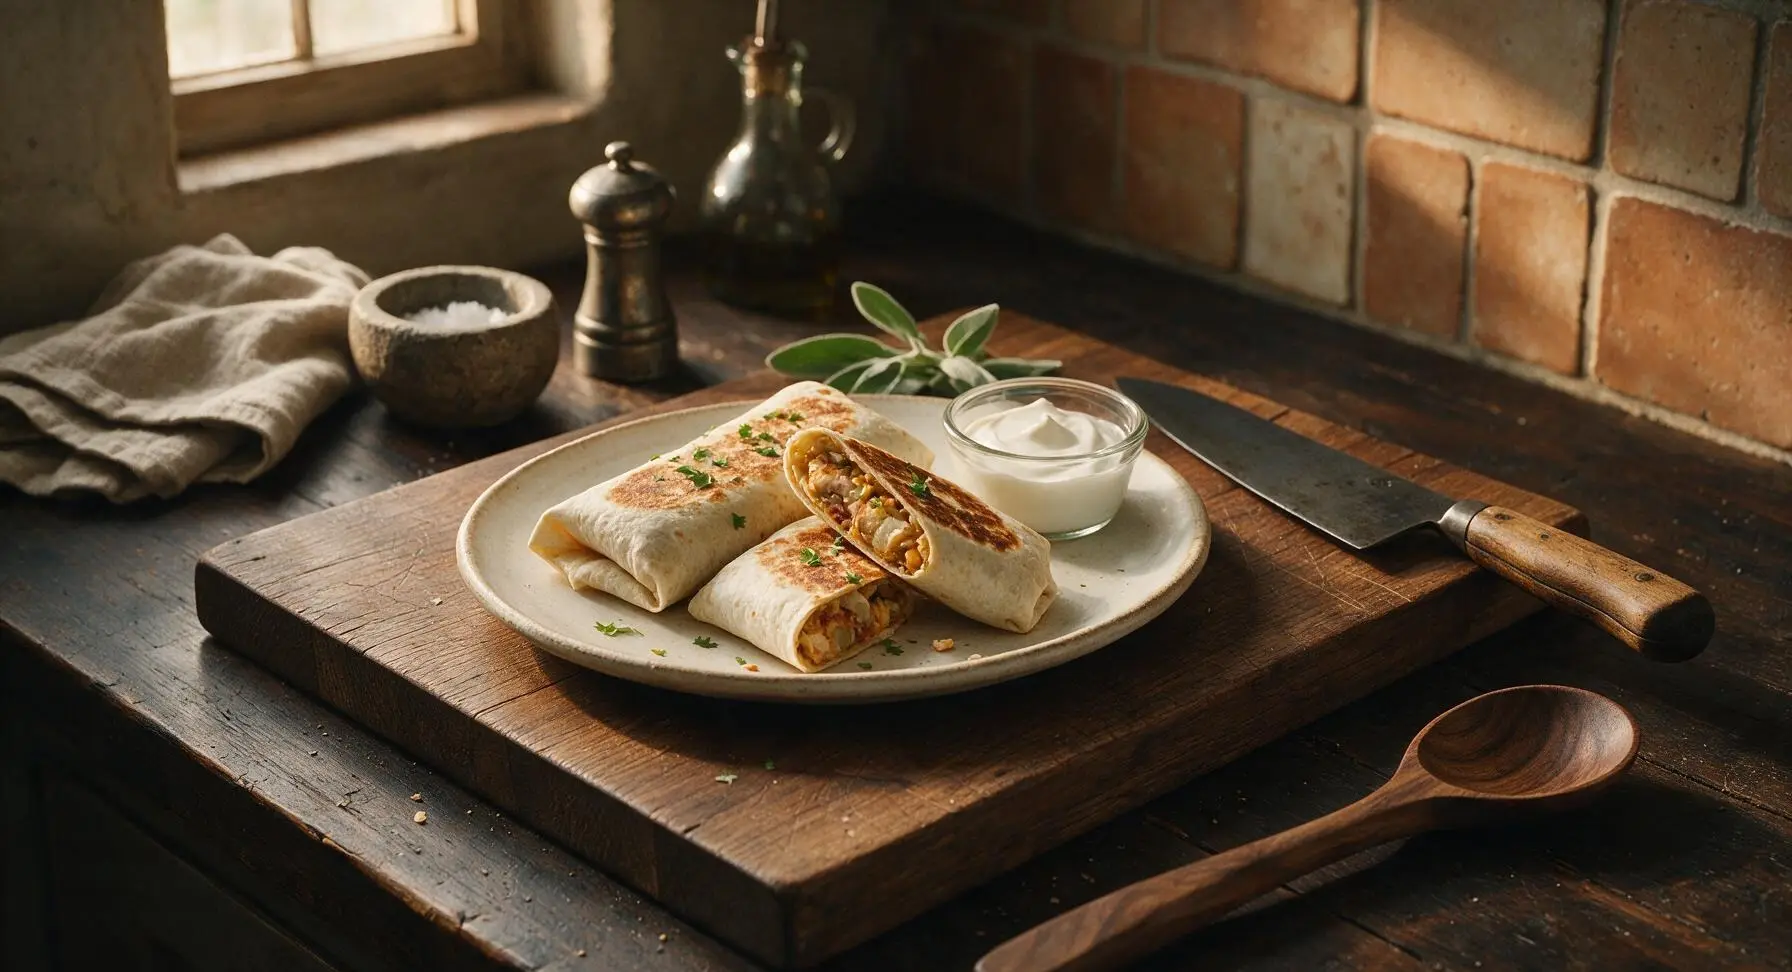
Tips
2.Avoid overfilling burritos: It can be tempting to pack in extra filling, but leaving 2 inches of clear tortilla edge on all sides creates a tight seal that prevents fillings from leaking out while toasting or eating.
3.Freeze extras for make-ahead meals: Wrap cooled, un-toasted burritos tightly in plastic wrap and foil, and store for up to 3 months. Toast directly from frozen over medium-low heat for 8-10 minutes per side to replicate the convenient Costco frozen burrito experience at home.






OMG this is SO good! I’ve been buying those Red’s burritos from Costco every single grocery run for months because my teen boys devour them, but they’ve gotten so expensive lately. Made this last night for dinner and my kids asked for seconds before they even finished their first! The flavor is spot on, I couldn’t tell the difference. Total game changer for our weeknight meals.
20 minute cook time? Sign me UP. I live off frozen burritos between classes but my dorm building has a little community kitchen so I tested this yesterday. Way cheaper than buying the bulk pack from Costco, and I froze a bunch for quick meals between midterms. Only thing I did different was add a little extra rice because I love carby burritos.
Made these for our football watch party potluck last weekend and they were gone in 10 minutes flat. Everyone was asking where I bought them, they couldn’t believe I made them from scratch. So easy to wrap up ahead of time and keep warm in the crockpot for the game. Will be making these every game day from now on.
I’m so excited to make these! Quick question—does anyone know if these work with gluten free flour tortillas? My youngest has celiac so we can’t do regular wheat tortillas, but she’s obsessed with those Costco Red’s burritos when we go to my sister’s house.
Added these to my Sunday meal prep rotation! I made 12 of them on Sunday, wrapped them individually in foil, and grabbed one for lunch every day this week. They reheat perfectly in the oven or even the microwave at work—no soggy tortilla, all the flavor is still there. 10/10, would recommend to anyone who hates spending money on takeout lunch.
This was good but I added a handful of pickled jalapeños to the filling because I like my burritos with a little kick. Tasted even better than the original in my opinion!
I’m literally terrible at cooking, like I burn toast half the time, and even I managed to pull these off! The steps are so straightforward, no fancy ingredients needed. My roommate thought I ordered them from the Costco food court lmao. 10/10 for us beginner cooks.
Made these for family taco night instead of our usual tacos and it was a hit! Even my super picky 7 year old who only eats chicken nuggets ate a whole burrito without complaining. The only adjustment I made was using ground turkey instead of beef because that’s what we had in the fridge, and it still tasted amazing.
Wait hold on, do these have that same little bit of crispy cheese on the outside that the frozen Red’s ones get when you cook them? That’s my favorite part, I don’t want to miss that!
Brought these to our neighborhood block party last week and I had so many neighbors begging for the recipe! I cut them in half and set them out with a little side of sour cream and salsa for dipping, they were the most popular appetizer on the table.
20 minutes from start to finish? That’s a weeknight dinner dream come true. I get home at 6 every night and don’t have time for fancy recipes, so this is going straight into our regular rotation. No weird ingredients, nothing I have to run to the specialty grocery store for, perfect.
I was skeptical a copycat could actually match the real Red’s burrito because I’ve tried so many that fall flat, but wow—this is dead on. The seasoning blend is exactly right, the ratio of rice, beans, meat, and cheese is perfect. I will never pay $15 for the big box of frozen ones again.
Help! I tried making these last night and my tortillas kept tearing when I rolled them, so all the filling fell out when I cooked them. What did I do wrong? They tasted great, just looked like a mess lol.
Swapped the ground beef for crumbled plant-based meat and added a little extra corn and black beans, and it was so good! My meat-eating husband didn’t even notice it wasn’t beef. Super easy to adapt for vegetarians, 10/10.
These are perfect for after school snacks! My kids get home ravenous every day, and these are way more filling than chips or granola bars. I keep a stash in the freezer and they can heat one up themselves in the microwave after school, no help needed.
Has anyone tried freezing these after making them? I want to make a huge batch to have on hand for busy days, but I don’t want them to get freezer burn or turn soggy when I reheat them.
Made these after a late night shift last week and they hit so much better than the fast food burritos I usually grab on my way home. Quick, filling, way cheaper, and I didn’t feel gross after eating it. Will be keeping these stocked in my fridge from now on.
I added a little dollop of sour cream inside the burrito like I do with all my burritos, and it was chef’s kiss. The recipe is so simple and easy to tweak to your own tastes, that’s my favorite part. Already sent the link to my whole family group chat.
Let’s be real, the Red’s burritos from Costco are elite, but this copycat? It’s better. I added a little extra cheese (obviously) and cooked it on the griddle until the outside was toasty, and I’m never going back to the frozen ones. Easy, fast, cheaper, better flavor. 10 out of 10, no notes.