
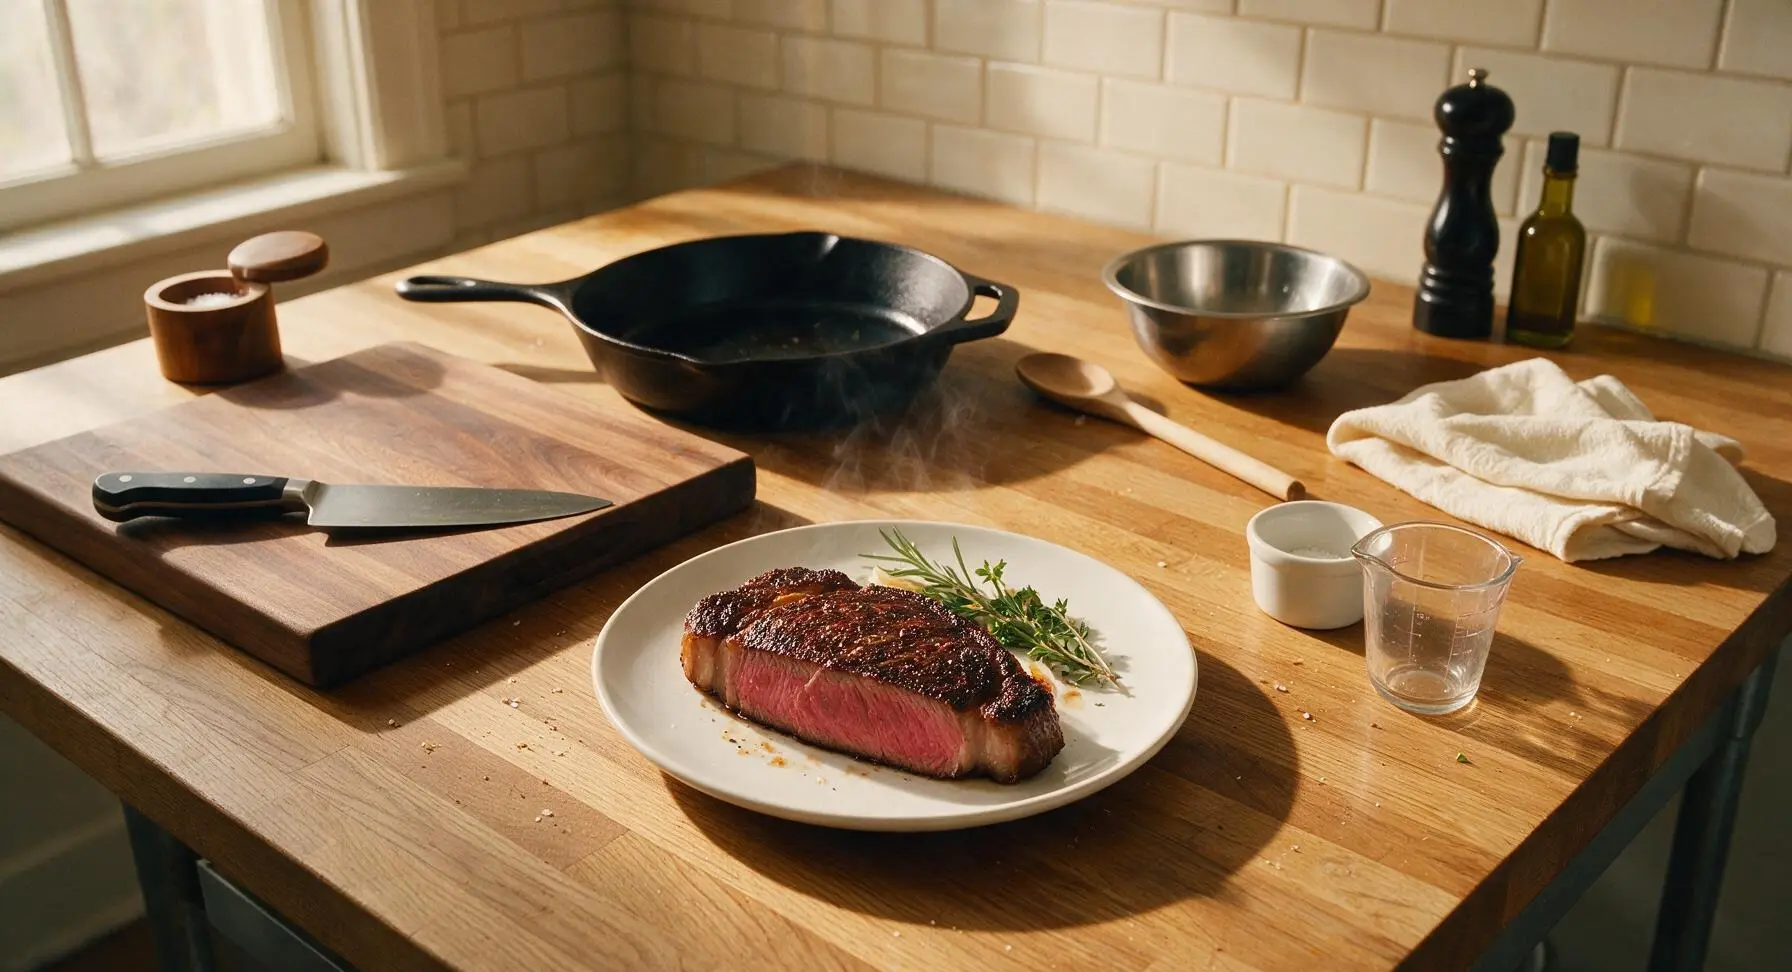
Reverse Sear Steak

title 1
Reverse Sear Steak
⏱️ cook time 40 minutes
🍽️ servings 2
⚡ Difficulty medium

intro

The reverse sear method delivers edge-to-edge medium-rare steak with a shatteringly crisp crust—no gray overcooked bands, no guesswork, steakhouse-quality results perfect for date night.

Ingredients
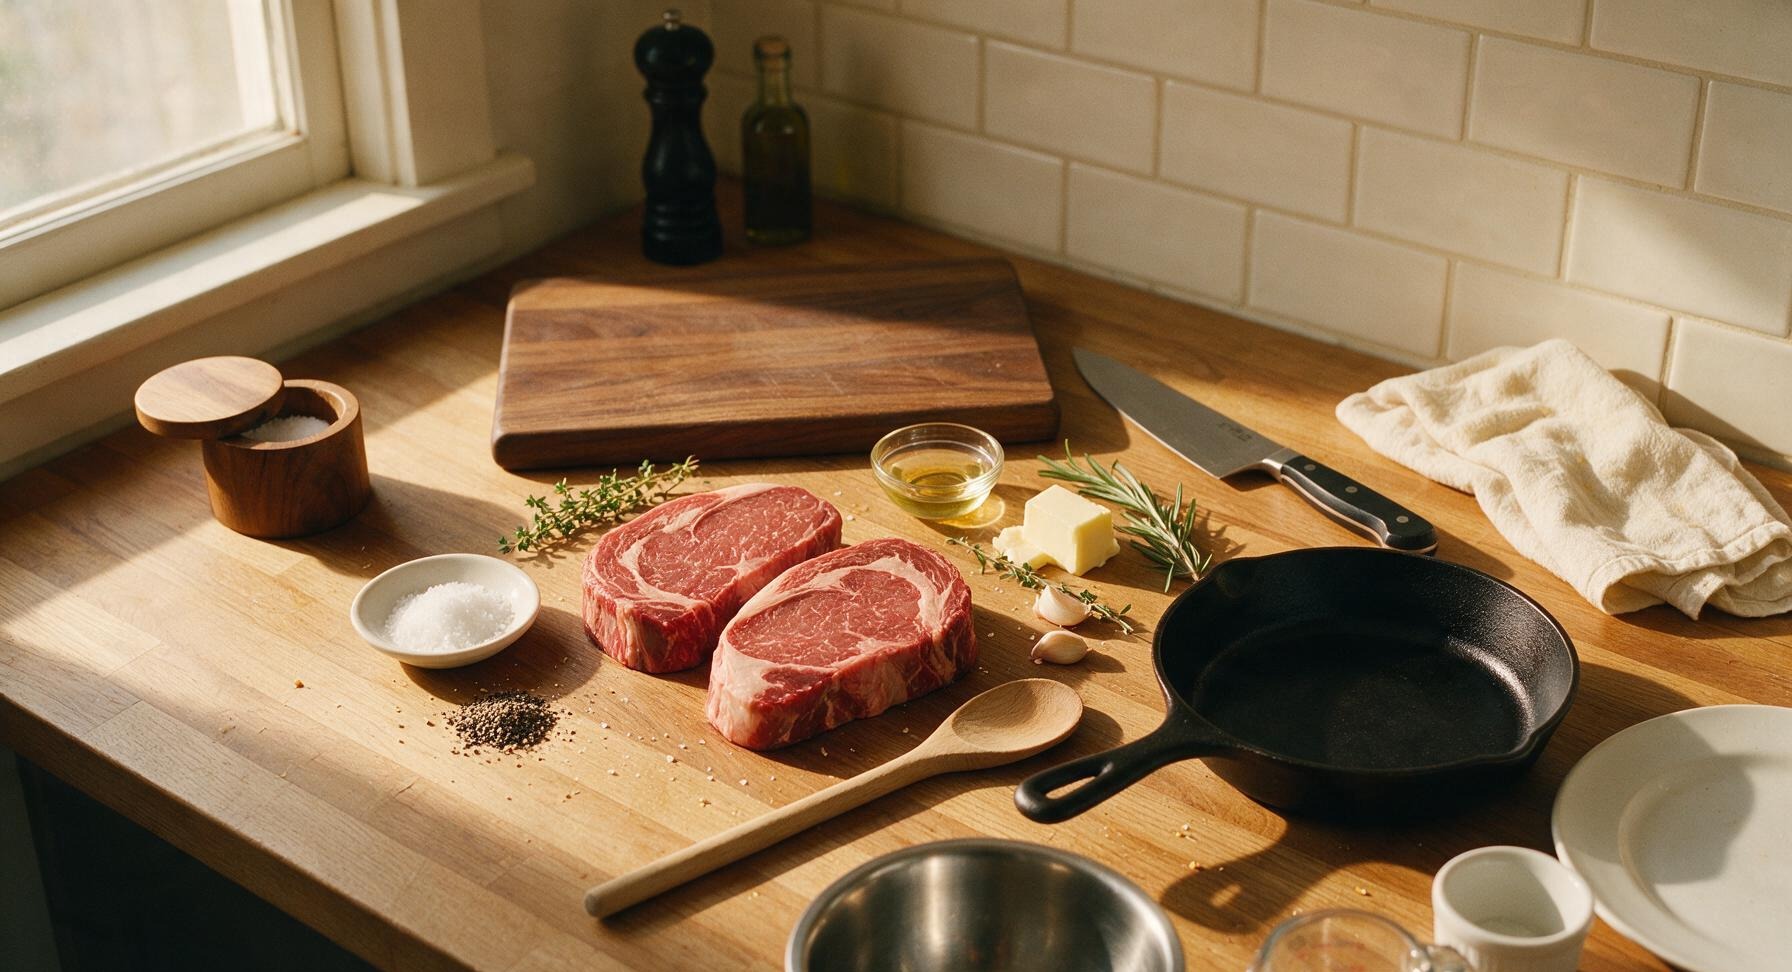
Boneless ribeye steaks (1.5 inches thick) 2 pieces (680g total, 12oz each)
Kosher salt 1 tablespoon
Freshly cracked black pepper 1 teaspoon
Neutral high-smoke-point oil (avocado or canola) 1 teaspoon
Unsalted butter 2 tablespoons (28g)
Fresh thyme sprigs 2 pieces
Fresh rosemary sprig 1 piece
Garlic cloves, lightly crushed 2 pieces

Steps

1

Season Steaks Generously

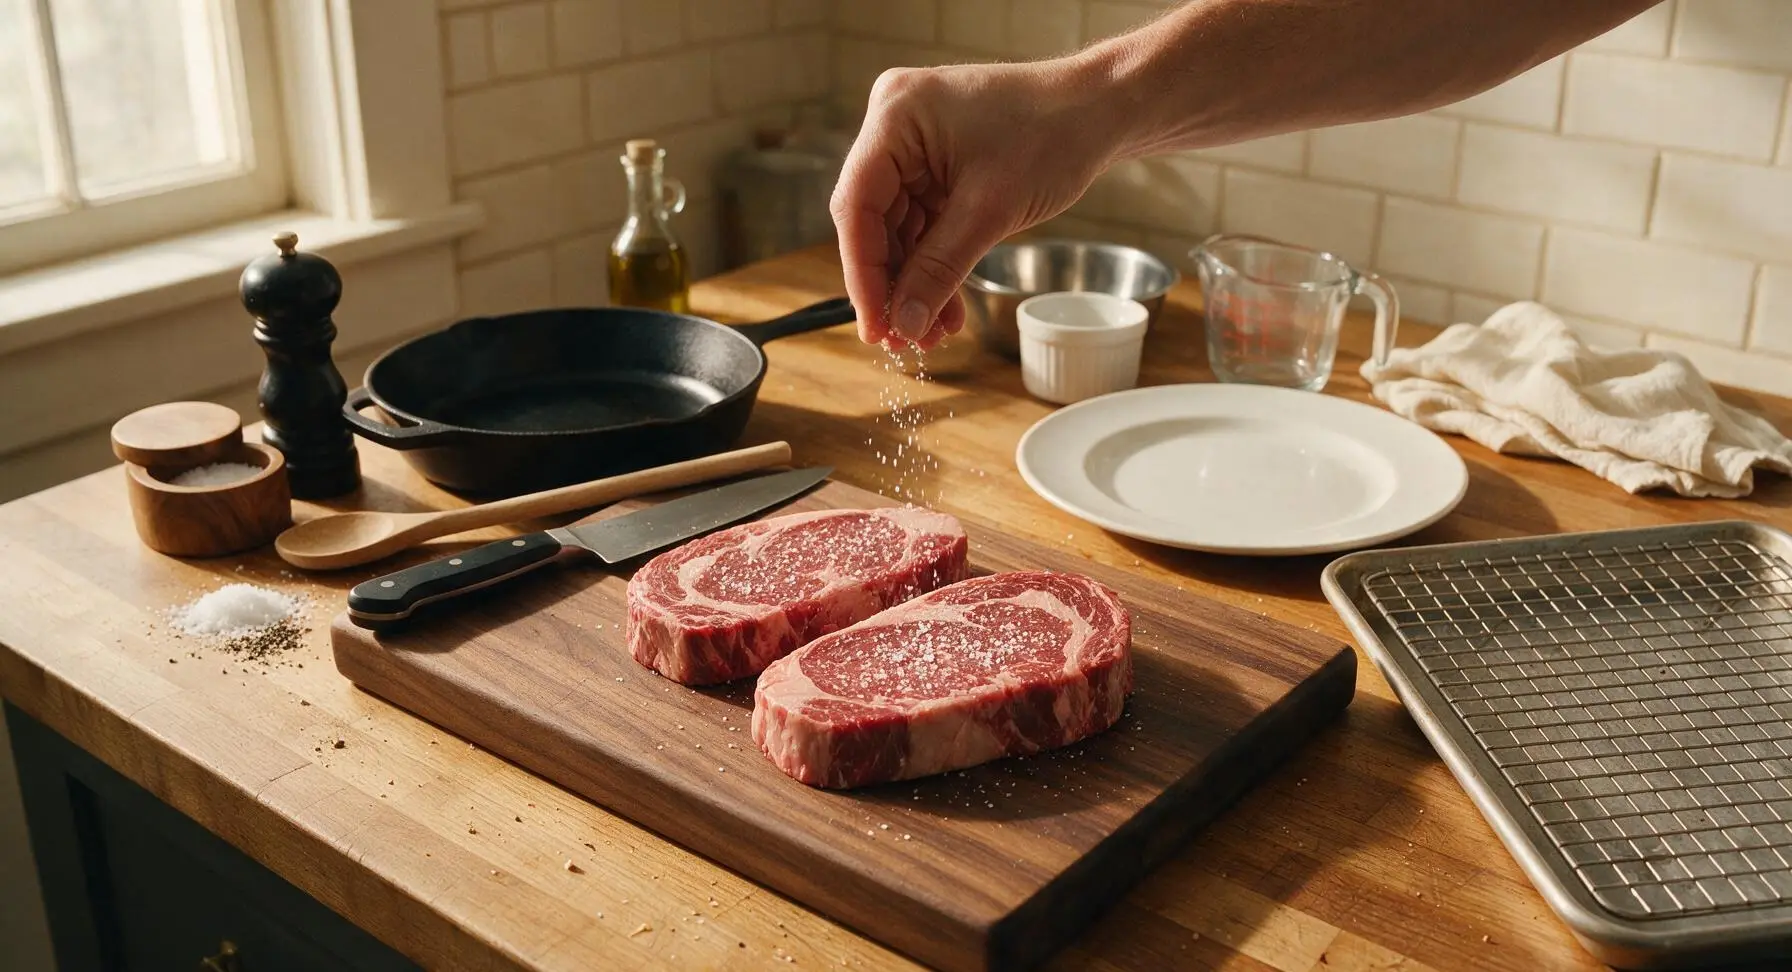
Pat the ribeye steaks completely dry on all sides using a clean paper towel. Season generously on every surface (top, bottom, and thick side edges) with 1 tablespoon kosher salt and 1 teaspoon freshly cracked black pepper. Set the seasoned steaks on the chrome wire rack nested inside the rimmed aluminum baking sheet, and let rest at room temperature for 40 minutes to allow salt to penetrate and the surface to air-dry for optimal crust formation. For even better results, rest the racked steaks uncovered in the fridge for 12–24 hours.
Step 1
step1:Season Steaks Generously
2

Slow Cook in Low Oven

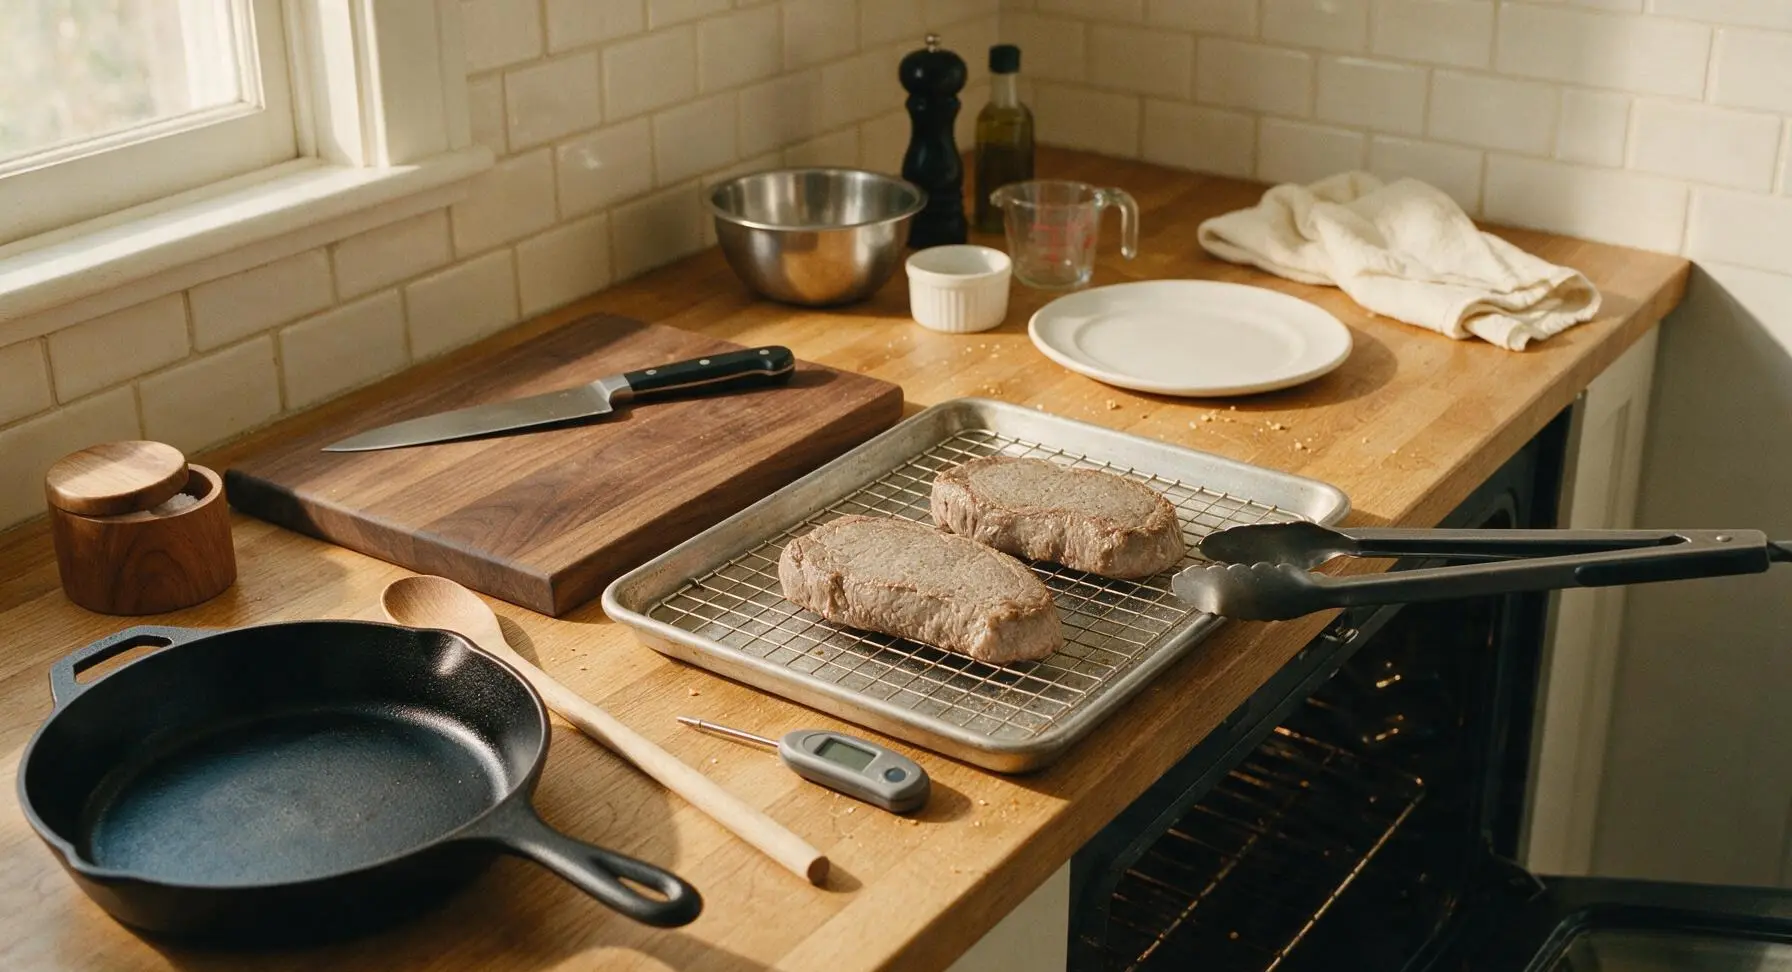
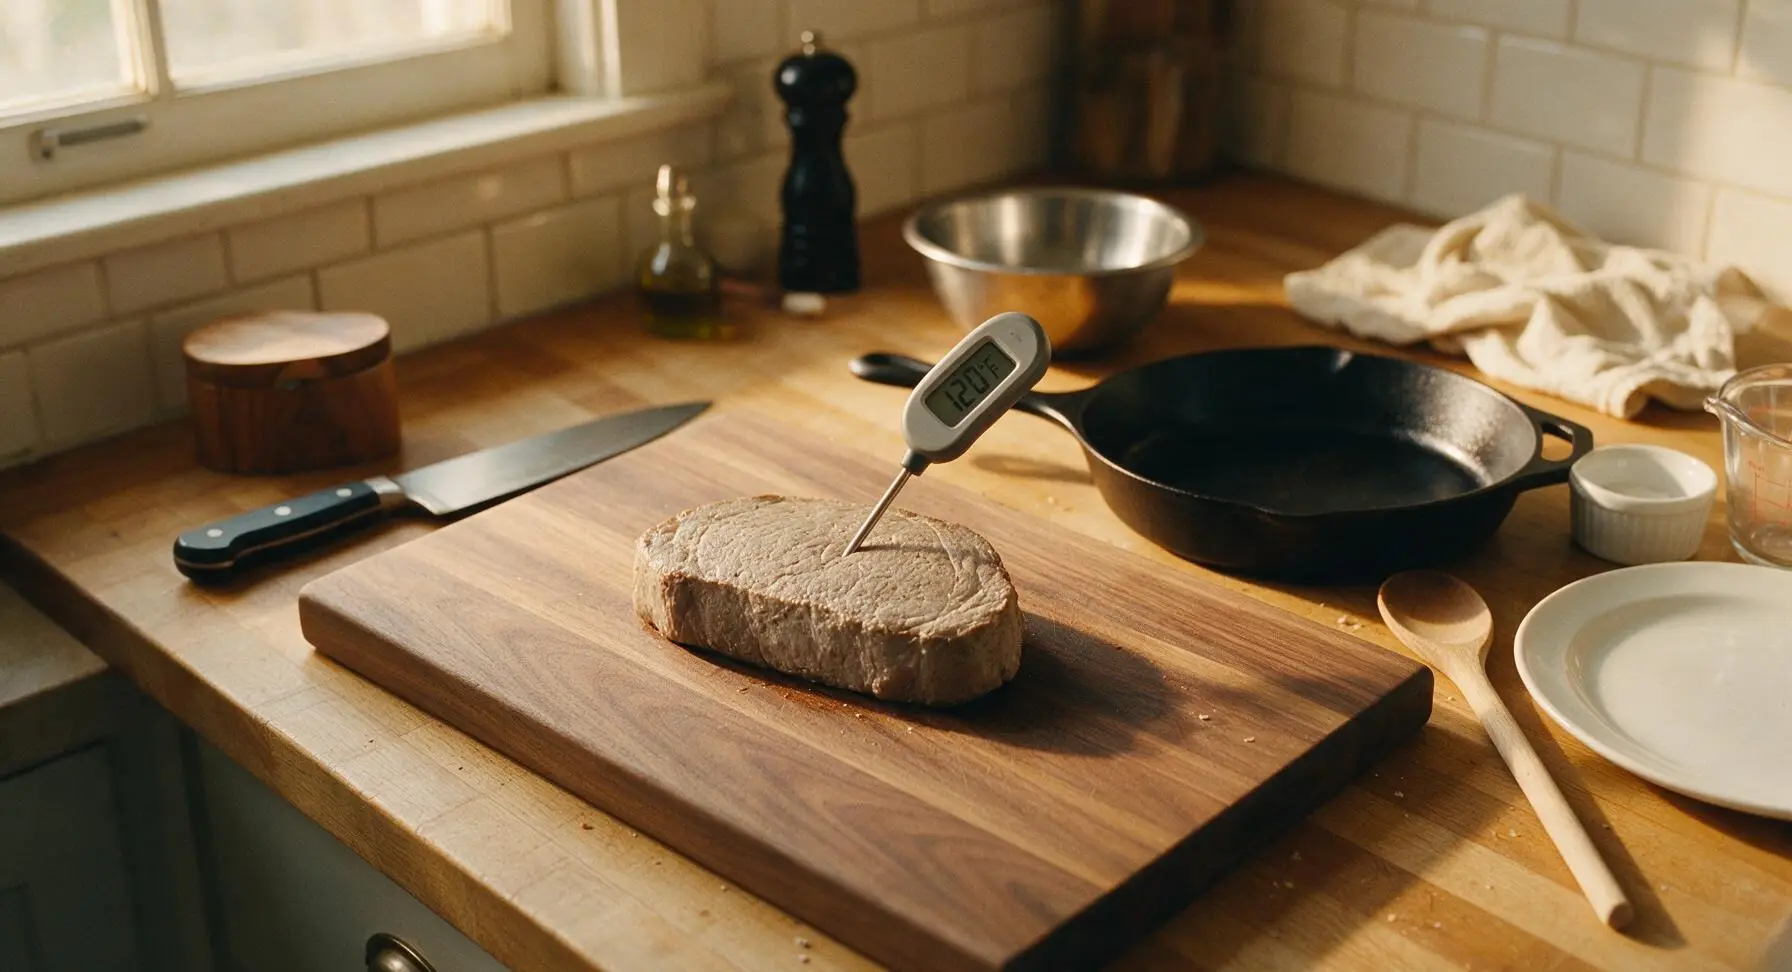
Adjust your oven rack to the middle position and preheat to 275°F (135°C). Once preheated, transfer the baking sheet with racked steaks to the oven. Cook for 30–38 minutes, inserting the digital instant-read thermometer into the thickest part of the steak to check for an internal temperature of 120°F (49°C) for medium-rare. At this stage, steaks will have a matte, pale gray-brown surface with no dark browning, and will feel soft to the touch.
Step 2
step2:Slow Cook in Low Oven
Step 2
step2:Slow Cook in Low Oven
3

Preheat Skillet for Searing

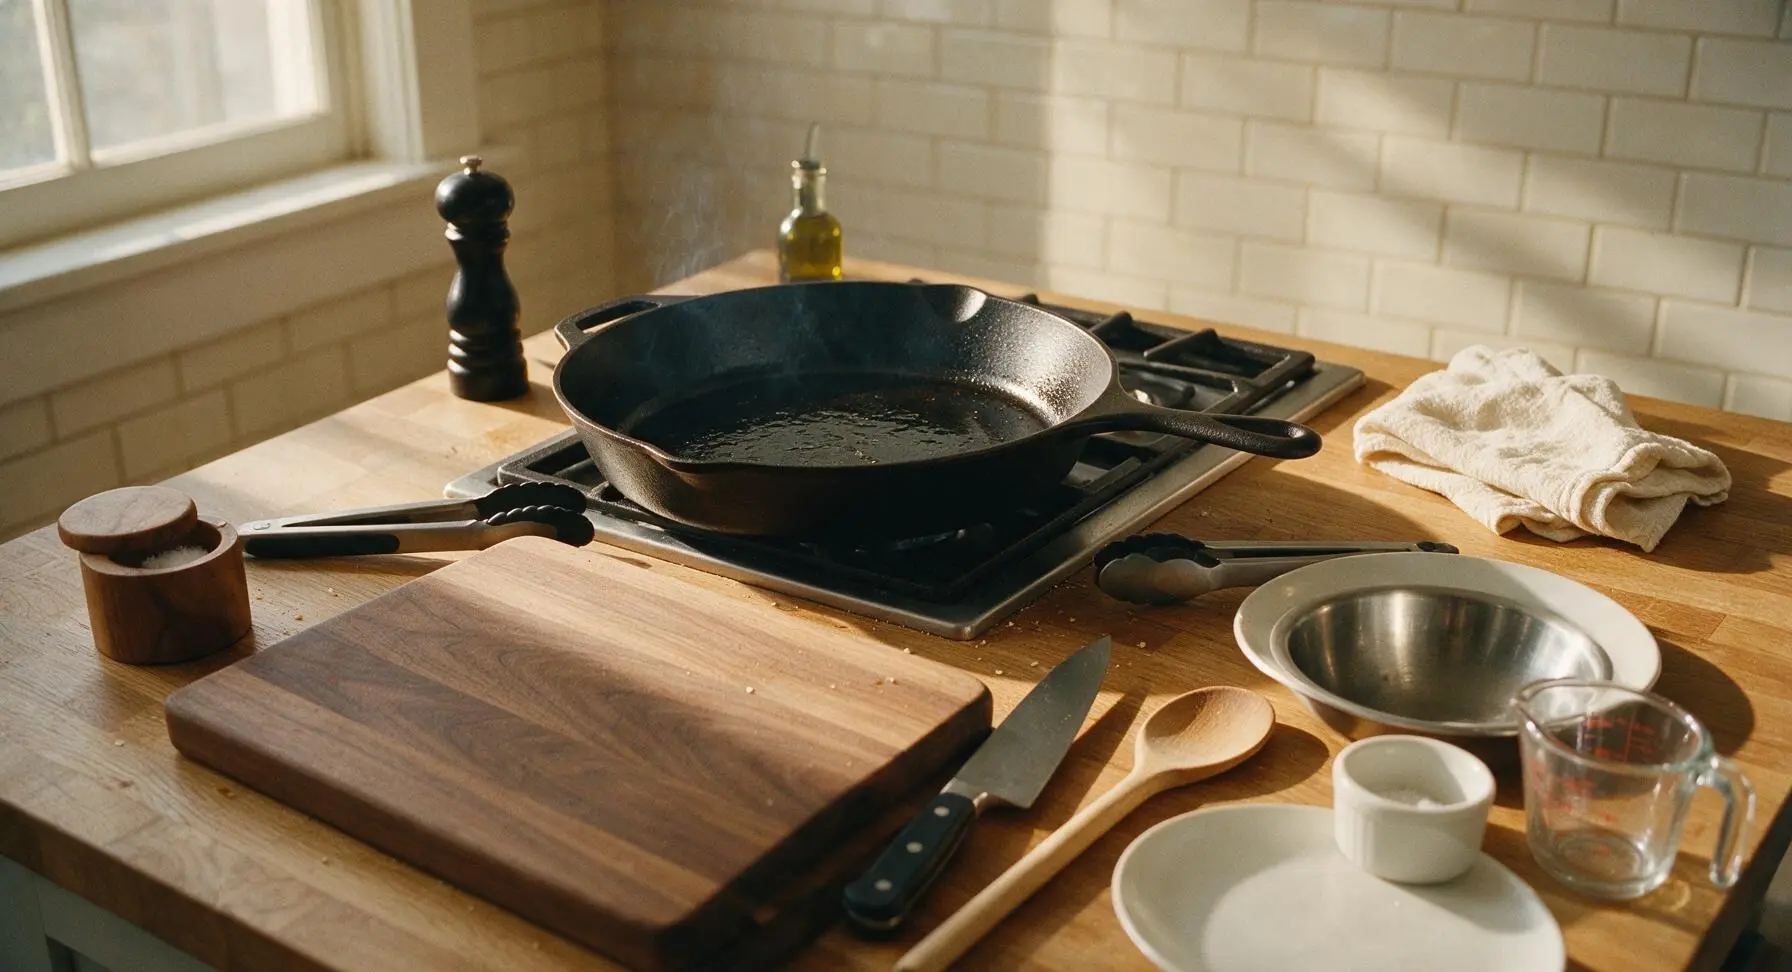
When steaks are 5 minutes away from their target oven temperature, place the 12-inch seasoned carbon steel skillet on the stovetop over high heat. Add 1 teaspoon of neutral high-smoke-point oil, and heat until the oil shimmers and releases faint, thin wisps of smoke. Do not add butter at this stage, as it will burn at searing temperature.
Step 3
step3:Preheat Skillet for Searing
4

Sear All Steak Surfaces

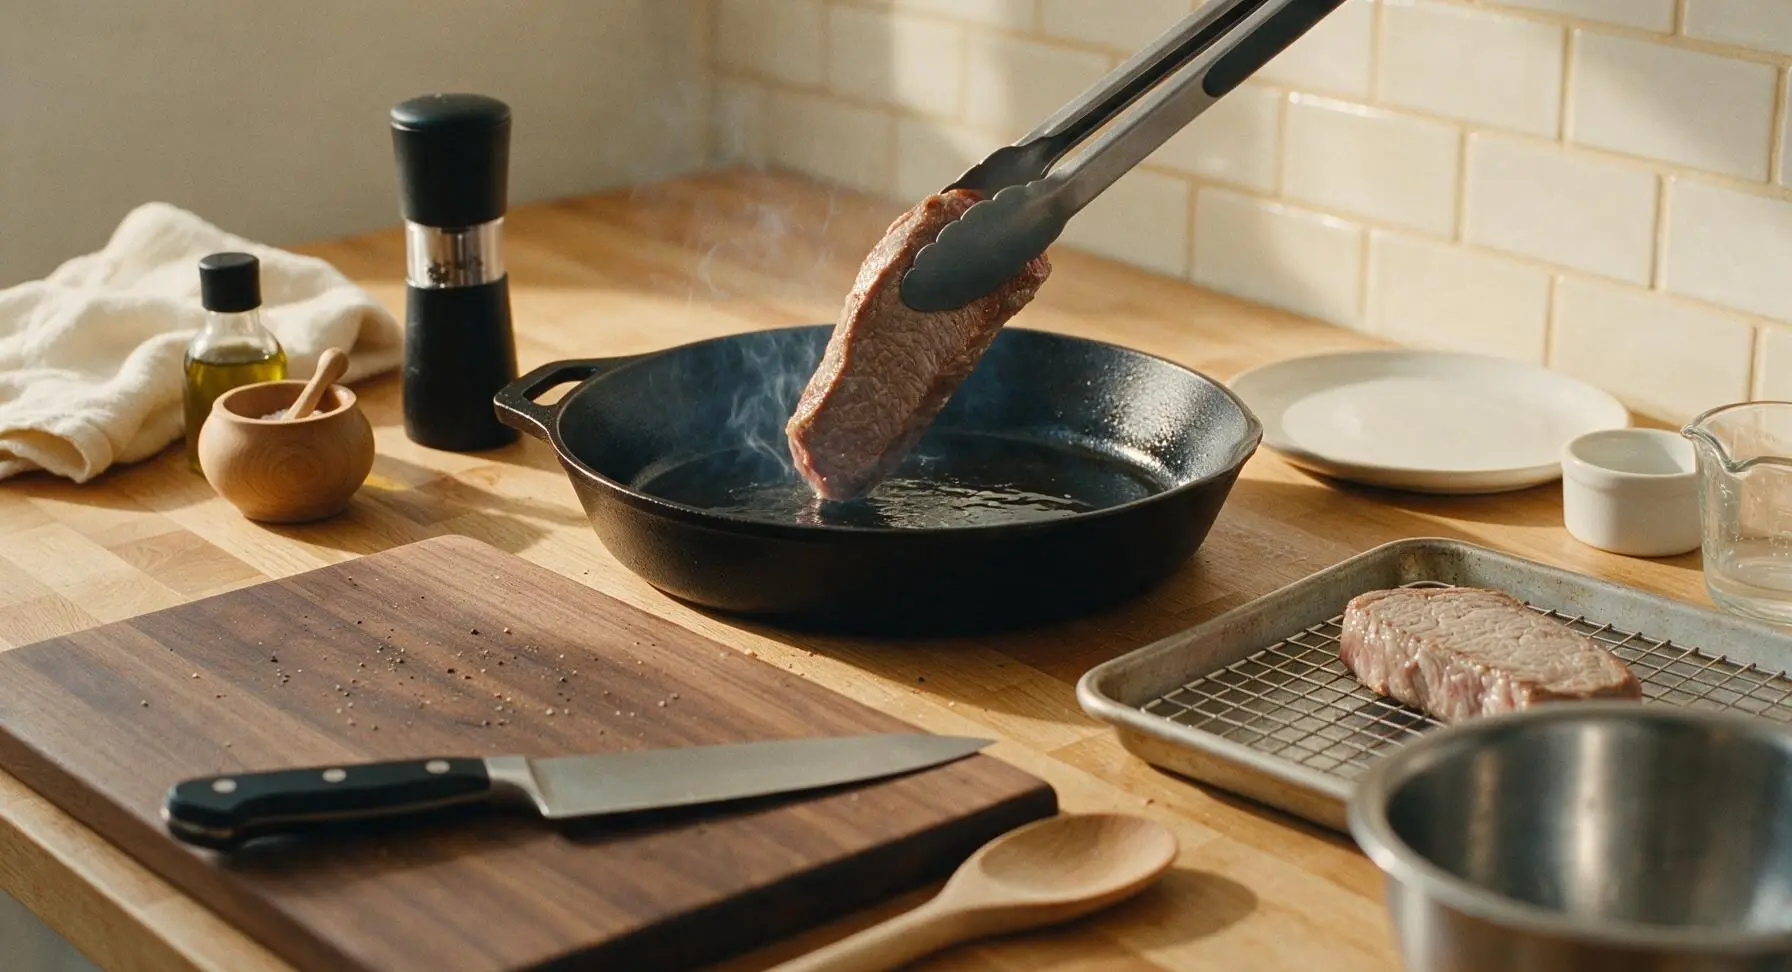
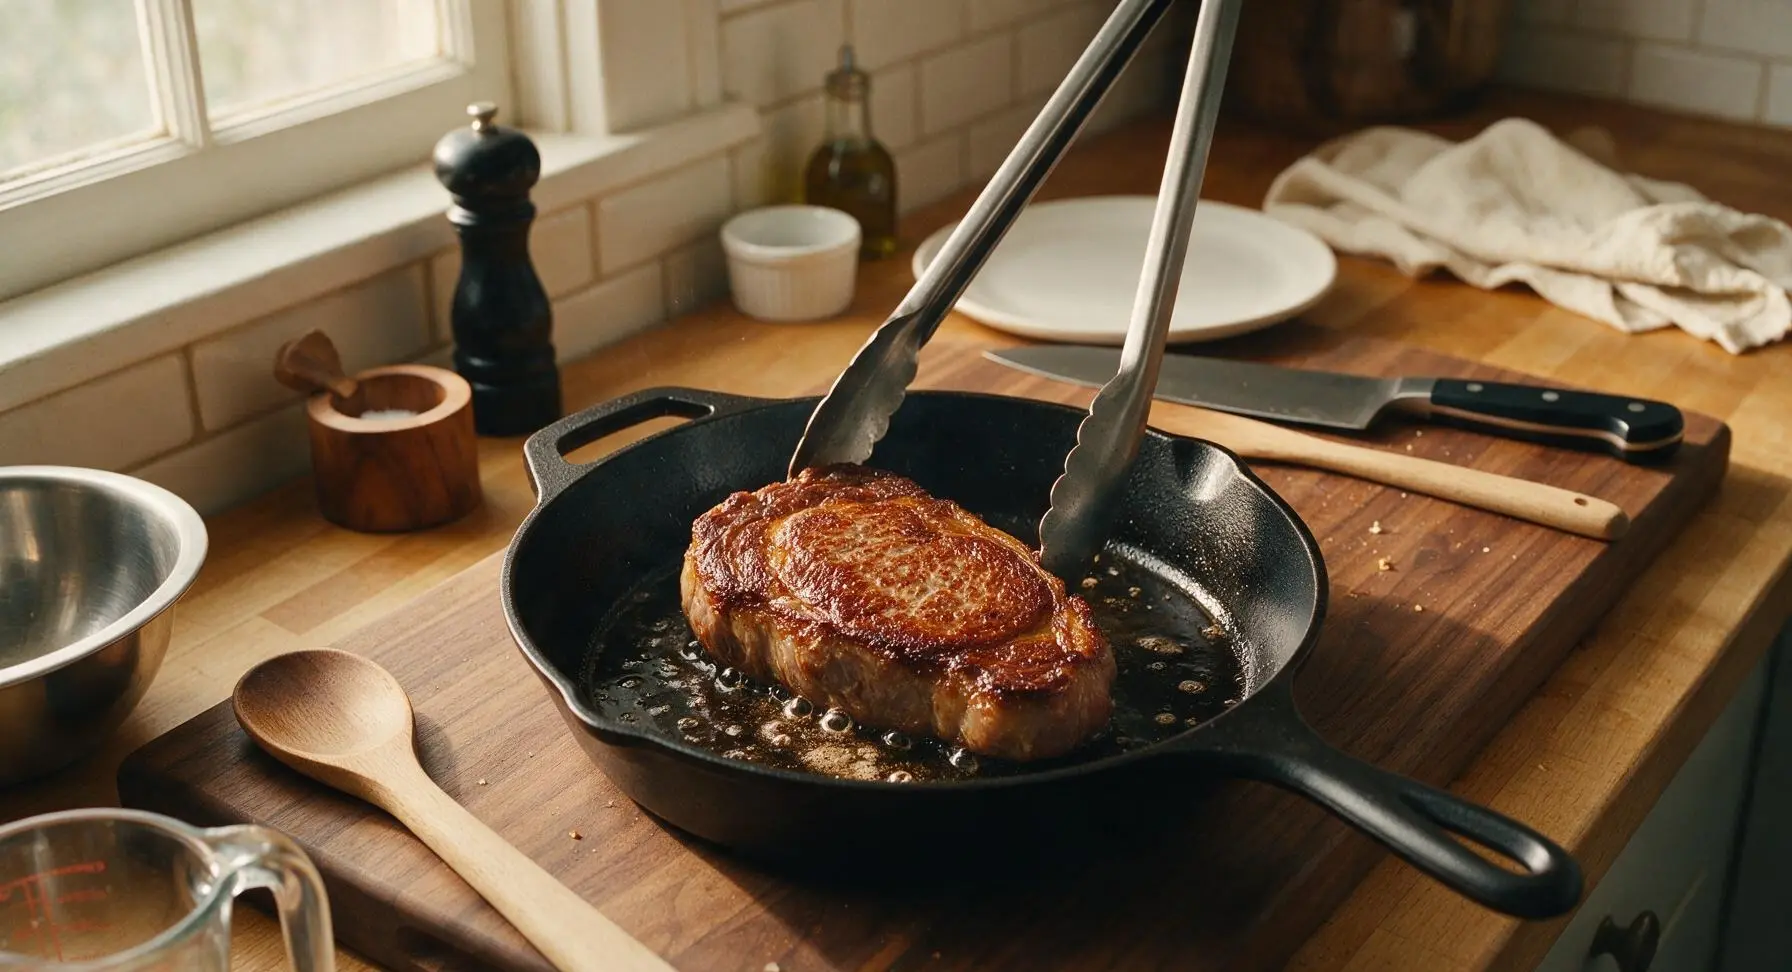
Use the tongs to transfer steaks directly from the oven rack to the hot skillet. Sear the first side for 45 seconds, until a deep, mahogany crispy crust forms. Flip the steaks and sear the second side for another 45 seconds. Hold each steak upright with the tongs to sear all four side edges for 15 seconds each, rendering edge fat and building full crust coverage. Total searing time is approximately 2 minutes.
Step 4
step4:Sear All Steak Surfaces
Step 4
step4:Sear All Steak Surfaces
5

Baste with Herb Butter

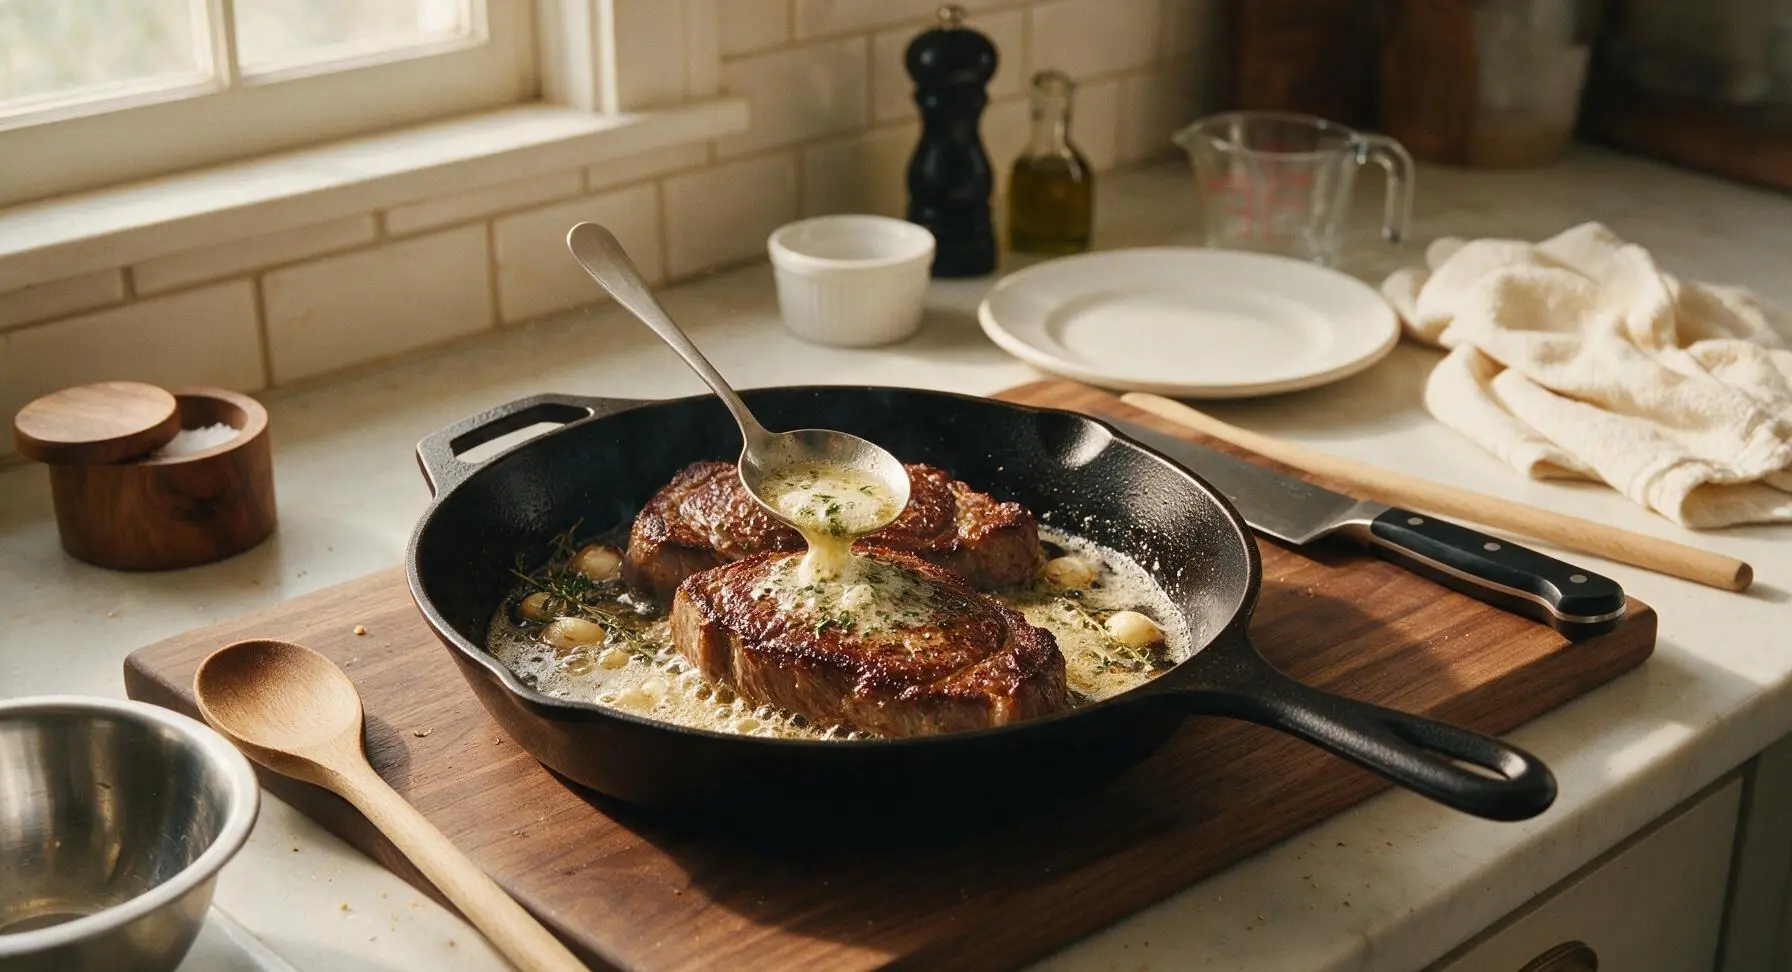
Reduce stovetop heat to medium. Add 2 tablespoons unsalted butter, the crushed garlic cloves, thyme sprigs, and rosemary sprig to the skillet. Tilt the pan slightly so melted butter pools at one edge. Use the small stainless steel spoon to continuously scoop foaming, herb-infused butter over the steaks for 30–45 seconds, until the internal temperature reaches 125°F (52°C) for medium-rare. The butter will turn pale golden and smell nutty as it bastes.
Step 5
step5:Baste with Herb Butter
6

Rest Steaks Before Slicing

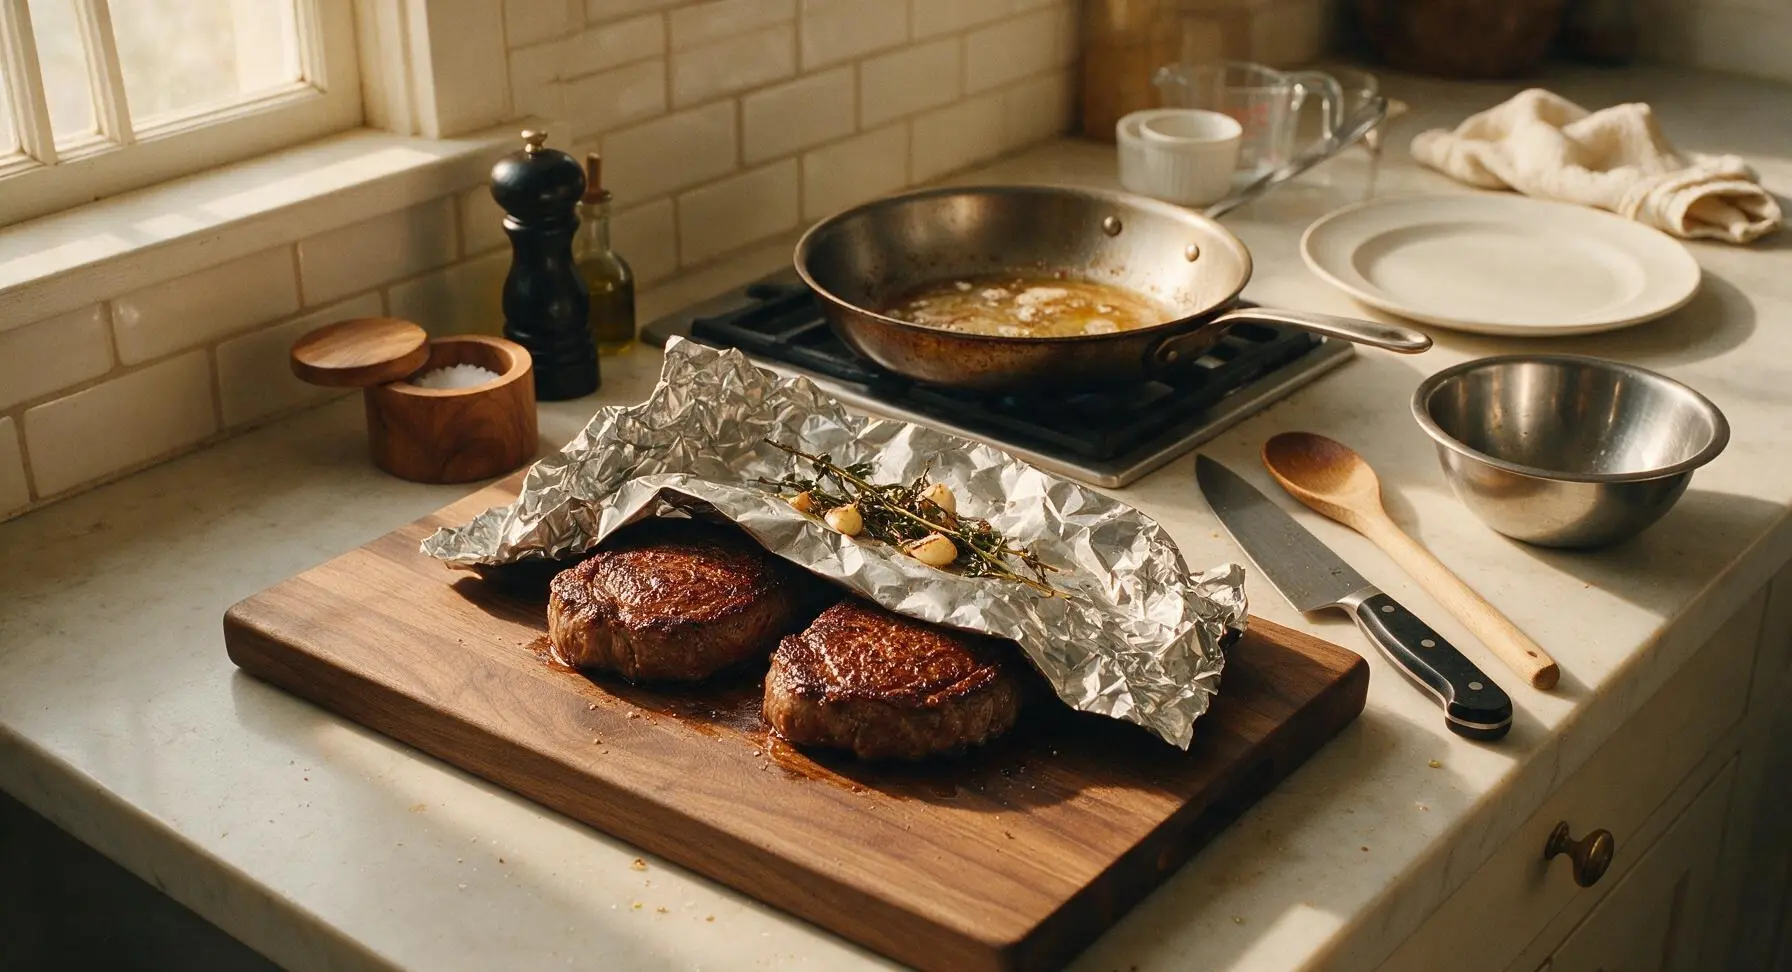
Use the tongs to transfer basted steaks back to the maple cutting board. Tent loosely with a small sheet of aluminum foil, and let rest for 8–10 minutes. Resting allows muscle fibers to relax and reabsorb juices, preventing juice from running out onto the plate when sliced. Do not skip this step.
Step 6
step6:Rest Steaks Before Slicing
7

Slice and Serve Hot

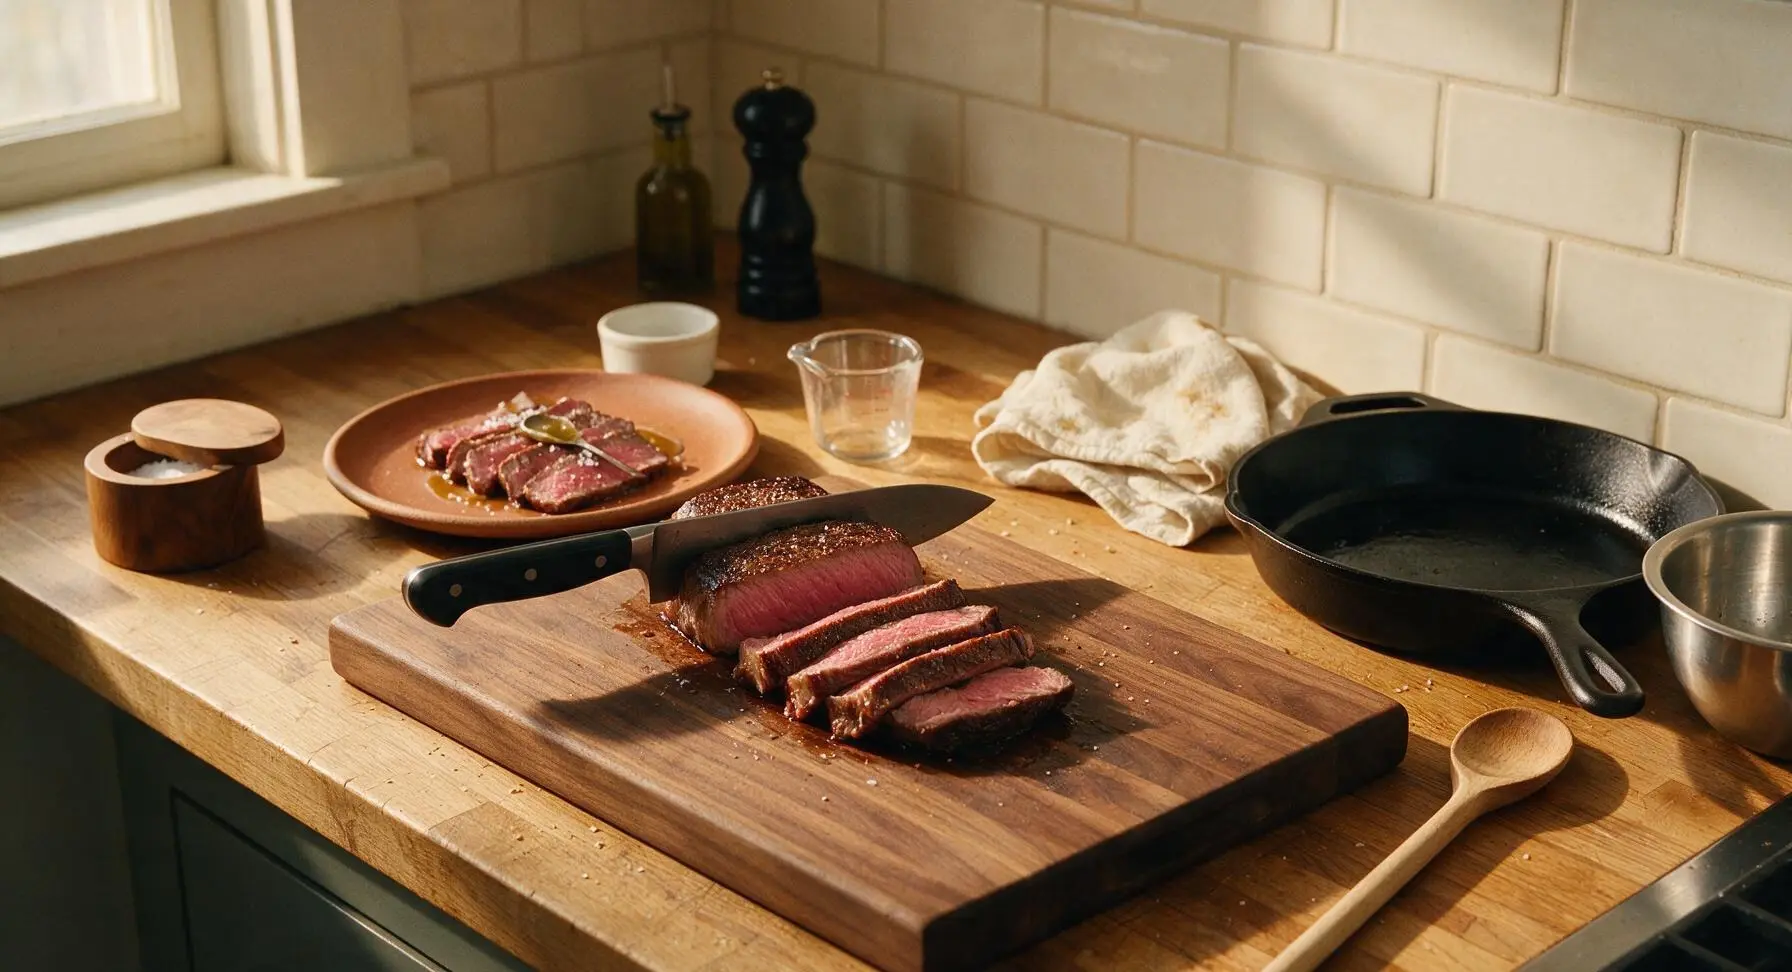
After resting, use the chef knife to slice steaks against the grain into 1cm thick slices, ensuring every slice has a portion of the crisp crust. Fan slices on the matte terracotta stoneware dinner plate, drizzle with a small spoonful of leftover browned butter from the skillet, and add a light sprinkle of flaky sea salt if desired. Serve immediately.
Step 7
step7:Slice and Serve Hot

Tips

1.Always elevate steaks on a wire rack during the low-temperature oven step: Air circulation around all sides of the meat dries the surface completely, which is required to build a shatteringly crisp crust during searing. Placing steaks directly on a baking sheet will steam the bottom surface and result in a soft, soggy crust.
2.Never use butter for the initial high-heat sear: Butter has a low smoke point (350°F/175°C) and will burn quickly at searing temperatures, creating a bitter, off flavor. Save butter for the final low-heat basting step, when you can infuse it with garlic and herbs without burning.
3.Pull steaks 5°F (3°C) below your target final doneness before searing: The short, high-heat sear and basting step will raise the internal temperature by 5°F via carryover cooking, so pulling early ensures you land exactly at your desired doneness instead of accidentally overcooking to medium-well.


✨ You May Also Like

Main Course
🍜 United Kingdom

A showstopping classic of tender seared beef, savory mushroom duxelles, and crisp prosciutto wrapped in flaky golden puff pastry, baked to juicy perfection.

⏱️ 2 hours 1Main Course ★ 4.7
Main Course
🍜 India

Tender charred marinated chicken simmered in a rich, spiced creamy tomato sauce, this iconic Anglo-Indian curry pairs perfectly with basmati rice or warm naan.

⏱️ 50 minuteMain Course ★ 4.6
Main Course
🍜 Thailand

Classic tangy, sweet, and savory Thai stir-fried rice noodles with shrimp, tofu, and crunchy garnishes, balancing all five core Thai flavor profiles.

⏱️ 30 minuteMain Course ★ 4.5
Main Course
🍜 United Kingdom

Crispy golden beer-battered cod and fluffy double-fried chips, served with tangy tartar sauce and malt vinegar: the timeless, beloved British pub comfort classic.

⏱️ 45 minuteMain Course ★ 4.7
Main Course
🍜 Mexico

Smoky, chile-marinated pork tacos with caramelized pineapple, fresh cilantro, and lime: a beloved classic Mexican street food perfect for casual summer gatherings.

⏱️ 1 hour 45Main Course ★ 4.8
Main Course
🍜 United States

Crunchy Fritos corn chips layered with savory beef chili and melted cheddar, topped with cool, zesty fixings for a beloved, cozy Tex-Mex comfort food.

⏱️ 35 minuteMain Course ★ 4.8

Reverse Sear Steak:Frequently Asked Questions

1.Why does this recipe specify 1.5-inch thick boneless ribeyes? ▾
Thinner steaks (under 1.25 inches) cook too quickly during the low-temp oven step, leaving no window to build a crisp crust without overcooking the center. Steaks thicker than 2 inches need extra-long searing that creates tough, gray overcooked bands, so 1.5 inches is the ideal sweet spot for reliable, even, steakhouse-quality results.
2.Can I salt my steak right before cooking instead of salting ahead? ▾
For the best texture and flavor, salt your steaks 45 minutes to 24 hours before cooking. Early salting lets drawn-out surface moisture reabsorb into the meat, tenderizing it and boosting savoriness. Salting right before leaves excess surface moisture that steams instead of searing, preventing that signature shatteringly crisp crust.
3.What oven temperature should I use for the first slow-cook step? ▾
Set your oven to 275°F for the initial low-temperature cook. This gentle, even heat raises the steak’s internal temperature gradually, so you won’t get those tough, gray overcooked bands around the edges. Pull the steaks when they hit 120°F internal if you’re aiming for the recipe’s target edge-to-edge medium-rare doneness.
4.Can I use extra-virgin olive oil instead of avocado or canola oil for searing? ▾
Skip regular or extra-virgin olive oil for the high-heat sear—it has a relatively low smoke point that burns quickly, creating bitter off-flavors and excess kitchen smoke. Stick to neutral, high-smoke-point oils like avocado or canola, which can handle the 500+°F pan heat needed to form that perfect shatteringly crisp crust.
5.Why is the butter added at the end of the sear instead of at the start? ▾
Butter contains milk solids that burn rapidly at the high temperatures used for searing, leading to bitter, acrid flavors. Adding it in the final 30 seconds of searing lets it melt and foam into a rich, nutty basting liquid—you can even toss in a crushed garlic clove or fresh thyme sprig with the butter for extra aromatic depth.
6.How long should I rest my steak after searing, and why does it matter? ▾
Let your steaks rest for 5 to 7 minutes after searing, tented loosely with a small piece of foil. This rest period lets the tight, hot muscle fibers relax and reabsorb all the juicy, flavorful juices that get pushed to the surface during cooking, so you won’t lose all that delicious moisture onto your plate when you slice in.
7.Can I use the reverse sear method if I want my steak cooked to medium instead of medium-rare? ▾
Absolutely! Just adjust your pull temperature during the initial oven step: pull steaks at 130°F internal for medium doneness, then sear as directed to build the crust. The quick sear will raise the internal temp another 5 to 10°F, landing you at a perfect 135–140°F final temp with minimal gray overcooked edge.
8.Do I need a wire rack for the oven step, or can I set steaks directly on a baking sheet? ▾
A wire rack set inside your baking sheet is highly recommended, as it lets hot oven air circulate fully around every side of the steak to dry the surface evenly for a better crust. If you don’t have a rack, simply flip your steaks halfway through the oven step to prevent the bottom from sitting in pooled juices.
9.How does reverse sear prevent that tough, gray overcooked ring around steak edges? ▾
That unappetizing gray ring forms when high, direct heat hits cold meat too quickly, which is exactly what the reverse sear method is designed to avoid. The slow, low oven step brings the entire steak to a uniform, gentle temperature first, so the quick final sear only creates a thin, crisp crust with no thick, tough overcooked bands.

Comments (11)

2 days ago

OMG this reverse sear method is a total game changer! I’ve always messed up steaks by searing first and ending up with either a burnt outside or raw middle, but this came out perfectly edge to edge medium rare just like my favorite steakhouse. My husband thought I ordered takeout, he was so impressed! Made it for our Sunday family dinner with roasted potatoes and asparagus, zero leftovers.

yesterday

Right?! I made this for my potluck last weekend and everyone was hounding me for the recipe! Total crowd pleaser, even the picky eaters went back for seconds.

yesterday

So glad you both loved it! Pro tip: make sure you let the steak rest for a full 10 minutes after searing to lock in all those juicy flavors, it makes such a difference!

1 week ago

Super solid method! First time trying reverse sear, cook time was almost exactly 40 mins like the recipe said, though I had to add an extra 5 mins because my ribeye was extra thick. Only reason it’s not 5 stars is I wish there was a note about what internal temp to pull it at for different doneness levels, I had to google that mid-cook. Otherwise, steak came out SO good, crispy crust and even pink all the way through.

5 days ago

Thanks for the feedback Jake! That’s a great call, I’ll add a quick internal temp guide to the recipe notes this week – 125°F for rare, 135°F for medium rare, 145°F for medium, for anyone else who needs that reference!

5 minutes ago

Just pulled my steaks off the grill using this method and WOW. That butter baste at the end with garlic and thyme? *Chef’s kiss* My kids loved it, even my 7 year old who usually turns up his nose at steak asked for a second helping. Will be making this every other week for meal prep, it’s so easy once you get the oven temp right!

yesterday

I’ve been grilling steaks for 20+ years and swore my high-heat sear first method was unbeatable. My kid talked me into trying this reverse sear for our Father’s Day cookout and man, I was wrong. The even cook is unreal, no weird gray band around the edge at all. Ate mine with a little blue cheese butter, absolute perfection.

2 hours ago

This makes me feel better about trying it even though I’m totally new to cooking steak! I’ve been scared to mess up expensive ribeyes, but your comment makes me think I can pull it off.

3 days ago

Made this for date night with my partner and it felt like we went out for a fancy dinner for a fraction of the cost! Paired it with a red wine reduction and some creamed spinach, 10/10. The medium difficulty rating is spot on, you just have to be patient with the low temp oven step, don’t rush it!

2 hours ago

Game. Changer. I used to always overcook the thinner parts of my steak when searing first, but the slow bake in the oven first evens everything out so well. Did two New York strips for me and my roommate, we both agreed it’s the best steak we’ve ever made at home. Crust was perfectly crispy, no bland spots at all.

30 minutes ago

Did you use a cast iron for the sear? I’m trying to decide if my regular stainless steel pan will get hot enough to get that good crust!

5 minutes ago

Great question! Cast iron is ideal for that crispy, deep sear, but a heavy-bottomed stainless steel pan works perfectly too. Just make sure to preheat it for 4-5 minutes before laying your steak down, and use an oil with a high smoke point like avocado oil.

just now

Wait why did no one tell me reverse searing was this easy??? I was so intimidated by making steak for my boyfriend’s birthday dinner, but this recipe broke every step down so simply. It came out perfect medium rare, he said it was better than the steak we had on our anniversary dinner downtown. Win for me!

just now

Happy early birthday to your boyfriend! So stoked the recipe worked out for your special dinner, nothing beats celebrating with a perfectly cooked steak at home.

2 weeks ago

Tried this last weekend for a cookout with my buddies. The method works great, though I will say if you’re doing more than 2 steaks at a time you might need to adjust the oven time a bit since the temp drops when you open the door. Ended up taking about 50 mins total for 4 steaks instead of 40, but they all came out great. Will be using this method from now on.

30 minutes ago

SO good!!! I did this with filet mignon for my parents when they came to visit, and my dad (who is a total steak snob) asked for the recipe. That’s the highest possible compliment I could get, honestly. Letting it come up to temp slowly in the oven makes such a huge difference, no more raw centers and overcooked edges for me!

5 minutes ago

My dad is the exact same way! He still swears by the old charcoal grill only method, I’ve been trying to get him to try reverse sear for months, might have to make this for him next time he’s over to prove how good it is.

just now

Do it! I made my dad stand in the kitchen with me while I cooked so he could see how straightforward the method is, now he’s texting me every other day saying he made it for his golf buddies.

5 days ago

Meal prep win! I cooked 3 sirloins using this method on Sunday, sliced them up, and they’ve been perfect for steak salads, steak and egg breakfasts, and wraps all week. They don’t get all tough and rubbery when you reheat them like regular seared steaks do, which is a total win for weekday lunches. The 40 minute cook time is totally manageable even when I’m chasing the kids around on Sunday afternoons.

3 days ago

Wait how do you reheat them without making them tough? I tried meal prepping steak once and it was awful when I microwaved it for lunch!

2 days ago

Such a great point about meal prep! For anyone reheating leftover reverse sear steak, we recommend 30 seconds at 50% power in the microwave followed by a quick 30 second sear in a hot pan, and storing slices with a little of the reserved garlic butter to keep them juicy.

yesterday

I’ve been seeing reverse sear all over TikTok and was skeptical it was just another food trend, but this recipe actually lives up to the hype. The garlic rosemary butter baste at the end is chef’s kiss, I even saved the leftover butter to toss with roasted veggies the next night. 10/10, will be making this for my next potluck for sure.

30 minutes ago

Same! I thought it was overhyped too until I tried it last month. It’s my go-to steak method now, I’ll never go back to searing first. The leftover butter on veggies is such a good call, I need to try that!



