
rice a roni casserole
intro
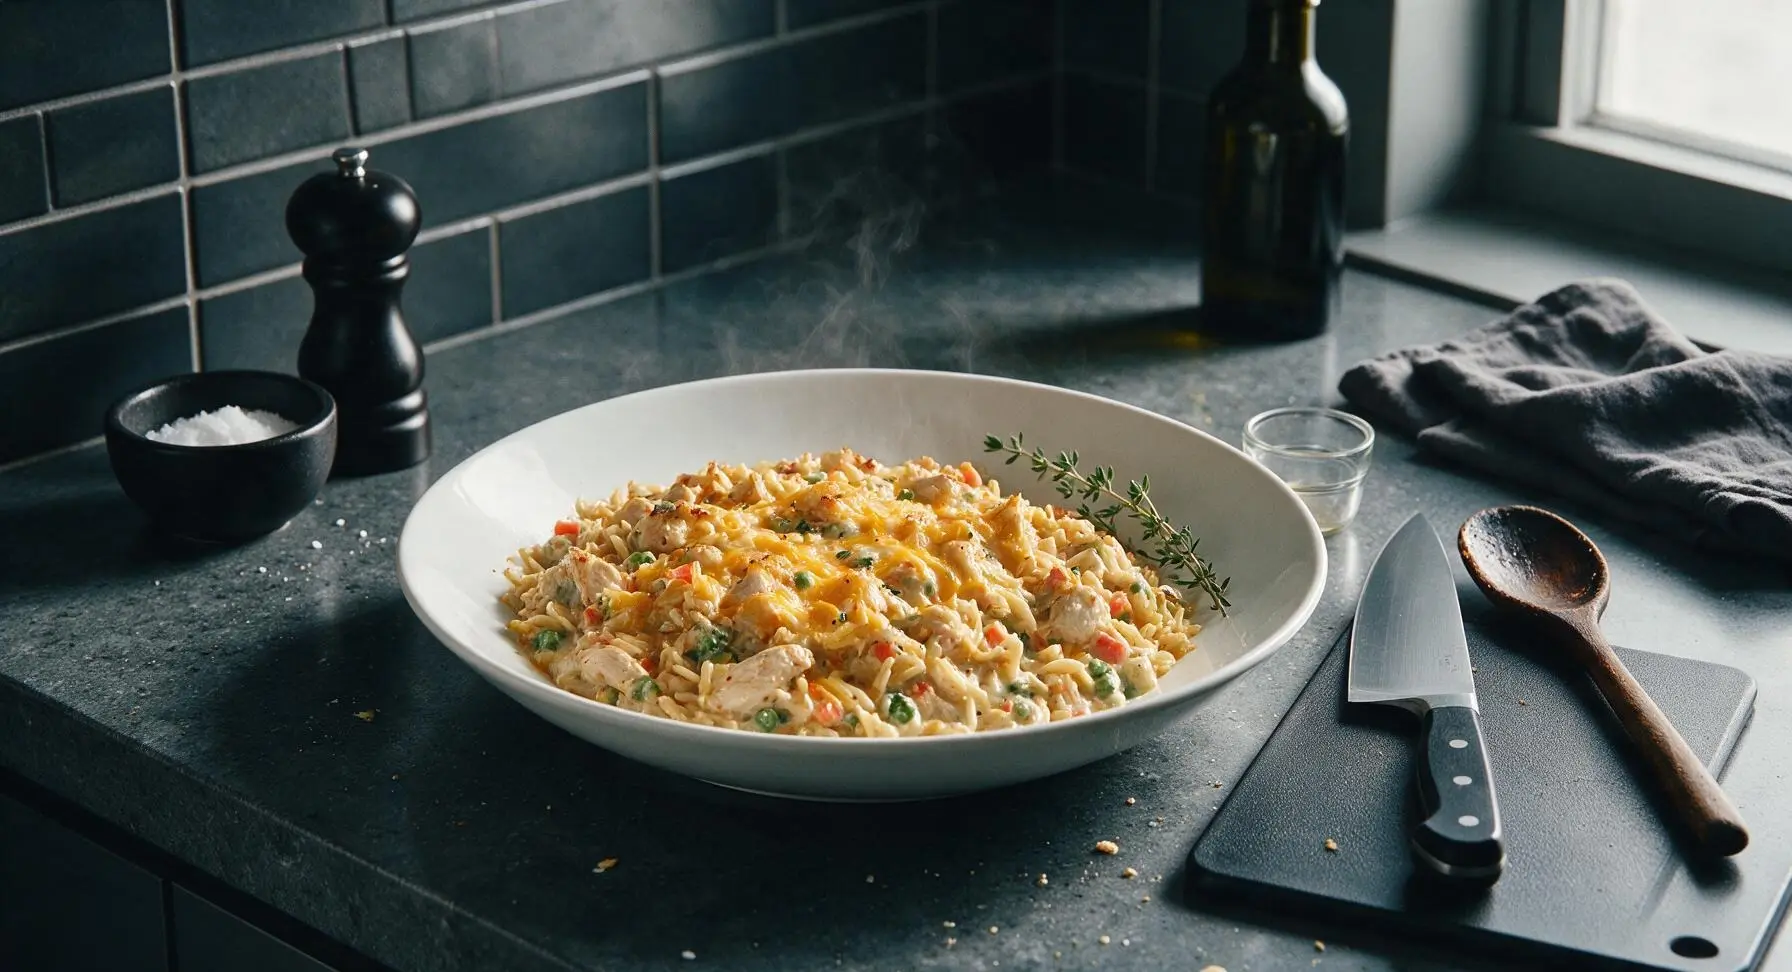
Creamy, savory baked Rice a Roni casserole loaded with tender chicken, veggies, and melted cheddar—nostalgic, pantry-friendly comfort food ready in under 45 minutes.
Ingredients
Steps
Prep Veggies, Preheat Oven
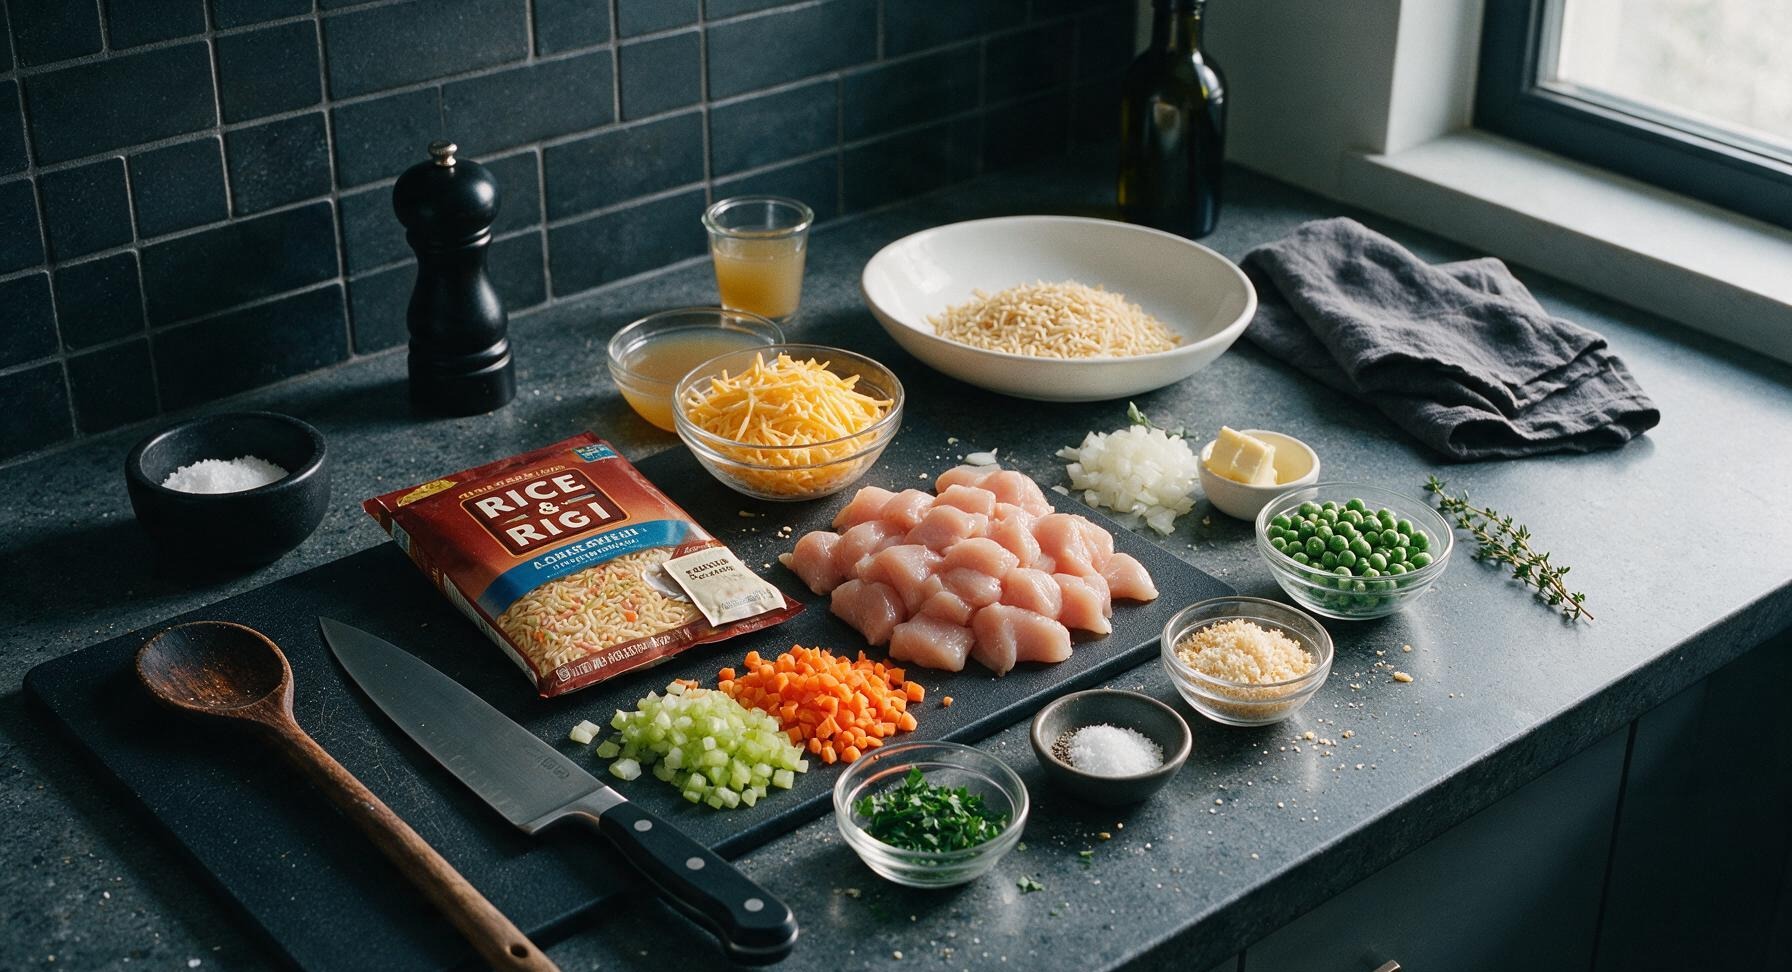
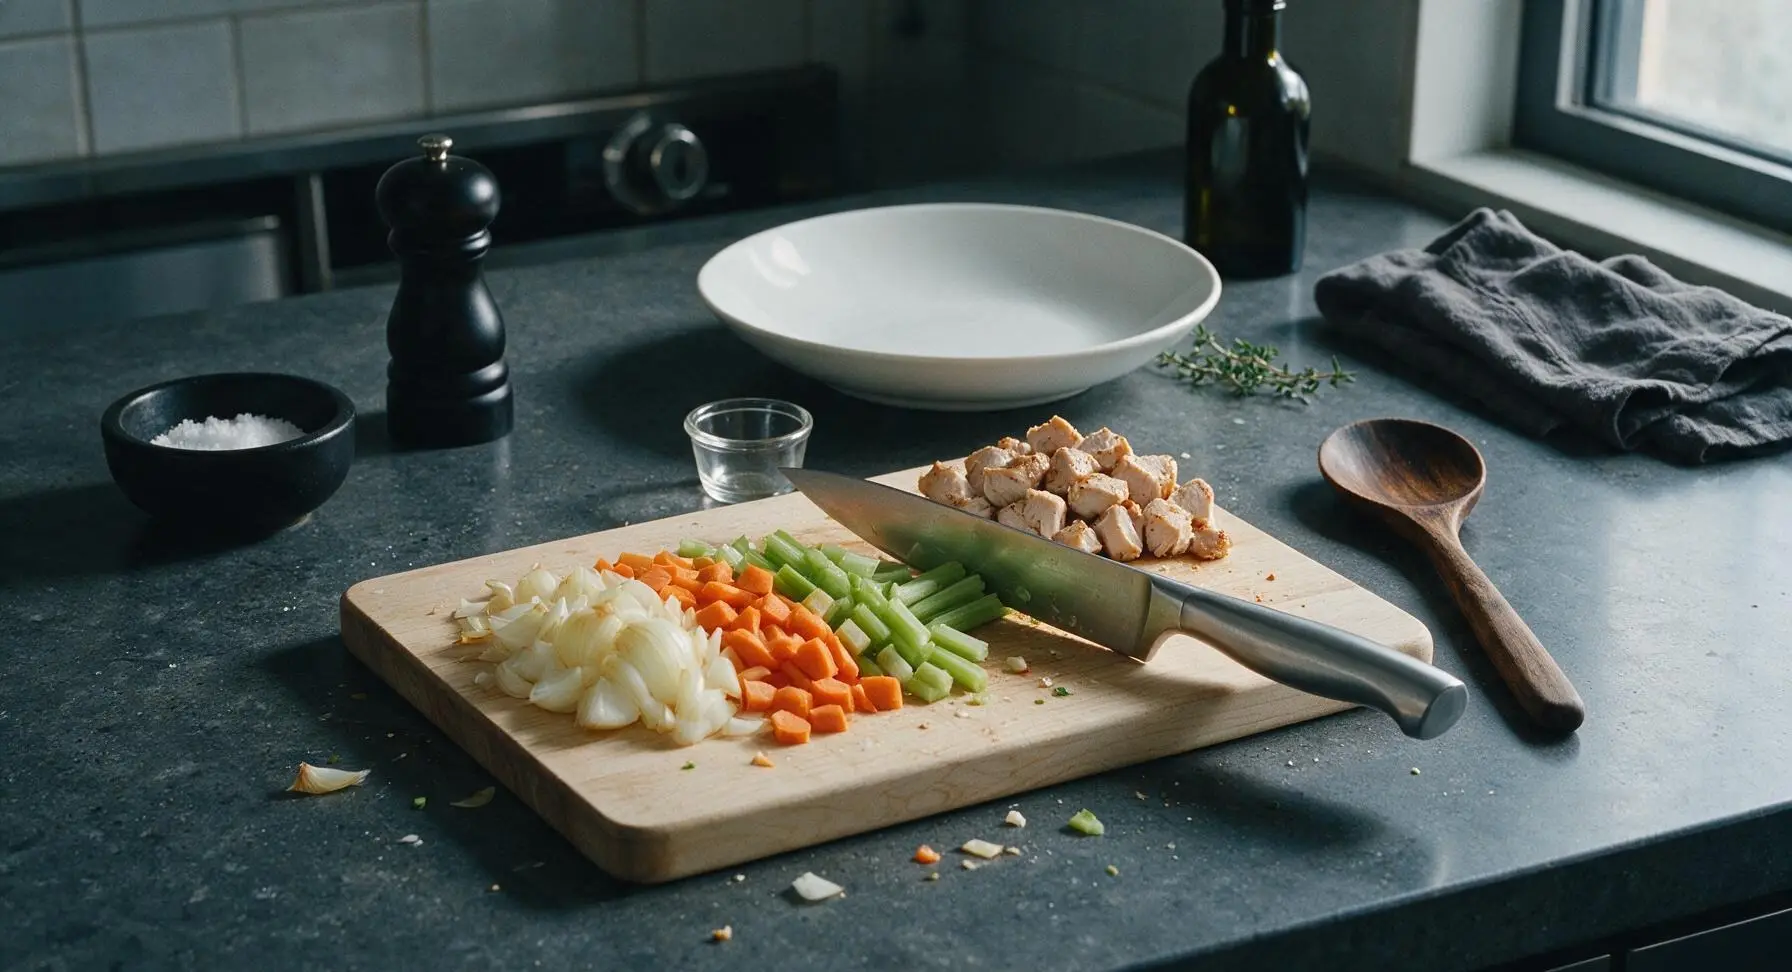
Adjust your oven rack to the middle position and preheat to 375°F (190°C). Set the light birch cutting board in its fixed position, and use the walnut-handled chef knife to finely dice the yellow onion, carrot, and celery into uniform 1/4-inch pieces, collecting the diced veggies in one of the terracotta pinch bowls. Cut the chicken breasts into 1/2-inch cubes, pat dry with a corner of the indigo cotton towel, and season lightly with 1/4 tsp kosher salt and 1/8 tsp ground black pepper.
Sauté Chicken and Aromatics
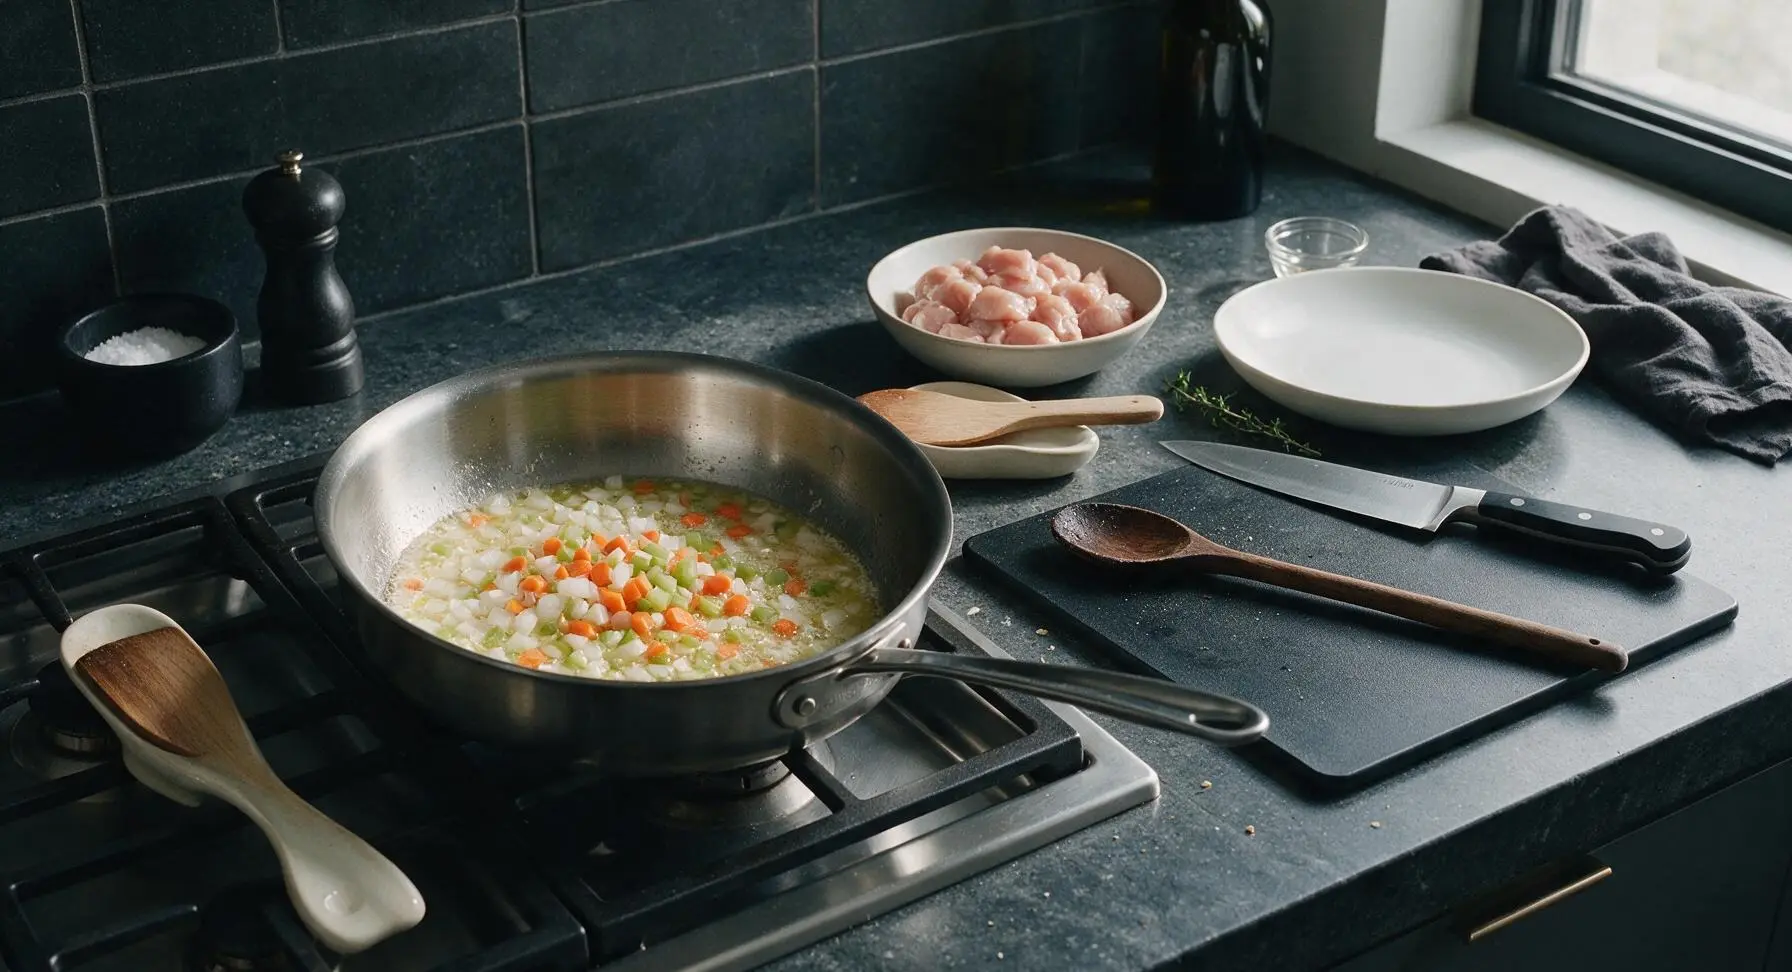
Place the 3-quart stainless steel sauté pan on the stovetop over medium heat, add 1 tbsp of the unsalted butter. Once the butter is fully melted and foaming subsides (about 1 minute), add the diced onion, carrot, and celery. Cook, stirring occasionally with the beech wood turner, for 3 minutes until veggies soften slightly and turn fragrant. Add the cubed chicken to the pan, cook for 4 minutes, stirring occasionally, until chicken is lightly browned on all sides and no longer pink on the exterior (it will finish cooking fully during baking).
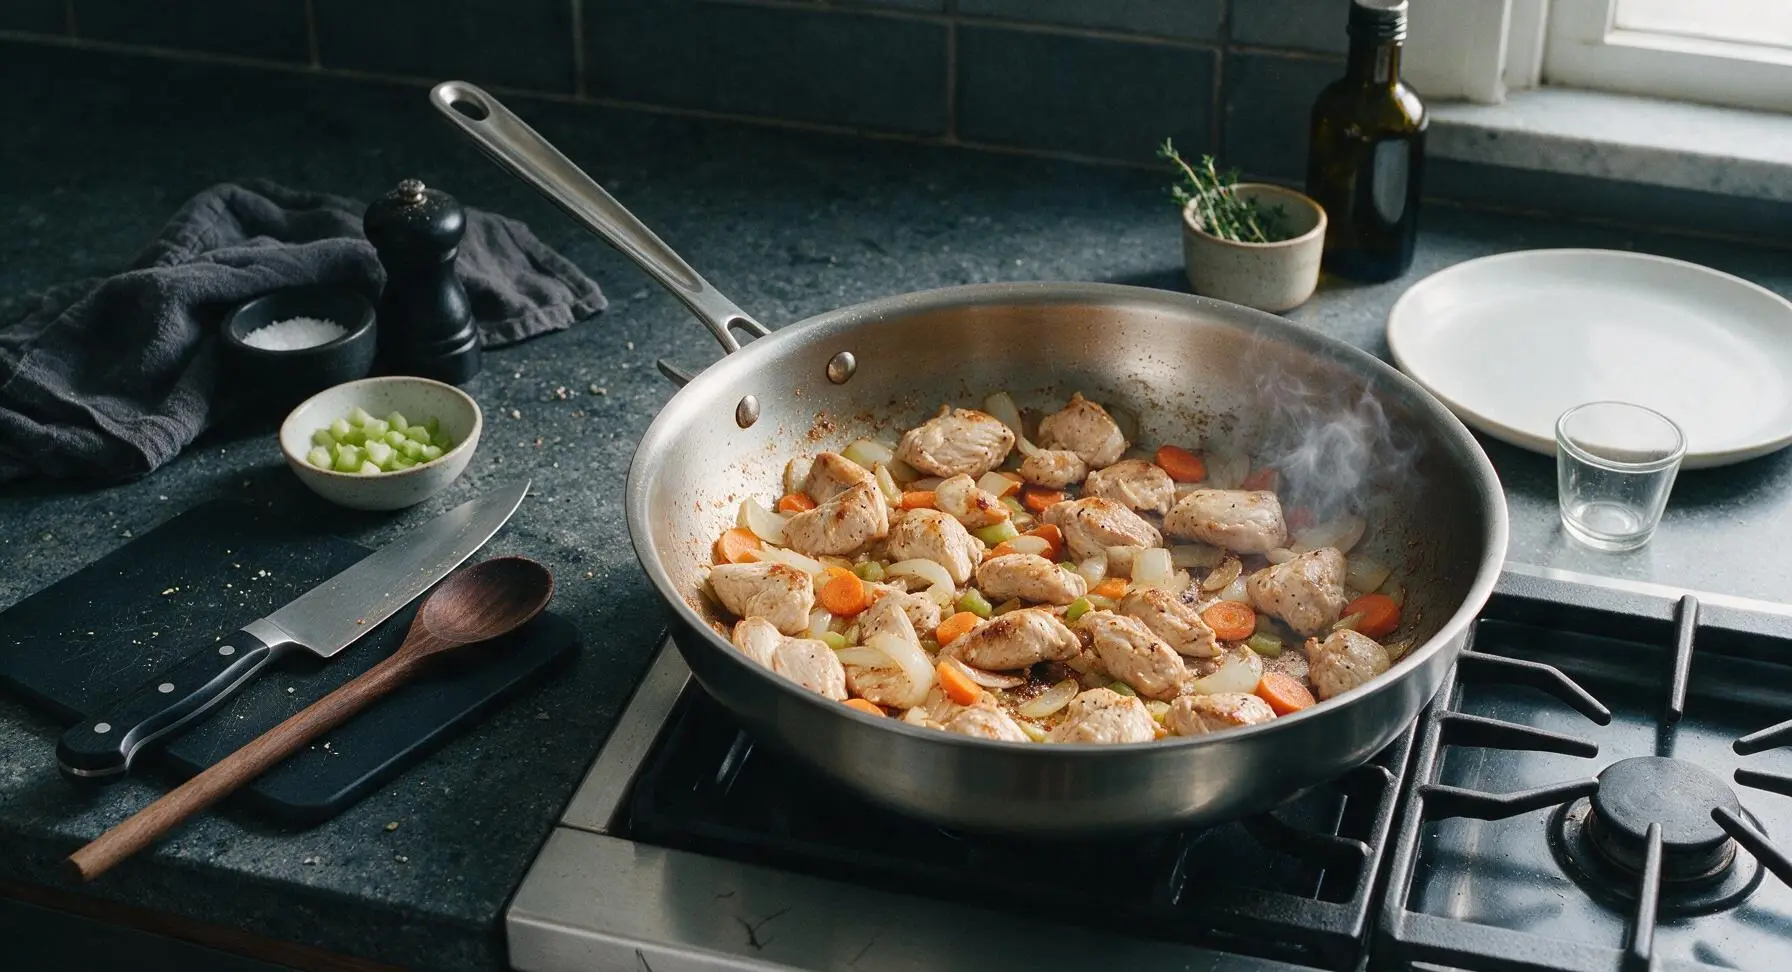
Toast Rice Vermicelli Mix
Add the remaining 1 tbsp unsalted butter to the pan with the chicken and veggies. Once melted, pour in the dry rice and vermicelli mix (reserve the included seasoning packet for the next step). Stir constantly with the beech wood turner for 2-3 minutes, until the thin vermicelli strands turn a light golden brown and smell richly nutty. Watch closely during this step, as the thin pasta can burn in as little as 30 seconds if left unstirred.
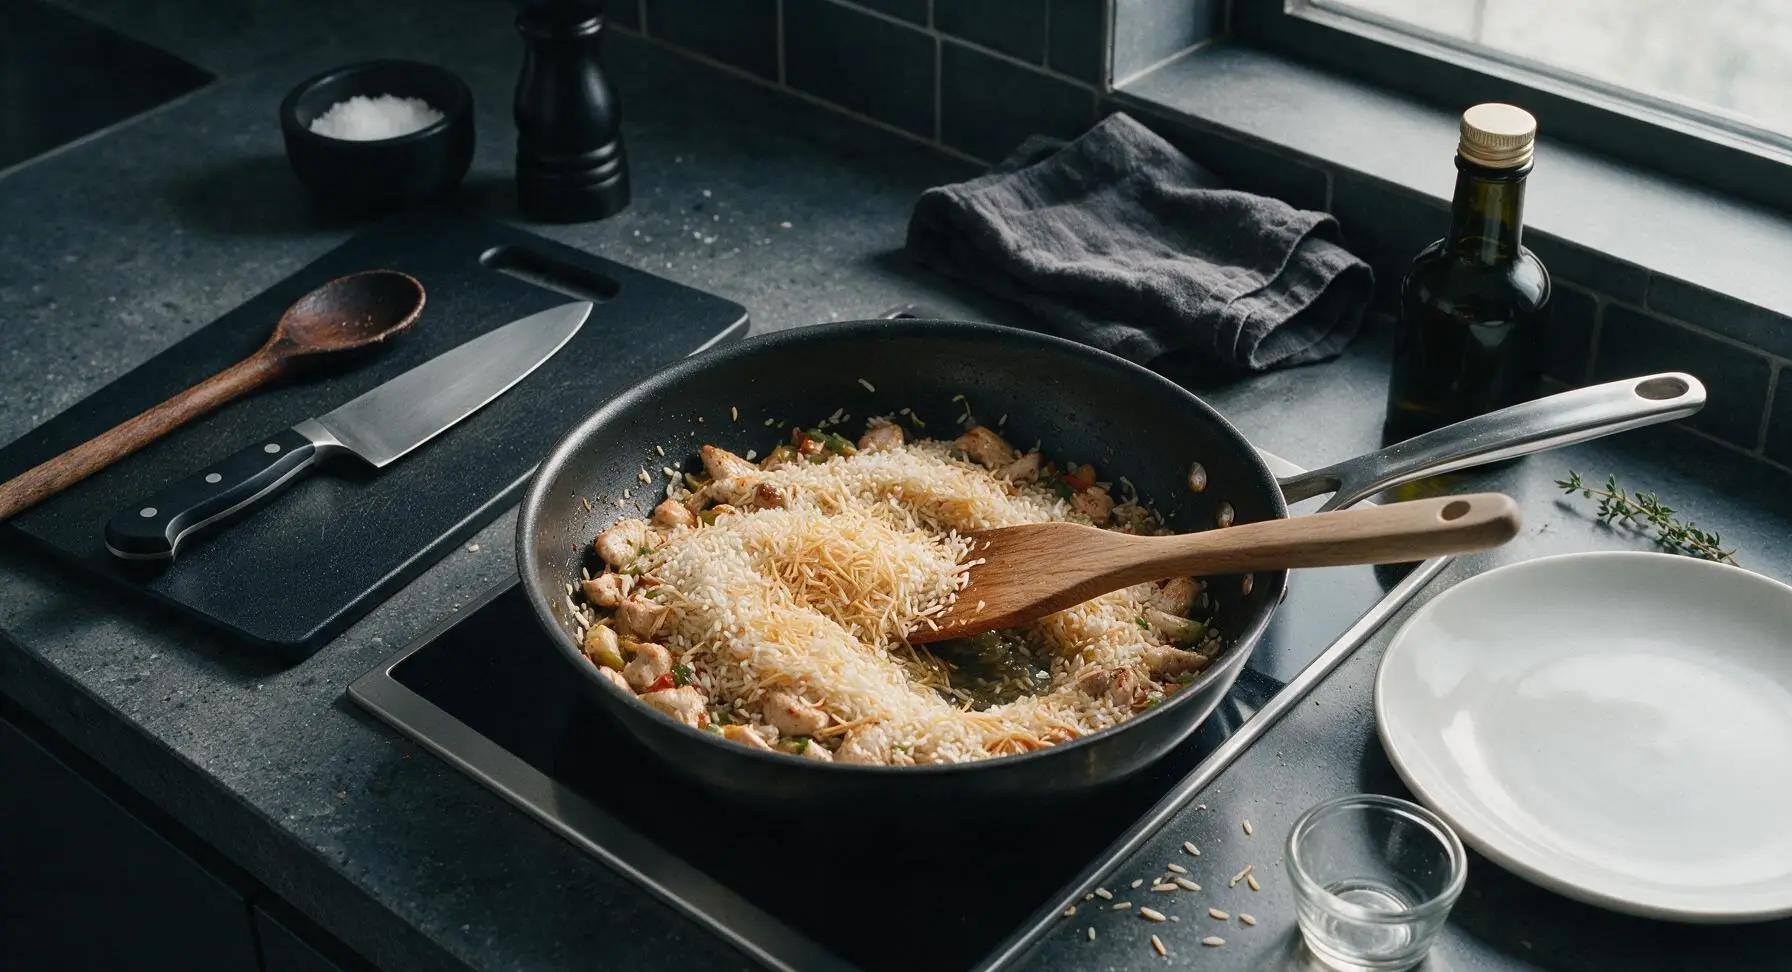
Simmer Rice and Broth
Measure 2 cups of low-sodium chicken broth in the clear glass measuring cup, then pour into the sauté pan with the toasted rice mix. Stir in the reserved Rice a Roni seasoning packet, remaining 1/4 tsp kosher salt, and 1/8 tsp ground black pepper. Bring the mixture to a gentle rolling boil, then reduce heat to low, cover the pan with its tight-fitting stainless steel lid, and simmer for 12 minutes, until the rice is almost tender and most of the liquid is absorbed. Avoid lifting the lid or stirring the rice while it simmers, as this releases steam and can make the final texture gummy.
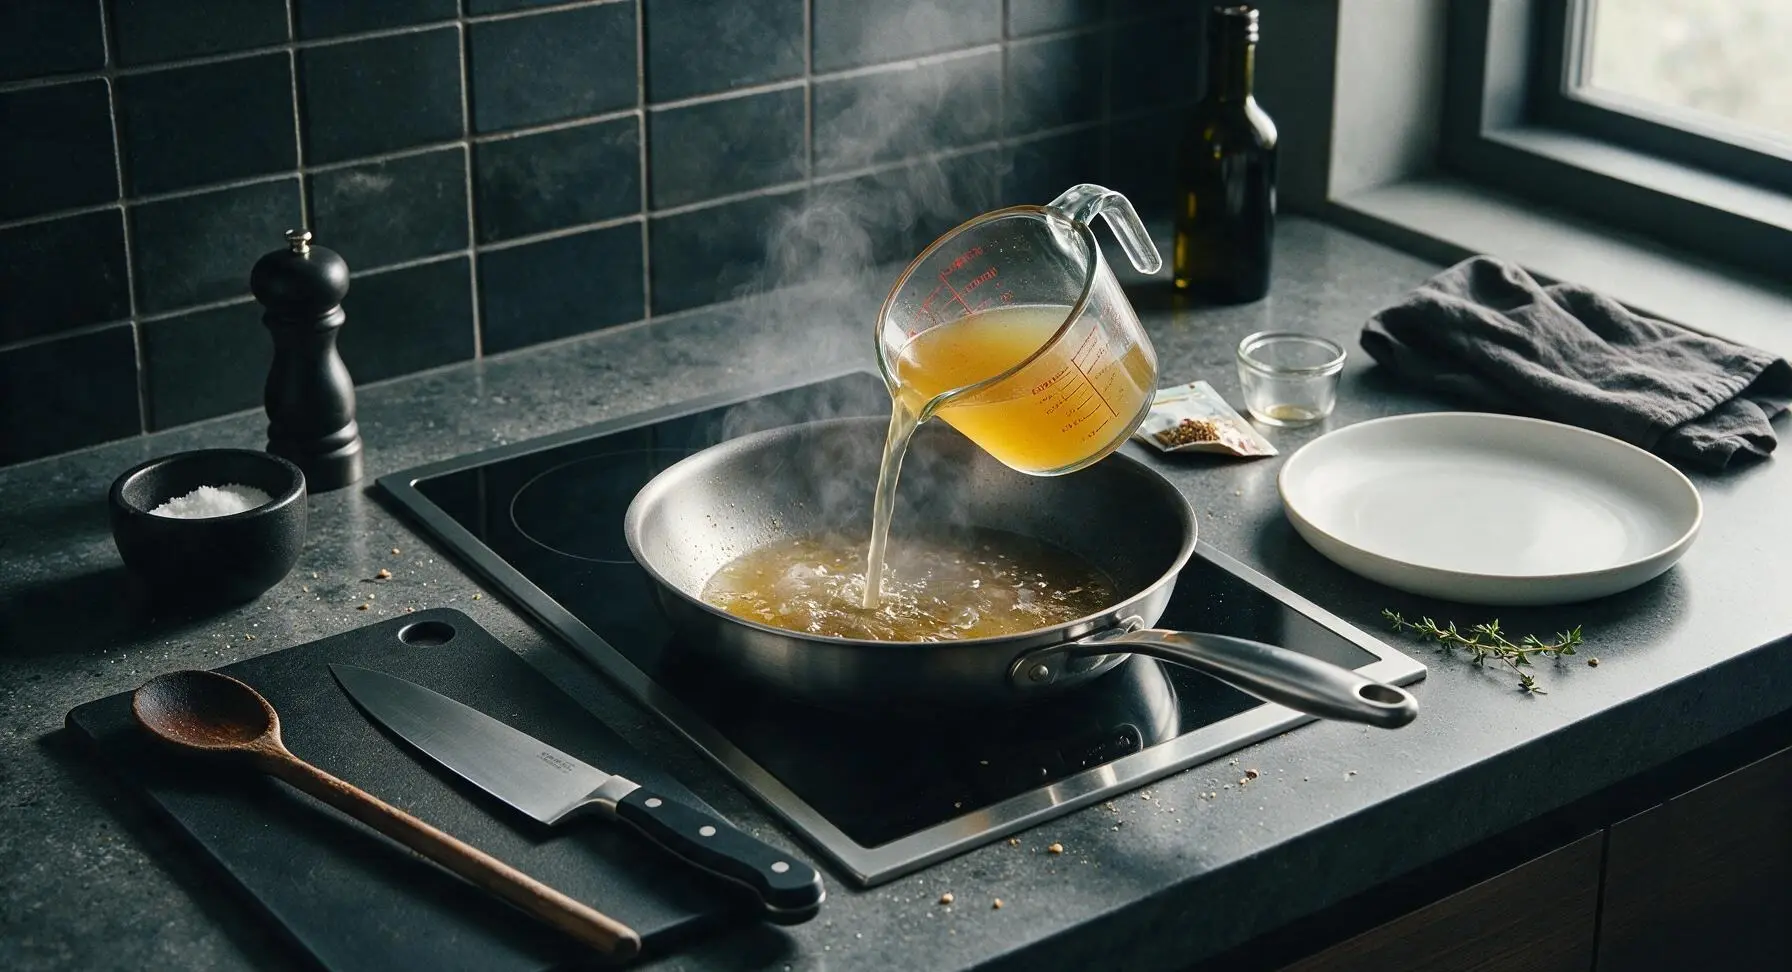
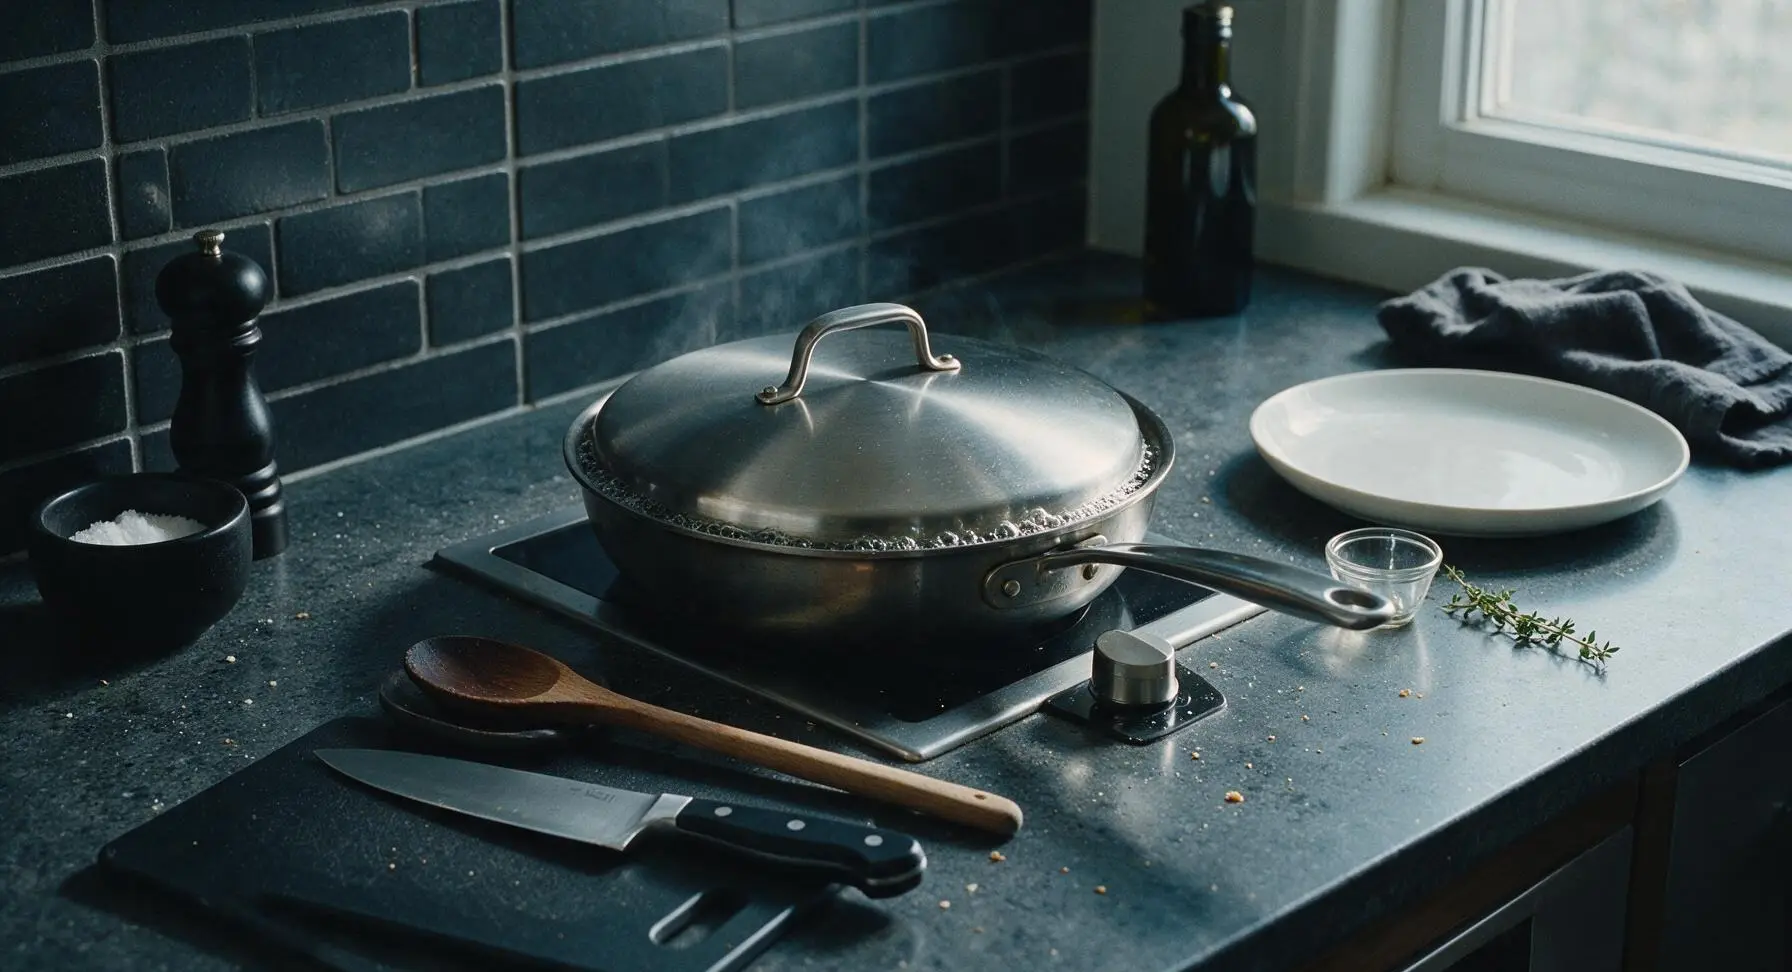
Fold in Cheese and Peas
After 12 minutes of simmering, turn off the stovetop heat and remove the pan lid. Stir in 1 cup of the shredded sharp cheddar cheese and the frozen green peas, mixing gently with the beech wood turner until the cheese is fully melted and the peas are evenly distributed throughout the rice mixture. The residual heat from the pan will thaw the peas quickly without turning them mushy.
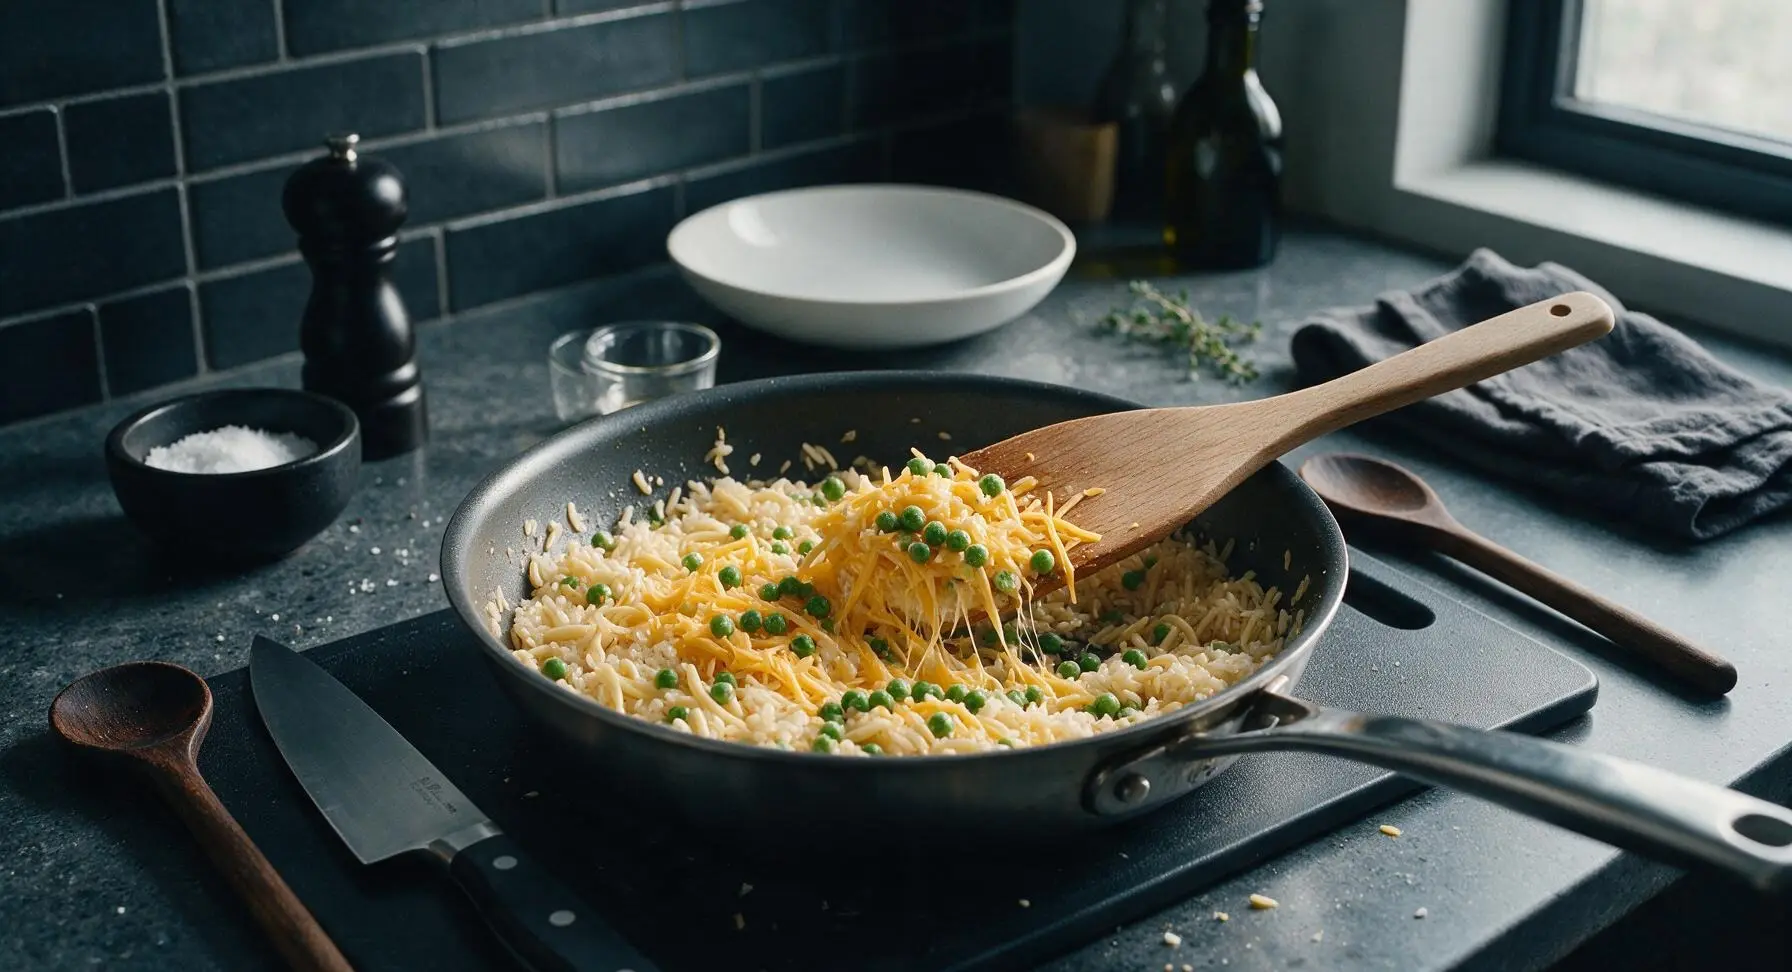
Top and Bake Casserole
Smooth the top of the rice mixture in the sauté pan into an even, flat layer. Mix the remaining 1/2 cup shredded cheddar, panko breadcrumbs, and grated parmesan in one of the terracotta pinch bowls, then sprinkle the crumb mixture evenly over the entire top of the casserole. Carefully transfer the pan to the preheated middle oven rack, bake uncovered for 15 minutes, until the top is deep golden and crispy, and the edges of the casserole are actively bubbling.
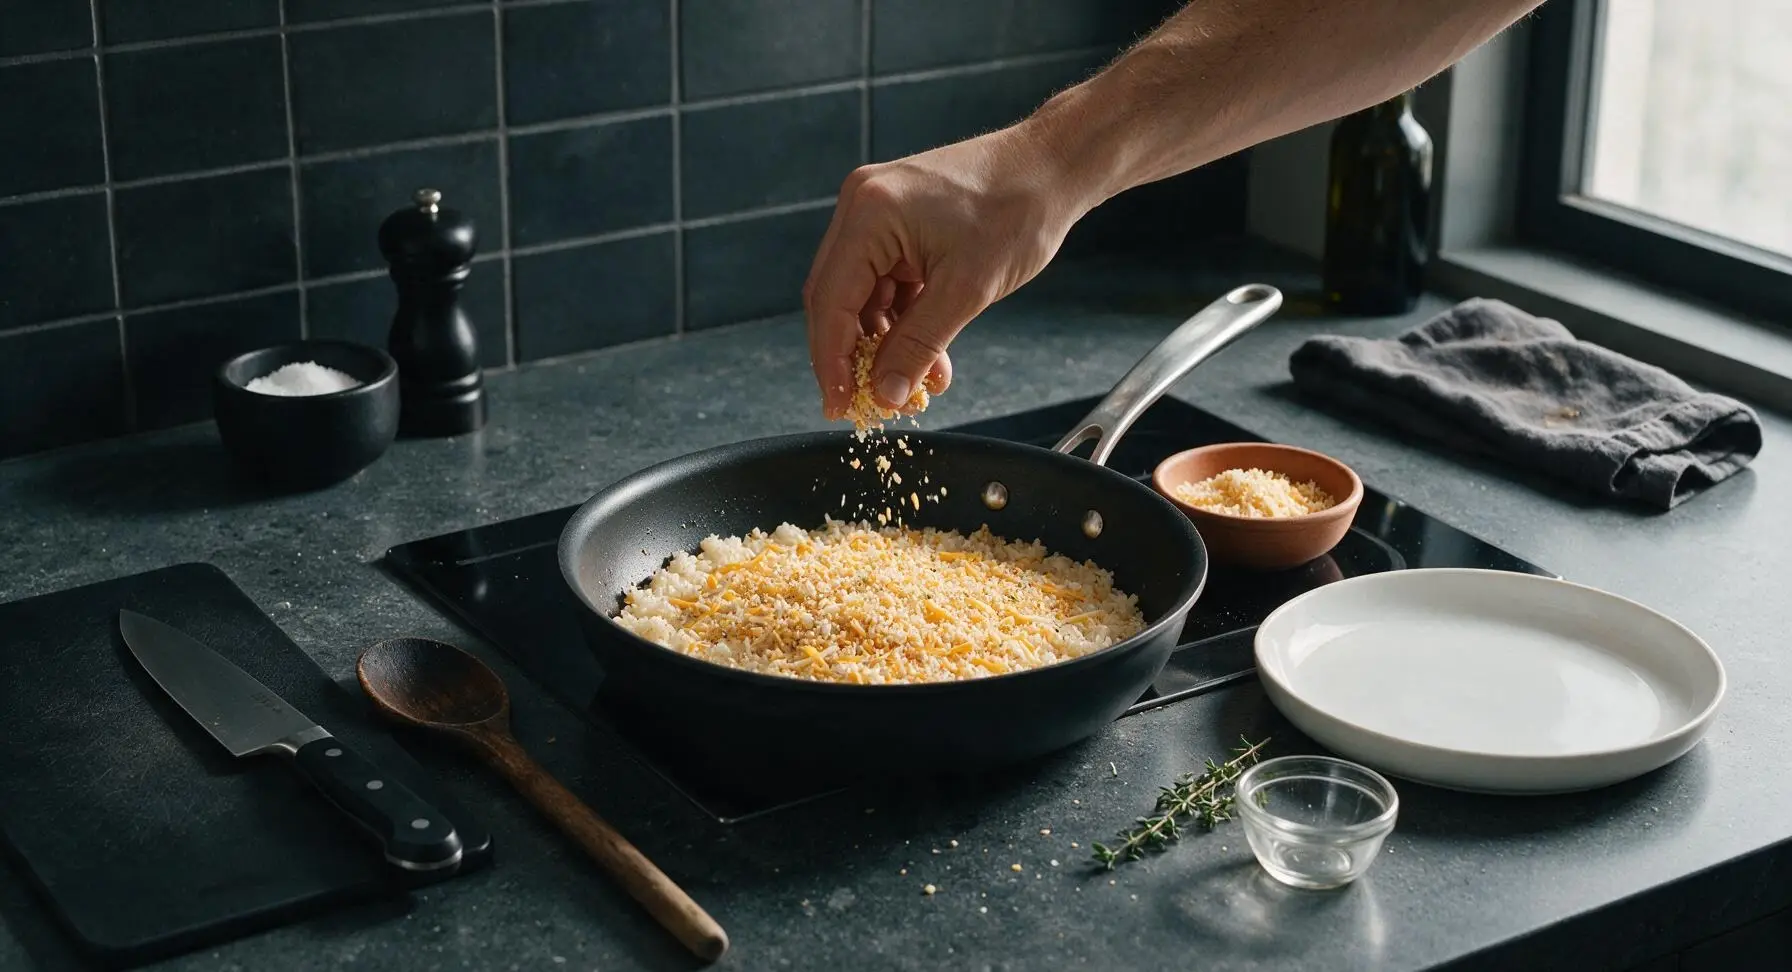
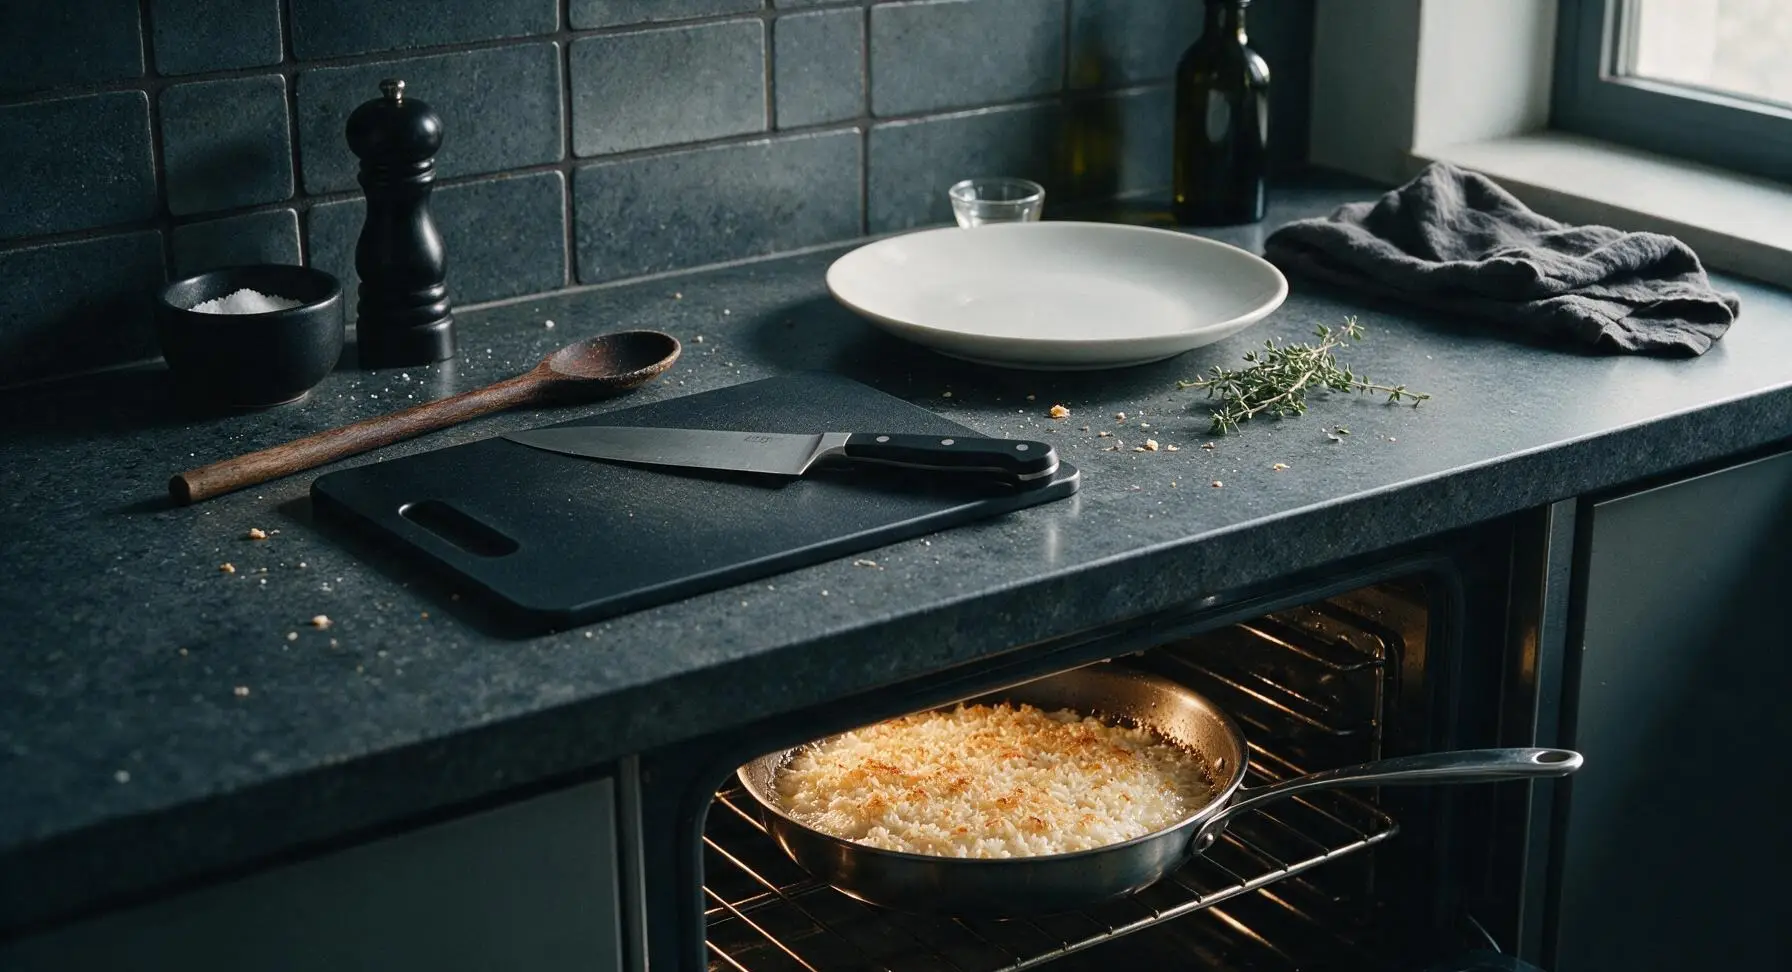
Rest and Garnish Casserole
Once baked, carefully remove the pan from the oven (remember the pan handle will be extremely hot) and set it on the counter to rest for 5 minutes. This rest time allows the rice to absorb any remaining liquid and the cheese to set slightly, resulting in clean, scoopable servings. Sprinkle the top with chopped fresh flat-leaf parsley just before serving.
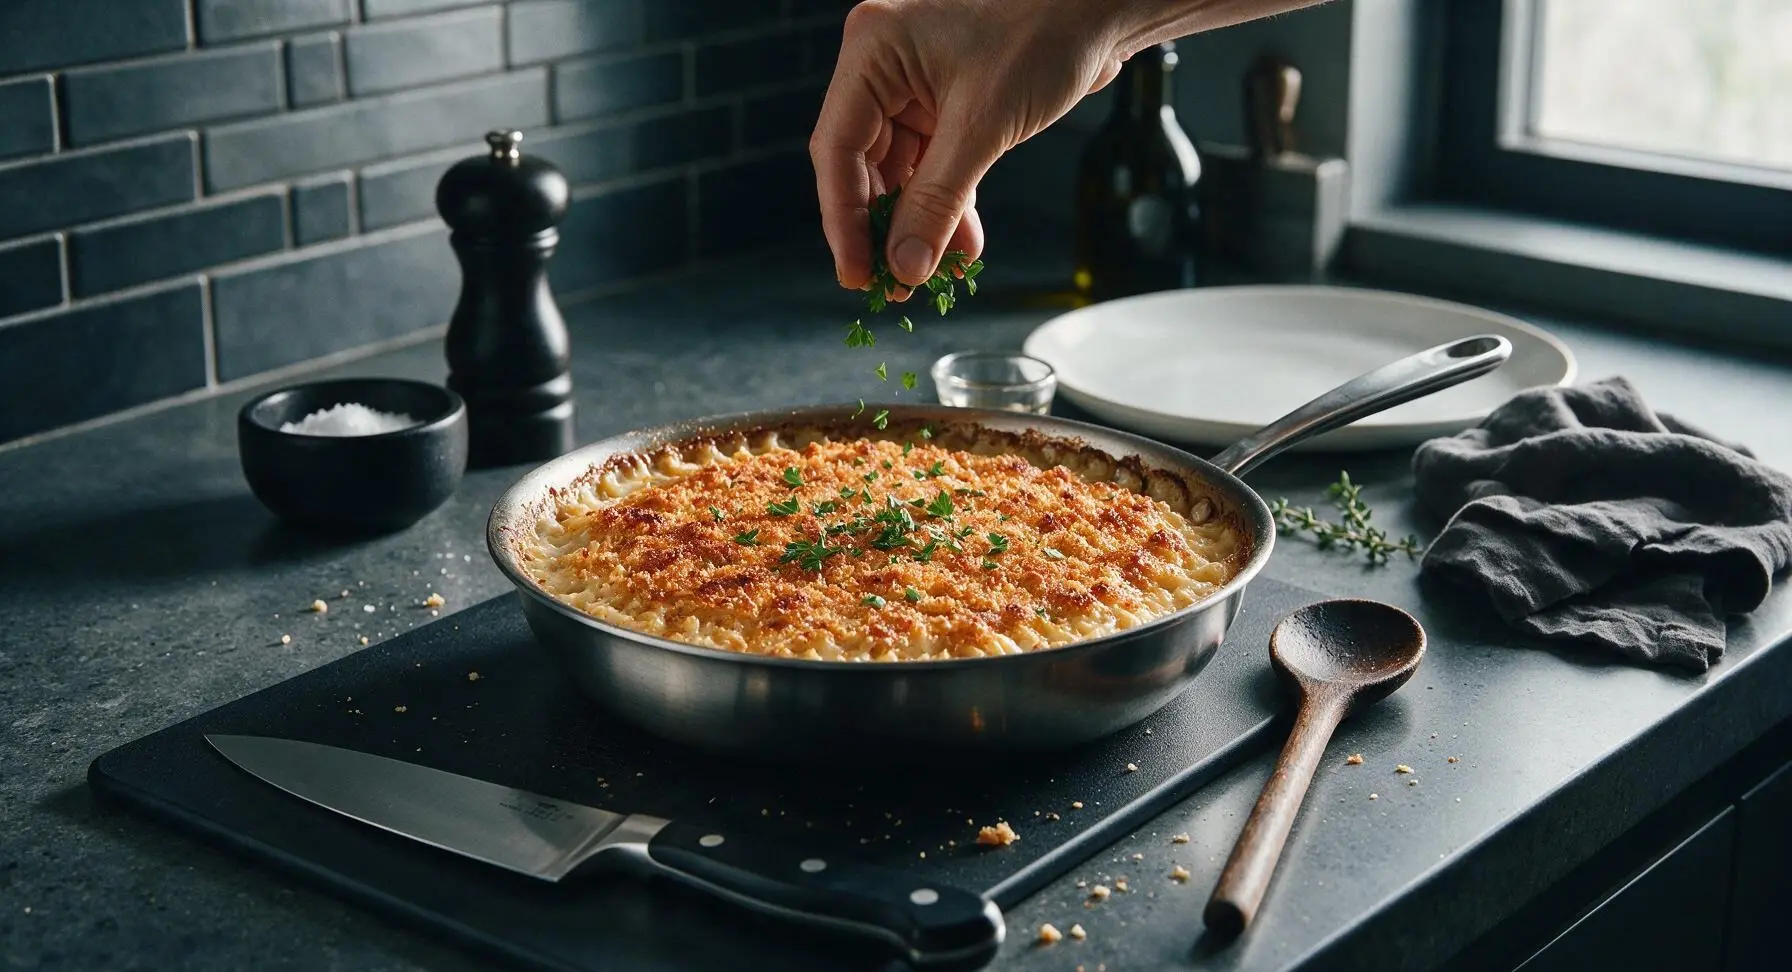
Tips
2.Add frozen peas straight from the freezer without thawing: thawed peas will turn mushy and dull green when mixed into the hot rice, while frozen peas heat through perfectly in minutes and stay bright, sweet, and firm-tender.
3.Let the casserole rest the full 5 minutes after baking: cutting into it immediately will cause melted cheese and excess liquid to run out, resulting in watery servings; resting lets the rice starches set and the cheese thicken for clean, cohesive scoops.






OMG this was a total game changer for weeknight dinners! My kids usually turn their noses up at rice sides but they went back for SECONDS. I tossed in a handful of leftover steamed broccoli from last night and it fit perfectly. So easy to throw together after work too, 35 minutes is nothing when you’re juggling homework and after school practices.
Brought this to our neighborhood block party potluck last weekend and people were asking me for the recipe before I even set the dish down! It’s creamy, savory, and holds up so well in a serving dish on a buffet line. 10/10 will be making this for every gathering from now on.
Wait this is so easy even I can make it in my tiny apartment oven? No fancy ingredients, no weird steps, and it tastes like the fancy side my grandma makes for Sunday dinner. I added a little extra garlic powder because I’m obsessed with garlic and it slapped. 10/10 for broke college students meal prepping for the week.
Super tasty! I swapped the regular Rice a Roni for the gluten-free version and it turned out almost exactly like the original, just a tiny bit softer texture. My whole family ate it no complaints, just wish I’d thought to add a crunchy topping next time.
Made a big pan of this on Sunday for my weekly meal prep and it reheats like an absolute DREAM. No mushy rice, no weird separated sauce, it tastes just as good on Wednesday as it did fresh out of the oven. Perfect for packing for work lunches, I don’t know why I didn’t think of making baked Rice a Roni sooner!
Made this to go with our smoked wings for Sunday football and it was the perfect side. Hearty, flavorful, didn’t require me to stand over the stove stirring while I was trying to watch the game. Baked in the oven while the wings finished, zero hassle. Will be on repeat all football season.
I mixed in a can of drained tuna and some frozen peas to make this a full one-pan meal instead of just a side, and my wife and toddler demolished it. Way cheaper than takeout, way less cleanup too. The easy difficulty rating is no joke, even I can’t mess this up.
Wait I think I messed up? I put all the ingredients in at once instead of toasting the rice first like the box says, and it still came out SO good? I was so sure I ruined it but my roommate said it’s one of the best things I’ve made all month. Is it supposed to be forgiving like that? Lol
This tastes exactly like the Rice a Roni my mom used to make us growing up, but creamier and way more flavorful from baking in the oven. Total comfort food, I ate two servings straight out of the pan while standing at the kitchen counter no shame. SO good, perfect rainy day food.
Used dairy free butter and oat milk instead of regular dairy to make this work for my allergy, and you literally can’t tell the difference. I was worried it would be watery or taste weird but it’s so rich and creamy, my non-dairy-free roommate didn’t even notice until I told him.
Wait 35 minutes cook time is so accurate! I was running late for my sister’s birthday dinner and threw this together right before I had to leave, it was perfectly done right when I needed to walk out the door. No undercooked rice, no burnt edges, perfect every time.
I browned up a pound of ground breakfast sausage and mixed it in before baking and y’all…this is now my husband’s most requested dinner. He asks for it at least once a week, it’s so savory and filling. I was worried it would be too heavy but the flavor balance is perfect.
It was good! Super easy, nice creamy texture, but I ended up adding a bunch of hot sauce and paprika to my serving because it was a little plain for my taste. Great base recipe though, perfect for customizing with whatever seasonings or add-ins you like.
I’ve been making Rice a Roni for my grandkids for 40 years and I never thought to bake it in a casserole! Tried this recipe last Sunday when the kids came over and they said it was even better than my stovetop version. Looks like I’ve got a new go-to recipe now.
Tossed in diced bell pepper, onion, and corn that I sautéed real quick before mixing everything together, and it added such a nice fresh pop of flavor and color. Great basic recipe that you can tweak a million different ways depending on what you have in the fridge. Already planning to make it again next week with mushrooms and zucchini.
Wait can I add a bunch of cheese to this? Like, how much is too much? I want it to be super gooey and cheesy but I don’t want to mess up the texture. This looks so good I want to make it for date night tonight!