
rice and bean casserole
intro
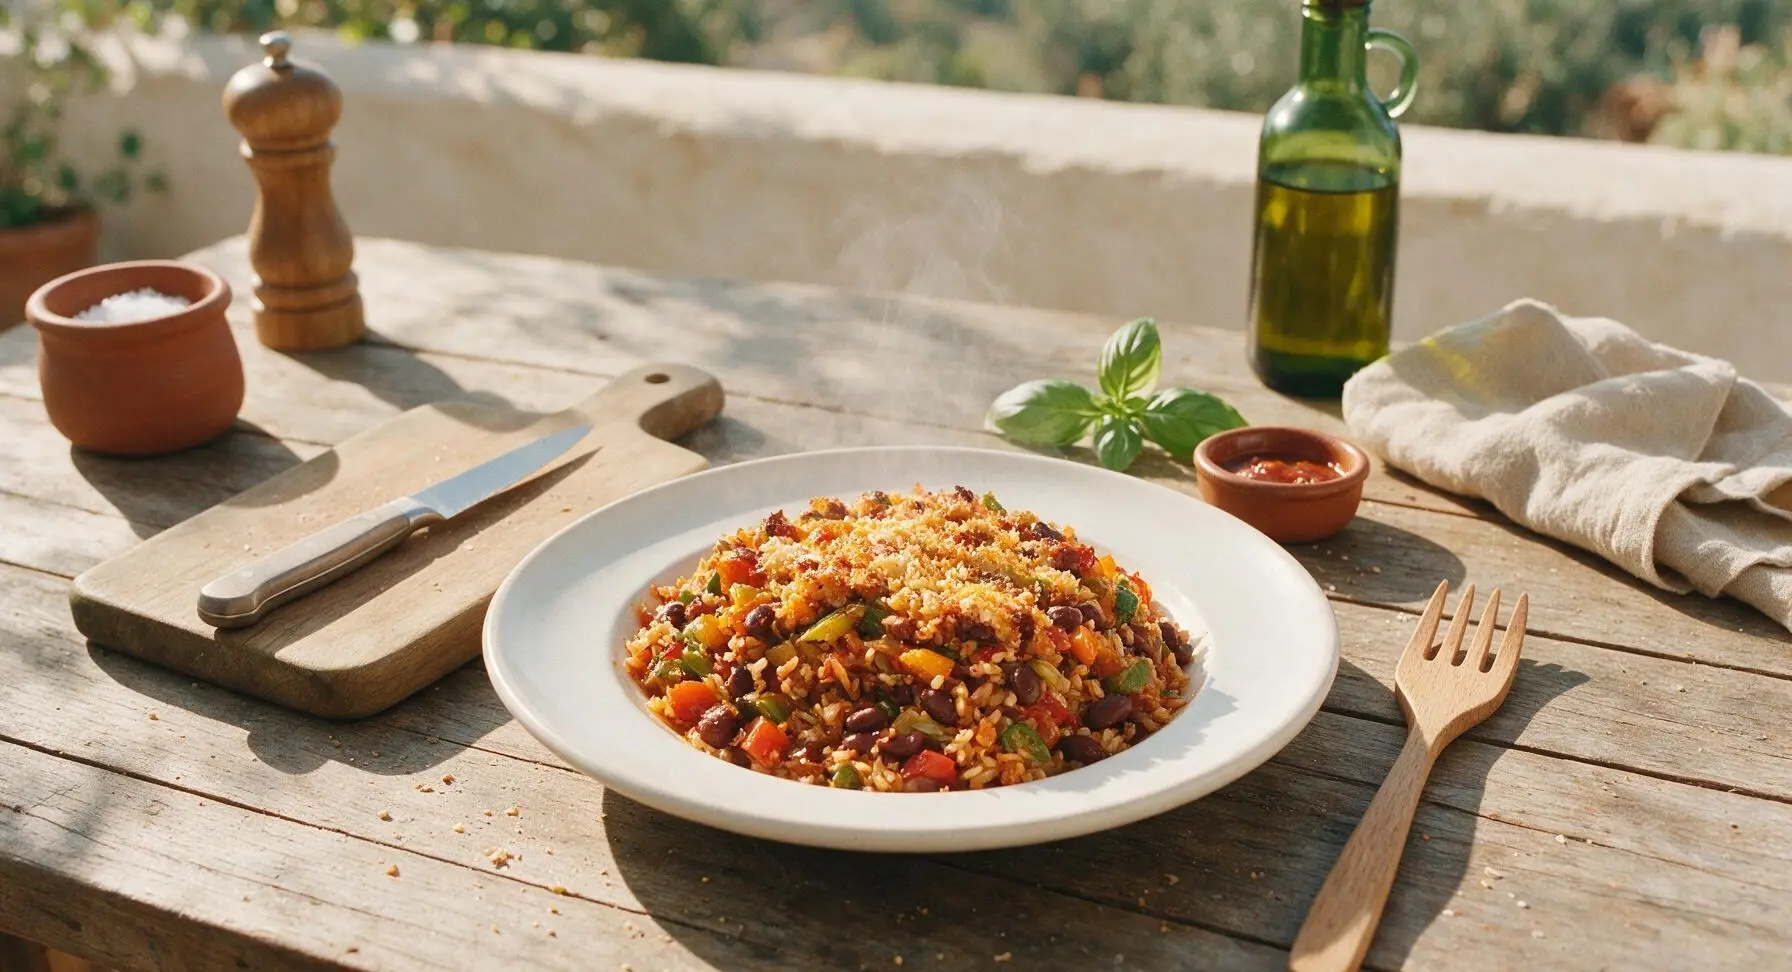
Hearty, cheesy Tex-Mex rice and bean casserole, loaded with smoky spices, tender veggies, and a crispy golden top—warm, filling comfort made for gathering around the table.
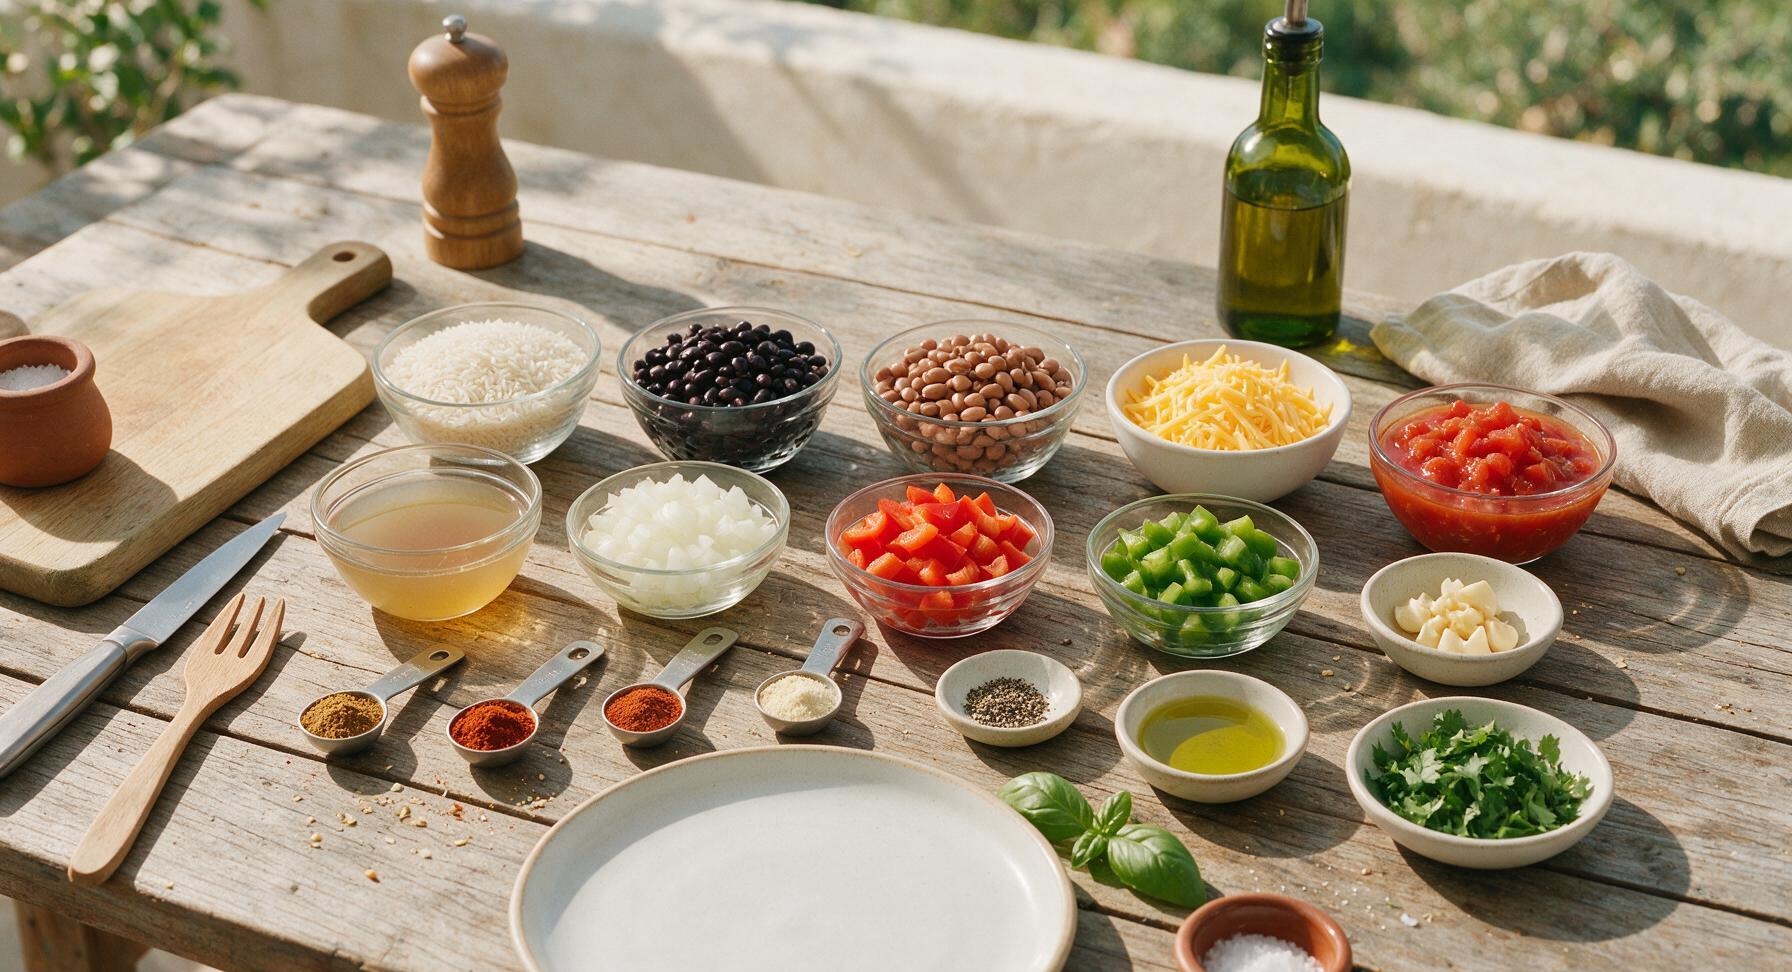
Ingredients
Steps
Preheat and Prep Vegetables
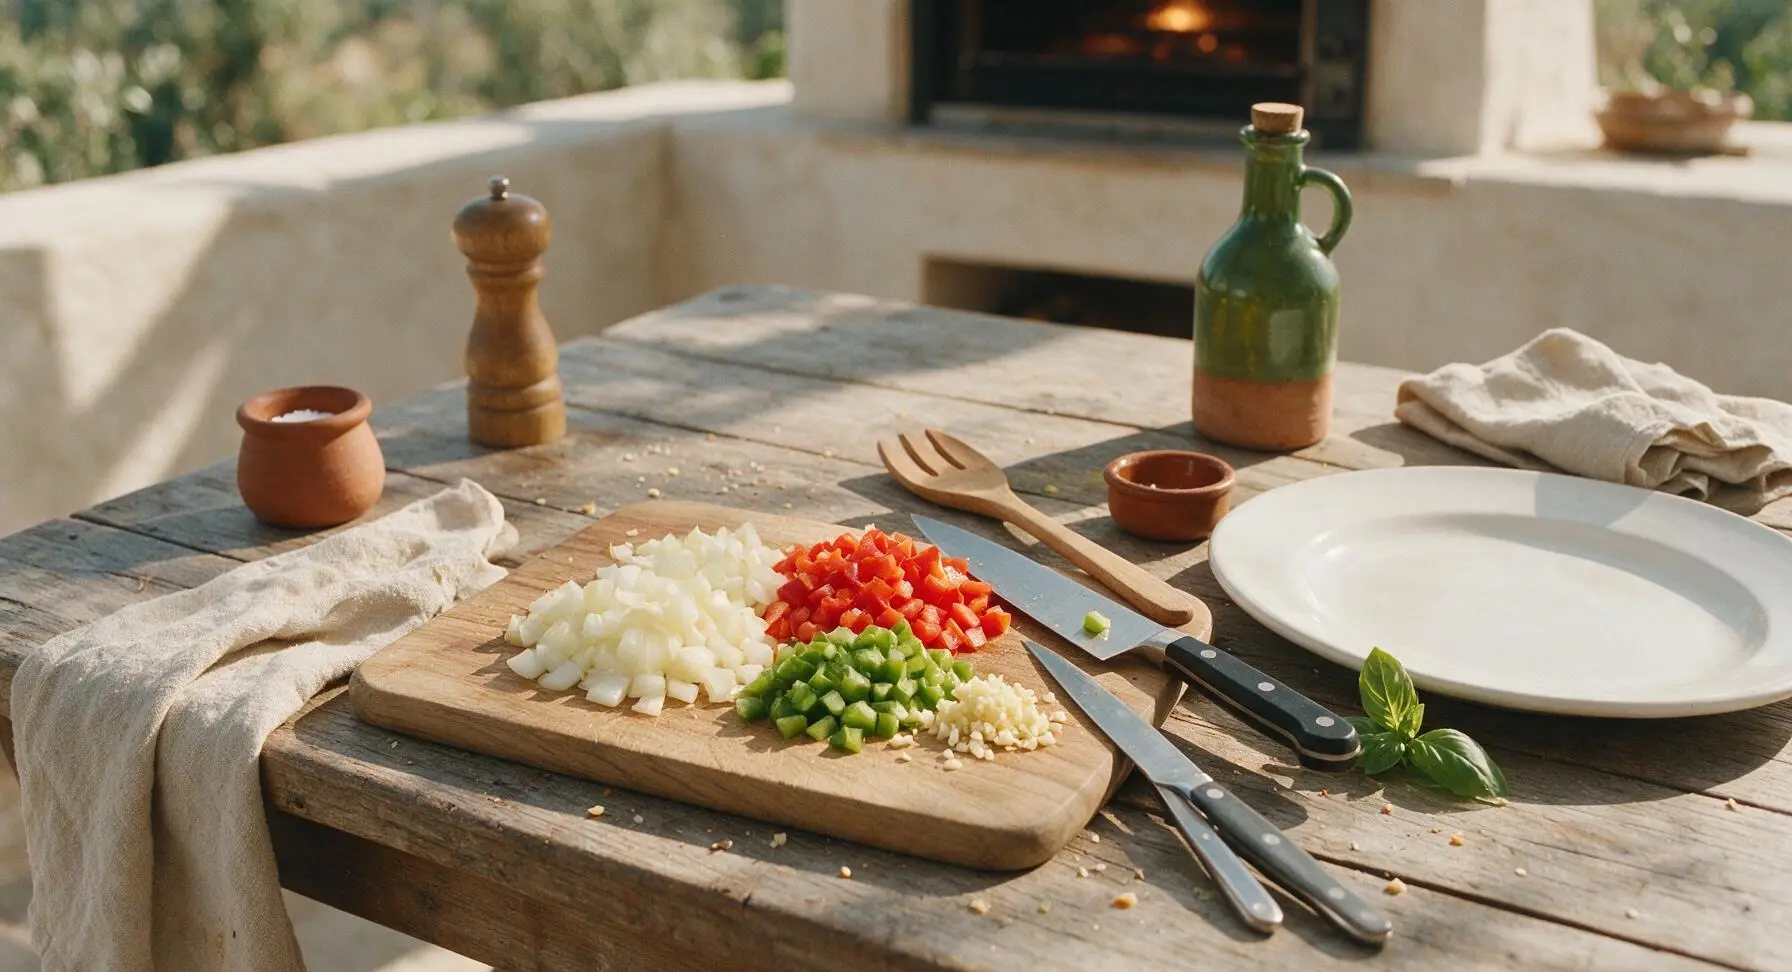
Adjust oven rack to middle position, preheat oven to 375°F (190°C). Use the chef knife on the acacia wood cutting board to dice the yellow onion, red bell pepper, and green bell pepper into ½-inch uniform pieces, then mince the 3 garlic cloves finely. Set prepped veggies aside in small separate piles on the edge of the cutting board. Cutting veggies to uniform size ensures they cook at the same rate, with no undercooked crunchy chunks.
Sauté Aromatic Vegetable Base
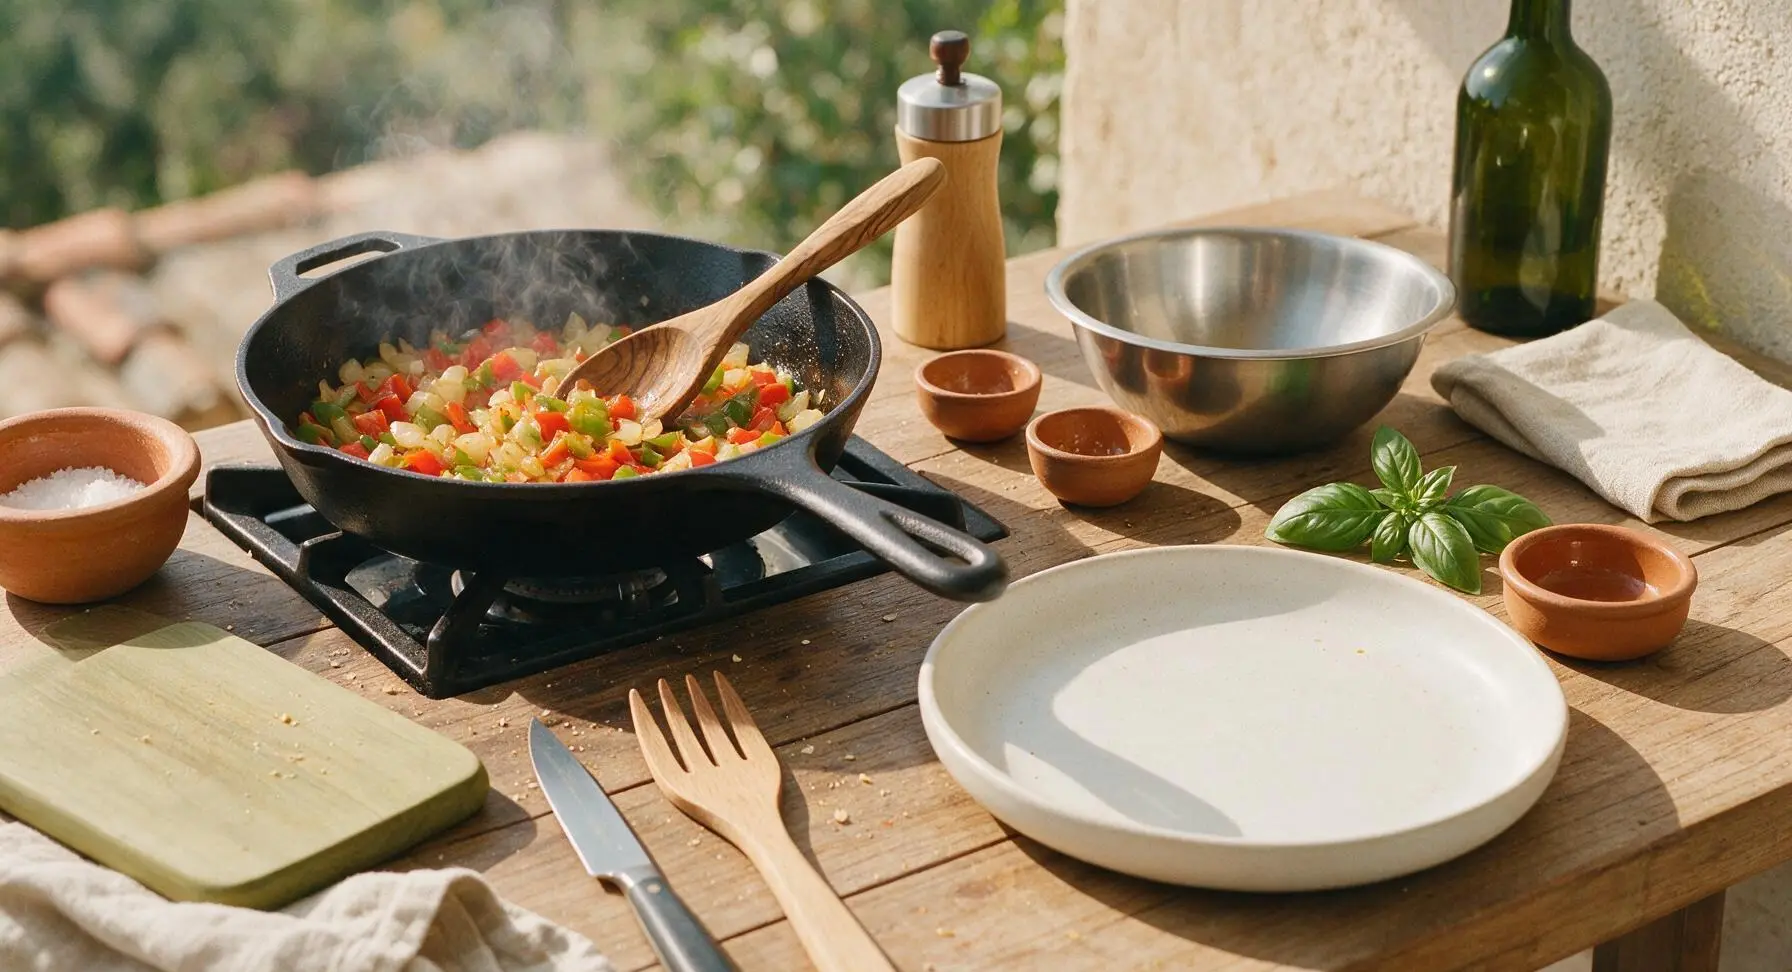
Heat 1 tablespoon olive oil in the 10-inch cast iron skillet over medium heat. Add diced onion and bell peppers, cook for 5 minutes, stirring occasionally with the olive wood spoon, until veggies are soft and slightly translucent at the edges. Add minced garlic, ground cumin, chili powder, smoked paprika, garlic powder, kosher salt, and black pepper, cook for 30 seconds more until spices are fragrant and fully coating the veggies. Watch closely to avoid burning the garlic, as burnt garlic will add a bitter, unpleasant flavor to the finished casserole.
Mix All Casserole Components
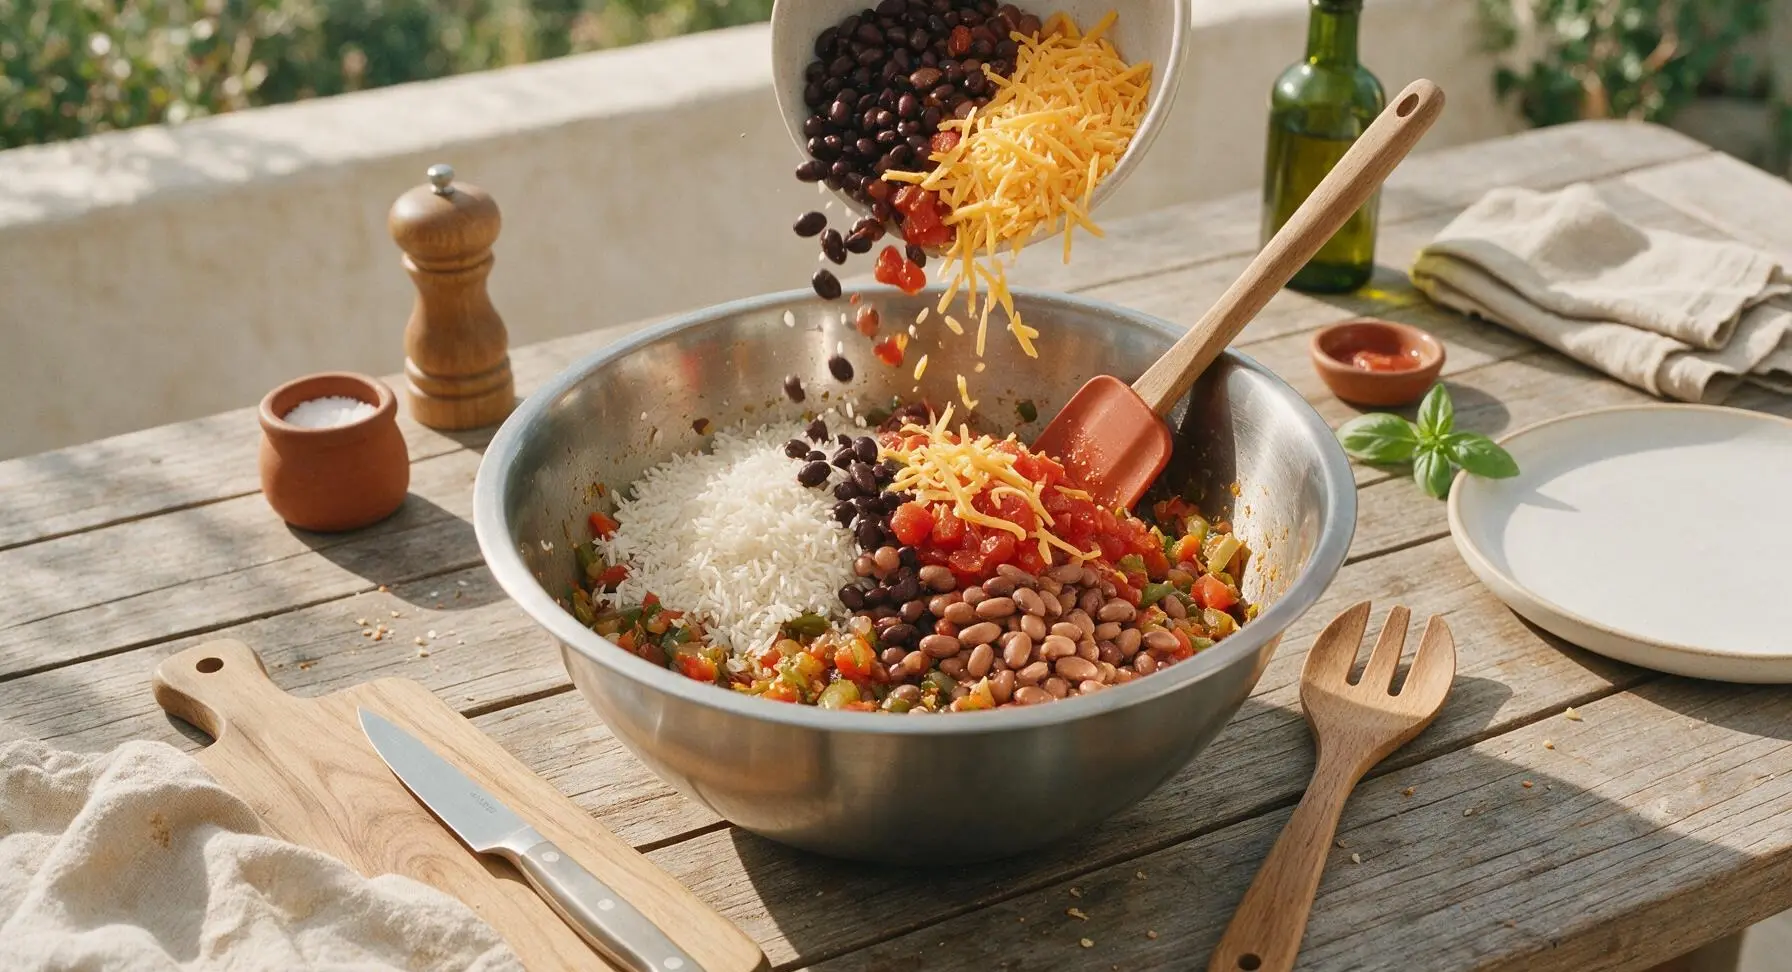
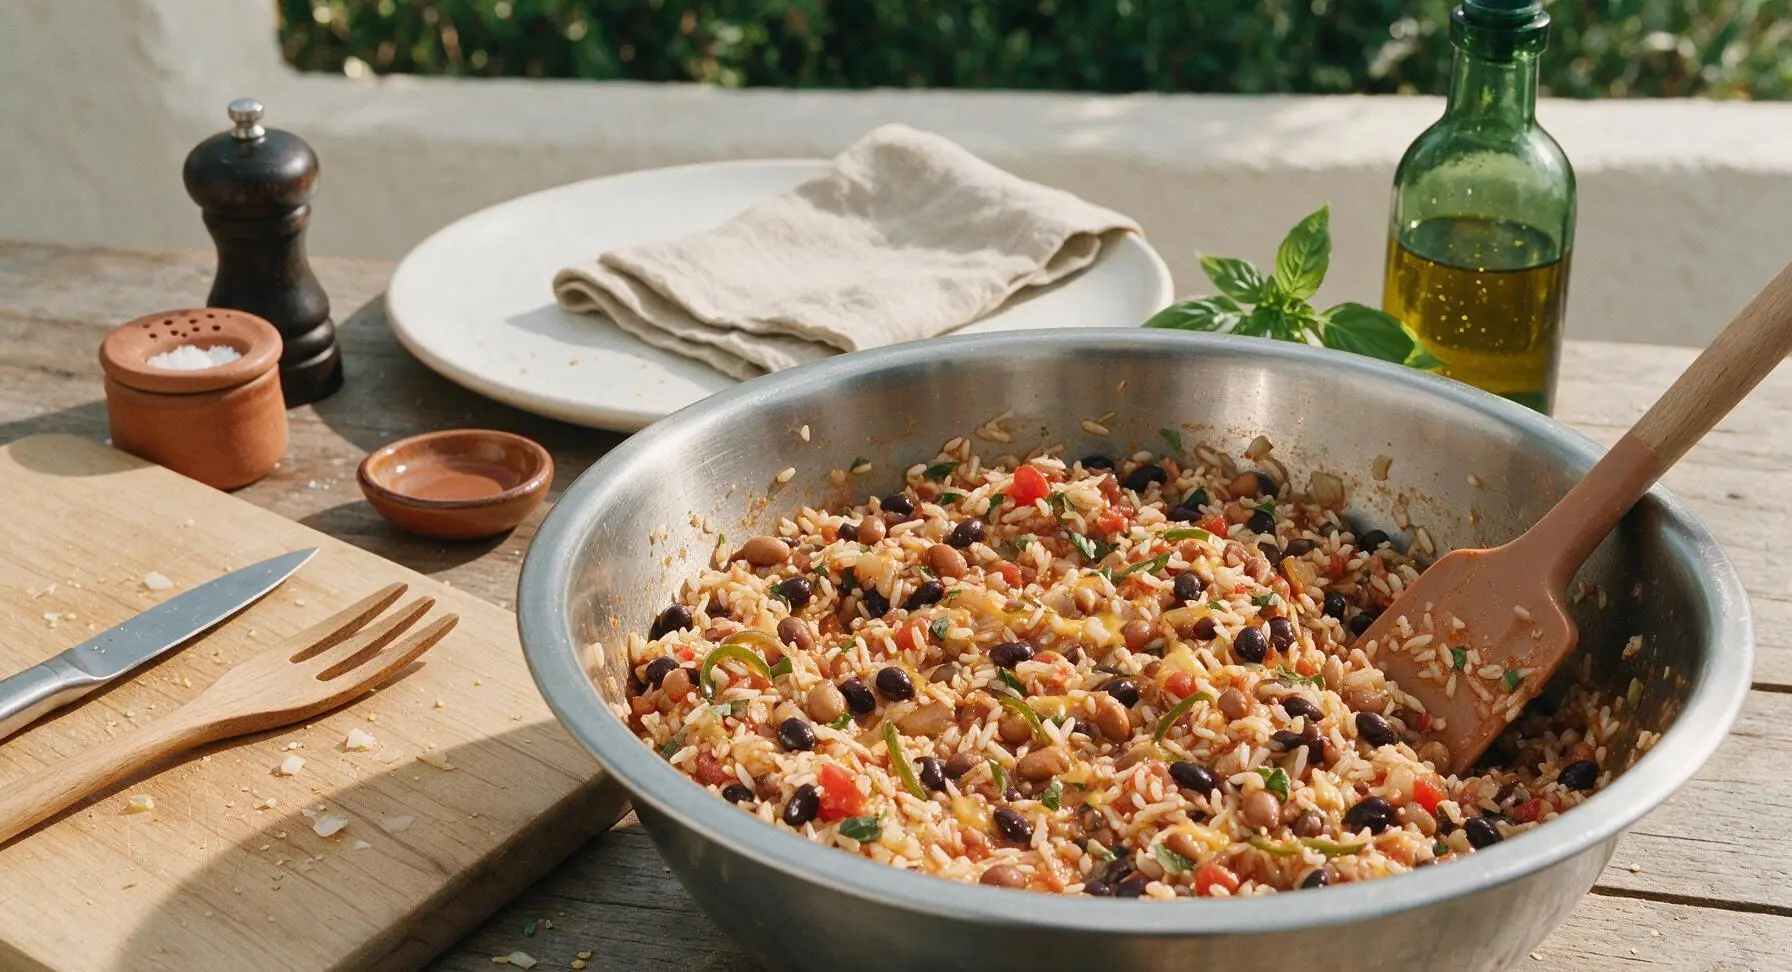
Transfer the sautéed veggie and spice mixture from the skillet into the brushed stainless steel mixing bowl. Add uncooked long-grain white rice, drained and rinsed black beans, pinto beans, undrained fire-roasted diced tomatoes, 1 cup of the shredded sharp cheddar cheese, and 2 cups low-sodium vegetable broth. Stir thoroughly with the terracotta silicone spatula until every grain of rice is coated in liquid and ingredients are evenly distributed, with no dry rice clumps stuck to the bottom of the bowl.
Transfer Mixture to Dish
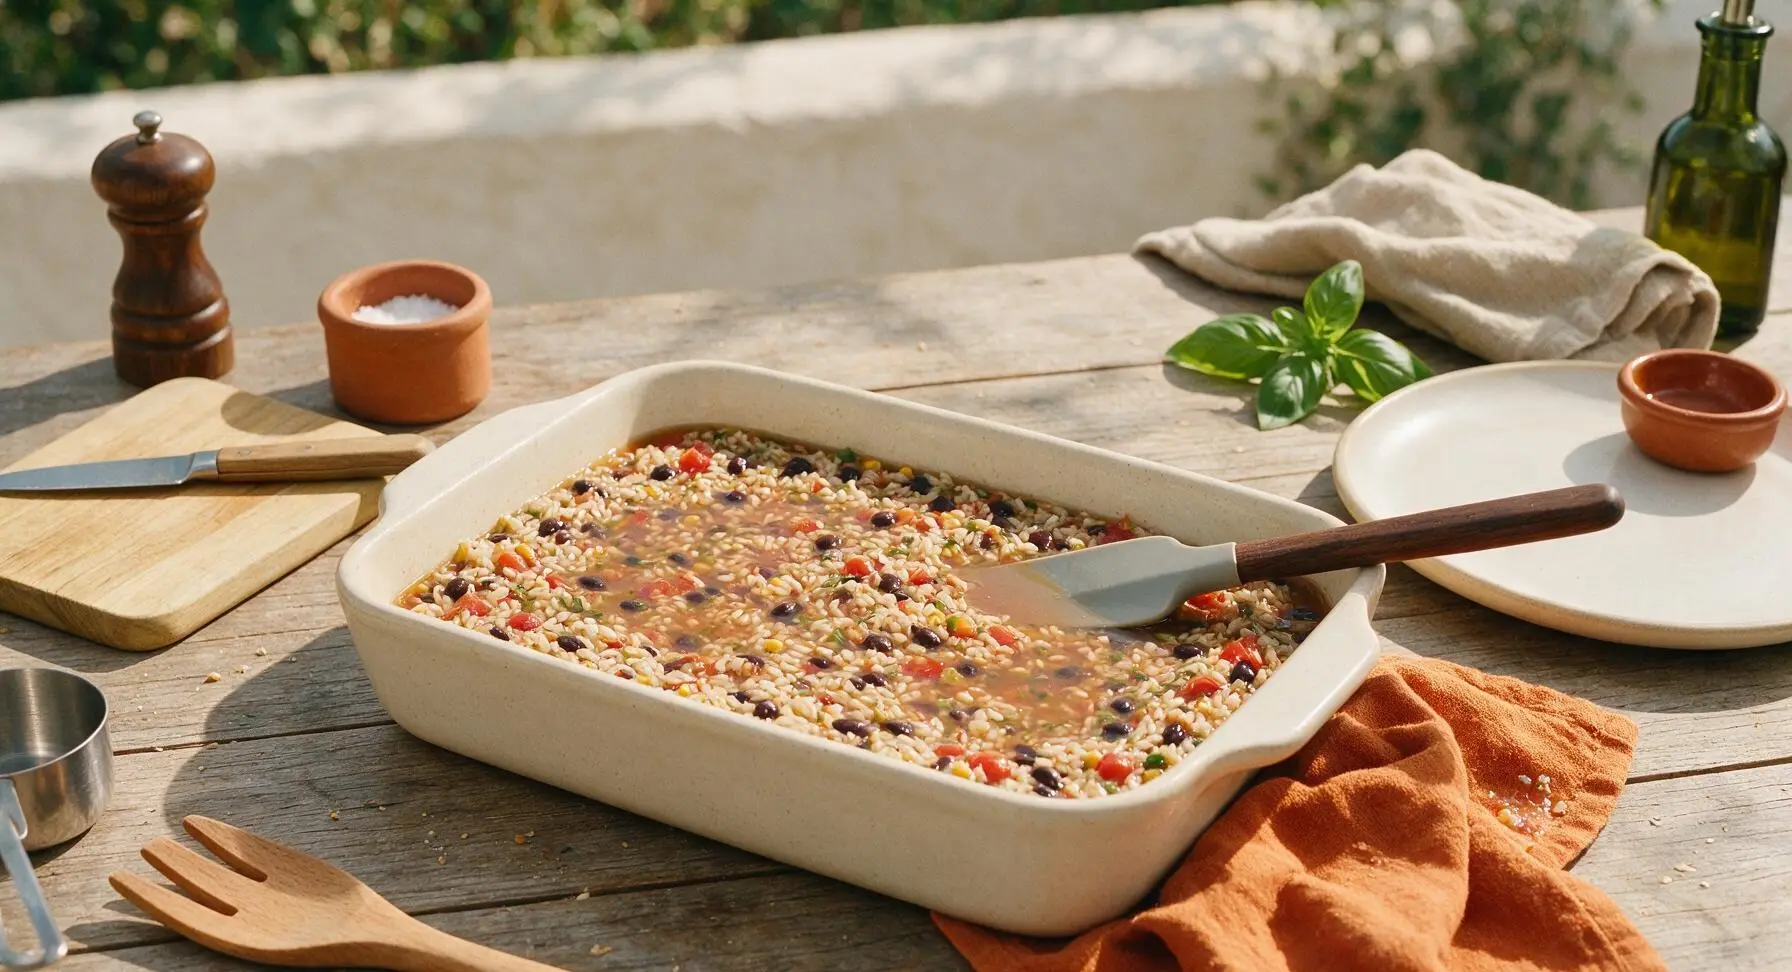
Pour the entire mixed casserole base from the stainless steel bowl into the 9x13 inch cream stoneware casserole dish positioned at the center of the work zone. Use the silicone spatula to spread the mixture into an even, flat layer across the bottom of the dish, pressing gently to ensure all rice is fully submerged under the liquid (this guarantees even cooking and eliminates dry, crunchy rice spots). Wipe any drips from the outside edge of the casserole dish with the corner of the burnt orange cotton kitchen towel.
Bake Covered Until Set
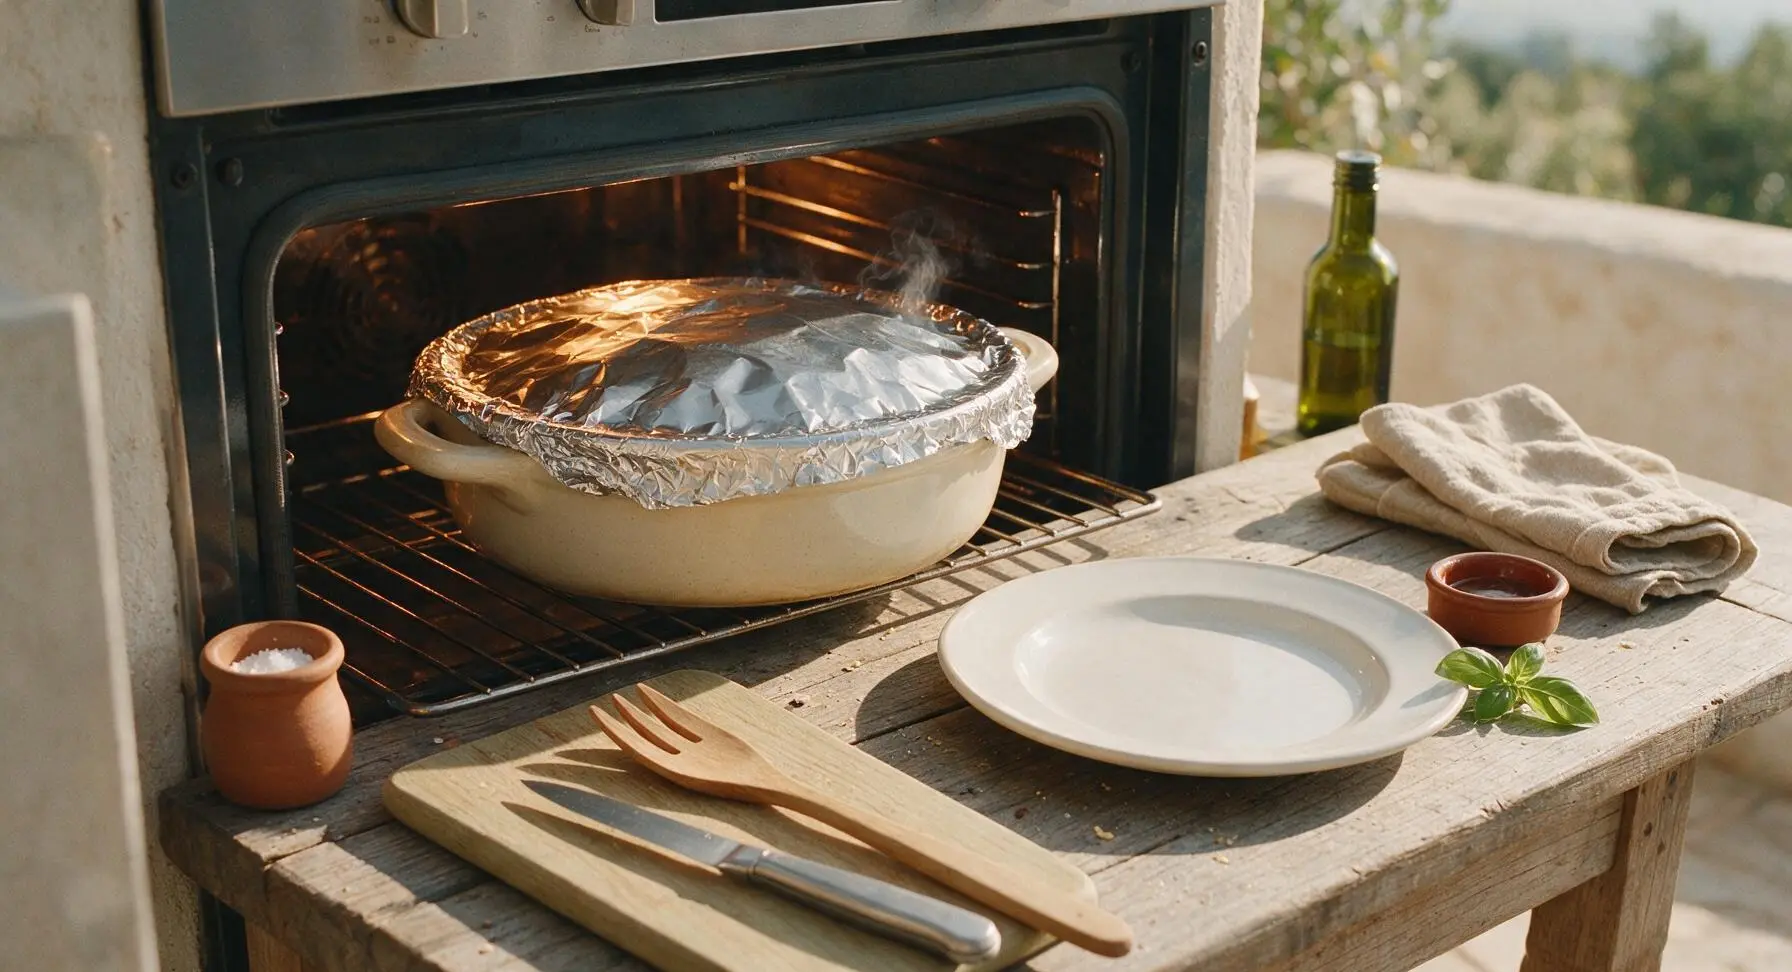
Cover the casserole dish tightly with a sheet of aluminum foil, crimping the edges around the dish rim to create a tight steam seal. Place on the middle oven rack, bake for 25 minutes at 375°F (190°C). After 25 minutes, carefully pull the rack out slightly to check: the rice should be plump, most of the liquid absorbed, and the mixture set around the edges.
Top with Cheese, Finish Baking
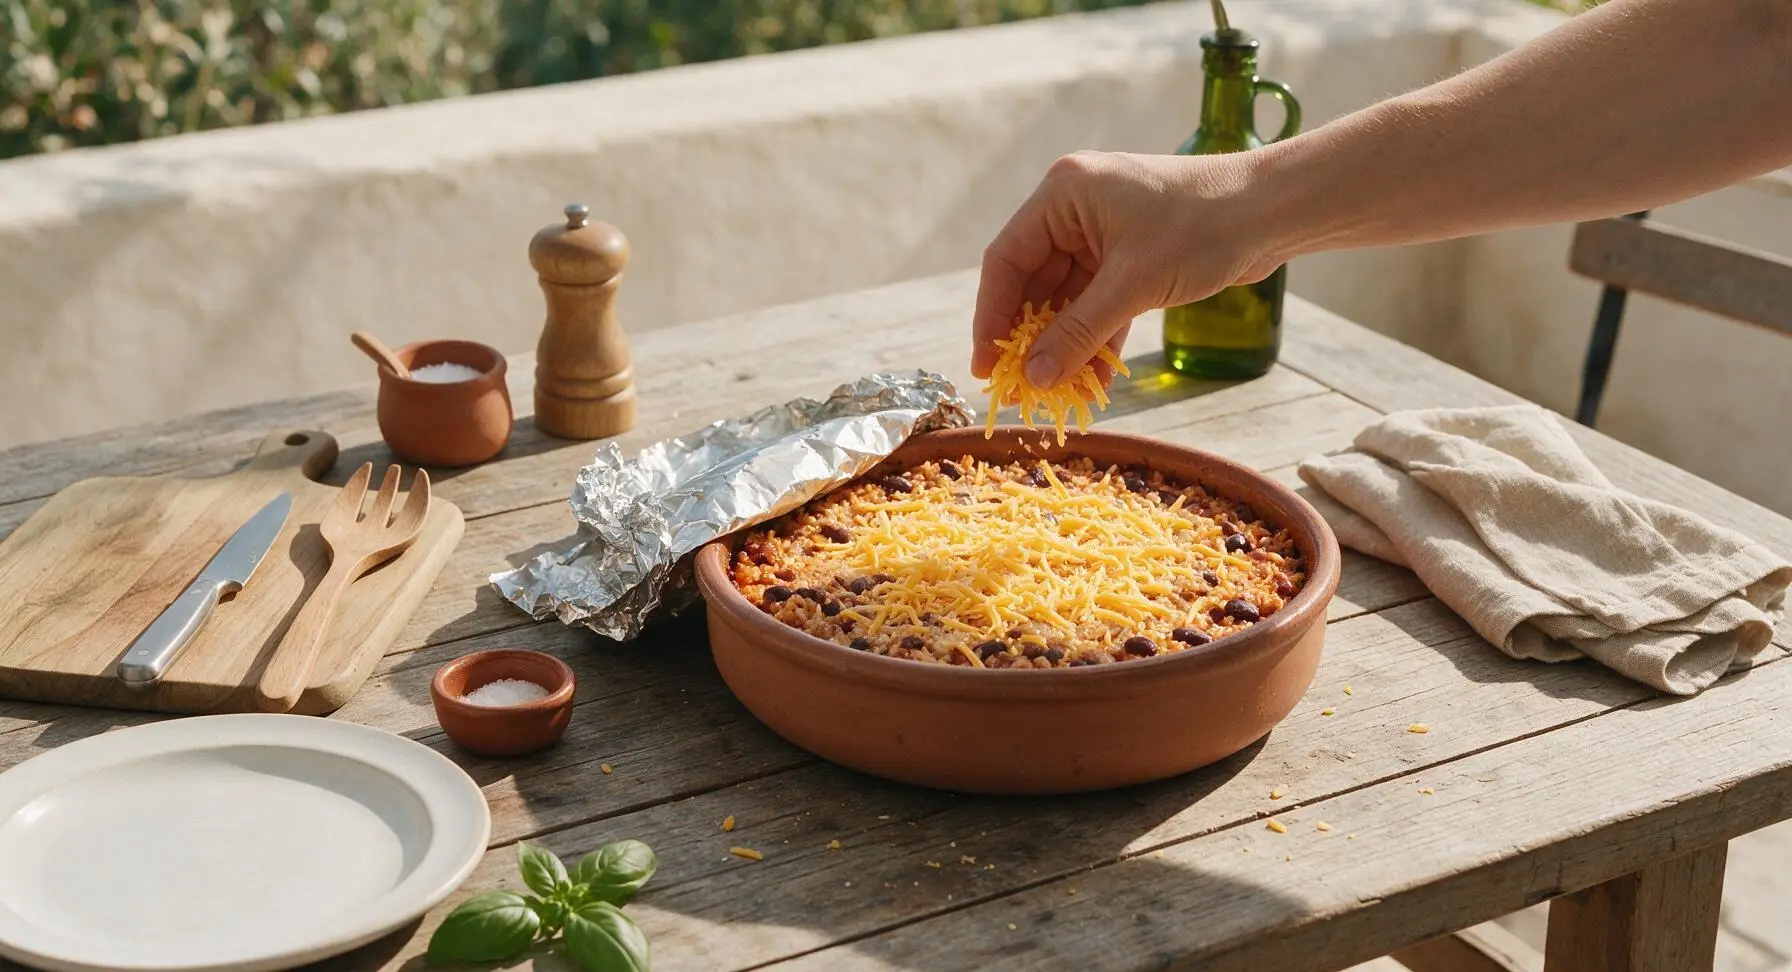
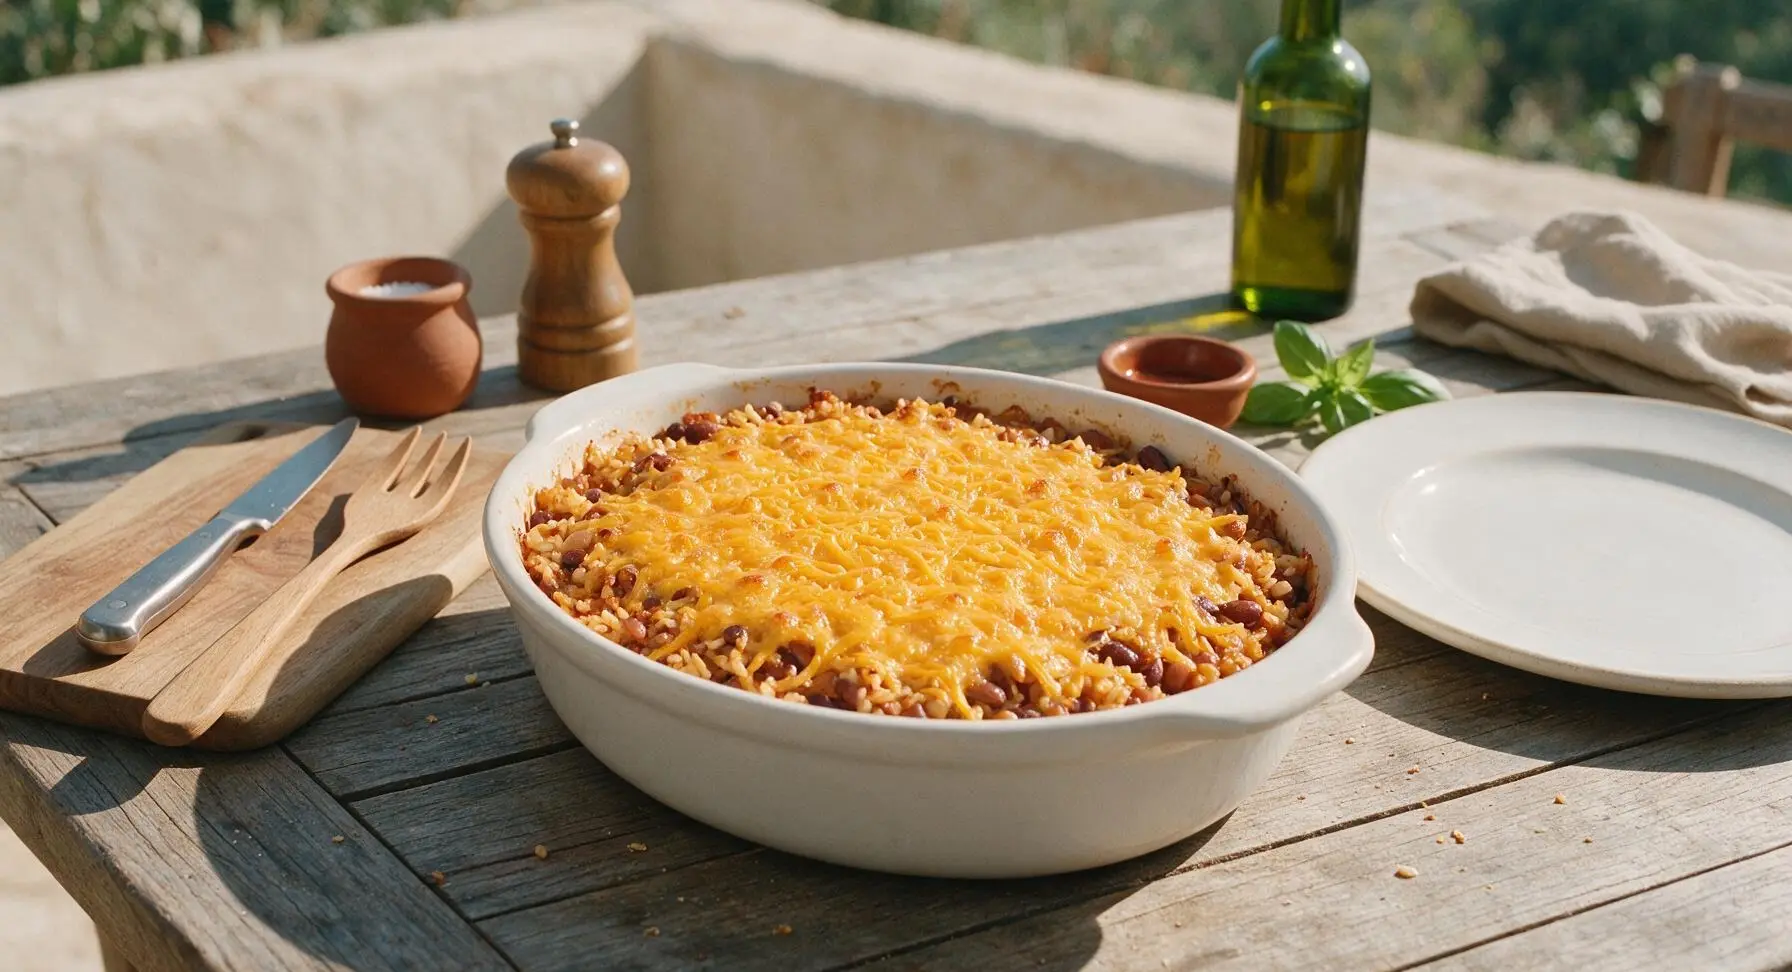
Carefully remove the foil from the partially baked casserole (tilt the lid away from your face to avoid burns from escaping steam). Sprinkle the remaining ½ cup of shredded sharp cheddar cheese evenly across the entire top surface of the casserole. Return the uncovered dish to the middle oven rack, bake for an additional 10 minutes at 375°F (190°C), until the cheese is fully melted, bubbly at the edges, and just starting to turn light golden brown in spots, and all rice is completely tender when poked with a fork.
Rest, Garnish, and Serve
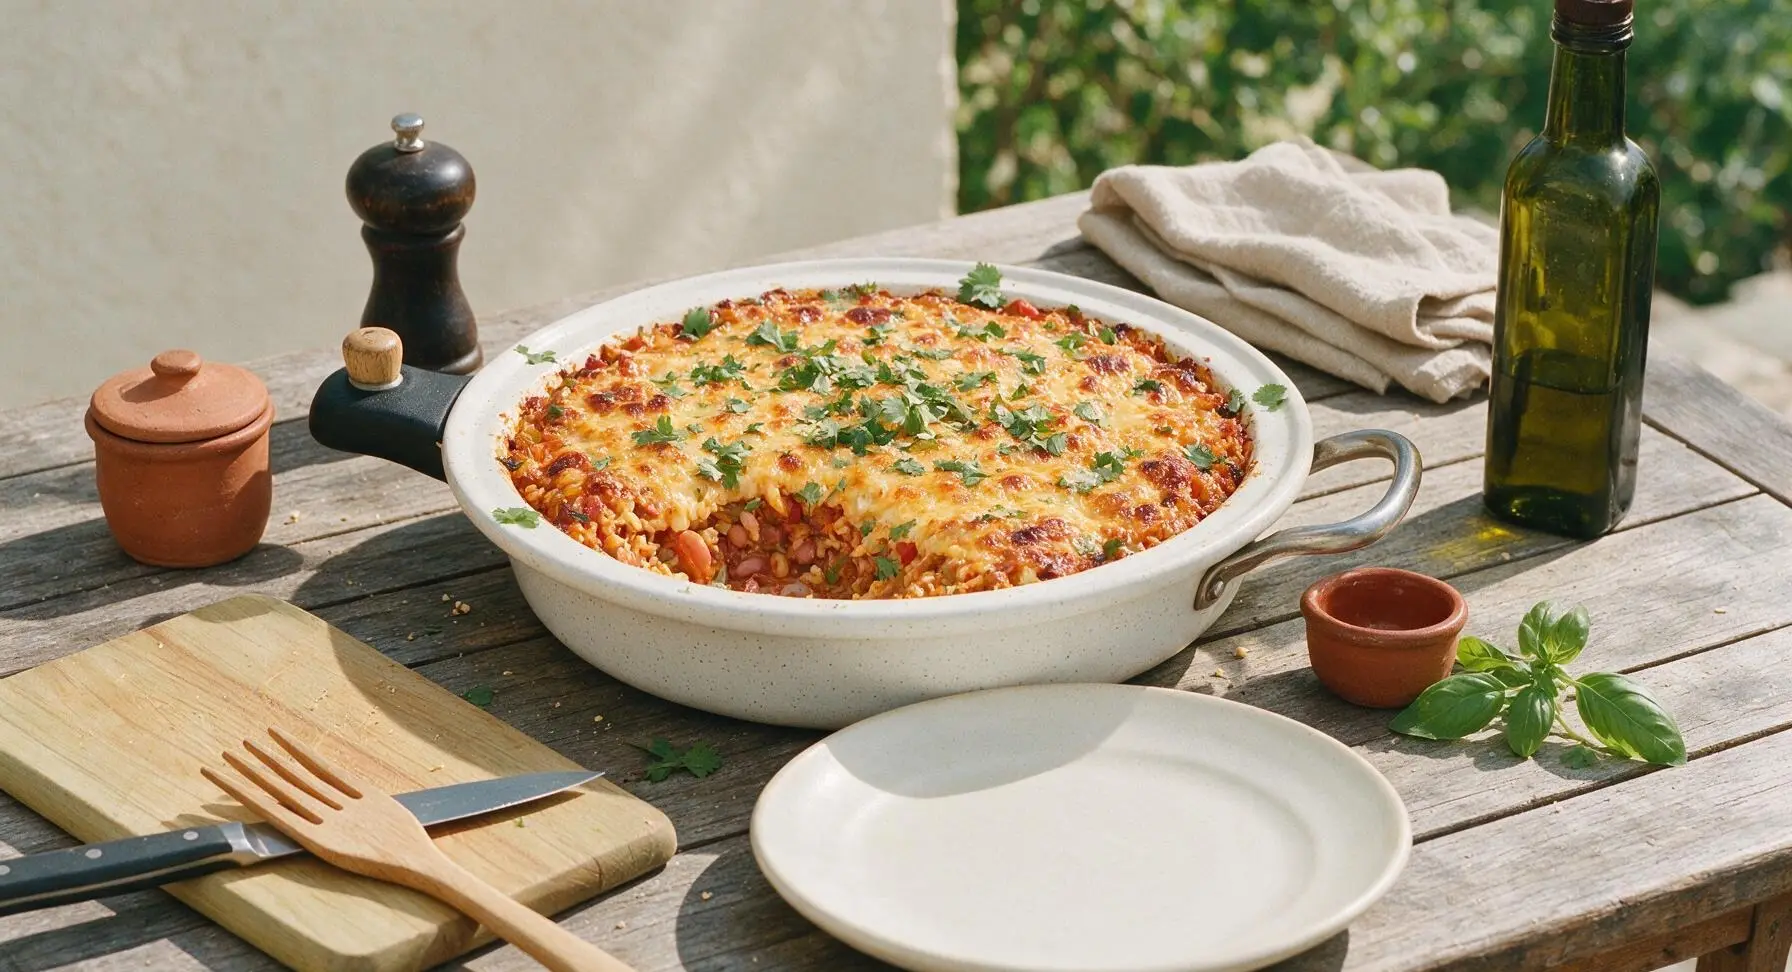
Remove the finished casserole from the oven, transfer to the center countertop to rest for 5 minutes (this allows the remaining liquid to fully absorb and the casserole to set, making clean, neat scoops possible). Sprinkle the top with 2 tablespoons of fresh chopped cilantro before serving. Scoop generous portions onto the cream ceramic dinner plates to serve.
Tips
2.Double-check that every grain of rice is submerged under broth before covering the dish to bake: any rice exposed above the liquid line will dry out and remain hard and crunchy, even after the full baking time.
3.Let the casserole rest for the full 5 minutes after baking: cutting into it immediately will cause the liquid to run out, resulting in a soupy, unset texture instead of a cohesive, scoopable casserole.






OMG this was so easy to throw together on a busy weeknight! I tossed in a handful of leftover roasted corn I had in the fridge and my whole family devoured it. 10/10 will be adding this to our regular dinner rotation!
My kids loved this! I was worried the bean texture would turn them off but they asked for seconds before I even sat down to eat. Perfect for meal prep too, I packed the leftovers for my husband’s work lunches all week.
Brought this to our neighborhood block party last weekend and people were asking me for the recipe before I even set the dish down! Topped it with a little dollop of sour cream and some chopped cilantro right before serving, *chef’s kiss*.
Super easy, super cheap to make in my dorm kitchen! I didn’t have a fancy casserole dish so I just used my deep baking sheet and it turned out fine. Only thing is I wish it had a little more kick, might add some jalapeños next time.
Finally a hearty casserole that’s naturally gluten free without needing weird substitute ingredients! I topped mine with crushed tortilla chips for a little crunch and it was SO good.
Made a big batch on Sunday and it held up perfectly all week for lunch. The flavors actually got better as it sat in the fridge, which is my favorite kind of meal prep recipe. No sad soggy leftovers here!
I’m literally just learning to cook and this was so hard to mess up! The instructions were super straightforward, no fancy techniques or weird ingredients I had to hunt down at a specialty store. Will definitely make again.
Swapped the regular white rice for brown rice to add a little extra fiber, added a diced bell pepper, and it came out amazing! Such a flexible base recipe you can tweak to match whatever you have on hand.
Wait, is it crazy that I added a handful of shredded pepper jack on top for the last 10 minutes of baking? Because that melty, spicy cheese layer pushed this from good to incredible. 10/10, do not skip the cheese.
40 minutes total cook time? Sign me up. I hate recipes that take 2 hours on a weeknight, this was done before my kid finished their homework. No fancy steps, just dump, stir, bake, eat.
I’m usually the person who throws out leftovers because they get boring, but this? I ate it for breakfast with a fried egg on top the next day and it was even better than dinner. Game changer.
My oven is tiny and runs super hot, so I turned the temp down 25 degrees and baked it for 35 minutes instead and it came out perfect. The rice didn’t burn on the bottom, the beans were creamy, total win.
Made this for my office potluck and even the picky eaters went back for seconds. I love that it’s vegetarian so it works for most dietary restrictions without feeling like “diet food” at all.
I skipped any extra spicy add-ins and just used mild taco seasoning, and it was perfect for my super low spice tolerance. Flavorful without making my nose run, which is exactly what I look for in Tex-Mex food.
Wait, can I freeze this? I want to make a double batch to stash in the freezer for nights I don’t feel like cooking at all, but I don’t want the rice to get mushy when I thaw it.
I left the cilantro out (soap taste gang, rise up) and topped it with extra lime juice and a little cotija cheese instead, and it was chef’s kiss. Don’t let the cilantro in the recipe scare you off if you’re like me!
Made this for my teen’s soccer team pre-game dinner and all the boys ate two helpings. Carbs from the rice, protein from the beans, super filling, gave them tons of energy for their game. Got major dad points for this one.