
rice flour fried chicken
intro
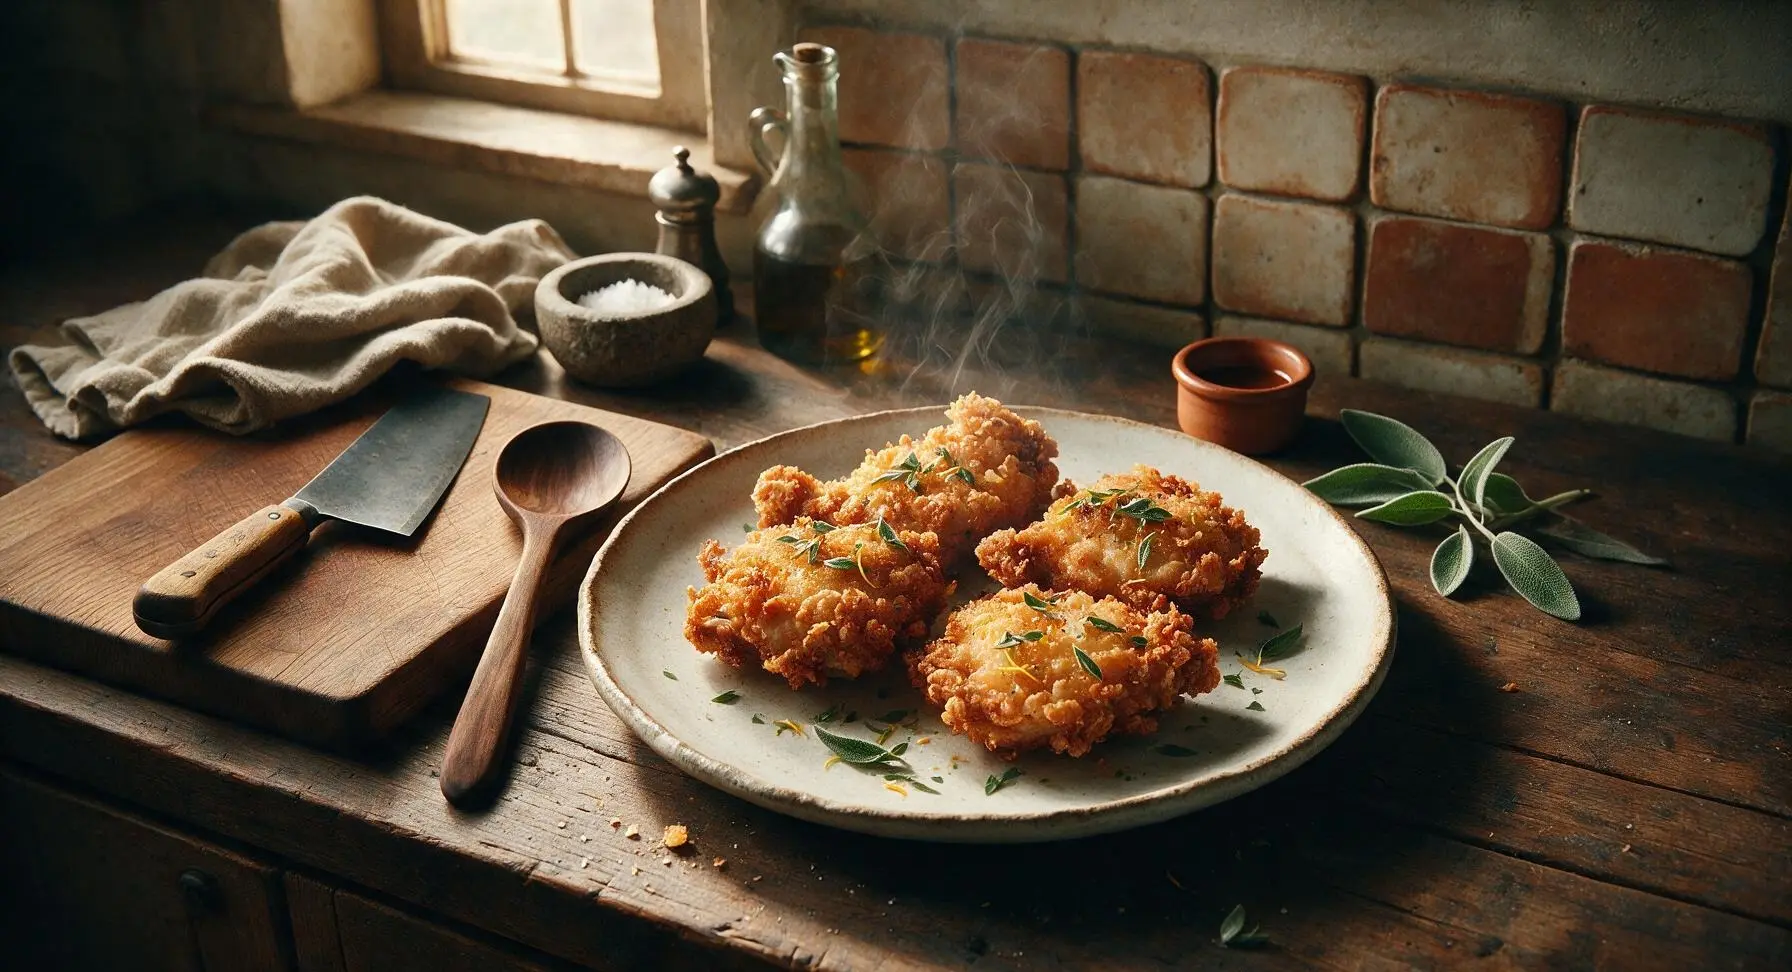
Shatteringly crisp, juicy rice flour fried chicken with a light, non-greasy crust that stays crunchy for hours, featuring tender, deeply seasoned meat under every bite.
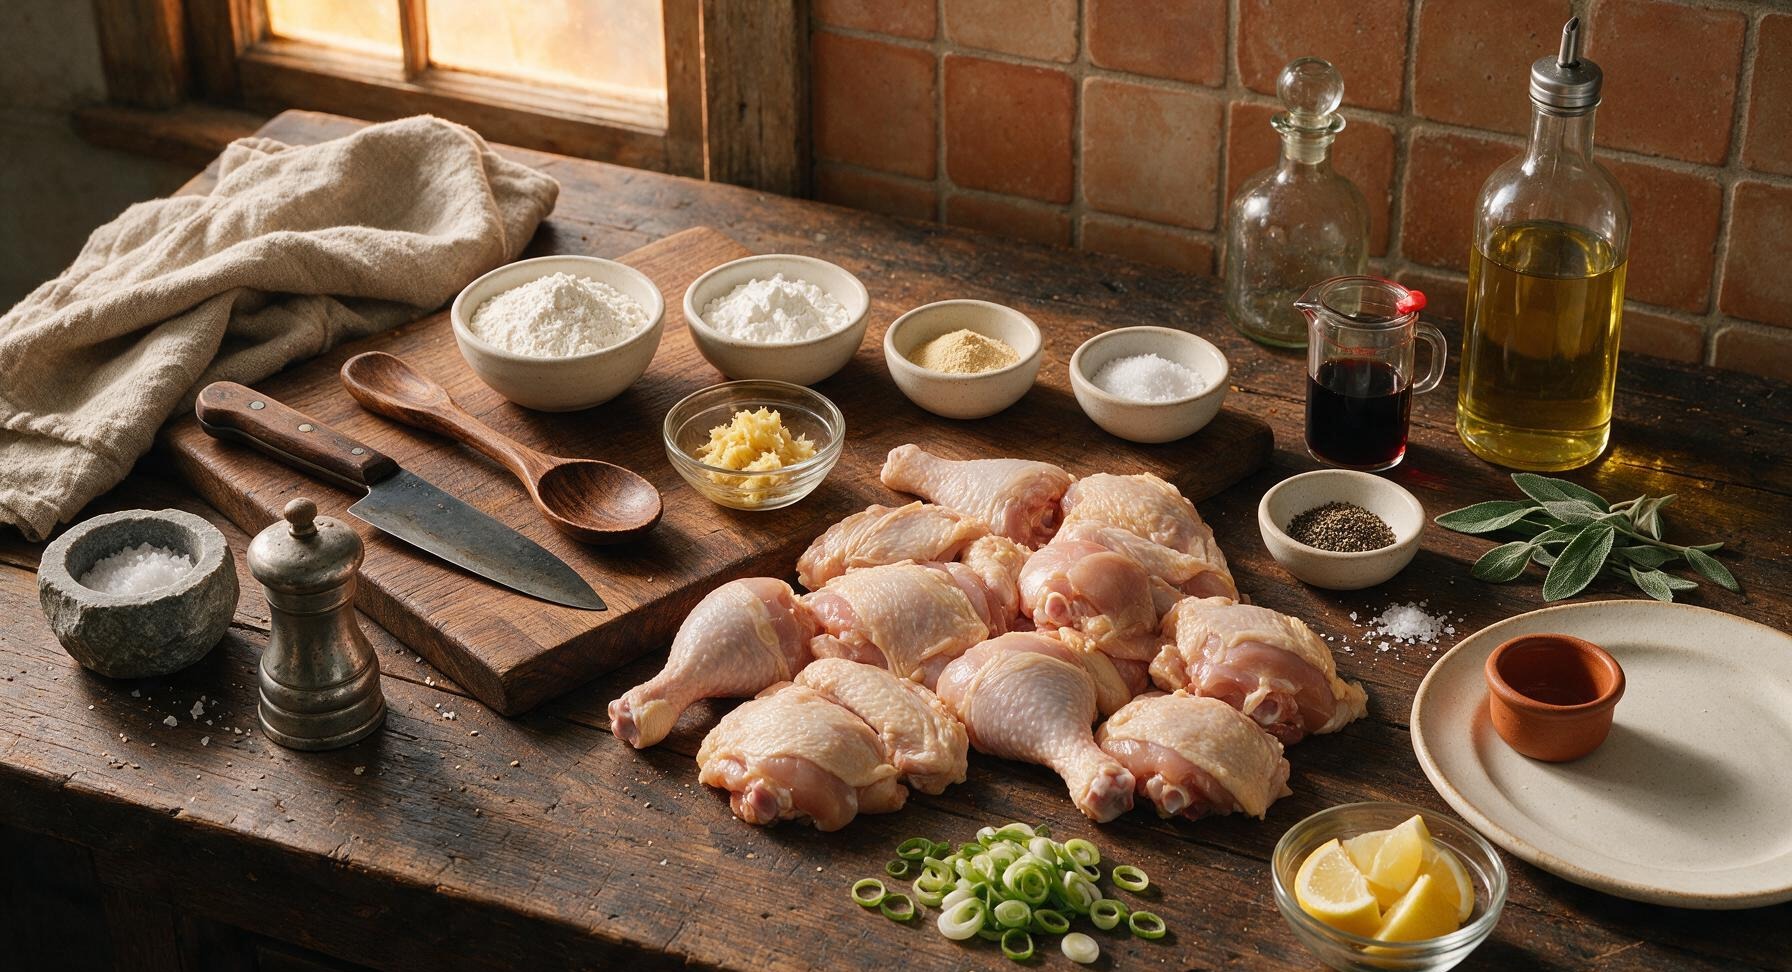
Ingredients
Steps
Prep Chicken Pieces
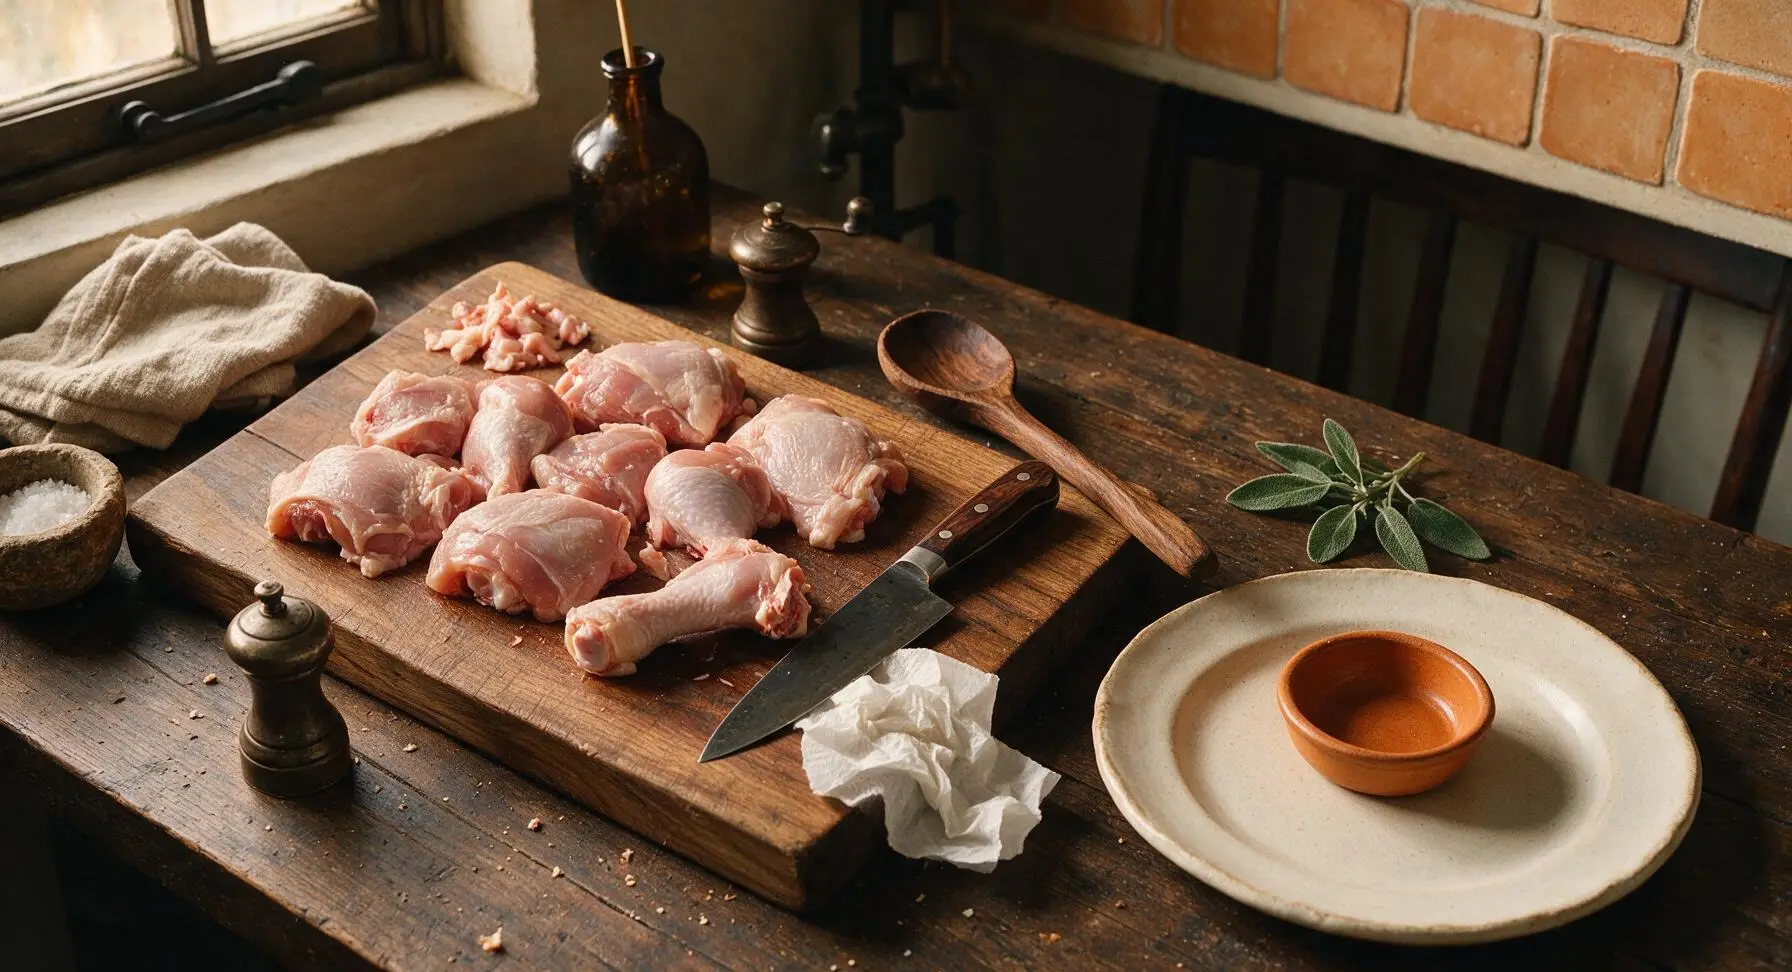
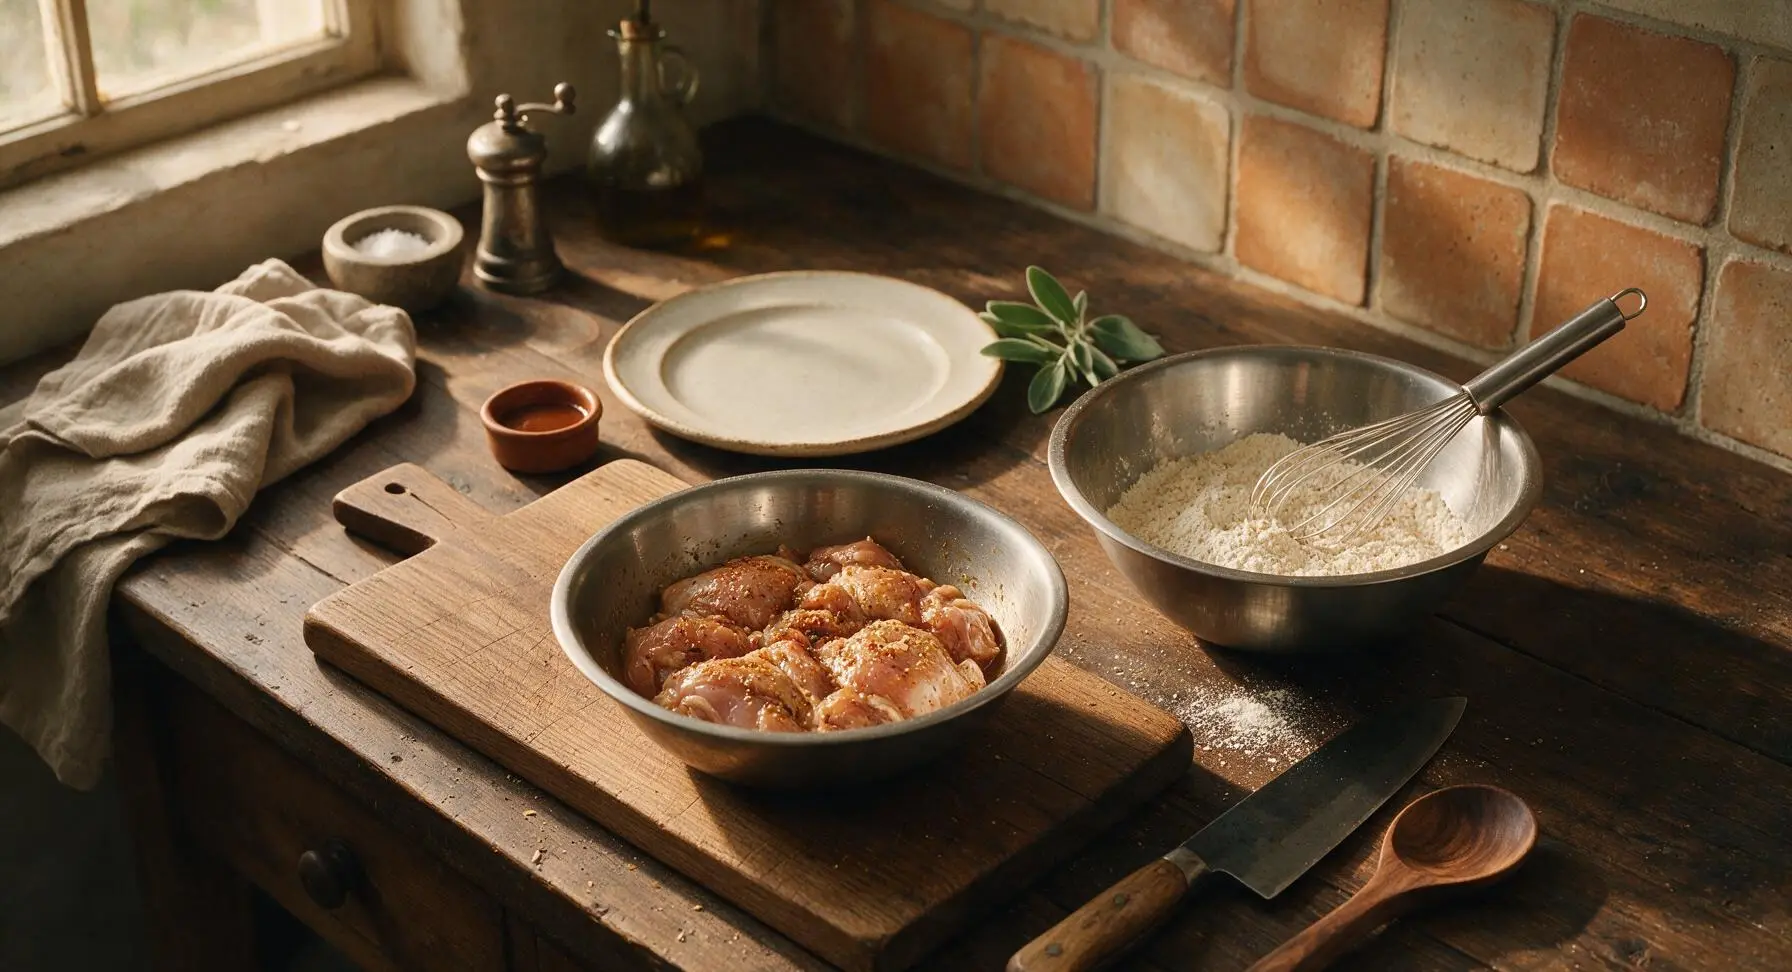
Place the chicken cuts on the bamboo cutting board. Use the chef knife to trim any excess loose skin or large fat deposits from the chicken pieces, leaving a 1/8-inch layer of skin attached for crispness. Pat every piece completely dry with paper towels from the matte black holder—dry skin is critical for a non-soggy crust. You should have 8-10 evenly sized pieces, no thicker than 4cm to ensure even cooking.
Marinate Chicken Briefly
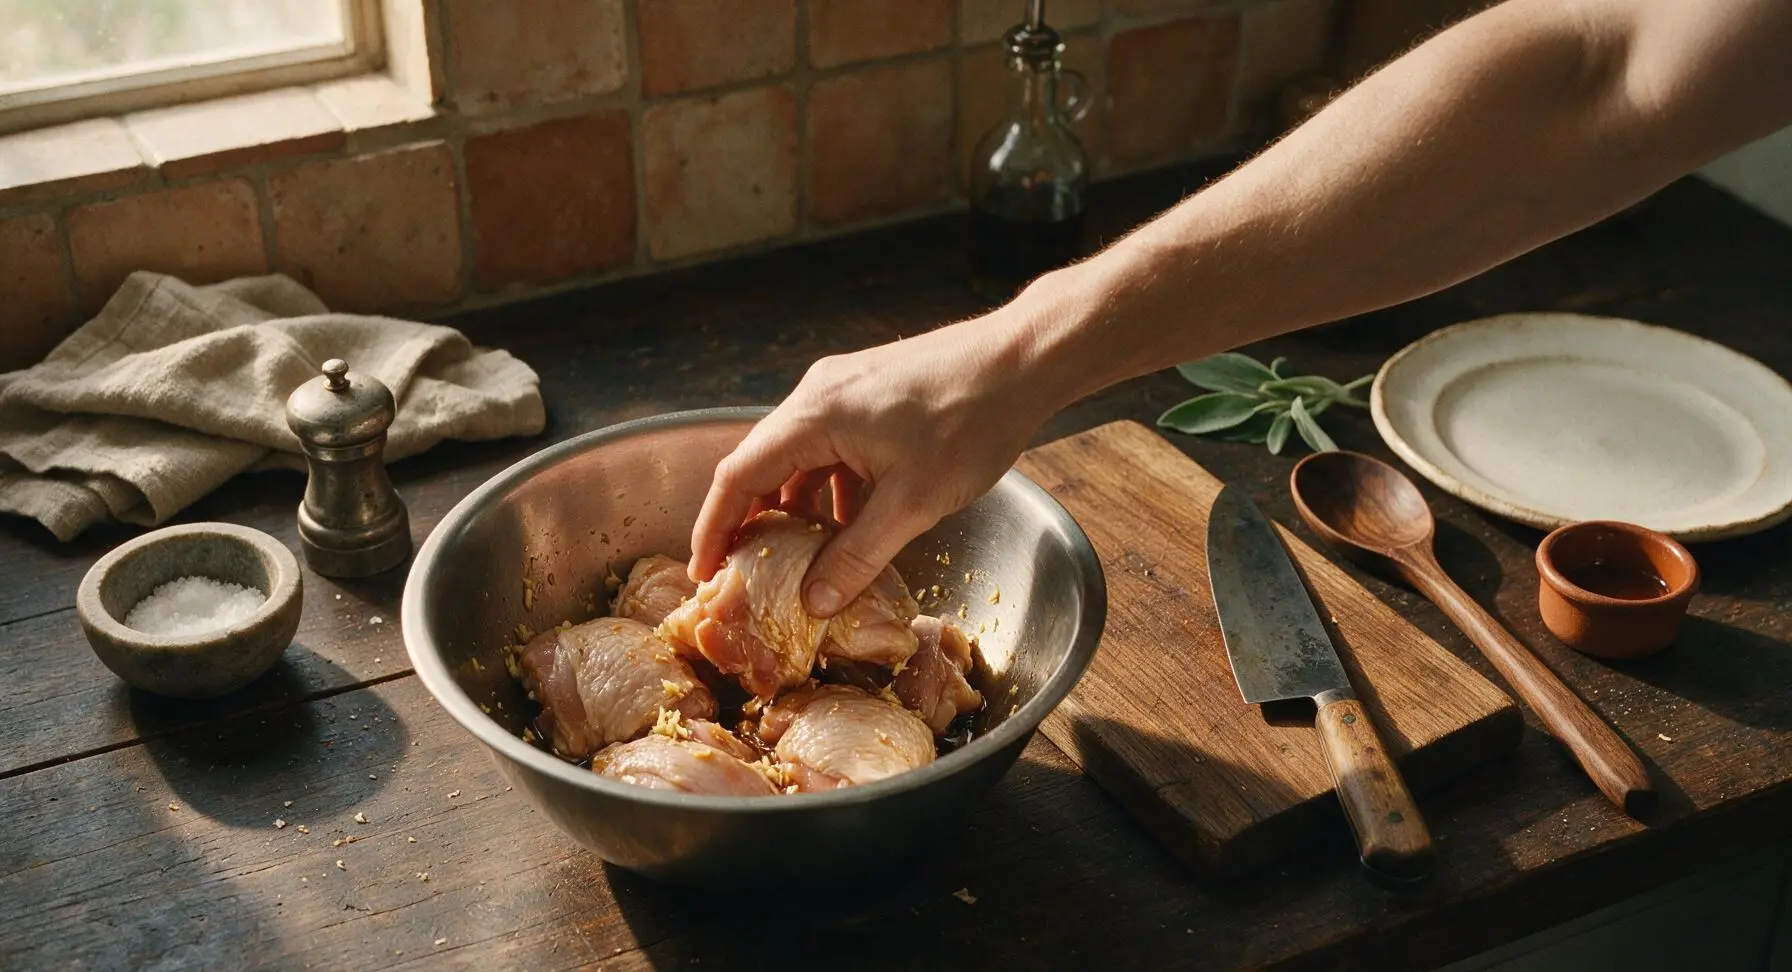
Place the dried chicken pieces into one of the brushed stainless steel mixing bowls. Add 2 tbsp soy sauce, 1 tbsp grated ginger, 1/2 tsp kosher salt, and 1/2 tsp black pepper. Toss thoroughly with clean hands to coat every piece evenly. Let rest at room temperature for 20 minutes to allow the seasoning to penetrate—do not marinate longer than 30 minutes, as excess moisture will soften the crust.
Mix Dry Coating
In a second stainless steel mixing bowl, combine 120g fine white rice flour, 30g cornstarch, remaining 1 tsp kosher salt, 1 tsp black pepper, and 1 tsp garlic powder. Whisk thoroughly for 30 seconds with the stainless steel balloon whisk to evenly distribute the spices, breaking up any small clumps of rice flour. The mixture should be a uniform pale off-white, with no visible pockets of spice or starch.
Coat Chicken Pieces
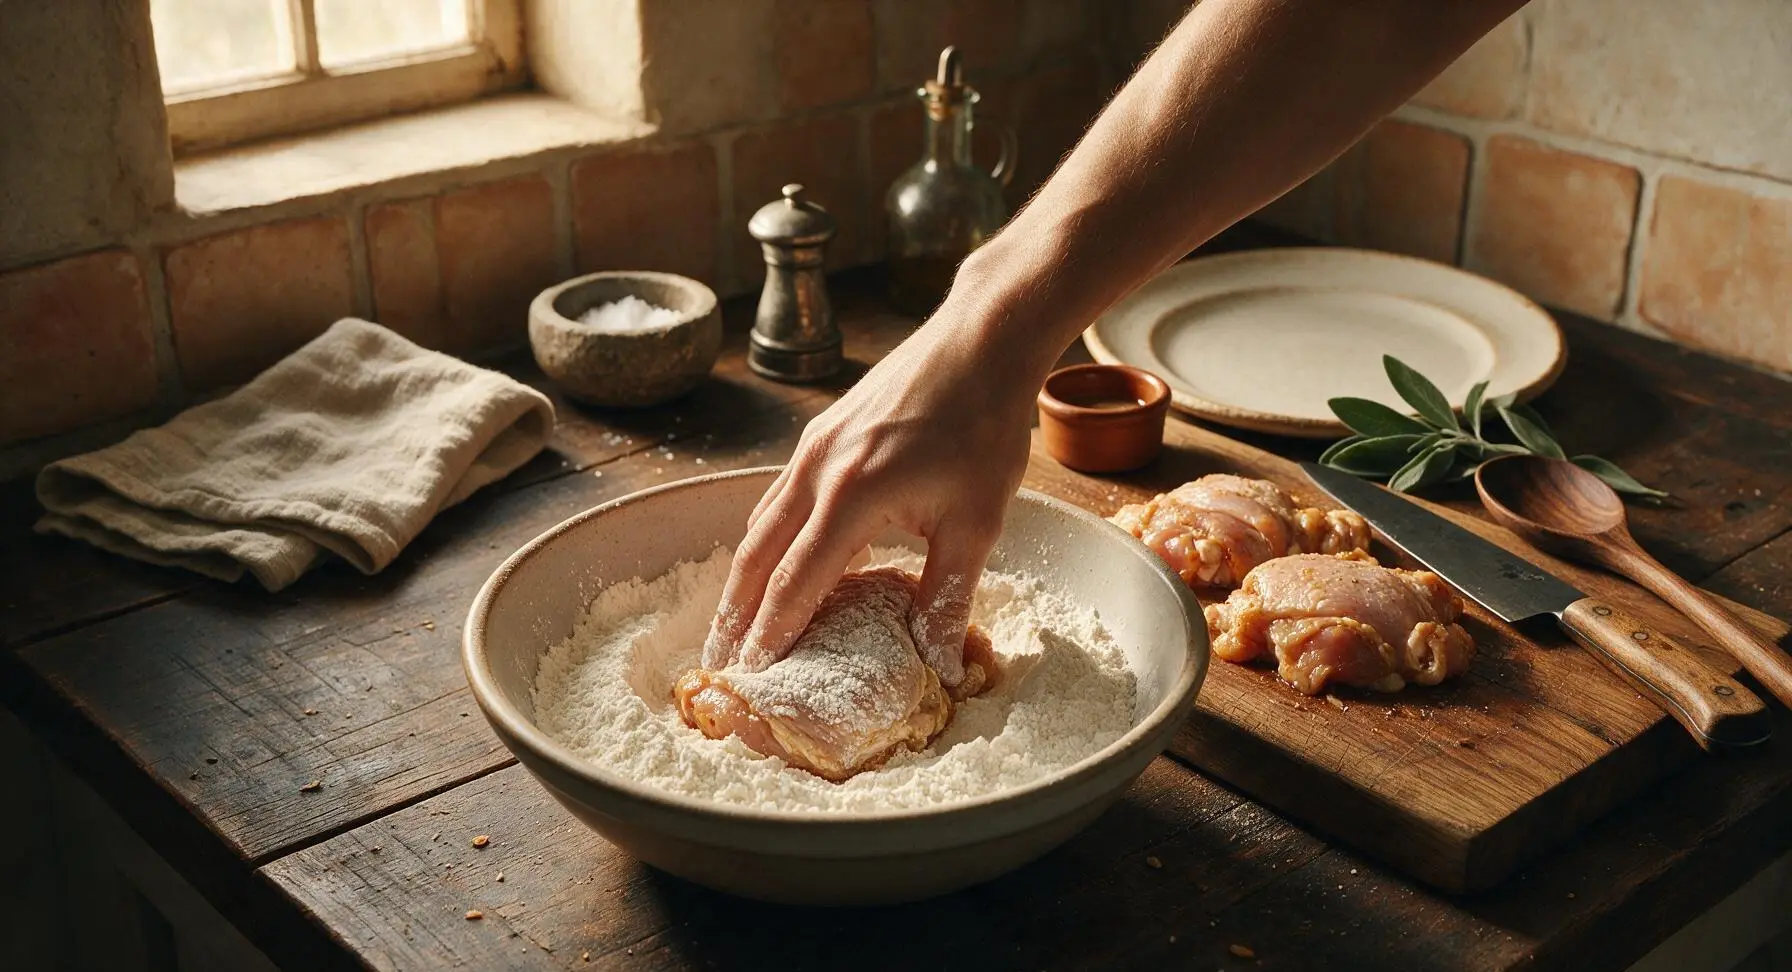
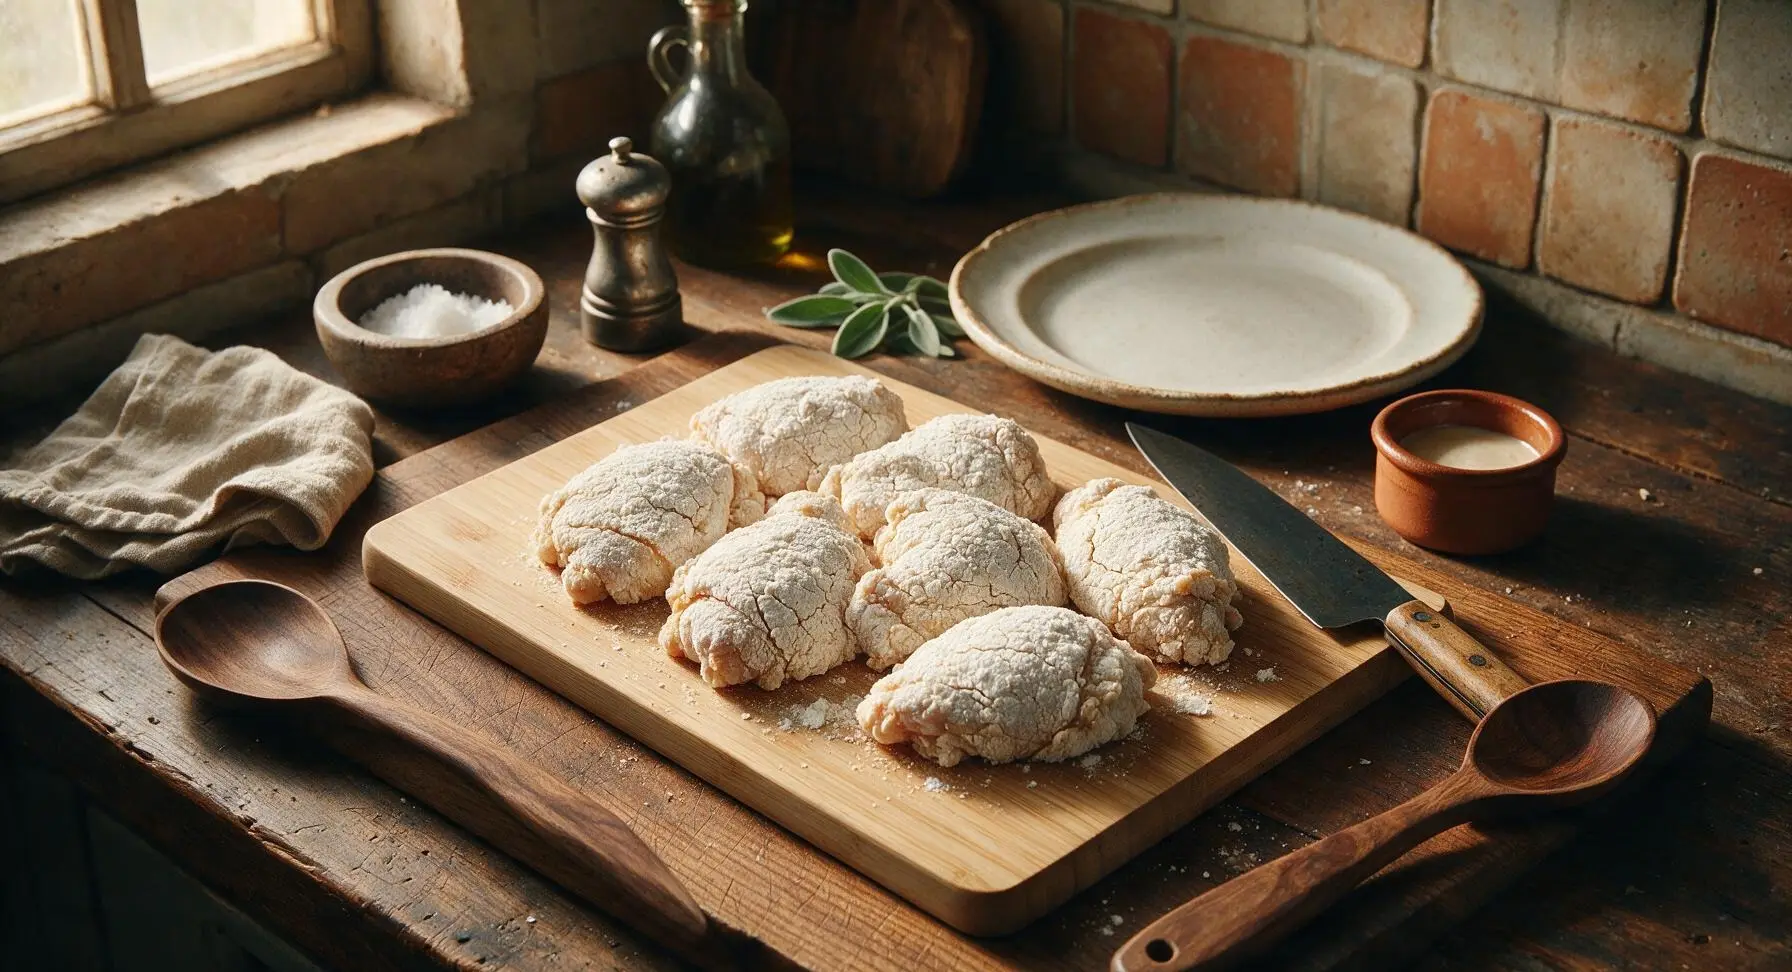
Working one piece at a time, lift marinated chicken from the bowl, letting excess marinade drip off for 2 seconds. Press the chicken firmly into the rice flour coating, turning to cover every surface, including under loose skin flaps. Place coated pieces on the clean bamboo cutting board to rest for 10 minutes before frying—this resting period lets the flour adhere properly, so it does not fall off during cooking. The coating should look dry and powdery, with no wet marinade spots visible.
Heat Frying Oil
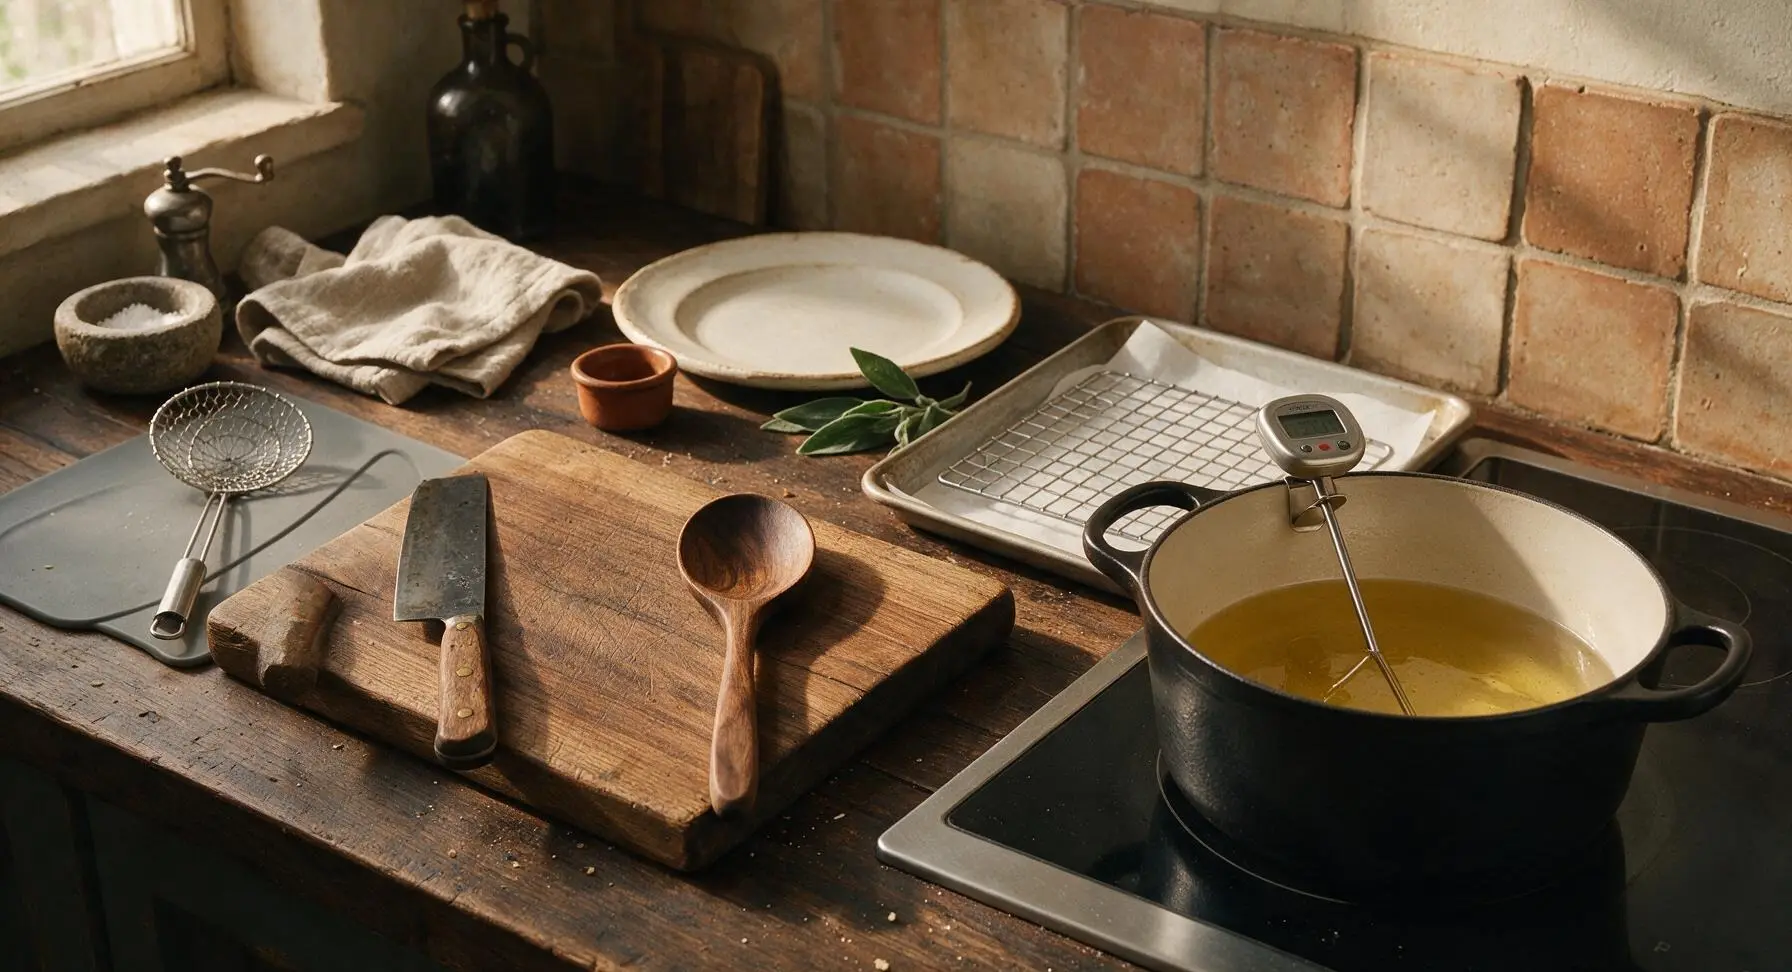
Place the 5L matte black enameled Dutch oven on the right induction burner, pour in 1.5L neutral frying oil. Clip the digital instant-read thermometer to the pot rim, and heat the oil to 160C (320F) over medium heat—this lower first fry temperature cooks the chicken through without burning the crust. Do not leave the oil unattended; adjust heat as needed to hold a steady temperature.
First Fry Chicken Pieces
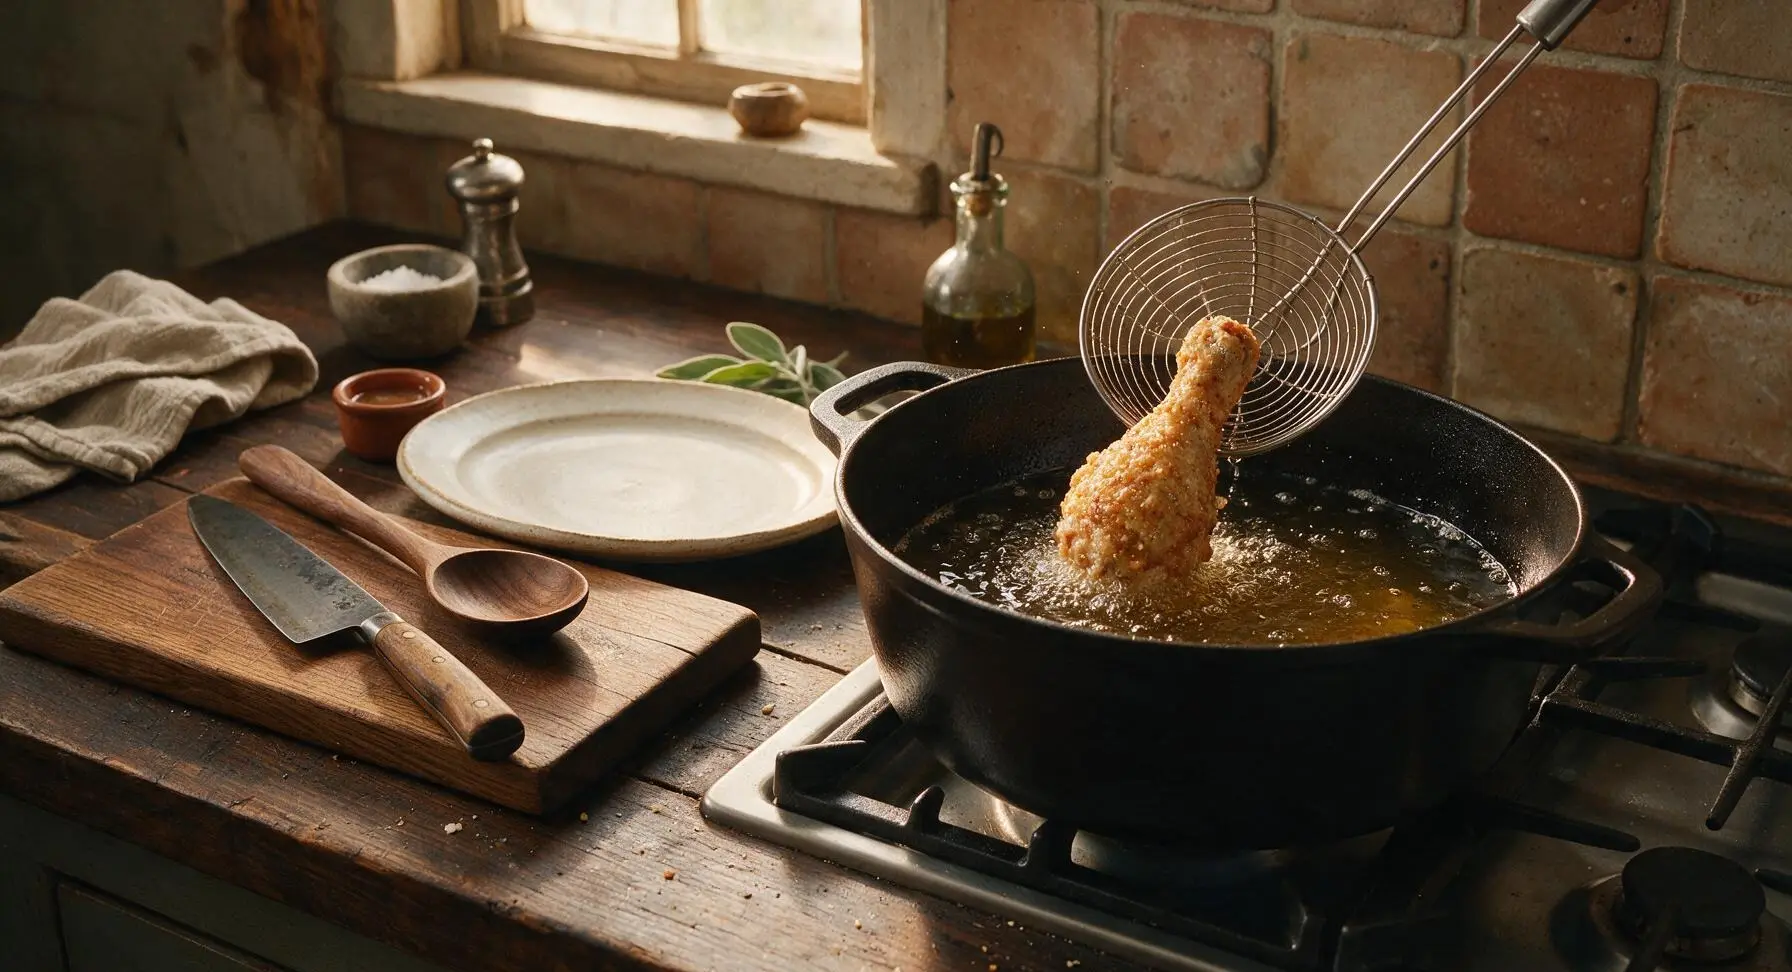
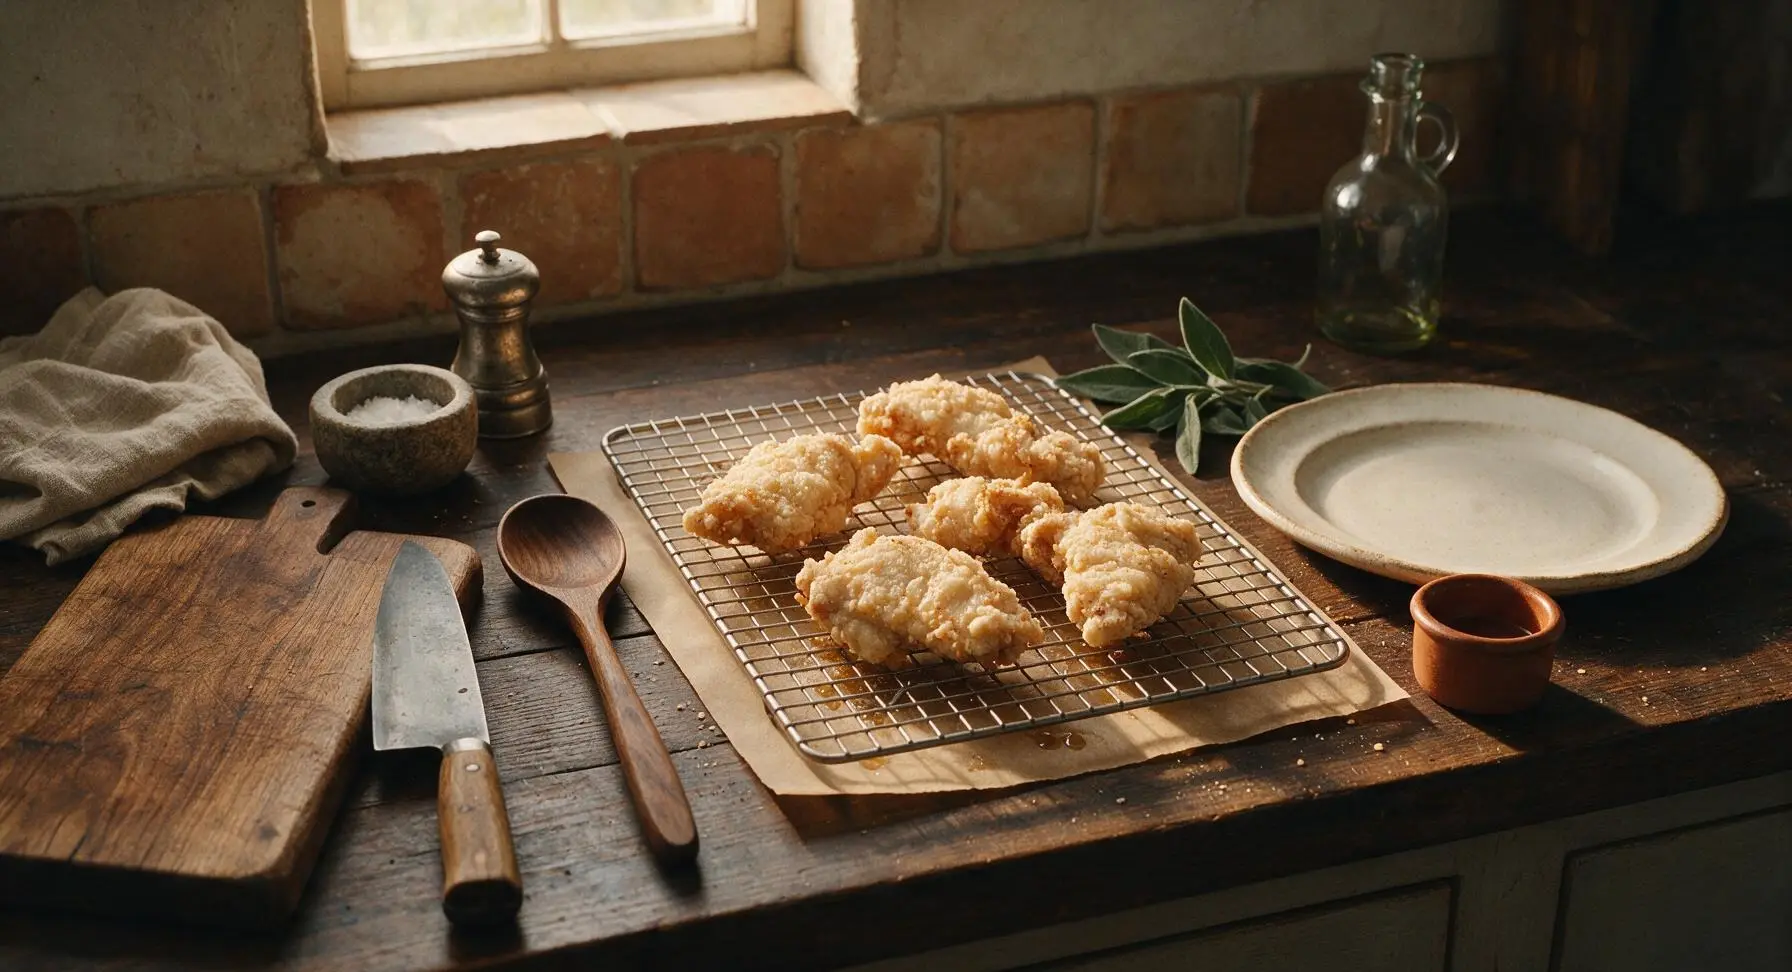
Carefully lower 3-4 chicken pieces into the hot oil using the spider strainer—do not overcrowd the pot, as this drops oil temperature and causes soggy crust. Fry for 10 minutes, turning once halfway through, until the chicken reaches an internal temperature of 74C (165F) and the crust is a pale, matte golden color. Lift pieces from the oil with the strainer, letting excess oil drip off for 5 seconds, then transfer to the wire cooling rack to rest for 5 minutes.
Second Fry for Crunch
Increase the oil temperature to 190C (375F). Once the oil reaches temperature, carefully lower the first-fried chicken pieces back into the oil, working in 3-4 piece batches again. Fry for 7-8 minutes, turning occasionally, until the crust is a deep, rich golden brown, craggy and shatteringly crisp to the touch. Remove from oil, let excess oil drip off, then transfer back to the wire rack. Immediately sprinkle lightly with flaky sea salt while the crust is hot and porous.
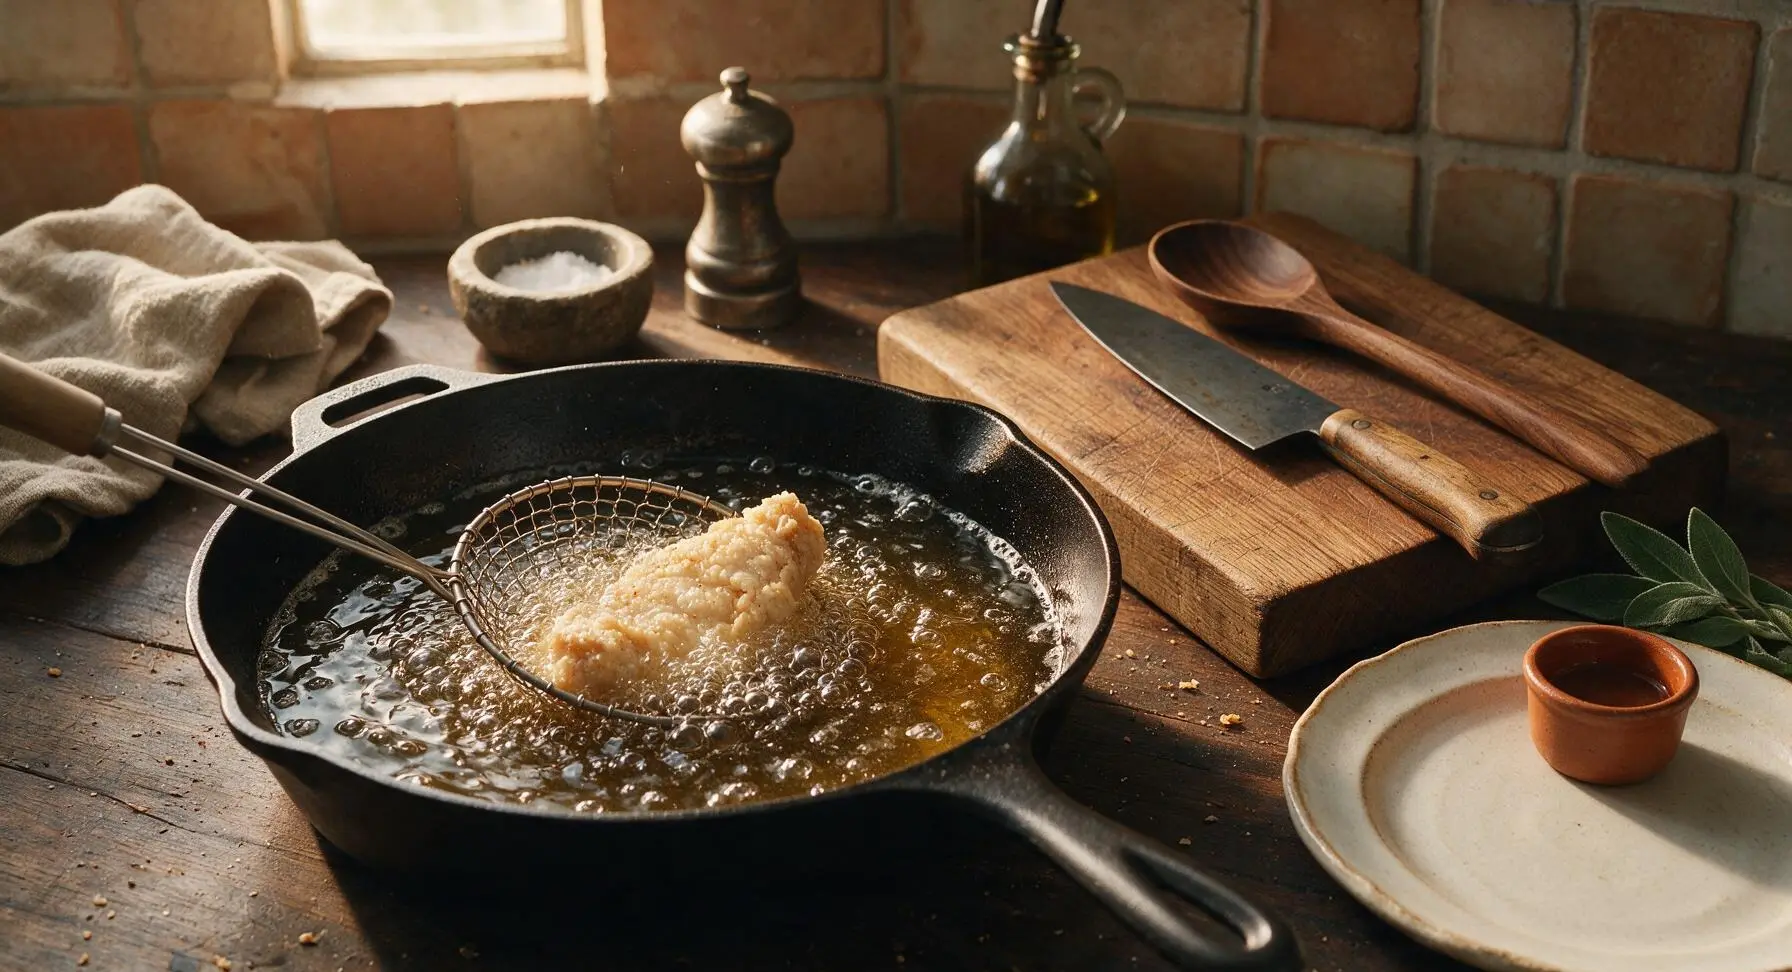
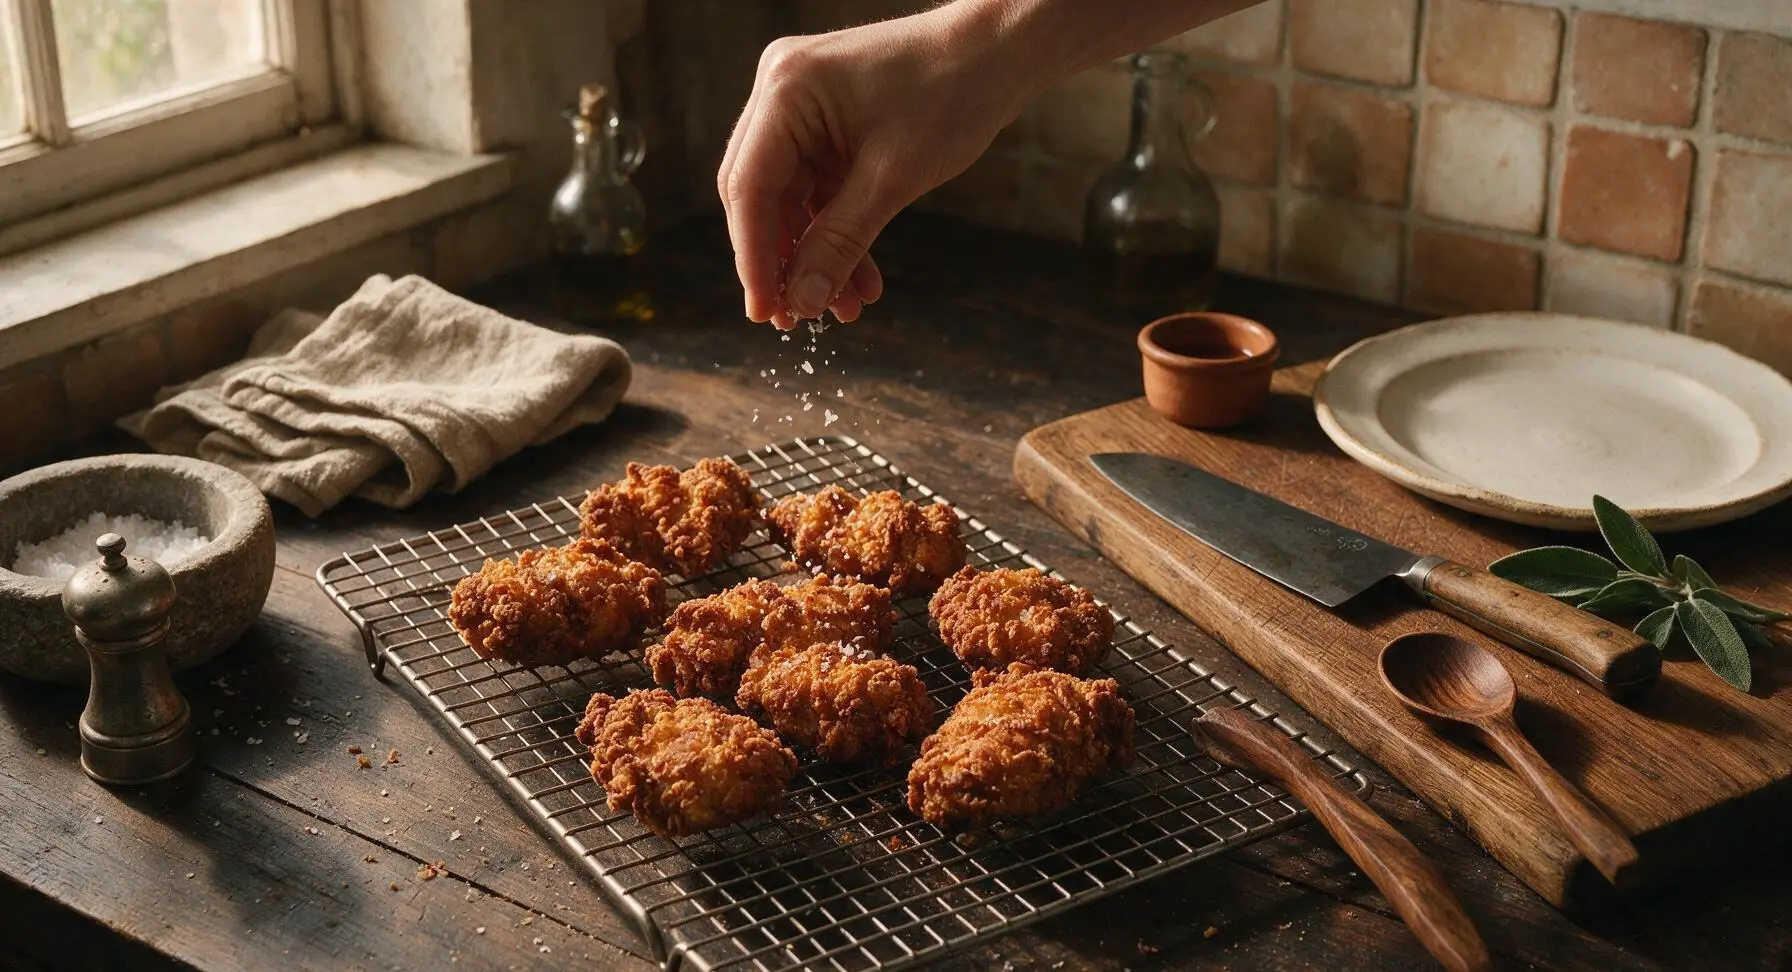
Plate and Garnish
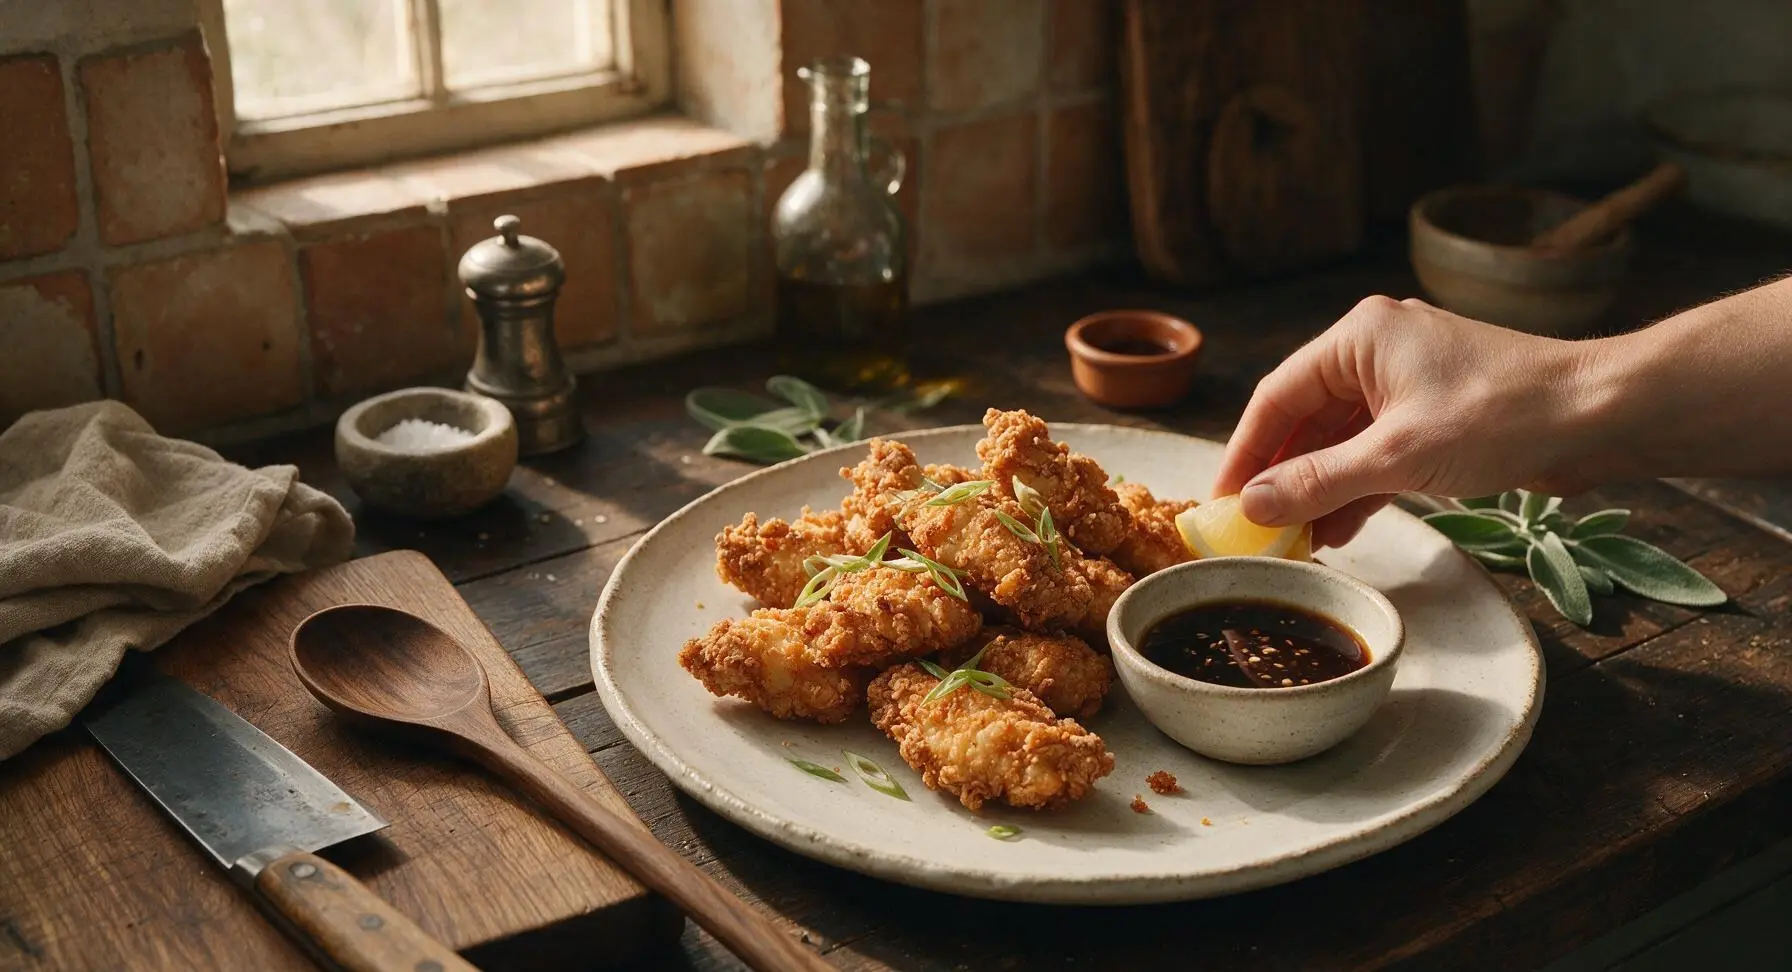
Arrange the hot crispy chicken pieces in a loose pile on the 27cm matte off-white stoneware dinner plate. Scatter thinly sliced scallion greens over the top, tuck lemon wedges around the edge of the plate, and place the 12cm small matching stoneware bowl of optional soy-garlic dipping sauce at the side. Serve immediately, while the crust is at its crispiest.
Tips
2.Do not skip the 10-minute rest after coating chicken, or the double-fry process. The rest period lets the flour hydrate and adhere firmly to the skin so it does not slide off during frying; the low-temperature first fry cooks chicken evenly, while the high-temperature second fry builds the ultra-crunchy crust that stays crisp for up to 2 hours.
3.Never overcrowd the Dutch oven when frying. Adding more than 3-4 pieces at a time drops oil temperature by 20-30C, causing the crust to absorb excess oil and turn soggy instead of crisp. Let the oil return to its target temperature between batches for consistent results.






OMG this rice flour fried chicken is a total game changer! I made it for our Sunday family dinner last night and even my super picky 7 year old asked for seconds. The crust was so shatteringly crisp and didn’t get soggy even when I left a few pieces out for an hour while we finished side dishes. 10/10 will be making this every other week for meal prep too!
As someone who’s celiac, I’ve been chasing a good gluten free fried chicken recipe for YEARS and this finally delivers!!! No weird gritty texture from the rice flour, the crust sticks perfectly to the chicken, and none of my dinner guests even realized it was gluten free. SO good.
Tried this last night for a quick weeknight meal and it came together way faster than I expected for fried chicken! 25 minute cook time is no joke, I didn’t even have to rush. Only thing is I think my oil was a little too hot because a couple pieces got darker than I wanted before the inside was fully done. Flavor was still chef’s kiss though.
Brought this to our neighborhood block party potluck last weekend and it was the first empty platter on the table! People kept coming up to ask me for the recipe all night. I did a little dipping sauce station with honey mustard, ranch, and spicy mayo to go with it and it was chef’s kiss.
I make a big batch of this every Sunday to pack for my lunch during the week and it holds up so much better than regular flour fried chicken! I reheat it in the air fryer for 5 minutes at 400F and the crust gets crisp again like it’s fresh. Game changer for my boring work lunches.
I was skeptical that rice flour could live up to my grandma’s classic buttermilk fried chicken recipe, but y’all… this is so good. The crust is lighter than regular flour so you don’t feel weighed down after eating a couple pieces, and the seasoning is perfect. My husband said it’s better than the fried chicken we get at our favorite local spot.
Made this for my teen son’s birthday cookout with his friends and every single piece was gone in 10 minutes. The kids kept asking when I’d make it again. Super easy to follow recipe even for someone who mostly sticks to grilling, I didn’t mess it up at all!
Okay, full transparency, this is the first time I’ve ever made fried chicken that didn’t turn into a soggy, burnt mess. The medium difficulty rating felt intimidating at first but the steps were so straightforward! The rice flour made the crust so crunchy I couldn’t stop snacking on pieces right out of the pan.
Added a teaspoon of cayenne to the flour mix for a little kick and it was *chef’s kiss*. The light rice flour crust lets the seasoning shine instead of getting lost in a heavy bready coating. Will be adding this to our regular taco night rotation as a crispy chicken taco filling!
Wait, has anyone tried making this in the air fryer instead of deep frying? I try to avoid deep frying at home when I can but this crust looks so good I don’t want to pass it up.
Made this for date night in with my partner last night and we both agreed it’s better than the fancy fried chicken we paid $28 a plate for on our last trip to Nashville. The crunch is unreal, and the chicken stayed juicy the whole time. Served it with waffles for a full chicken and waffle spread, 10/10.
This is a lifesaver for our house! My oldest has a wheat allergy so finding fun, kid-friendly dinners that don’t require 10 specialty ingredients is so hard. This uses stuff I already have in the pantry, and both my kids gobbled it up without complaining about “weird allergy food” for once.
I was worried the rice flour would make the crust taste bland or weird, but it’s actually the perfect neutral base so all the salt, pepper, and garlic seasoning comes through. I double dipped my chicken in flour after the egg wash for extra thick crust and it was perfect.
Made a half batch of this at 10pm last night when I was craving fried chicken and it was so fast I didn’t even make a huge mess. Ate 3 pieces straight out of the pan standing over the stove, no regrets. So crispy, so juicy, 10/10 late night meal.
Took this to my family reunion last weekend and got so many compliments. The best part is the crust doesn’t get soggy when it sits out for a couple hours, which is always a problem with other fried chicken recipes I’ve tried for potlucks. Will be my go-to from now on.
I was looking for a lighter fried chicken option that didn’t feel like I was cheating on my protein goals, and this is it! The rice flour crust is so much lighter than the heavy all-purpose coating I usually make, and I used chicken breast tenders for a higher protein cut. Perfect for post-gym dinner.
I don’t have a big deep fryer so I made this in my 10 inch cast iron skillet with about an inch of oil and it worked perfectly! I was scared I’d splatter oil all over my tiny kitchen but as long as I kept the temp steady it was totally manageable. Great recipe for small spaces.
Tried this with boneless wings cut into bite sized pieces for game day last Sunday and they were gone before halftime. Tossed half in buffalo sauce and half in honey garlic and the crispy rice flour crust held up to the sauces perfectly without getting soggy. Total game day win.