

rice flour waffles

title 1
rice flour waffles
⏱️ cook time 15 minutes
🍽️ servings 4
⚡ Difficulty easy

intro

Crisp golden outside, chewy tender inside, these gluten-free rice flour waffles come together in 25 minutes, perfect for fast, cozy meals topped with fresh spring fruit.

Ingredients
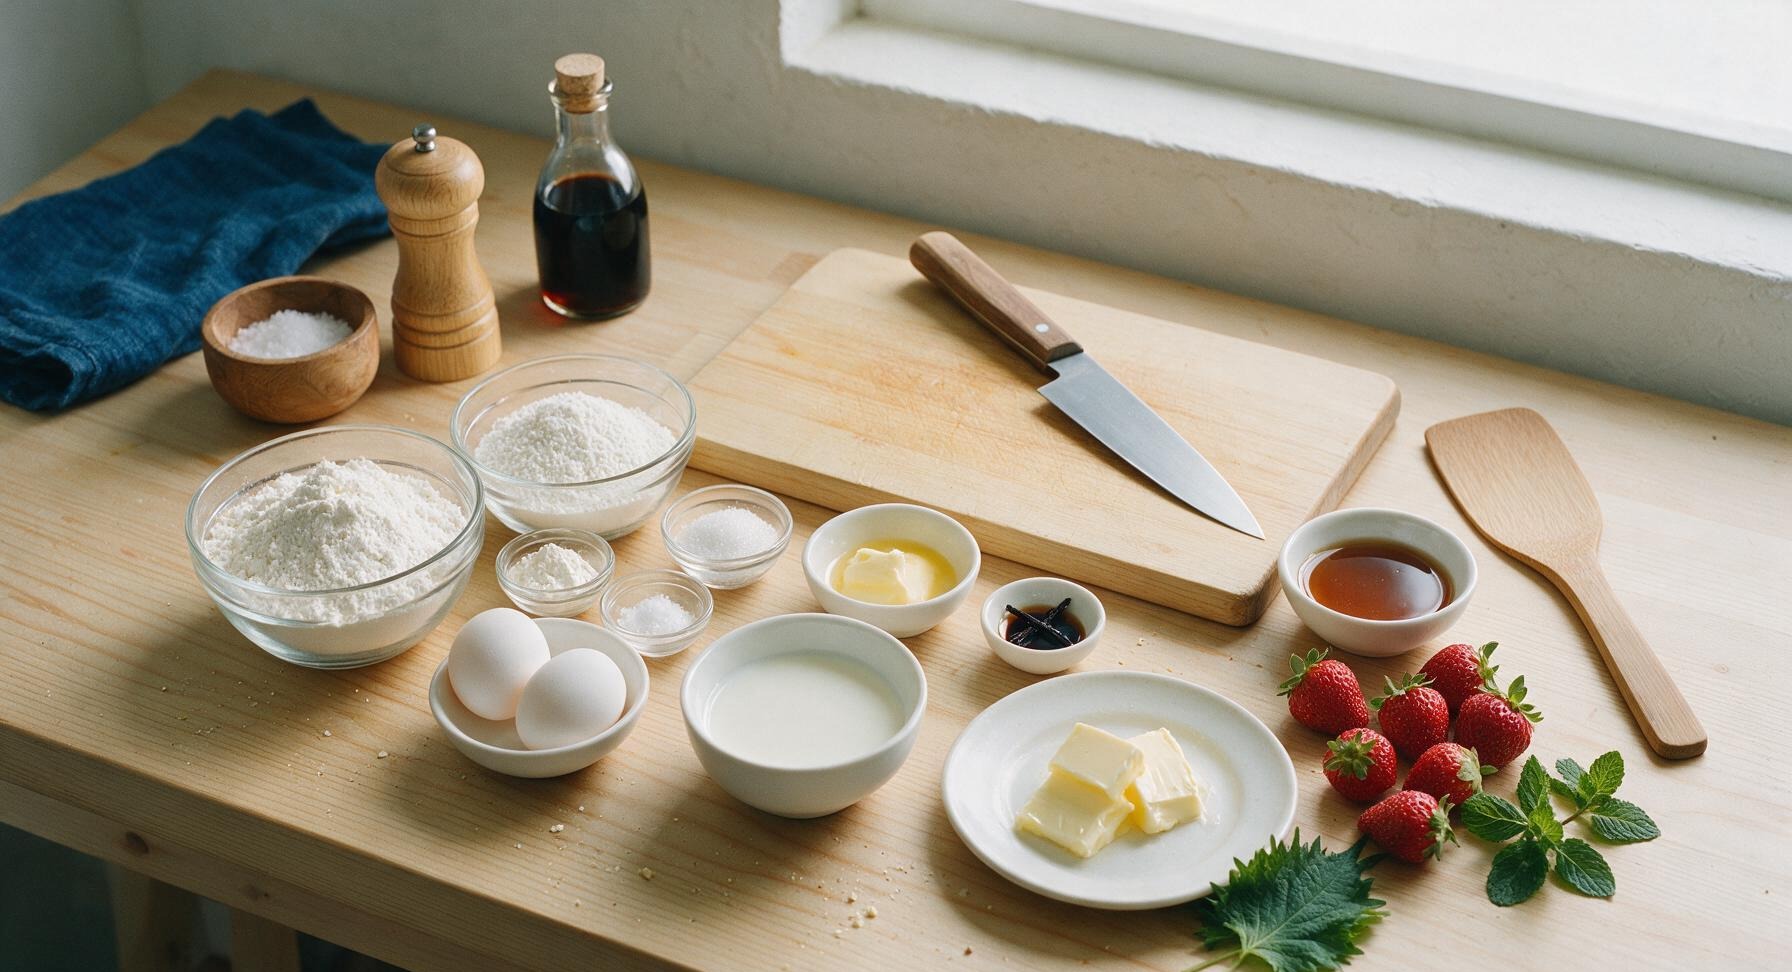
Fine white rice flour 2 cups (280g)
Sweet glutinous rice flour 1/2 cup (70g)
Baking powder 1.5 tsp
Fine sea salt 1/8 tsp
Granulated sugar 2 tbsp (25g)
Large eggs 2, room temperature
Whole milk 1.5 cups (360ml)
Unsalted butter 2 tbsp (28g), melted and cooled
Pure vanilla extract 1 tsp
Salted butter (for serving) 2 tbsp, sliced into pats
Pure maple syrup (for serving) 1/2 cup
Fresh strawberries (for serving) 8 whole
Fresh mint sprigs (for garnish) 3 sprigs

Steps

1

Whisk Dry Ingredients

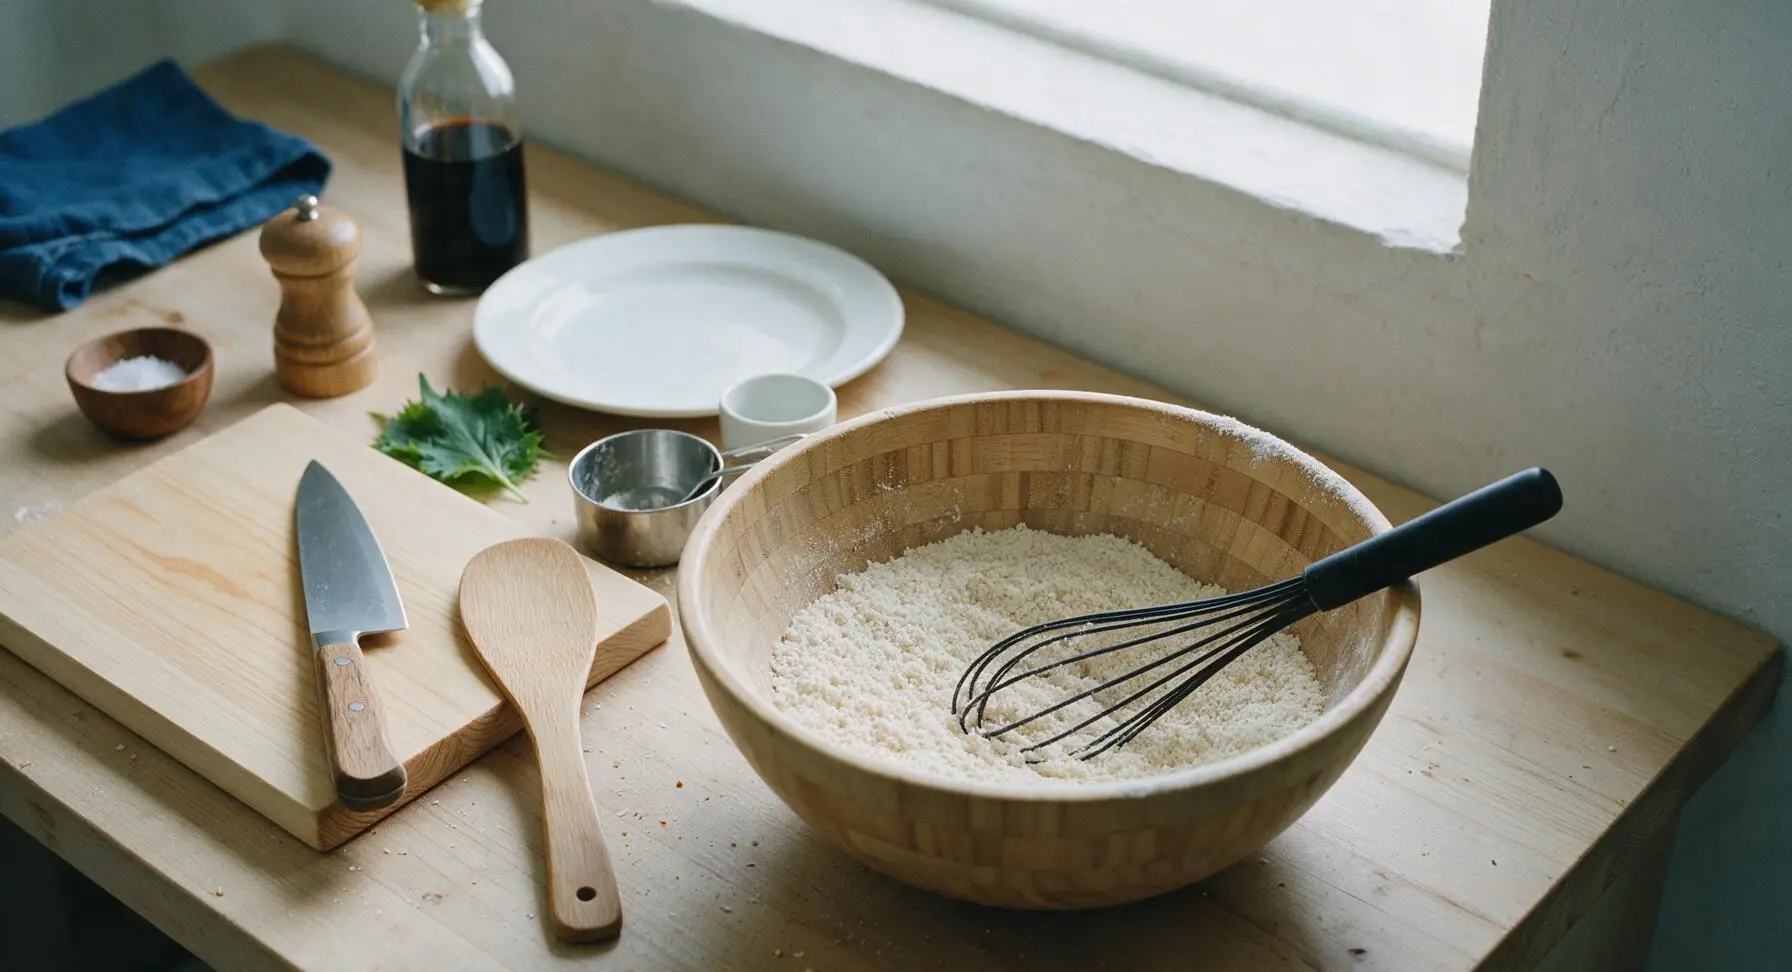
Add the 2 cups fine white rice flour, 1/2 cup sweet glutinous rice flour, 1.5 tsp baking powder, 1/8 tsp fine sea salt, and 2 tbsp granulated sugar to the large bamboo mixing bowl. Use the matte black wire whisk to stir for 30 seconds until all dry ingredients are fully combined, with no clumps of baking powder visible. The mixture should be a uniform pale off-white color.
Step 1
step1:Whisk Dry Ingredients
2

Combine Wet Ingredients

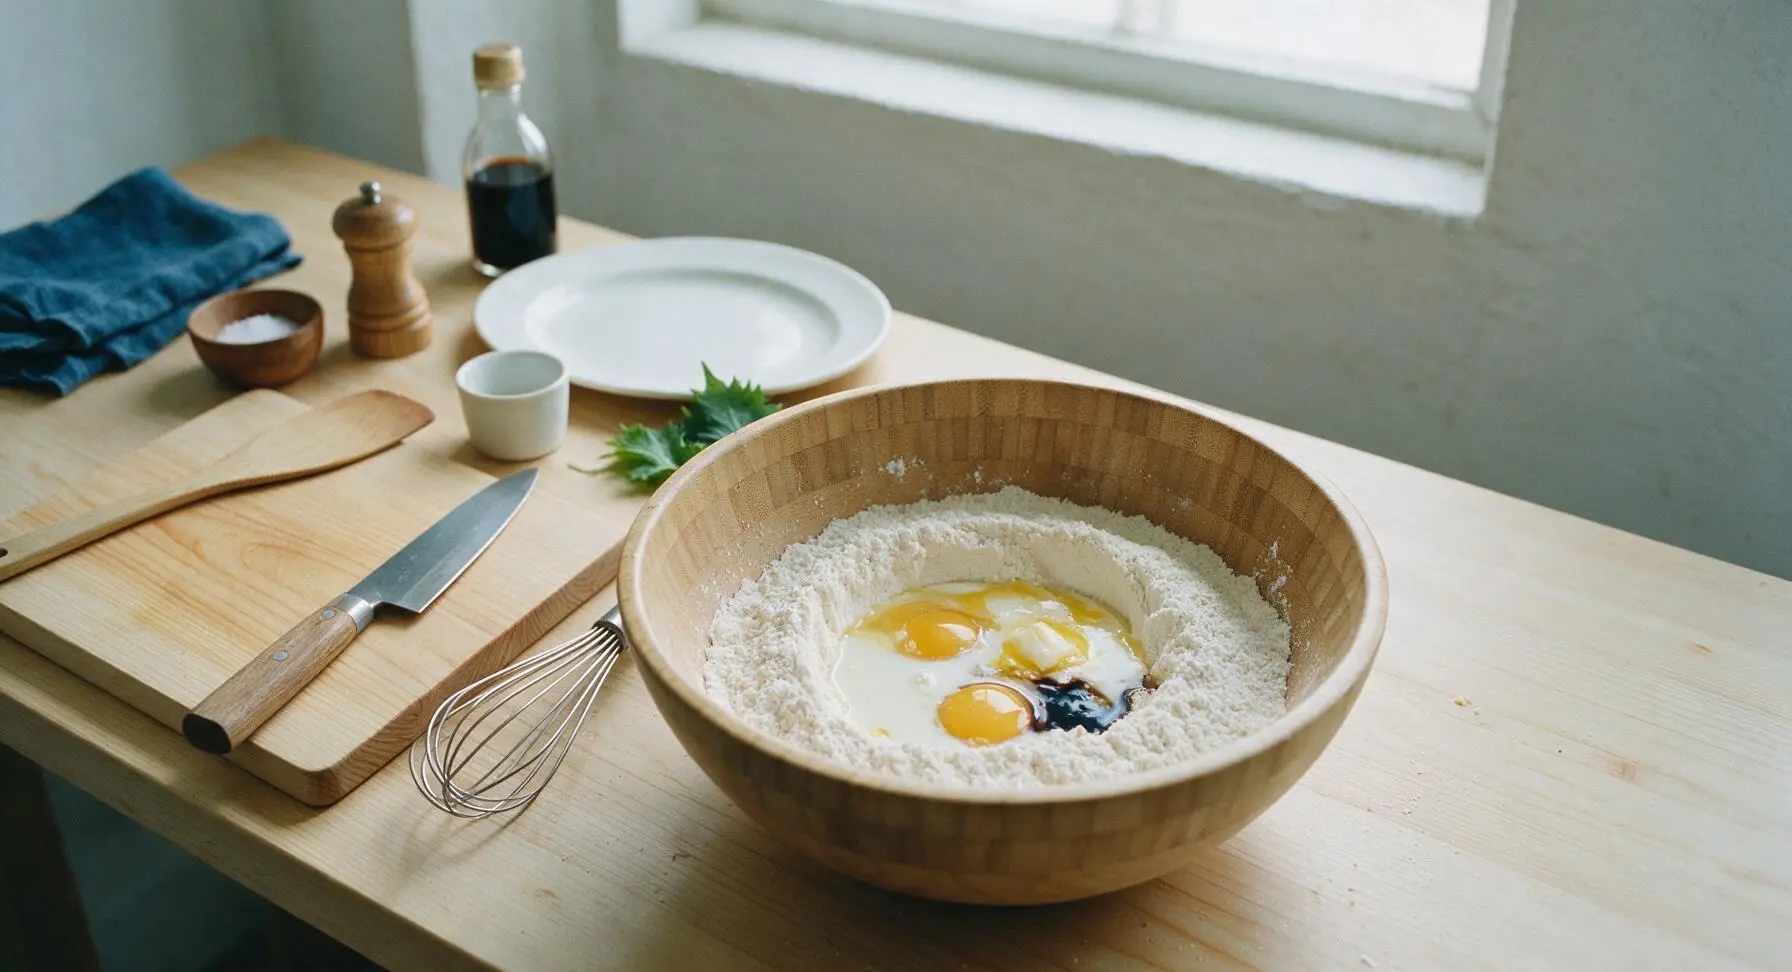
Make a 4-inch wide well in the center of the mixed dry ingredients in the bamboo bowl. Crack the 2 room-temperature eggs directly into the well, then pour in the 1.5 cups whole milk, cooled melted unsalted butter, and 1 tsp pure vanilla extract. Do not stir yet.
Step 2
step2:Combine Wet Ingredients
3

Mix Smooth Waffle Batter

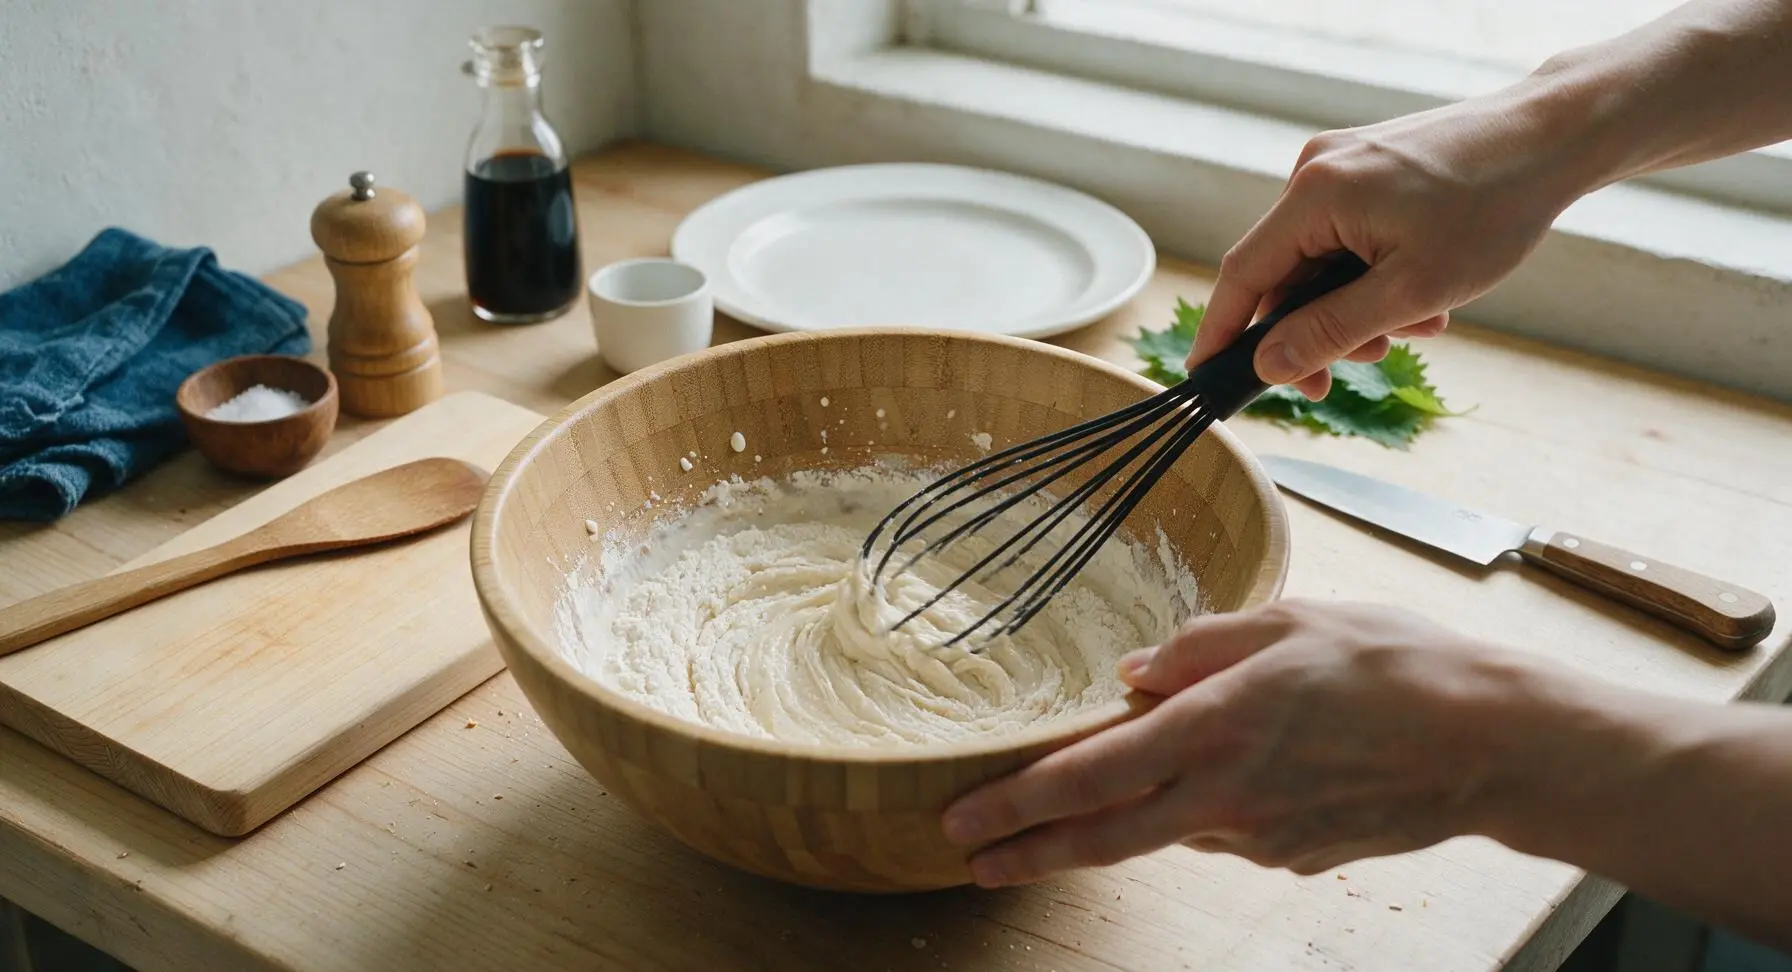
Use the matte black wire whisk to gently stir the wet ingredients into the dry, starting from the center of the well and working outward in slow circular motions. Mix for 45 seconds to 1 minute, just until no large dry flour lumps remain; small pea-sized lumps are acceptable and will prevent tough waffles. Do not overmix – the batter will be thick but pourable, similar to heavy cream consistency. Let the batter rest for 5 minutes at room temperature to allow the rice flour to absorb liquid.
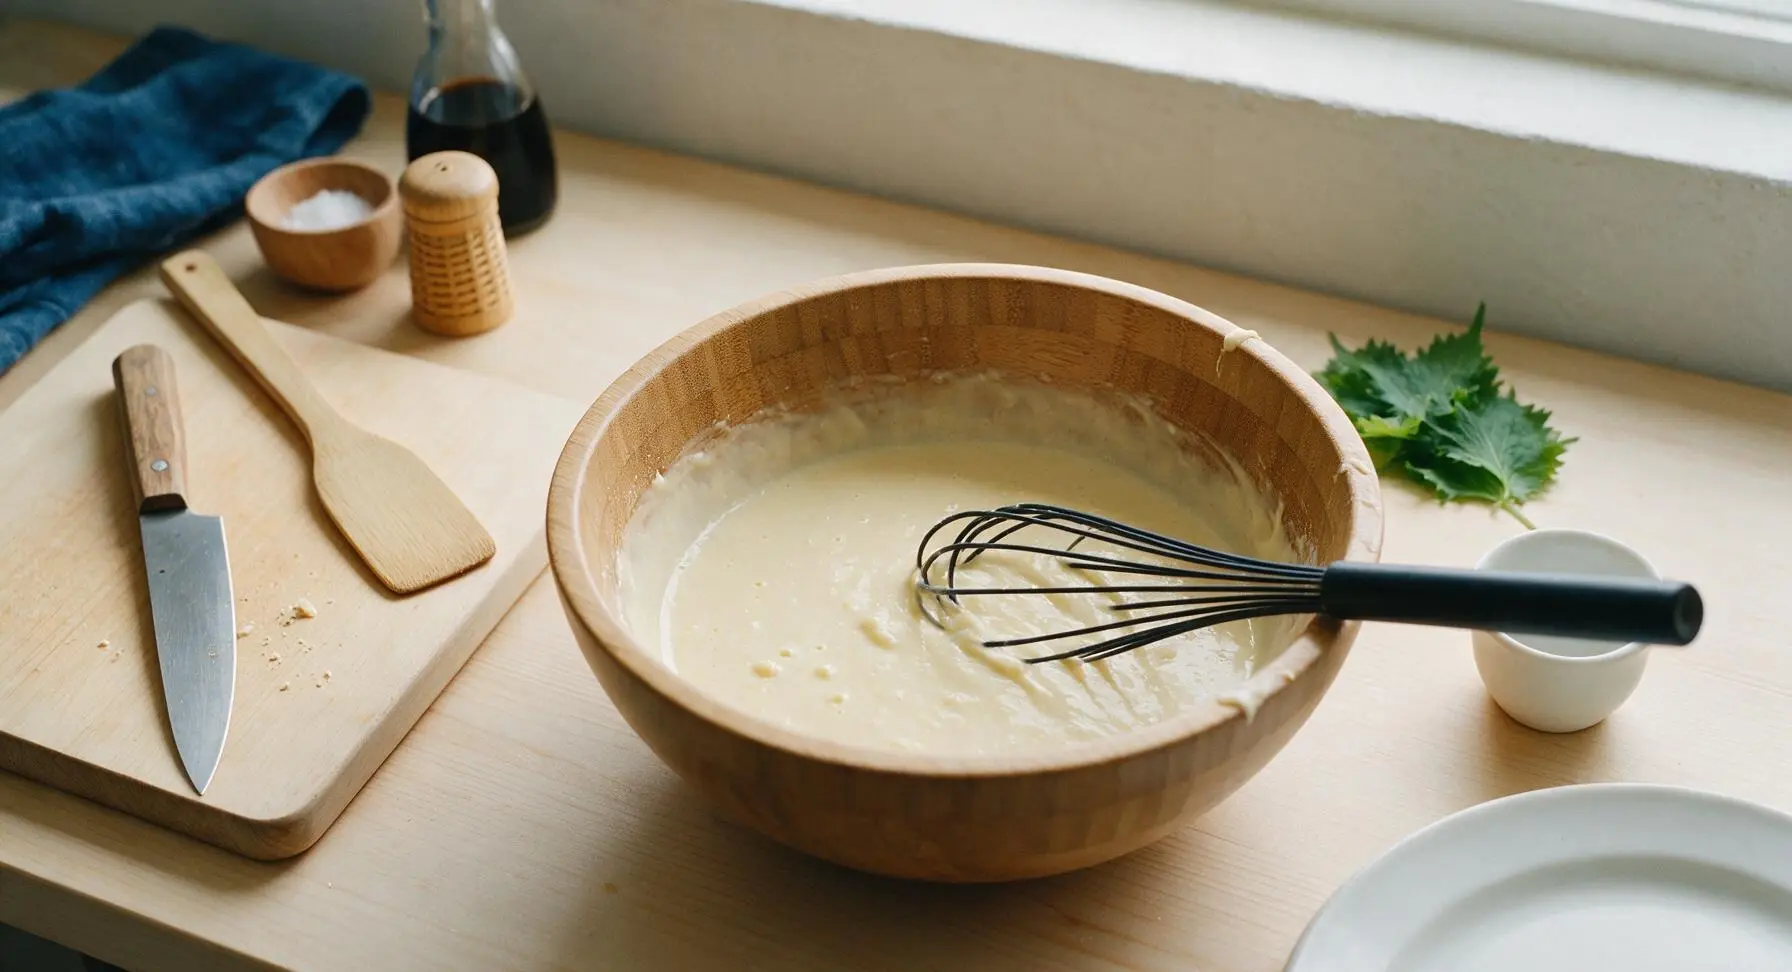
Step 3
step3:Mix Smooth Waffle Batter
Step 3
step3:Mix Smooth Waffle Batter
4

Preheat Waffle Iron

Turn on the 7-inch waffle iron to medium-high heat (375°F / 190°C) and preheat for 3-4 minutes, until the red indicator light shows it is ready. Lightly coat the top and bottom cooking plates with a thin layer of melted butter, wiping excess with a paper towel to prevent greasy waffles.
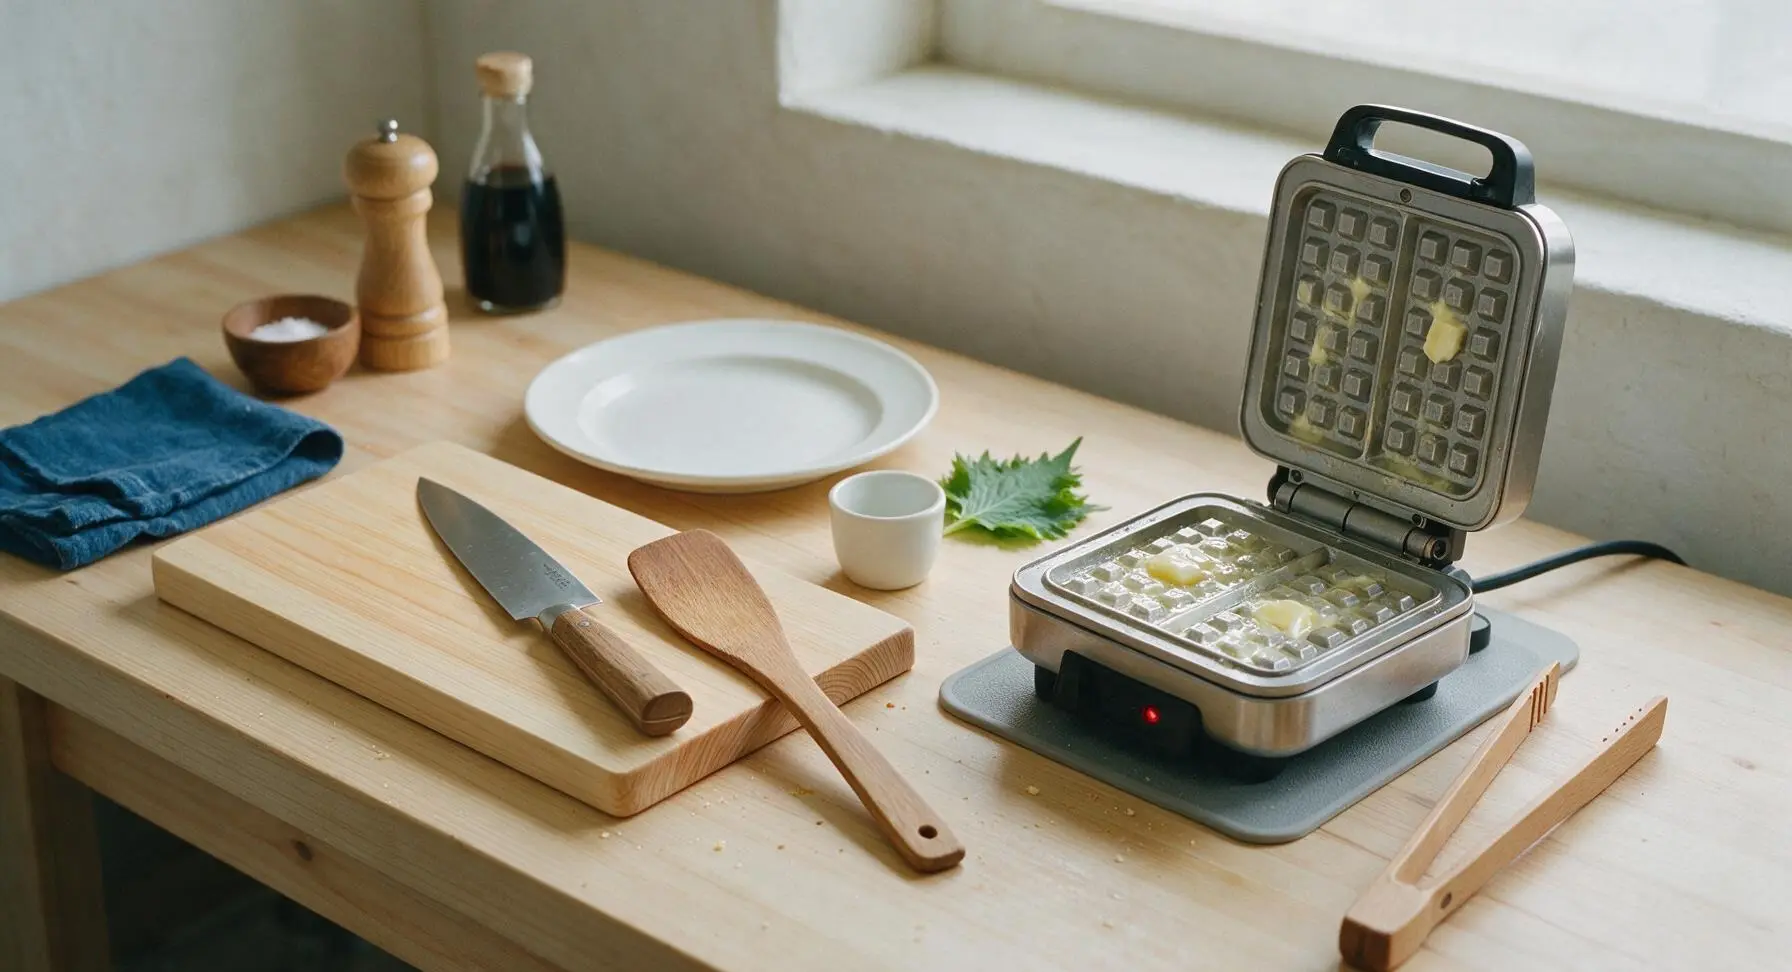
Step 4
step4:Preheat Waffle Iron
5

Cook Waffles in Batches

Pour 3/4 cup of the rested batter directly into the center of the preheated waffle iron, close the lid, and cook for 3.5 to 4 minutes. Do not open the lid for the first 3 minutes, as this will cause the waffle to split. The waffle is done when steam stops escaping from the iron edges, and the surface is deep golden brown with crisp grid lines. Use the beech wood silicone-tipped tongs to carefully lift the waffle out of the iron, transferring it temporarily to the silicone mat while cooking the remaining 3 waffles, repeating the batter pour and cook process for each batch.
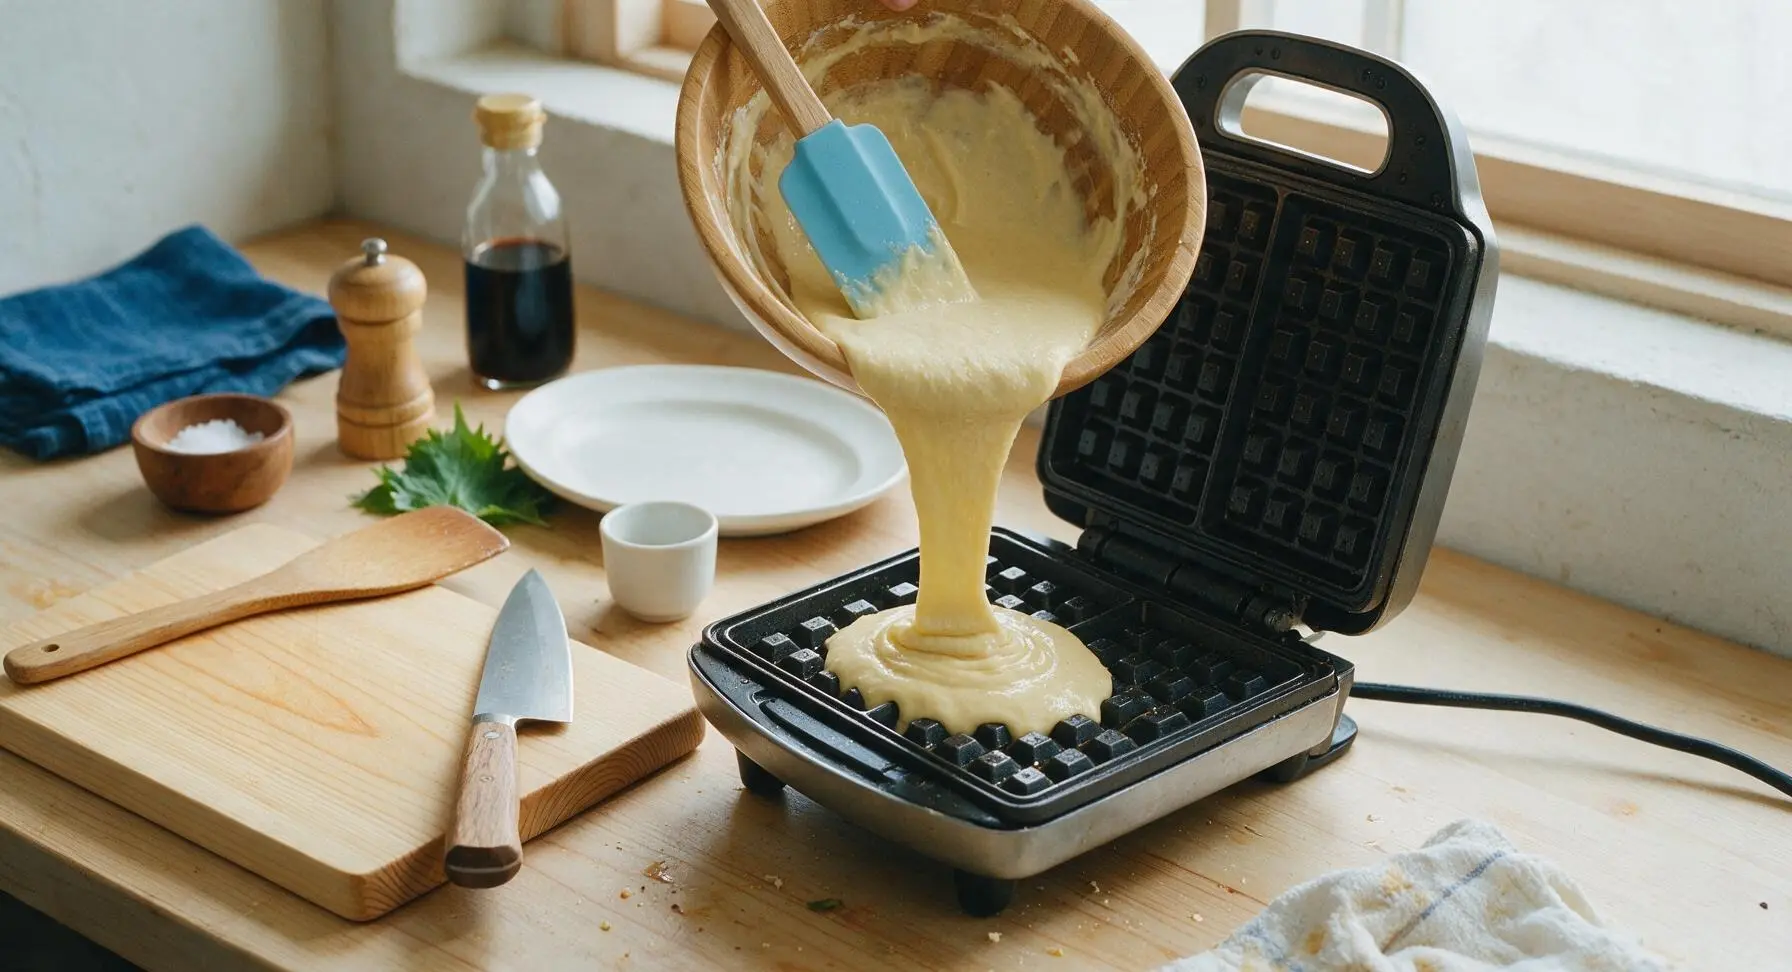
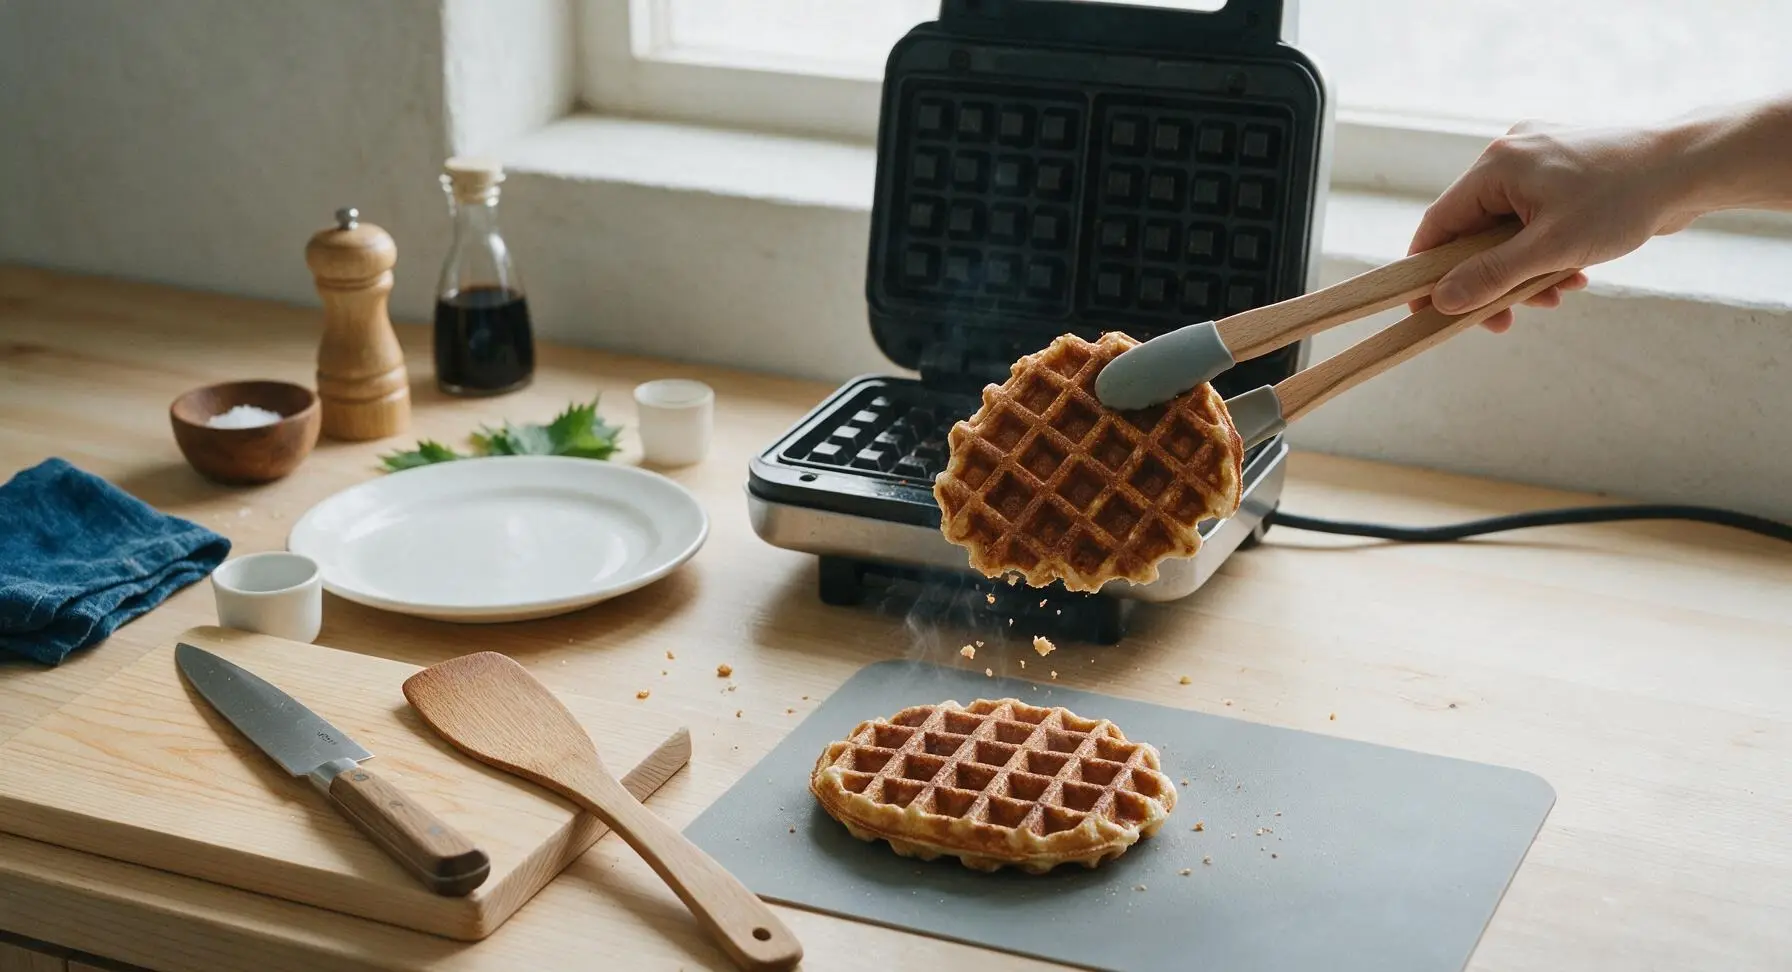
Step 5
step5:Cook Waffles in Batches
Step 5
step5:Cook Waffles in Batches
6

Plate and Garnish Waffles

Stack two warm cooked waffles neatly in the center of the matte off-white ceramic dinner plate. Top the center of the top waffle with a 1/2 tbsp pat of salted butter, allowing it to melt slightly into the grid wells. Drizzle 2 tbsp of maple syrup over the top of the stack, letting it run down the sides. Garnish the plate edge with two halved fresh strawberries and a small sprig of fresh mint. Keep remaining waffles warm on the silicone mat while serving.
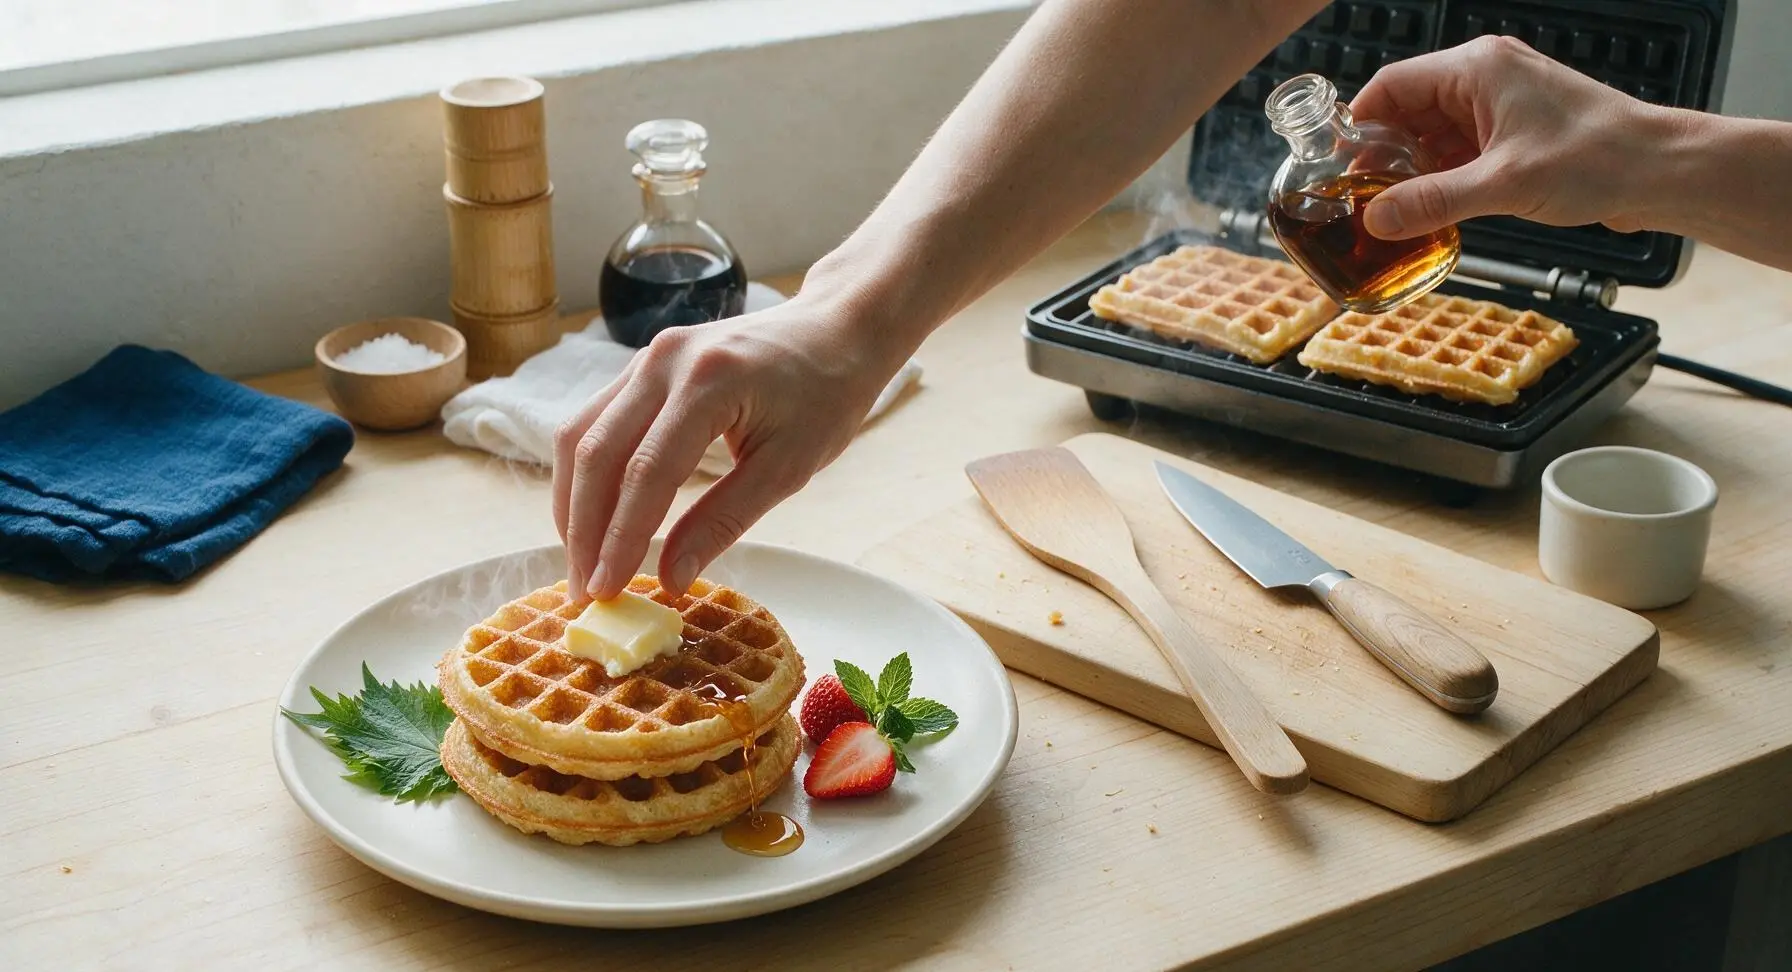
Step 6
step6:Plate and Garnish Waffles

Tips

1.Avoid overmixing the batter: Over-stirring overworks the rice flour starch, leading to tough, dense waffles instead of light, crisp-edged ones. Small pea-sized lumps in the batter are completely acceptable and will disappear as the waffles cook.
2.Let the batter rest for 5 minutes before cooking: Rice flour absorbs liquid more slowly than wheat flour, so this short rest allows the flour to fully hydrate, preventing gritty, raw-tasting waffle centers.
3.Wait to open the waffle iron: Peeking at the waffle before the 3-minute cook mark breaks the heat seal and can cause the waffle to split, stick, or lose its crisp grid pattern. Wait until steam slows to a thin wisp before checking for golden brown doneness.


✨ You May Also Like

Breakfast
🍜 United States

Crisp-edged, fluffy lard griddle cakes are a nostalgic homestyle staple, with rich savoriness from rendered lard, perfect topped with maple syrup or savory gravy.

⏱️ 25 minuteBreakfast ★ 4.8
Breakfast
🍜 United States

Flaky, buttery homemade buttermilk biscuits smothered in creamy, peppery pork sausage gravy: a beloved, hearty Southern American comfort food classic.

⏱️ 35 minuteBreakfast ★ 4.8
Breakfast
🍜 United States

Golden, custardy brioche stuffed with sweet cream cheese and fresh berries, pan-fried to crisp perfection. An indulgent, cozy breakfast perfect for slow weekend mornings.

⏱️ 30 minuteBreakfast ★ 4.7
Breakfast
🍜 United States

Flaky, buttery Southern-style biscuits stuffed with savory salty country ham, a portable, satisfying classic perfect for casual on-the-go meals.

⏱️ 25 minuteBreakfast ★ 4.8
Breakfast
🍜 United States

Iconic puffy baked pancake popularized in Seattle, with crisp golden edges and soft custardy center, served warm with classic sweet toppings.

⏱️ 35 minuteBreakfast ★ 4.6
Breakfast
🍜 United States

Fluffy, golden pancakes studded with juicy peak-summer mixed berries, drizzled with maple syrup for a bright, comforting, crowd-pleasing family breakfast.

⏱️ 25 minuteBreakfast ★ 4.7

rice flour waffles:Frequently Asked Questions

1.Why do you use both white rice flour and sweet glutinous rice flour for these waffles? ▾
That two-flour combo is exactly what creates the signature crispy-chewy texture! Fine white rice flour delivers that light, shatteringly crisp golden outer shell, while sweet glutinous rice flour (also called mochiko) adds that soft, stretchy, tender chewy center you won’t get from using just one rice flour variety. Swapping either out will noticeably change the final bite.
2.How long does it actually take to make these waffles from start to finish? ▾
The whole process clocks in at right around 25 minutes total, with no long batter resting time required! You’ll spend 5 to 7 minutes whisking the dry ingredients and combining them with your wet mix, then 3 to 4 minutes per waffle cooking in a preheated waffle iron, making them perfect for quick, cozy weekday or weekend breakfasts.
3.Are these crispy chewy rice flour waffles truly gluten-free? ▾
They are naturally gluten-free as written, as long as you pick certified gluten-free versions of each core ingredient. Be extra careful to check your baking powder label for hidden wheat-derived additives or cross-contamination warnings, especially if you’re cooking for someone with celiac disease or severe gluten sensitivity.
4.Can I make this recipe without a traditional waffle iron? ▾
You won’t get that classic crisp waffle grid without a waffle iron, but you can repurpose the batter in a pinch! Cook it in a greased, preheated cast iron skillet over medium-low heat for 3 to 4 minutes per side to make thick, chewy rice flour pancakes, though they won’t have the same snappy crisp outer edge as proper waffles.
5.Why are my rice flour waffles coming out soggy instead of crispy? ▾
Sogginess almost always traces back to two common missteps: your waffle iron isn’t fully preheated, or you’re opening the lid too early while cooking. Let the iron heat fully (wait for the ready indicator light), and don’t lift the lid until steam stops escaping from the edges, usually 3.5 to 4 minutes per waffle for that perfect crisp crust.
6.Are these waffles sweet enough to eat without heavy syrup or toppings? ▾
The small amount of granulated sugar in the base recipe adds a subtle, balanced sweetness that doesn’t overpower toppings, rather than making the waffles taste like dessert. They pair beautifully with fresh spring fruit, a light drizzle of maple syrup, a dollop of whipped cream, or even savory toppings if you cut the sugar by half.
7.Can I substitute regular all-purpose flour for the rice flours if I don’t need gluten-free? ▾
I don’t recommend it! Swapping in all-purpose flour adds gluten that creates a soft, bready waffle instead of the signature crisp, chewy texture we’re going for. If you’re out of glutinous rice flour, replace it with an equal amount of tapioca starch in a pinch, though the chew won’t be quite as satisfying as the original recipe.
8.The recipe calls for fine sea salt—can I use regular table salt instead? ▾
Fine sea salt distributes more evenly through the light rice flour batter than coarser salt varieties, so you get a balanced, subtle salty note that cuts sweetness without random salty bites. If you only have table salt, use ¾ the called-for amount, as it packs more densely and has a sharper, slightly metallic taste from added anti-caking agents.
9.How should I store leftover waffles to keep them crispy and chewy? ▾
Skip tucking hot waffles straight into an airtight container, as trapped steam will turn them soggy fast. Let leftover waffles cool completely on a wire rack, then stack them between sheets of parchment paper in an airtight bag in the fridge for up to 3 days. Reheat in a toaster or 350°F oven for 2 to 3 minutes to bring back the crisp edge.
10.What’s the best way to keep cooked waffles warm while I make a full batch? ▾
Don’t stack hot waffles on a plate, as that traps steam and turns them soft and soggy fast. Instead, place cooked waffles directly on a wire rack set over a baking sheet in a 200°F oven while you cook the rest of the batch. This lets air circulate to keep exteriors crisp and centers chewy until serving.
11.Can I freeze these waffles for quick make-ahead breakfasts? ▾
Absolutely! Let cooked waffles cool fully on a wire rack, then freeze them in a single layer on a baking sheet for 1 hour before transferring to a labeled freezer bag for up to 3 months. There’s no need to thaw them—just pop frozen waffles straight into the toaster on medium heat until they’re crisp and heated through.
12.My waffles keep sticking to the waffle iron—what am I doing wrong? ▾
Sticking usually happens if your iron isn’t properly greased or preheated, even if it has a nonstick coating. Lightly brush the iron plates with melted butter or neutral oil before adding the first batch of batter, wait for the iron to fully preheat, and don’t lift the waffle too early, as it will tear before it sets.

Comments (5)

2 hours ago

OMG these are a total game changer! I’ve been trying to find a gluten-free waffle recipe that doesn’t turn out soggy or grainy, and this hits EVERY note. Crispy on the edges, perfectly chewy in the middle, and it only took 15 minutes total? My kids devoured theirs with a drizzle of maple syrup and fresh strawberries before I even got to sit down. Will be making these every Sunday from now on!

30 minutes ago

So glad your family loved them, Jess! The chewy middle is definitely my favorite part too – pro tip: if you let the batter rest for 5 minutes before pouring, they get even crispier edges! 😊

3 days ago

Took these to a neighborhood potluck last weekend and people were begging for the recipe! I was worried rice flour waffles would taste bland, but they’ve got such a great texture, I even made a savory batch with garlic powder and shredded cheese to go with fried chicken and they were chef’s kiss. Super easy to throw together too, no fancy equipment needed. 10/10.

2 days ago

Wait the savory cheese version sounds insane! Did you adjust the cook time at all when you added the cheese? Mine kept sticking to my waffle iron last time I tried adding mix-ins.

yesterday

Great question! If you’re adding cheese or other savory mix-ins, just give your waffle iron a quick extra spritz of non-stick spray and add 30 seconds to the cook time – they’ll pop right out! So stoked they were a hit at the potluck, Mike.

1 week ago

I’ve made this recipe three times in the last two weeks for meal prep! I make a big batch on Sunday, pop them in the toaster during the week for quick breakfasts, and they hold up perfectly – still crispy and chewy, no weird mushy microwaved texture. My partner who hates all gluten-free baked goods even asks for these now. So good!

5 minutes ago

Wait, is there a substitute for the rice flour? I have a bag of tapioca starch I’ve been trying to use up, would that work? I tried a different rice flour waffle recipe once and it was way too gummy, but these look so good I want to give them a shot.

just now

I swapped 1/4 cup of the rice flour for tapioca starch last time I made these and it made the chew even better! Just don’t go higher than that or they get a little too bouncy, in my opinion.

yesterday

These were SO good, but mine didn’t get as crispy as the photos look? I cooked them for the full time listed on my waffle maker, maybe my iron runs cool? I used light coconut milk instead of regular dairy milk, could that be it? Still tasty though, just not as crispy as I hoped.

2 hours ago

I had the same issue the first time! Turns out I was pouring too much batter, so they were thick and didn’t crisp up all the way. I also cranked my waffle iron to the highest crisp setting and that did the trick.

30 minutes ago

Great tips from WaffleLover99! The light coconut milk shouldn’t cause issues as long as you’re not overfilling the iron – I’d also recommend letting them cook 1-2 minutes past the ‘done’ indicator on your machine if you love extra crispy edges. Hope that helps for your next batch!



