
rice hotdish
intro
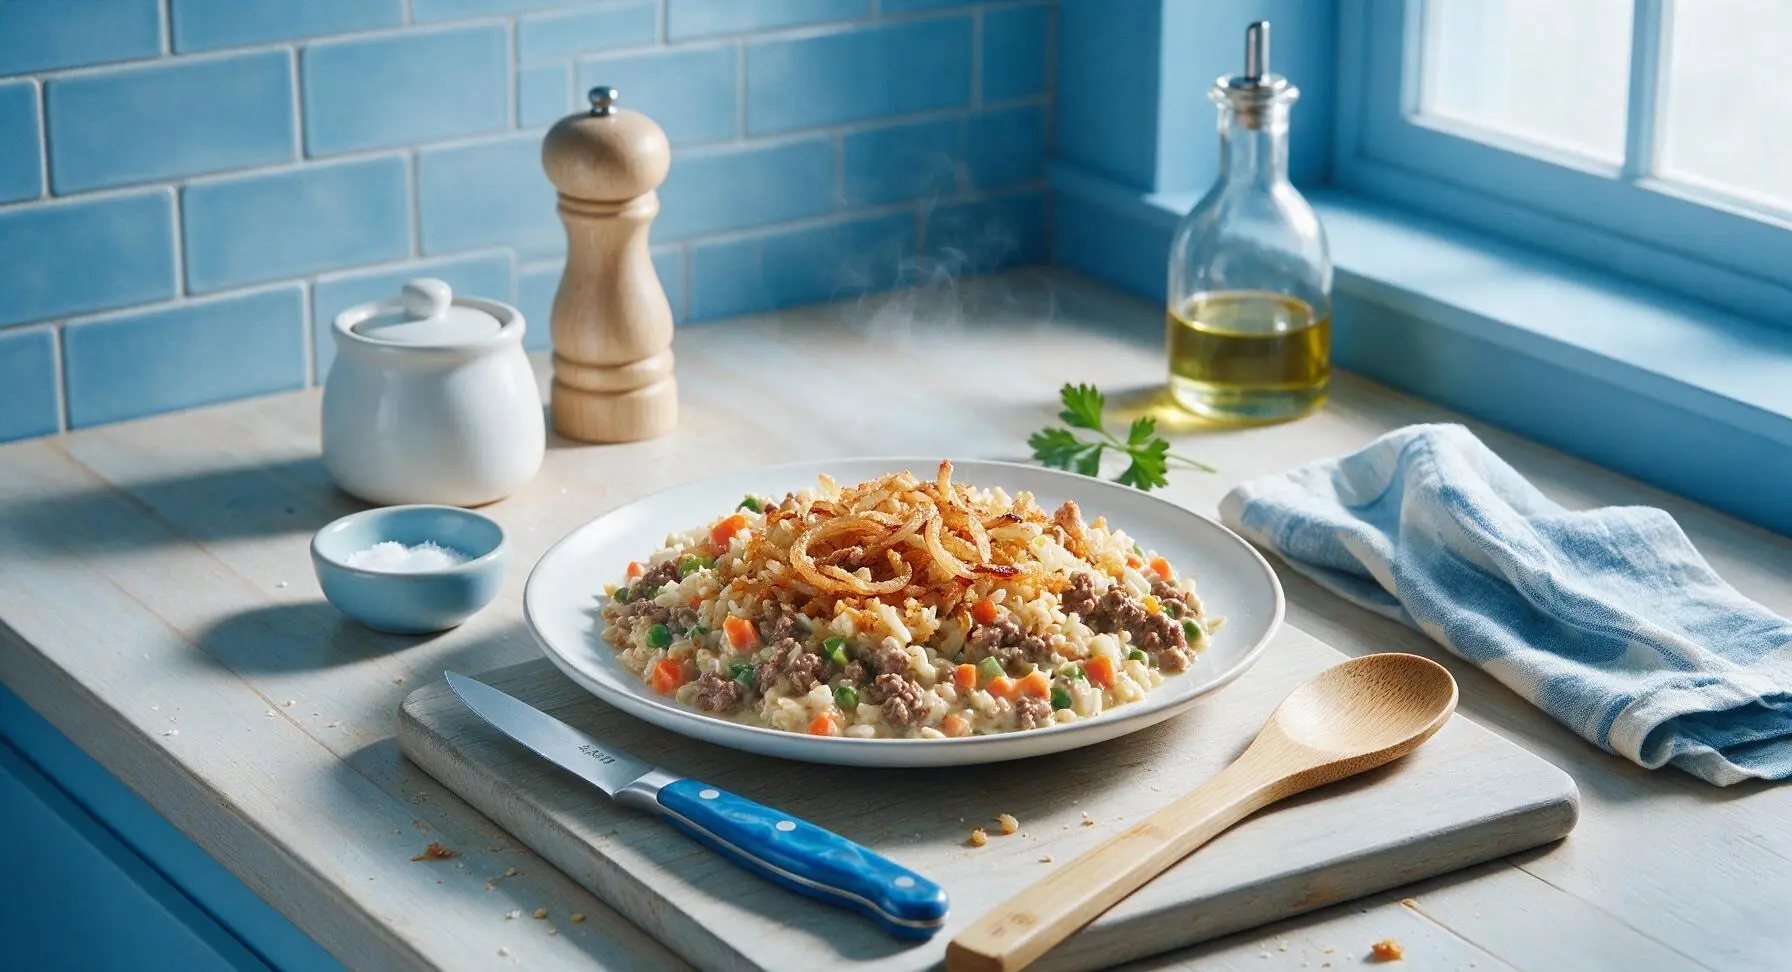
Creamy, hearty baked rice hotdish loaded with seasoned ground beef, tender veggies, and a crispy onion topping—classic comfort food made for sharing.
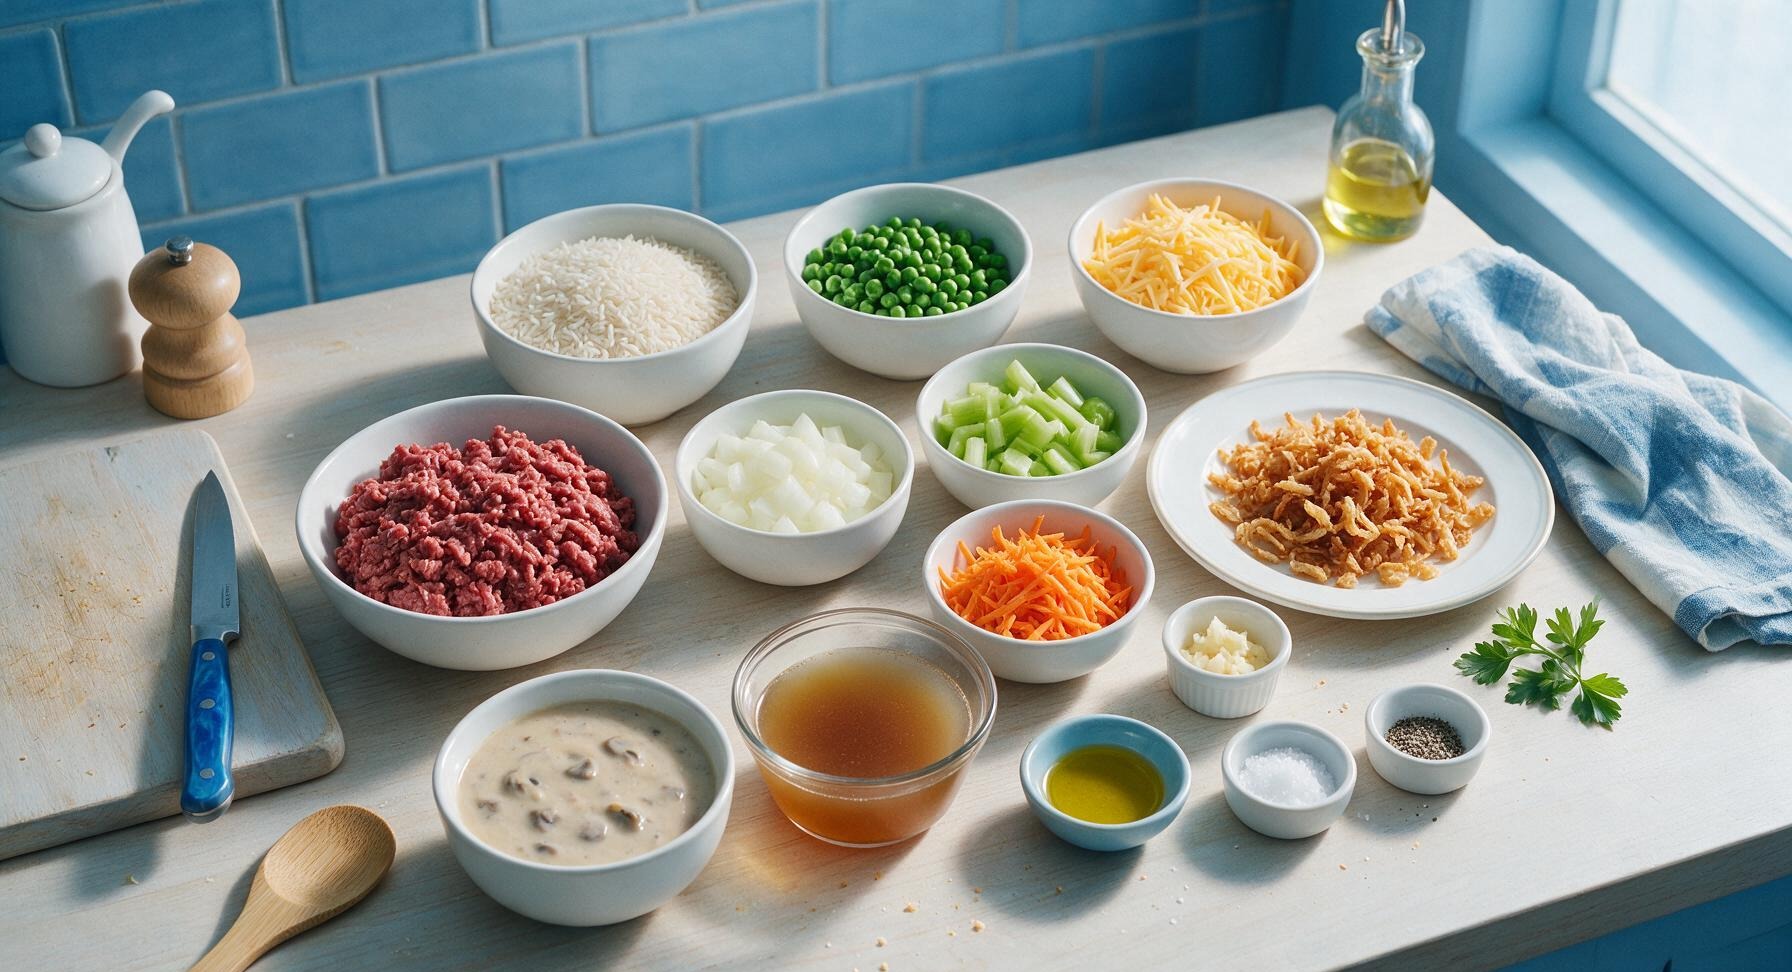
Ingredients
Steps
Chop Prep Vegetables
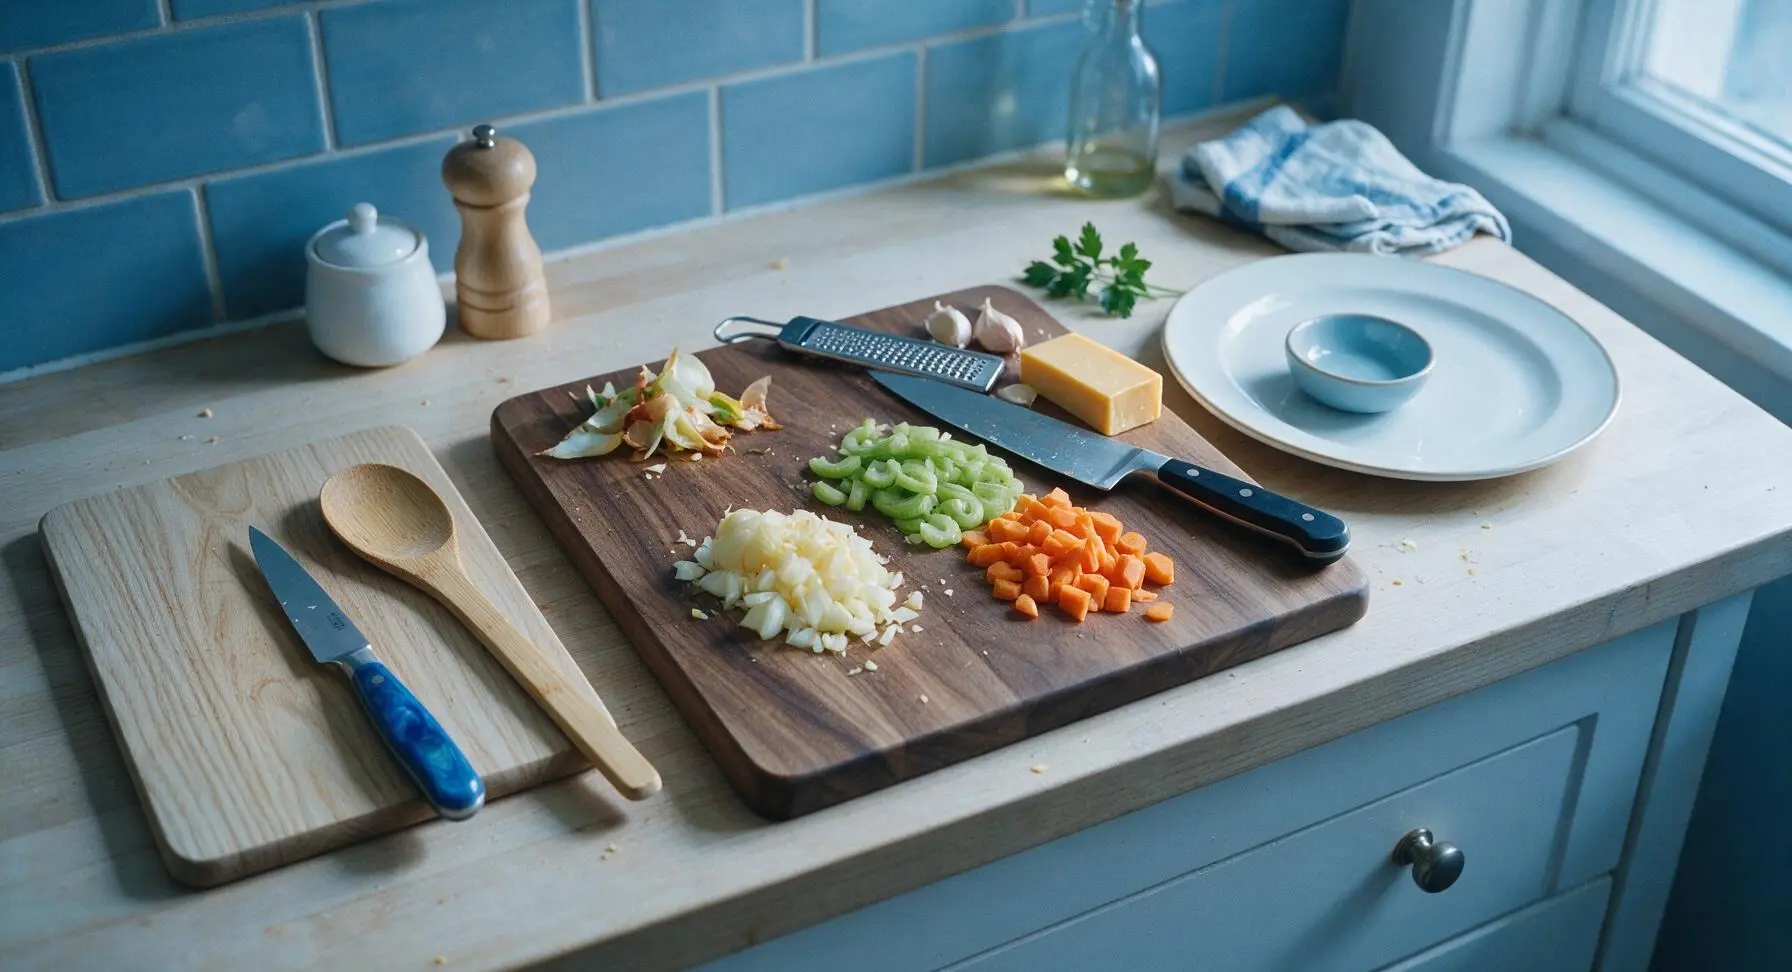
Place the large walnut cutting board at the center of the counter. Using the 8-inch chef knife, dice the yellow onion into 1cm pieces, slice celery stalks into 1cm half-moons, dice the carrot into 1cm cubes, and mince garlic cloves finely. Shred the block of sharp cheddar cheese using the box grater, setting it aside in a small prep bowl. Keep each prepped vegetable separate on the board for sequential cooking, discarding tough celery ends, onion peels, and carrot skins into a small scrap bowl off-frame.
Brown Ground Beef
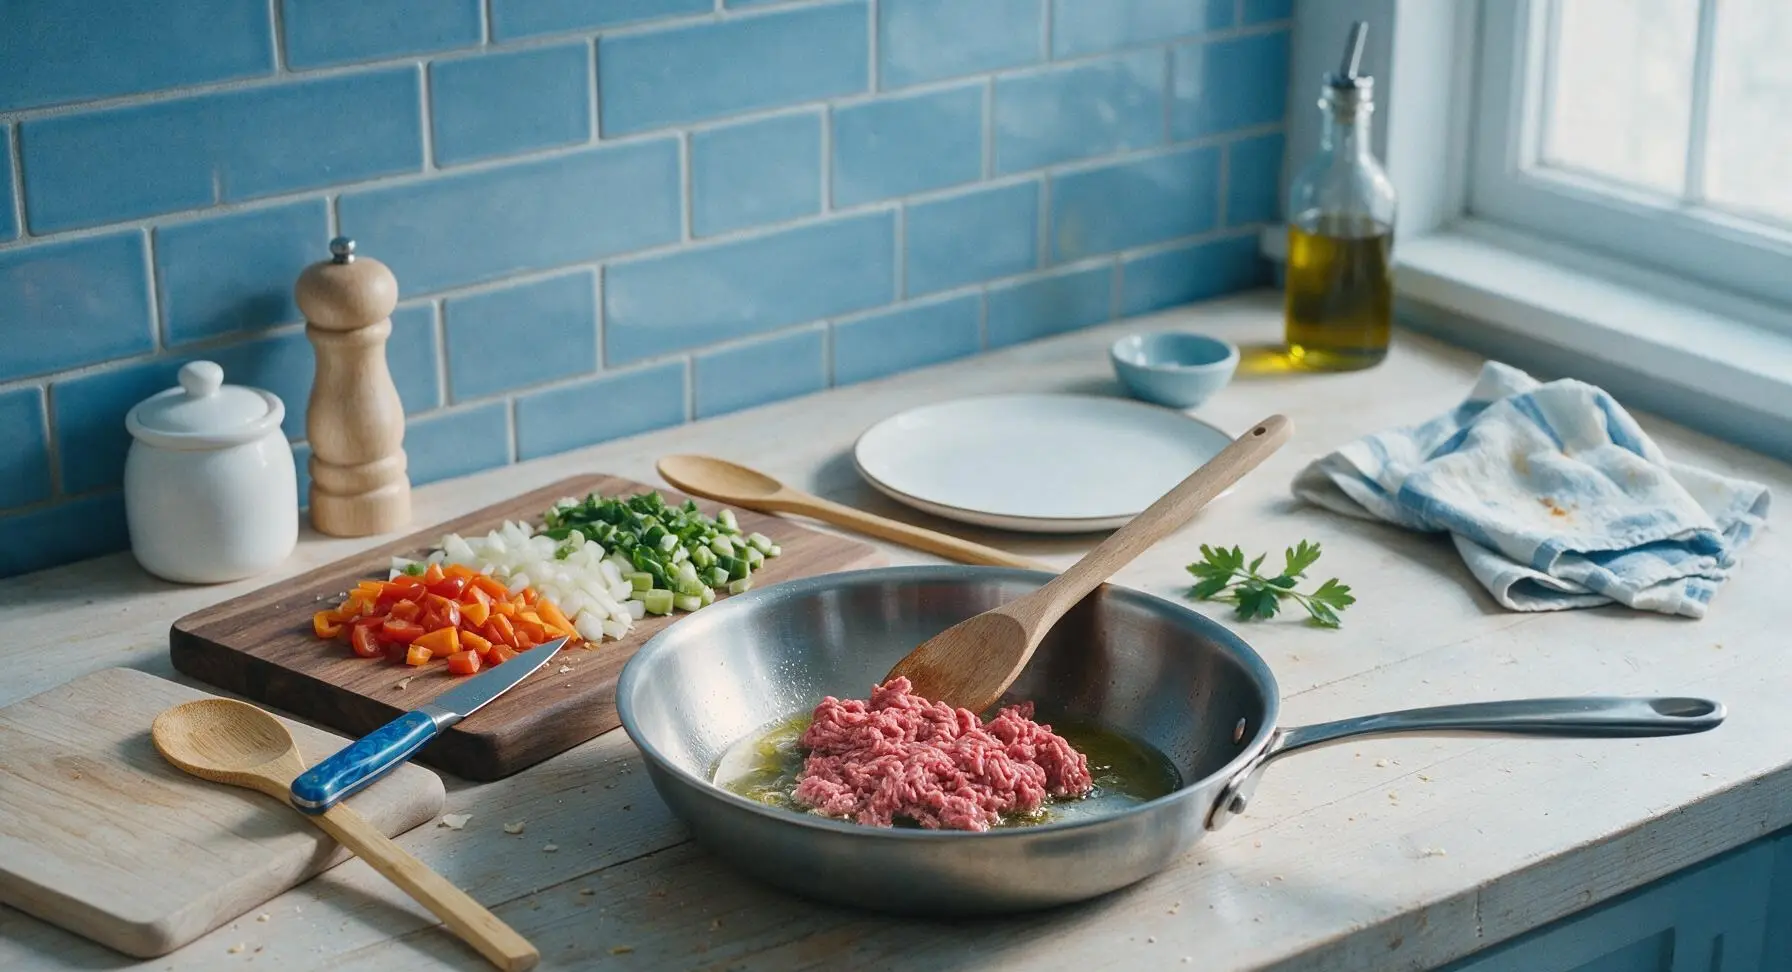
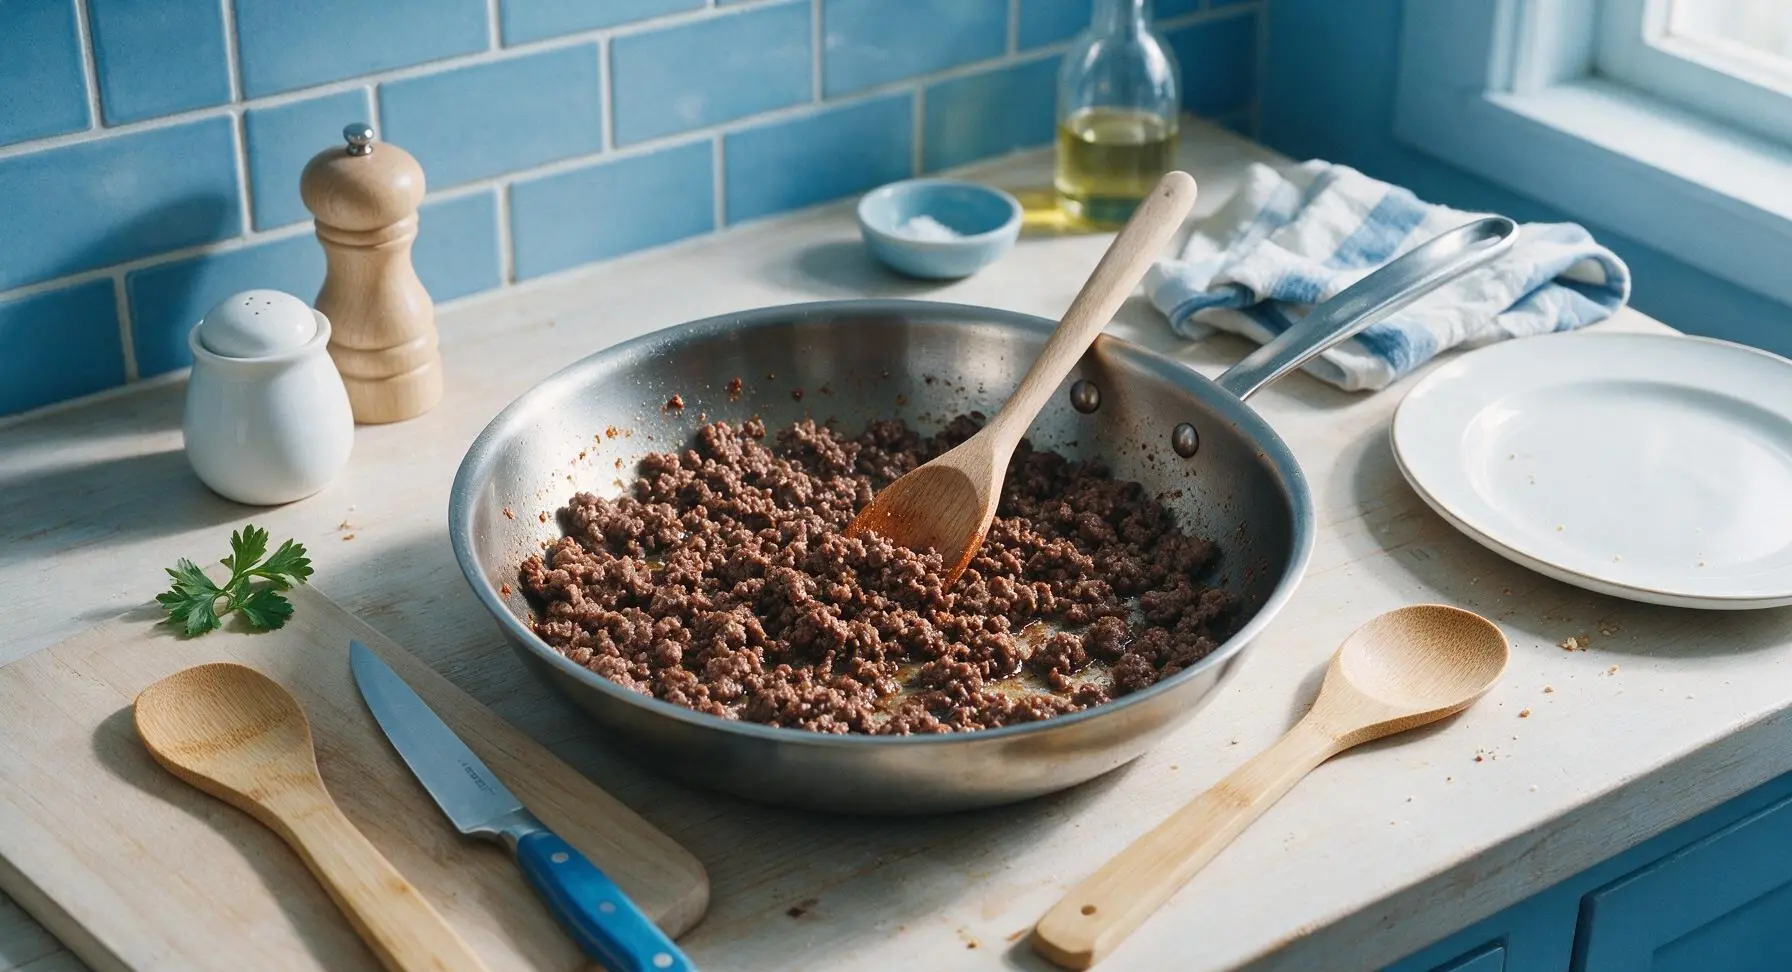
Place the 10-inch stainless steel skillet on the stovetop over medium heat (350°F/175°C), then add 1 tablespoon of olive oil. Add the ground beef to the pan, breaking it apart into small crumbles with the long beech wood spoon as it cooks. Season with 1/2 teaspoon kosher salt and 1/4 teaspoon freshly ground black pepper. Cook for 6-7 minutes, until the beef is fully browned with no pink remaining, and small crispy browned bits form on the pan bottom. Use the spoon to transfer the browned beef to a clean plate temporarily, leaving 1 tablespoon of rendered beef fat in the skillet.
Sauté Aromatic Base
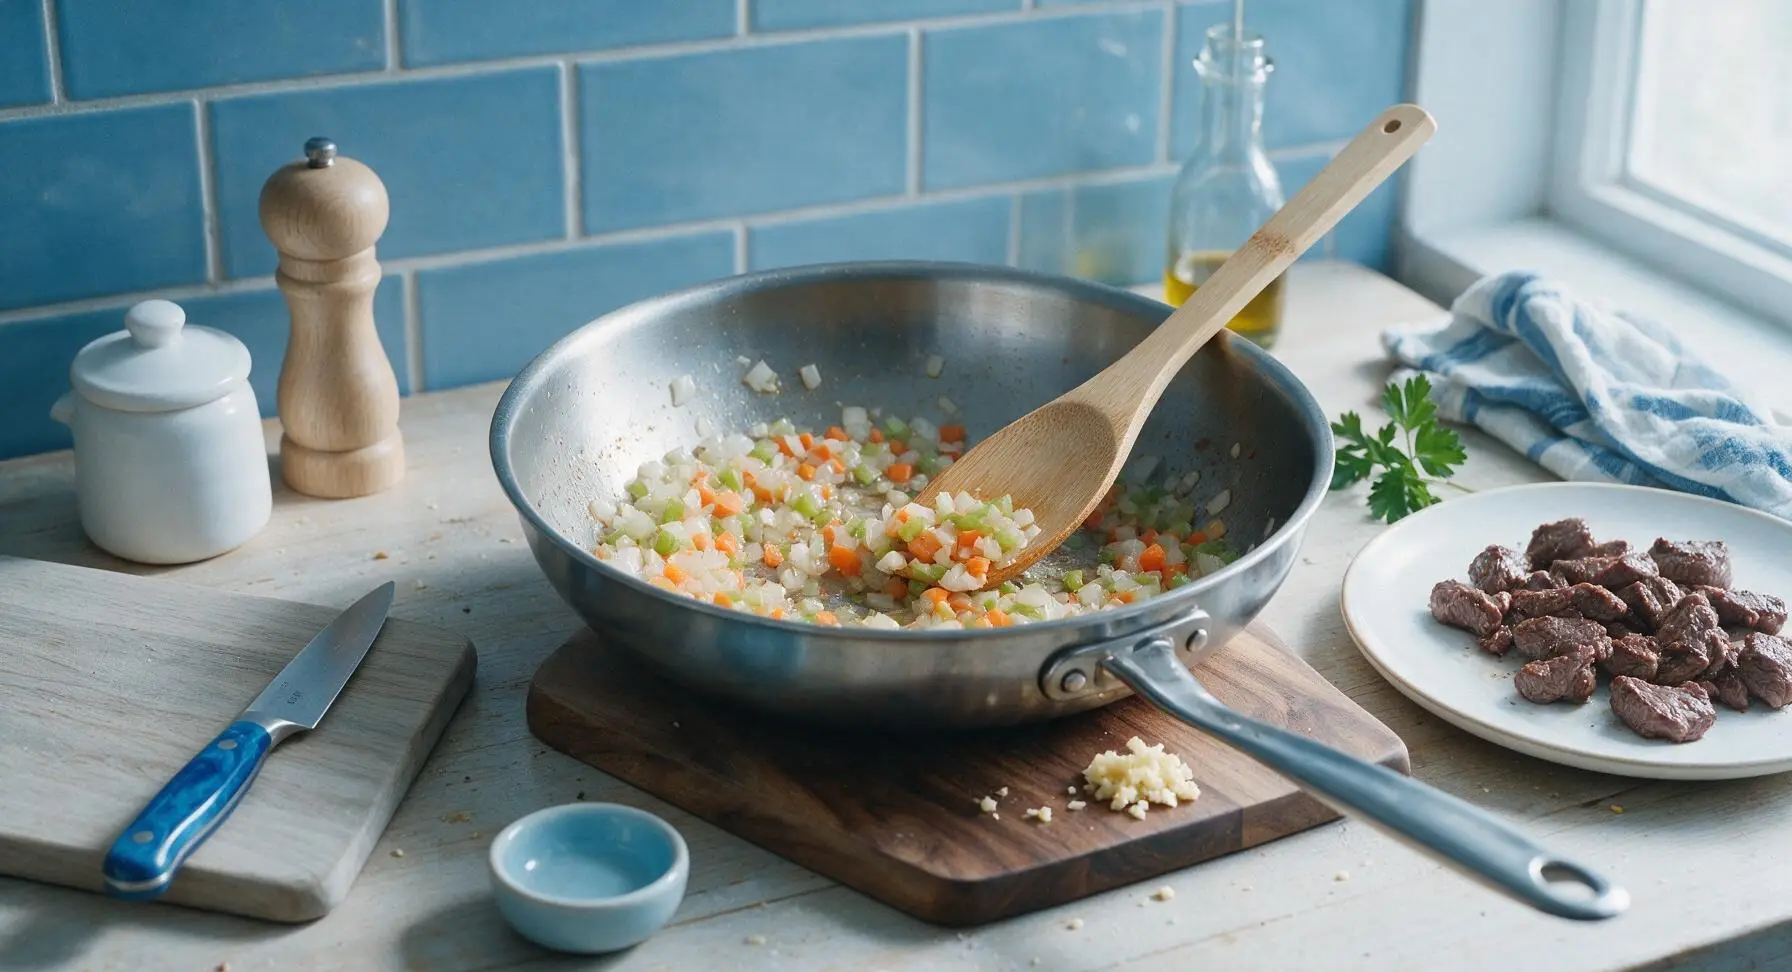
Return the skillet with reserved rendered fat to medium heat. Add diced onion, celery, and carrot to the pan, stirring with the wooden spoon to coat the veggies in fat. Cook for 5 minutes, until vegetables are soft and translucent, with onion edges just starting to turn pale golden. Add minced garlic and cook for 30 seconds more, until fragrant—watch closely to avoid burning the garlic, which will turn bitter and ruin the dish’s flavor.
Assemble Hotdish Layers
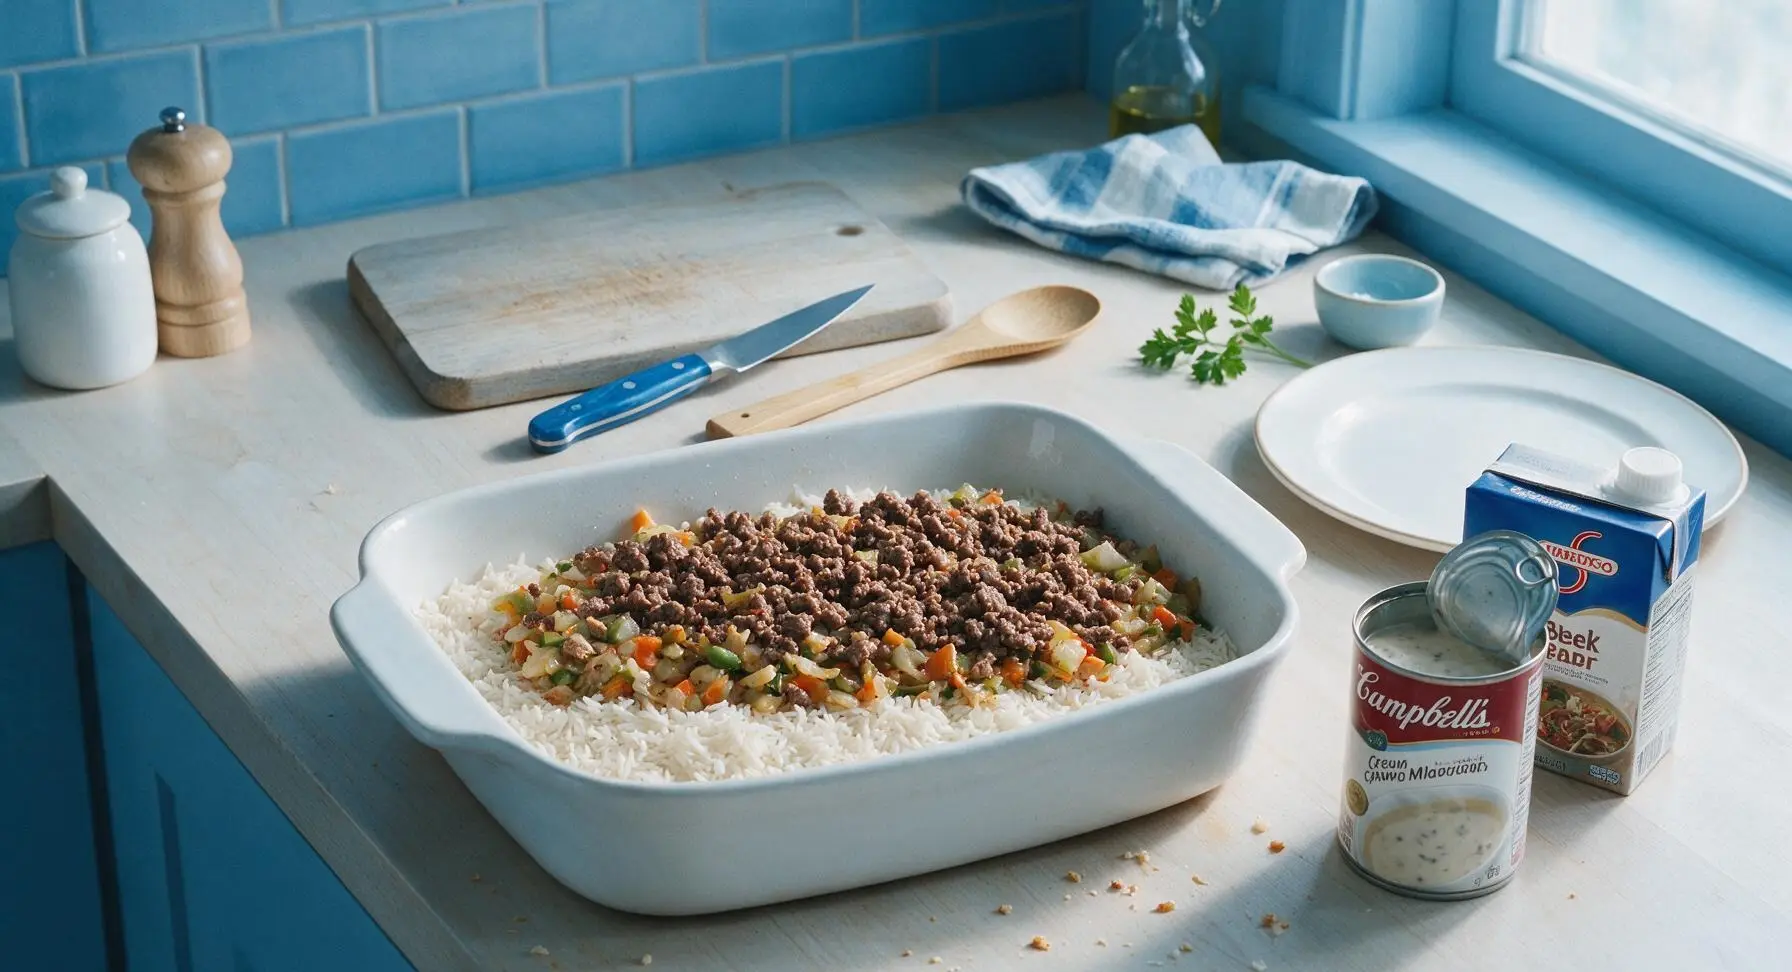
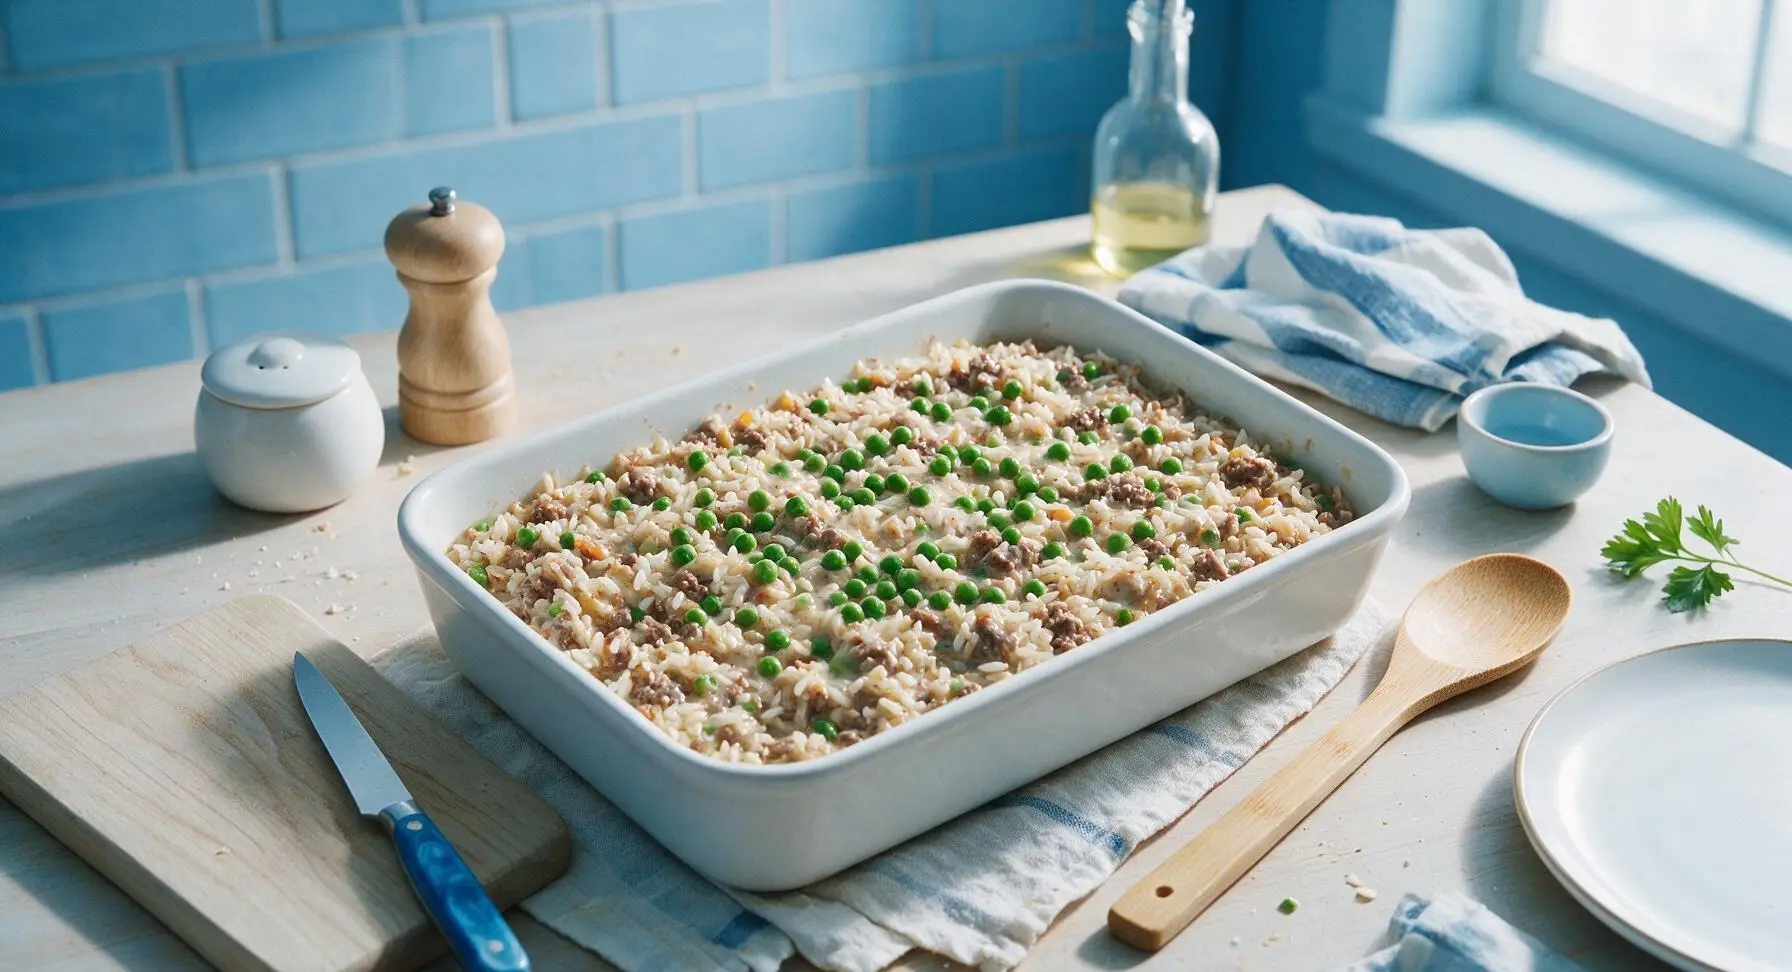
Position the 9x13 inch matte white ceramic baking dish at the center of the counter. Add uncooked long-grain white rice to the bottom of the dish, spreading it in a smooth, even layer. Top the rice with the sautéed vegetable mixture, followed by the browned ground beef, spreading each layer evenly across the rice. Pour condensed cream of mushroom soup and beef broth over the top, then stir gently with the wooden spoon to combine all ingredients evenly in the dish. Scatter frozen green peas across the top, pressing them slightly into the liquid mixture so they do not dry out during baking.
Bake Covered Until Tender
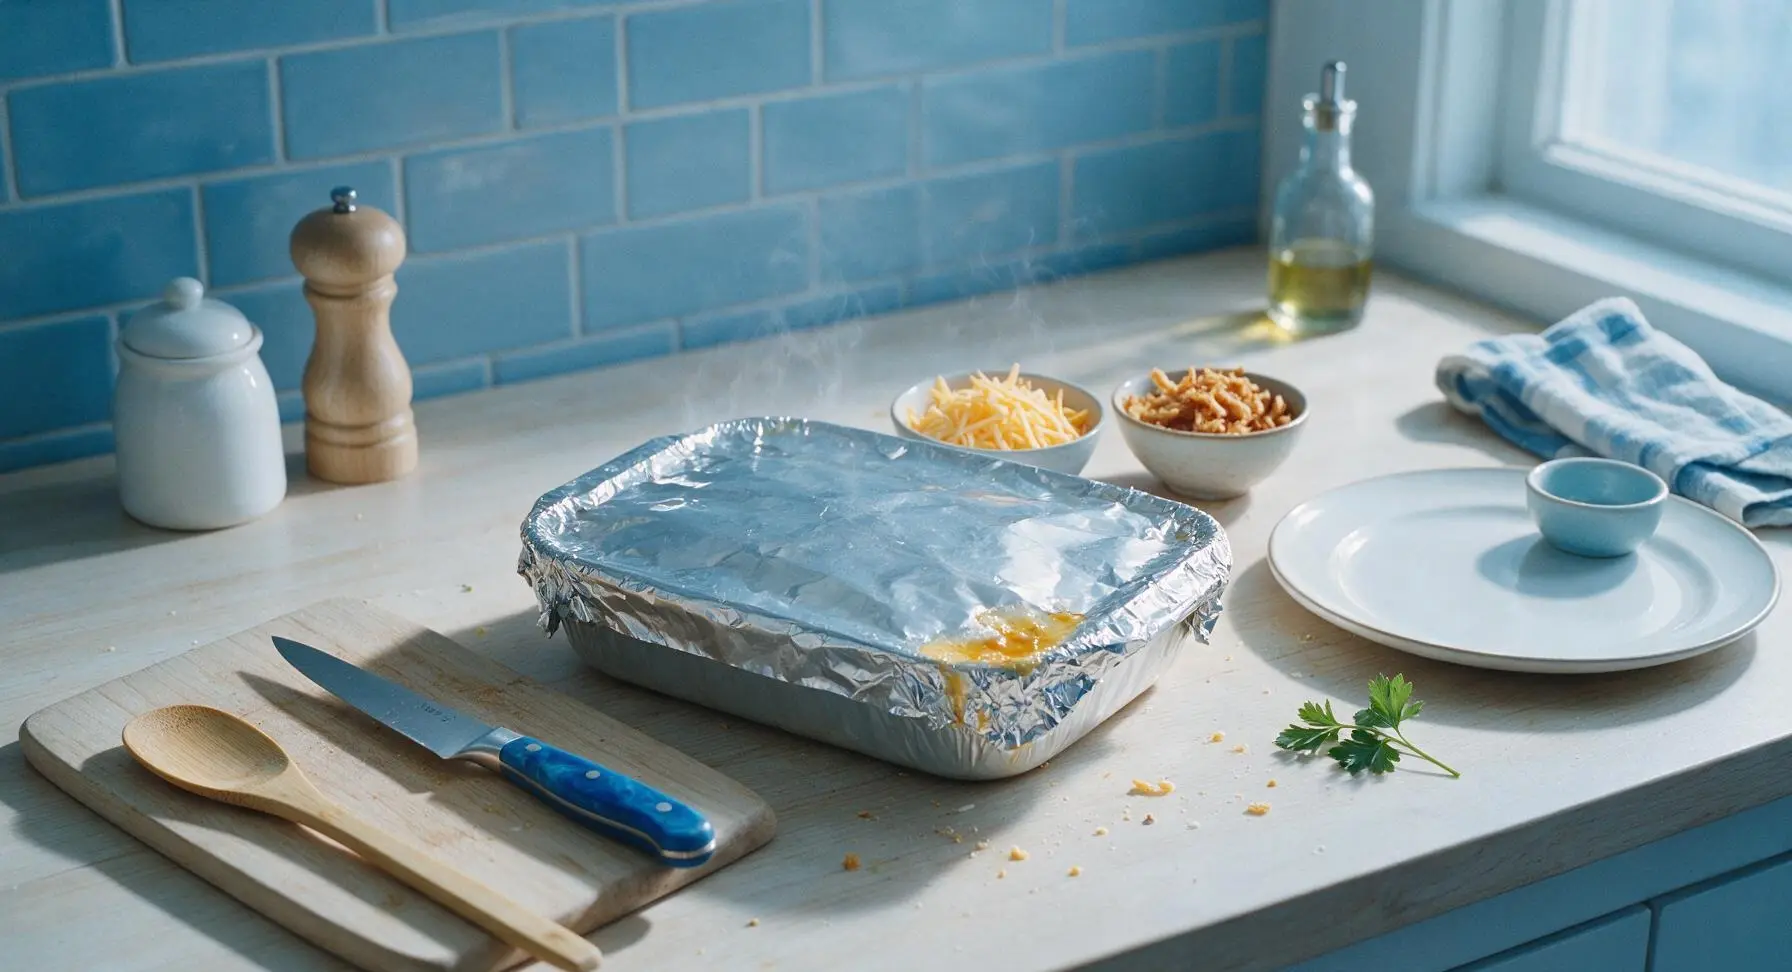
Cover the baking dish tightly with aluminum foil, crimping the edges to create a tight seal that traps steam. Place in a preheated 375°F (190°C) oven. Bake for 35 minutes, until the rice has absorbed nearly all the liquid and is tender when pierced with a fork. Carefully remove the dish from the oven (the edges will be gently bubbling) and set it on the counter to add the topping.
Add Topping and Finish Bake
Remove the aluminum foil from the baking dish. Sprinkle shredded sharp cheddar cheese evenly across the top of the hotdish, followed by 3/4 cup of the crispy fried onions (reserve the remaining 1/4 cup for serving garnish). Return the uncovered dish to the 375°F (190°C) oven and bake for 10-12 minutes more, until the cheese is fully melted and bubbly, and the fried onions are deep golden and crispy. Remove from the oven and let rest for 5 minutes before serving to allow the filling to set.
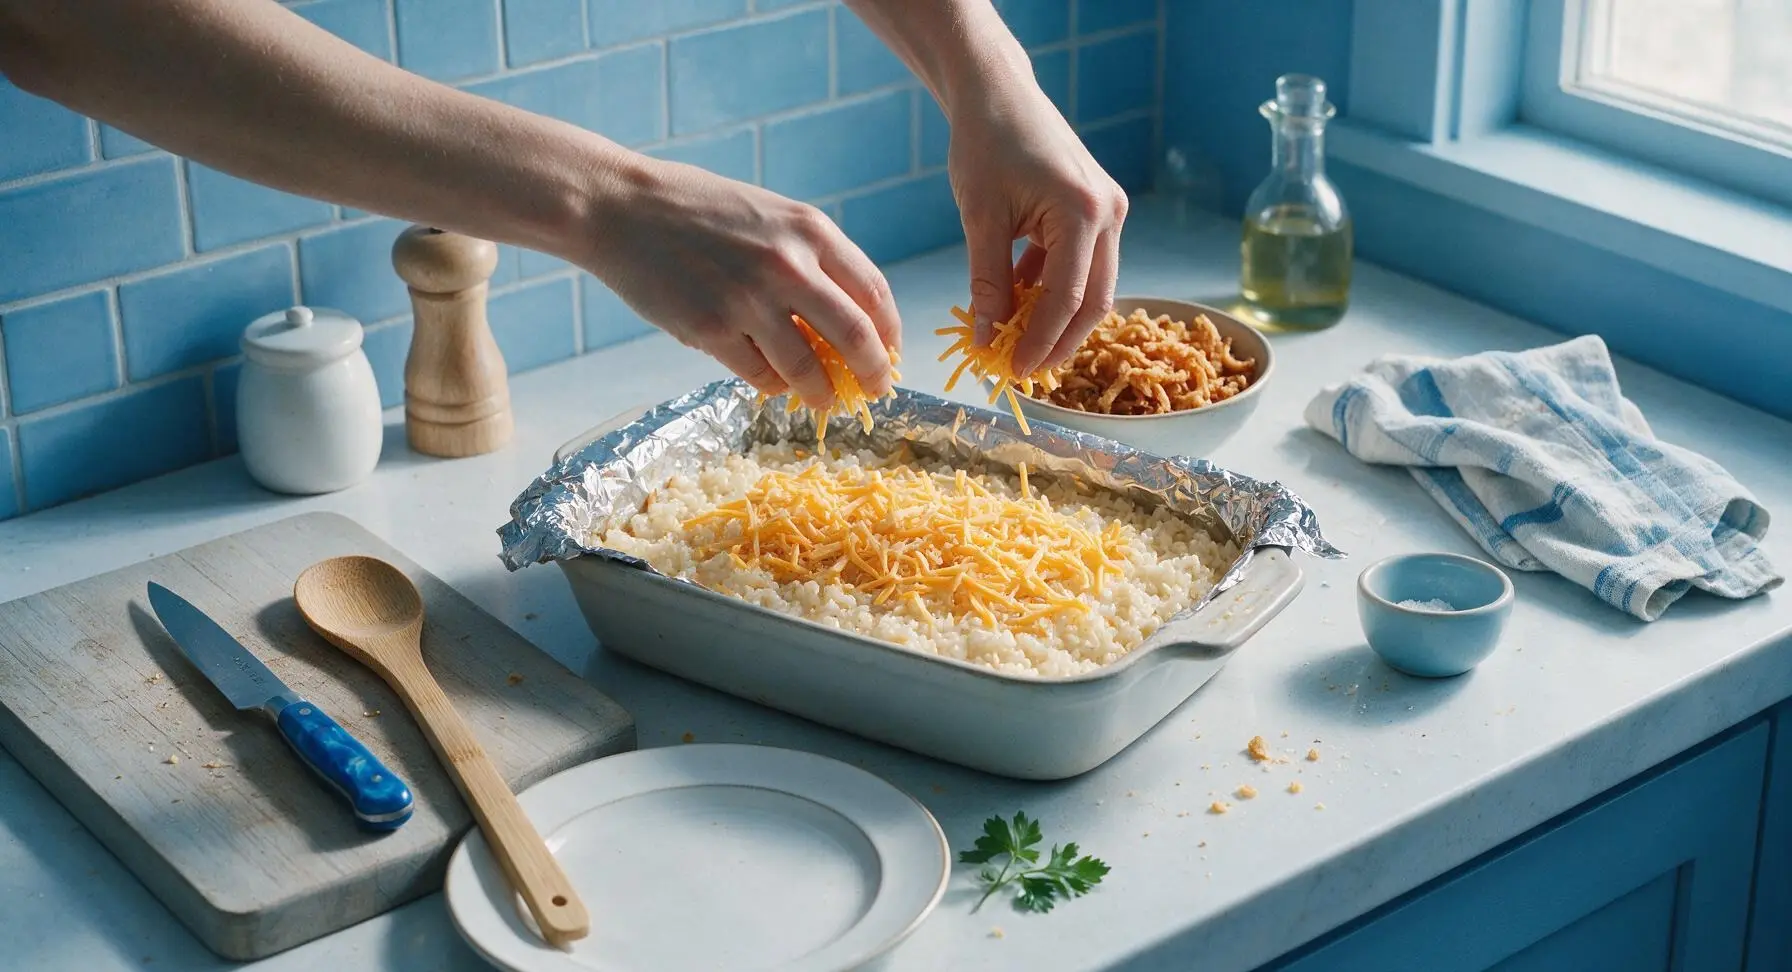
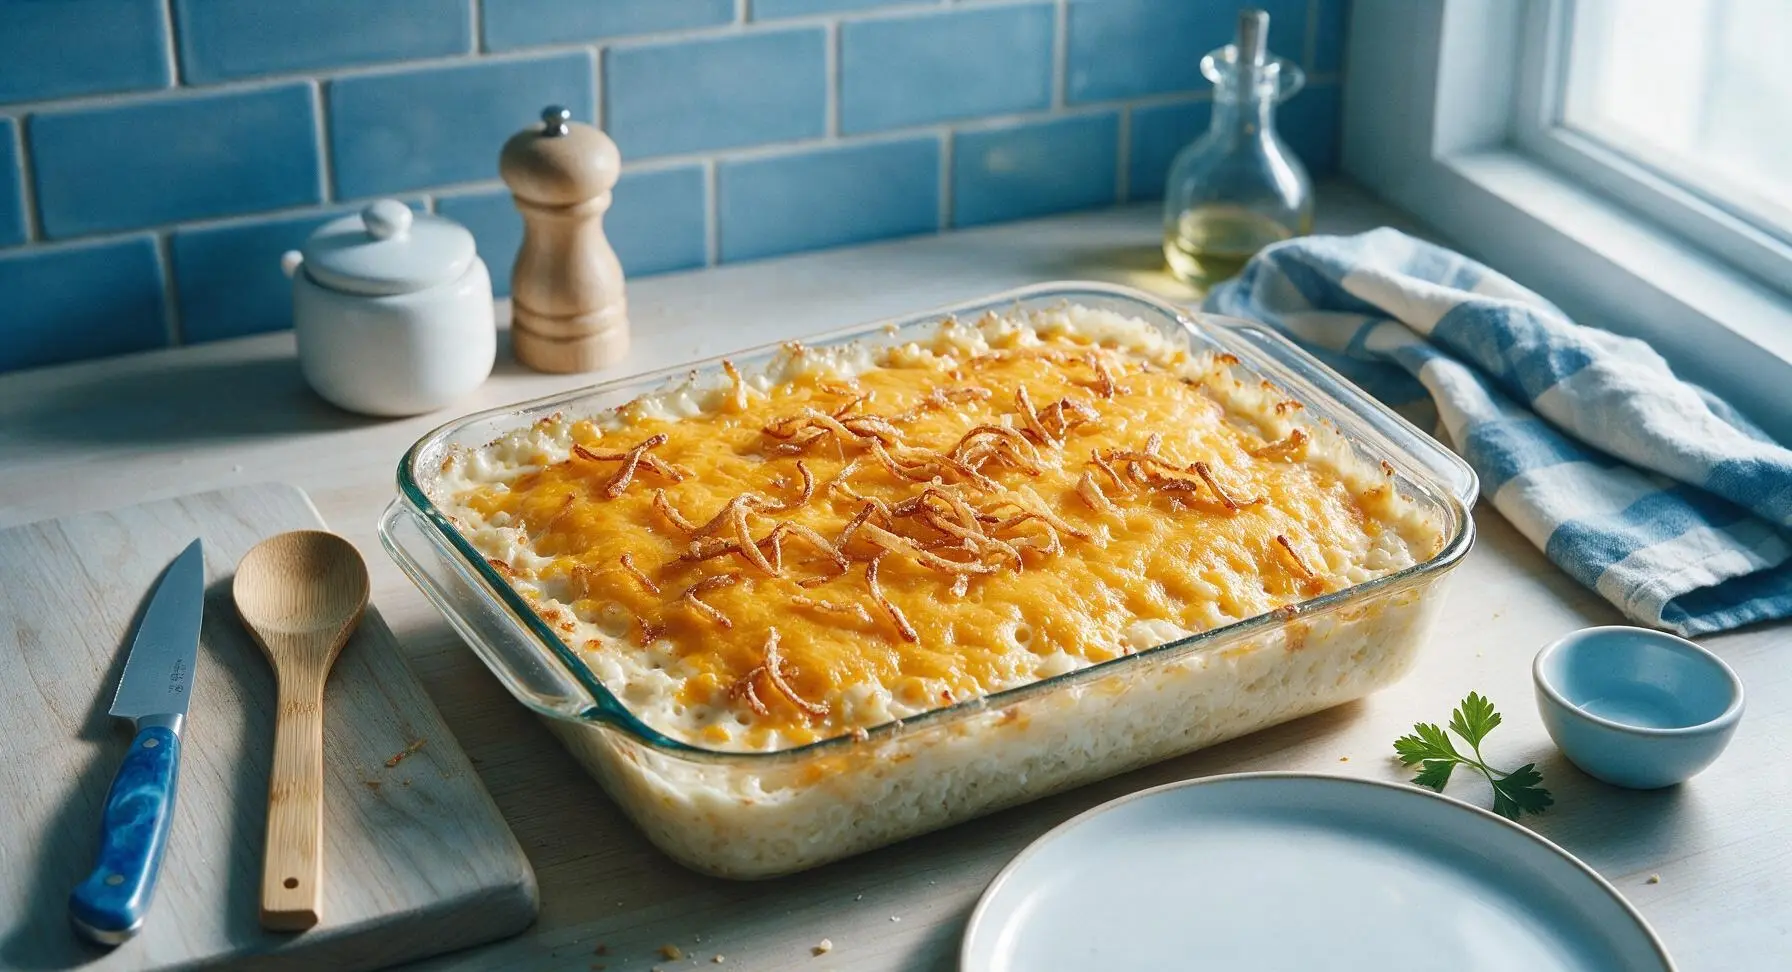
Plate and Serve Hot
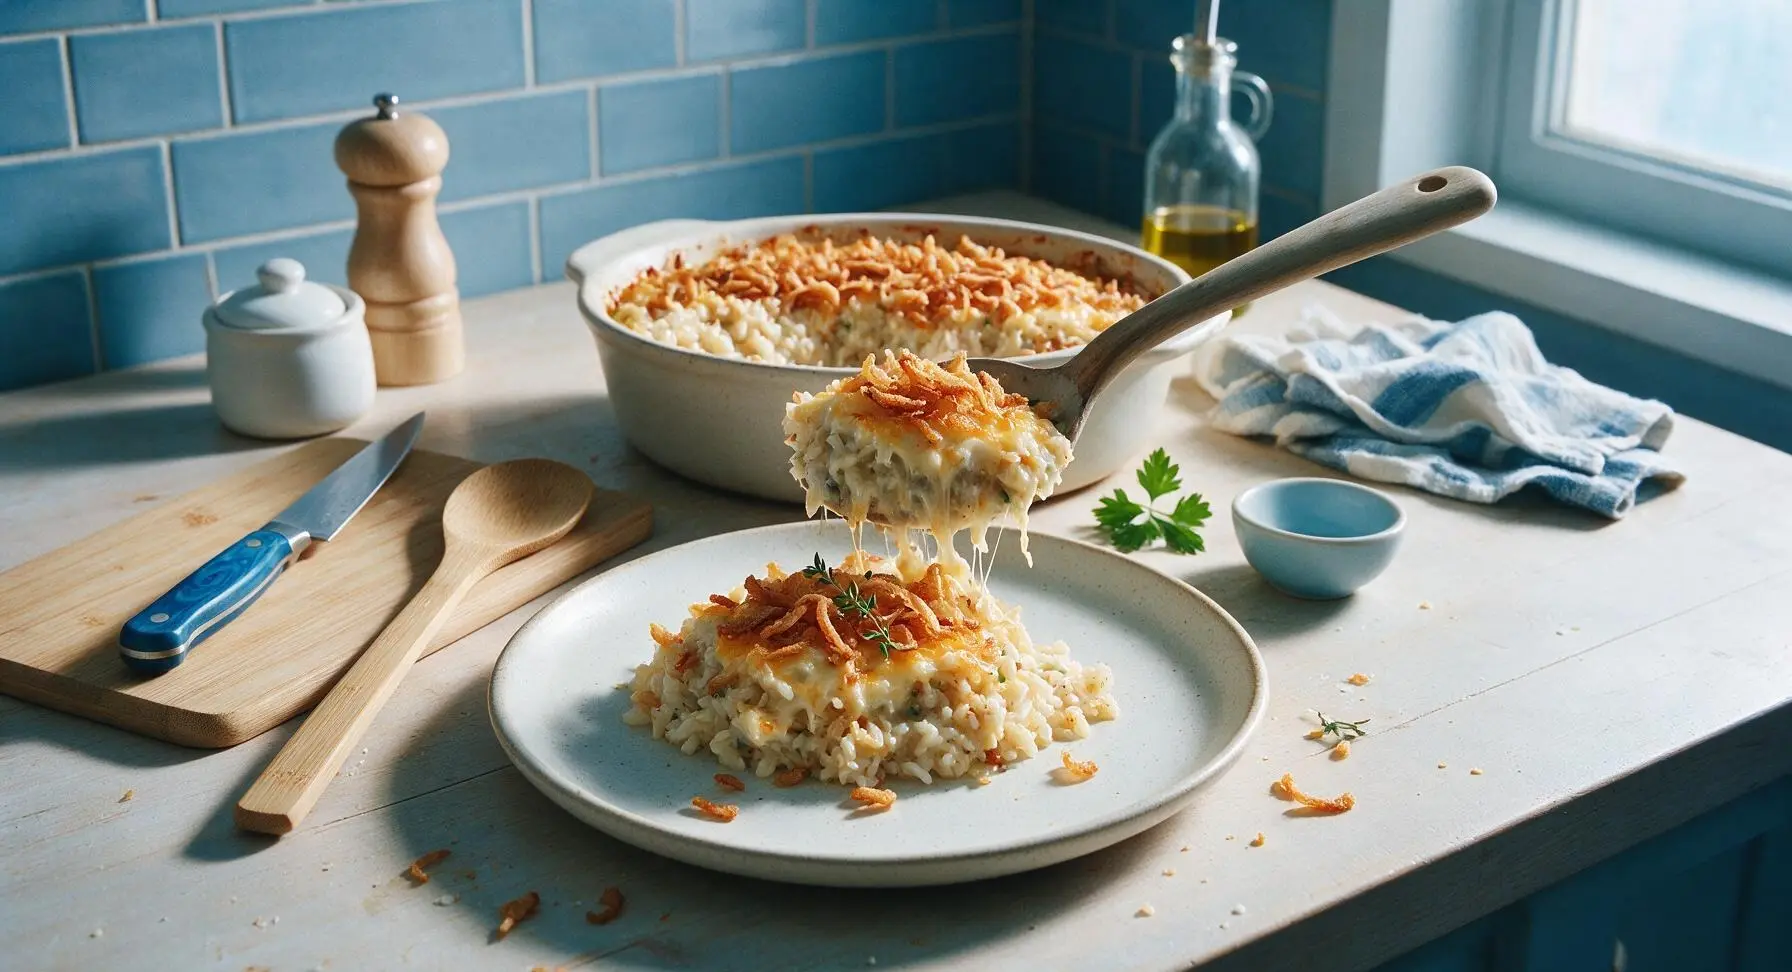
Use a large serving spoon to scoop a generous 1-cup portion of the hotdish onto the matte off-white speckled ceramic dinner plate. Garnish with a sprinkle of the reserved crispy fried onions and a small sprig of fresh thyme plucked from the bud vase. Serve immediately while the cheese is still stretchy and the onion topping is crisp.
Tips
2.Let the hotdish rest for the full 5 minutes after removing it from the oven before scooping: this short rest allows the rice to absorb any remaining loose liquid and set, so servings hold their neat shape on the plate instead of sliding apart.
3.Frozen vegetables work best for this recipe: unlike fresh veggies that require pre-cooking to soften, frozen peas (or swapped corn/green beans) thaw and cook perfectly during the bake time, releasing just enough moisture to keep the rice tender without making the dish mushy.






OMG this is exactly the hotdish my grandma used to make for Sunday suppers! I was so worried I lost the recipe when she passed, and this tastes identical. Brought it to our church potluck last weekend and every single bite was gone before we even got to the dessert table. SO easy to throw together too, perfect for busy weeknights when I’m running between soccer practice and piano lessons. My kids asked for seconds before they even finished their first helping! 10/10 will make every other week from now on.
Total game changer for my weekly meal prep! I make this on Sunday, portion it out into containers, and it holds up perfectly all week for work lunches. I swapped the ground beef for ground turkey to cut a few calories and it still tasted amazing. No sad desk lunch here!
As a college student with basically zero cooking skills and a tiny dorm oven? This was so easy to make! Only had to run to the grocery store once for ingredients, no fancy tools needed, and my roommates devoured half the pan before I even had a second piece. Way better than the dining hall food, that’s for sure.
I moved to Chicago from Georgia 2 years ago and have been trying to find a hotdish recipe that doesn’t taste like canned soup slop, and this is it! I added a little extra onion powder and a handful of frozen peas like my mama used to put in her casseroles, and my Chicago-born boyfriend said it’s better than his mom’s. Don’t tell her I said that lmao.
Made this for our office potluck yesterday and got asked for the recipe by literally 8 different people. The crispy fried onion topping is *chef’s kiss* — I almost ate a handful of those straight out of the can while I was cooking, no shame. Cook time was exactly 55 minutes like the recipe said, no guesswork needed, which I love when I’m cooking for a crowd.
I swapped the regular cream of mushroom for the gluten-free version and used crushed rice chex instead of fried onions for the topping to make this safe for my celiac kiddo, and it was still SO good! No weird texture, no off flavor, my kids loved it and didn’t even complain that it was “special diet food.” Will absolutely be adding this to our monthly rotation.
I’ve been making a version of this hotdish for 40 years and I have to say, this recipe is spot on. The ratio of rice to meat to soup is perfect — no dry, crunchy rice at the bottom of the pan like so many other recipes I’ve tried lately. My only tip is to let it rest 5 minutes after you pull it out of the oven so it sets up nicer.
Made this after a long day of hiking with the kids last weekend, it was the perfect warm, filling comfort food. We added a can of drained diced green chiles for a little kick and it was incredible. Great for cold mountain nights when you don’t want to spend hours in the kitchen.
I made this for my husband for our first married Friday night dinner and he said it’s the best thing I’ve ever cooked! I was nervous because I’m still learning to cook, but the instructions were so straightforward I didn’t mess anything up. I did accidentally use cream of chicken instead of cream of mushroom because I grabbed the wrong can at the store, and it still tasted amazing!
Wait, has anyone tried freezing this? I want to make a double batch to stick in the freezer for nights when we have late sports practices and don’t have time to cook. Wondering if the rice gets mushy when you thaw and reheat it?
Honestly I thought hotdish was just a meme until I made this. It’s so hearty and cheap to make, which is perfect for when I’m tired of eating frozen pizza every night. I topped mine with extra cheese because why not, and it slapped. 10/10 would make for the guys on game night.
I make hotdish for our church’s funeral luncheons all the time, and I tested this recipe last week for a luncheon we had for a long-time parishioner. It was a hit! So many people said it tasted like the hotdish they grew up eating at 4-H meetings and family reunions. I added a layer of shredded cheddar under the fried onion topping and it was chef’s kiss.
Okay, don’t come for me, but I burned the fried onion topping because I got distracted playing with my dog and forgot to set a timer. Even with the slightly charred topping? This was still SO good. I scraped the worst of the burnt bits off, added a little extra cheese, and my roommate said it was the best casserole he’s ever had. Next time I’m setting three timers lmao.
This is a really solid base recipe, but it was a little too salty for my taste since I’m on a low-sodium diet. I used regular cream of mushroom soup and regular fried onions, so next time I’ll grab the low-sodium versions of both to cut the salt. Flavor was great otherwise, super comforting.
Made this for our first bonfire of the year last weekend and it was the perfect side to go with brats and s'mores. It held up great in the insulated carrier on the drive over to the park, and everyone was going back for seconds. There’s nothing better than a warm, no-fuss hotdish when the air starts getting crisp. Absolute fall staple for us now.