
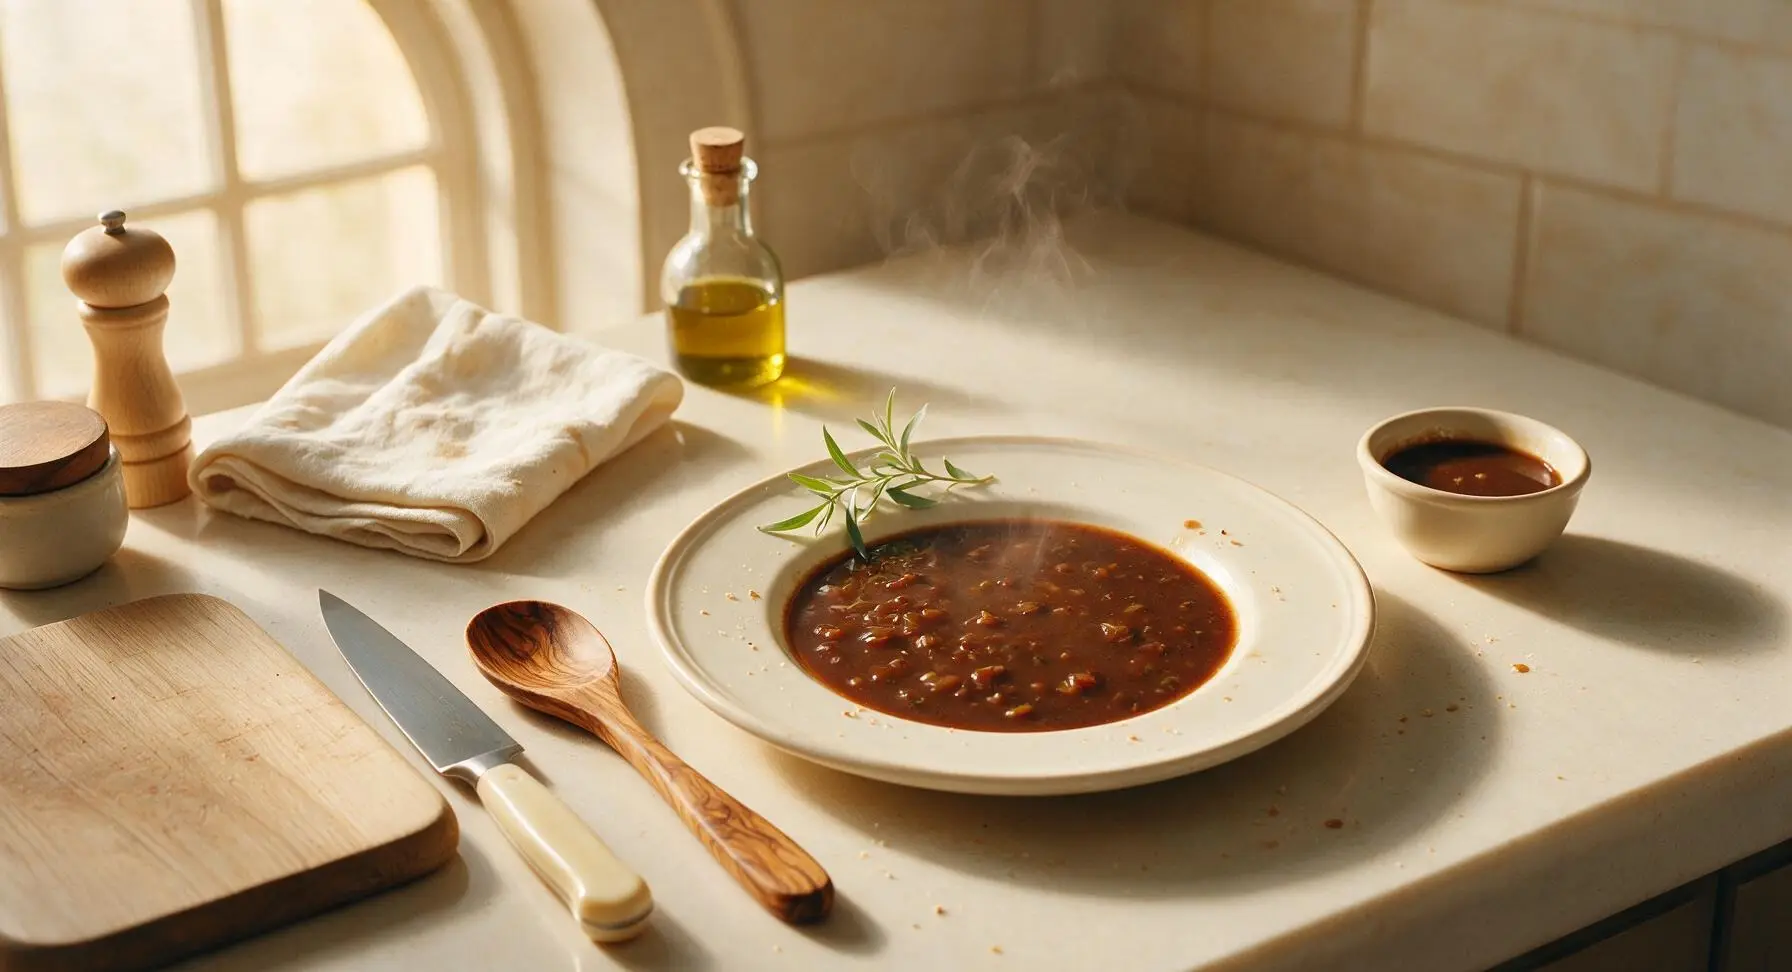
roast beef sauce

title 1
roast beef sauce
⏱️ cook time 20 minutes
🍽️ servings 6
⚡ Difficulty easy

intro

Silky, deeply savory roast beef pan sauce made from roasted meat drippings, aromatic mirepoix, and red wine—the classic umami-rich accompaniment to elevate any Sunday roast beef dinner.

Ingredients
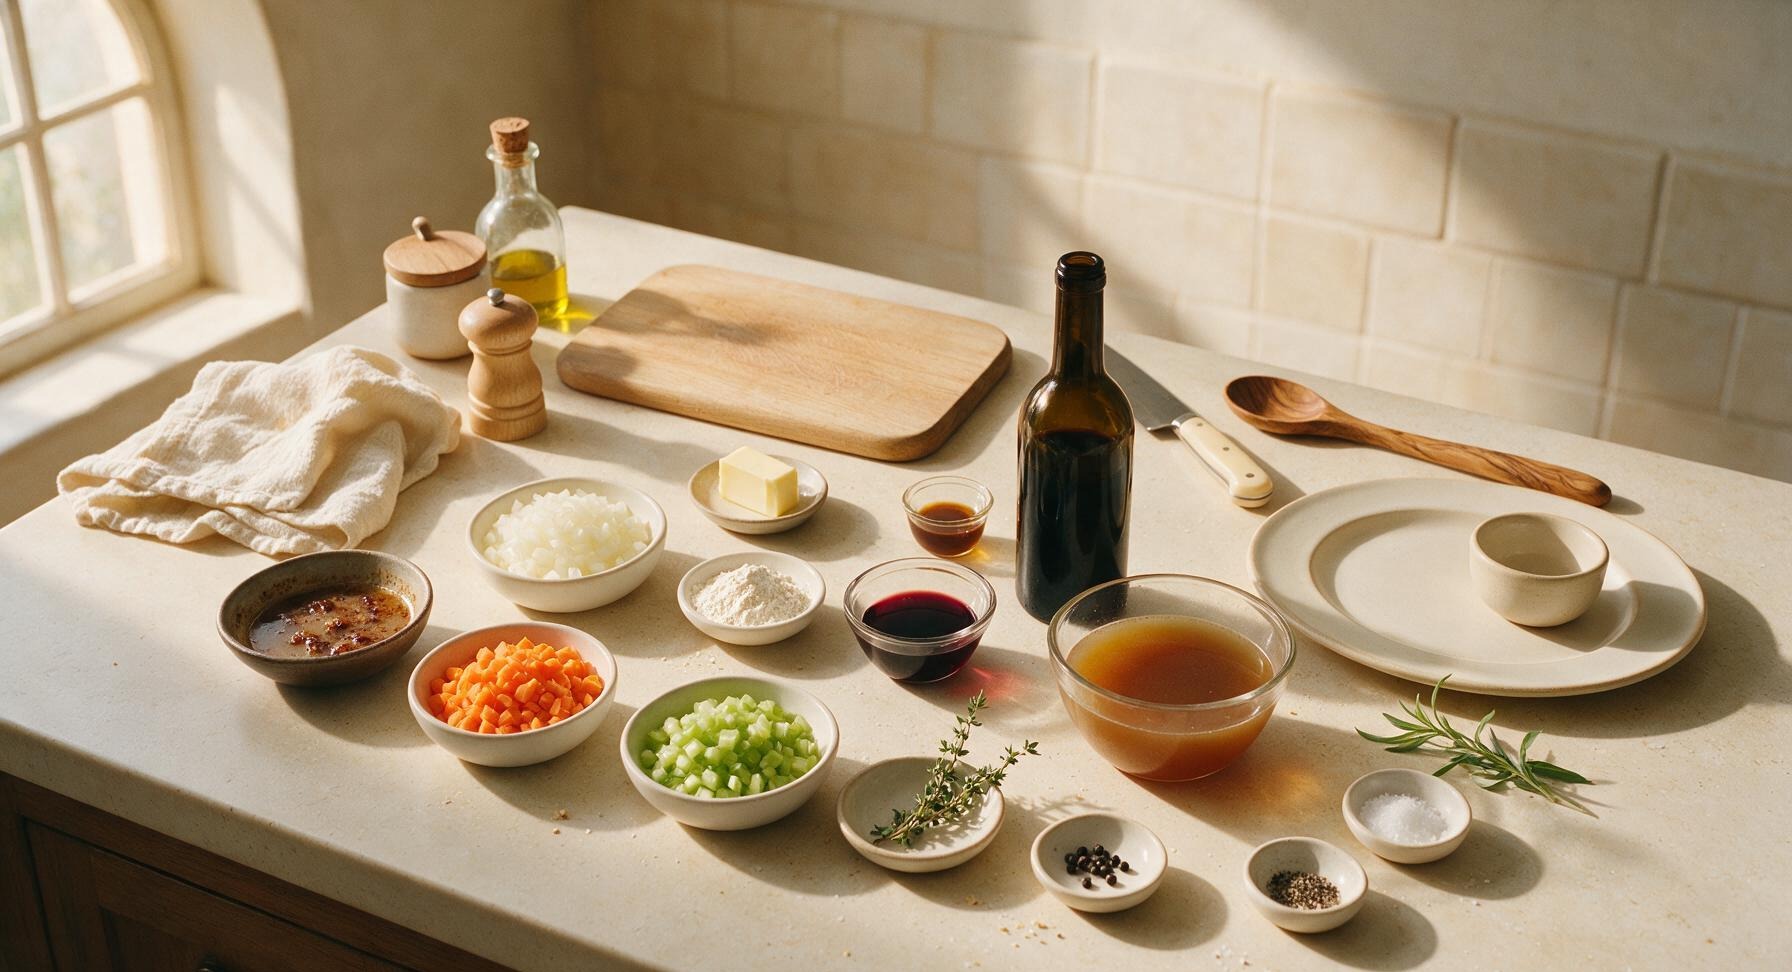
Roast beef pan drippings (with browned fond bits) 1/4 cup
Unsalted butter 2 tbsp
Yellow onion (finely diced) 1 small (110g)
Carrot (finely diced) 1 small (60g)
Celery stalk (finely diced) 1 (50g)
All-purpose flour 2 tbsp
Dry red wine (Cabernet Sauvignon or Merlot) 1/4 cup
Low-sodium beef stock 2 cups
Worcestershire sauce 1 tsp
Fresh thyme sprigs 2
Whole black peppercorns 5
Kosher salt to taste (approx 1 tsp)
Freshly ground black pepper to taste (approx 1/4 tsp)

Steps

1

Sauté Aromatic Mirepoix

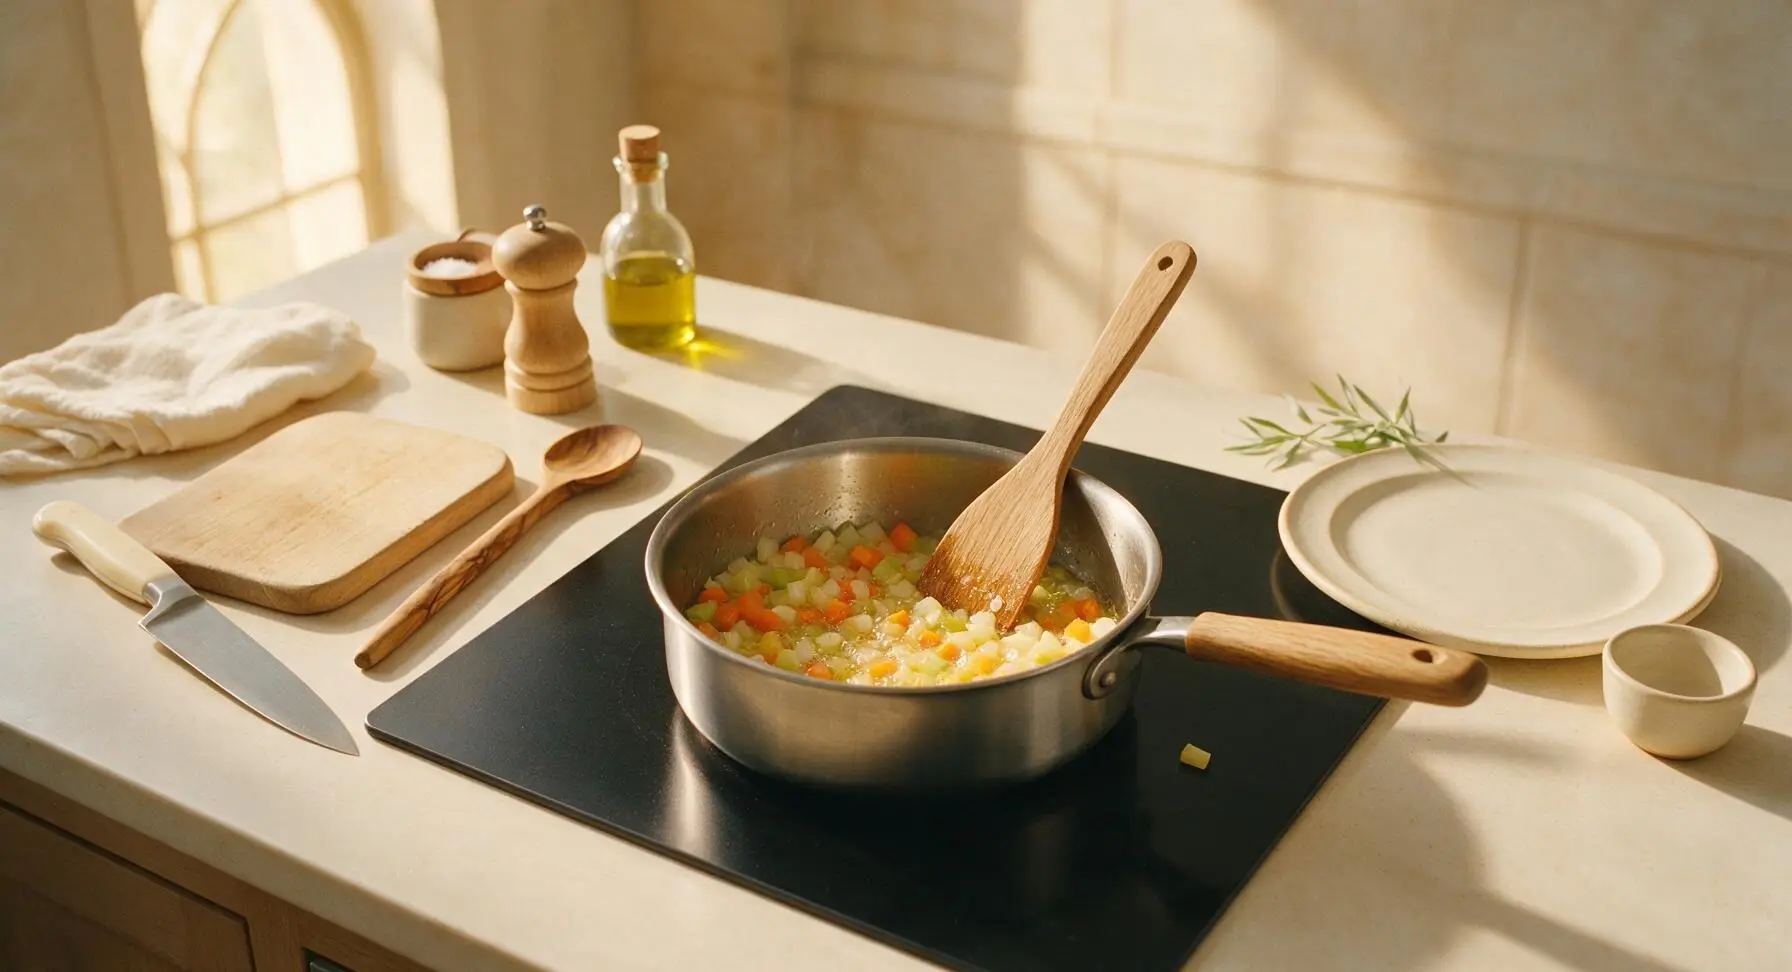
Place the stainless steel saucepan on the matte black induction cooktop over medium heat (350°F/175°C). Add 2 tbsp unsalted butter, and once melted and foaming subsides, add the finely diced yellow onion, carrot, and celery. Cook for 5 minutes, stirring occasionally with the honey oak wooden spatula, until vegetables are soft and translucent, with light golden edges on the onion. Do not let the vegetables darken to brown or burn, as this will add a bitter, acrid taste to the finished sauce.
Step 1
step1:Sauté Aromatic Mirepoix
2

Toast Flour for Roux

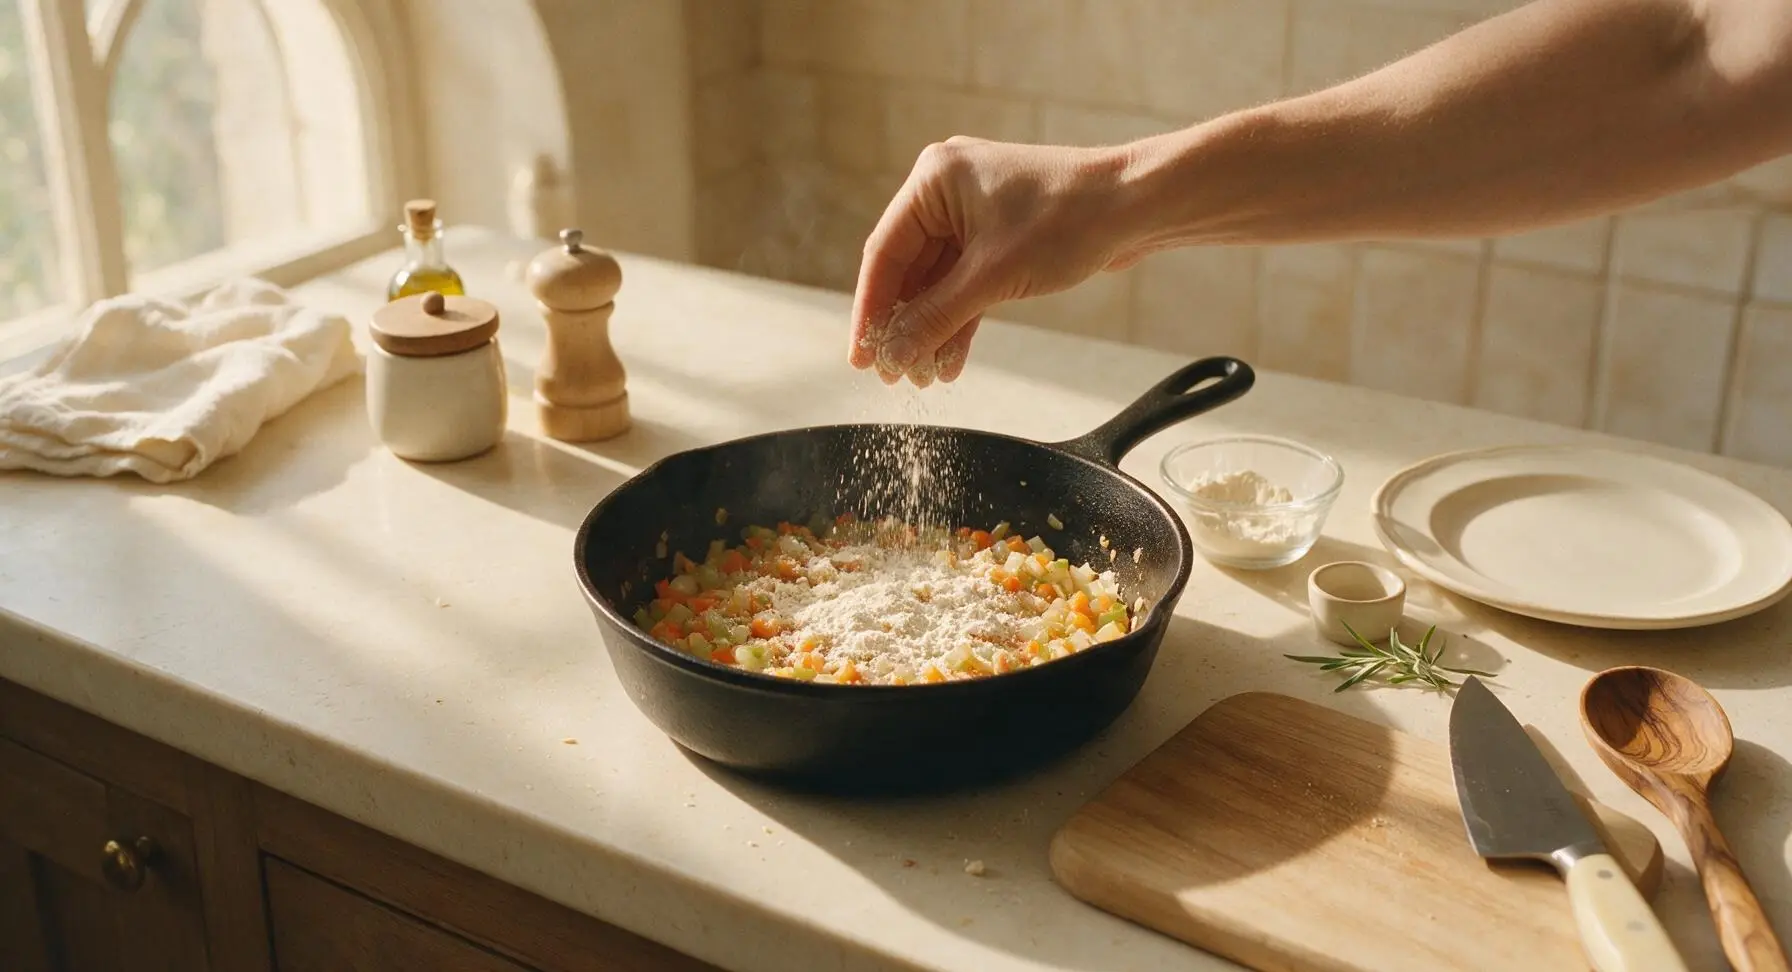
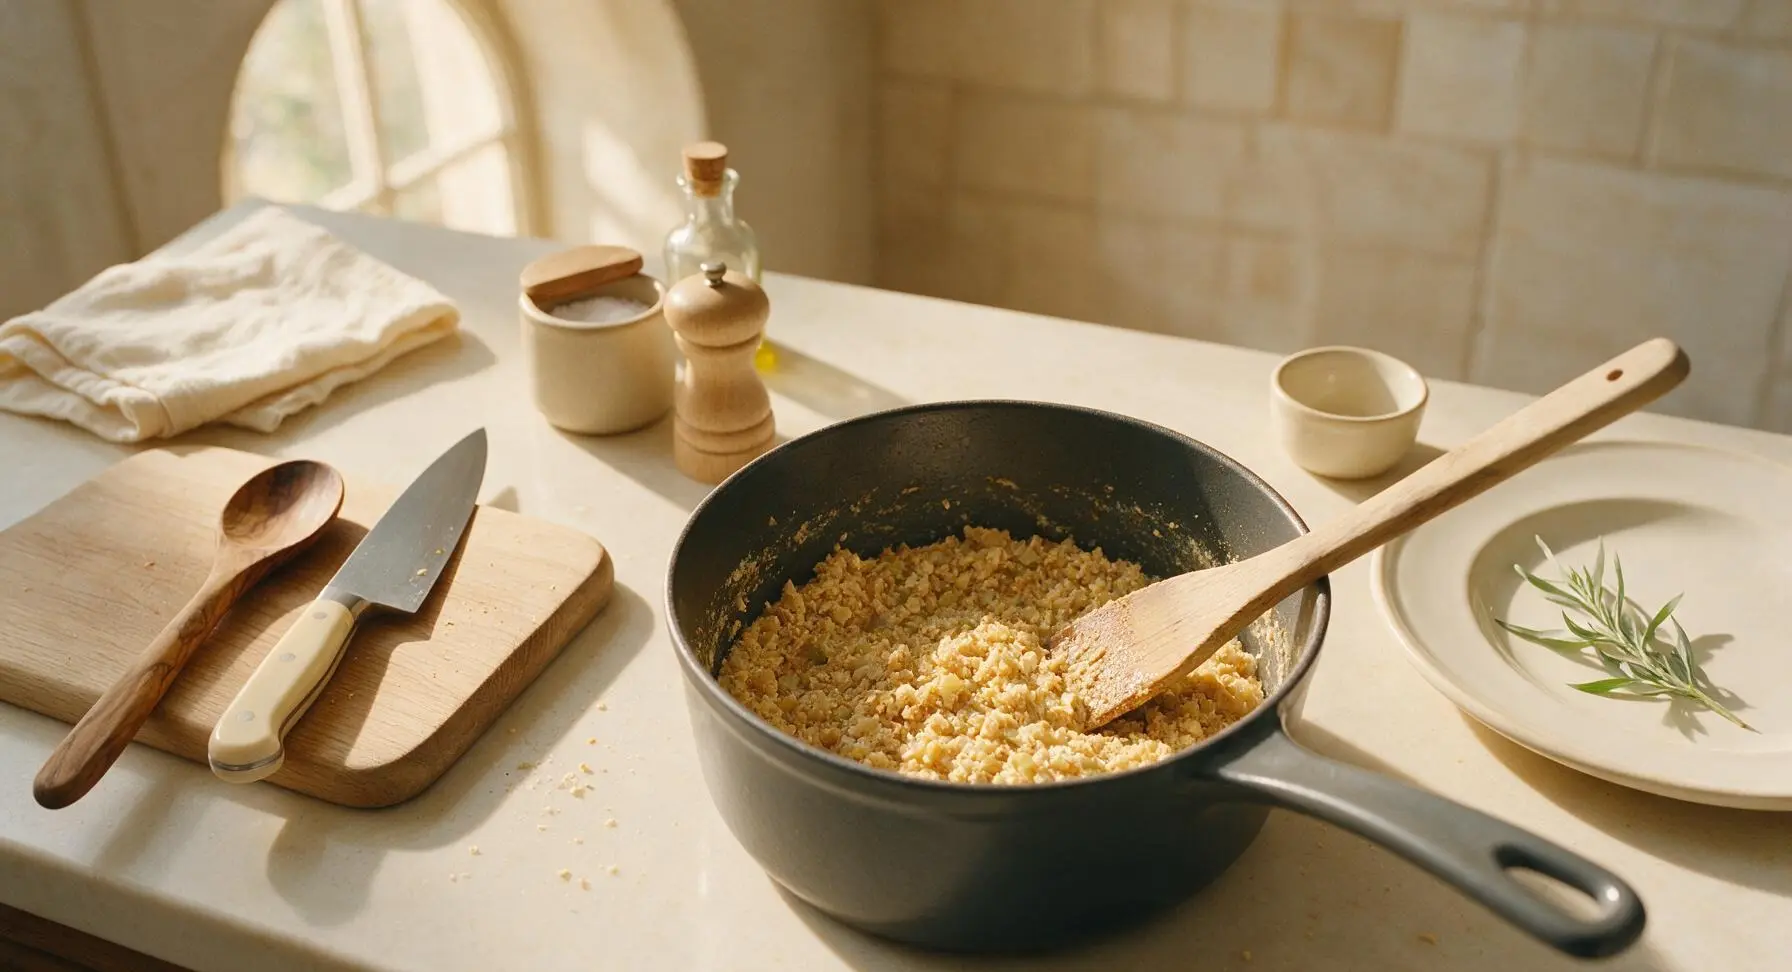
Sprinkle the 2 tbsp all-purpose flour evenly over the softened mirepoix in the saucepan. Stir constantly with the wooden spatula for 2-3 minutes, until the flour turns a light golden tan color and smells warm and nutty, coating all the vegetable pieces evenly. This toasting step eliminates raw flour’s starchy, pasty flavor and creates a stable thickener for the sauce.
Step 2
step2:Toast Flour for Roux
Step 2
step2:Toast Flour for Roux
3

Deglaze Pan with Red Wine

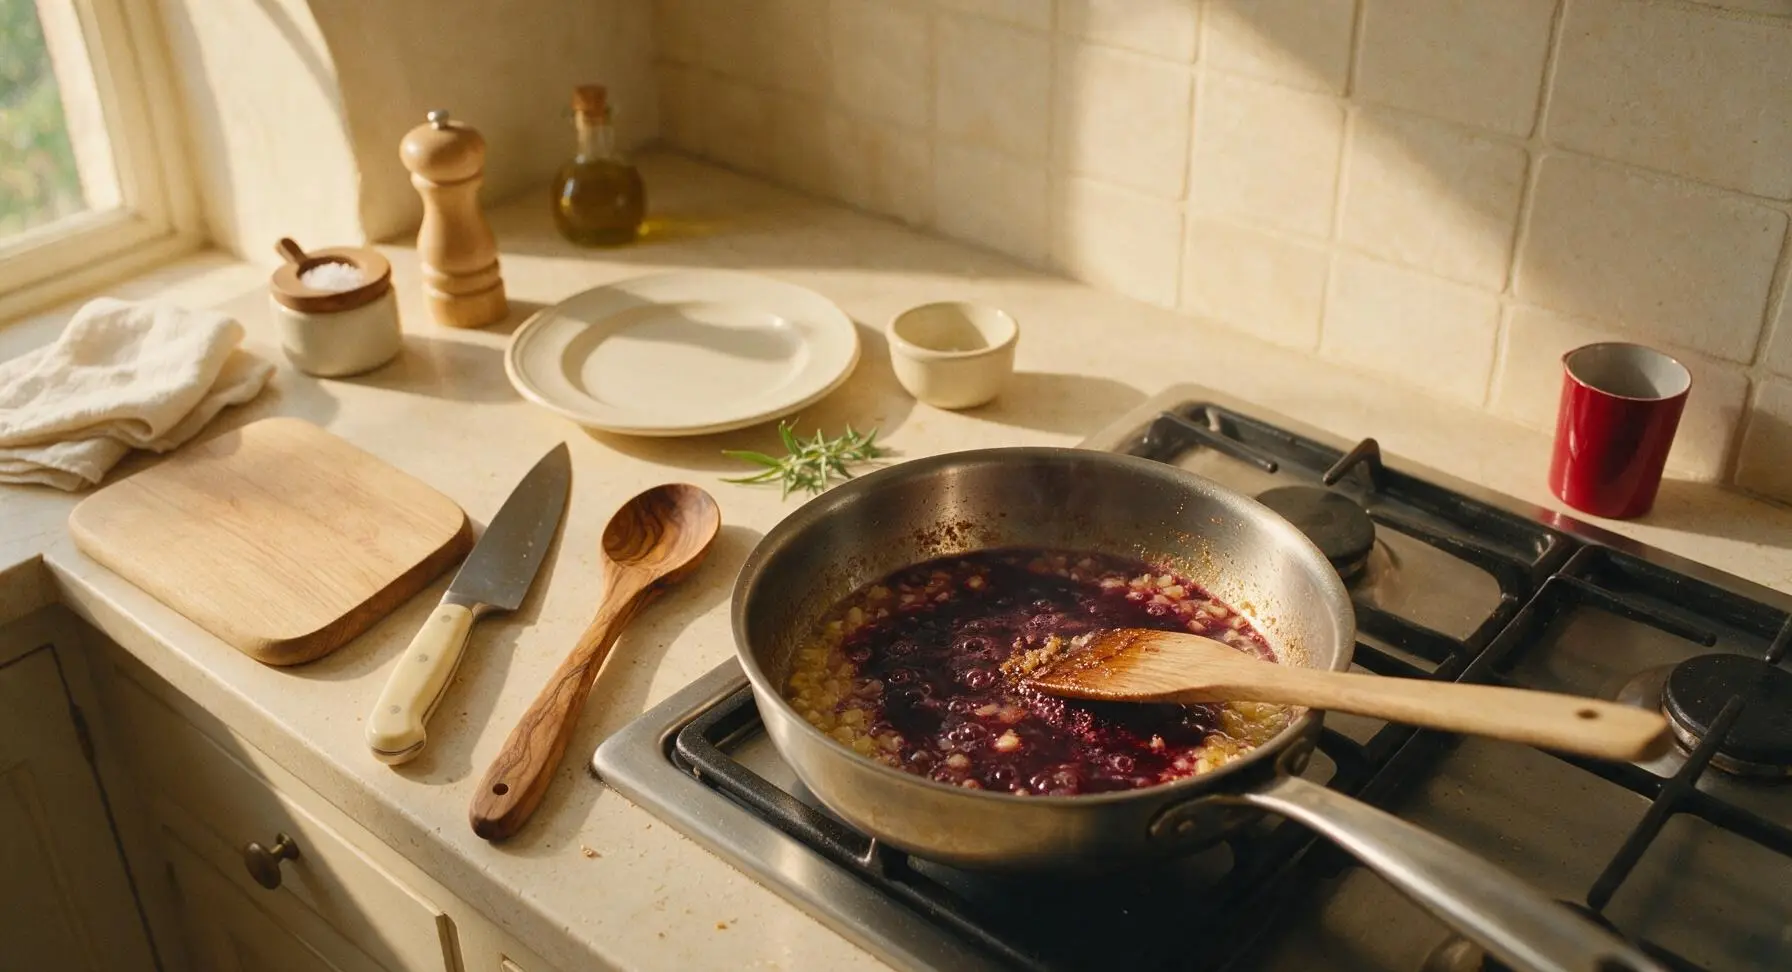
Slowly pour the 1/4 cup dry red wine into the saucepan, scraping the bottom of the pan firmly with the wooden spatula to lift all the browned flour and vegetable fond bits from the pan base. Simmer for 2 minutes, until the wine is reduced by half, and the mixture thickens into a thick, fragrant paste around the vegetables.
Step 3
step3:Deglaze Pan with Red Wine
4

Add Stock and Drippings

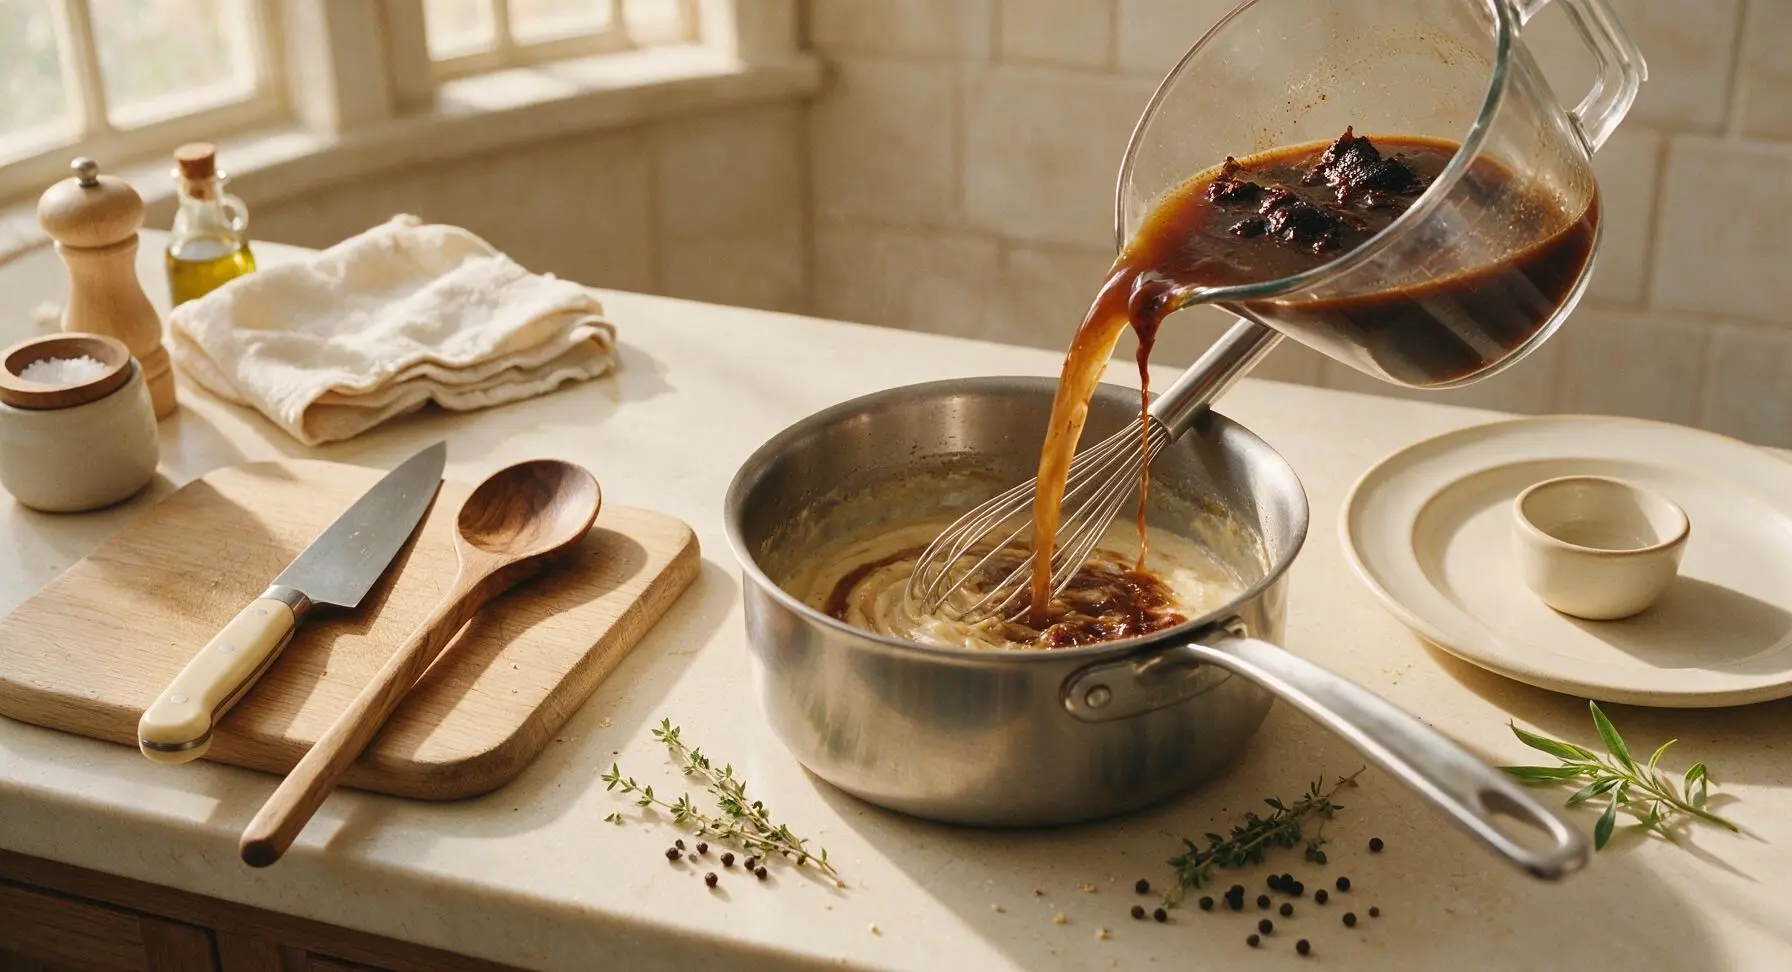
Gradually whisk in the 2 cups low-sodium beef stock, 1/4 cup reserved roast beef drippings, 1 tsp Worcestershire sauce, 2 fresh thyme sprigs, and 5 whole black peppercorns. Use the stainless steel whisk to stir constantly as you pour, to break up any lumps and create a smooth base. Bring the mixture to a gentle, low simmer, avoiding a hard rolling boil.
Step 4
step4:Add Stock and Drippings
5

Simmer to Build Flavor

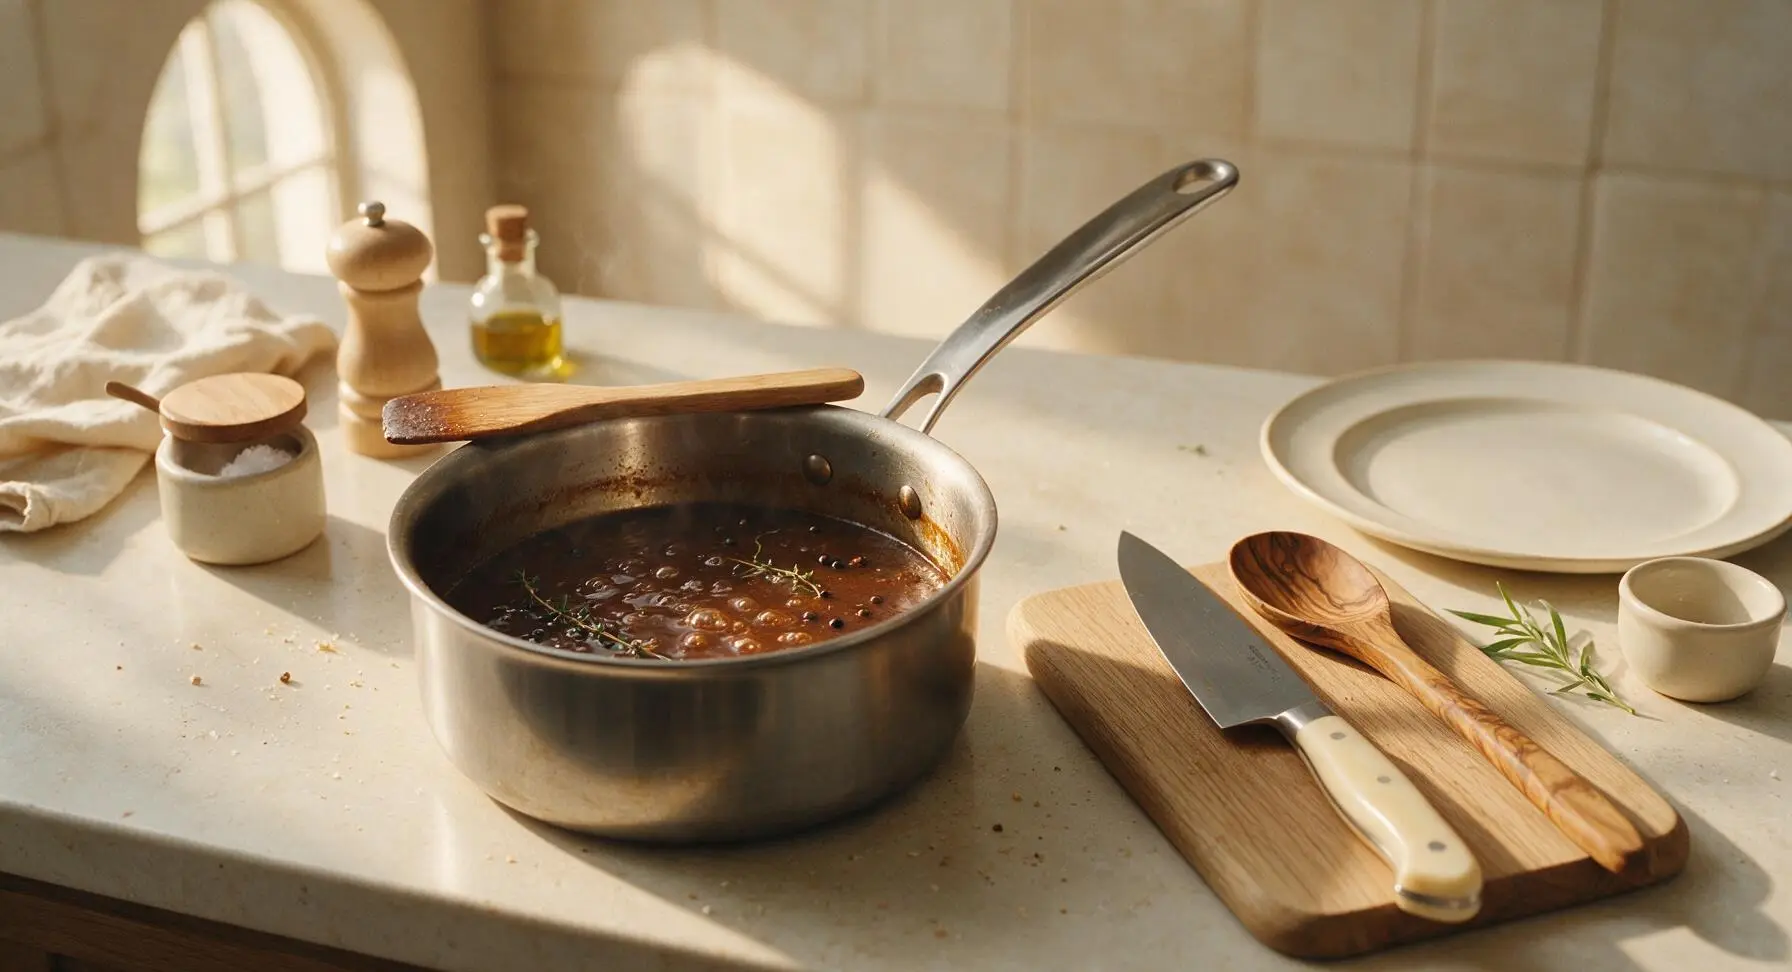
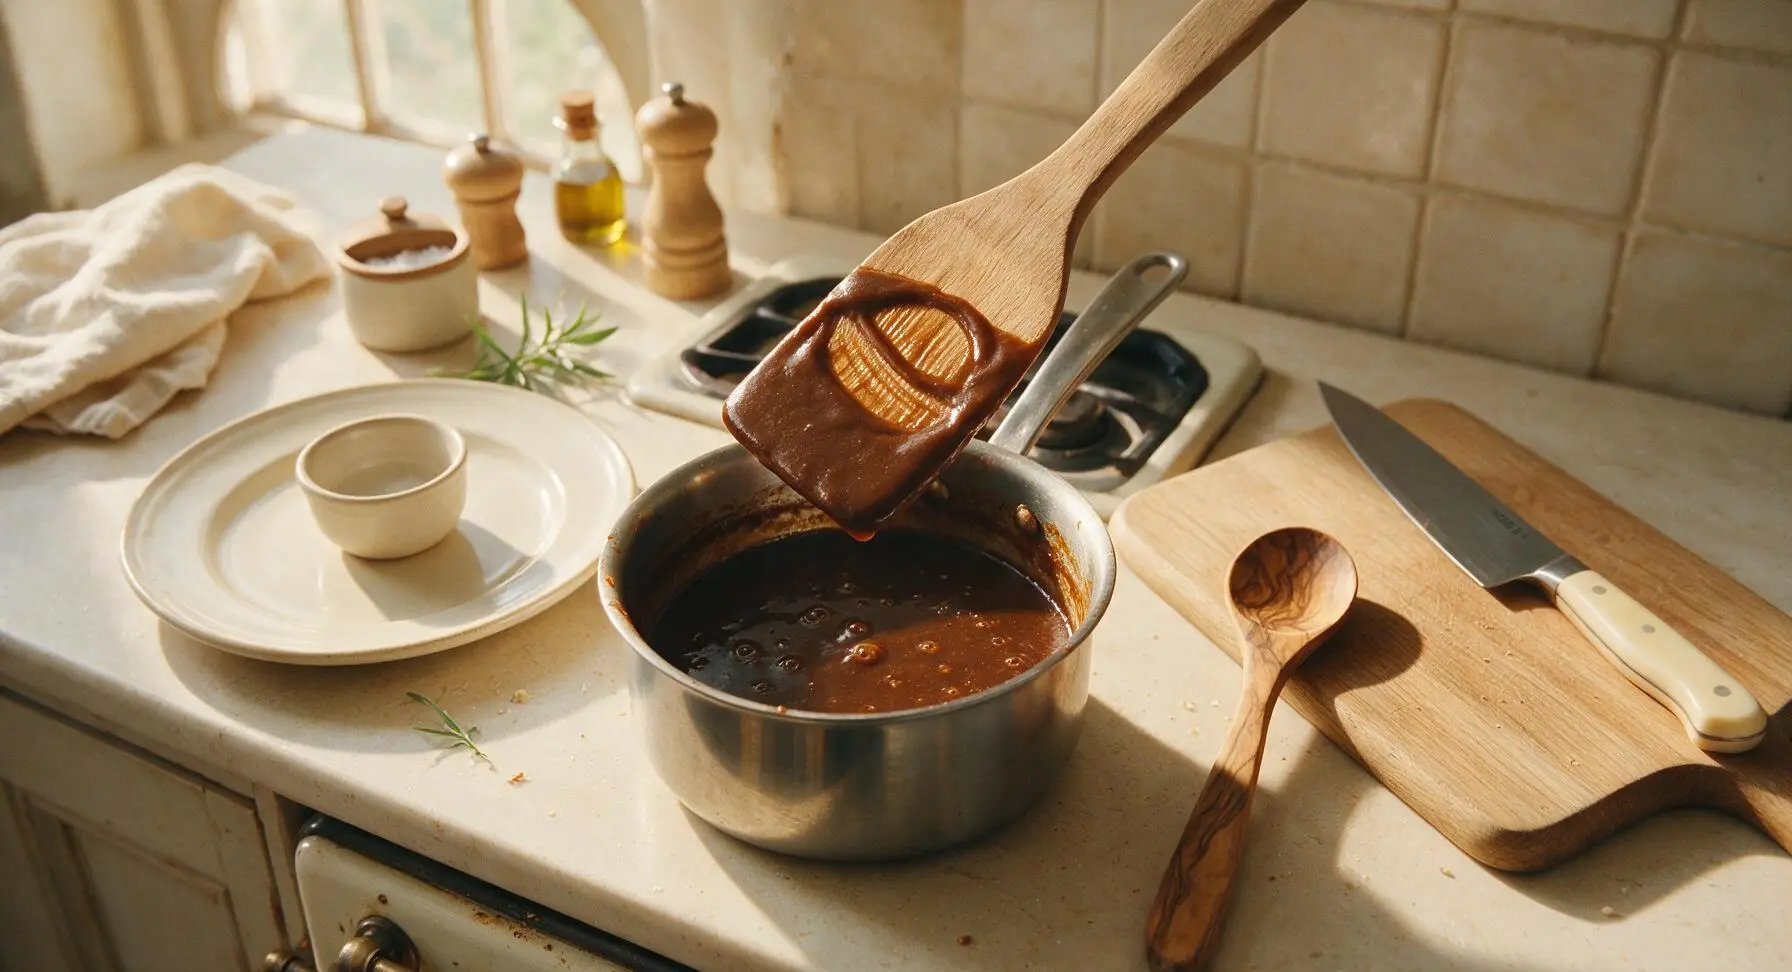
Reduce heat to medium-low (275°F/135°C) and let the sauce simmer gently for 8 minutes, stirring occasionally with the wooden spatula, until it reaches nappé consistency: thick enough to coat the back of a spoon, with a clear line remaining when you run your finger across the coated spoon surface without sauce running through the gap. Rapid boiling will cloud the sauce and dilute its flavor, so keep bubbles small and slow.
Step 5
step5:Simmer to Build Flavor
Step 5
step5:Simmer to Build Flavor
6

Strain for Silky Texture

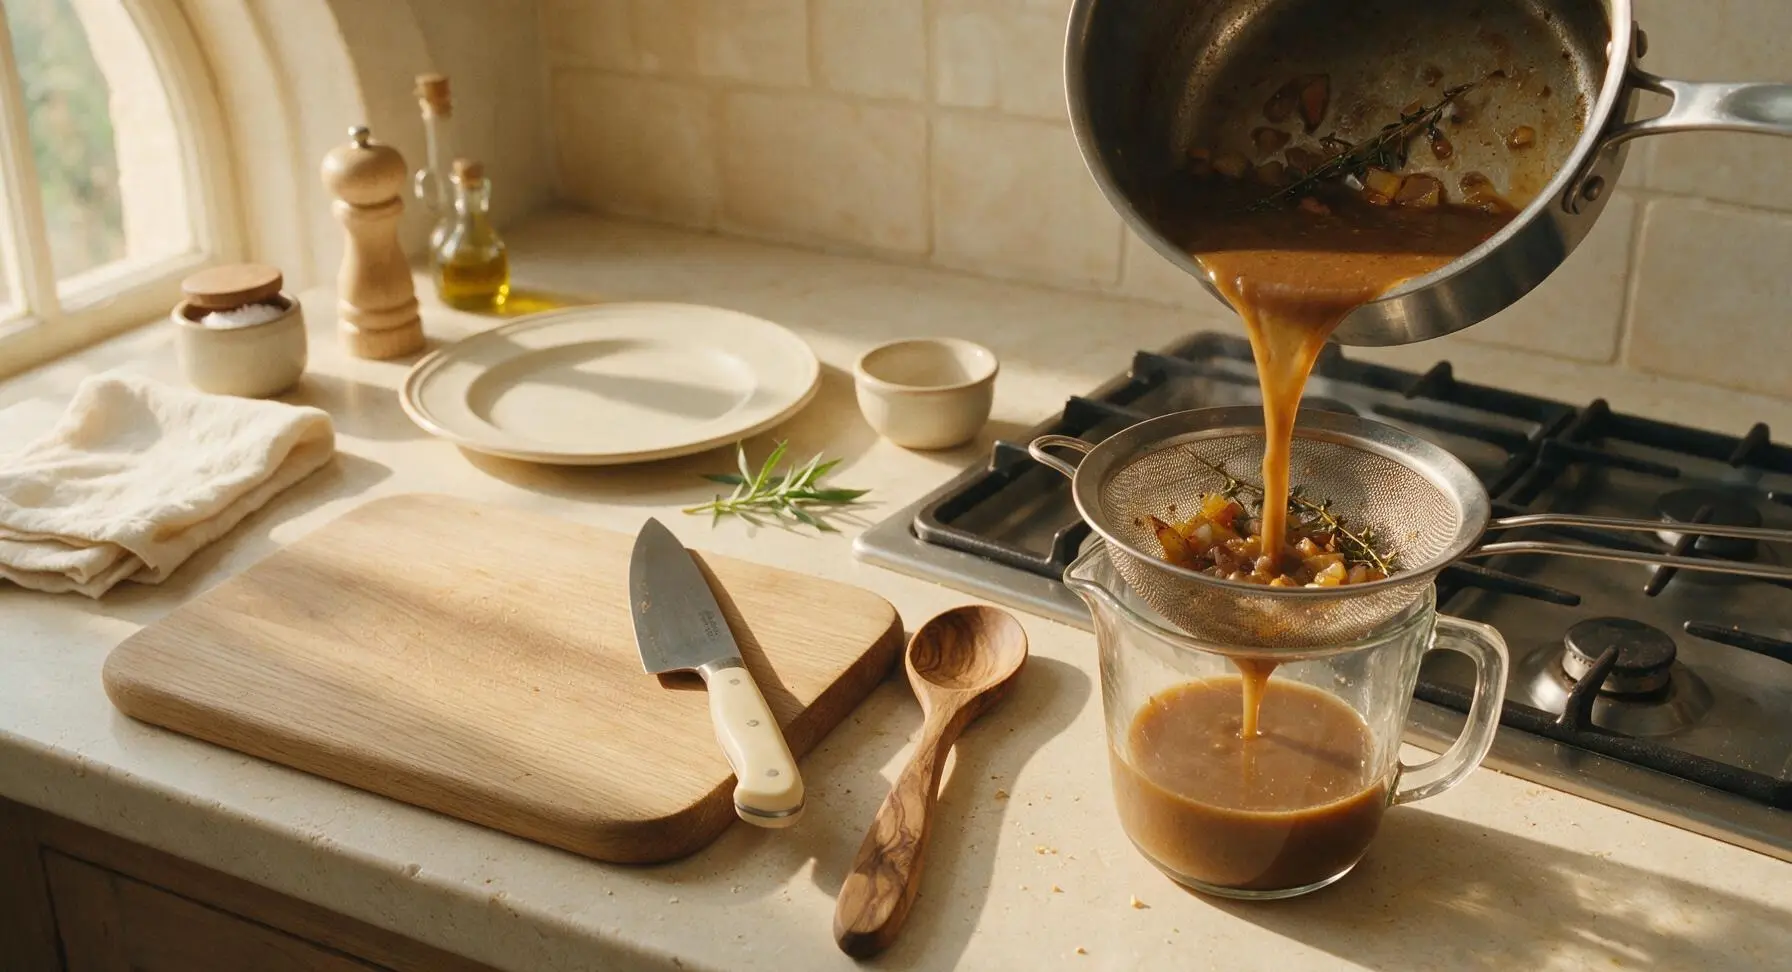
Set the fine-mesh stainless steel strainer over the clear glass measuring cup, positioned to the right of the cooktop. Pour the hot sauce through the strainer, using the wooden spatula to press gently on the vegetable solids to extract all flavorful liquid, then discard the strained mirepoix, thyme sprigs, and peppercorns. Avoid pressing too hard on the solids, as this will push bitter, cloudy vegetable pulp through the mesh and ruin the sauce’s smooth texture.
Step 6
step6:Strain for Silky Texture
7

Season to Taste Balance

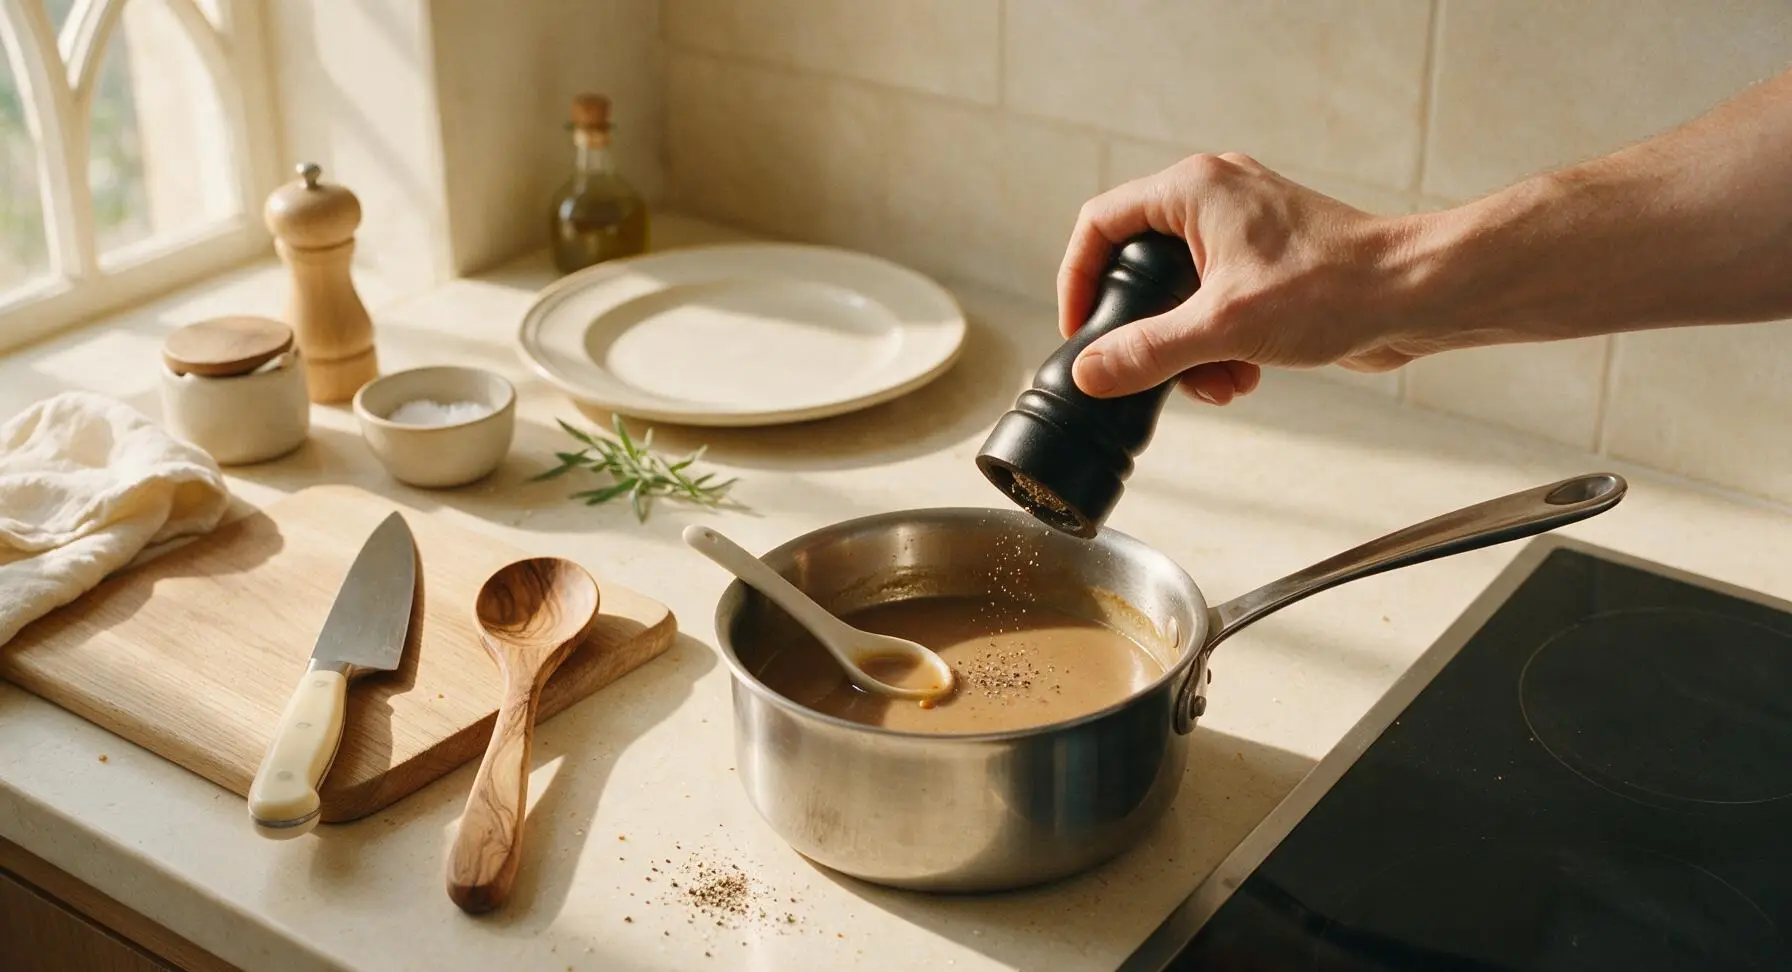
Pour the strained sauce back into the rinsed-out stainless steel saucepan, set off the heat. Taste the sauce with the small matte white ceramic tasting spoon, then season with kosher salt (from the terracotta salt cellar) and freshly ground black pepper to taste, stirring to incorporate. If the sauce is too thick, thin with 1 tbsp extra beef stock; if too thin, simmer for 1-2 more minutes until it reaches ideal coating consistency. The finished sauce should taste deeply savory, with subtle wine brightness and earthy thyme notes.
Step 7
step7:Season to Taste Balance
8

Plate and Serve Warm

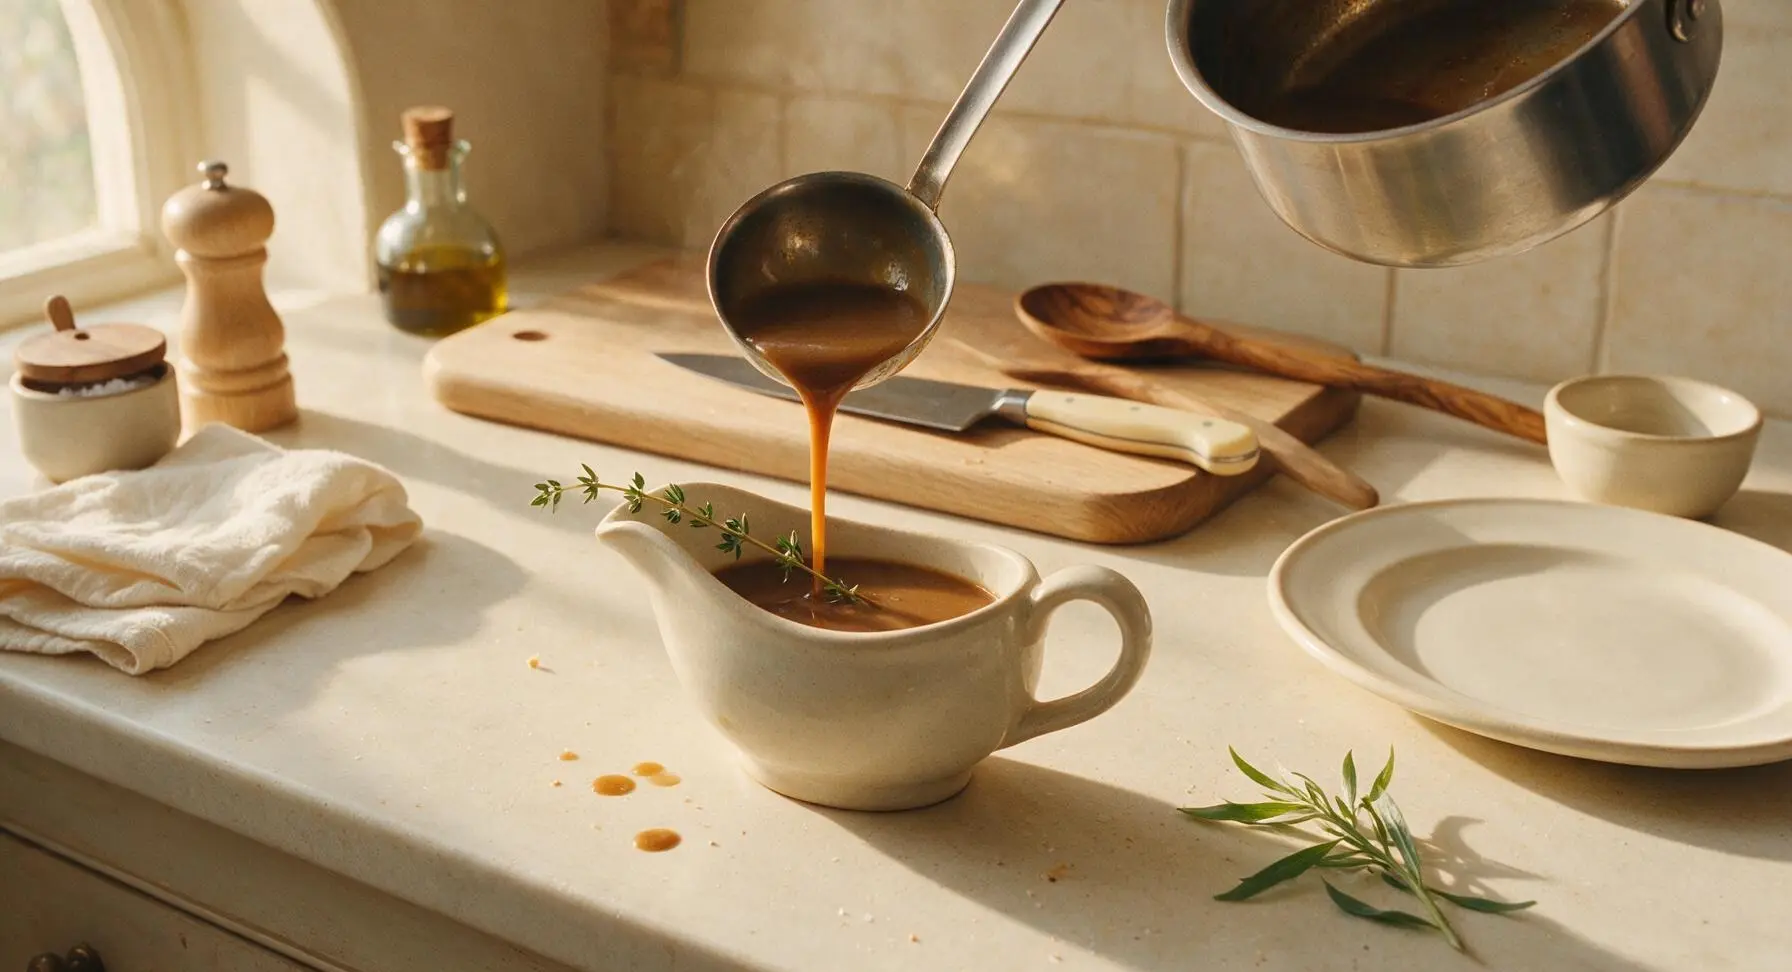
Use the small stainless steel ladle to pour the finished, seasoned sauce into the off-white stoneware gravy boat. Garnish with a single fresh thyme sprig across the spout, and serve immediately alongside thinly sliced roast beef, crispy roasted potatoes, and Yorkshire pudding for a classic Sunday roast meal. Leftover sauce can be stored in an airtight container in the refrigerator for up to 3 days, reheated gently over low heat before serving.
Step 8
step8:Plate and Serve Warm

Tips

1.Reserve every bit of browned fond from your roast beef pan: these caramelized meat and vegetable bits left in the roasting pan after cooking are the source of the sauce’s signature deep, meaty umami. Pour 2 tbsp of stock into the hot roasting pan after removing the beef, scraping firmly to lift all bits, then add this liquid to your saucepan with the other drippings for maximum flavor.
2.Don’t skip the roux toasting step: adding flour directly to hot liquid without toasting will leave your sauce with a flat, raw starchy taste. Toasting the flour to a light golden tan for 2-3 minutes adds a subtle nutty depth and creates a more stable thickener that won’t turn lumpy or thin out as it simmers.
3.Keep the simmer low and slow: a rolling boil will agitate the flour starches and make the sauce cloudy, while also cooking off too much of the delicate aromatic flavor from the wine and thyme. Small, slow bubbles are ideal for developing a clear, glossy, deeply flavored sauce.


✨ You May Also Like

Side Dishes
🍜 India

Velvety, aromatic all-purpose curry sauce perfect for tossing with roasted veggies, grilled protein, or rice for fast, cozy, flavorful meals.

⏱️ 25 minuteSide Dishes ★ 4.8
Side Dishes
🍜 Spain

Tender, starchy boiled yuca tossed in bright, garlicky citrus mojo sauce—an iconic, zesty side that pairs beautifully with roasted pork, grilled meats, and rice and beans.

⏱️ 40 minuteSide Dishes ★ 5
Side Dishes
🍜 United States

Tender, paper-thin potato flatbread, a beloved Norwegian-American Minnesota Christmas staple, griddled until softly spotted and served warm with butter.

⏱️ 1 hour 30Side Dishes ★ 4.6
Side Dishes
🍜 United States

Rich, deeply savory cured salt pork, a long-lasting kitchen staple perfect for frying crispy as a side or adding umami to stews, beans, and chowders.

⏱️ 7 days (2Side Dishes ★ 4.9
Side Dishes
🍜 United States

Crispy, tangy classic Southern fried green tomatoes with a crunchy cornmeal crust, served hot for a nostalgic, comforting summery bite.

⏱️ 25 minuteSide Dishes ★ 4.9
Side Dishes
🍜 United States

Moist, golden-crusted savory muffins with sweet corn, zesty jalapeño, and melted cheddar, perfect for pairing with smoky summer grilled fare.

⏱️ 30 minuteSide Dishes ★ 4.9

roast beef sauce:Frequently Asked Questions

1.What is fond, and why is it non-negotiable for a great pan sauce? ▾
Fond is the deeply browned, caramelized bits of meat and juice stuck to the bottom of your roasting pan after cooking beef, and it’s the core of this sauce’s rich umami depth. Don’t scrub it away! Deglazing the pan with wine lifts all those flavorful bits to build a sauce that tastes far more complex than plain broth-based gravies.
2.Can I make this sauce if I don’t have red wine available? ▾
Absolutely! Swap red wine for an equal amount of low-sodium beef broth mixed with 1 teaspoon of balsamic vinegar to replicate wine’s bright, tangy depth. Skip heavily salted cooking sherry or sweet dessert wines, as those will make the sauce overly briny or cloyingly sweet and throw off its classic savoriness.
3.How do I keep my pan sauce from turning out greasy? ▾
After pulling your finished roast from the pan, tilt it slightly and spoon off excess rendered beef fat, leaving just 1 to 2 tablespoons of fat alongside all the browned fond. Too much leftover fat will make the sauce heavy and oily instead of silky, but that small retained amount adds just enough richness to carry the mirepoix flavors.
4.Do I really need to dice the mirepoix vegetables that finely? ▾
Yes, dicing onion, carrot, and celery to uniform ¼-inch pieces lets them soften and caramelize quickly in the hot pan, usually in 3 to 4 minutes, so you won’t have crunchy, undercooked veggie chunks in your sauce. If you want a perfectly smooth final texture, you can strain the finished sauce through a fine-mesh sieve before serving.
5.Why does my pan sauce turn out thin and watery instead of rich? ▾
Thin, watery sauce almost always comes from skipping the reduction step or rushing the final finish. Let the sauce simmer for 5 to 7 minutes after deglazing to concentrate flavors and thicken slightly, then whisk in cold unsalted butter off heat for that glossy, luxe, silky texture without needing flour or cornstarch.
6.Can I make this pan sauce ahead of time for a dinner party? ▾
You can prep the sauce base (drippings, cooked mirepoix, reduced wine) up to 3 days ahead and store it in an airtight container in the fridge. Wait to add the final butter until right before serving: reheat the base gently over low heat, then whisk in cold butter a small pat at a time to restore that perfect glossy consistency.
7.What if my roasting pan isn’t safe to use on the stovetop? ▾
No problem! After removing the roast, pour a small splash of wine into the warm roasting pan, use a wooden spoon to scrape up every last bit of fond, then pour all the drippings and scraped fond into a heavy-bottomed skillet. Build the rest of the sauce in the skillet exactly as the recipe directs, no flavor lost.

Comments (4)

2 days ago

OMG this pan sauce was a total game changer for our Sunday family roast beef dinner! I used to just dump store-bought gravy on everything and never thought making it from the pan drippings could be this easy. 20 minutes total? No joke, it came together so fast, my husband even asked if I took a secret cooking class. My kids loved it too, they poured extra over their mashed potatoes. SO good, will be making this every single time we do roast beef from now on!

1 day ago

Same here! I was intimidated to make pan sauce for ages because I thought it’d be fancy and complicated, but this was totally foolproof. I added a tiny splash of bourbon like my grandpa used to and it slapped, 10/10.

1 day ago

So happy to hear this was a hit for your family dinner, Molly! Love that it won over the kids too—those extra drips over mashed potatoes are the best part. It’s all about using those flavorful pan drippings instead of letting them go to waste, which is why it comes together so quick. If you ever want to mix it up, a pinch of fresh thyme or a dollop of Dijon works beautifully too!

3 days ago

Made this for a potluck last week when I did a roast beef slider spread and people were literally scraping the sauce bowl clean. Only thing I messed up at first was I forgot to deglaze with red wine and used beef broth instead, but it still turned out amazing. Super easy even for someone who burns toast half the time, no cap.

2 days ago

Thanks so much for sharing, Sarah! So glad it worked out even with the broth swap—red wine is lovely but broth is a perfect substitute if you don’t have wine on hand, no fancy ingredients required. Love that it was a potluck hit, those roast beef sliders sound absolutely incredible!

1 week ago

Meal prep game just leveled up fr. I make a big roast beef on Sundays for the week’s lunches, and I used to throw out all the pan drippings like a chump. This sauce takes 20 minutes max, stores great in a little mason jar in the fridge, and makes even my sad midweek work lunch slices taste like a fancy restaurant meal. No notes, perfect easy recipe.

5 days ago

Wait, can I make this ahead of time and reheat it? I tested this recipe last week for a trial run of my Christmas dinner and it was perfect, but I’m trying to get as much done ahead as possible so I’m not running around the kitchen like a maniac when guests show up. Roast beef is the main event, so I don’t wanna mess the sauce up on the big day!

3 days ago

I made this two days before Thanksgiving last month and stored it in an airtight container in the fridge, then reheated it super low on the stovetop while the roast rested, and it was perfect! Just give it a good stir when you reheat, it might separate a tiny bit but it comes right back together, no weird texture at all.



