
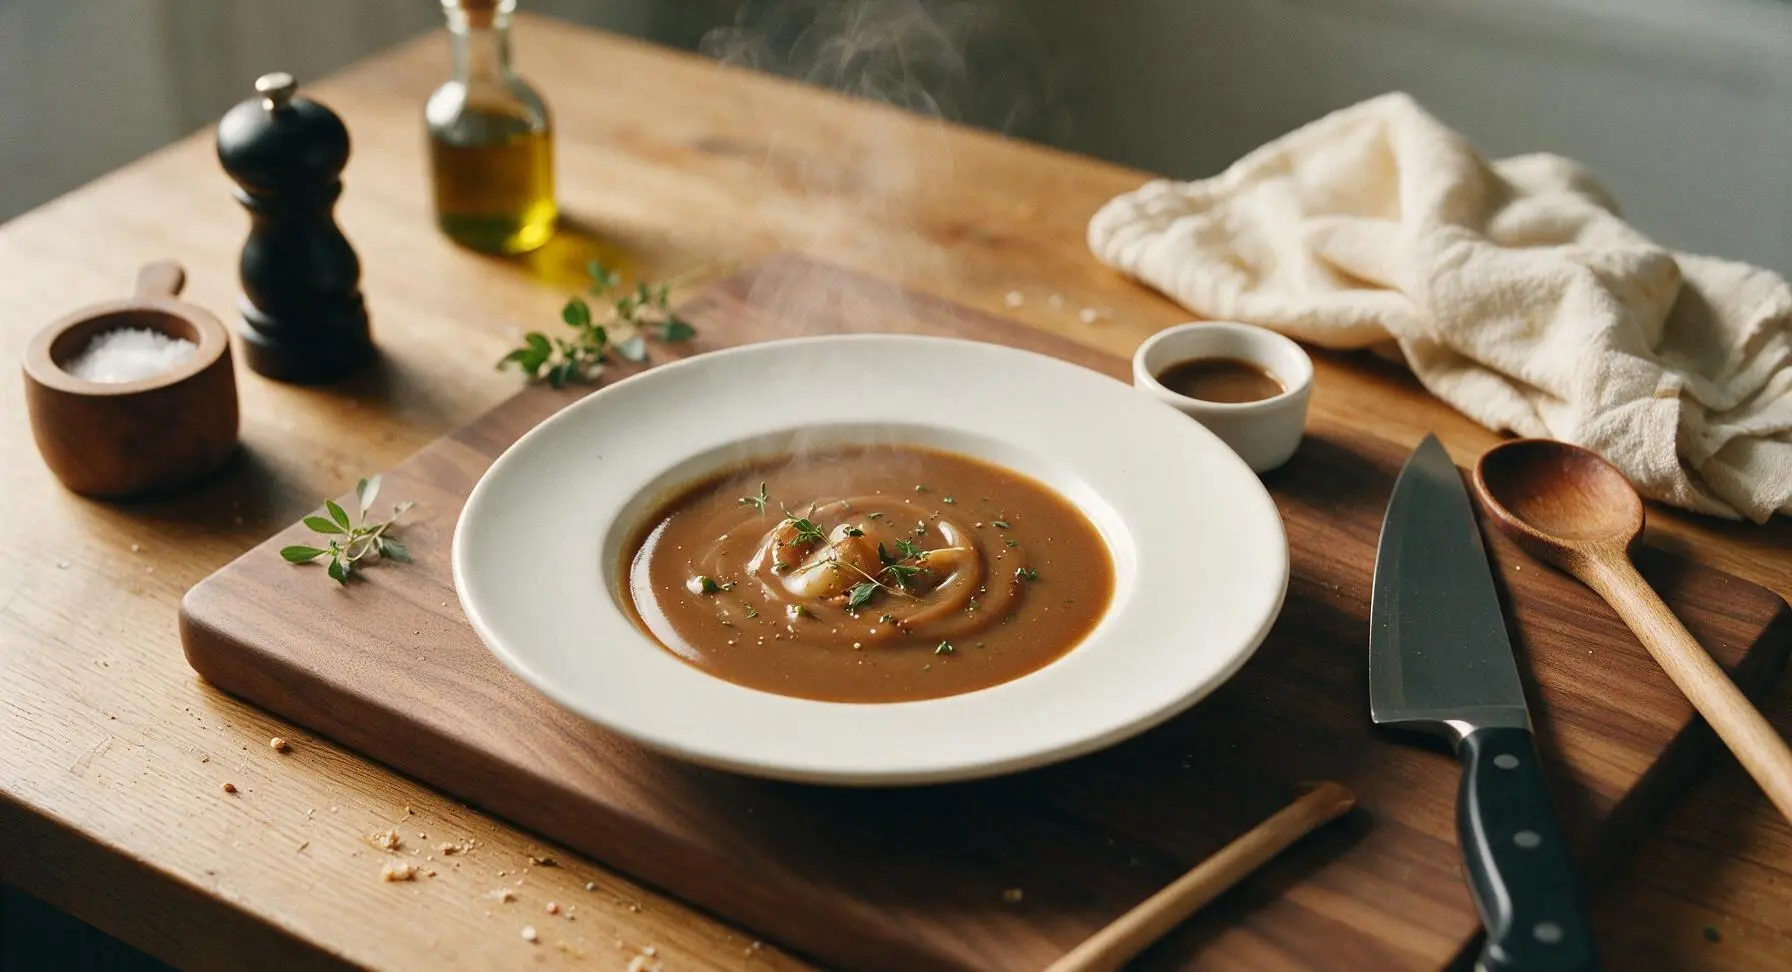
roast gravy

title 1
roast gravy
⏱️ cook time 20 minutes
🍽️ servings 6
⚡ Difficulty easy

intro

Rich, deeply savory roast gravy made from caramelized pan drippings, with silky smooth texture perfect for coating turkey, mashed potatoes, and roasted vegetables at holiday meals.

Ingredients
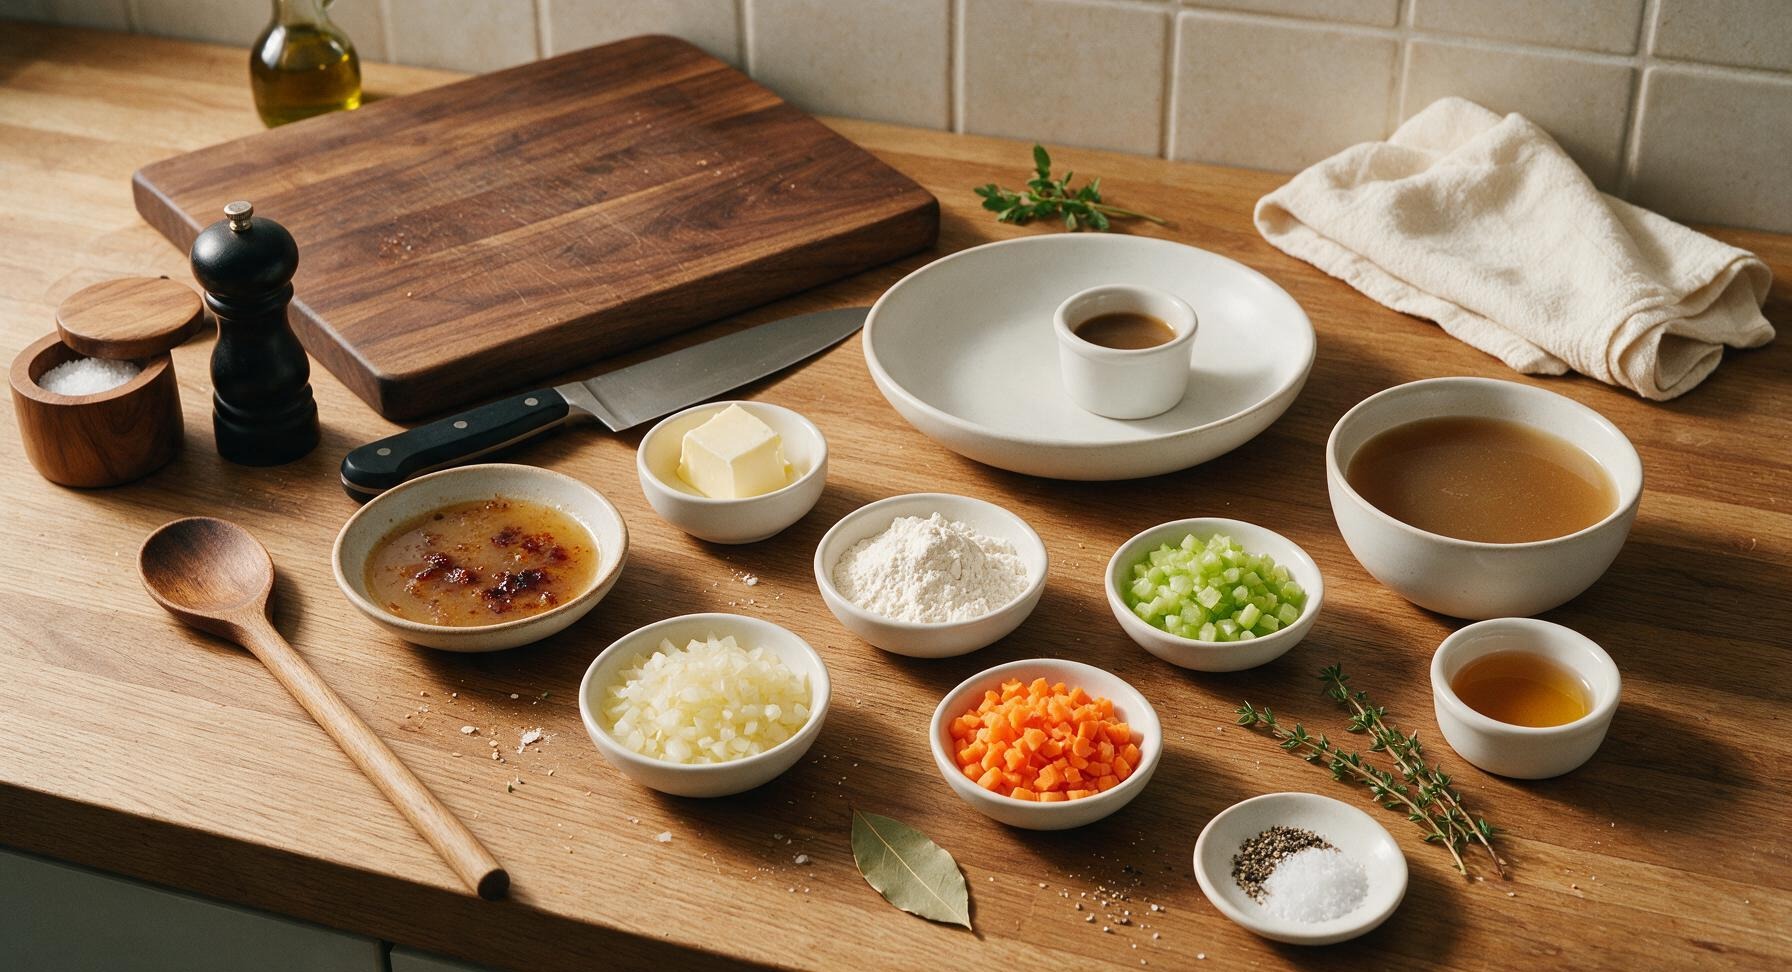
Roast pan drippings (with caramelized fond bits) ½ cup (from 2–2.5kg roasted poultry or beef)
Unsalted butter 2 tbsp (if needed to supplement fat)
All-purpose flour 3 tbsp
Yellow onion (finely diced) ¼ cup
Carrot (finely diced) 2 tbsp
Celery (finely diced) 2 tbsp
Low-sodium turkey or chicken broth (warmed) 2 cups
Dry sherry ¼ cup
Fresh thyme sprigs 2
Bay leaf 1 small
Coarsely cracked black pepper ½ tsp
Kosher salt ½ tsp (adjust to taste)

Steps

1

Reserve Pan Drippings

Once your roasted meat (turkey, chicken, or beef) is removed from the roasting pan to rest, set the brushed stainless steel roasting pan across two front stovetop burners on medium-low heat. Carefully tilt the pan to pour off excess clear rendered fat, leaving exactly 2 tablespoons of fat plus all the dark brown, crusted fond bits stuck to the pan bottom—these caramelized meat and vegetable bits are the core of deep, complex gravy flavor. If you have less than 2 tablespoons of reserved fat, add the measured unsalted butter to make up the difference.
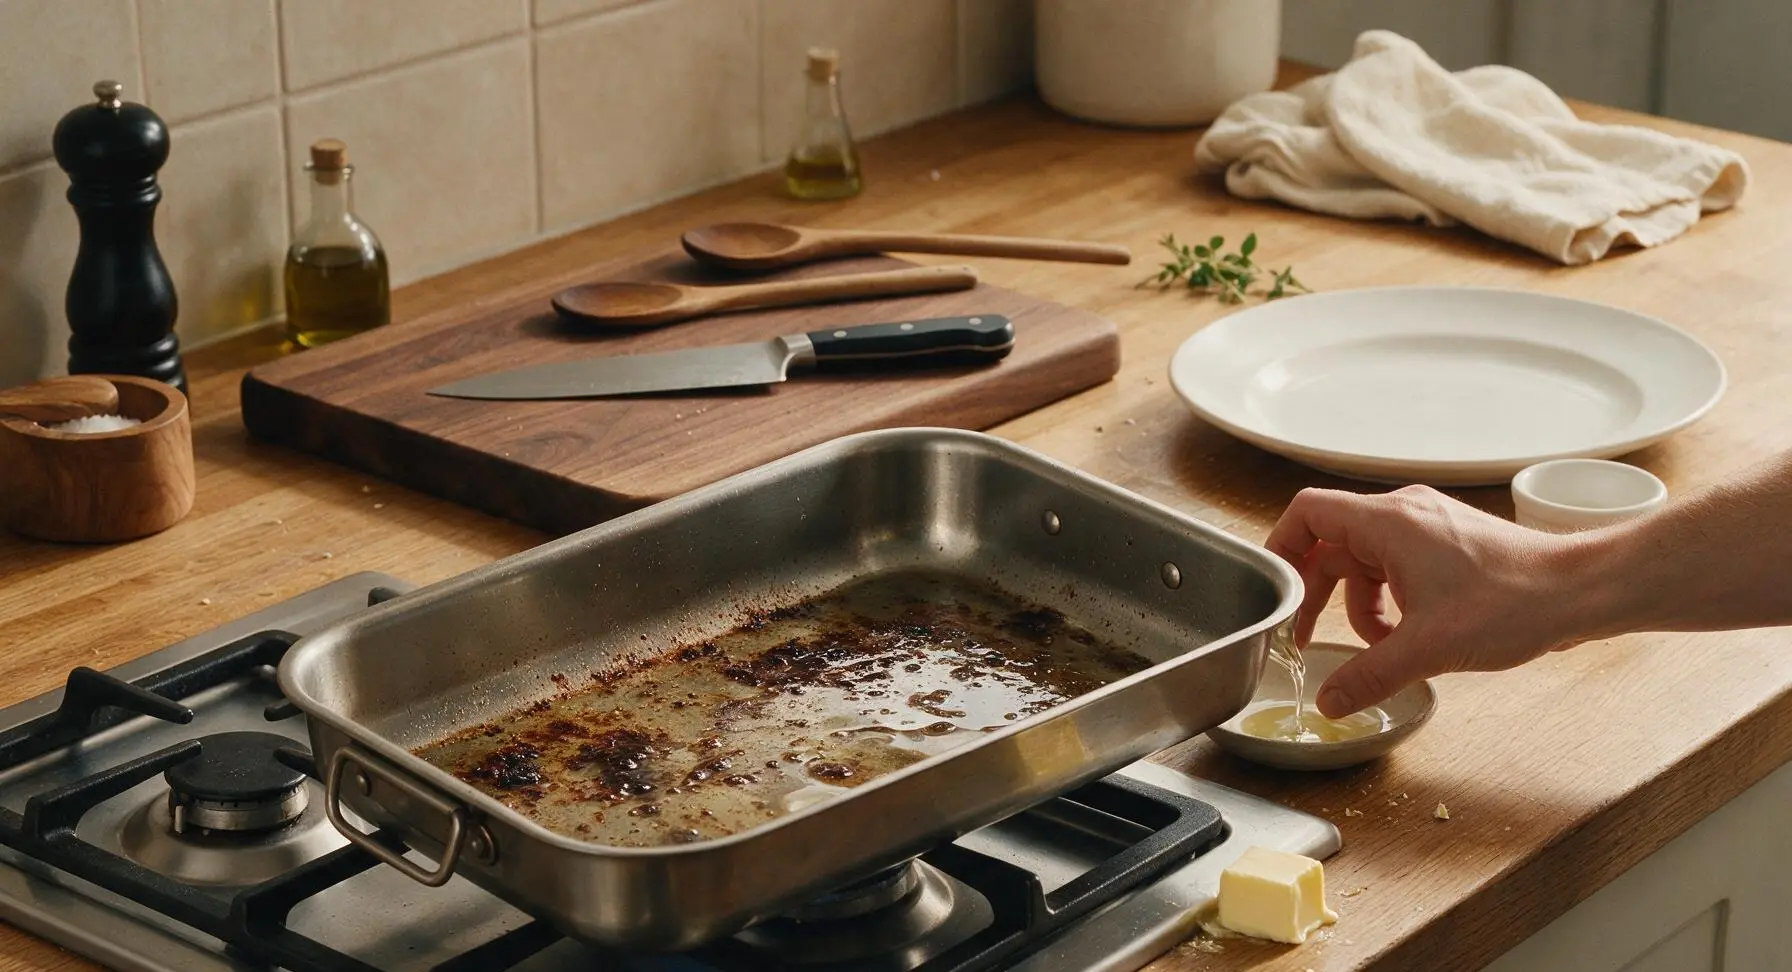
Step 1
step1:Reserve Pan Drippings
2

Sauté Mirepoix Base

Add the finely diced yellow onion, carrot, and celery to the pan with the reserved fat. Cook for 4-5 minutes, stirring occasionally with the charcoal silicone spatula, until the onion turns soft and translucent, and the edges of the vegetables just start to turn pale golden. Gently scrape the pan bottom as you stir to lift the first layer of fond into the fat, building flavor from the start.
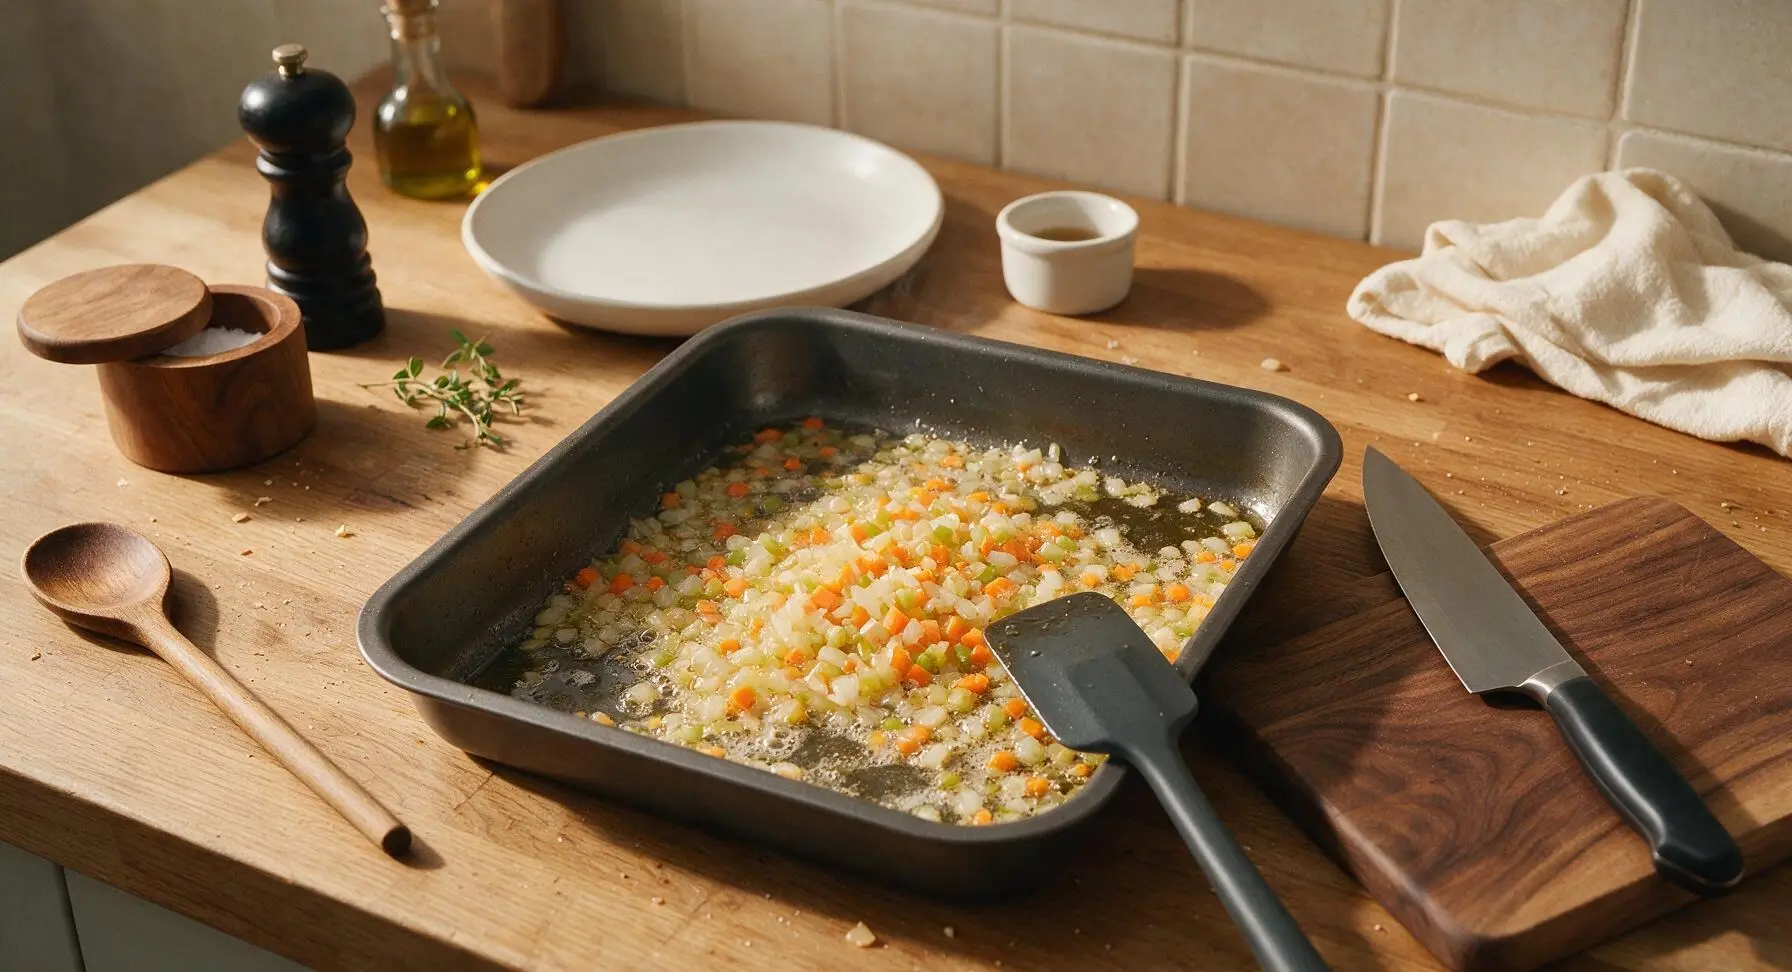
Step 2
step2:Sauté Mirepoix Base
3

Toast Flour for Roux

Sprinkle the 3 tablespoons of all-purpose flour evenly over the sautéed vegetables. Stir constantly with the stainless steel flat whisk for 3-4 minutes, until the flour turns a light golden tan color and smells warm and nutty, fully combining with the fat to form a smooth, thick roux that coats all the vegetable pieces. Do not let the flour turn dark brown or burn, as this will create a harsh, bitter off-flavor in the finished gravy.
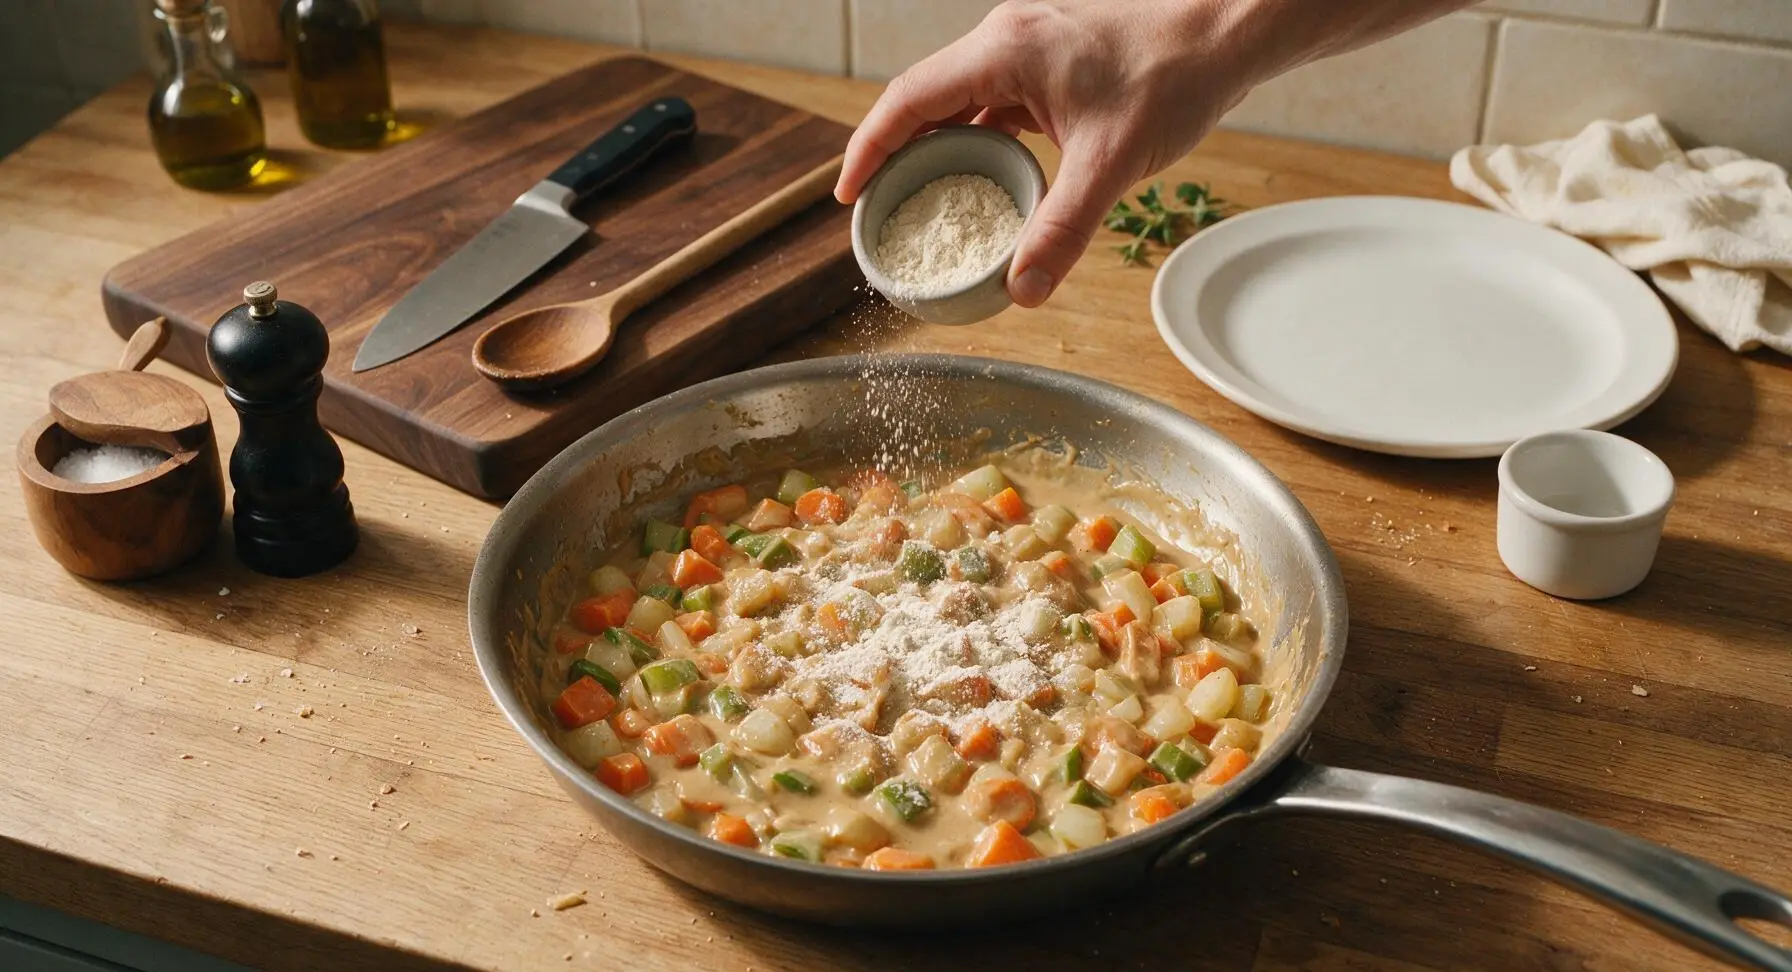
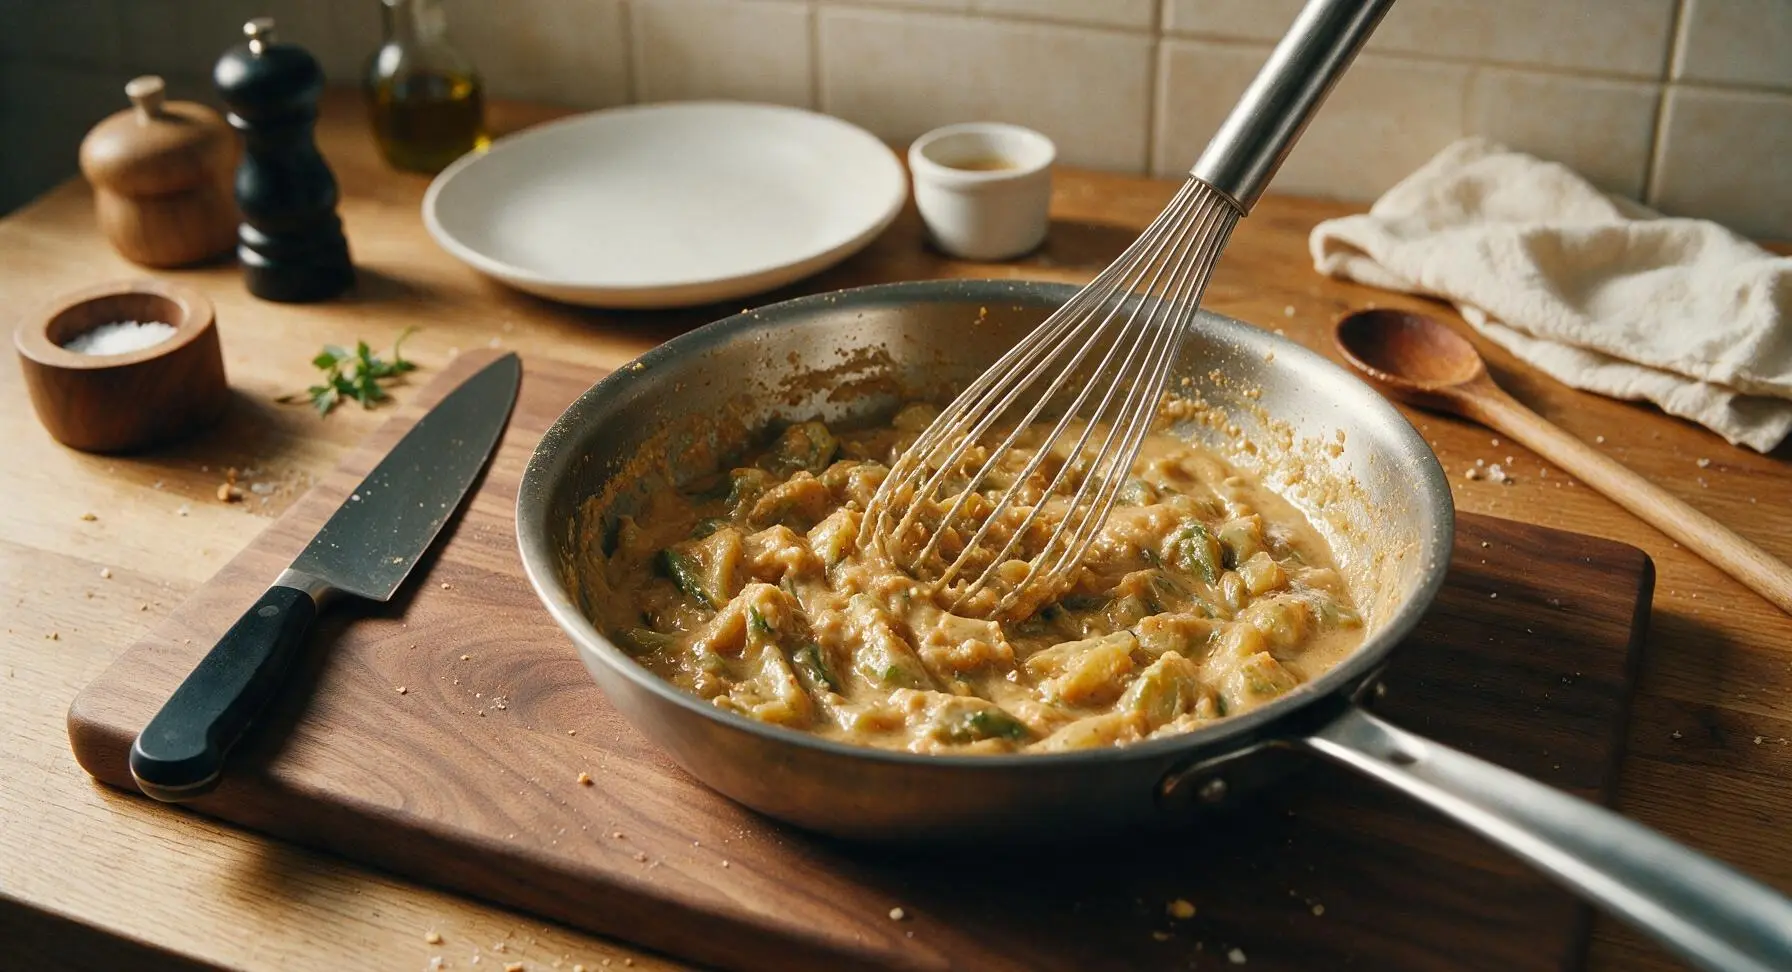
Step 3
step3:Toast Flour for Roux
Step 3
step3:Toast Flour for Roux
4

Deglaze Pan with Sherry

Slowly pour the ¼ cup dry sherry into the pan, stirring constantly with the flat whisk. As the liquid bubbles rapidly, scrape every bit of remaining fond from the pan bottom, dissolving all the caramelized bits into the liquid. Simmer for 1 minute until the sherry is reduced by about half, and the sharp, acrid alcohol smell fades to a rich, nutty aroma.
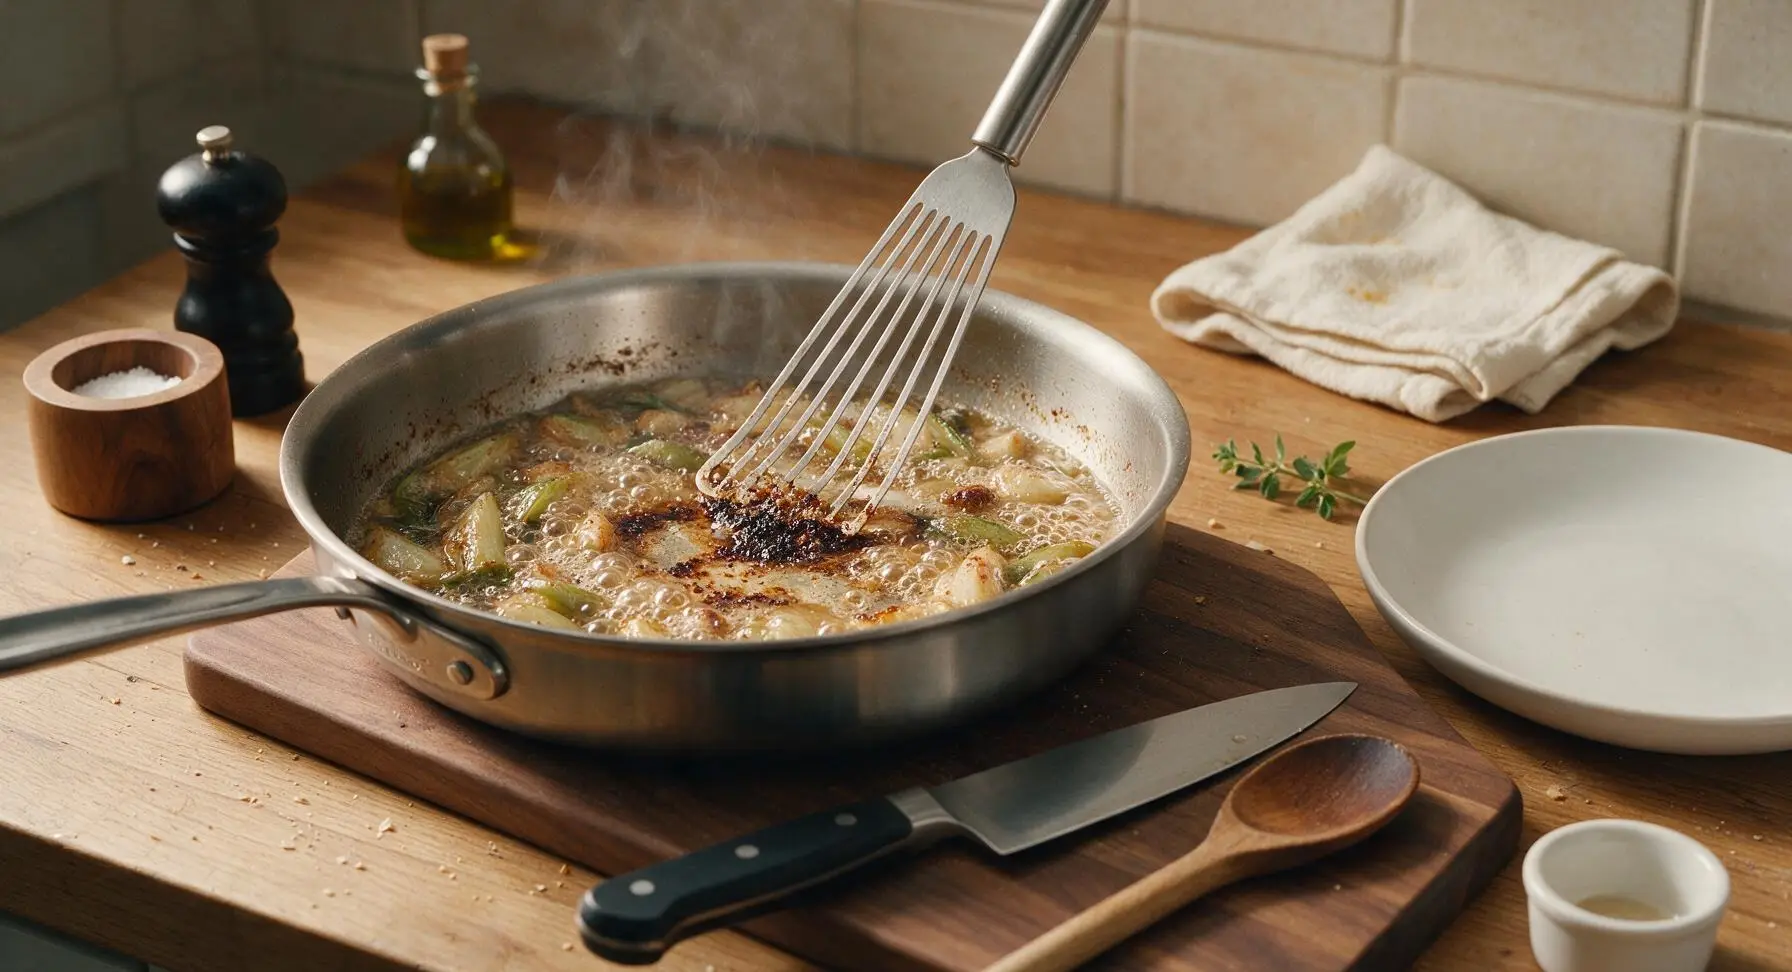
Step 4
step4:Deglaze Pan with Sherry
5

Simmer Gravy with Broth

Gradually pour in the 2 cups of warm turkey or chicken broth, whisking constantly to avoid lumps, until the roux is fully incorporated into the liquid. Add the fresh thyme sprigs and small bay leaf, then bring the gravy to a gentle, low simmer. Cook for 8-10 minutes, stirring occasionally, until the gravy thickens enough to coat the back of a spoon, leaving a clear, unbroken line when you run your finger across the coated spoon surface.
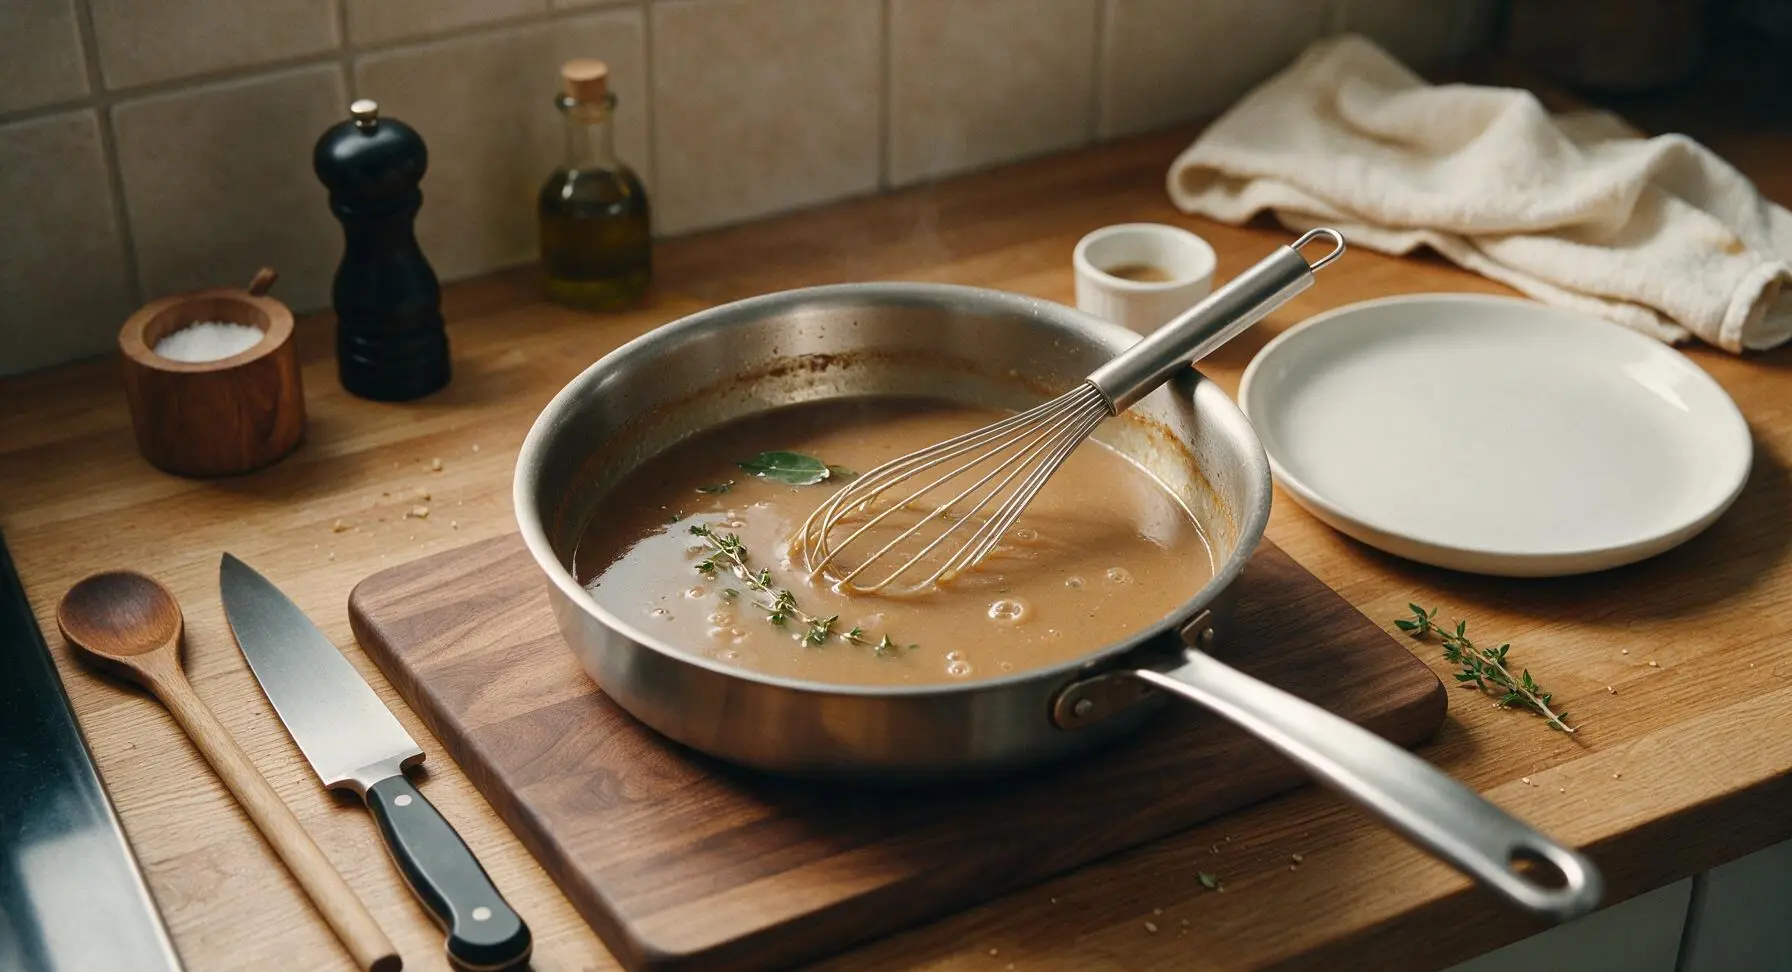
Step 5
step5:Simmer Gravy with Broth
6

Strain Out Solids

Set the fine-mesh conical stainless steel strainer over the clear glass heatproof mixing bowl. Pour the hot gravy through the strainer, using the charcoal silicone spatula to press gently on the cooked vegetable and herb solids to extract all the flavorful liquid, then discard the leftover fibrous solids. This step creates a perfectly smooth, silky gravy without lumps, stringy herb stems, or overcooked vegetable bits.
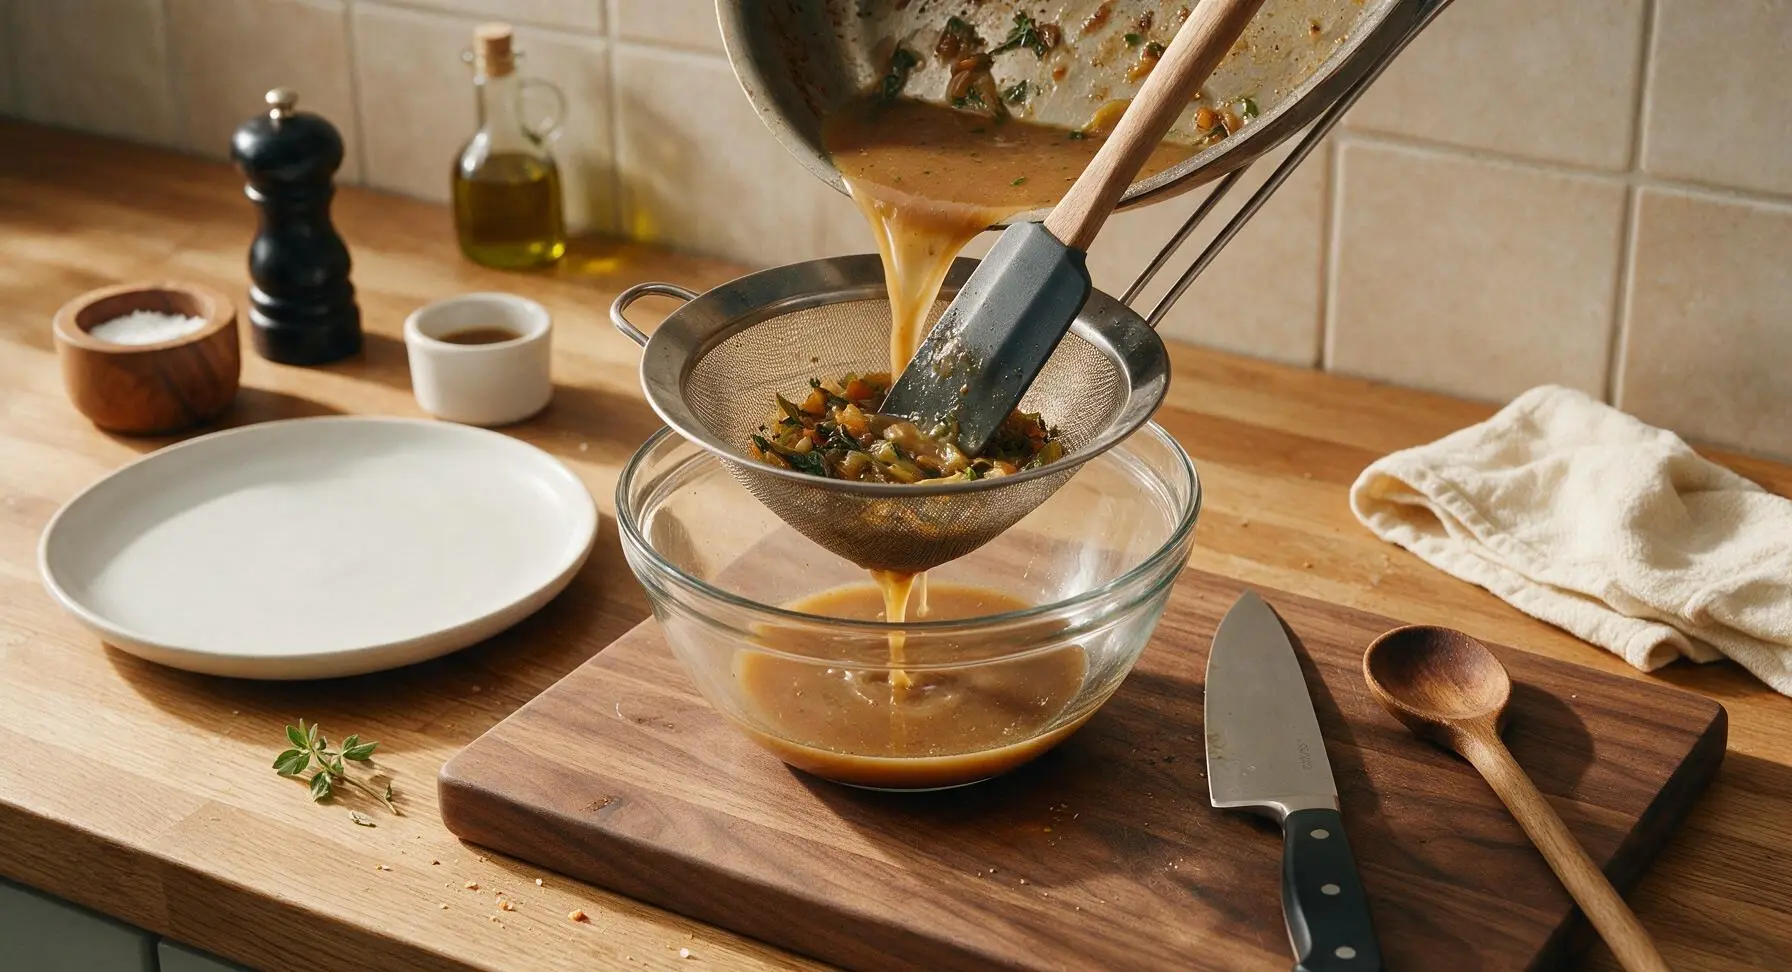
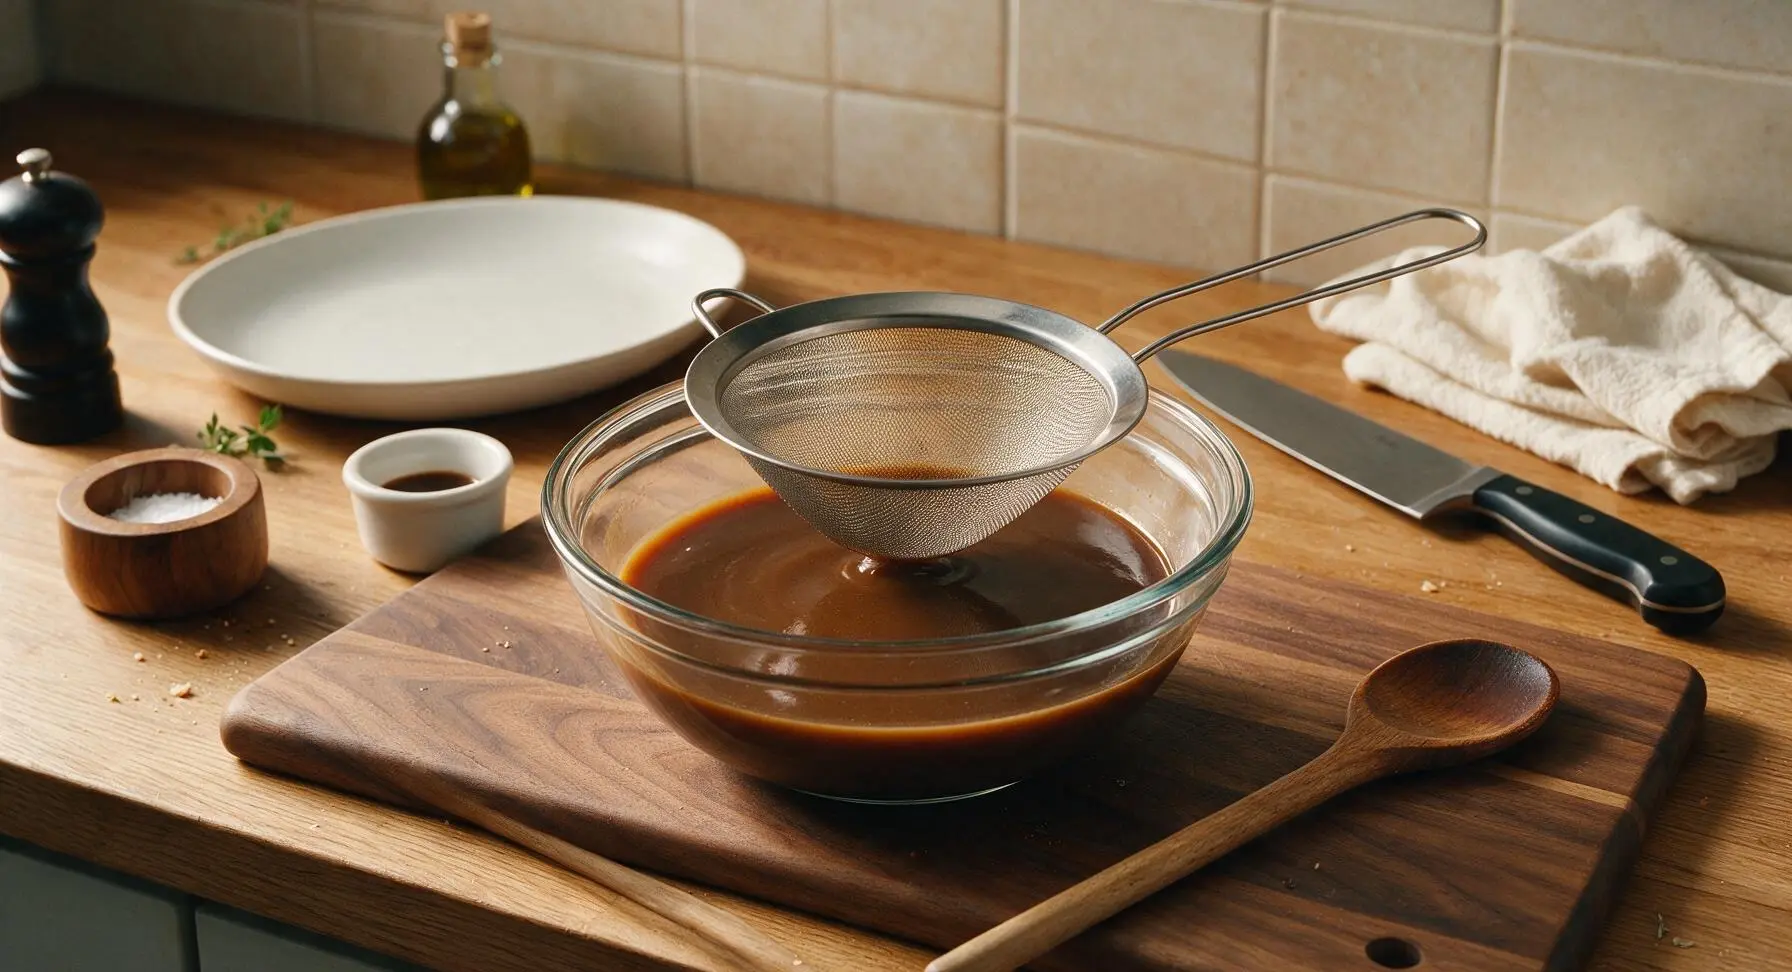
Step 6
step6:Strain Out Solids
Step 6
step6:Strain Out Solids
7

Season and Serve

Stir in the ½ teaspoon coarsely cracked black pepper, then taste the gravy and add kosher salt as needed (usually ½ teaspoon, depending on the salt content of your drippings and broth). If the gravy is too thick, stir in 1-2 tablespoons more warm broth to reach a smooth, pourable consistency; if too thin, simmer for 2-3 more minutes to reduce slightly. Once seasoned, pour the gravy into the off-white ceramic gravy boat for serving.
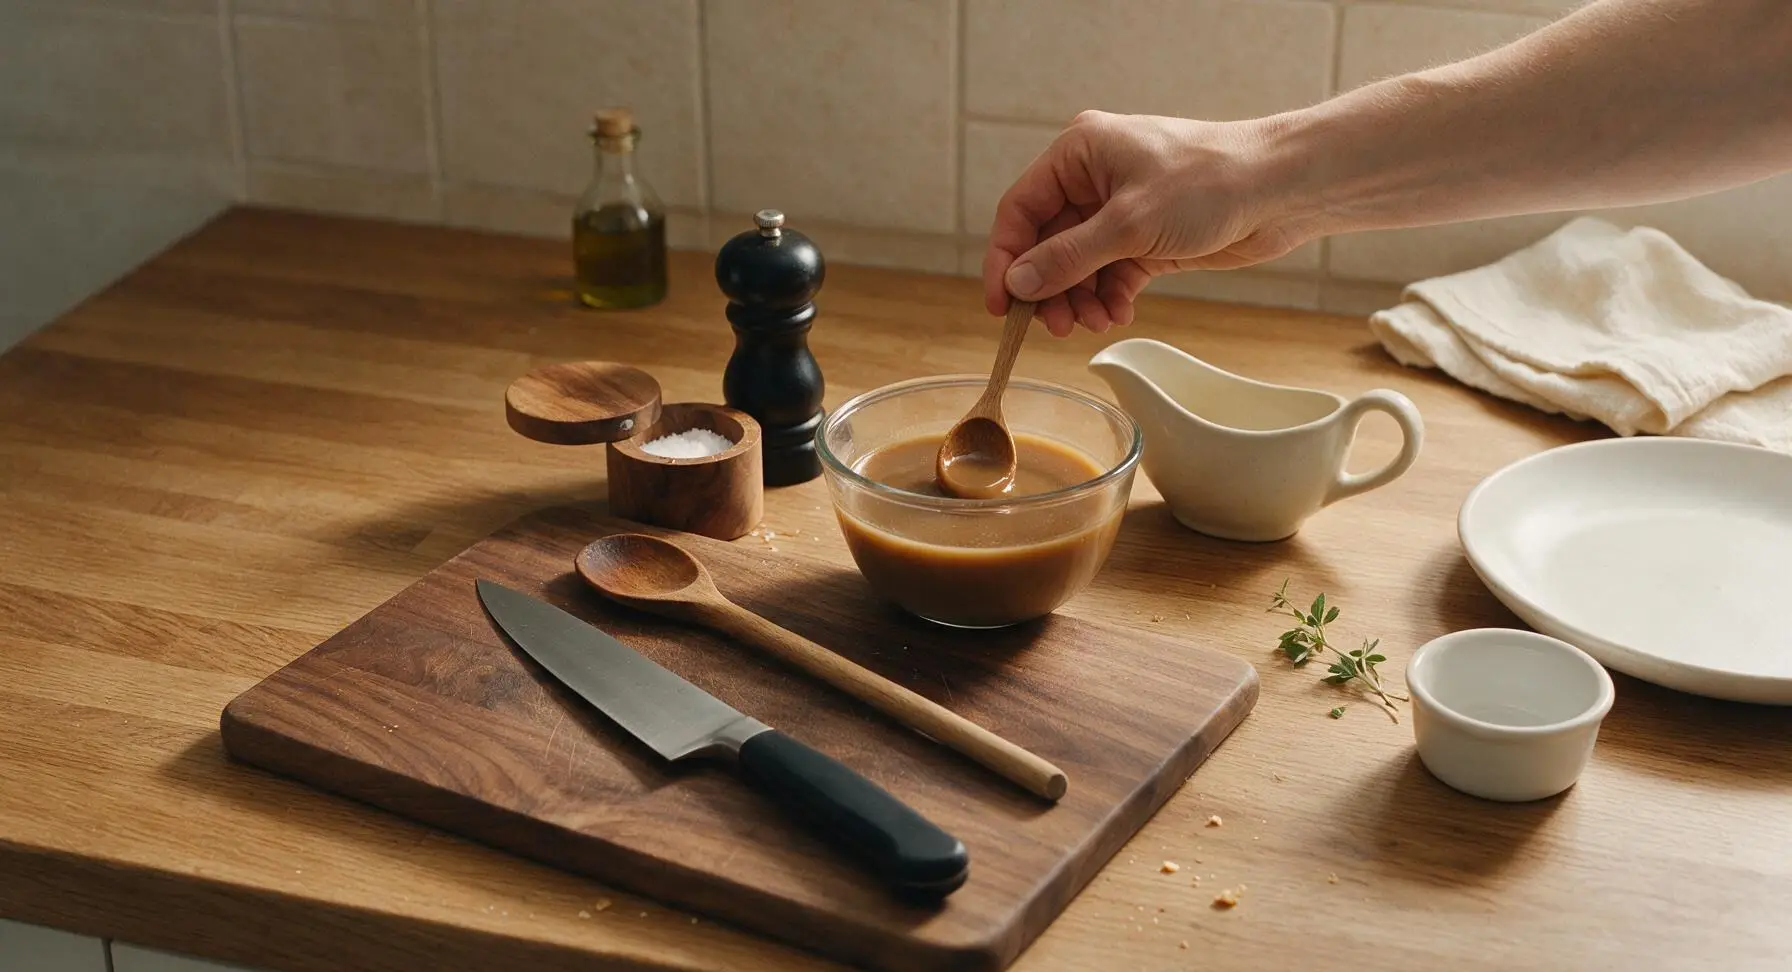
Step 7
step7:Season and Serve

Tips

1.Always warm your broth before adding it to the hot roux: cold broth will shock the cooked starch in the flour, causing tight lumps that are nearly impossible to whisk out, while warm broth blends seamlessly for a silky, lump-free texture.
2.Don’t rush the roux toasting step: cooking the flour for 3-4 minutes removes the raw, pasty flour taste and adds a subtle nutty depth that makes homemade gravy taste far richer than quick flour-thickened versions.
3.If you are making gravy for a very lean roast with minimal drippings, substitute 2 tablespoons melted butter plus 1 teaspoon low-sodium soy sauce to replicate the deep, umami roast flavor that makes traditional gravy taste so satisfying.


✨ You May Also Like

Side Dishes
🍜 India

Velvety, aromatic all-purpose curry sauce perfect for tossing with roasted veggies, grilled protein, or rice for fast, cozy, flavorful meals.

⏱️ 25 minuteSide Dishes ★ 4.8
Side Dishes
🍜 Spain

Tender, starchy boiled yuca tossed in bright, garlicky citrus mojo sauce—an iconic, zesty side that pairs beautifully with roasted pork, grilled meats, and rice and beans.

⏱️ 40 minuteSide Dishes ★ 5
Side Dishes
🍜 United States

Tender, paper-thin potato flatbread, a beloved Norwegian-American Minnesota Christmas staple, griddled until softly spotted and served warm with butter.

⏱️ 1 hour 30Side Dishes ★ 4.6
Side Dishes
🍜 United States

Rich, deeply savory cured salt pork, a long-lasting kitchen staple perfect for frying crispy as a side or adding umami to stews, beans, and chowders.

⏱️ 7 days (2Side Dishes ★ 4.9
Side Dishes
🍜 United States

Crispy, tangy classic Southern fried green tomatoes with a crunchy cornmeal crust, served hot for a nostalgic, comforting summery bite.

⏱️ 25 minuteSide Dishes ★ 4.9
Side Dishes
🍜 United States

Moist, golden-crusted savory muffins with sweet corn, zesty jalapeño, and melted cheddar, perfect for pairing with smoky summer grilled fare.

⏱️ 30 minuteSide Dishes ★ 4.9

roast gravy:Frequently Asked Questions

1.What are those crusty brown bits stuck to my roast pan, and do I actually need them for good gravy? ▾
Those are caramelized fond bits, and they’re the single biggest secret to deep, rich, restaurant-worthy roast gravy! Don’t scrub them away—they form as meat juices brown during roasting, packing concentrated savoriness you can’t get from broth alone. Deglaze the pan with a splash of warm stock to lift every last bit before building your gravy base.
2.My gravy always comes out lumpy—how do I fix that, and prevent lumps next time? ▾
Lumps almost always form when flour is added too quickly, or you don’t whisk consistently as the roux cooks. To fix a lumpy batch, pour the finished gravy through a fine-mesh sieve into your serving boat, pressing gently to extract all the smooth liquid. Next time, whisk flour into melted fat slowly over medium-low heat to make a smooth paste before adding any liquid.
3.Can I make this classic roast gravy if I don’t have enough pan drippings from my roast? ▾
Absolutely! If you’re short on drippings, make up the fat difference with equal parts melted unsalted butter to build your roux, and use low-sodium turkey or chicken stock for your liquid. You’ll still get great depth if you sauté the finely diced yellow onion and carrot until deeply caramelized to amp up the gravy’s savoriness.
4.How do I get that perfectly silky, non-greasy gravy texture everyone loves? ▾
Start by skimming excess fat off the top of your pan drippings first, leaving just enough to combine with unsalted butter for an equal 1:1 fat-to-all-purpose-flour roux. Cook the roux for 3 to 4 minutes until it smells nutty and turns light golden, whisk in liquid slowly, simmer until it coats the back of a spoon, and strain if needed for extra smoothness.
5.How long do I need to cook the roux for this gravy, and what happens if I skip that step? ▾
Cook your roux—the mix of drippings/butter and all-purpose flour—for 3 to 5 minutes over medium-low heat, stirring constantly. This cooks out the raw, pasty flour taste and gives your gravy a warm, toasty base. If you rush or skip this step, your gravy will taste like uncooked flour and look pale instead of having that classic rich golden color.
6.Is it really necessary to add diced onion and carrot to the gravy? ▾
The finely diced yellow onion and carrot aren’t strictly mandatory, but they add a subtle, sweet, earthy depth that makes gravy feel intentional, not just a mix of flour and fat. Sauté them in the roux until soft and slightly caramelized before adding liquid; you can leave them in for rustic texture or strain them out for that ultra-silky holiday gravy feel.
7.How thick should classic roast gravy be, and how do I fix it if it gets too thick? ▾
Ideal roast gravy should evenly coat the back of a spoon, leaving a clear line when you run your finger through it, so it clings to turkey, mashed potatoes, and roasted veggies without running right off. If it thickens too much as it simmers, whisk in warm stock, water, or reserved pan juice a tablespoon at a time until you hit that perfect consistency.
8.Can I make this gravy ahead of time to cut down on holiday cooking stress? ▾
You absolutely can! Make the full gravy recipe up to 3 days ahead, let it cool completely, then store it in an airtight container in the fridge. Reheat it gently in a small saucepan over low heat, whisking occasionally, and stir in a tiny splash of stock if it thickens up too much as it warms. It reheats beautifully with no texture loss.
9.Why does my gravy sometimes taste bland, even when I use pan drippings? ▾
Bland gravy usually comes from under-seasoning, not cooking the roux long enough, or skimping on the sautéed onion and carrot. After your gravy simmers to the right thickness, taste it and adjust with kosher salt, fresh black pepper, and even a tiny pinch of dried thyme if you’d like. Drippings add savoriness, but they don’t have enough salt on their own to make the gravy pop.
10.What’s the right way to deglaze the pan to get all the fond without making bitter gravy? ▾
After you take your roast out of the pan, set the pan directly on the stovetop over medium-low heat. Pour in a half cup of warm stock or water, then use a wooden spoon to scrape every last brown fond bit off the bottom as the liquid bubbles. Avoid high heat here, because that can burn the fond and leave your gravy with an unpleasant bitter, off flavor.

Comments (3)

3 days ago

Made this for our weekly family dinner last night to go with a rump roast and crispy roasted potatoes, and wow—way easier than I thought it would be! I was worried I didn’t have enough pan drippings at first but it turned out rich and perfectly seasoned. My kids loved it, even the picky one who usually turns up his nose at anything that isn’t ketchup-covered. 10/10, will be my go-to gravy recipe from now on.

2 days ago

Wait did you use low sodium broth like the recipe says? I’m making this for a potluck this weekend and don’t want it to turn out too salty!

2 days ago

Great question! If you’re using regular sodium broth, just skip the extra salt at the end and taste as you go—you can always add more seasoning to match your preference. Hope it’s a hit at the potluck!

1 week ago

Super straightforward recipe that came together in the 20 minutes advertised! I added a tiny splash of bourbon to mine for a little extra depth and it was chef’s kiss. My only note is that I needed a little extra cornstarch slurry to get it to the thickness my family likes, but otherwise perfect for a quick weeknight roast meal prep.

5 days ago

Love the bourbon addition—that’s such a tasty upgrade! It’s totally normal to adjust the slurry amount a little depending on how much drippings you have from your roast, so glad you found a consistency that works for you.

30 minutes ago

Just finished making this to go with my Thanksgiving test run roast chicken and OH MY GOODNESS it’s SO good. I used to stress so much about making gravy from scratch because I thought it was super complicated, but this easy 20 minute method is a total game changer. My roommate walked through the kitchen and said it smelled exactly like the gravy his grandma makes, that’s the highest praise possible! Can’t wait to make this for the actual holiday dinner next month.



