
Roasted Garlic Scrambled Eggs

title 1
Roasted Garlic Scrambled Eggs
⏱️ cook time 12 minutes
🍽️ servings 2
⚡ Difficulty easy

intro

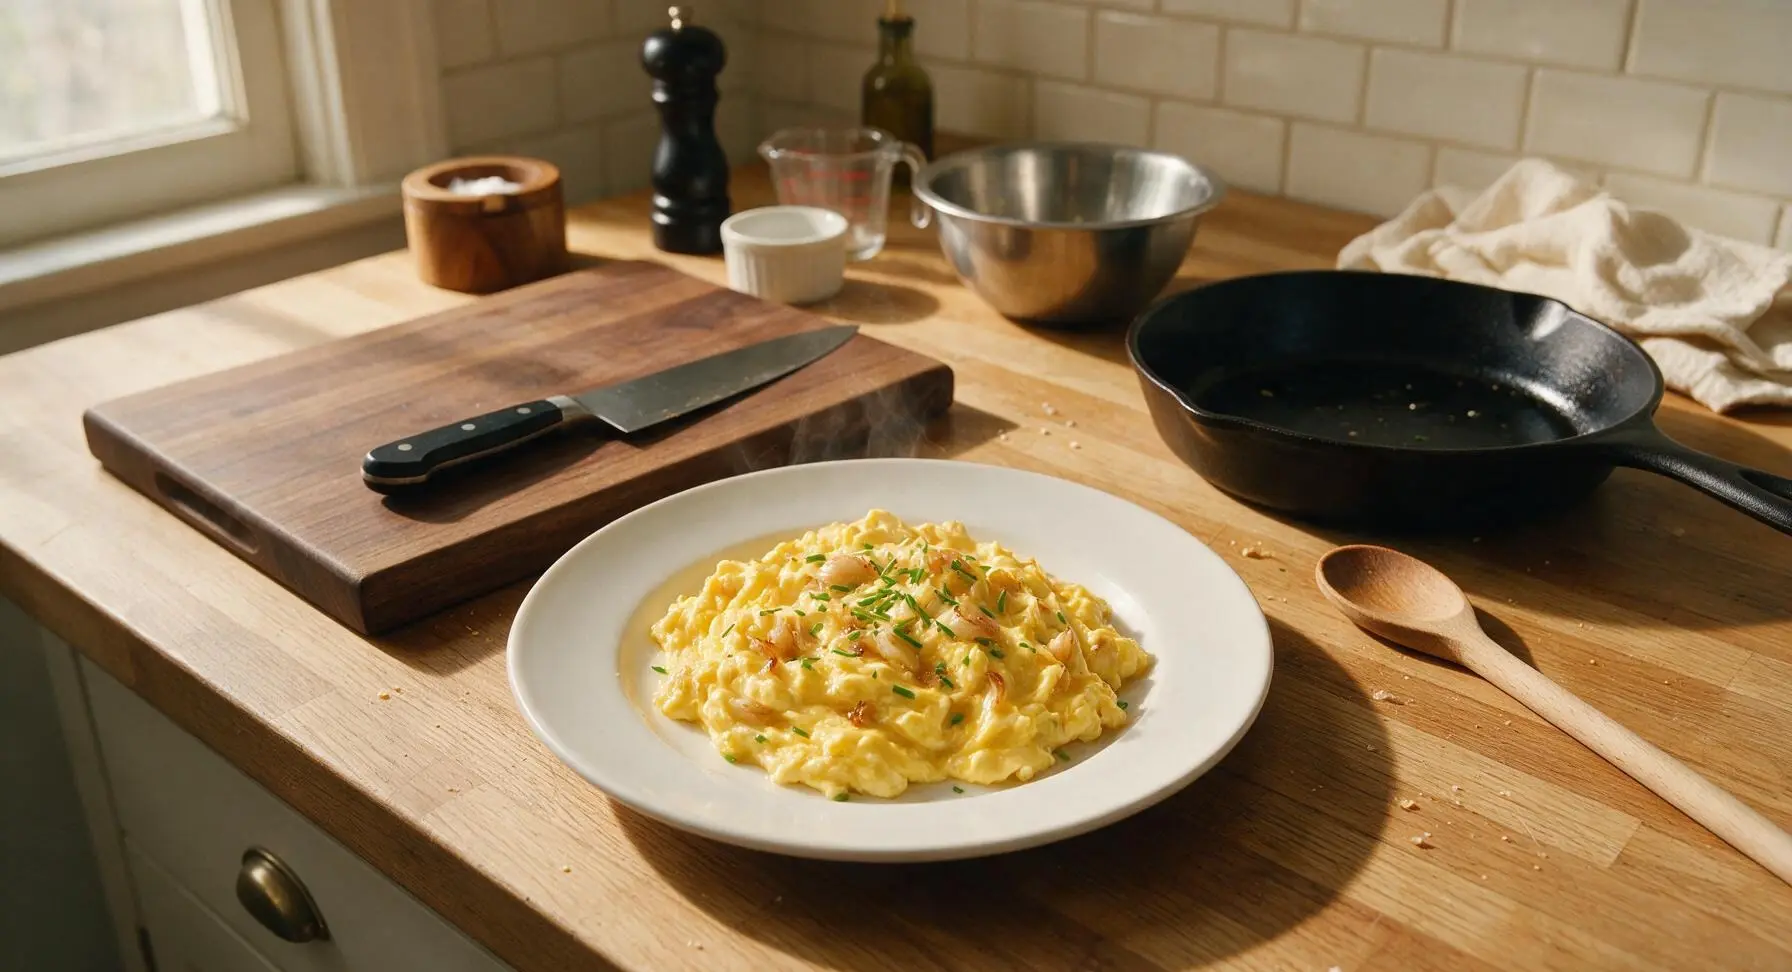
Silky, creamy soft-scrambled eggs infused with sweet, mellow caramelized roasted garlic, finished with bright fresh chives for a luxe, fast, savory meal.

Ingredients
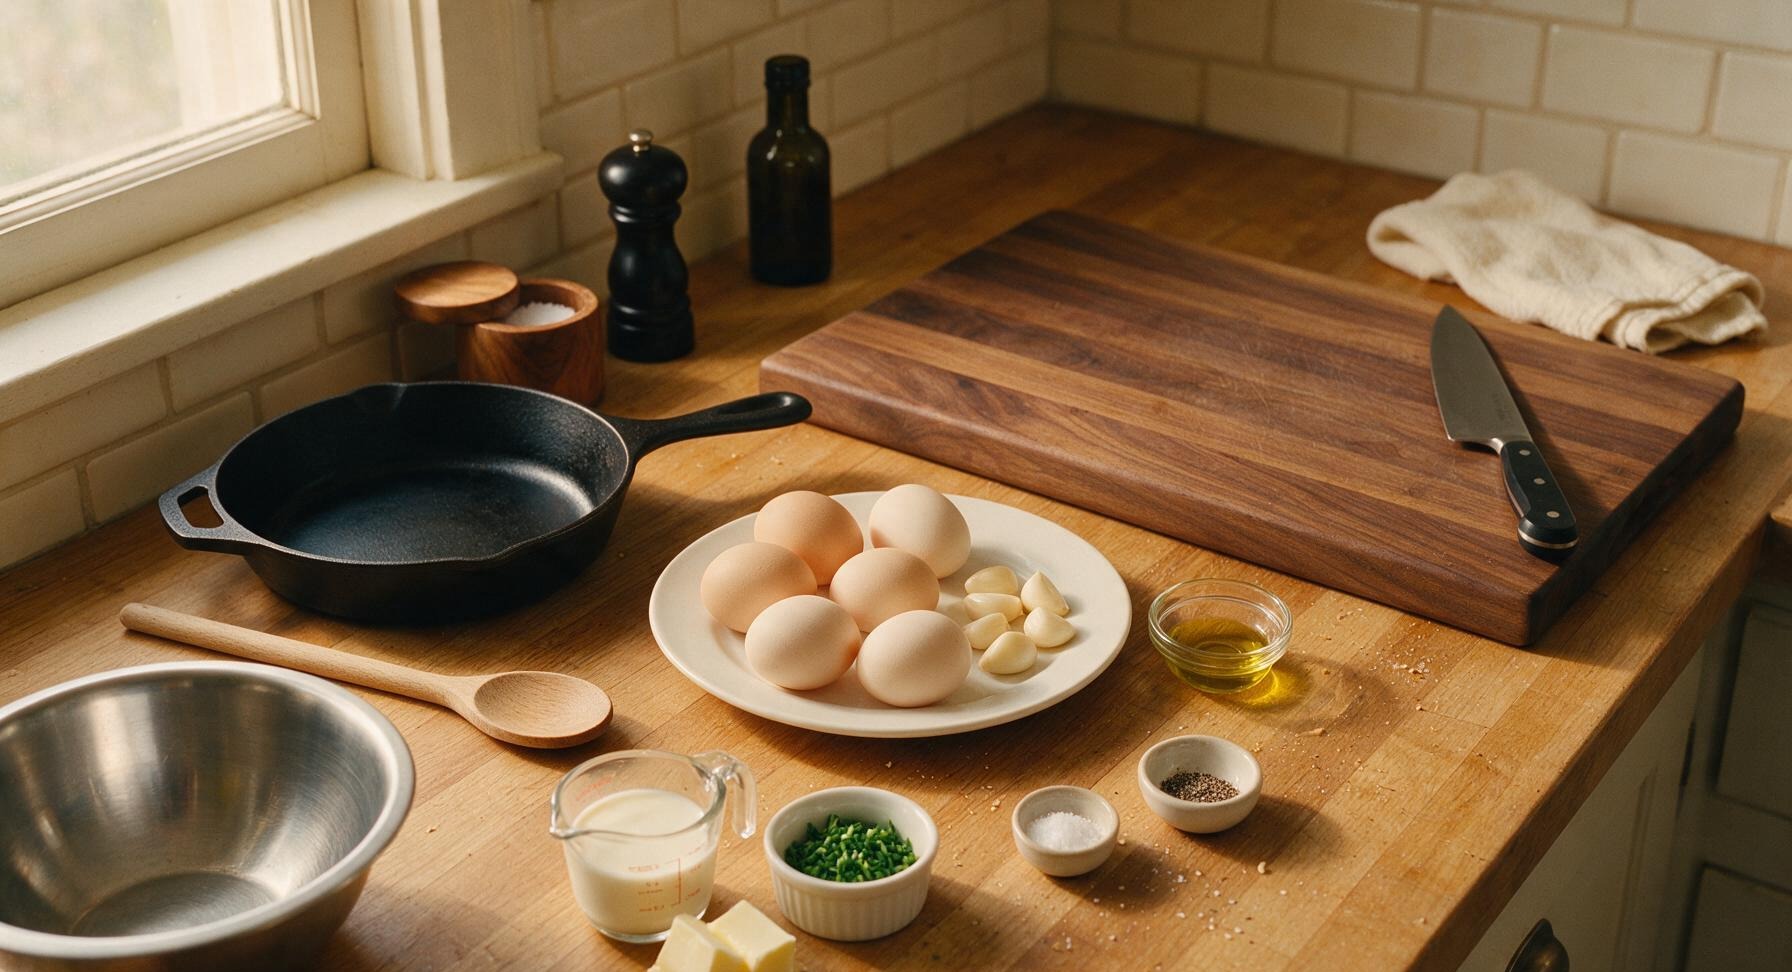
Large eggs 6 each
Garlic cloves 6 cloves
Unsalted butter 2 tbsp
Heavy cream 2 tbsp
Fresh chives 1 tbsp (finely chopped)
Kosher salt 1/4 tsp
Freshly ground black pepper 1/8 tsp
Extra-virgin olive oil 1 tsp

Steps

1

Prep Aromatics First

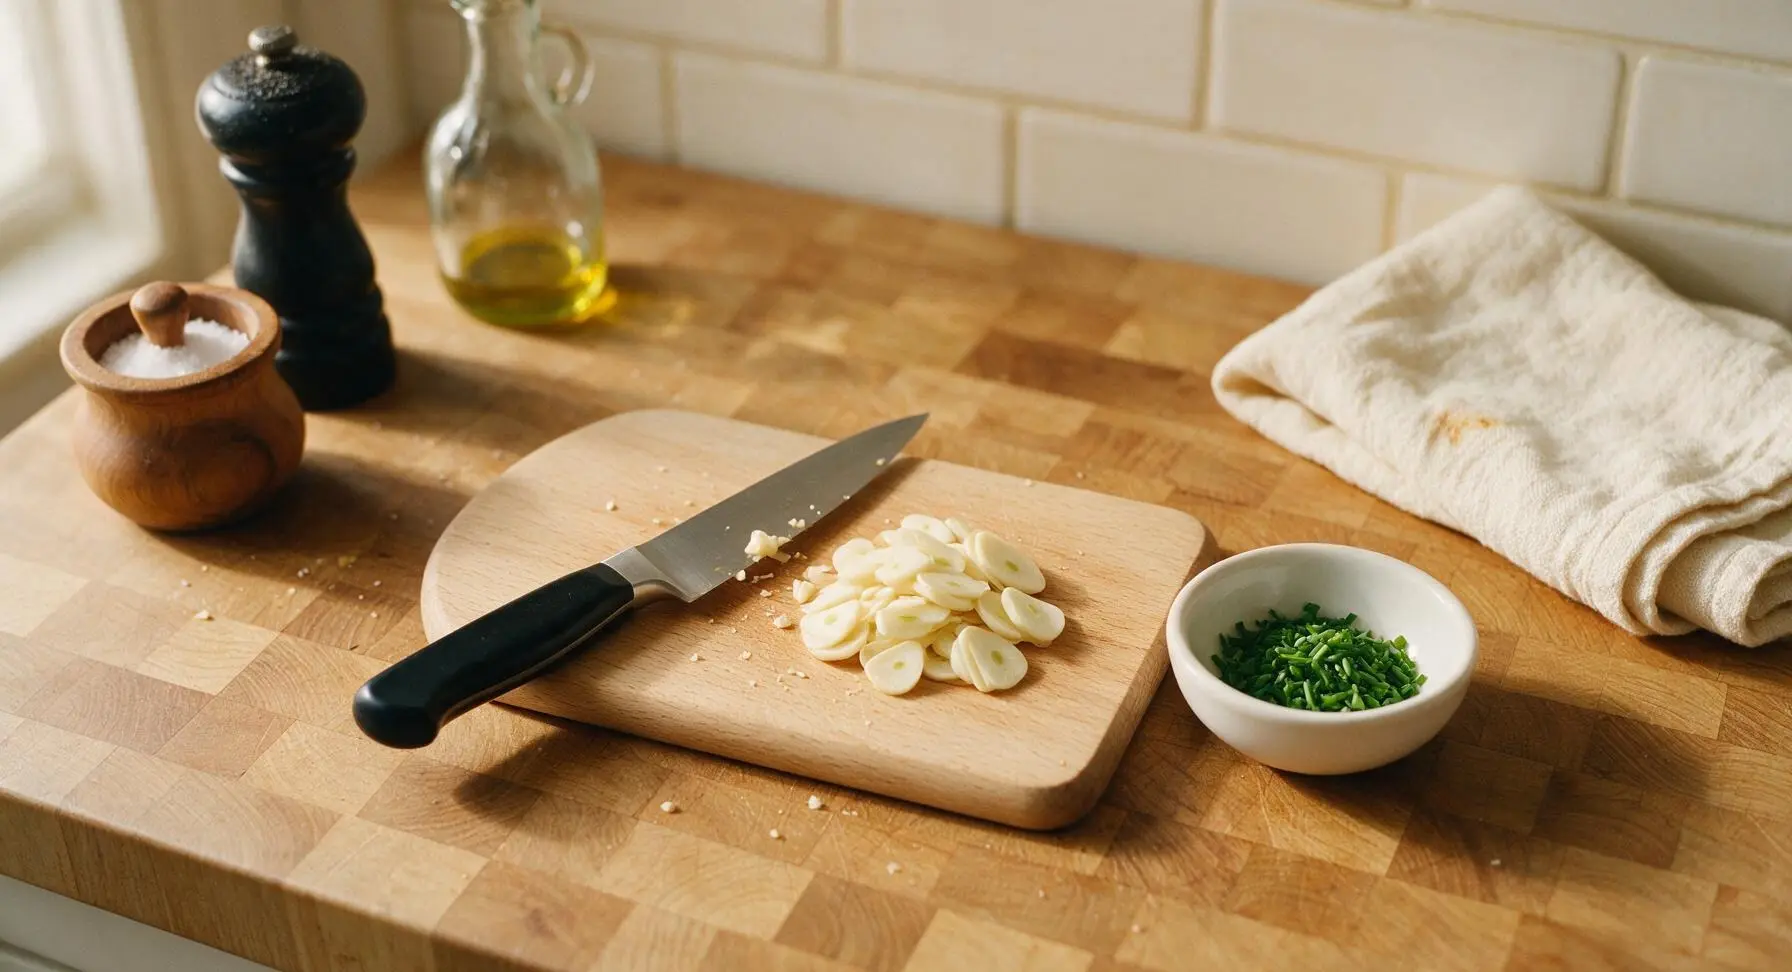
Place the small beech wood cutting board on the center of the counter. Use the 4-inch paring knife to thinly slice the 6 peeled garlic cloves to a uniform 1/8-inch thickness, discarding any tough woody root ends. Finely chop 1 tbsp of fresh chives, then transfer the chopped chives to the small matte white ceramic pinch bowl. Set the sliced garlic in a neat pile on the edge of the cutting board. This prep takes approximately 3 minutes.
Step 1
step1:Prep Aromatics First
2

Pan-Roast Garlic Slowly

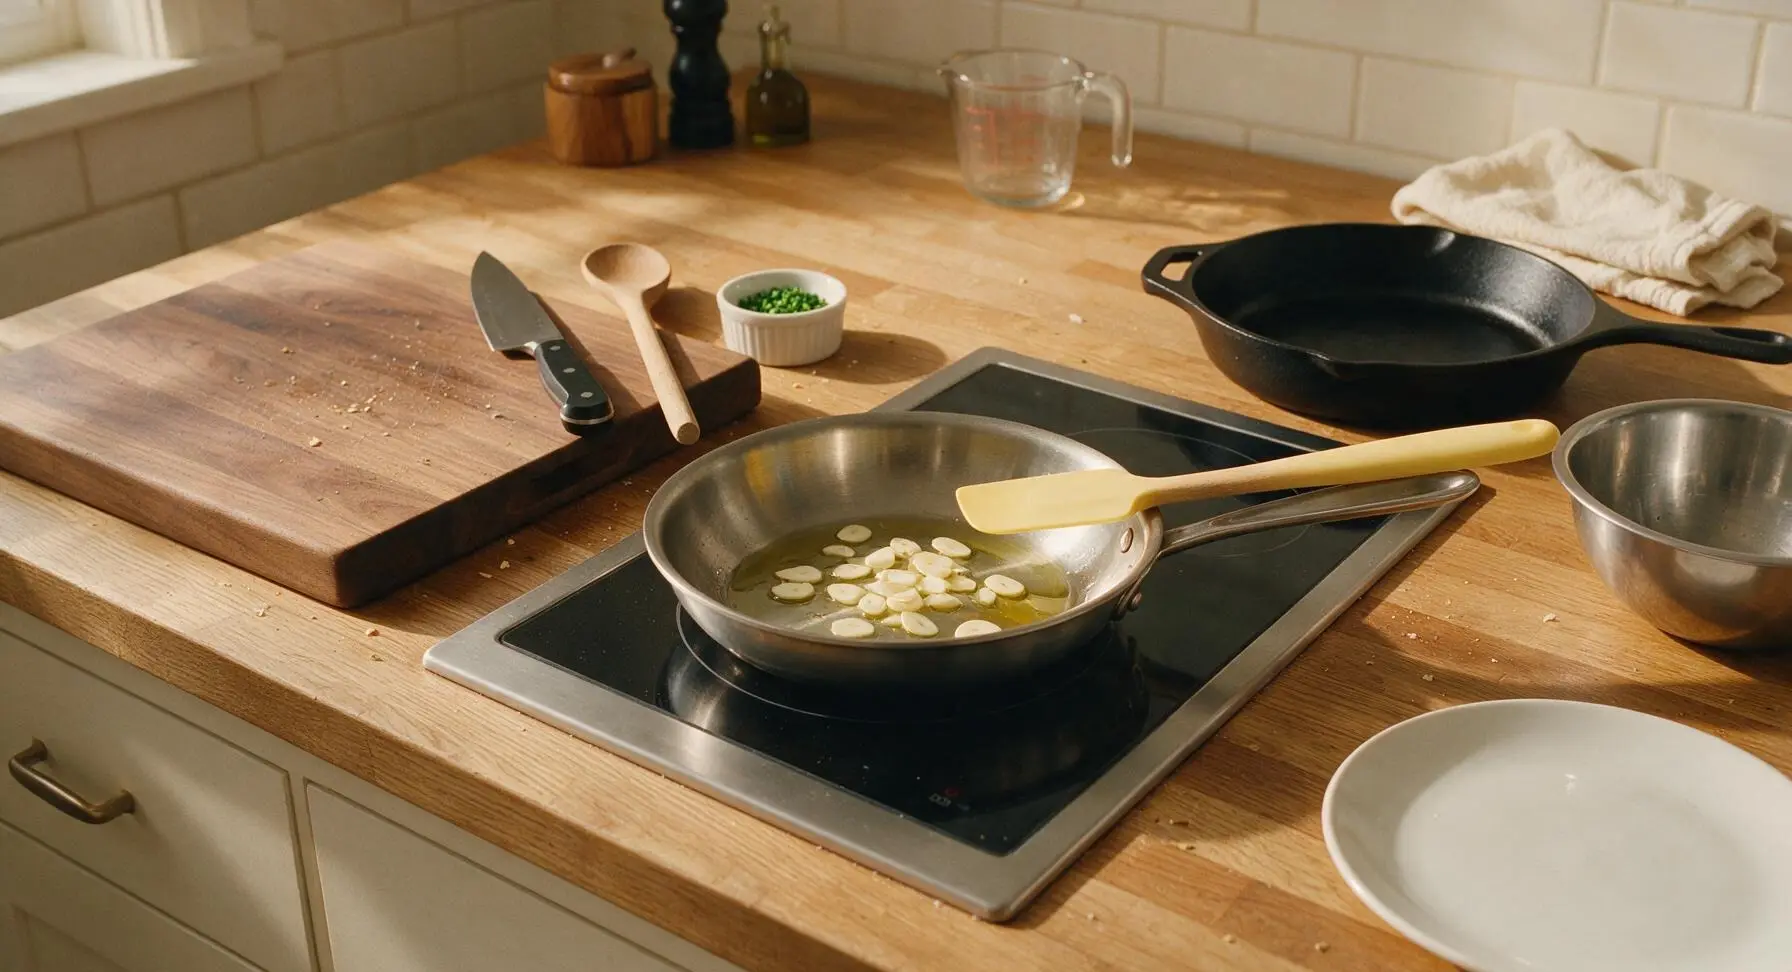
Set the small 8-inch stainless steel skillet on the flush-mounted induction cooktop over low heat (275°F / 135°C). Add 1 tsp extra-virgin olive oil and the sliced garlic to the cold pan before it fully heats. Cook, stirring frequently with the pale butter yellow silicone spatula, for 6-7 minutes until garlic turns pale golden, smells sweet and mellow (no sharp raw garlic bite), and is tender when pressed with the spatula edge. Watch closely during the final 2 minutes to avoid burning—dark brown garlic will develop a harsh, bitter flavor. Turn off the heat, then use the spatula to transfer the roasted garlic slices back to the empty edge of the beech cutting board to cool slightly.
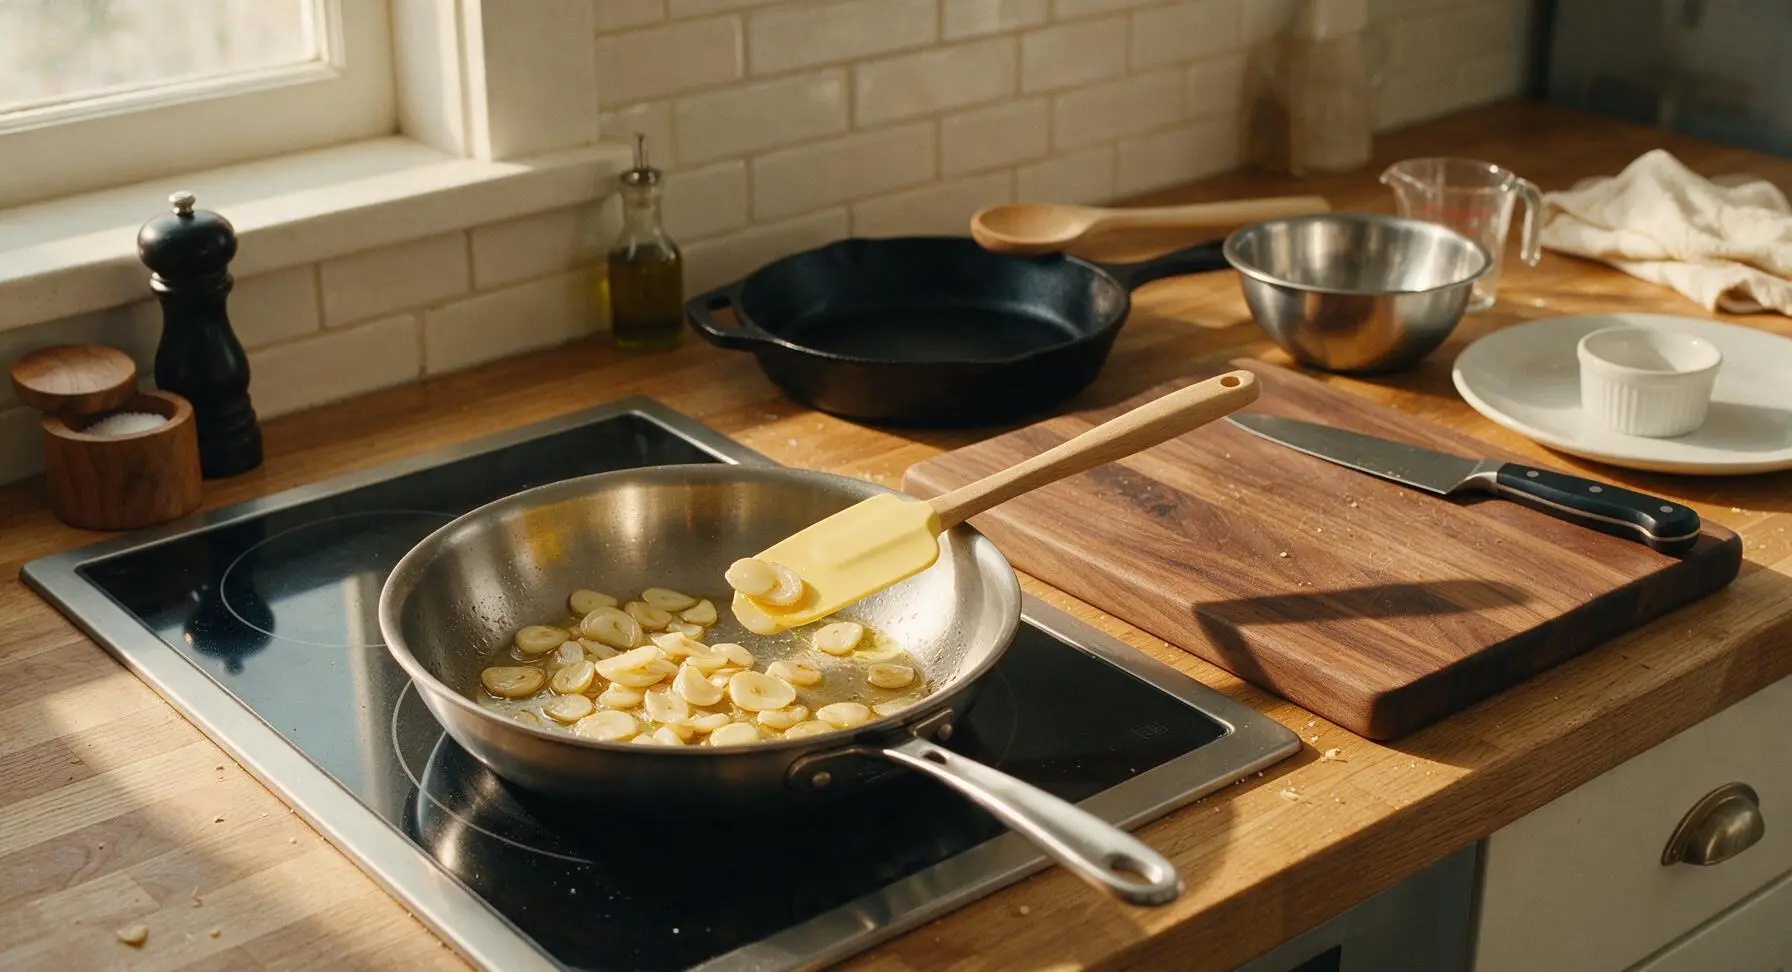
Step 2
step2:Pan-Roast Garlic Slowly
Step 2
step2:Pan-Roast Garlic Slowly
3

Whisk Eggs with Cream

Set the 18cm brushed stainless steel mixing bowl on the counter in front of the cutting board. Crack all 6 large eggs into the bowl, then add 2 tbsp heavy cream and 1/4 tsp kosher salt. Use the small stainless steel balloon whisk to gently combine the ingredients just until no streaks of separate egg white remain, about 30 seconds. Avoid over-whisking, as incorporating too much air will create dry, fluffy eggs instead of the desired dense, silky curds.
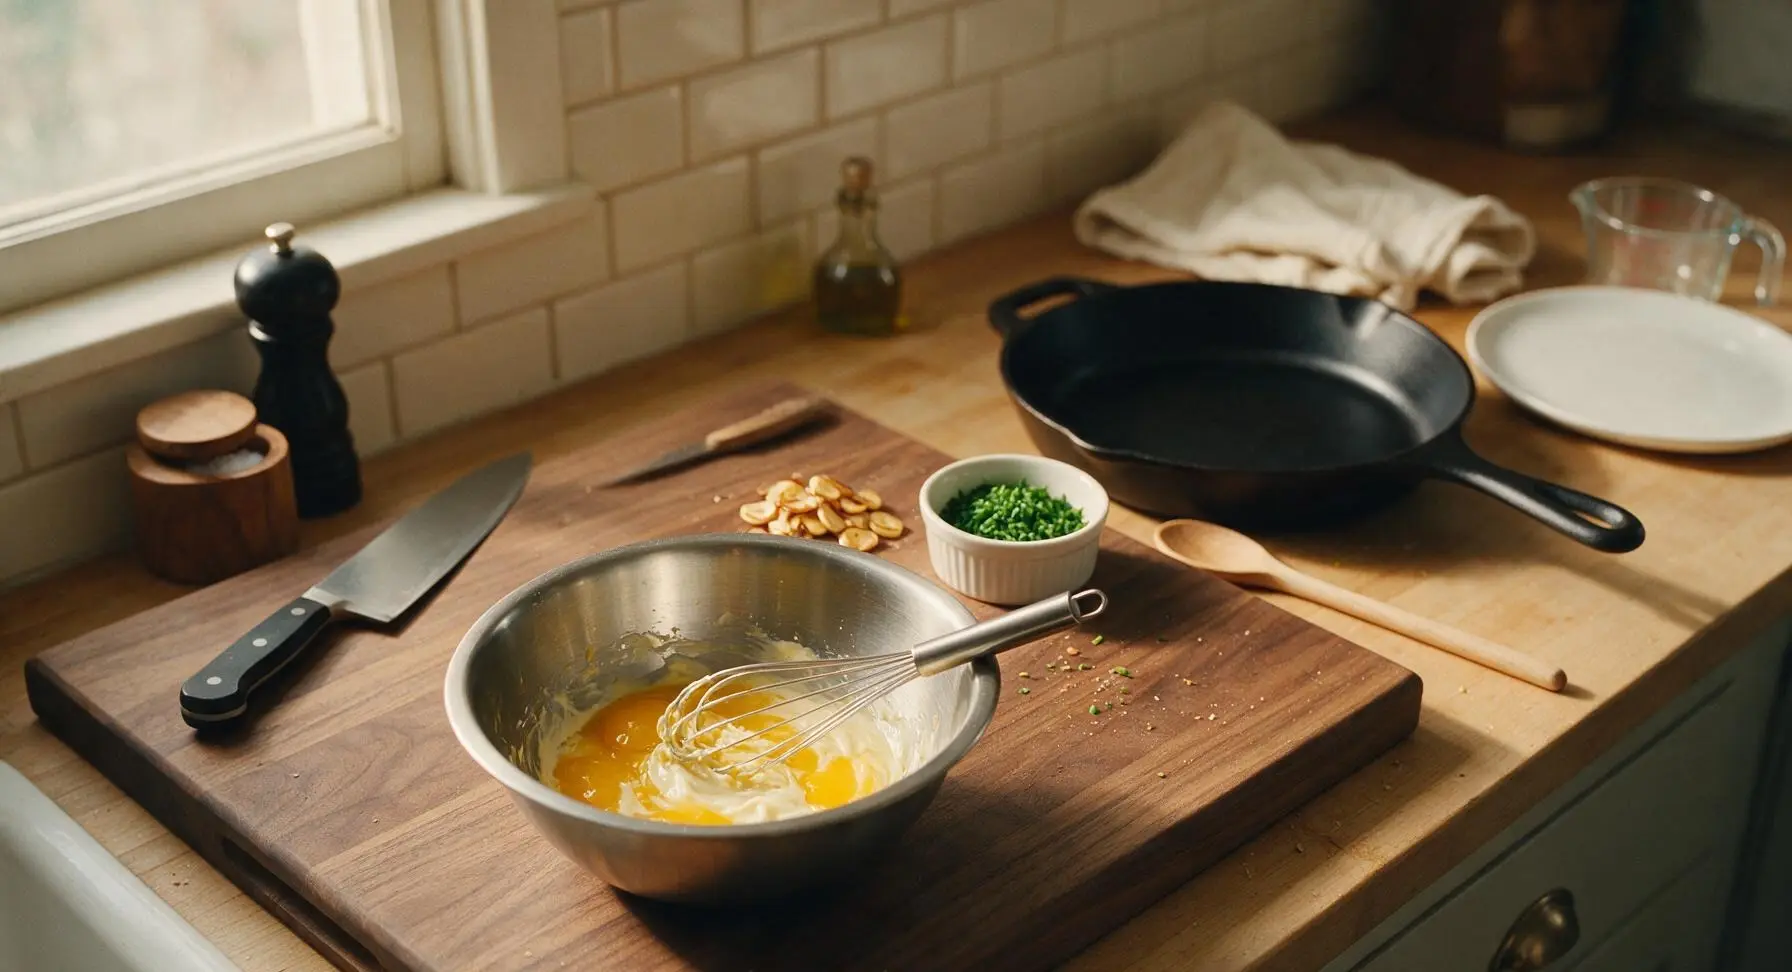
Step 3
step3:Whisk Eggs with Cream
4

Melt Butter Gently

Place the medium 10-inch nonstick skillet on the induction cooktop next to the small stainless steel skillet over medium-low heat (300°F / 150°C). Add 2 tbsp unsalted butter to the pan, and let it melt slowly for about 1 minute until it forms light, tiny bubbles and soft foam, but does not turn nutty brown. Swirl the pan gently to coat the entire bottom surface with melted butter.
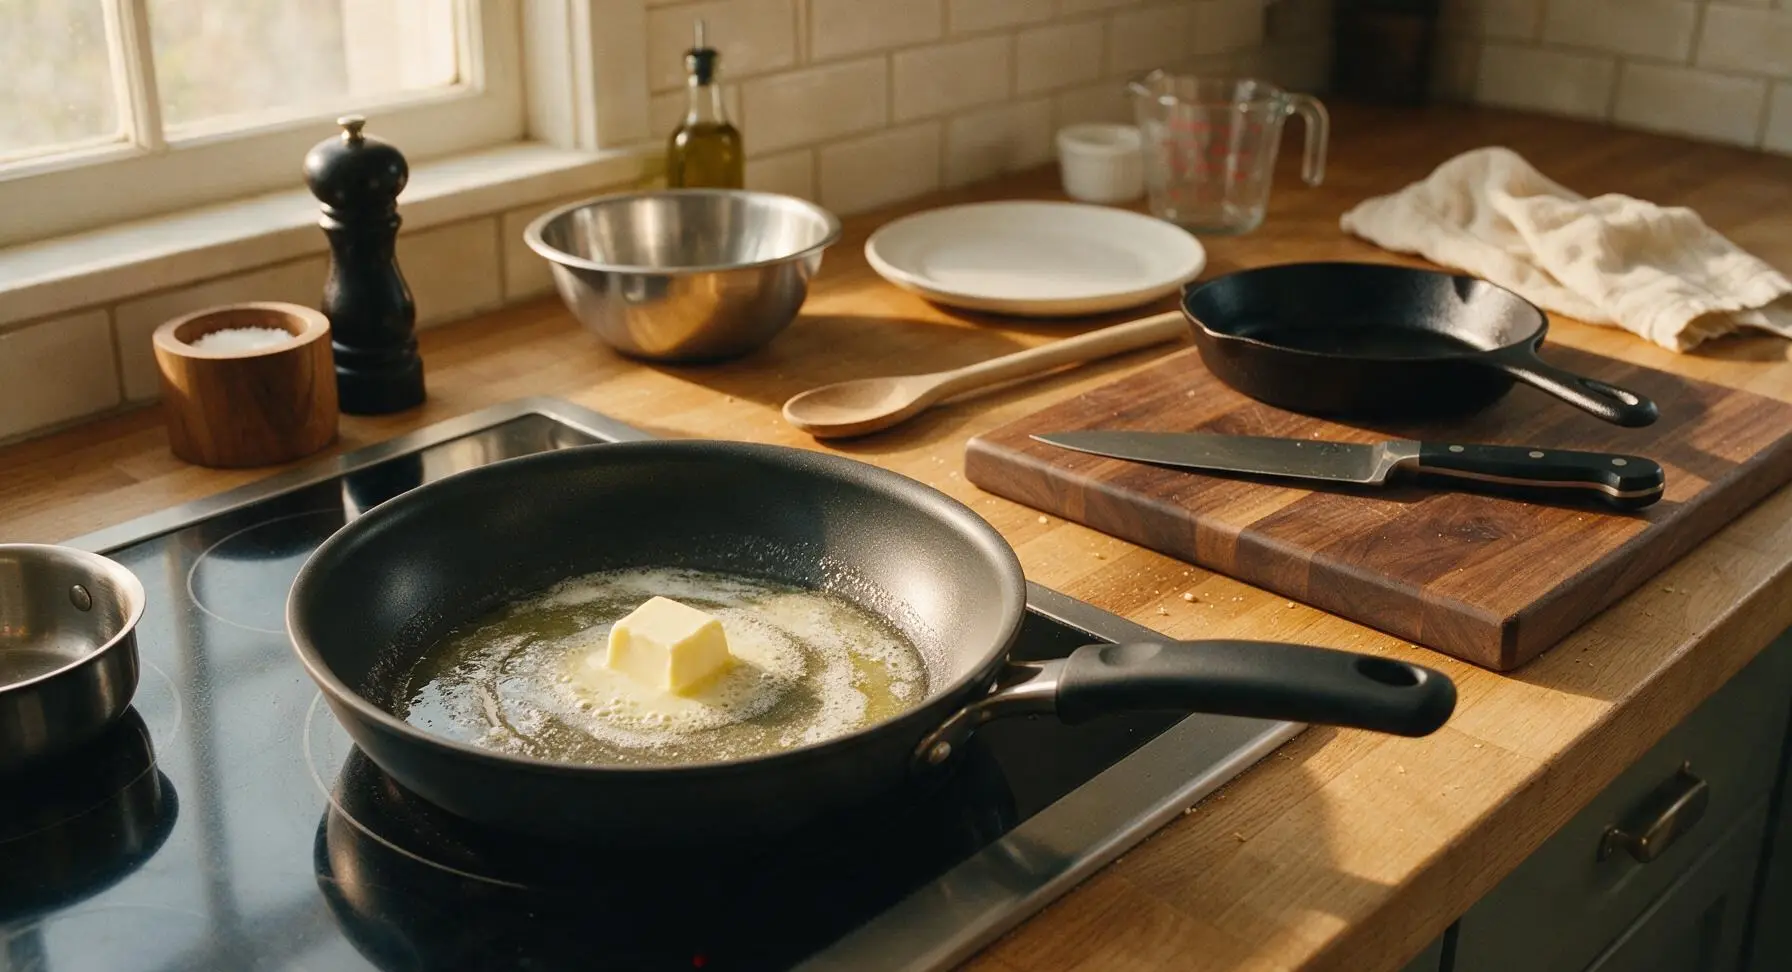
Step 4
step4:Melt Butter Gently
5

Scramble Eggs Slowly

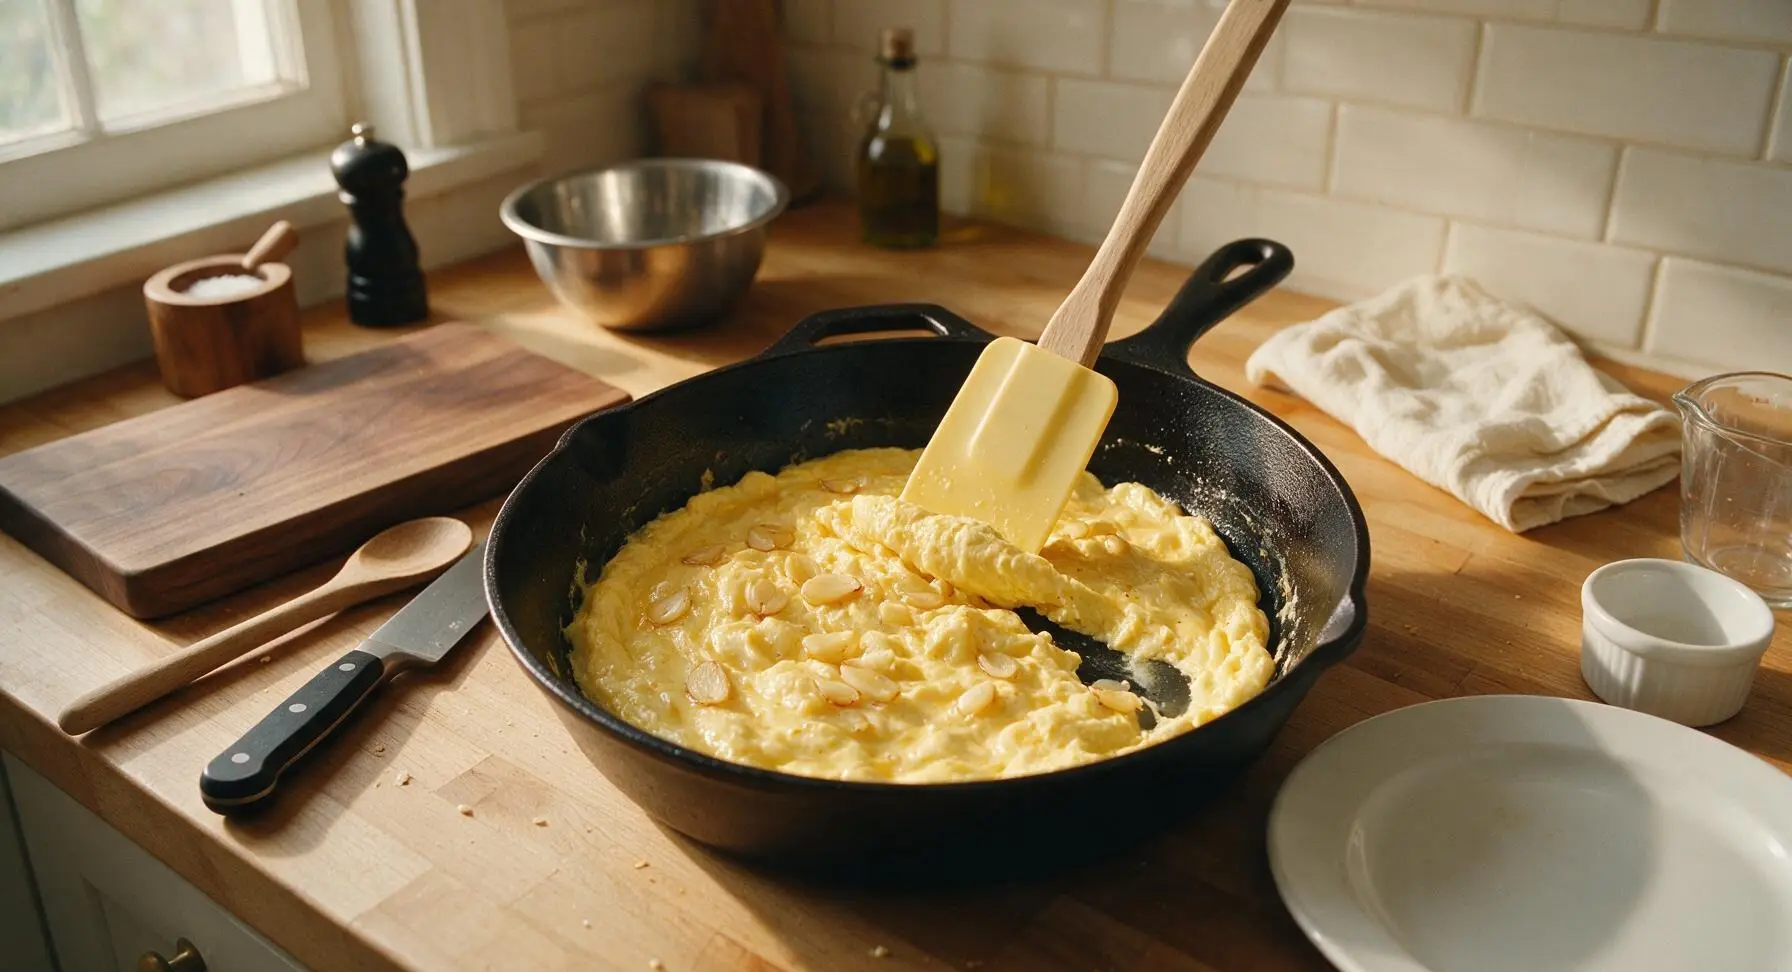
Pour the whisked egg mixture from the stainless steel mixing bowl into the buttered nonstick skillet. Let the eggs sit undisturbed for 15 seconds to let the bottom layer set slightly, then use the pale butter yellow silicone spatula to slowly push the set egg edges from the pan sides toward the center, tilting the pan to let uncooked runny egg flow into the empty spaces. Continue this slow, gentle pushing motion every 10 seconds for 4-5 minutes total, until the eggs form soft, large curds and are just barely set, with a slightly wet, creamy appearance (eggs will continue to cook for 1 minute after removal from heat via carryover cooking). Add the reserved roasted garlic slices to the pan during the last 30 seconds of cooking, folding them gently into the soft curds. Do not stir rapidly or cook until fully dry, as this will produce tough, rubbery eggs.
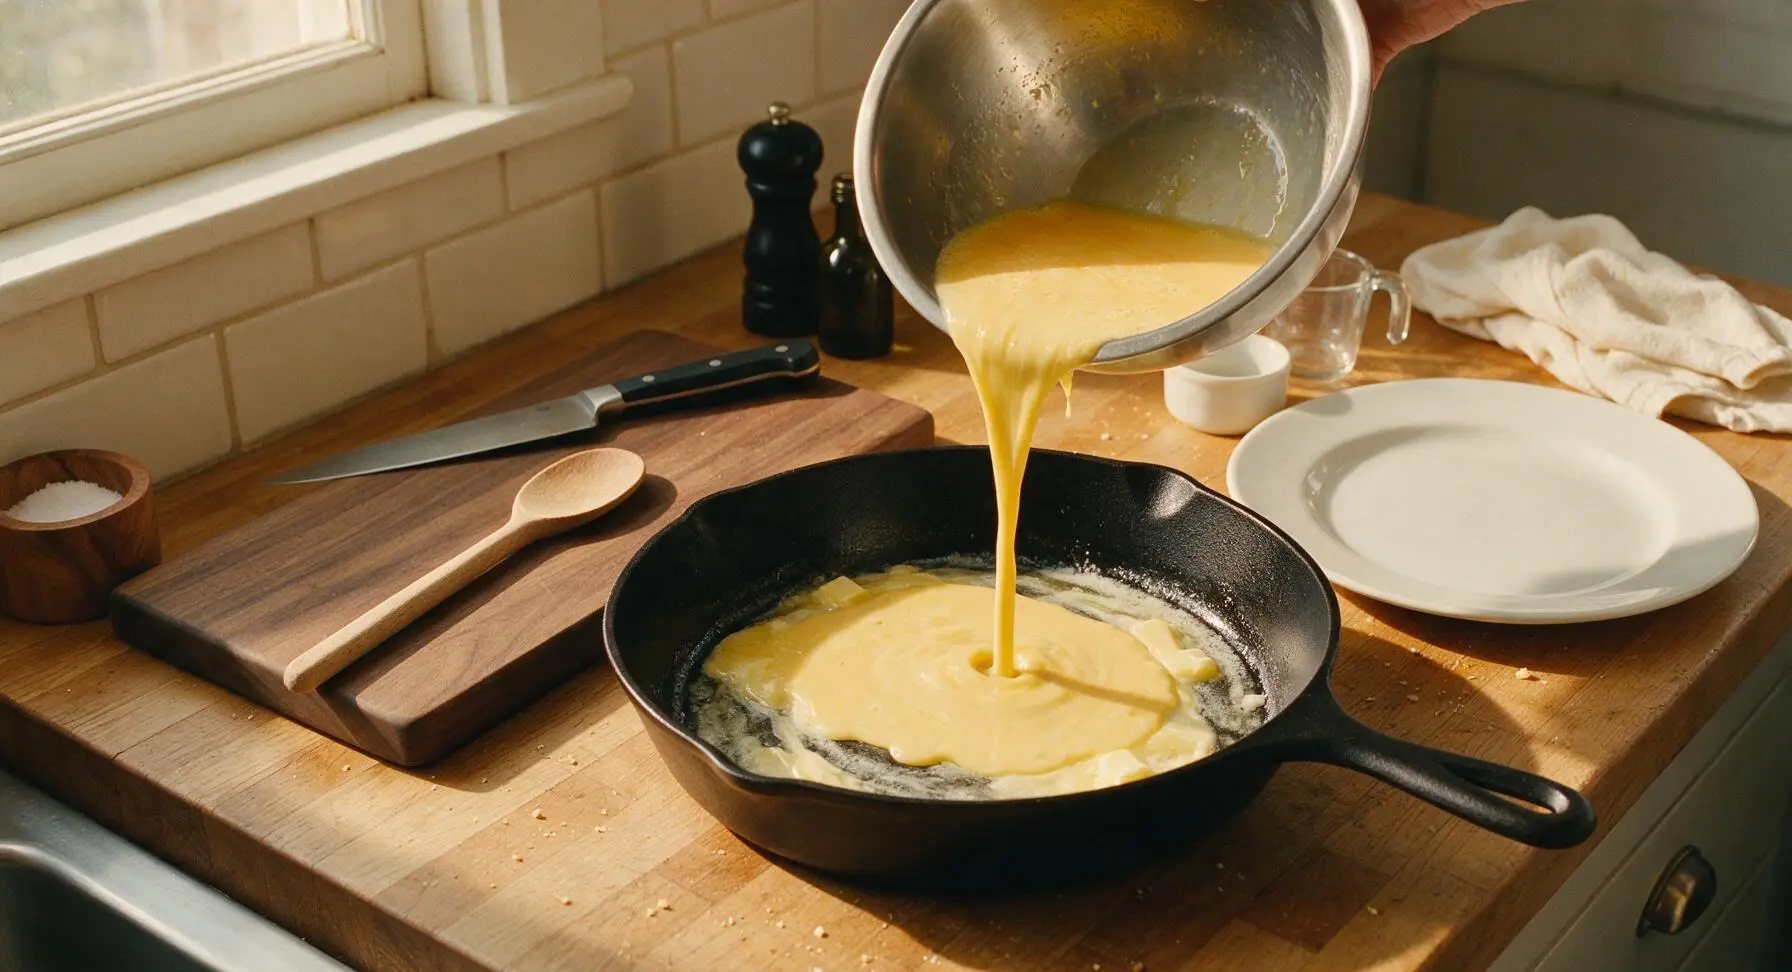
Step 5
step5:Scramble Eggs Slowly
Step 5
step5:Scramble Eggs Slowly
6

Plate and Garnish

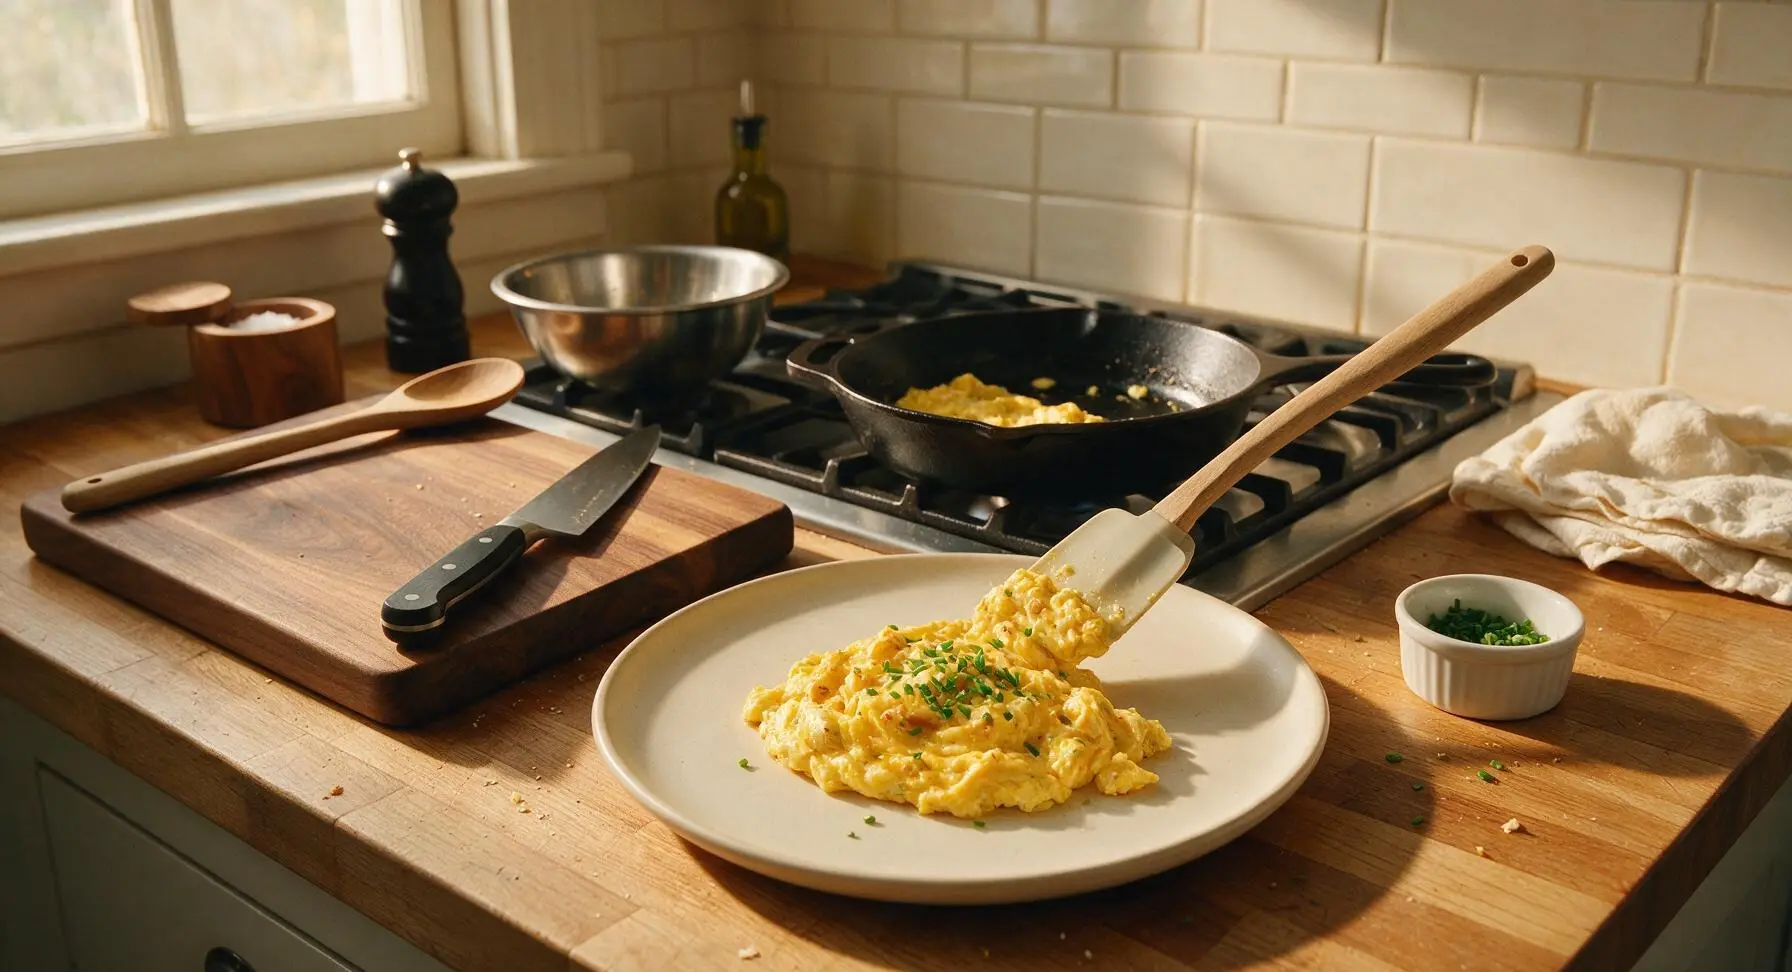
Turn off the heat under the nonstick skillet immediately once the eggs reach the soft, slightly under-set curd stage. Use the silicone spatula to gently guide all eggs and roasted garlic from the pan onto the center of the matte cream ceramic breakfast plate, taking care not to break up the large soft curds. Sprinkle the top evenly with the reserved finely chopped chives and a light 1/8 tsp pinch of freshly ground black pepper. Serve immediately, as eggs will lose their creamy texture if left to sit for more than 2 minutes.
Step 6
step6:Plate and Garnish

Tips

1.Always add sliced garlic to a cold pan with oil over low heat: this allows the garlic to cook slowly and release its sweet, mellow flavor instead of searing on the outside and turning bitter before the center softens.
2.Remove eggs from heat when they look slightly undercooked and wet: residual heat from the pan and eggs themselves will finish cooking them in 30-60 seconds, preventing dry, rubbery curds that ruin soft scrambled eggs.
3.Use heavy cream instead of whole milk for the silkiest texture: milk has a higher water content that can separate during cooking and create watery eggs, while cream’s high fat content coats egg proteins for a smoother, richer bite.


✨ You May Also Like

Breakfast
🍜 United States

Crisp-edged, fluffy lard griddle cakes are a nostalgic homestyle staple, with rich savoriness from rendered lard, perfect topped with maple syrup or savory gravy.

⏱️ 25 minuteBreakfast ★ 4.8
Breakfast
🍜 United States

Flaky, buttery homemade buttermilk biscuits smothered in creamy, peppery pork sausage gravy: a beloved, hearty Southern American comfort food classic.

⏱️ 35 minuteBreakfast ★ 4.8
Breakfast
🍜 United States

Golden, custardy brioche stuffed with sweet cream cheese and fresh berries, pan-fried to crisp perfection. An indulgent, cozy breakfast perfect for slow weekend mornings.

⏱️ 30 minuteBreakfast ★ 4.7
Breakfast
🍜 United States

Flaky, buttery Southern-style biscuits stuffed with savory salty country ham, a portable, satisfying classic perfect for casual on-the-go meals.

⏱️ 25 minuteBreakfast ★ 4.8
Breakfast
🍜 United States

Iconic puffy baked pancake popularized in Seattle, with crisp golden edges and soft custardy center, served warm with classic sweet toppings.

⏱️ 35 minuteBreakfast ★ 4.6
Breakfast
🍜 United States

Fluffy, golden pancakes studded with juicy peak-summer mixed berries, drizzled with maple syrup for a bright, comforting, crowd-pleasing family breakfast.

⏱️ 25 minuteBreakfast ★ 4.7

Roasted Garlic Scrambled Eggs:Frequently Asked Questions

1.Can I roast garlic ahead of time to speed up this recipe on busy mornings? ▾
Absolutely! Roast a full head of garlic wrapped in foil at 400°F for 40 minutes once a week, squeeze the soft cloves into an airtight container, and refrigerate for up to 1 week. You’ll only need 2–3 cloves per egg batch, cutting total prep time to under 5 minutes for busy weekdays without losing that signature sweet, mellow flavor.
2.Why do my scrambled eggs turn out rubbery instead of silky and creamy? ▾
Two common culprits are too-high heat and overcooking. Cook these eggs over low to medium-low heat, stirring constantly with a silicone spatula, and pull the pan off heat right when soft curds form and are just barely set. Residual pan heat will finish cooking them in 30 seconds, so they don’t turn tough or watery.
3.Can I substitute half-and-half or milk for the heavy cream in this recipe? ▾
You can, but expect a slight texture change. Heavy cream adds luxe richness without making eggs watery thanks to its high fat content. If using half-and-half, cut the amount by 1 teaspoon per 3 eggs to avoid runny curds; skip skim milk entirely, as it will make eggs thin and bland rather than silky.
4.How much roasted garlic should I use per serving of eggs? ▾
For a standard 2-egg serving, 2 to 3 roasted garlic cloves is perfect—it delivers warm, sweet caramelized garlic flavor without overpowering the delicate eggs. Mash the cloves into a smooth paste before mixing them into the egg base so you don’t get big, uneven garlic chunks scattered through your finished curds.
5.Can I make these roasted garlic scrambled eggs dairy-free? ▾
Absolutely! Swap the unsalted butter for a high-quality vegan butter (look for 80% fat content to avoid watery results) and replace heavy cream with stirred, full-fat canned coconut cream for an equally rich, creamy texture. The roasted garlic and fresh chives will still shine for that signature luxe, savory flavor.
6.What type of pan works best for perfectly soft scrambled eggs? ▾
A heavy-bottomed nonstick skillet is ideal—it distributes heat evenly to prevent hot spots that burn eggs, and the nonstick surface lets you gently fold curds without sticking. A well-seasoned carbon steel pan works too, but skip uncoated stainless steel, as eggs will stick easily even with a generous amount of butter.
7.Do I add roasted garlic to the eggs before cooking or while they’re in the pan? ▾
Mash your roasted garlic into a smooth paste and whisk it directly into the beaten eggs and cream before pouring the mixture into the pan. This lets the sweet garlic flavor infuse evenly through every curd, instead of clumping in spots if added mid-cook, which leaves some bites bland and others overly garlicky.
8.Can I add cheese to these roasted garlic scrambled eggs? ▾
Absolutely! Soft, melty cheeses work best here—try 2 tablespoons of shredded fontina, crumbled goat cheese, or grated parmesan per 3-egg batch. Add the cheese right as you pull the pan off the heat, so it melts gently into the warm curds without turning greasy or making eggs tough from overcooking.
9.How long do leftover roasted garlic scrambled eggs keep in the fridge? ▾
These eggs taste best fresh for that ideal silky texture, but if you have leftovers, store them in an airtight container in the fridge for up to 3 days. Reheat gently in the microwave in 20-second bursts, stirring between each, to avoid rubbery texture—skip stovetop reheating over high heat, which will overcook them fast.
10.Why is there a faint green tinge on the edges of my cooked scrambled eggs? ▾
That harmless gray-green ring forms when eggs cook too long over high heat, from a natural reaction between iron in the egg yolk and sulfur in the egg white. To avoid it, keep heat on low, don’t overcook the curds, and serve immediately after cooking to keep eggs bright pale yellow with no discoloration.
11.Can I use pre-minced jarred garlic instead of roasting fresh garlic cloves? ▾
I don’t recommend it. Jarred pre-minced garlic has a sharp, bitter, preserved flavor that doesn’t mellow the way slow-roasted fresh garlic does, so it won’t deliver that signature sweet, caramelized note. If short on time, sauté fresh minced garlic in butter over very low heat for 3 minutes until soft as a last-minute swap.
12.What are the best serving pairings for these eggs? ▾
These luxe eggs pair beautifully with buttery sourdough toast, crispy roasted breakfast potatoes, smoked salmon, or a side of lightly dressed arugula for bright, peppery contrast. They also make a fantastic breakfast wrap filling with a sprinkle of flaky salt, or served alongside crispy bacon or turkey sausage for a heartier weekend brunch.
13.Should I season the eggs before cooking or after they’re done? ▾
Whisk a small pinch of fine sea salt into the egg mixture 10 to 15 minutes before cooking if you have time—this breaks down egg proteins slightly for extra tender curds. If short on time, add salt right before pouring eggs into the pan, and finish with flaky sea salt, black pepper, and chives right before serving.
14.My roasted garlic turned bitter—what did I do wrong? ▾
Bitter roasted garlic almost always comes from roasting at too high a temperature, or letting cloves burn on the edges. Roast garlic at 400°F, drizzled with a tiny bit of olive oil and wrapped tight in foil, for 35 to 40 minutes until pale golden and soft, not dark brown. Charred, dark bits will add unpleasant bitter flavor to your eggs.
15.Can I make these eggs for a large crowd without them getting cold or rubbery? ▾
Yes! Cook the eggs in smaller 6-egg batches over low heat, then transfer them to a warm (not scalding hot) slow cooker set to the "warm" setting, covered loosely with a lid. Stir every 10 minutes, and they’ll stay silky and warm for up to 2 hours without overcooking, perfect for brunch parties or big family breakfasts.

Comments (9)

2 hours ago

OMG, this roasted garlic twist on scrambled eggs is a total game changer! I used to make plain eggs every morning for breakfast, and now my partner is begging me to make these every single weekend. The garlic gets so sweet and mellow when you roast it, no harsh bite at all! SO good.

30 minutes ago

Right?! I was worried the garlic would be too overpowering for early mornings but it’s so smooth, I even added a little parmesan on top last time and *chefs kiss*

5 minutes ago

So glad you two are loving it! A sprinkle of parmesan or fresh chives is such a great add, highly recommend giving that a try if you haven’t already!

yesterday

Made these for my three kids before school this week and they all cleaned their plates! I was shocked because they usually turn their noses up at anything with garlic, but the roasted flavor is so mild they didn’t even complain. Super easy too, only took me like 10 extra minutes to roast the garlic while I prepped their lunch boxes. Total win!

2 hours ago

That makes our day to hear! Roasting the garlic really does take the sharp edge off, which makes it perfect for even the pickiest eaters. So glad this worked out for your busy school morning routine!

3 days ago

Pretty solid recipe! I threw these on the griddle out on the patio Sunday morning alongside some bacon and sourdough toast. Only note is I’d probably roast the garlic a tiny bit longer next time to get it extra spreadable, mine was still a little firm after 12 minutes total. Still tasted great though, would make again.

1 week ago

Made these for my girls’ brunch potluck last weekend and everyone was asking for the recipe! I served them with mini everything bagels and a fruit platter, and they were gone in 10 minutes flat. Who knew such a simple swap could elevate basic scrambled eggs so much? Already added this to my regular rotation.

5 days ago

This sounds perfect for my upcoming work potluck! How much garlic would you recommend for 8 people? I’m always worried I’ll add too much and overwhelm the dish.

3 days ago

Great question! For a crowd of 8, 2 whole heads of roasted garlic (roughly 20-25 cloves) is the perfect amount, it gives that nice sweet garlic flavor without being overpowering. For smaller at-home servings, 4-5 cloves per 2 eggs works great!

2 days ago

Meal prep win! I made a big batch of these on Sunday to eat for breakfast throughout the work week, and they reheated way better than I thought they would. The roasted garlic flavor didn’t get weird in the fridge at all, and they stayed fluffy instead of turning rubbery like regular scrambled eggs usually do for me. 10/10.

yesterday

Wait how do you reheat them? I’ve had bad luck with meal prep eggs getting rubbery in the microwave, any tips?

2 hours ago

I do 30-second bursts in the microwave, stirring between each, and add a tiny splash of water before I start! Works like a charm, no rubbery texture at all. I also store them in an airtight glass container instead of plastic, that seems to help too.

5 days ago

I’ve been making scrambled eggs for my grandkids for over 40 years, and I never thought to add roasted garlic! My granddaughter showed me this recipe, and we made them together last time she visited. We added a little sprinkle of her favorite everything bagel seasoning on top, and even my husband (who hates any “fancy new food”) went back for seconds. Such a lovely, simple recipe.

30 minutes ago

Super easy recipe for a college kid with basically no cooking skills! I only have a tiny toaster oven in my dorm, so I roasted the garlic in that first, then scrambled the eggs in my little microwave egg cooker? Wait don’t judge, it actually worked! Only thing is I burned the first batch of garlic because I forgot to set a timer, oops. Tasted great the second time though!

5 minutes ago

So awesome that you made this work in a dorm kitchen! Pro tip for next time: roast the garlic at 375F for 7-8 minutes in the toaster oven, and it’ll come out perfectly golden every time, no burning required. Keep cooking!

5 minutes ago

Made these after a morning hike this weekend and they hit the spot! So quick to throw together, packed with flavor, and kept me full all the way through my post-hike errands. I added a handful of sautéed spinach on the side and a dash of hot sauce, chef’s kiss. Will definitely be making these again after my next trail day.

just now

Hot sauce on these is such a good call! I drizzled a little sriracha on mine last week and the spicy/sweet combo with the garlic was unreal.

2 weeks ago

Wow, I can’t believe how simple and tasty these are! I made them for Sunday family dinner last night (breakfast for dinner night, always a hit) and even my super picky teenager ate two servings. I used farm fresh eggs from our neighbor’s chickens and homegrown garlic from our garden, and it just tasted so cozy. Perfect easy weeknight or weekend meal, no fancy ingredients needed.



