
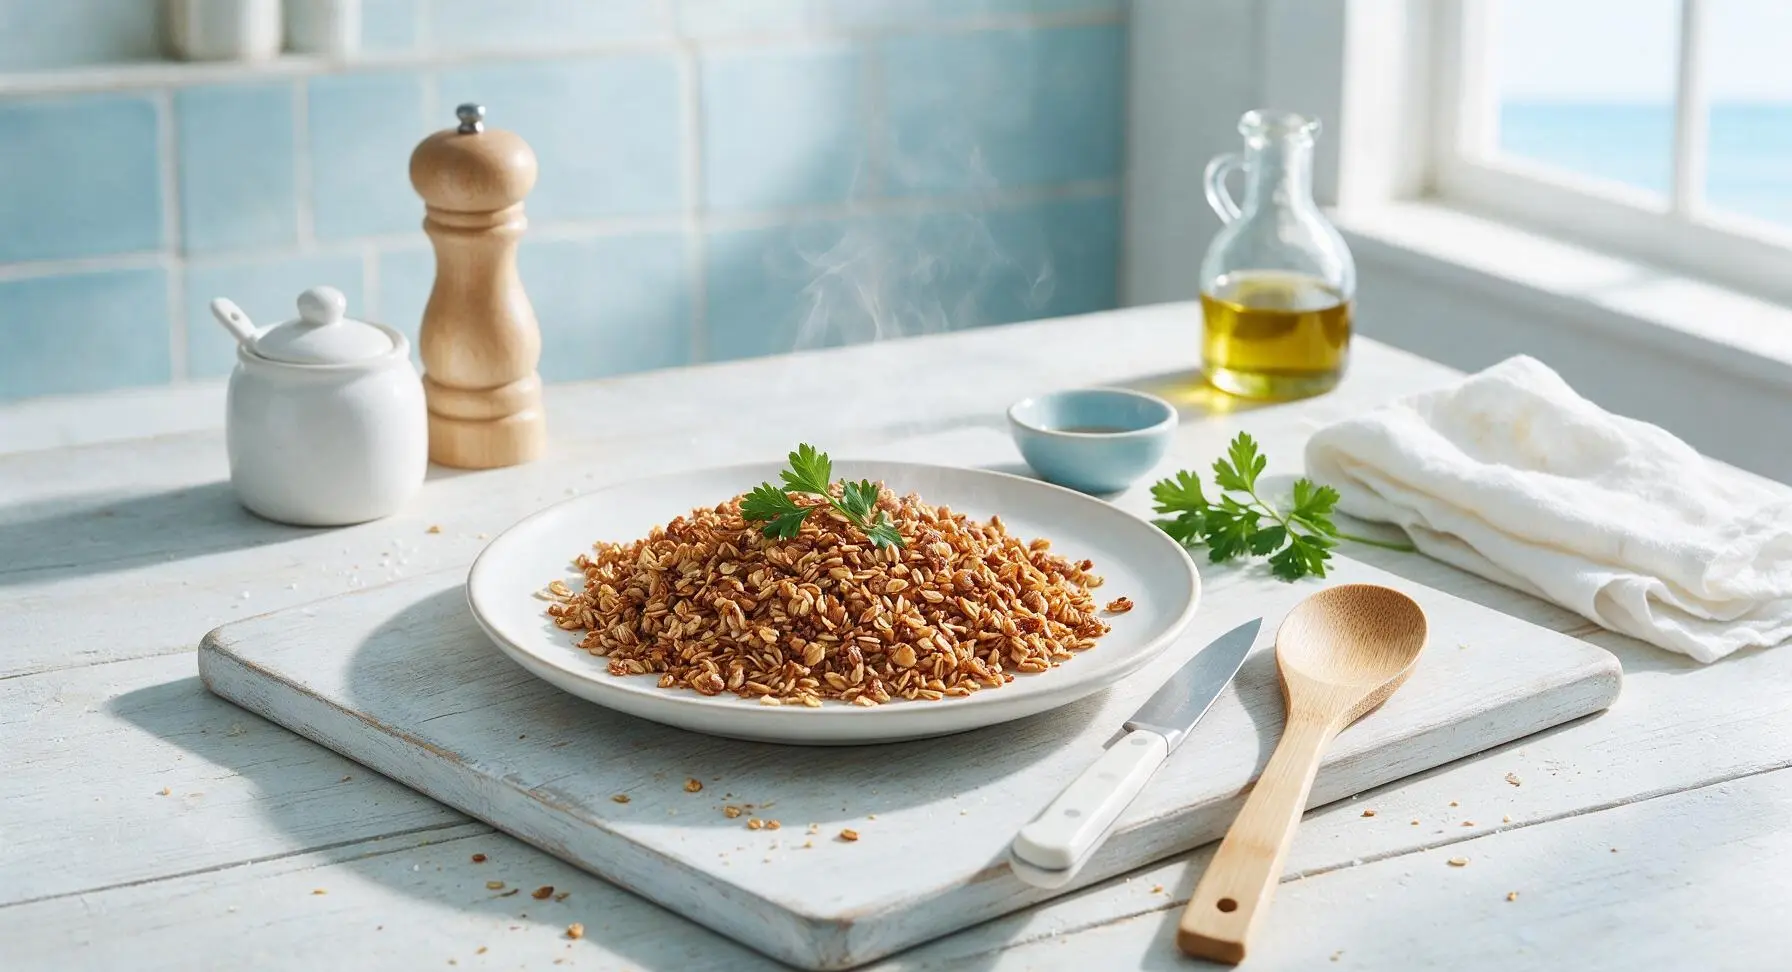
roasted oats

title 1
roasted oats
⏱️ cook time 15 minutes
🍽️ servings 4
⚡ Difficulty easy

intro

Nutty, deeply toasty roasted oats have a rich, caramelized flavor plain rolled oats can’t match, making a crunchy, versatile base for quick breakfast bowls all week.

Ingredients
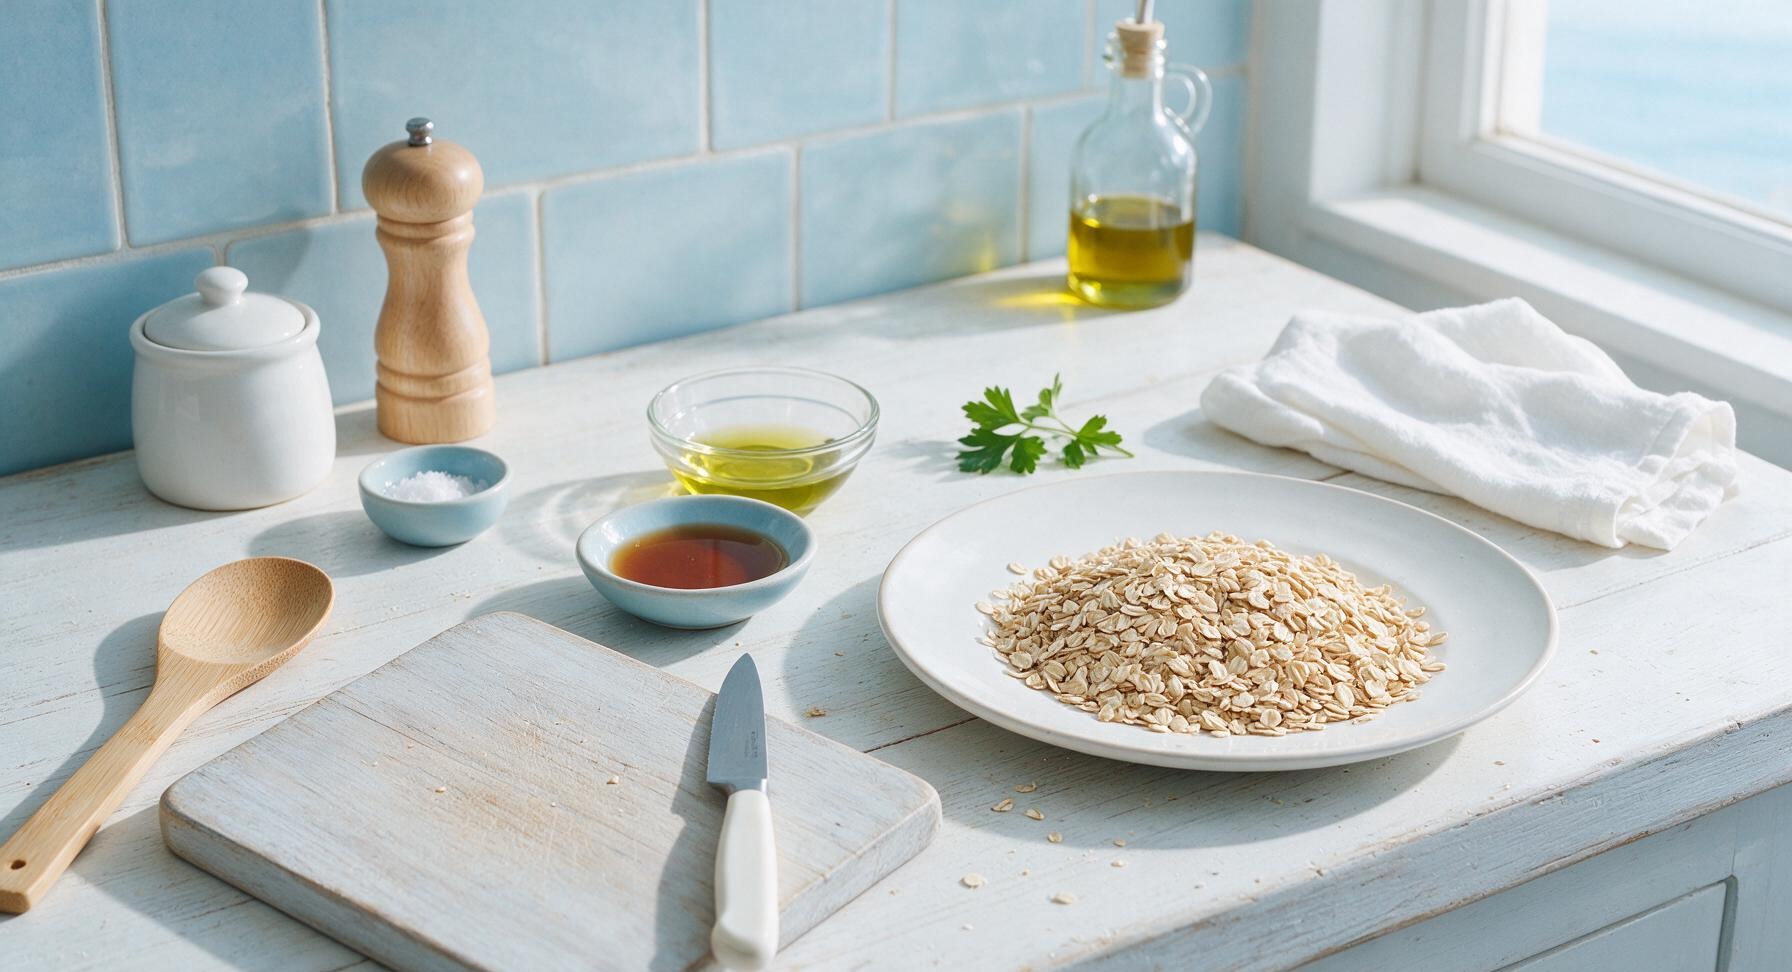
Thick-cut old-fashioned rolled oats 2 cups (180g)
Avocado oil 1 tsp
Pure maple syrup 1 tsp
Fine sea salt 1/4 tsp

Steps

1

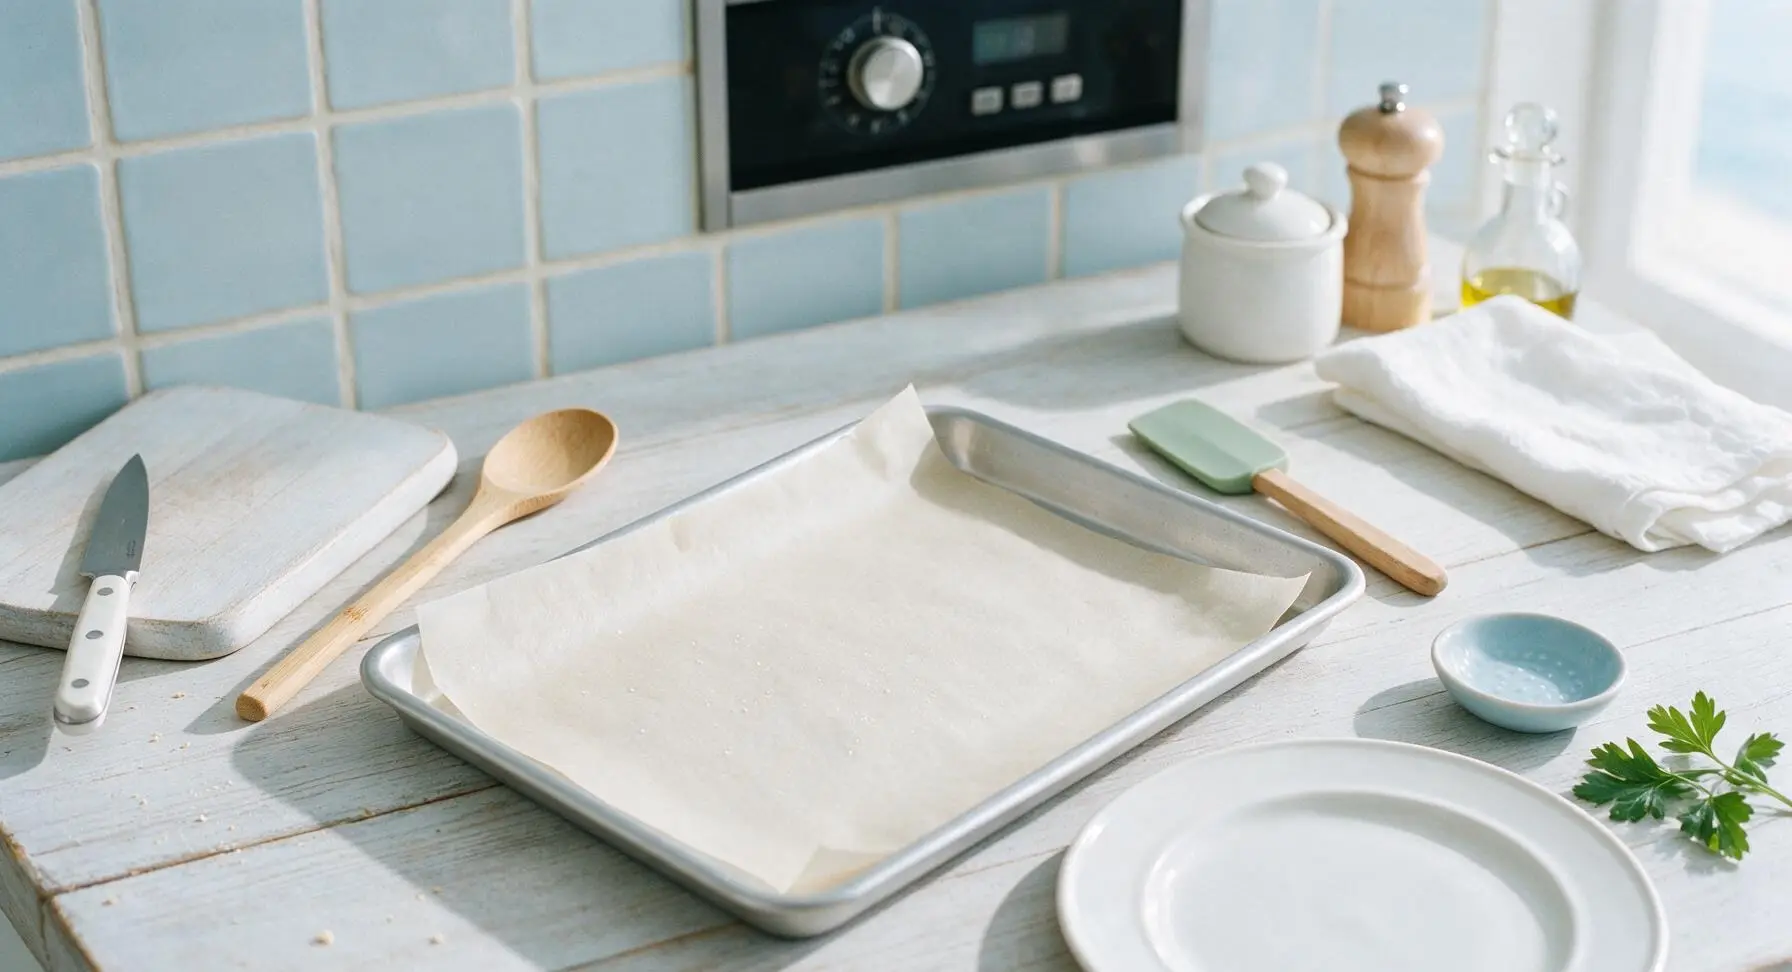
Preheat Oven, Prep Sheet

Adjust your oven rack to the middle position, then preheat the oven to 325°F (160°C). Pull the large matte aluminum rimmed baking sheet from the lower counter drawer, line it with a cut sheet of unbleached parchment paper, and set it centered on the work surface. Do not grease the parchment, as the small amount of oil in the oat mixture will prevent sticking.
Step 1
step1:Preheat Oven, Prep Sheet
2

Measure Rolled Oats

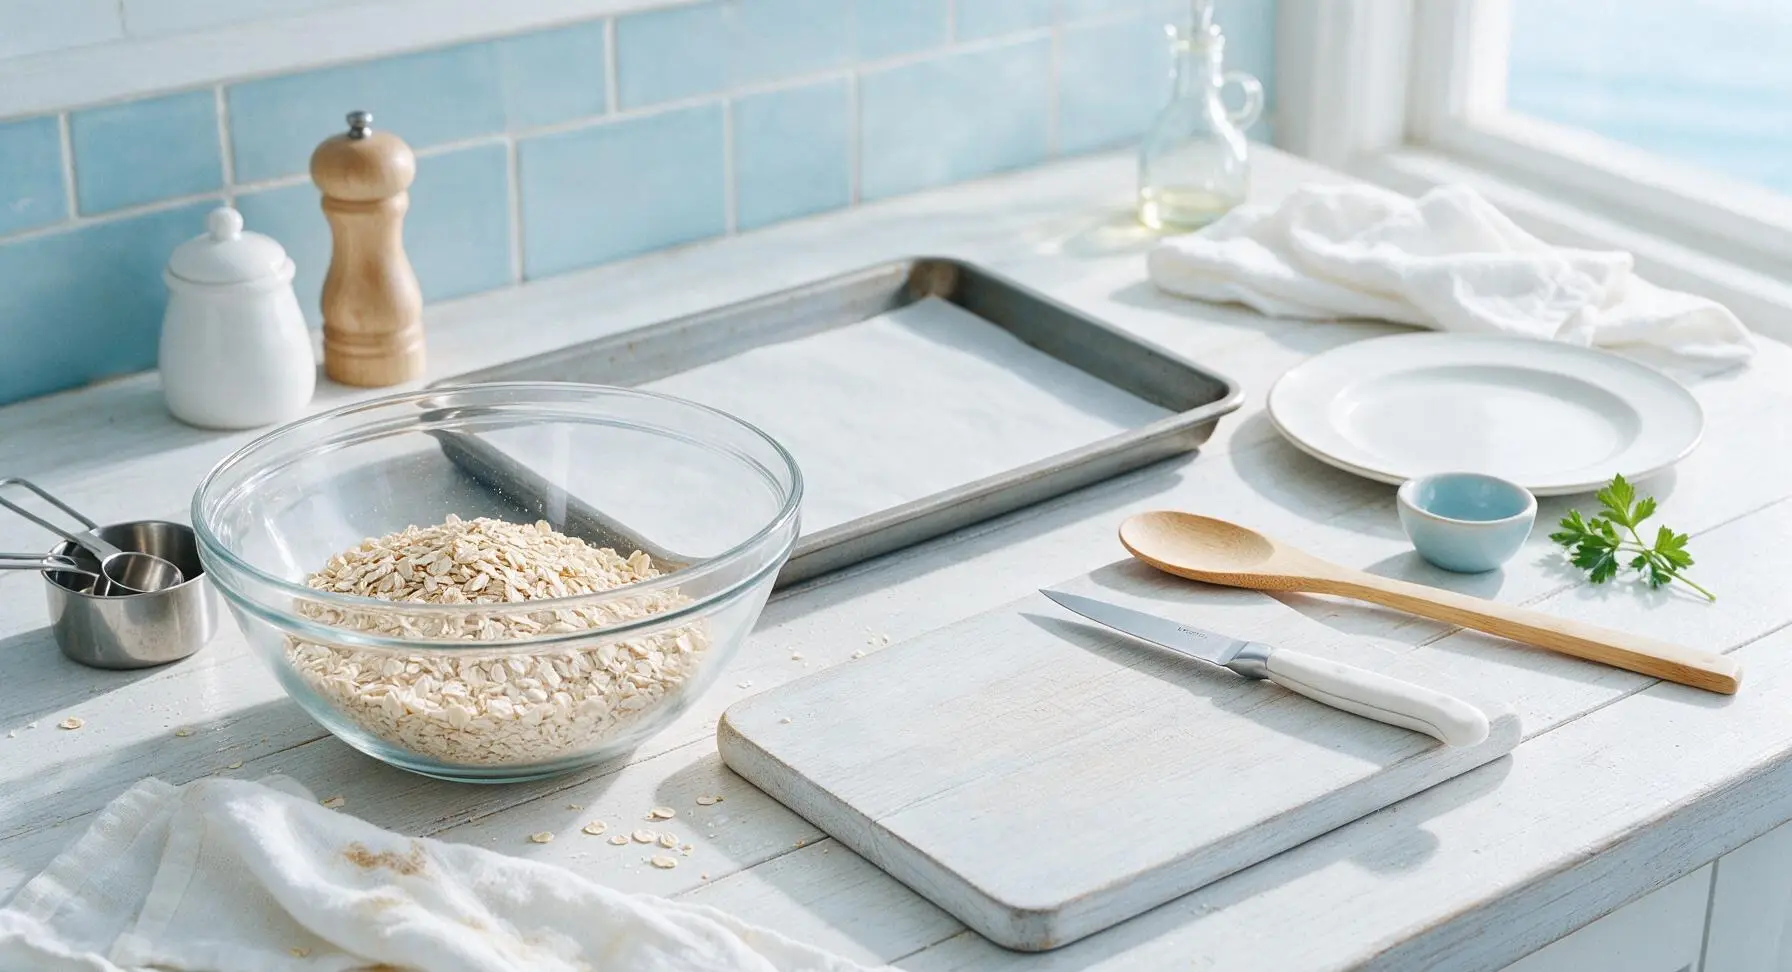
Pull the clear glass mixing bowl from the open shelf, and set it on the counter to the left of the baking sheet. Measure 2 cups (180g) of thick-cut old-fashioned rolled oats into the bowl, picking out any tiny hard hulls or excess fine oat dust as you go. Do not use instant or steel-cut oats here, as they will either burn quickly or toast unevenly.
Step 2
step2:Measure Rolled Oats
3

Add Oil and Maple

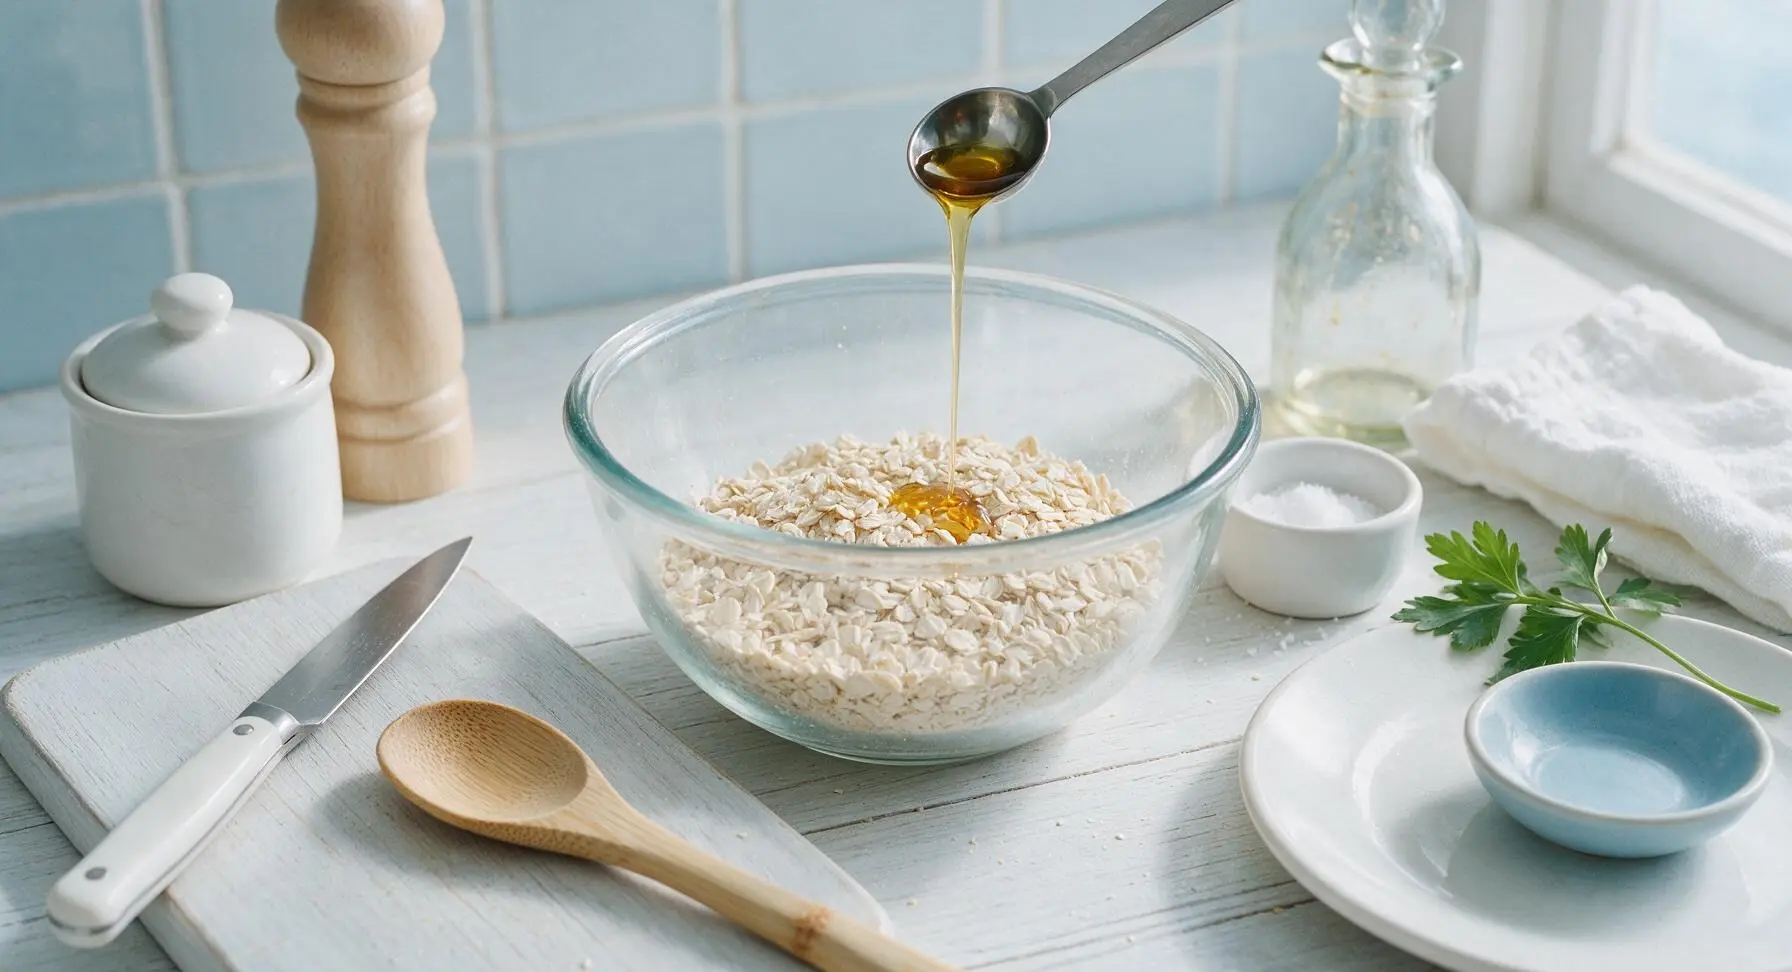
Use the 1-teaspoon stainless steel measuring spoon to drizzle 1 teaspoon of avocado oil and 1 teaspoon of pure maple syrup over the top of the raw oats in the bowl. The tiny amount of oil encourages even browning and prevents sticking, while the small measure of maple adds subtle caramel notes without making the oats clumpy or overly sweet.
Step 3
step3:Add Oil and Maple
4

Toss to Coat Evenly

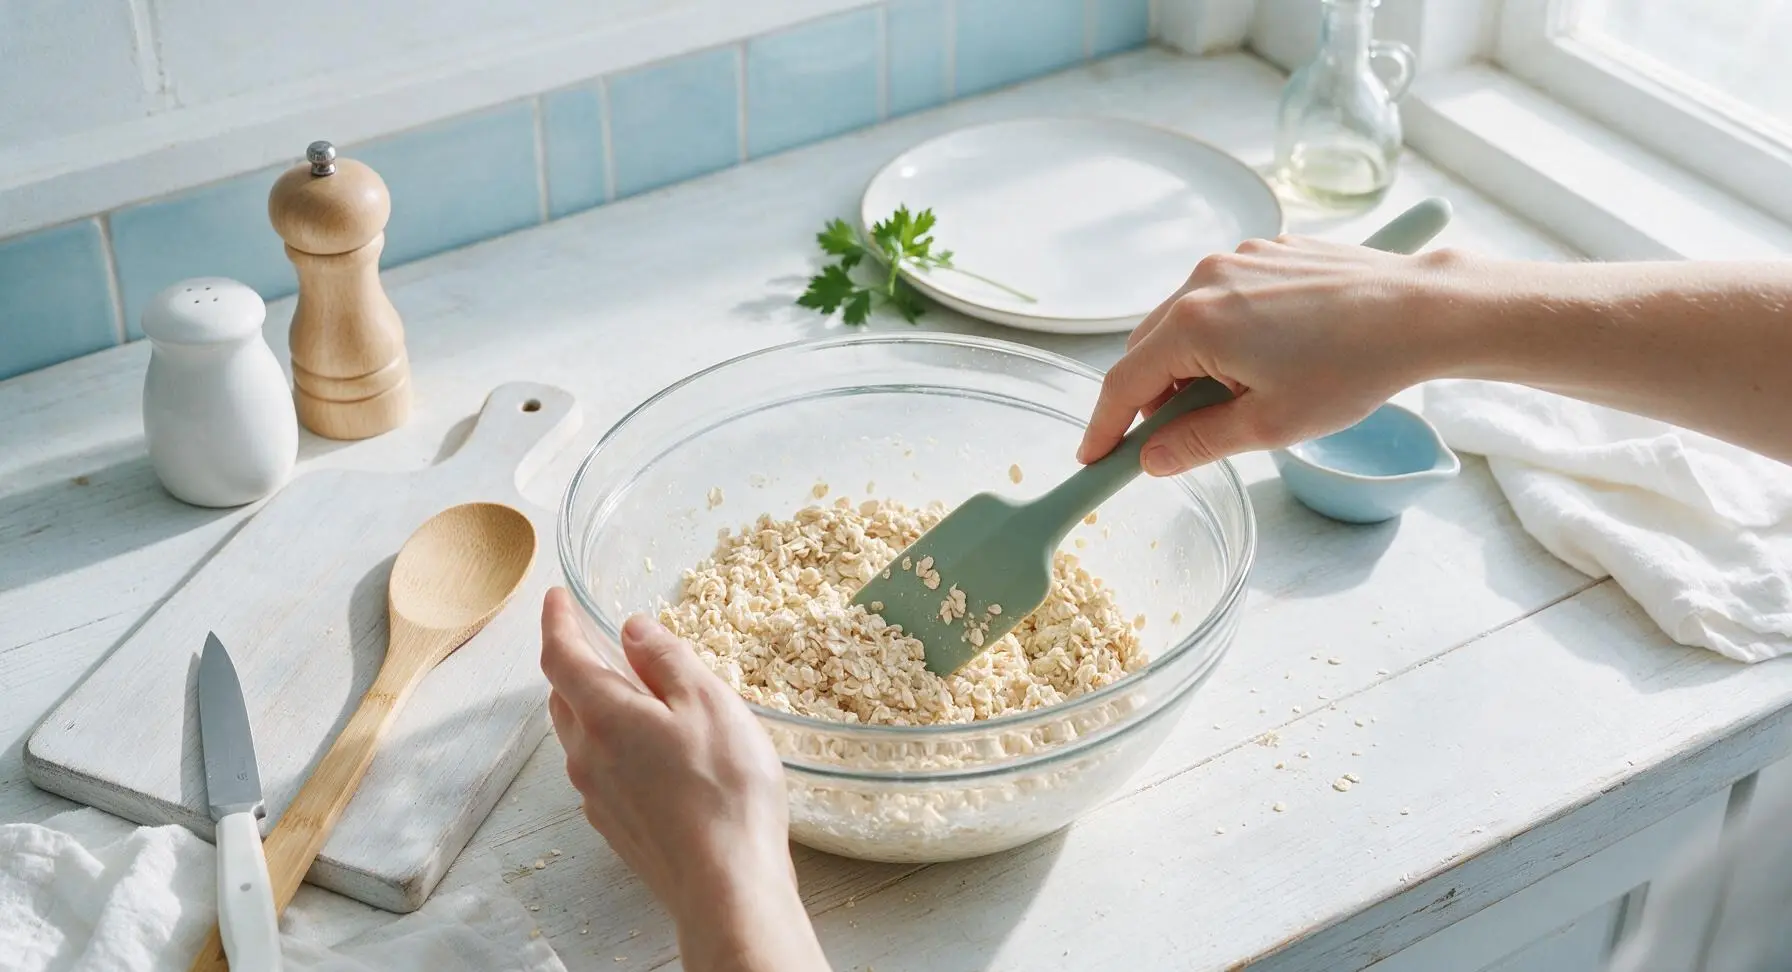
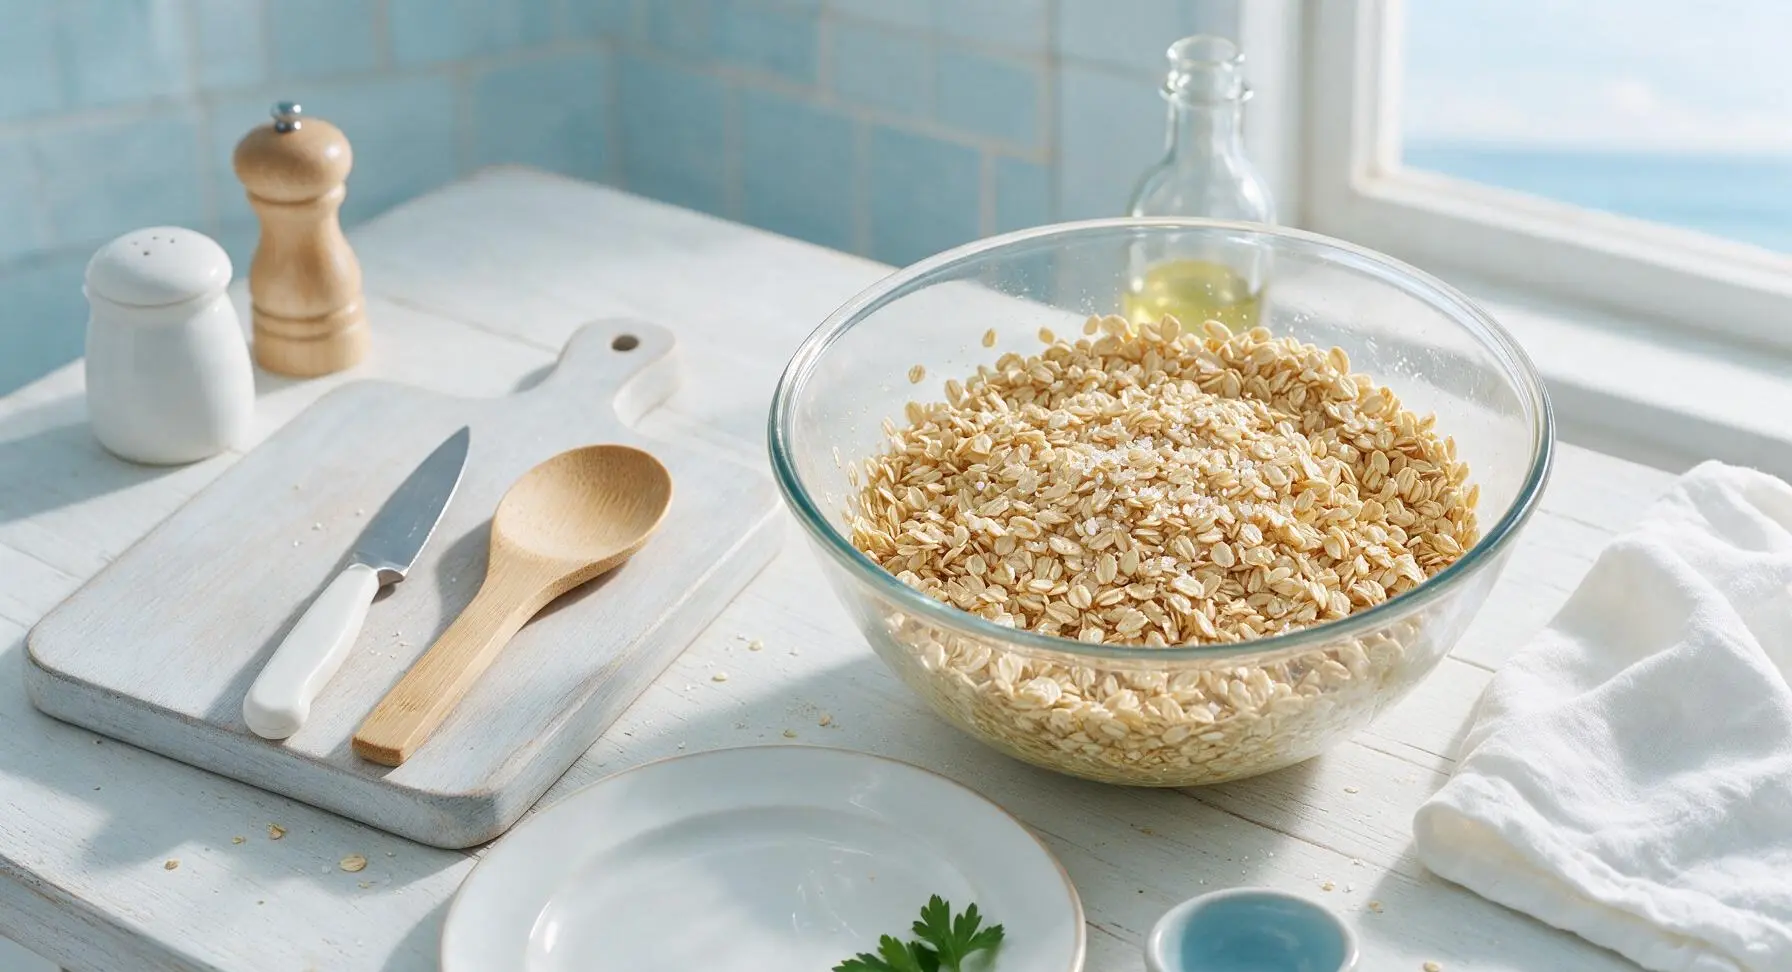
Sprinkle the 1/4 teaspoon of fine sea salt from the salt cellar over the oat mixture. Hold the glass mixing bowl steady with one hand, and use the sage silicone spatula to toss the oats thoroughly for 45 to 60 seconds, folding from the bottom of the bowl up to ensure every flake is lightly coated. Stop when there are no dry oat clumps and no pooled liquid at the bottom of the bowl.
Step 4
step4:Toss to Coat Evenly
Step 4
step4:Toss to Coat Evenly
5

Spread Oats on Sheet

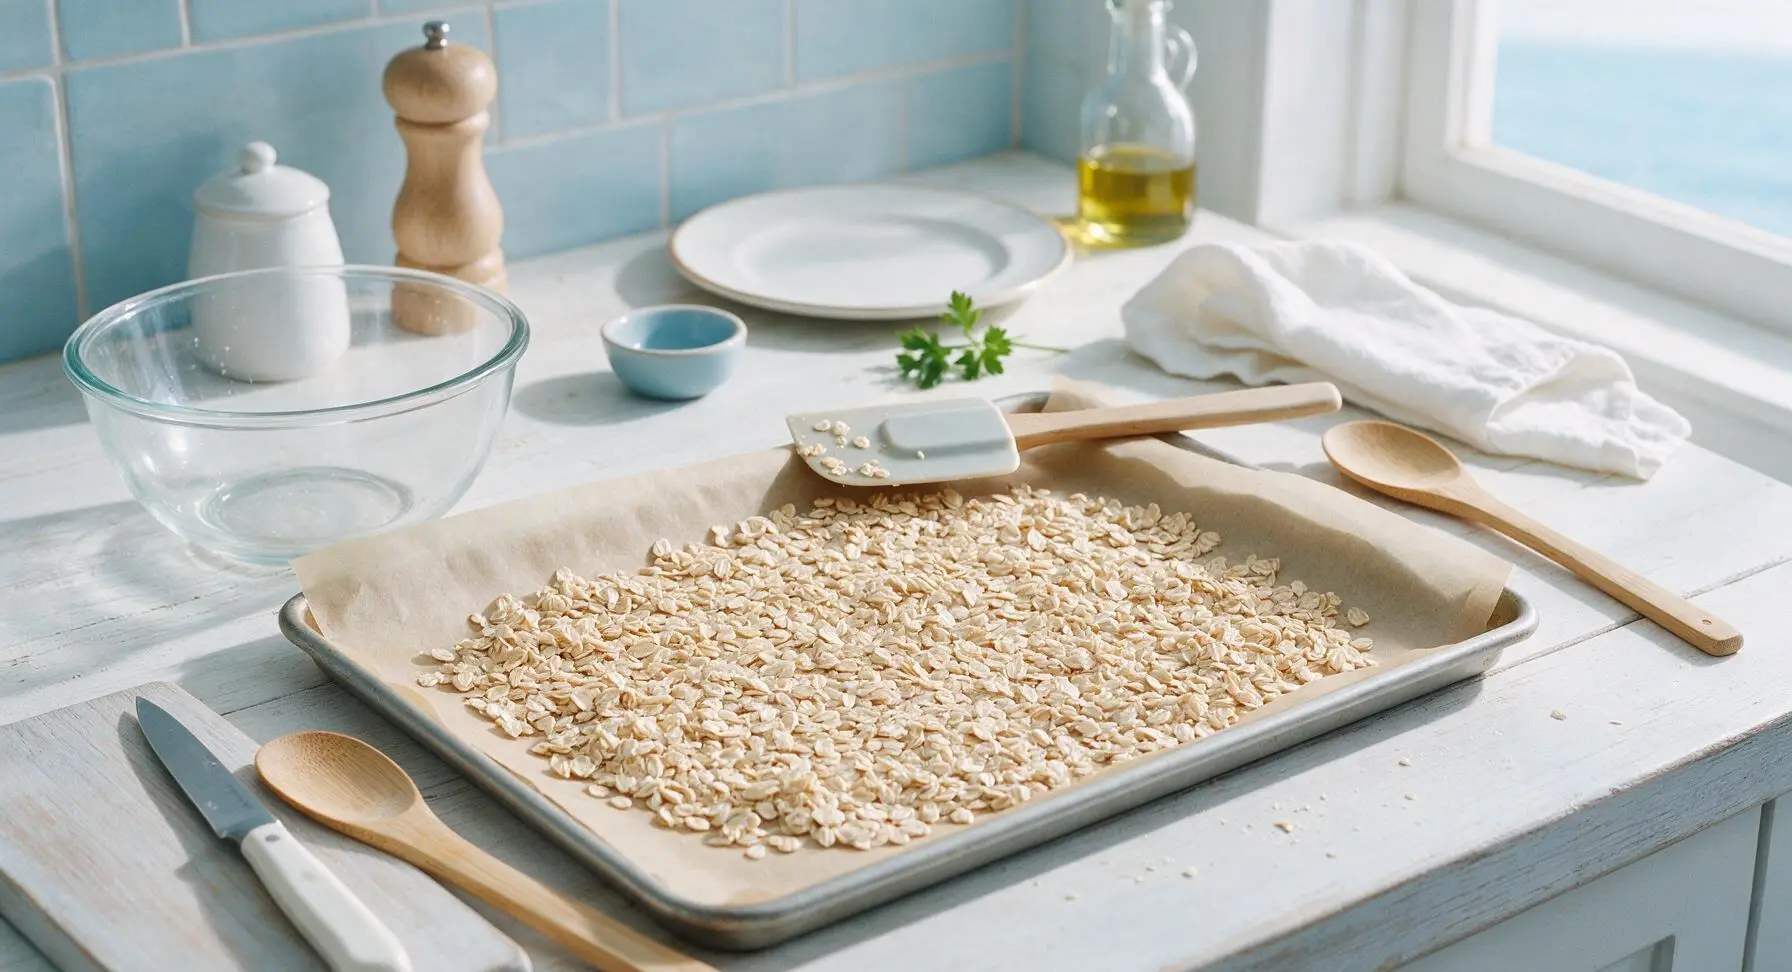
Pour the entire coated oat mixture out of the glass bowl onto the center of the parchment-lined baking sheet. Use the silicone spatula to spread the oats into a single, thin, even layer across the full surface of the sheet, breaking up any small clumps as you work. An even layer is critical: thick spots will stay chewy and untoasted, while thin spots will burn before the rest of the oats are done.
Step 5
step5:Spread Oats on Sheet
6

Roast, Stir Midway

Carefully place the baking sheet on the middle oven rack. Roast for 15 minutes total, pulling the sheet out at the 7-minute mark to stir the oats thoroughly with the silicone spatula, re-spreading them into an even layer before returning the sheet to the oven. Watch closely during the final 3 minutes of roasting, as oats can go from perfectly golden to burnt in under 60 seconds.
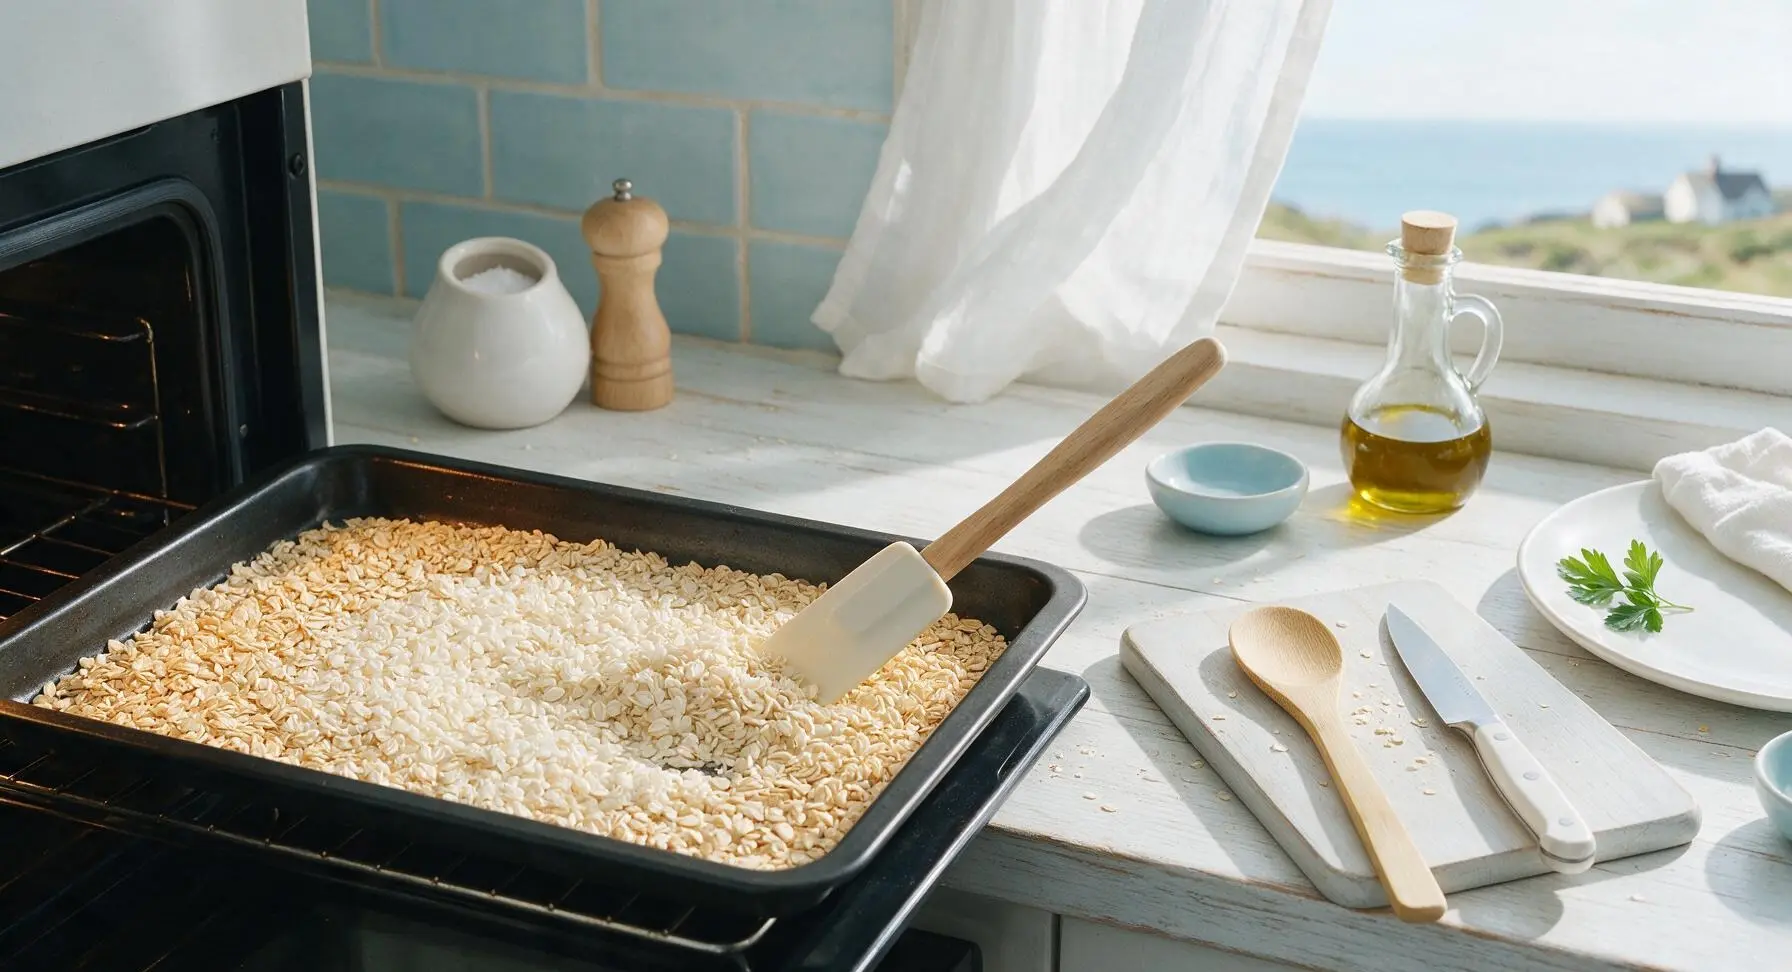
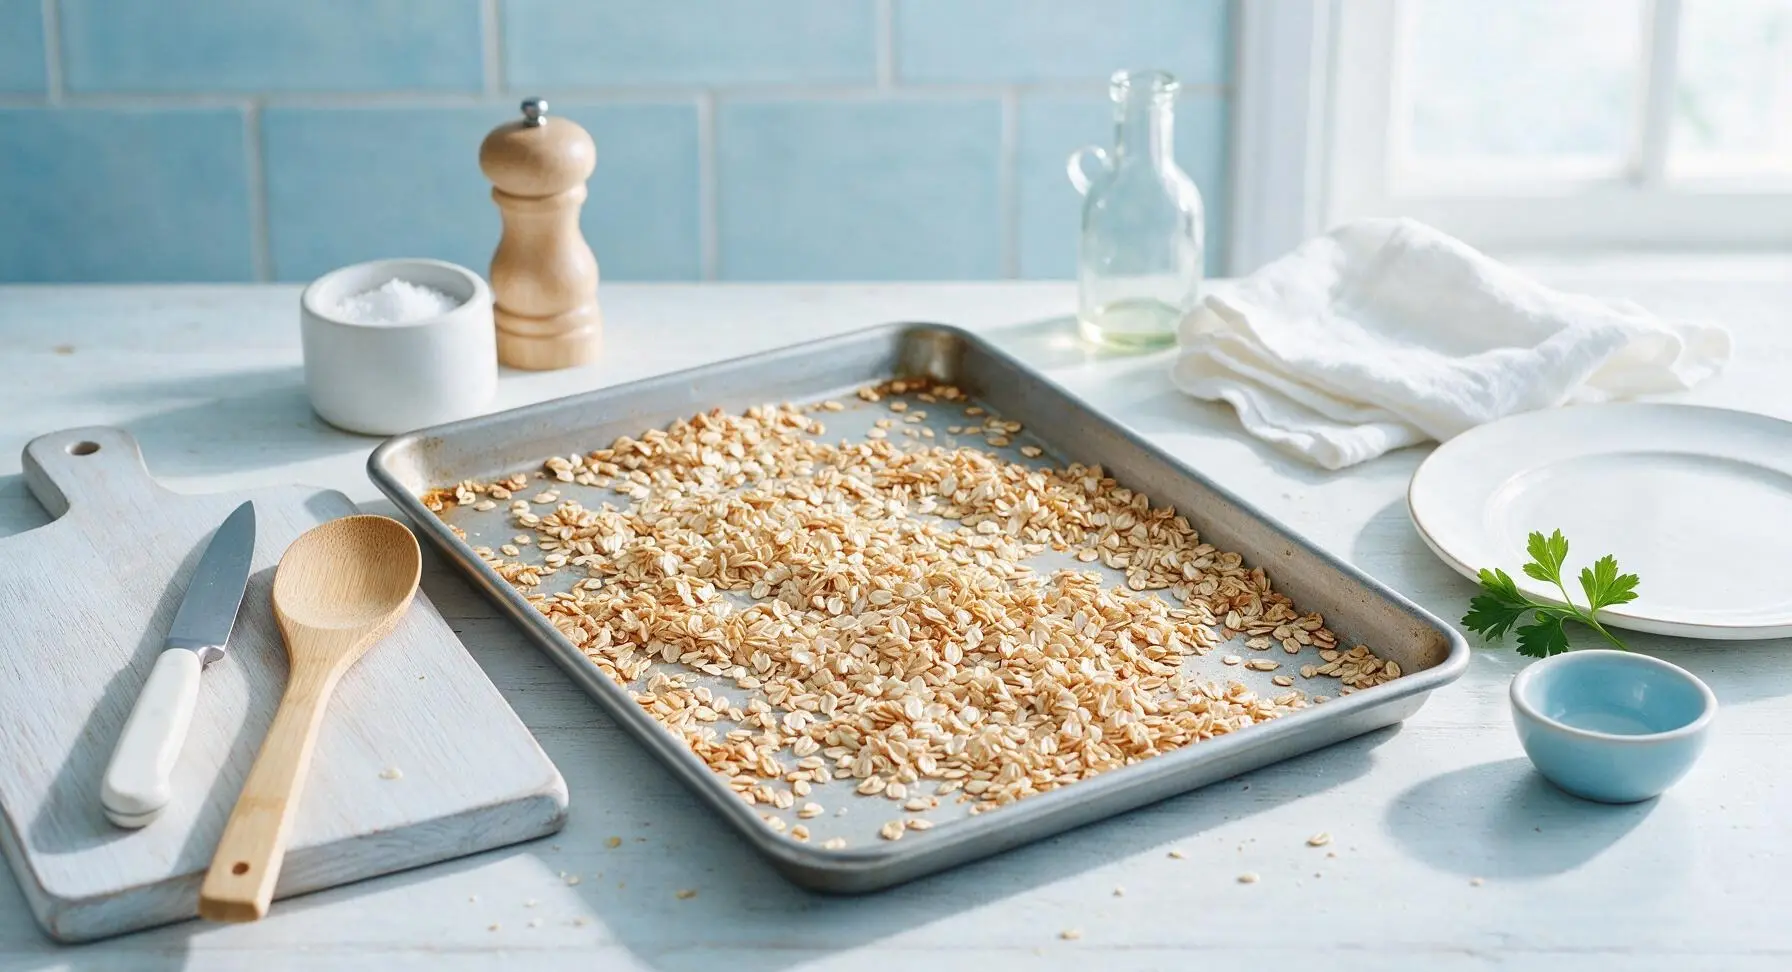
Step 6
step6:Roast, Stir Midway
Step 6
step6:Roast, Stir Midway
7

Cool Completely on Sheet

Once the oats are a uniform deep golden brown and smell richly nutty, pull the baking sheet from the oven. Set the hot sheet on top of the folded terracotta linen towel in its fixed top left counter position to protect the quartz surface, and let the oats cool completely for 10 minutes without stirring. The oats will feel soft when warm, but will crisp up to a light crunch as they cool.
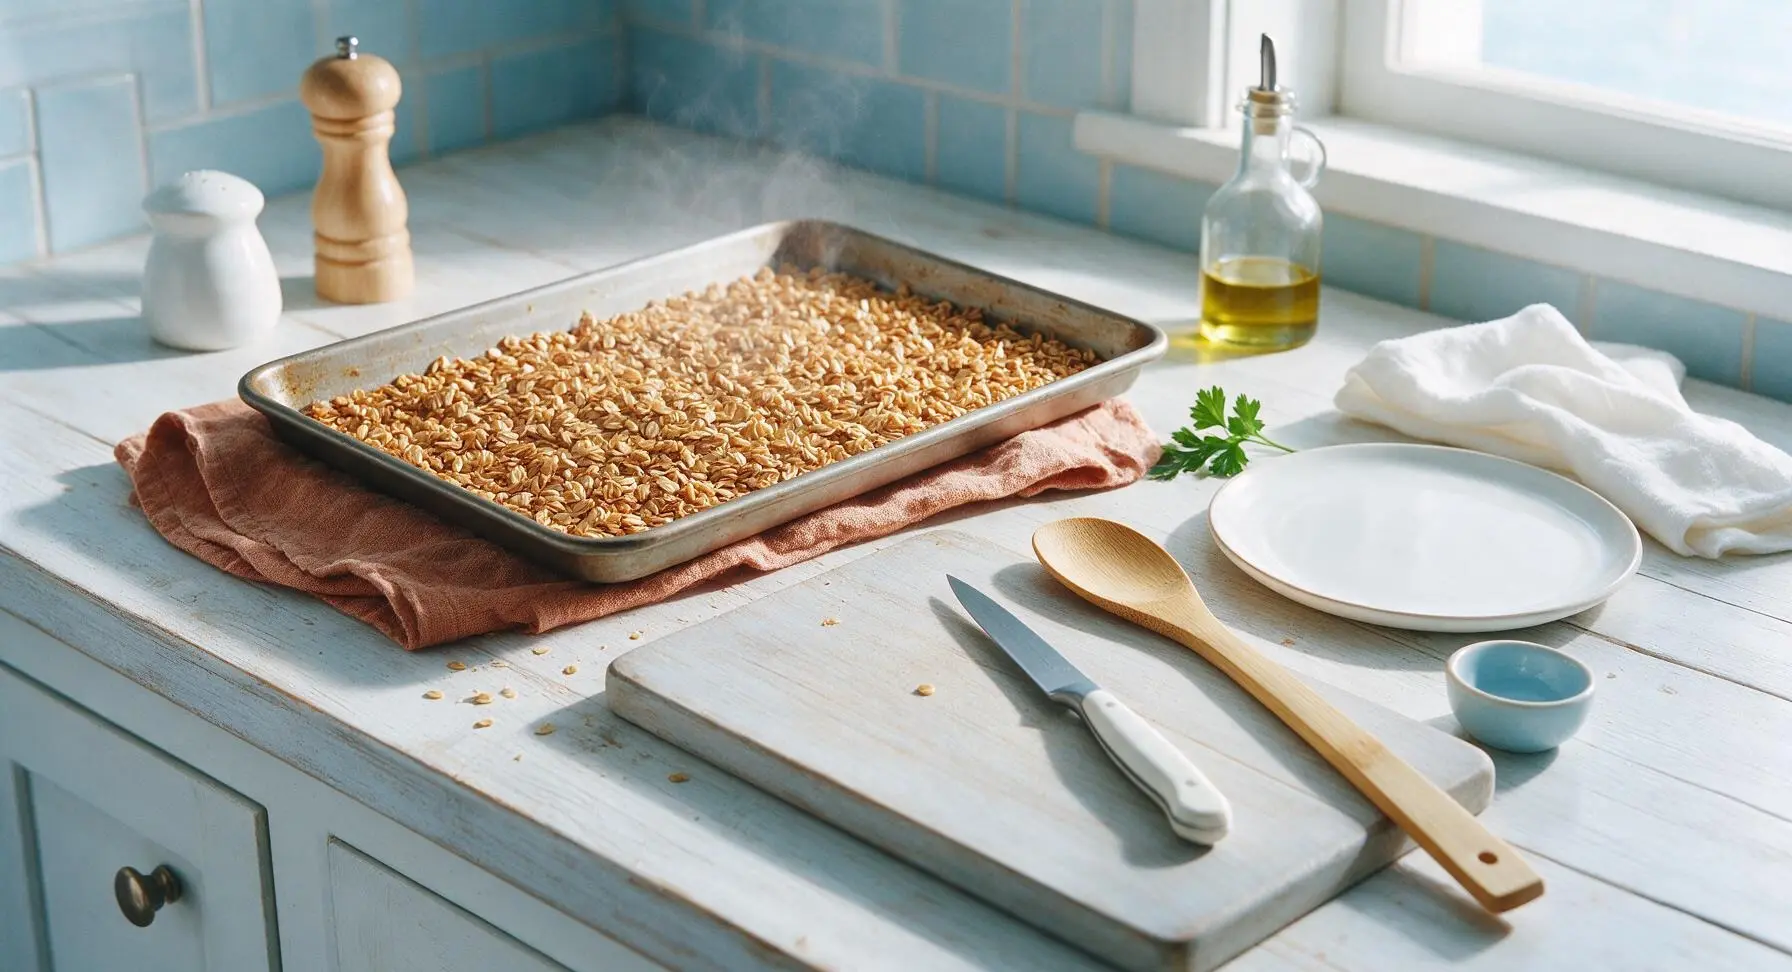
Step 7
step7:Cool Completely on Sheet
8

Serve or Store Oats

Once fully cooled, gently scoop the roasted oats into the matte cream ceramic shallow serving bowl for immediate use, or transfer any leftover oats to an airtight glass jar stored in a cool dark pantry for up to 2 weeks. Use roasted oats as a crunchy topper for yogurt, a nuttier base for warm porridge, or a starting point for custom granola mixes.
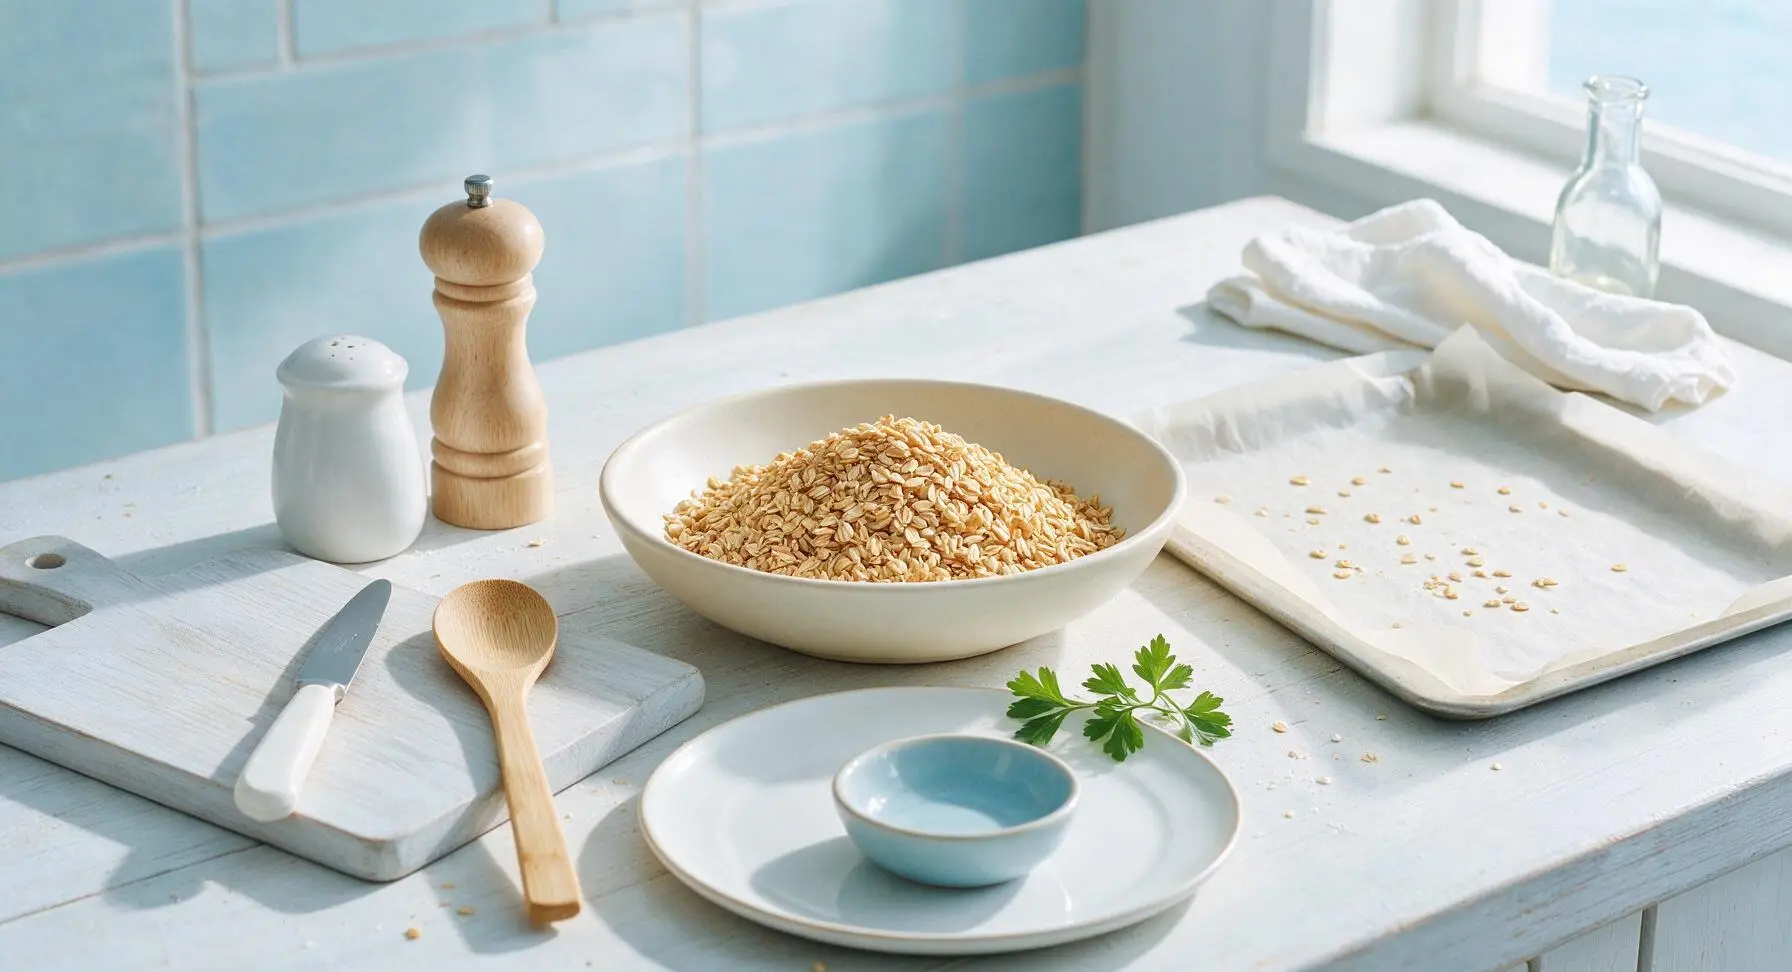
Step 8
step8:Serve or Store Oats

Tips

1.Stick to thick-cut old-fashioned rolled oats for this recipe: instant oats are too thin and will burn in as little as 5 minutes at roasting temperature, leaving a bitter, ashy flavor, while steel-cut oats are too dense to toast evenly in this short cook time.
2.Resist the urge to stir the oats while they cool: warm roasted oats are soft and crumbly, and will crisp to a perfect light, crunchy texture as they come to room temperature on the baking sheet, just like toasted nuts.
3.If you want flavored roasted oats, add 1/4 teaspoon of ground cinnamon, nutmeg, or cardamom with the salt, but wait to add dried fruit, chopped nuts, or seeds until the last 5 minutes of roasting to prevent them from scorching.


✨ You May Also Like

Breakfast
🍜 United States

Crisp-edged, fluffy lard griddle cakes are a nostalgic homestyle staple, with rich savoriness from rendered lard, perfect topped with maple syrup or savory gravy.

⏱️ 25 minuteBreakfast ★ 4.8
Breakfast
🍜 United States

Flaky, buttery homemade buttermilk biscuits smothered in creamy, peppery pork sausage gravy: a beloved, hearty Southern American comfort food classic.

⏱️ 35 minuteBreakfast ★ 4.8
Breakfast
🍜 United States

Golden, custardy brioche stuffed with sweet cream cheese and fresh berries, pan-fried to crisp perfection. An indulgent, cozy breakfast perfect for slow weekend mornings.

⏱️ 30 minuteBreakfast ★ 4.7
Breakfast
🍜 United States

Flaky, buttery Southern-style biscuits stuffed with savory salty country ham, a portable, satisfying classic perfect for casual on-the-go meals.

⏱️ 25 minuteBreakfast ★ 4.8
Breakfast
🍜 United States

Iconic puffy baked pancake popularized in Seattle, with crisp golden edges and soft custardy center, served warm with classic sweet toppings.

⏱️ 35 minuteBreakfast ★ 4.6
Breakfast
🍜 United States

Fluffy, golden pancakes studded with juicy peak-summer mixed berries, drizzled with maple syrup for a bright, comforting, crowd-pleasing family breakfast.

⏱️ 25 minuteBreakfast ★ 4.7

roasted oats:Frequently Asked Questions

1.Can I use quick-cooking or instant oats instead of thick-cut old-fashioned rolled oats for this recipe? ▾
I don’t recommend swapping for quick or instant oats. Those thinner, heavily processed oats are designed to cook fast in liquid, so they’ll scorch easily in the oven, turn crumbly instead of satisfyingly crunchy, and won’t develop that deep, nutty, caramelized toasty flavor we’re going for. Thick-cut old-fashioned oats hold their shape perfectly for even roasting.
2.Why do you use avocado oil instead of other cooking oils for roasted oats? ▾
Avocado oil has a high smoke point (around 520°F), which means it won’t burn or develop bitter, off-flavors during the high-heat roasting process. It also has a neutral, mild taste that doesn’t overpower the nuttiness of the oats or the subtle caramel notes from maple syrup, letting those core flavors shine through.
3.How do I keep my roasted oats from turning into one big stuck-together clump? ▾
First, toss the oats evenly with oil and maple syrup so every piece is lightly coated, not drowning in wet ingredients. Spread them in a single, thin, even layer on your rimmed baking sheet, and stir them every 8 to 10 minutes as they roast. Let them cool completely on the sheet before storing to lock in that ideal crunch.
4.Can I swap the pure maple syrup for honey or another sweetener? ▾
You absolutely can, but note that honey browns faster than maple syrup, so you’ll want to lower your oven temp by 25°F and keep a close eye on the oats the last 5 minutes of roasting to avoid burning. Granulated sugar works too, but it won’t deliver that same subtle, caramelized depth pure maple adds to the final roast.
5.What oven temperature and cook time gives perfect toasty oats without burning? ▾
Roast your oats at 350°F for 20 to 25 minutes total, stirring thoroughly at the 10-minute mark and again at 20 minutes to check for even browning. You’ll know they’re done when they smell richly nutty, have a light golden-brown color, and feel dry to the touch. Don’t walk away in the last 5 minutes—they go from perfect to burnt fast!
6.How long do these roasted oats stay fresh, and how should I store them? ▾
Once the oats are fully cooled to room temperature (this is key to avoiding trapped moisture that causes sogginess), transfer them to an airtight glass jar or storage container. Keep them in a cool, dark pantry, and they’ll stay perfectly crunchy and flavorful for up to 2 weeks. Skip the fridge, as extra ambient moisture will make them go soft quickly.
7.Do I really need to add salt? It seems like a tiny amount for a breakfast staple. ▾
Don’t skip that pinch of fine sea salt! It doesn’t make the oats taste salty—it amplifies the nutty, toasty flavor of the roasted oats and balances the sweetness from the maple syrup, making every bite taste richer and more well-rounded. Even a 1/4 teaspoon per batch makes a massive, noticeable difference in the final flavor.
8.Can I add mix-ins like nuts, seeds, or cinnamon while the oats roast? ▾
You can, but add heartier mix-ins like raw almonds or pumpkin seeds only during the last 10 minutes of roasting, since they burn faster than thick-cut oats. More delicate add-ins like cinnamon, dried fruit, or coconut flakes should be stirred in after the oats come out of the oven to prevent scorching or bitter, burnt flavors.
9.My last batch of roasted oats came out chewy instead of crunchy—what did I do wrong? ▾
Chewy oats almost always trace back to one of three issues: you used too much oil or maple syrup, you didn’t spread the oats in a thin enough single layer on the pan, or you stored them before they fully cooled. As oats cool, they crisp up significantly, so give them 15 minutes on the pan to set before packing them away.
10.Are these roasted oats gluten-free? ▾
Oats are naturally gluten-free, but they’re often cross-contaminated with wheat, barley, or rye during processing if they’re not handled on dedicated equipment. If you need gluten-free roasted oats, look for certified gluten-free thick-cut old-fashioned rolled oats, and confirm your oil, maple syrup, and salt are also gluten-free to avoid accidental cross-contact.
11.Can I make these roasted oats in a skillet on the stovetop instead of the oven? ▾
Absolutely! Heat a dry, heavy-bottomed skillet over medium-low heat, toss in your oil- and maple-coated oats, and stir constantly for 8 to 12 minutes until they’re golden and fragrant. The stovetop method works great for small batches, but you have to stir nonstop to avoid hot spots that burn patches of oats before they toast evenly.
12.What are the best ways to use these roasted oats beyond basic breakfast bowls? ▾
They’re incredibly versatile! Sprinkle them over yogurt, smoothie bowls, or chia pudding, use them as a crunchy topping for baked fruit or quick apple crisp, toss a handful into homemade trail mix, crush them lightly as a crisp coating for baked chicken tenders, or eat them by the handful as a quick, nutty on-the-go snack.
13.Can I make a big batch of these oats for weekly meal prep? ▾
That’s exactly what this recipe is designed for! A double or triple batch roasts perfectly as long as you use enough baking sheets to keep the oats in a thin single layer—don’t pile them high on one pan, or they’ll steam instead of roast. They’ll stay crunchy all week long, making quick, no-cook weekday breakfasts a total breeze.

Comments (6)

3 days ago

OMG these roasted oats are such a game changer! I whipped up a big batch yesterday for my weekly meal prep, tossed in a little cinnamon and dried cranberries after roasting, and it’s been perfect for quick breakfasts all week. My 7 year old even asked for a second bowl this morning before school! SO easy too, 15 minutes is nothing when you’re juggling morning chaos.

2 days ago

Wait do you add the cranberries right after taking the oats out the oven? I’ve been adding mine cold and they never stick! Going to try that next batch!

2 days ago

Great question! If you want your dried fruit to stick a little and get slightly toasty, you can toss them in during the last 2 minutes of roasting, or add them right when you pull the tray out while the oats are still warm. Just don’t add them too early or they’ll burn!

5 days ago

Solid recipe! I made these last night to top my yogurt bowls for work this week. Only note is I had to crank my oven a tiny bit higher because my old apartment oven runs cool, so they took a couple extra minutes. Super straightforward though, way better than the raw oats I was using before, nice nutty flavor.

3 days ago

So glad you enjoyed the nutty flavor! Great tip about adjusting oven temp for older models—every oven runs a little different, so keeping an eye on the oats until they’re golden and fragrant is always a good move, even if it adds a minute or two to the cook time.

1 week ago

Brought a big jar of these roasted oats to my neighborhood potluck last weekend, mixed with pecans and a drizzle of maple syrup, and people were asking me for the recipe left and right! I told them it only took 15 minutes to make and no one believed me. 10/10, will be making this for every gathering from now on.

2 days ago

Wait I tried making roasted oats once before and they burned so bad I set off my dorm fire alarm lmao. Decided to give it another go with this recipe since it’s so short, and they turned out perfect! I kept the heat exactly as written, stirred every 5 minutes like the instructions said, and they’re golden and crispy. Game changer for my late night snack bowls.

yesterday

Oh my gosh I did the exact same thing last semester! My RA still teases me about the fire truck showing up. Did you do this on a baking sheet with parchment paper? I need to make sure I don’t mess it up this time.

2 hours ago

Yep! Lined my sheet with parchment, didn’t pile the oats too thick, and stirred like clockwork. No smoke alarms this time, promise 😂

yesterday

My kids are so picky about breakfast, I swear they turn their nose up at 90% of what I make. I made these roasted oats with a little vanilla and mini chocolate chips after roasting, and they both gobbled it up with milk this morning! No complaints, no negotiations about taking 'one more bite' — absolute win. So easy too, I made it while their pancakes were cooking on the griddle.

30 minutes ago

That makes me so happy to hear! The mini chocolate chip addition sounds absolutely delicious, I’m definitely going to have to try that for my own niece and nephew next time I make a batch. So glad it made morning time a little smoother for you!

2 weeks ago

Perfect lightweight snack for my day hikes! I roasted these up with a pinch of salt and some dried coconut flakes, portioned them into little baggies, and they held up great on the trail this weekend. Way cheaper and less sugary than the store-bought granola I usually grab, and it only took 15 minutes to make a whole week’s worth. SO good.



