
rock toast
intro
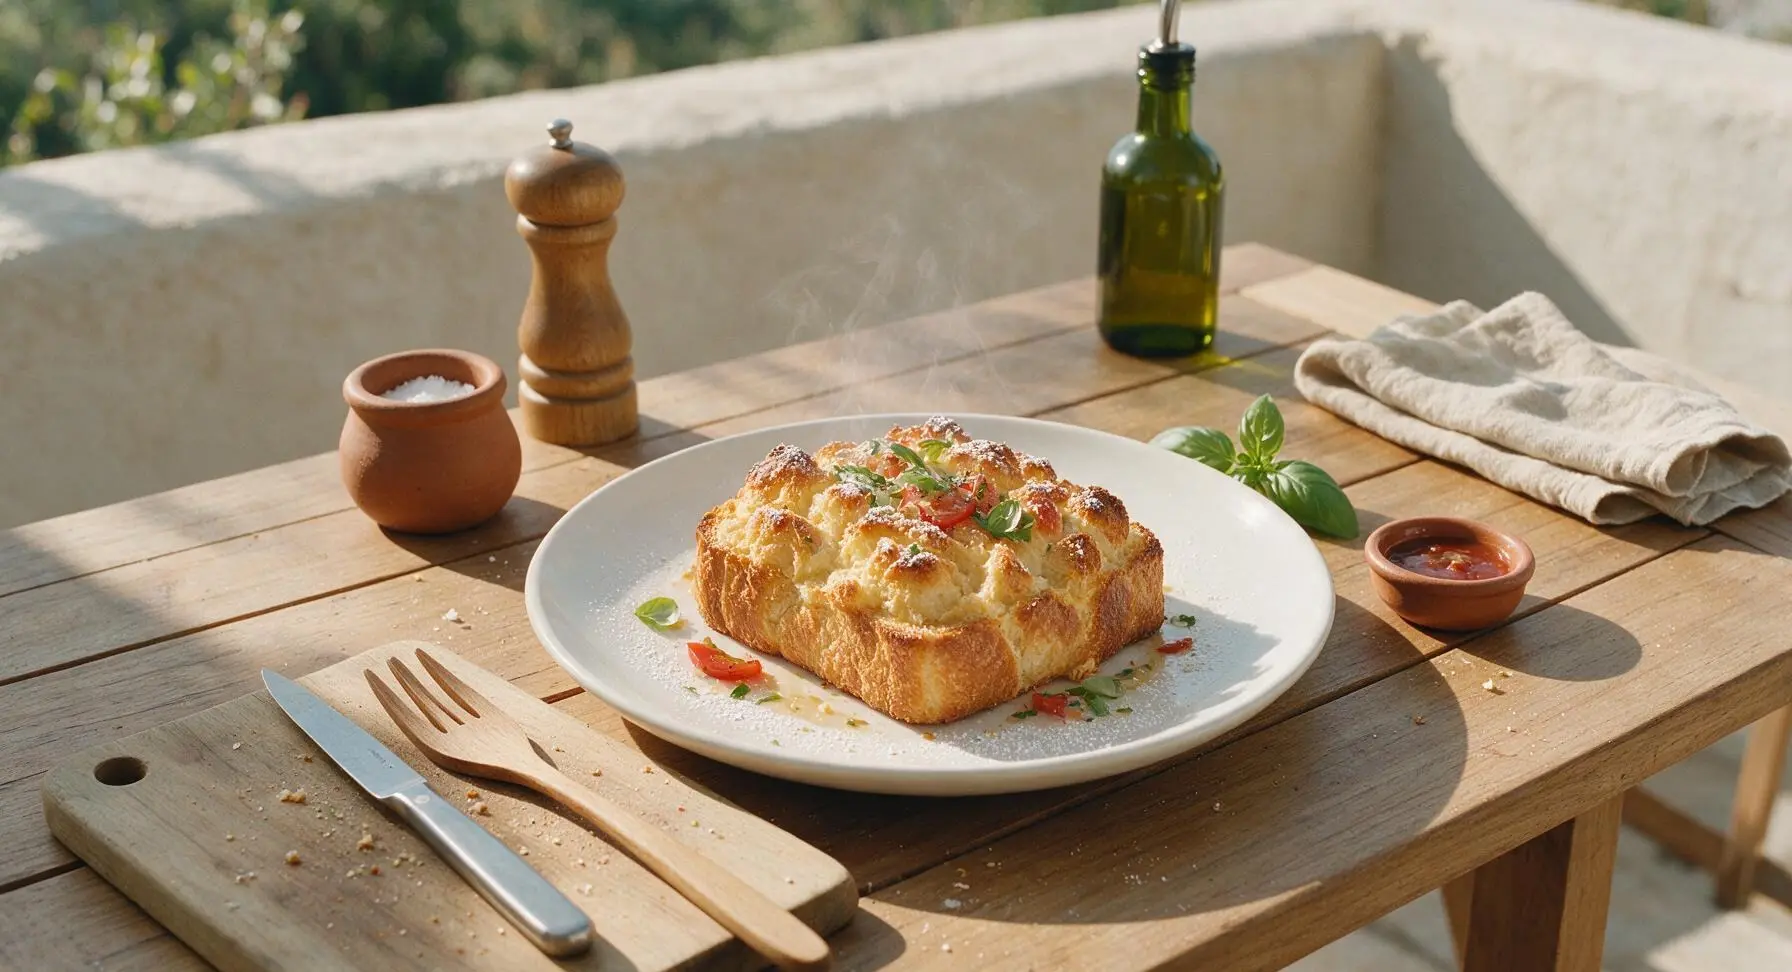
Craggy, golden-crusted thick toast with a soft fluffy center, named for its rock-like crisp texture. Sweet, buttery, and ready in 15 minutes, this cafe favorite is equal parts cozy and indulgent.
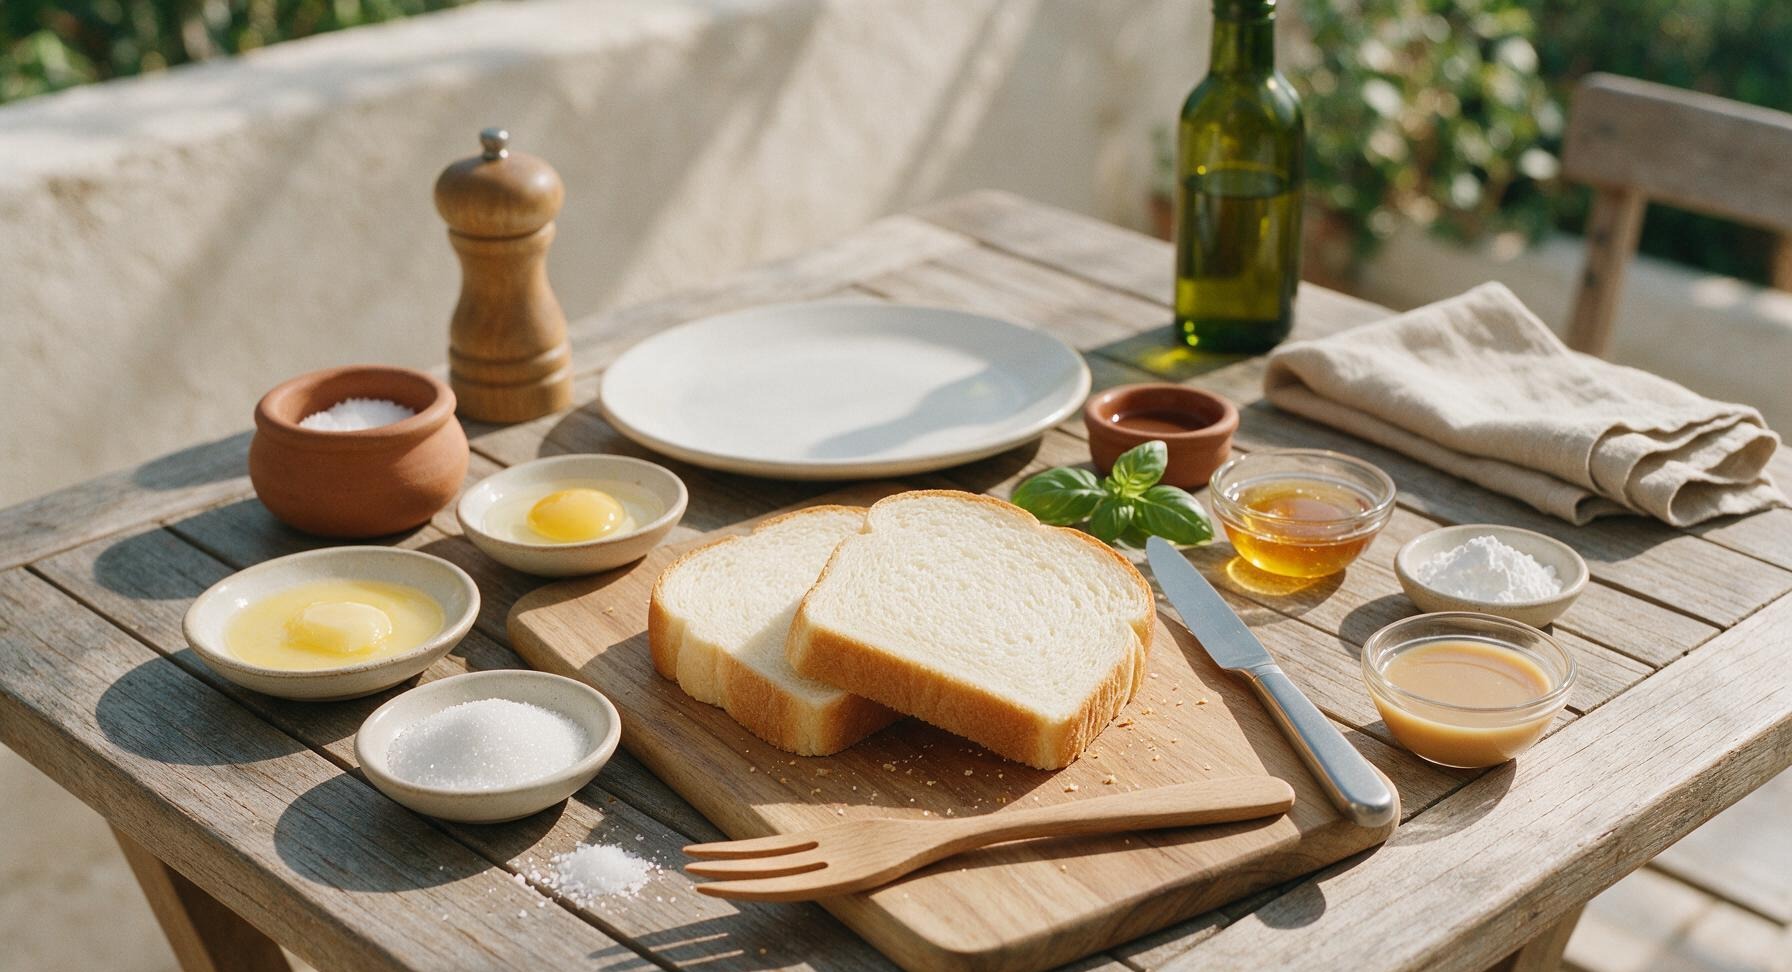
Ingredients
Steps
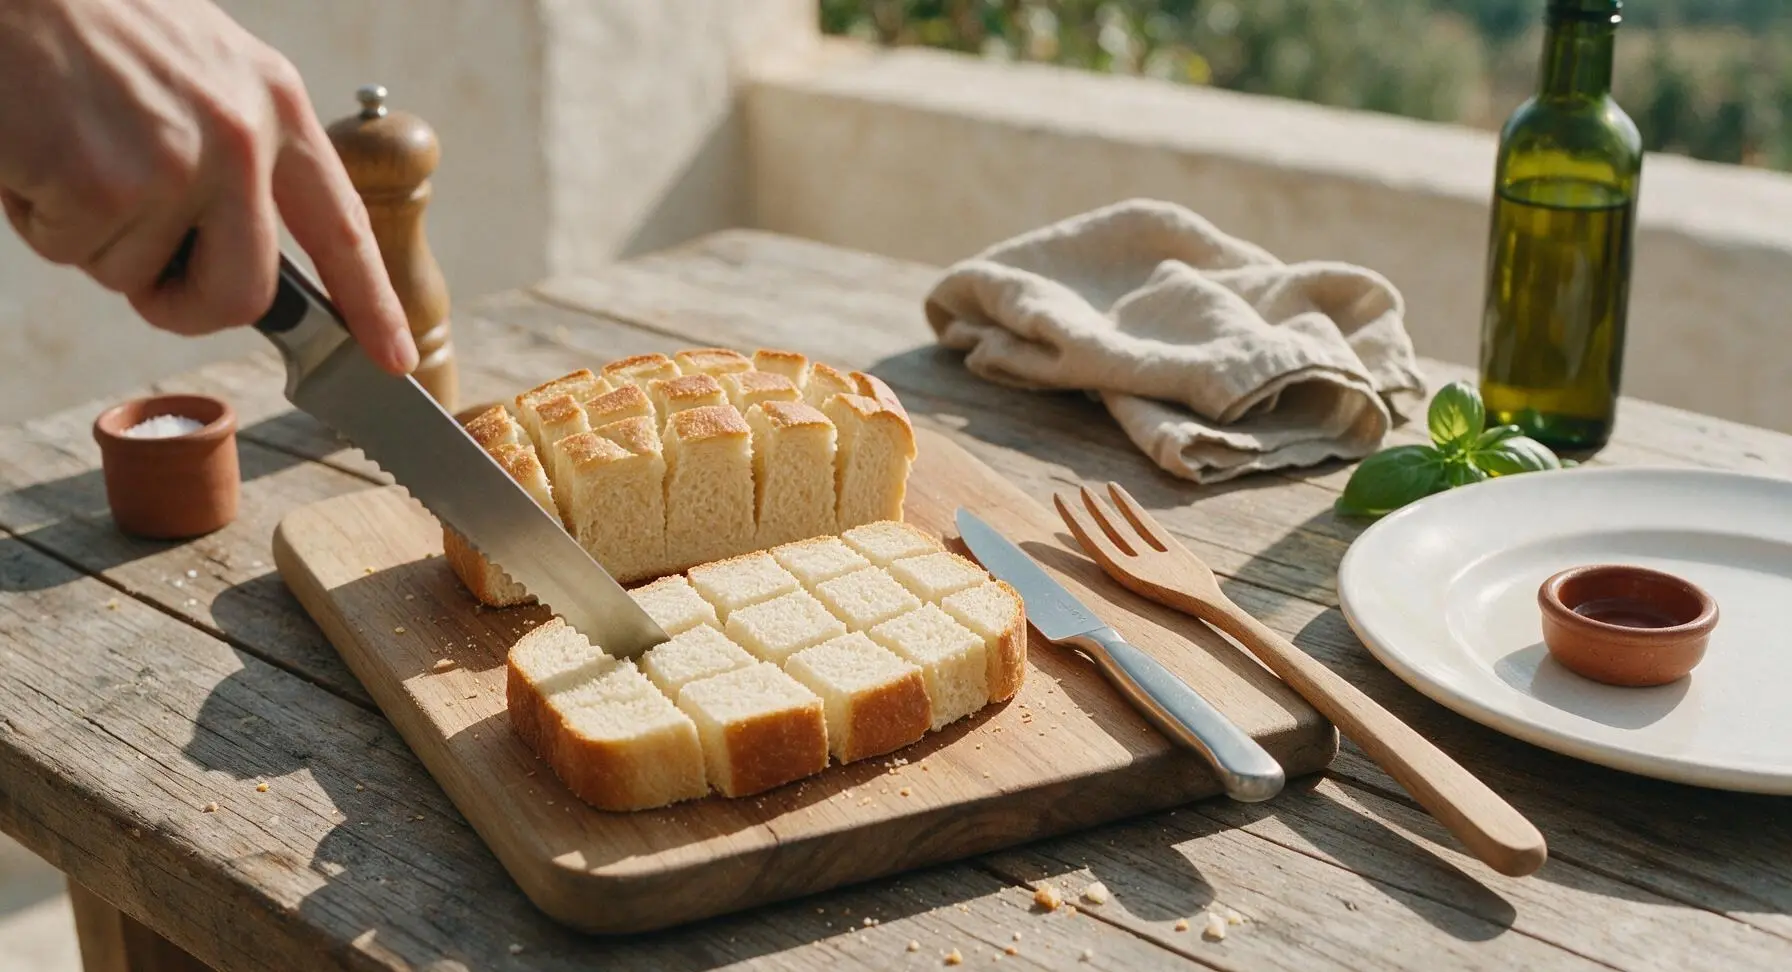
Score bread slices
Place the two 3cm-thick milk bread slices on the light grey cutting board. Use the serrated bread knife to cut a deep crisscross pattern across the top of each slice, cutting 90% of the way through the bread but taking care not to cut all the way through the bottom crust. Space cuts 1.5cm apart to create a grid of small, connected bread cubes that will crisp up into the signature 'rock' texture. The slices will hold their shape but have flexible, separated sections on top.
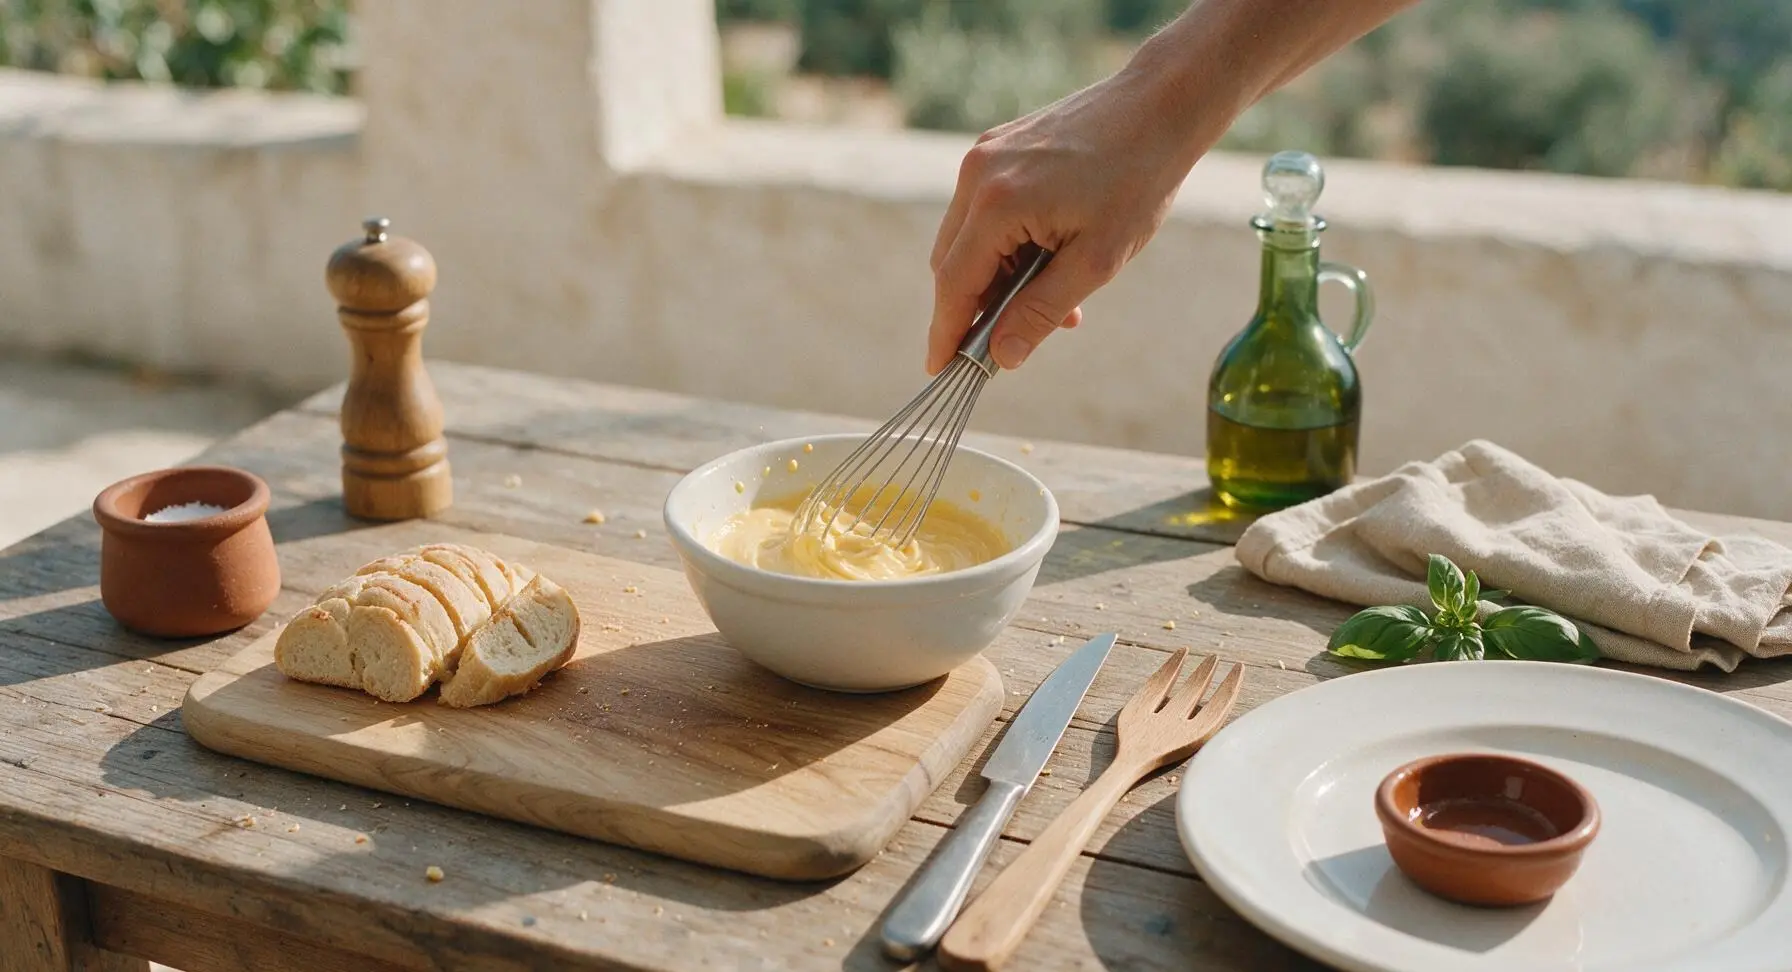
Whisk egg batter
Crack the large egg into the small matte white ceramic mixing bowl. Add the melted unsalted butter, granulated sugar, and 1/8 tsp fine sea salt. Use the stainless steel wire whisk to mix the ingredients for 30 seconds until completely smooth, with no streaks of separated egg or unmelted butter visible. The mixture will be a pale, creamy golden color, thin enough to coat the bread easily.
Coat bread slices
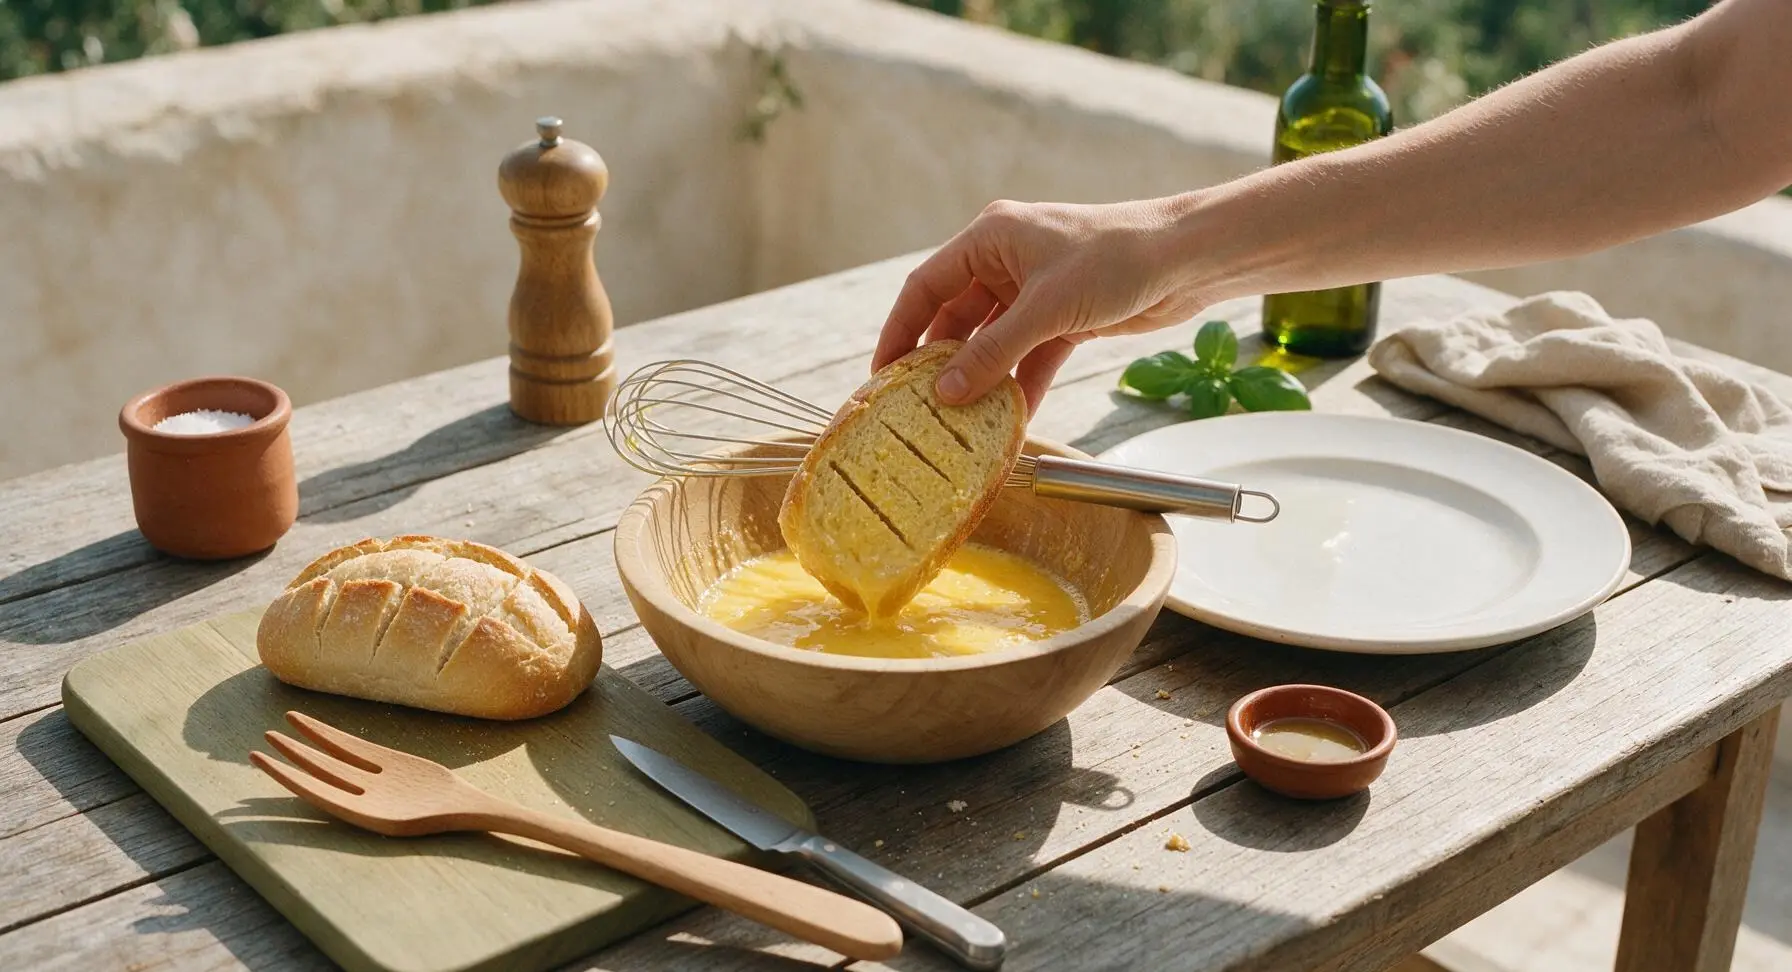
Working one slice at a time, dip both sides of the scored bread into the egg-butter mixture, gently pressing the bread to help the liquid absorb into every crevice of the crisscross cuts. Let excess mixture drip off for 2 seconds before setting the coated slice back on the cutting board. Ensure all cut surfaces are touched by the mixture to create an even crisp crust, but do not soak the bread so long that it becomes soggy—each slice should absorb roughly half the total mixture.
Preheat nonstick skillet
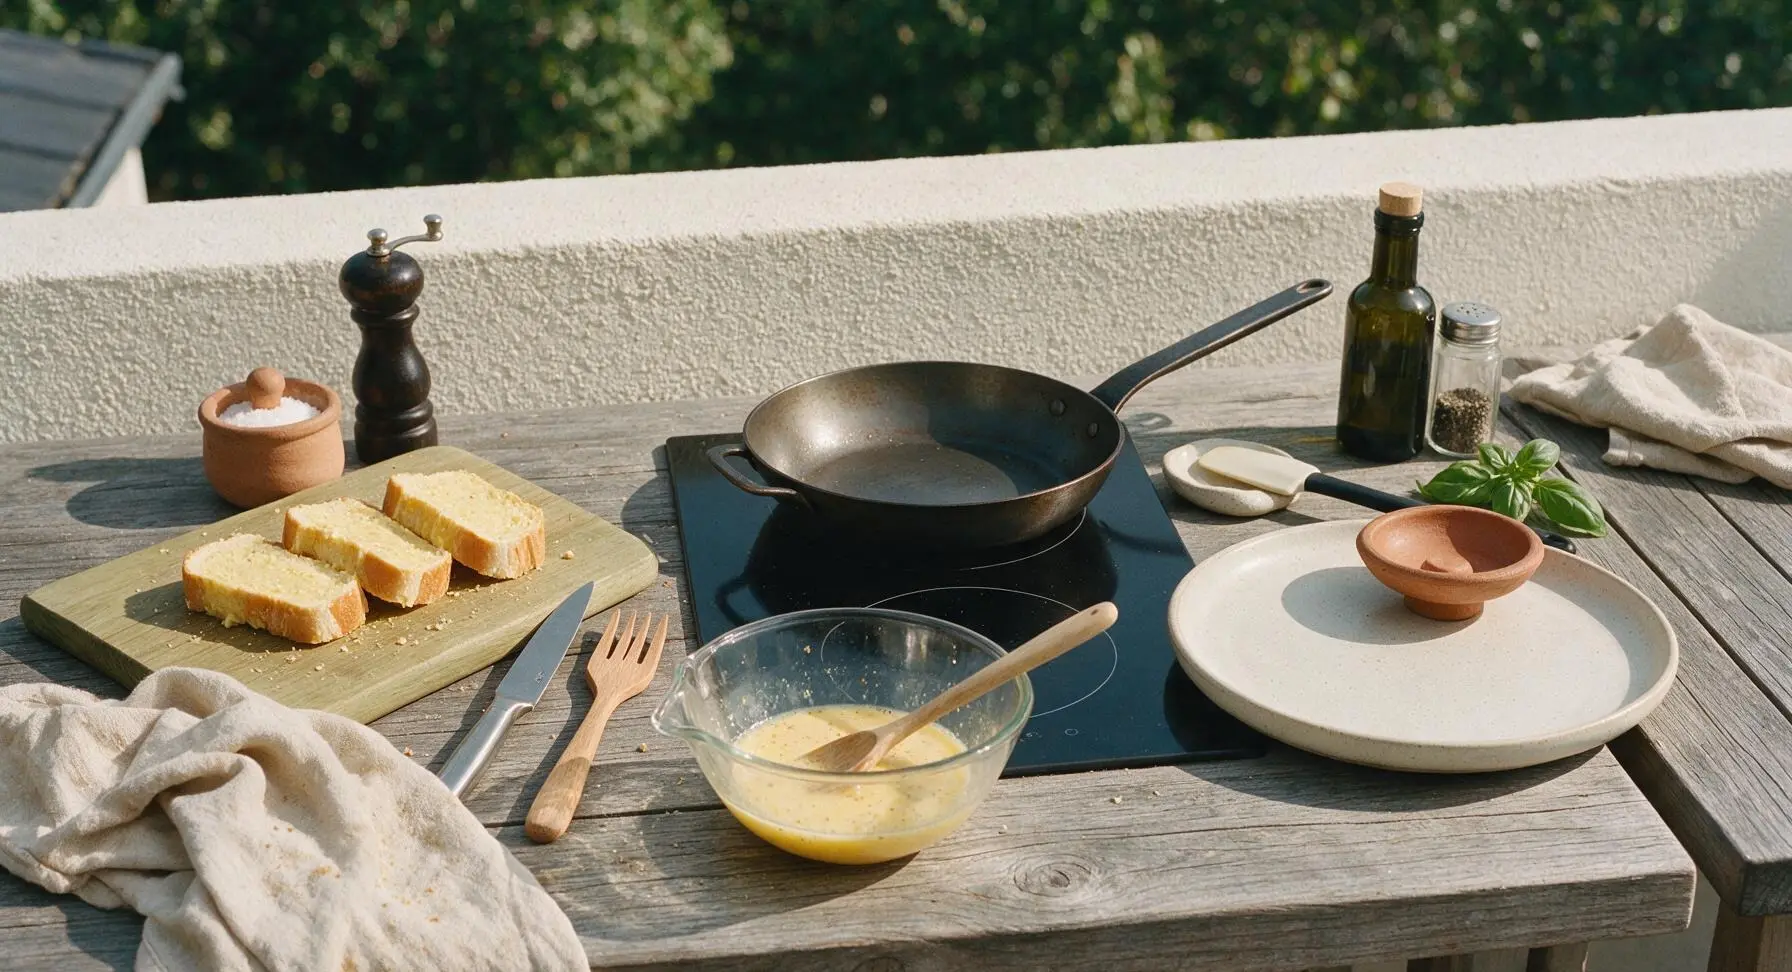
Place the matte black carbon steel non-stick skillet on the rear right induction cooktop zone, set to medium-low heat (325°F / 160°C). Let the pan preheat for 2 minutes—do not add extra butter, as the coating on the bread already contains enough fat to prevent sticking. Test the pan temperature by sprinkling a single drop of water: it should sizzle gently and evaporate in 3 seconds, not jump violently or sit without bubbling.
Toast first side
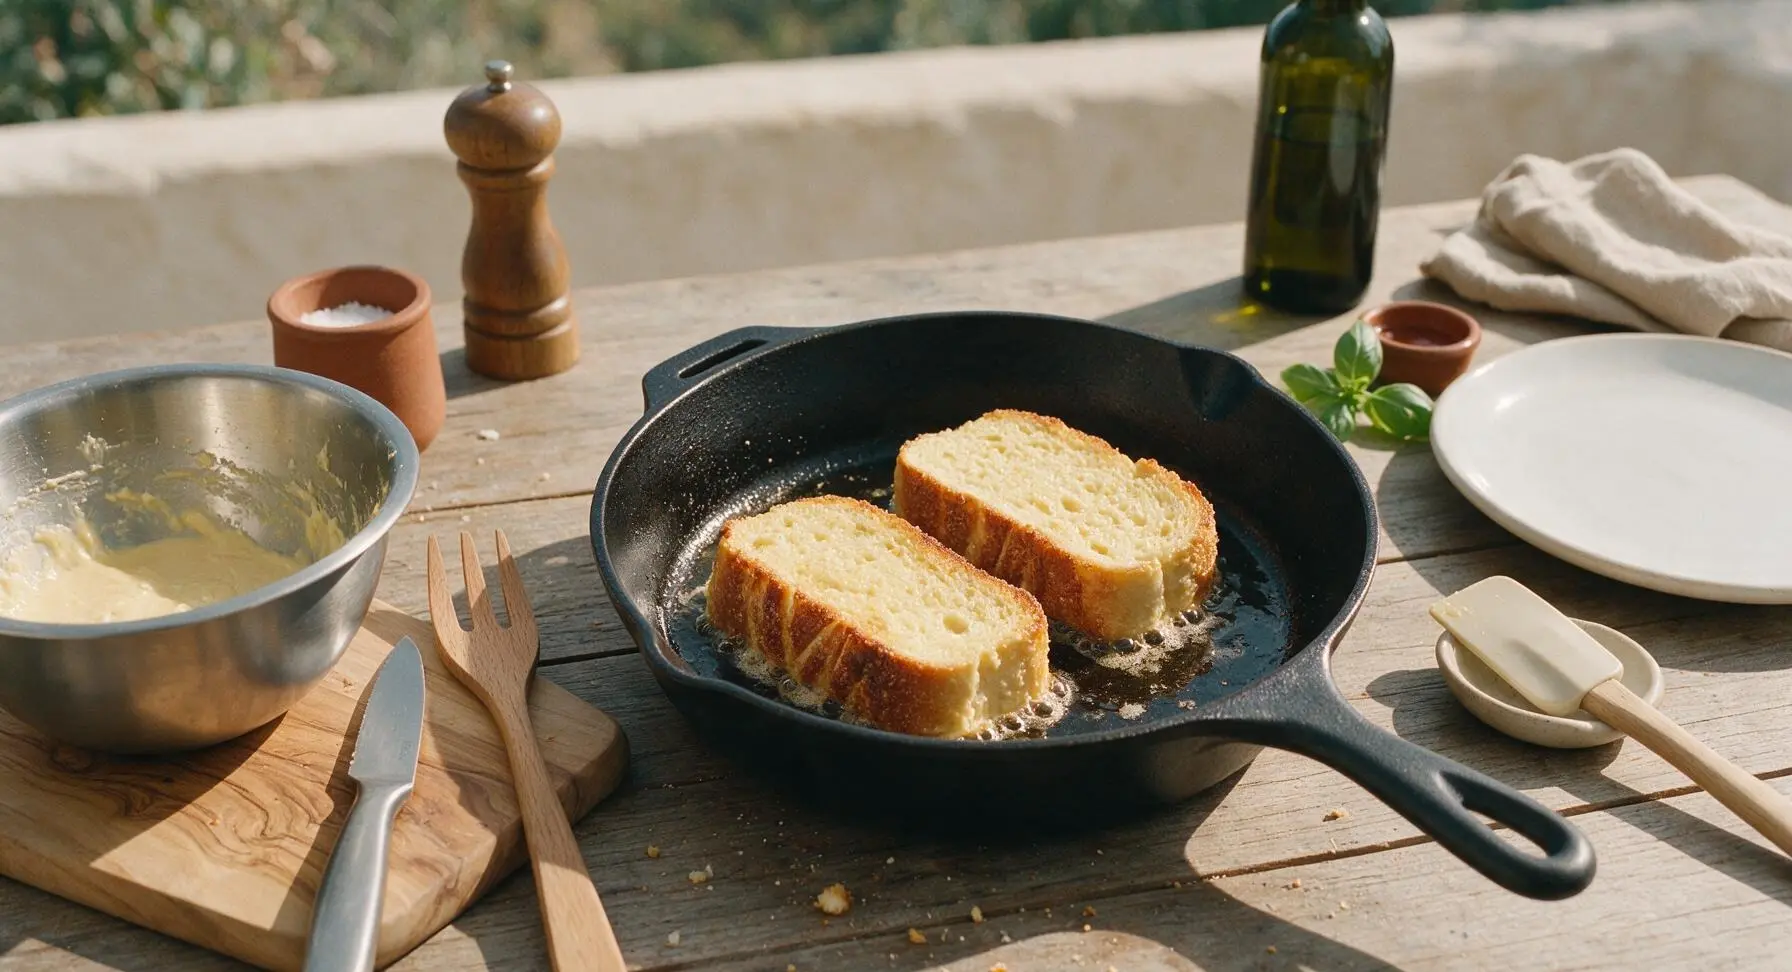
Use the silicone spatula to carefully lift both coated bread slices into the preheated skillet, scored-side down. Cook for 4 minutes on medium-low heat, without moving the slices, until the down side is deep golden brown, crispy, and craggy in texture. Resist the urge to press down on the bread while it cooks, as this will squeeze out the soft, fluffy center.
Flip to crisp second side
Use the silicone spatula to gently flip each slice over, so the un-scored flat side is now down against the pan. Cook for an additional 3-4 minutes, until the second side is evenly golden and crispy, and the entire exterior of the bread is firm and rock-like to the touch, with no soft, damp spots remaining. Total cook time per batch is 7-8 minutes; adjust heat down if the crust browns too quickly before the center is warmed through.
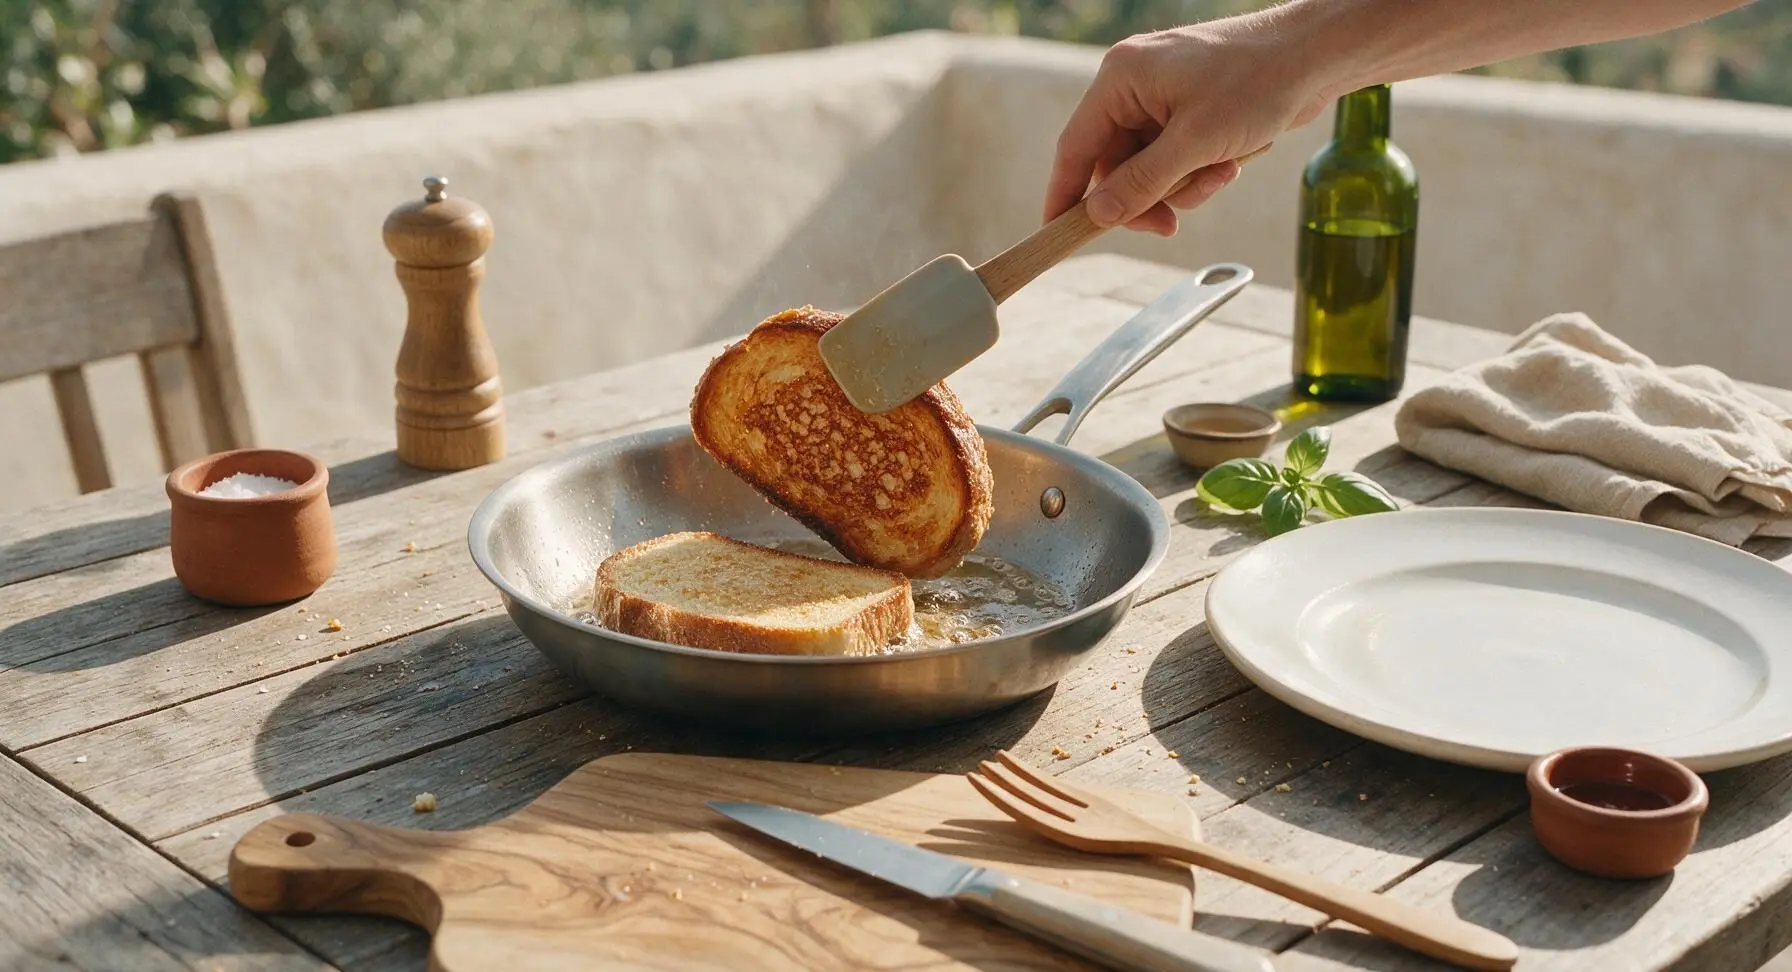
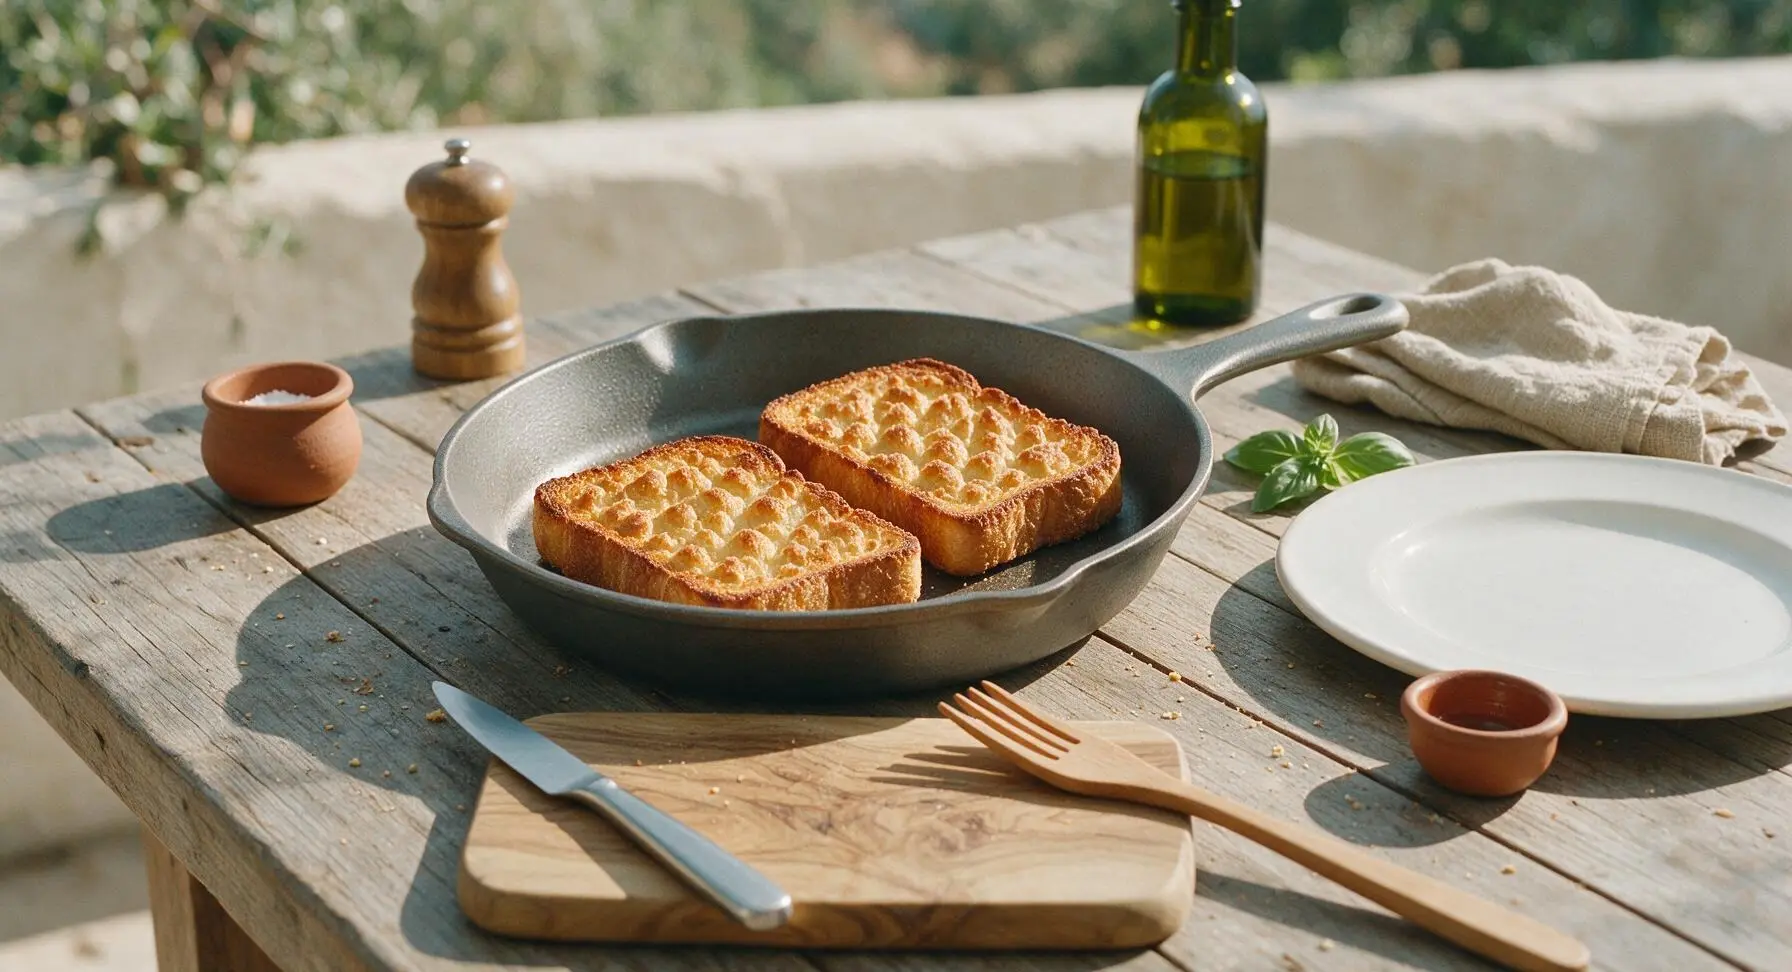
Plate and garnish
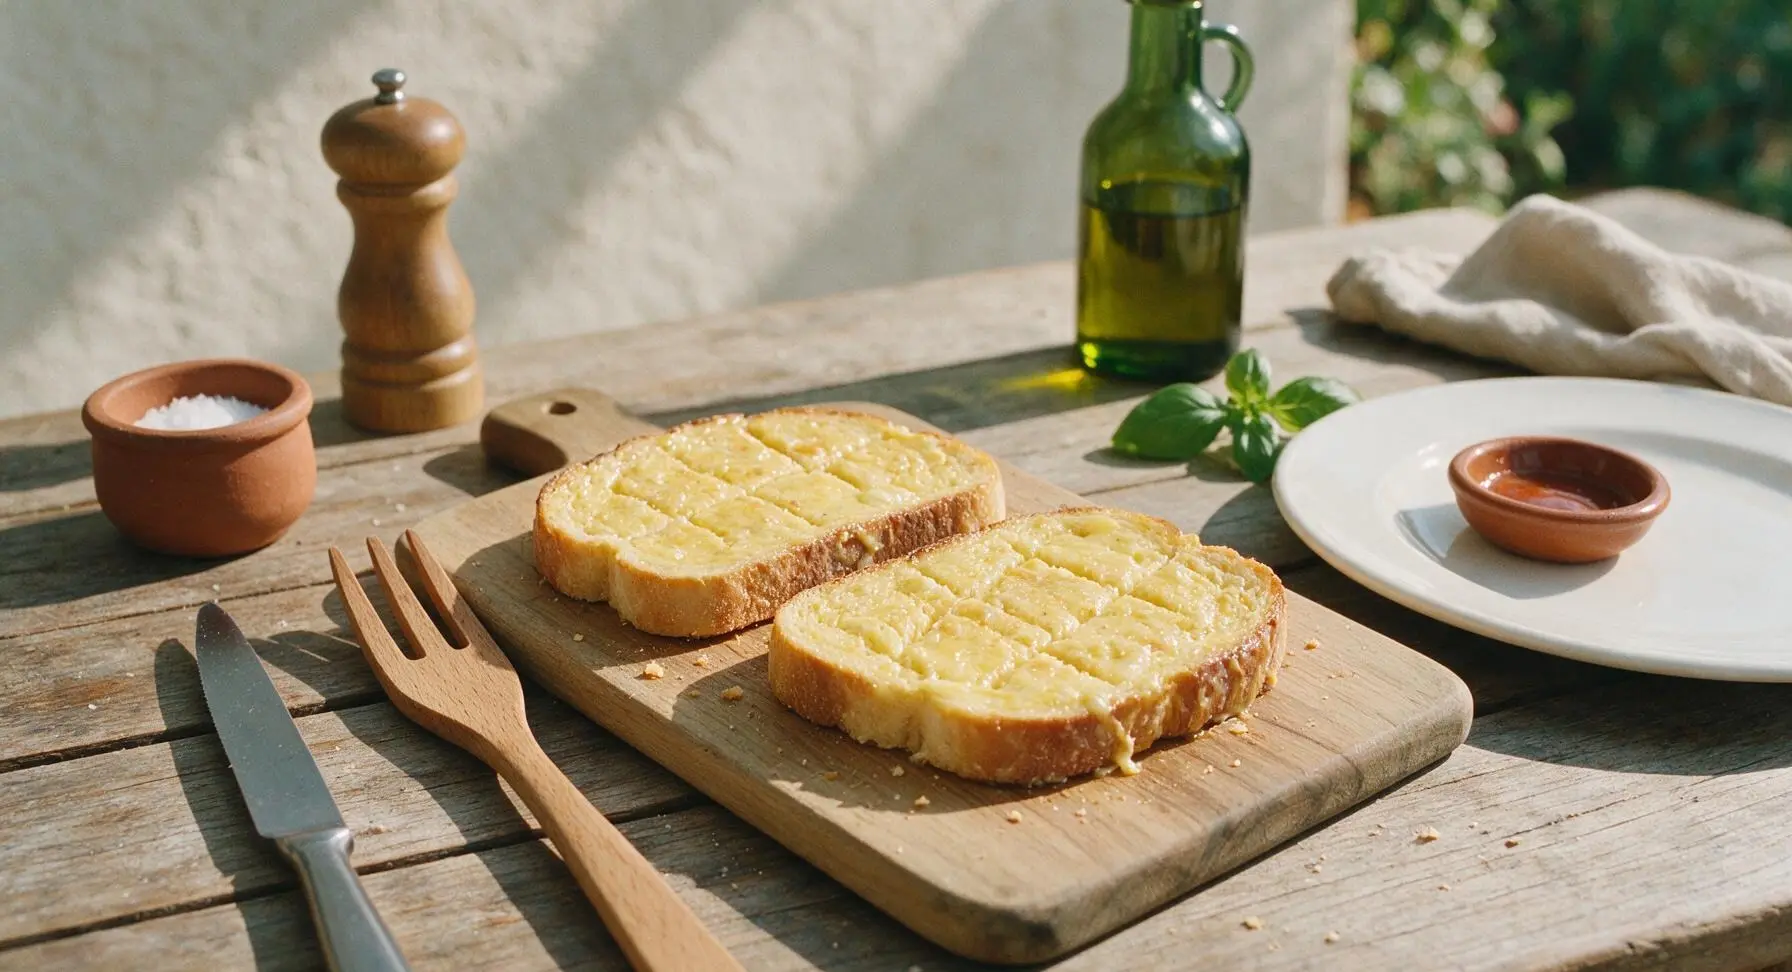
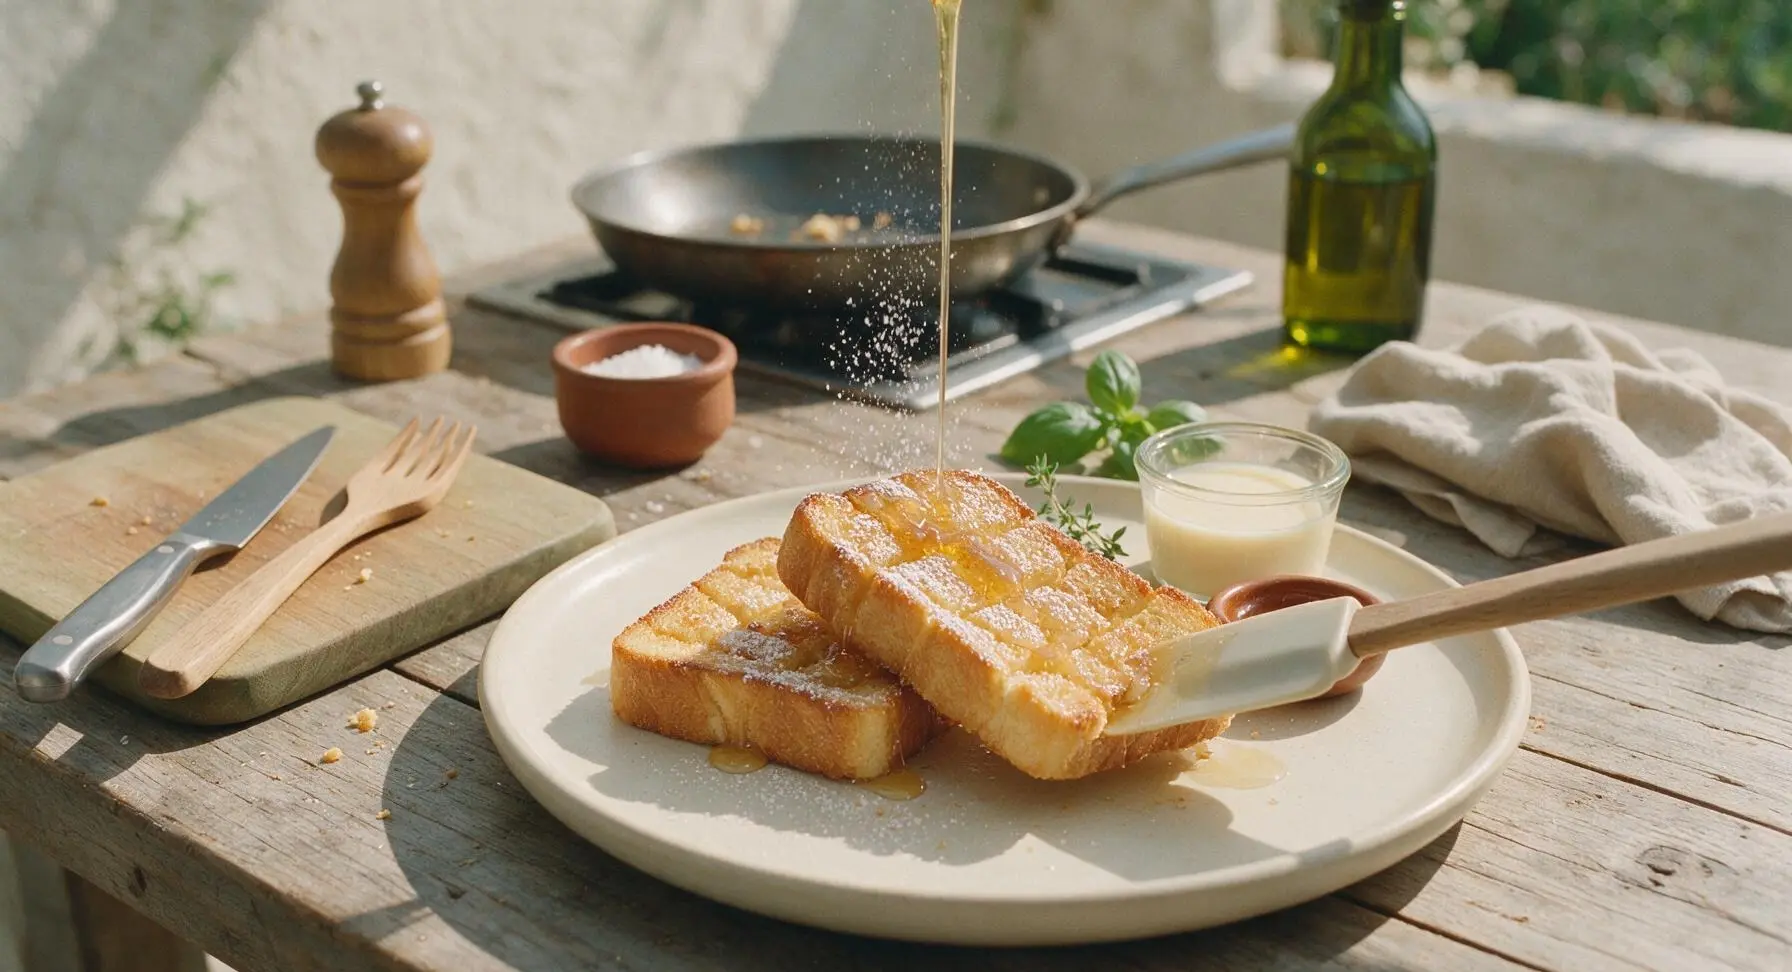
Lift the finished rock toast slices from the skillet with the silicone spatula, stacking them at a slight angle on the matte cream ceramic plate. Drizzle 1 tbsp of honey evenly over the top, letting it seep into the crisscross crevices. Dust lightly with 1 tsp of powdered sugar, and tuck a tiny sprig of fresh thyme next to the toast for a subtle herbal contrast. Serve immediately with the optional small ramekin of condensed milk for dipping.
Tips
2.Keep cook heat at medium-low (325°F / 160°C) the entire time: the sugar and butter in the egg coating burns quickly at high temperatures, leading to a bitter, blackened crust before the center of the bread has a chance to warm through.
3.Never cut all the way through the bread when scoring the crisscross pattern: connected bread sections hold the egg coating evenly and create the signature craggy rock texture, while cutting through the bottom crust will cause the bread to fall apart during dipping and toasting.






OMG this Korean rock toast is a GAME CHANGER for busy weekday mornings! 10 minute cook time? Are you kidding? I threw this together before school drop off and my two kids begged for a second serving before they even finished the first. Added a little extra gochujang for a kick, chef’s kiss. SO good.
Perfect easy recipe for a college kid with basically no kitchen equipment! I only had a tiny frying pan and it still turned out great. Skipped the cabbage because I didn’t have any, used shredded carrot instead, still slapped. Will be making this for my late night study sessions for sure.
Made these for my office potluck last week and people were literally asking me for the recipe before we even finished lunch! Cut them into little bite-sized squares, stuck a toothpick in each, so easy to serve. The sweet-savory combo is unbeatable. 10/10.
Wait, does anyone know if this works with gluten free bread? I have celiac and have been craving Korean street toast forever but haven’t found a solid easy recipe to try at home.
10 minutes, minimal cleanup, tastes like something I’d pay $12 for at a food truck? Sign me up. I meal prepped the filling on Sunday and just toasted bread and assembled each morning this week, saved me so much money on breakfast runs.
Added double the gochujang and a sprinkle of sesame seeds on top, holy cow that hit. I thought the recipe might be too bland for how easy it is but no, the flavor is spot on even without tweaks. Next time I’m adding a slice of cheese like I saw at the Korean market near my house.
Okay full transparency, I burned the first slice of bread because I got distracted texting my roommate, but even the slightly burnt version was so tasty I ate it anyway. Super forgiving recipe for someone who’s still learning to cook, honestly. No fancy skills needed.
Made this for a quick Saturday lunch with my teen daughter who’s obsessed with all things K-drama and K-food, and she said it’s “better than the ones we got in Koreatown last month”. Win for dad points! We added a little ham slice to ours to bulk it up a bit.
I swapped the egg for tofu scramble to make this vegan, and it was so good! Used a little vegan mayo and extra pickled veggies for tang, even my omnivore boyfriend stole half my sandwich. Great base recipe to customize.
Made this before an early morning hike last weekend, wrapped it in foil, ate it at the trailhead, and it kept me full for 3 hours of uphill hiking. Way better than my usual sad granola bar. Portable, tasty, easy to make even when I’m half asleep at 6am.
Hosted a little brunch last weekend and served this alongside mimosas, and all my friends thought I ordered takeout from that fancy new Korean spot downtown. Little do they know it took me 10 minutes total to make four of these. 10/10, will be adding this to my permanent brunch rotation.
Wait, my kid hates veggies with a passion—would the cabbage and carrot be too noticeable if I dice them super fine? He’ll eat onion in things but picks out any big veggie chunks, so I’m nervous to try this even though it looks amazing.
Let me be real, I never follow recipes all the way through. I used regular plain toast, skipped the sugar, used pre-shredded coleslaw mix from the grocery store, and it still banged. Zero effort, maximum flavor. This is my new go-to when I don’t feel like cooking actual dinner.
I used to get rock toast every Saturday from the food truck by my old apartment in Queens, and this recipe is dead on for the flavor. I was worried it wouldn’t live up to the memory but wow, it’s exactly what I’ve been craving since I moved. Thank you for sharing!
Made this at 1am after a night out with friends and it was the best decision I made all weekend. No fancy ingredients, no complicated steps, just warm, savory, slightly sweet toast that hit every single spot. Even made a second one for my roommate who was also drunk and he said it was the best thing he’d ever eaten.
Added a slice of American cheese to mine while the egg was cooking and it got all melty and perfect. Why didn’t I think to make Korean style toast sooner? It’s way better than the plain cheese toast I’ve been eating for breakfast for years.
Wait, stupid question but—what’s “rock toast” named after? Is it supposed to be rock hard? I don’t want to over-toast the bread if I’m missing something here lmao.
Made a big batch of these on Sunday, wrapped them individually in parchment paper, and froze them for quick breakfasts this month. Just pop them in the toaster oven for 5 minutes straight from frozen and they taste fresh as can be. Absolute meal prep game changer for busy sports practice mornings with the kids.