Royal Rumble Burnt Ends

Royal Rumble Burnt Ends
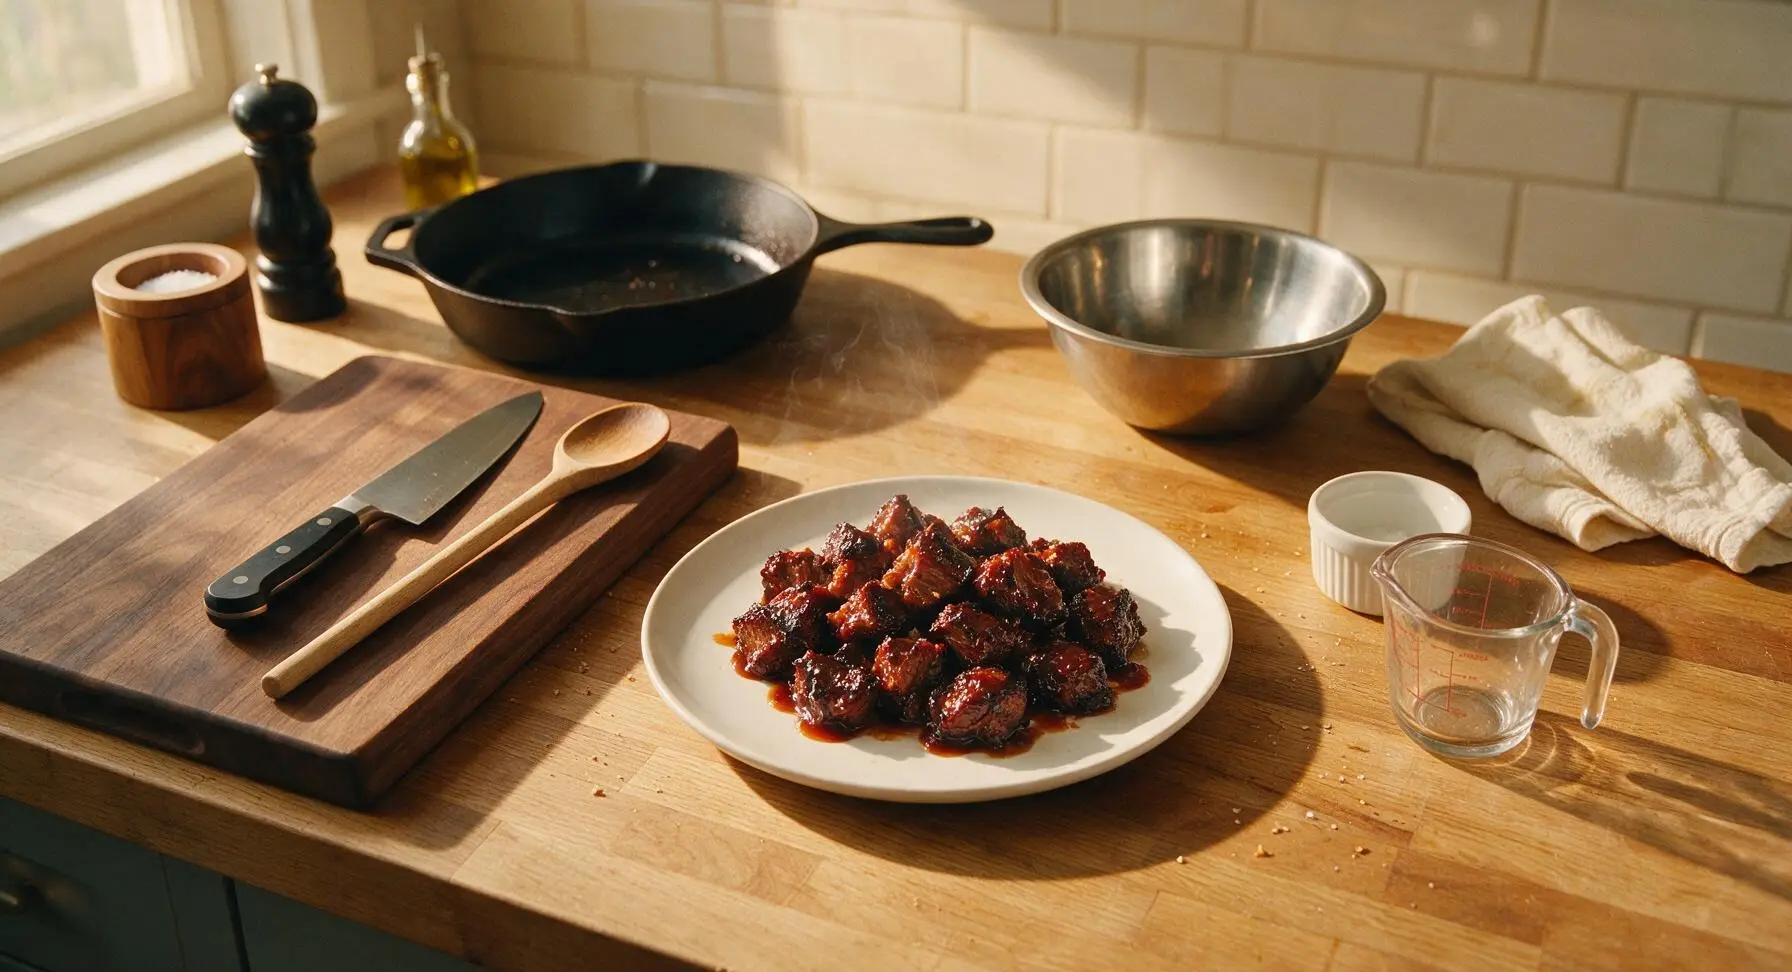
⏱️ cook time 6 hours 30 minutes
🍽️ servings 6
⚡ Difficulty medium

intro

Sticky, smoky, caramelized beef brisket burnt ends tossed in tangy-sweet BBQ sauce, the iconic Kansas City BBQ bite that is the undisputed star of any summer cookout.

Ingredients
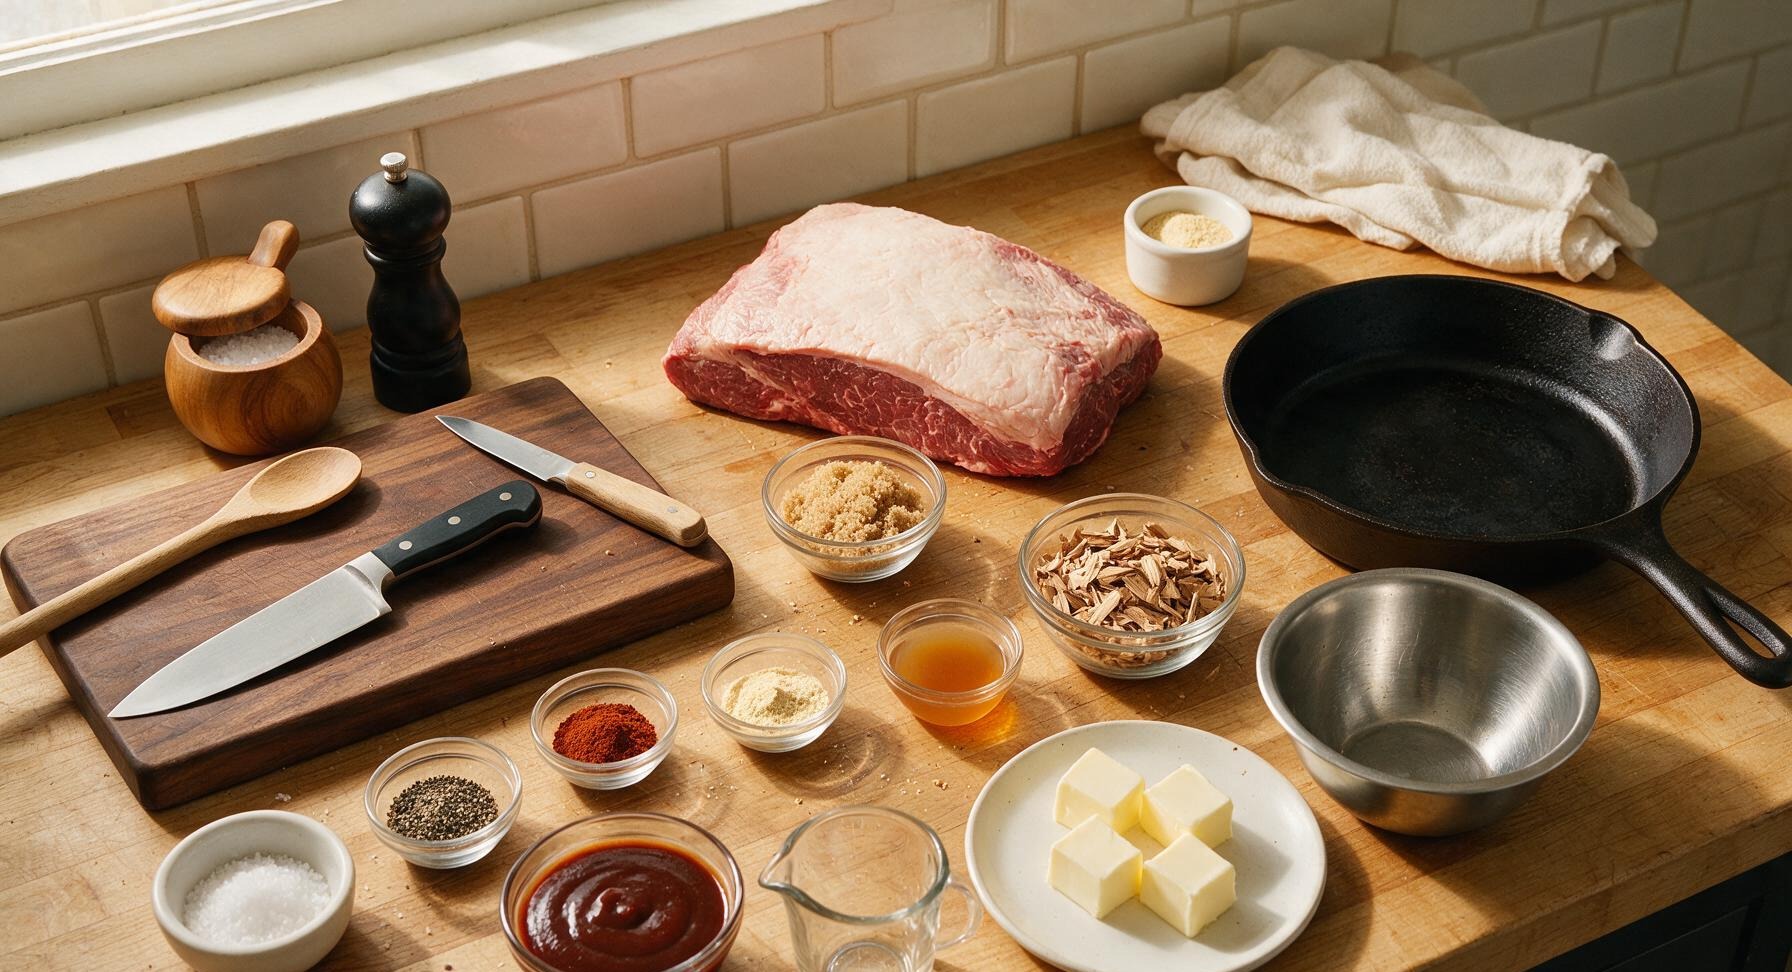
Beef brisket point (packer cut, fat cap intact) 1.8kg (4lb)
Kosher salt 3 tbsp
Coarse ground black pepper 2 tbsp
Smoked paprika 1 tbsp
Garlic powder 1 tbsp
Light brown sugar 2 tbsp (divided)
Apple cider vinegar 1/4 cup
Hickory wood chips 2 cups (soaked 30 minutes before cooking)
Kansas City-style BBQ sauce 1.5 cups
Unsalted butter 4 tbsp (cubed)

Steps

1

Trim Brisket Point

Place the 1.8kg brisket point on the maple cutting board. Use the walnut-handled boning knife to trim hard outer fat and silver skin from the meat, leaving a uniform 1/4-inch thick fat cap across the top. Discard any loose fat fragments; the finished trimmed point should feel smooth to the touch with no ragged edges.
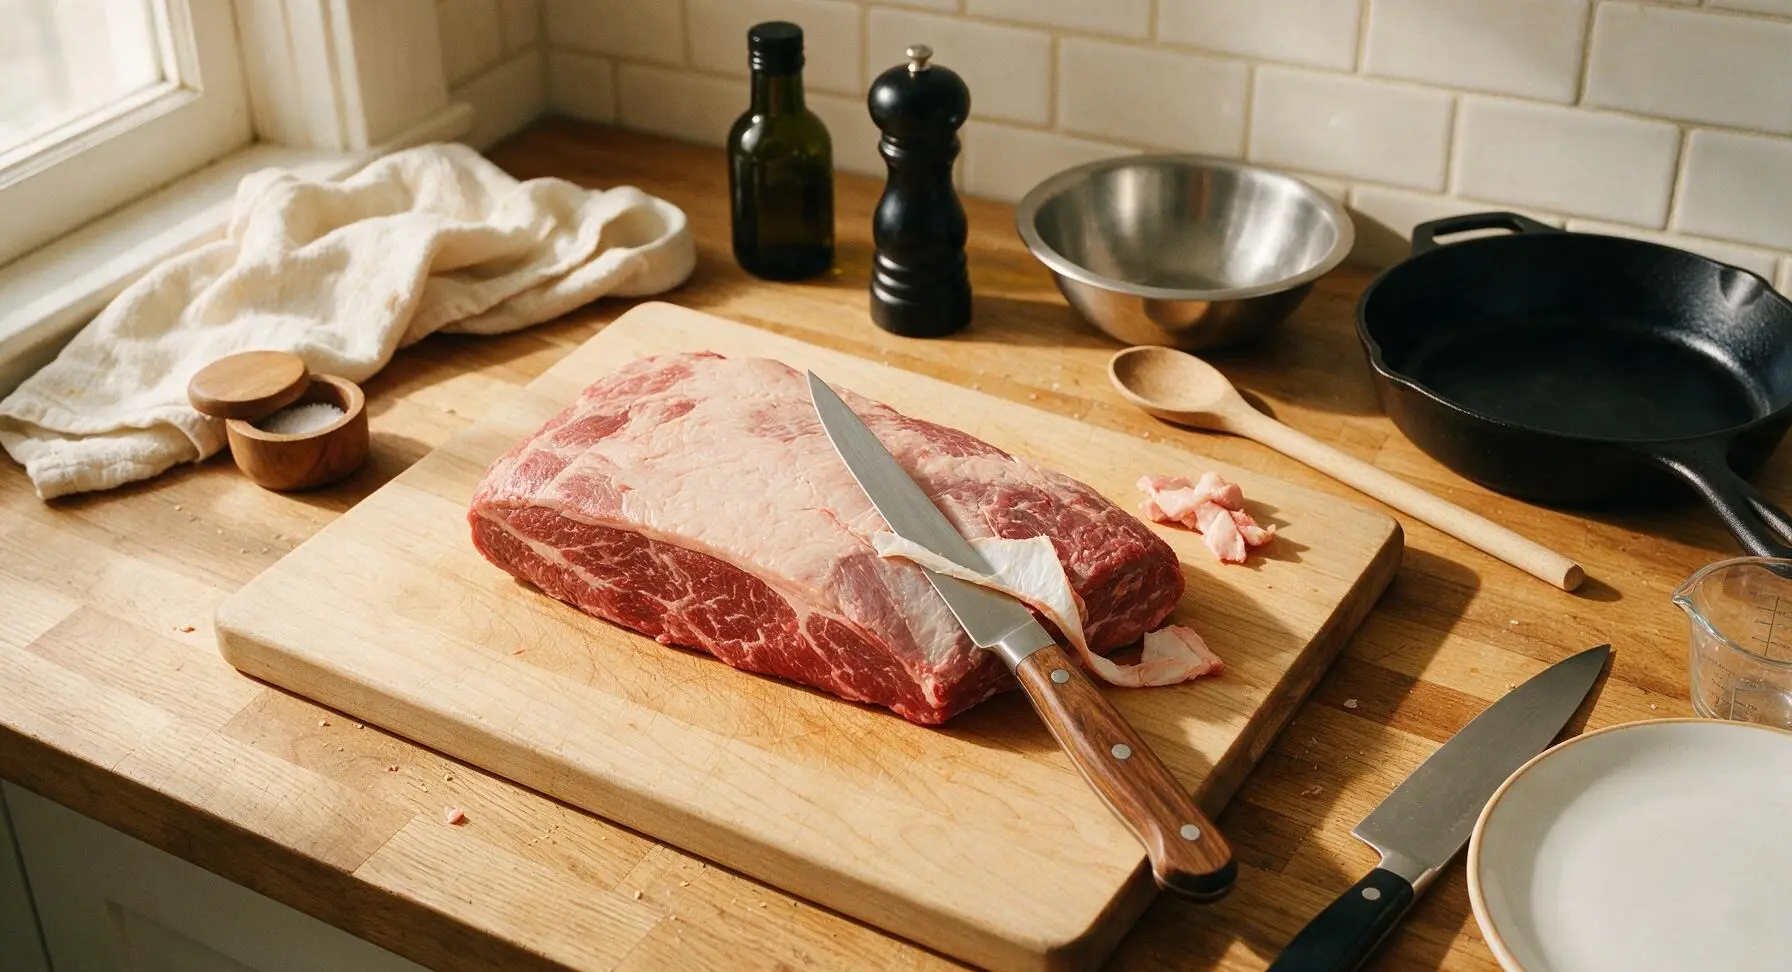
Step 1
step1:Trim Brisket Point
2

Coat with Dry Rub

In the medium stainless steel mixing bowl, combine 3 tbsp kosher salt, 2 tbsp coarse black pepper, 1 tbsp smoked paprika, 1 tbsp garlic powder, and 1 tbsp of the light brown sugar, stirring until fully blended. Pat the trimmed brisket completely dry with the edge of the gingham towel, then press the rub evenly into every surface of the meat, creating a thin, uniform coating with no bare spots.
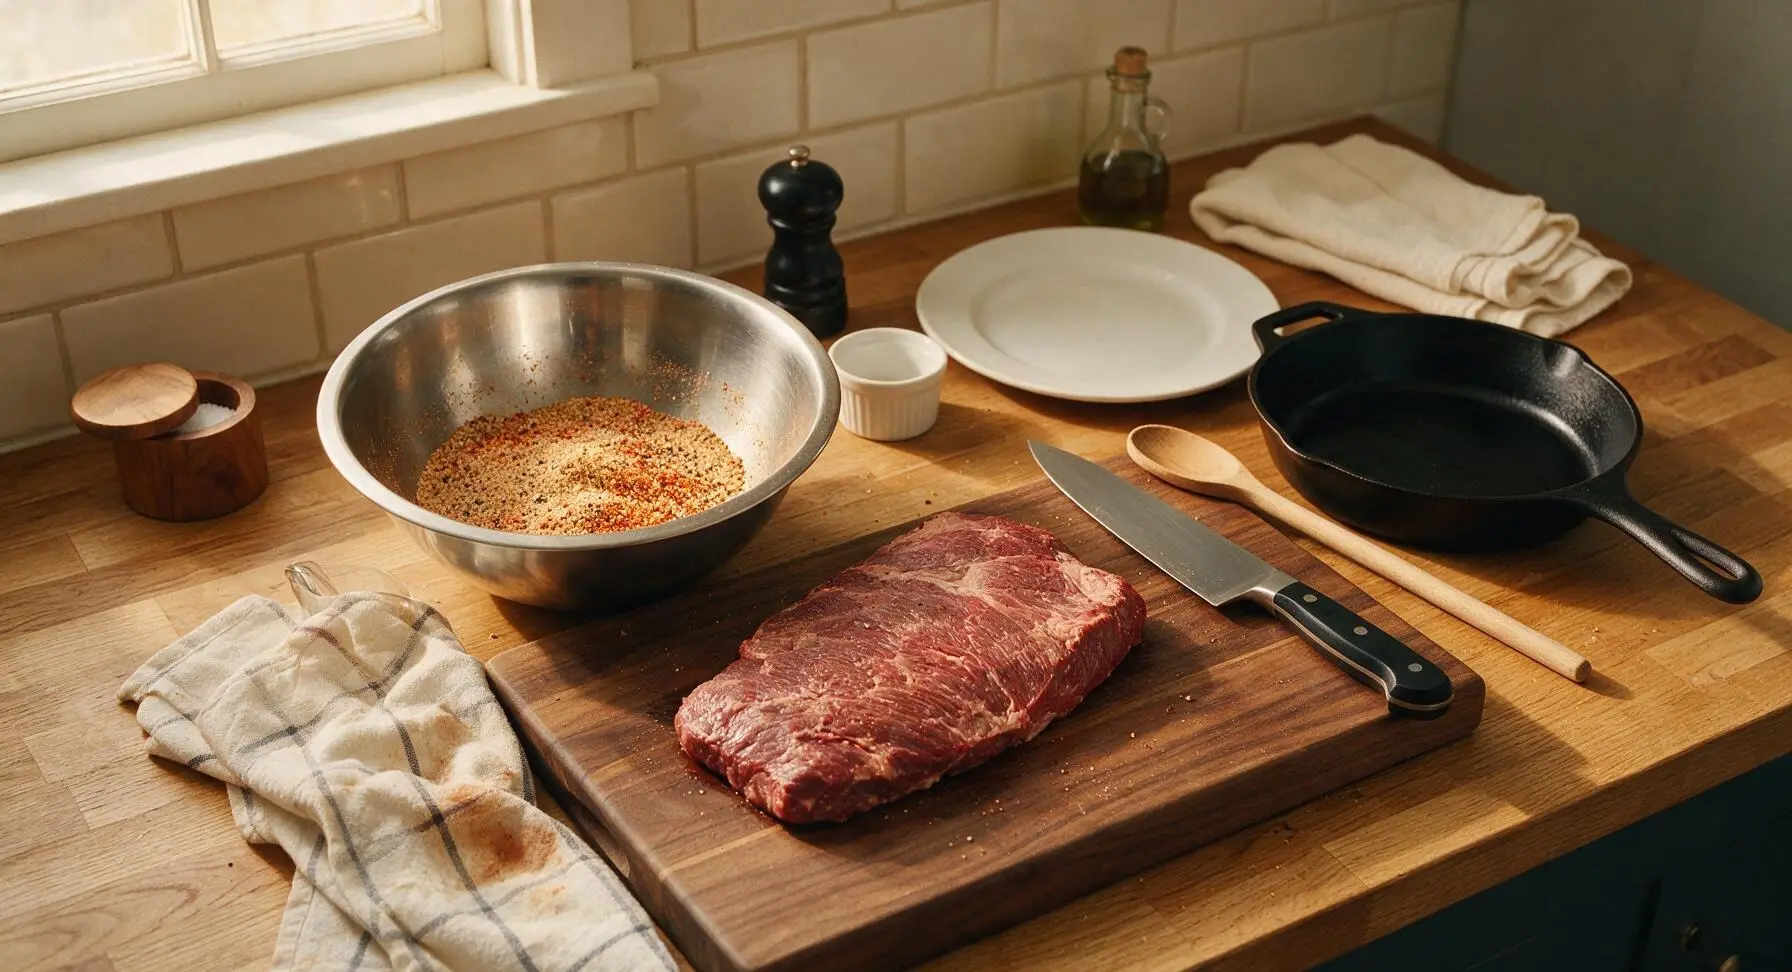
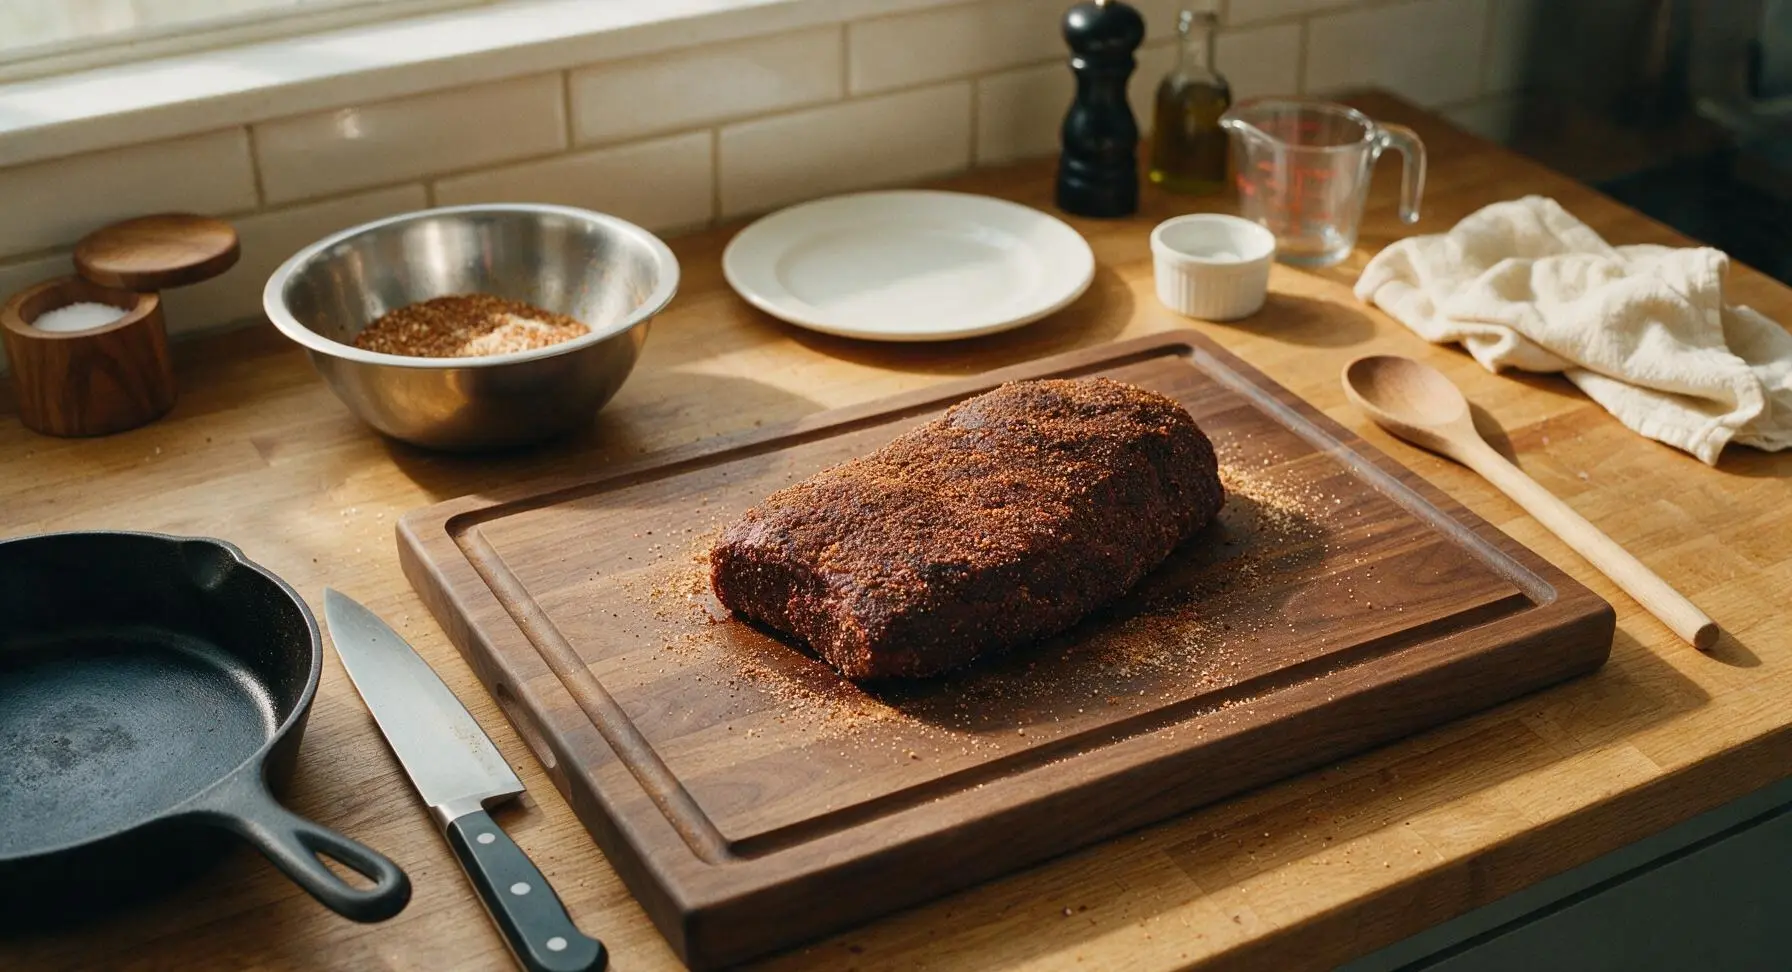
Step 2
step2:Coat with Dry Rub
Step 2
step2:Coat with Dry Rub
3

Smoke Low and Slow

Preheat your smoker to 225°F (107°C), add drained soaked hickory wood chips to the fire box. Place the rubbed brisket point fat-side up on the smoker grates, close the lid, and smoke for 4 hours, maintaining a consistent temperature, until the exterior forms a dark, tacky mahogany bark and the internal temperature reads 165°F (74°C) when checked with the digital meat thermometer.
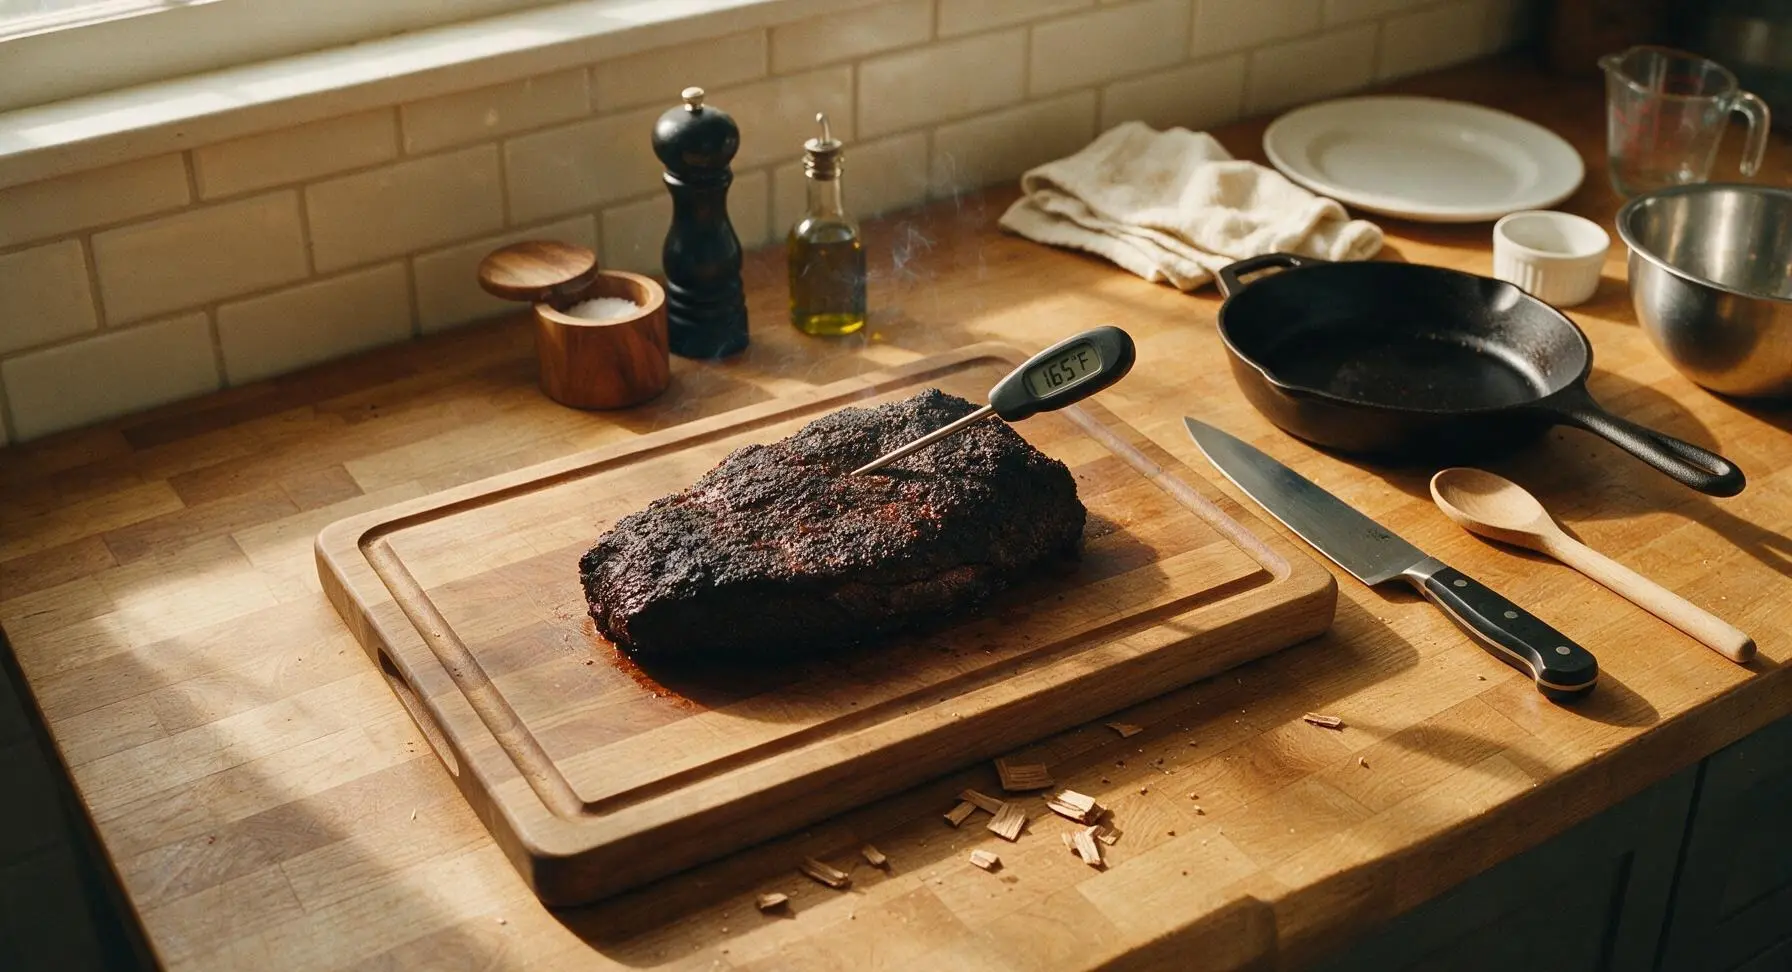
Step 3
step3:Smoke Low and Slow
4

Wrap to Tenderize

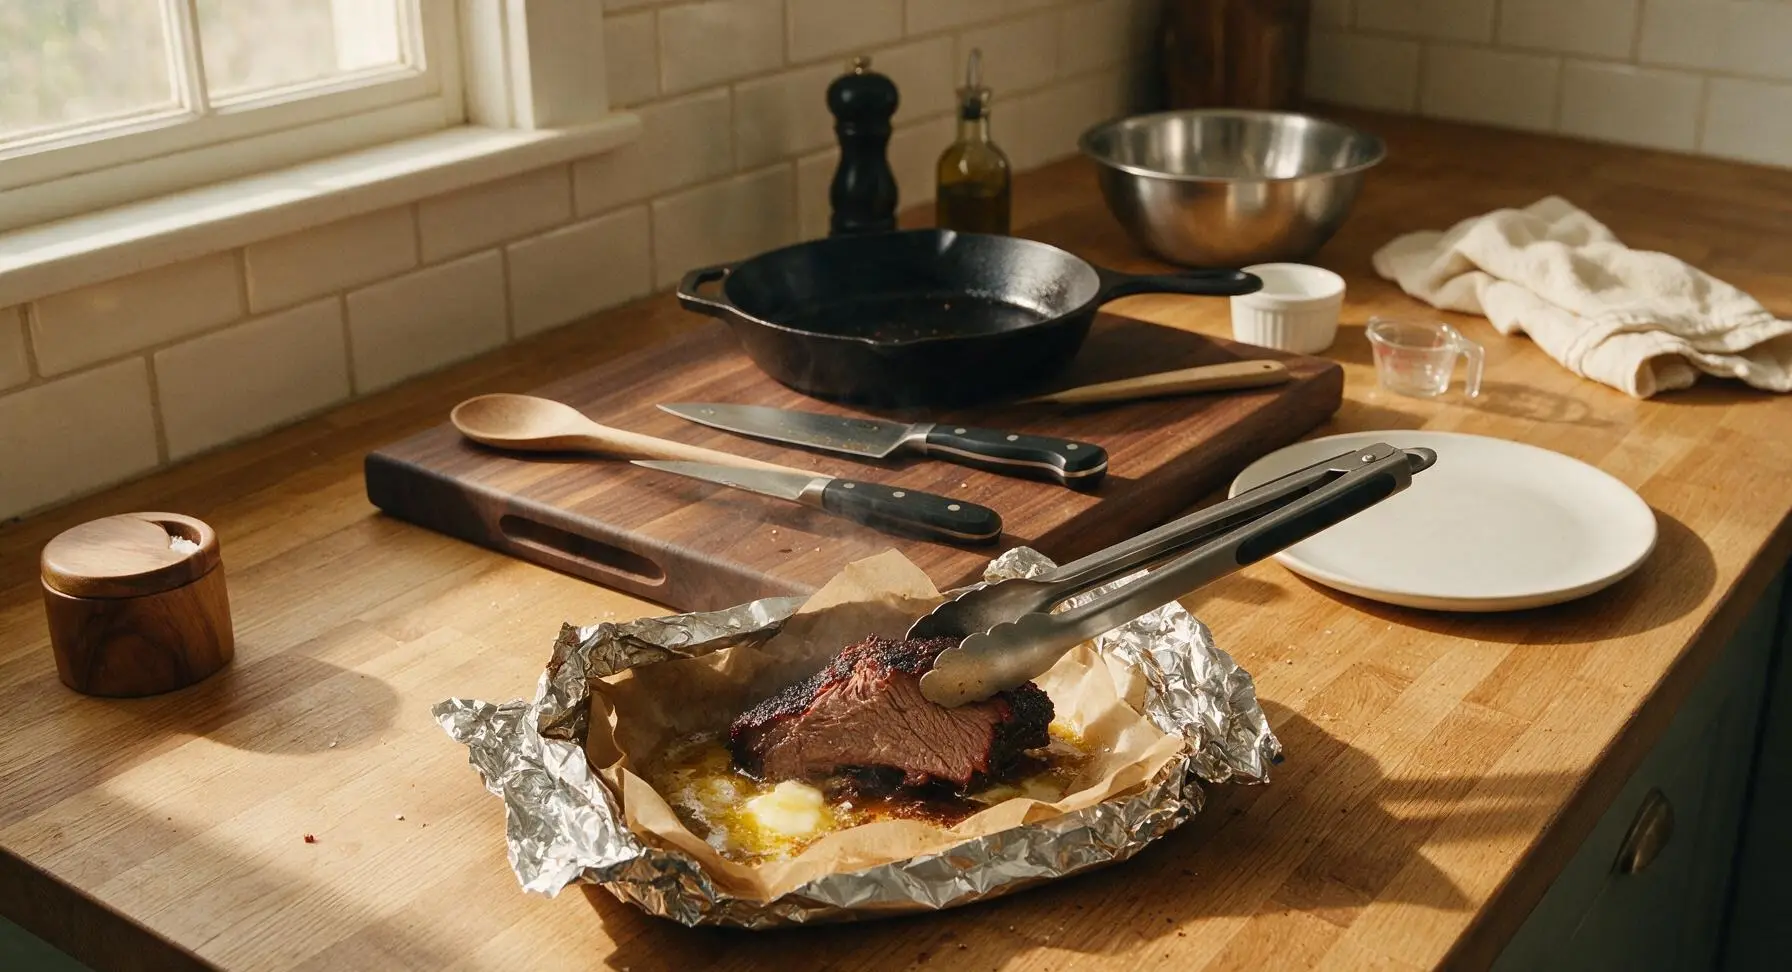
Tear a 90cm (3-foot) length of heavy-duty aluminum foil, place the smoked brisket in the center, top with 4 tbsp cubed unsalted butter, the remaining 1 tbsp light brown sugar, and a light spritz of apple cider vinegar. Fold the foil tightly around the brisket to create a sealed, airtight packet, leaving no gaps for steam to escape.
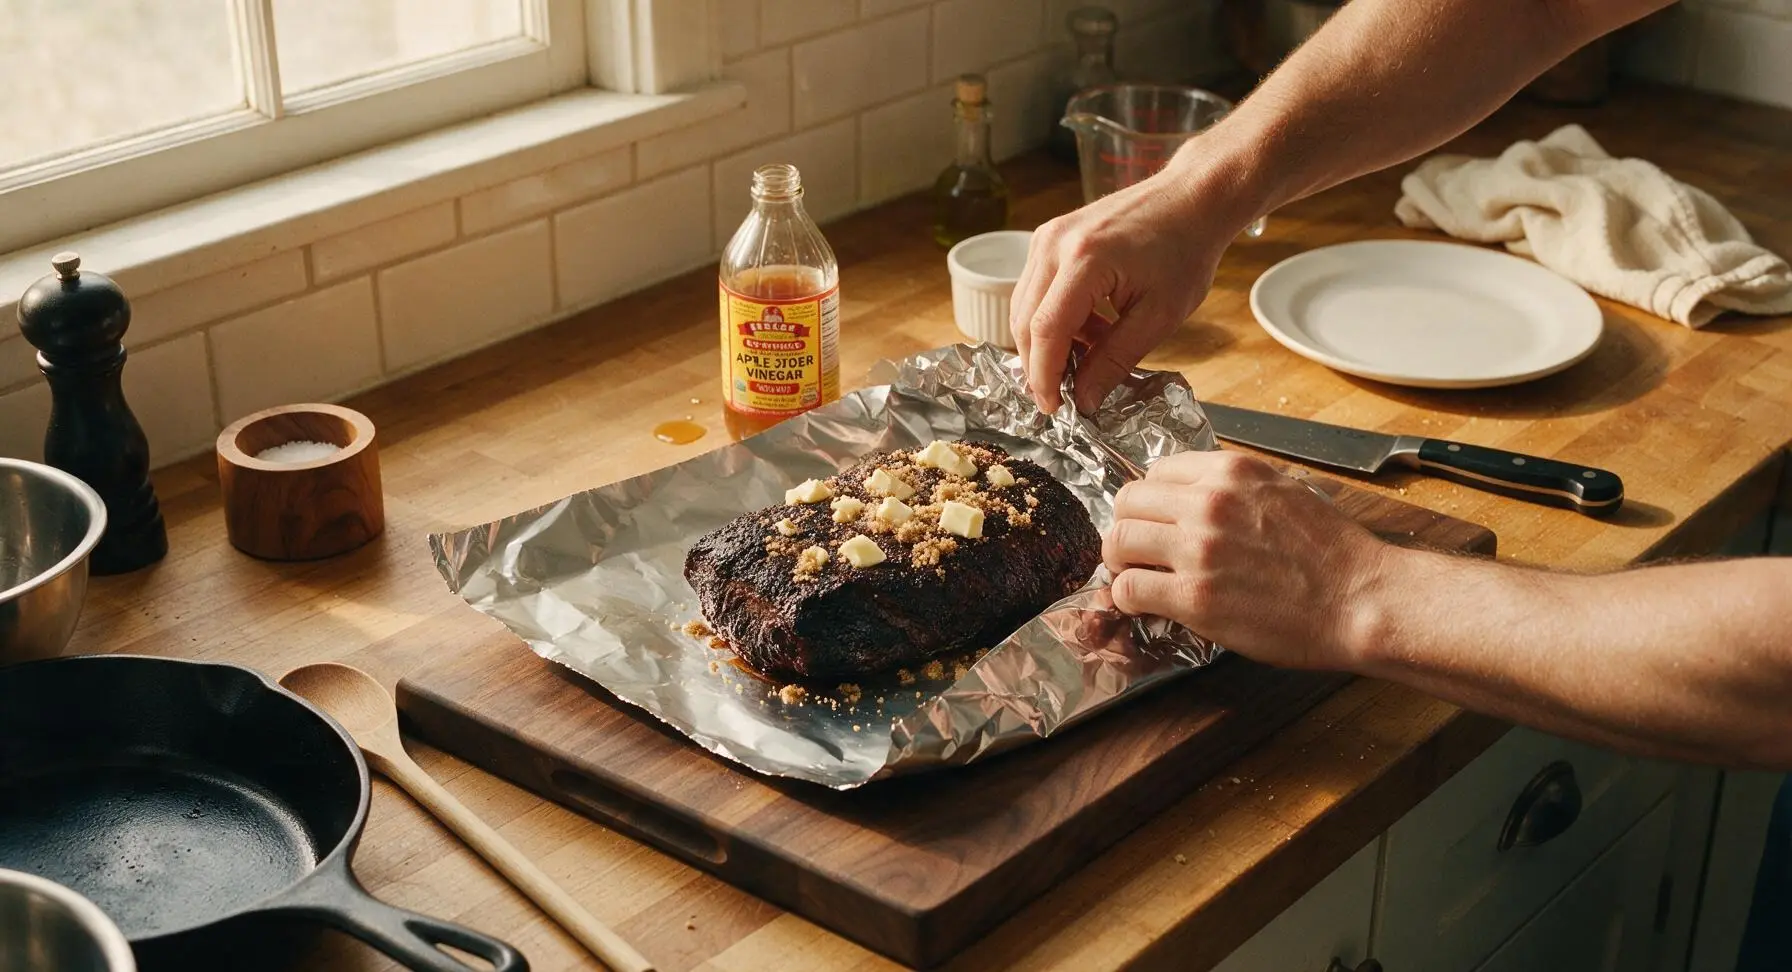
Step 4
step4:Wrap to Tenderize
5

Cook Until Tender

Return the foil-wrapped brisket to the 225°F smoker, and cook for an additional 1.5 hours, until the internal temperature reaches 203°F (95°C) and the meat probes completely tender, with no resistance when the thermometer slides in, like pushing into soft butter. Remove the packet from the smoker and let it rest, sealed, for 20 minutes at room temperature on the counter.
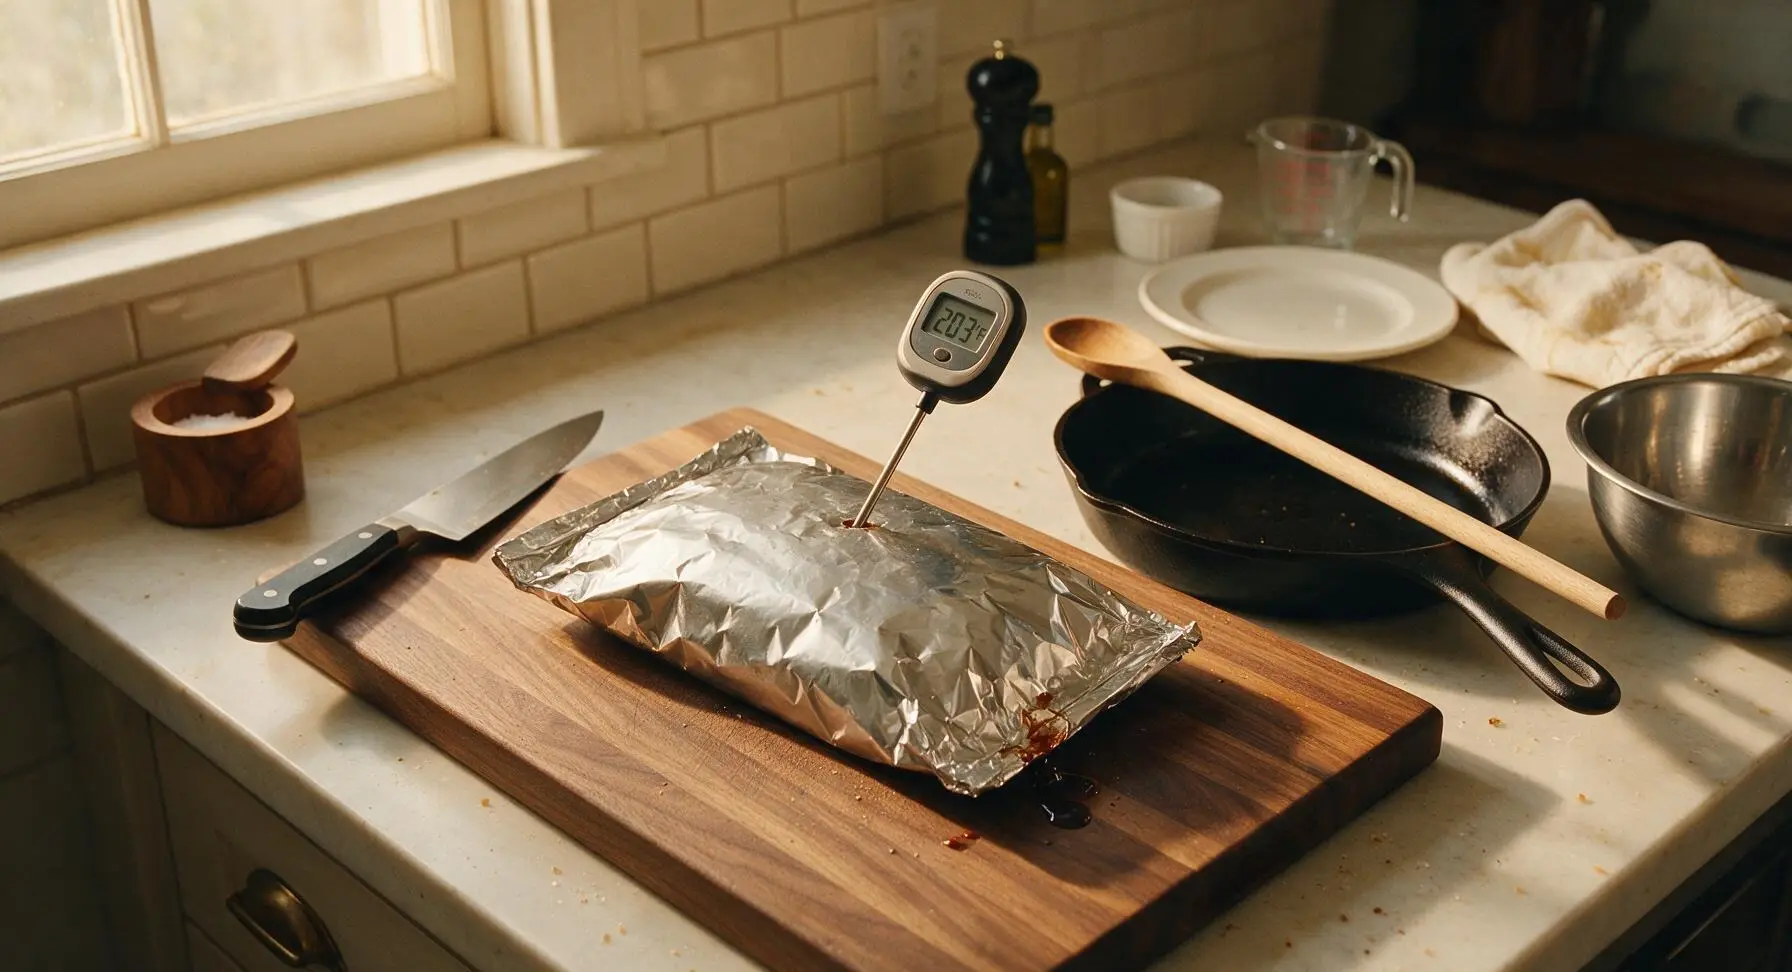
Step 5
step5:Cook Until Tender
6

Cube Rested Brisket

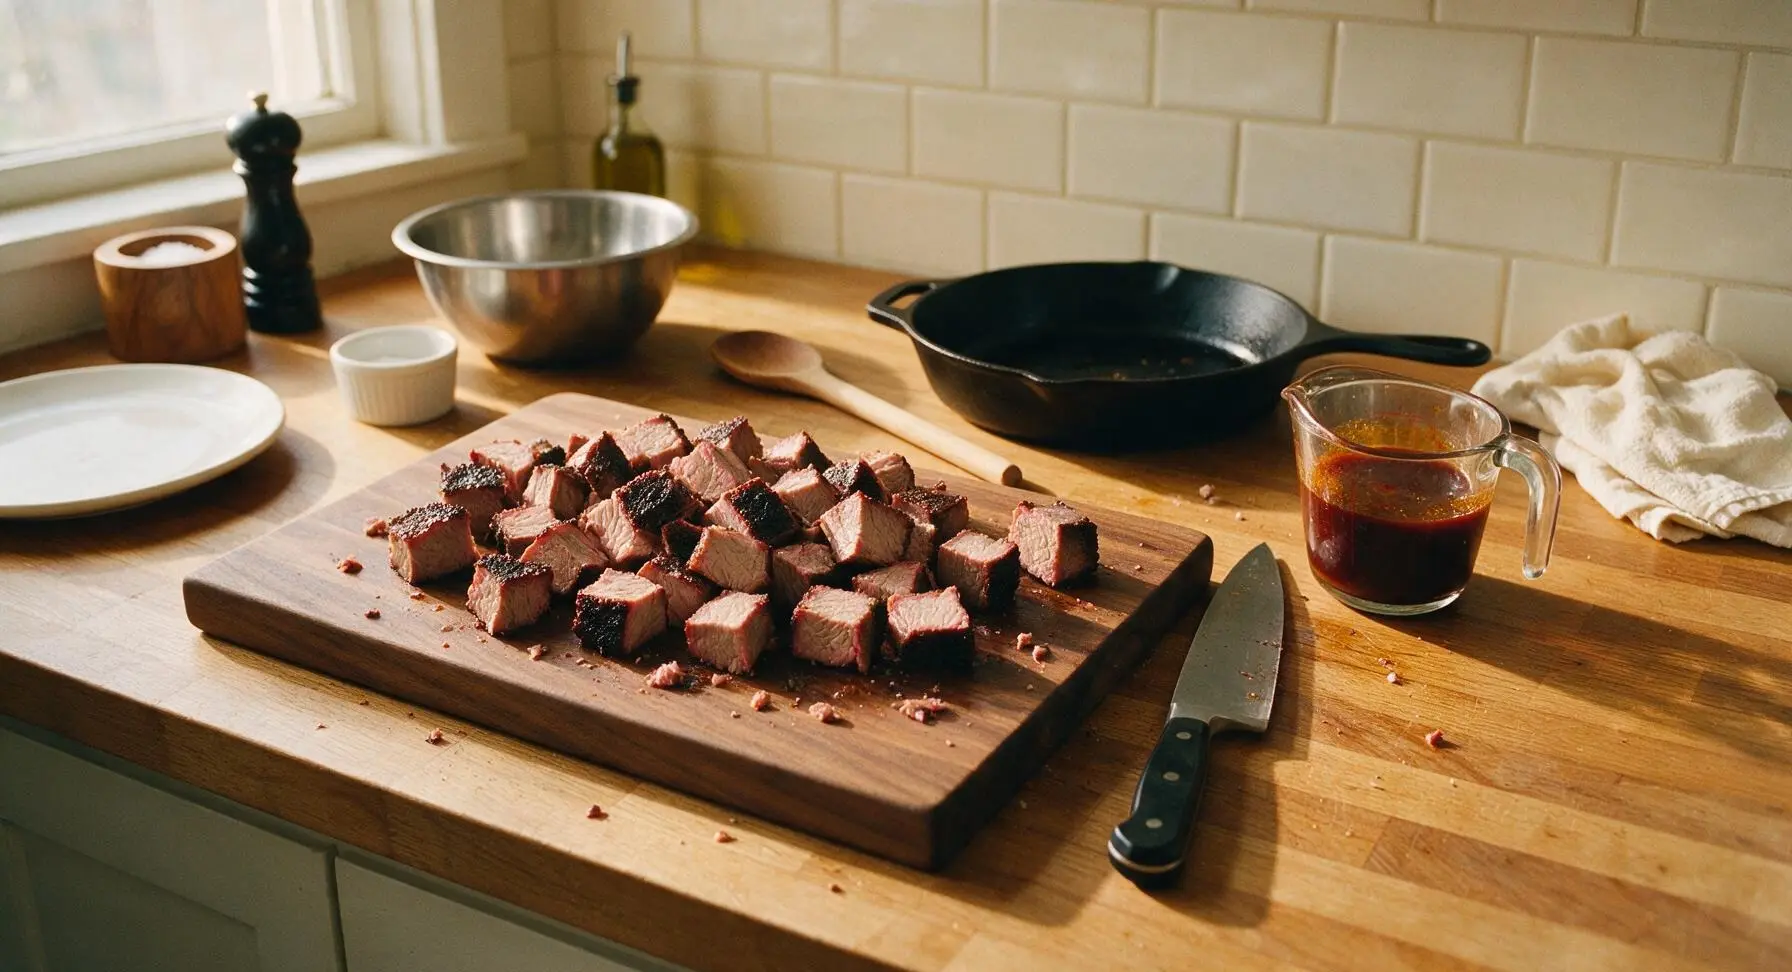
Carefully open the foil packet (watch for hot escaping steam), transfer the rested brisket to the cutting board using the long stainless steel BBQ tongs. Use the boning knife to cut the brisket into uniform 1.5-inch cubes, making sure each cube has a portion of the dark outer bark and soft, juicy inner meat. Pour the reserved pan juices from the foil packet into the glass measuring cup with the BBQ sauce, stir to combine.
Step 6
step6:Cube Rested Brisket
Step 6
step6:Cube Rested Brisket
7

Caramelize Sauced Cubes

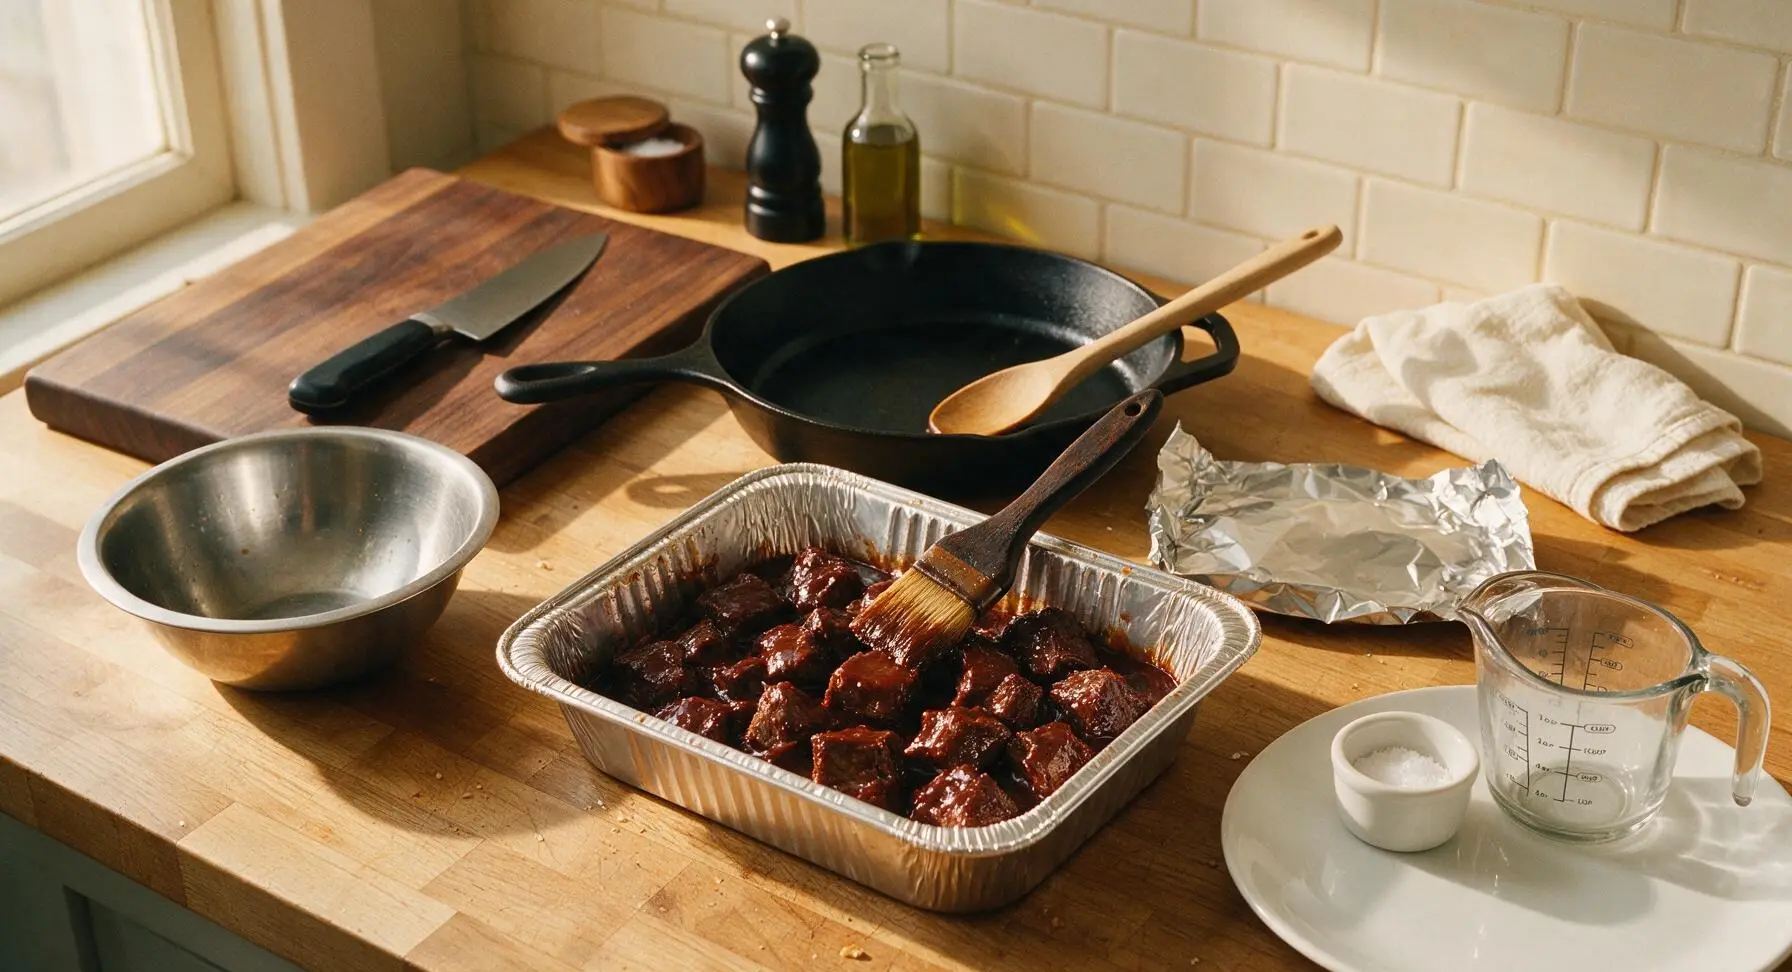
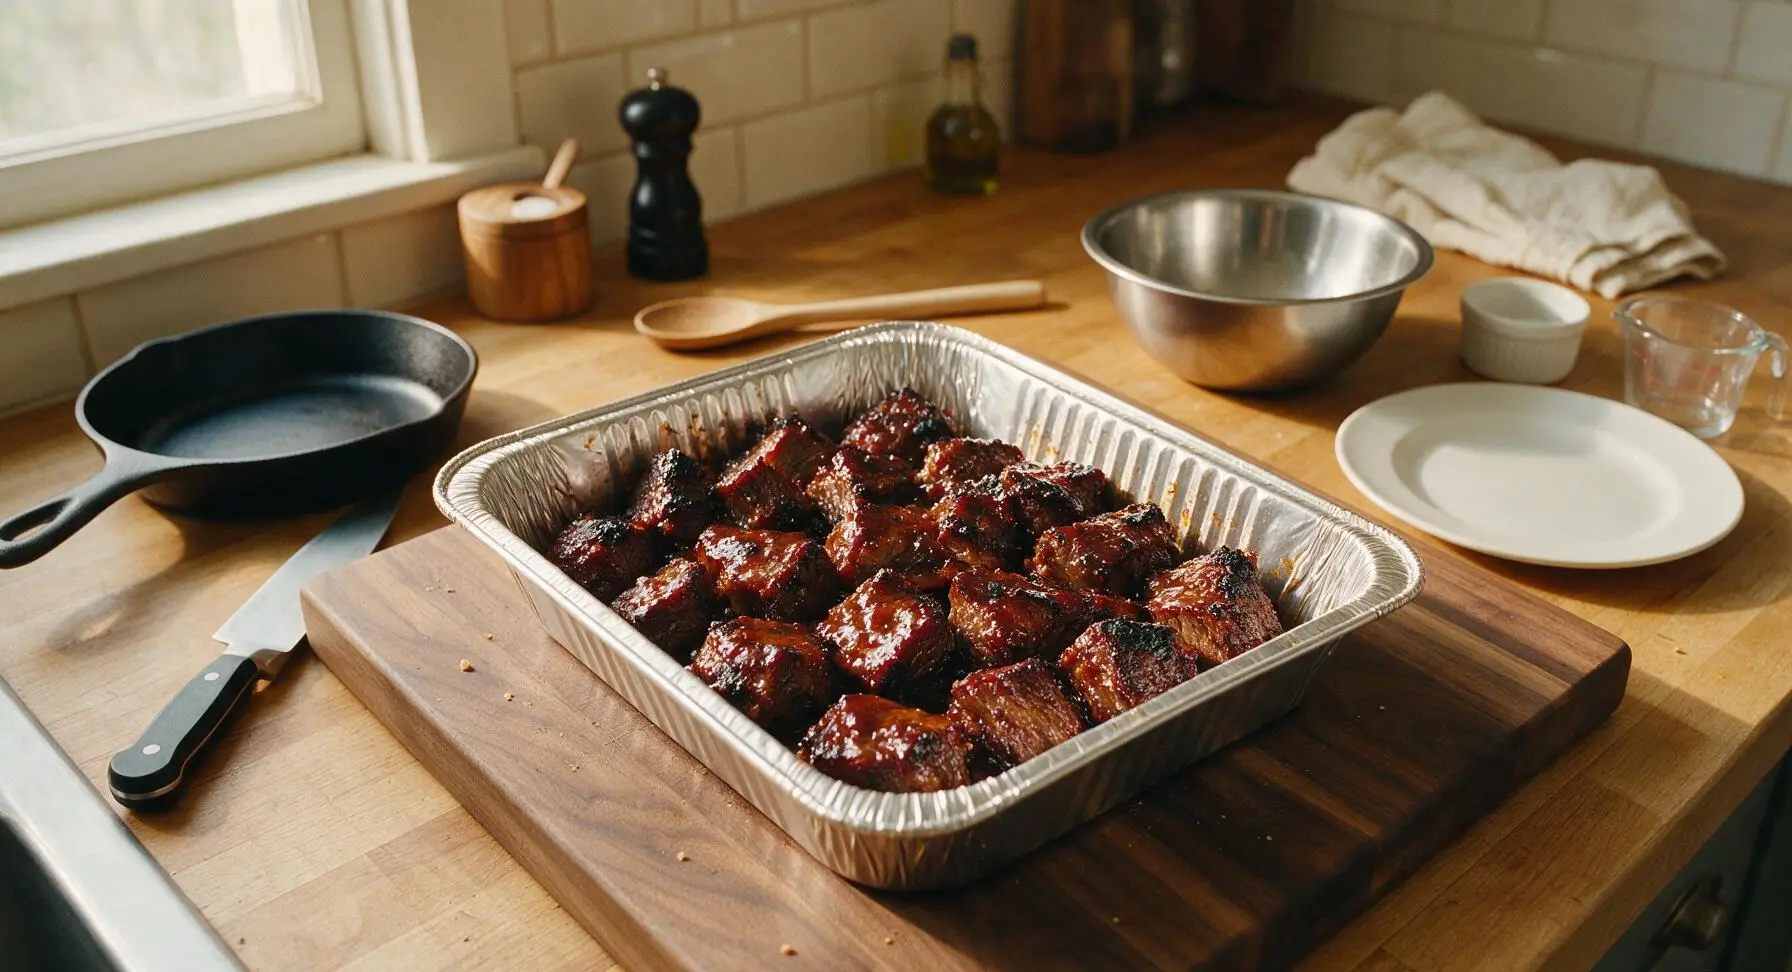
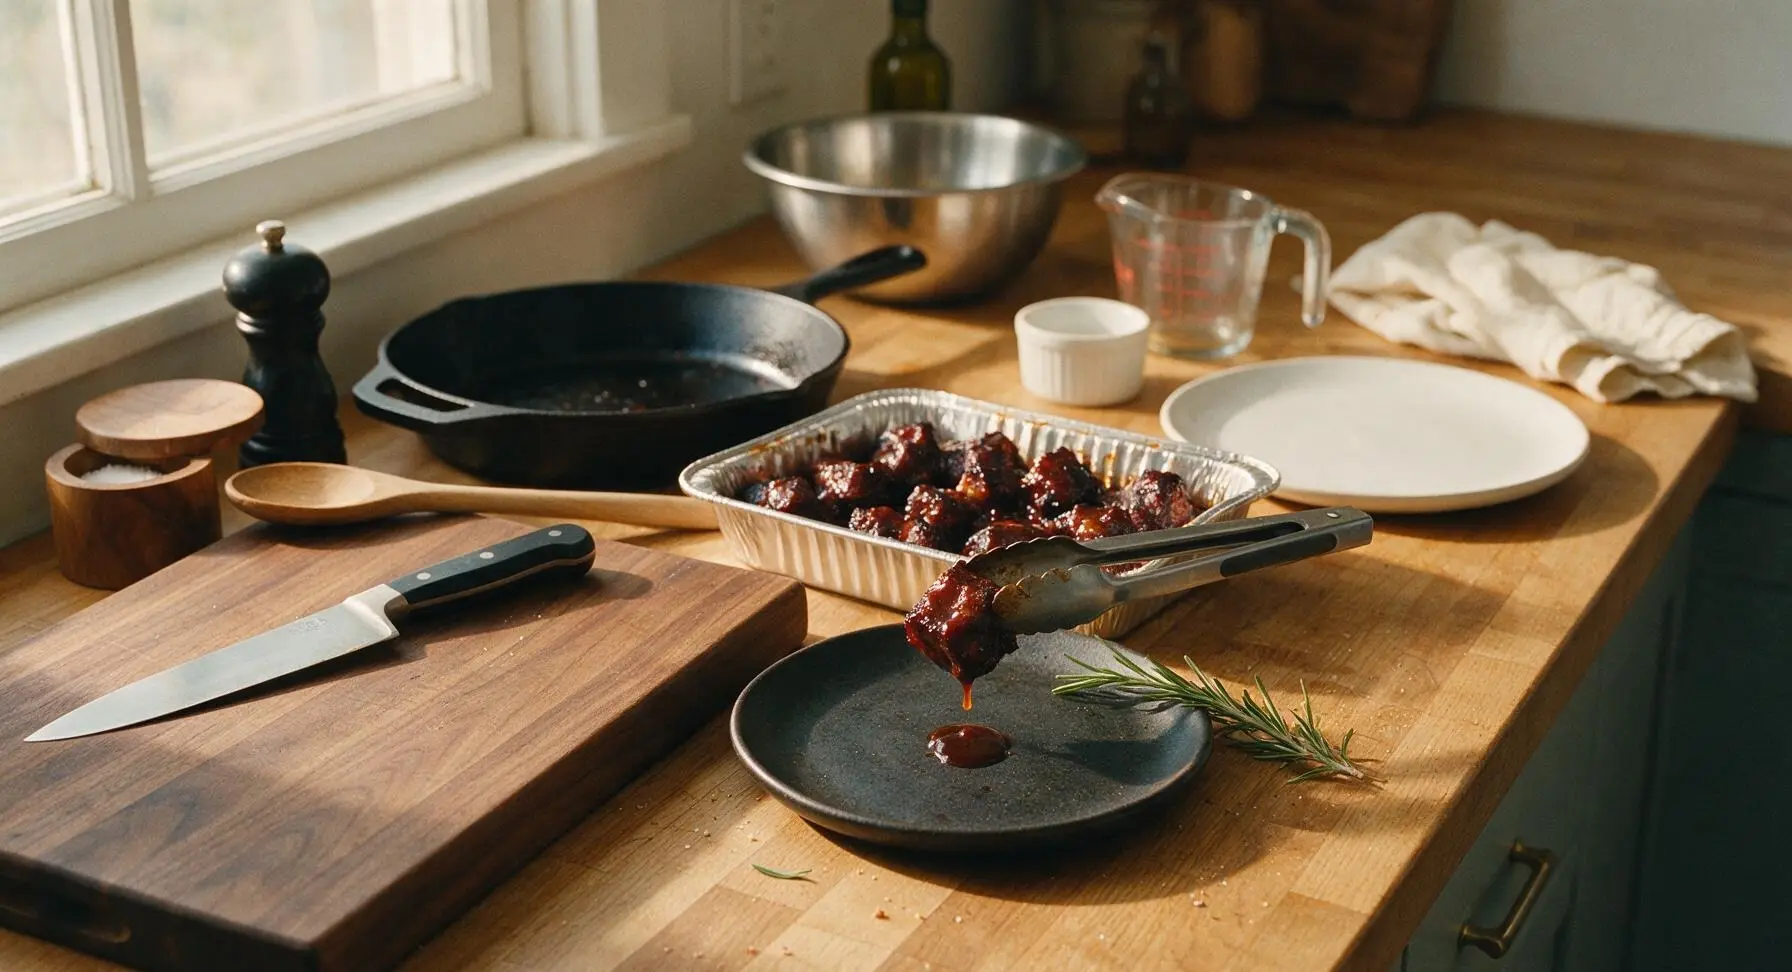
Transfer the cubed brisket to the heavy-duty aluminum foil pan, pour the BBQ sauce and pan juice mixture over the cubes, and use the natural bristle basting brush to coat every piece evenly. Return the uncovered pan to the smoker (still held at 225°F) for 45 minutes, stirring the cubes every 15 minutes with the tongs, until the sauce is thick, sticky, and caramelized around the edges of each burnt end.
Step 7
step7:Caramelize Sauced Cubes
Step 7
step7:Caramelize Sauced Cubes
8

Plate and Serve

Remove the pan of burnt ends from the smoker, use the BBQ tongs to pile the sticky cubes high on the matte dark charcoal ceramic serving platter. Drizzle any remaining thick sauce from the pan over the top of the pile, and tuck a small sprig of fresh rosemary (plucked from the terracotta pot) at the edge for garnish. Serve immediately while hot and sticky.
Step 8
step8:Plate and Serve

Tips

1.Don’t rush the temperature stall: When the brisket hits 165°F, it will hold that temperature for up to an hour as surface moisture evaporates. Wrapping tightly at this stage cuts through the stall without drying out the meat, ensuring juicy burnt ends instead of tough, dry cubes.
2.Cut cubes to a uniform 1.5-inch size: Smaller pieces will burn and turn leathery during the final sauce caramelization step, while larger pieces won’t absorb sauce evenly and will have too much uncoated inner meat per bite.
3.Limit smoker lid openings: Every lid lift lowers the smoker temperature by 25–50°F, adding extra cook time and preventing the dark, tacky bark from forming properly. Only open the lid to add wood chips, wrap the meat, or check temperature at the recommended time marks.
✨ You May Also Like

BBQ & Grilling
🍜 United States

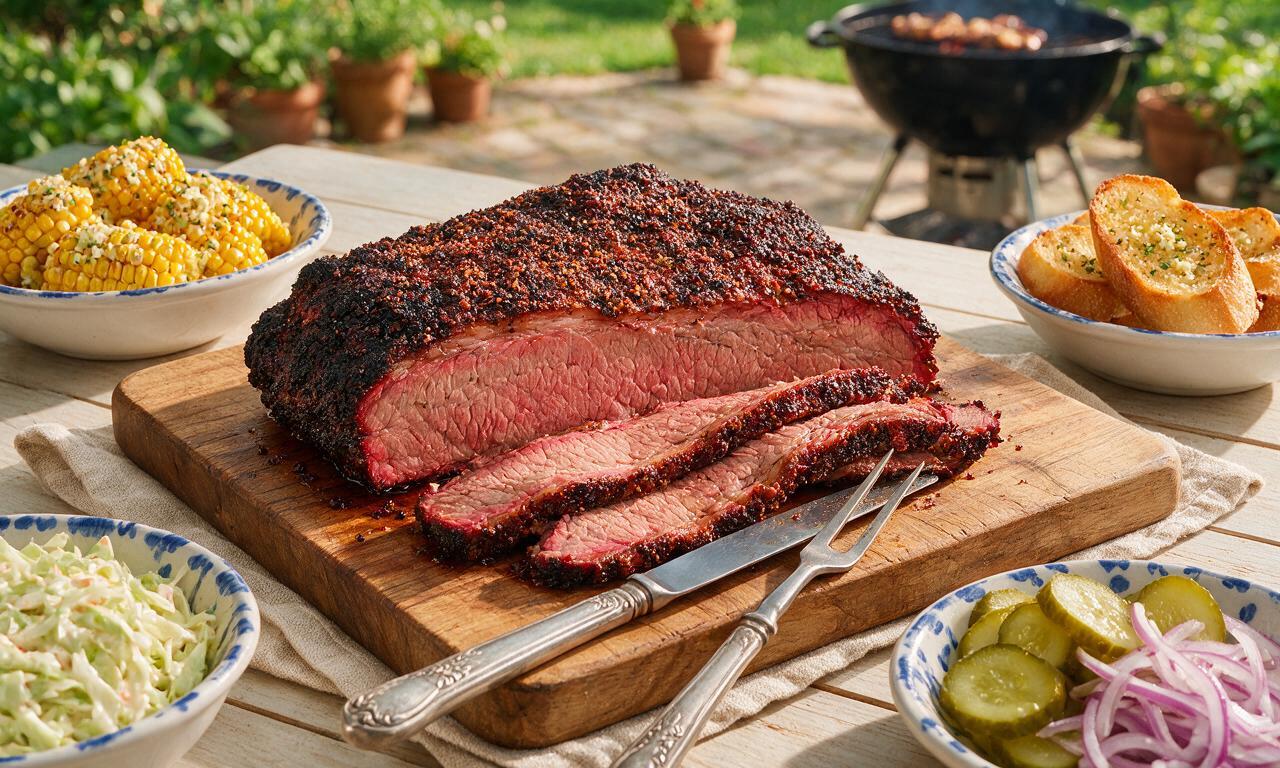
Tender, melt-in-your-mouth beef brisket with a crisp, spiced bark, slow-smoked to deep smoky perfection, the iconic centerpiece of Texas backyard barbecue.

⏱️ 12 hours BBQ & Grilling ★ 4.4
BBQ & Grilling
🍜 Korea

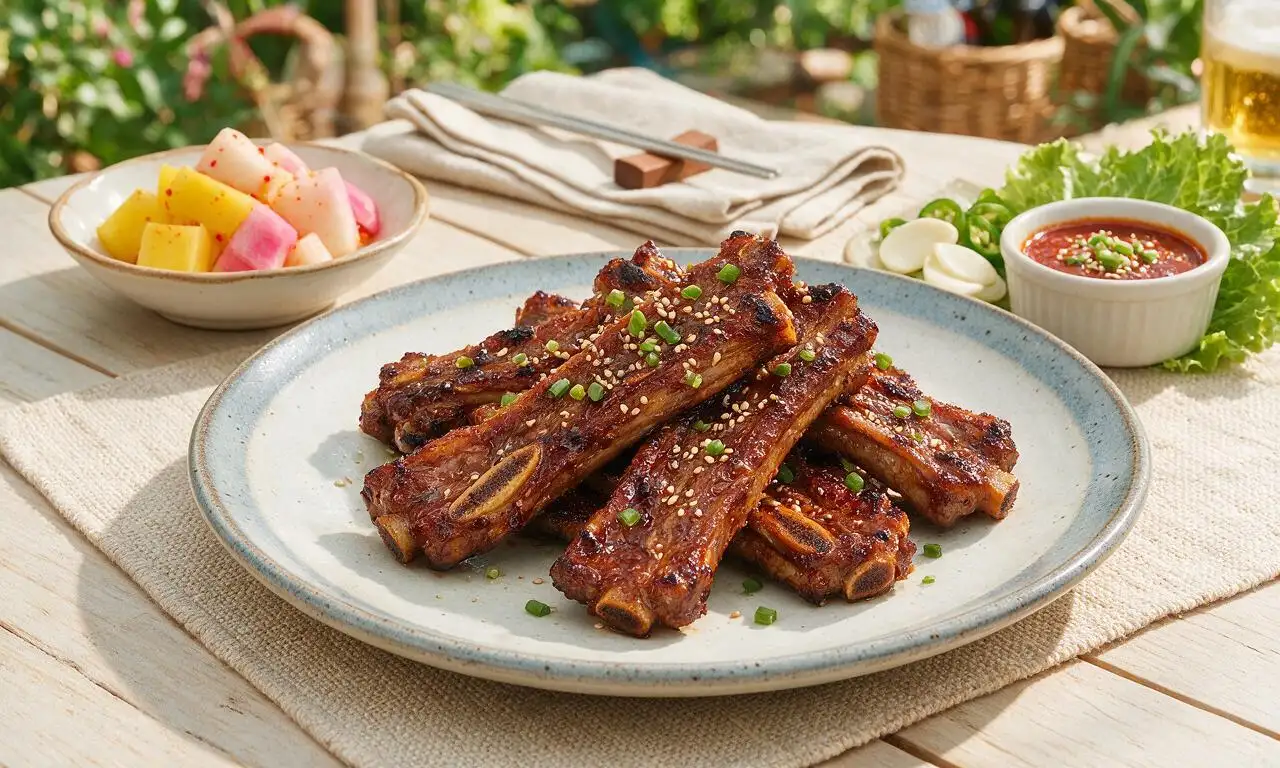
Tender, sweet-savory marinated beef short ribs, a beloved Korean BBQ staple with caramelized, slightly charred edges and deep umami flavor, perfect for outdoor summer gatherings.

⏱️ 4 hours 2BBQ & Grilling ★ 4.8
BBQ & Grilling
🍜 United States

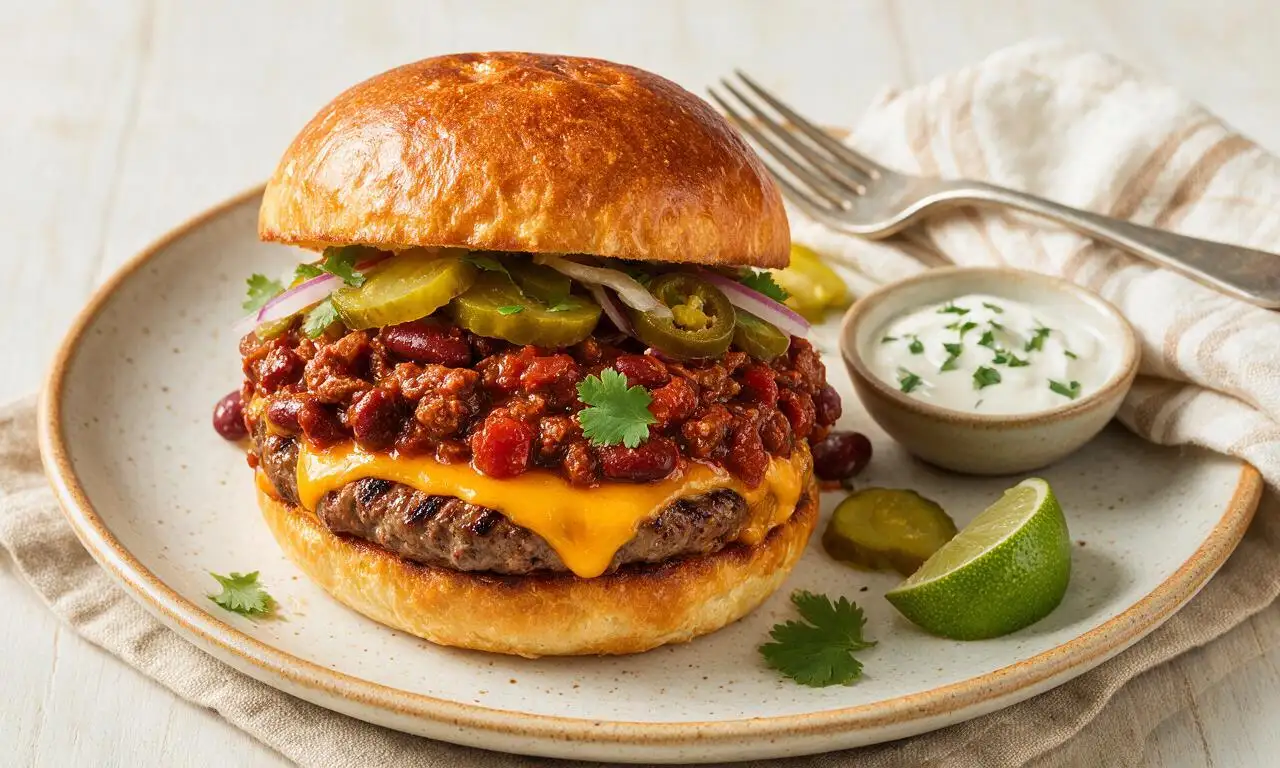
Juicy grilled beef patties topped with smoky homemade chili, melted cheddar, and tangy pickles on toasted brioche buns for a hearty, flavor-packed handheld meal.

⏱️ 40 minuteBBQ & Grilling ★ 4.7
BBQ & Grilling
🍜 United States

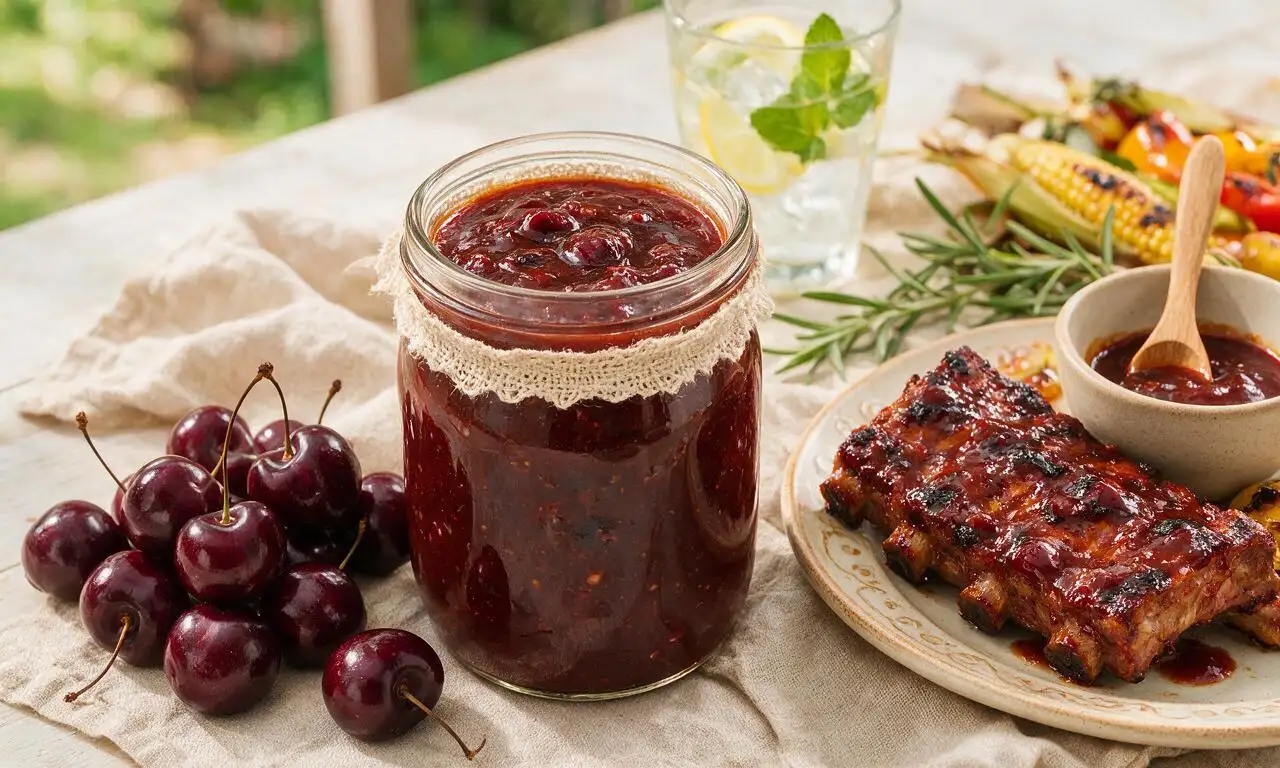
A sweet, smoky, tangy BBQ sauce brightened with peak-season dark cherries, ideal for glazing grilled ribs, chicken, pork, or summer roasted veggies.

⏱️ 35 minuteBBQ & Grilling ★ 4.7
BBQ & Grilling
🍜 United States

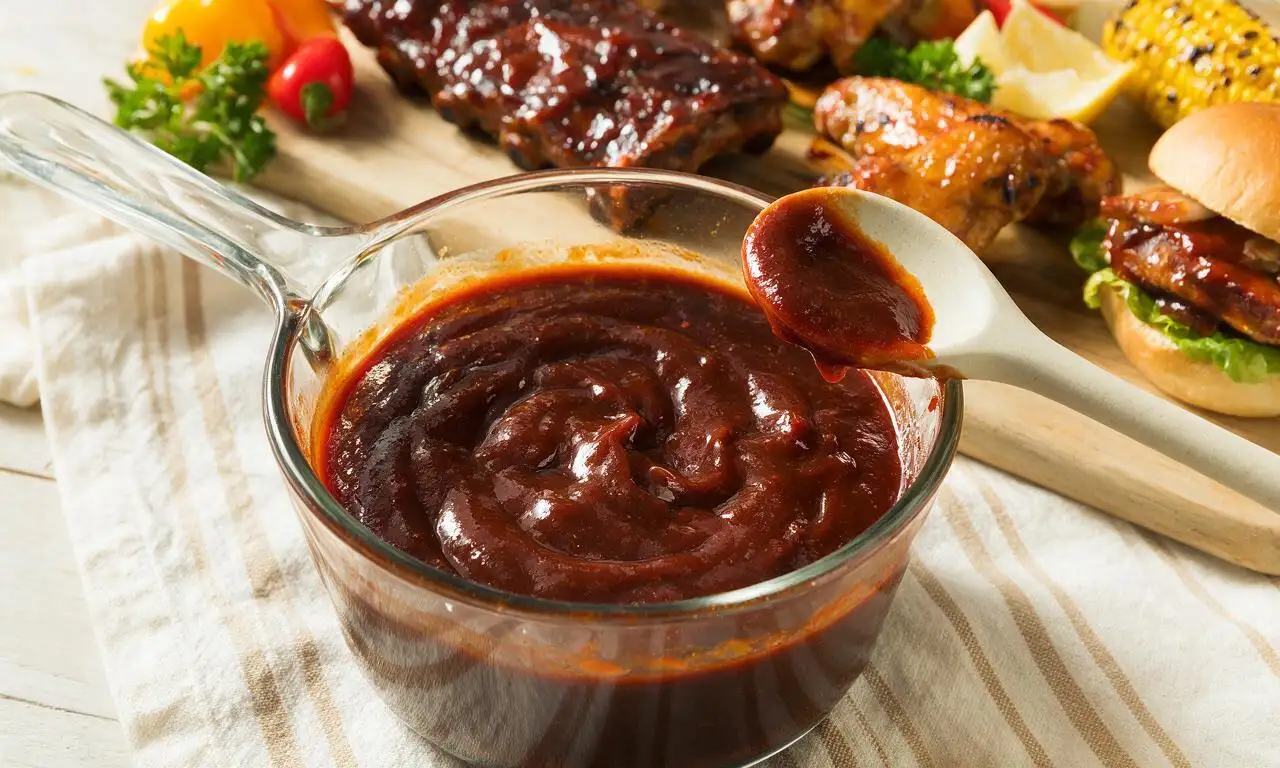
Rich, smoky, slightly sweet homemade bourbon BBQ sauce with deep caramel notes, ideal for glazing grilled ribs, chicken, and burgers at cookouts.

⏱️ 25 minuteBBQ & Grilling ★ 4.7
BBQ & Grilling
🍜 United States

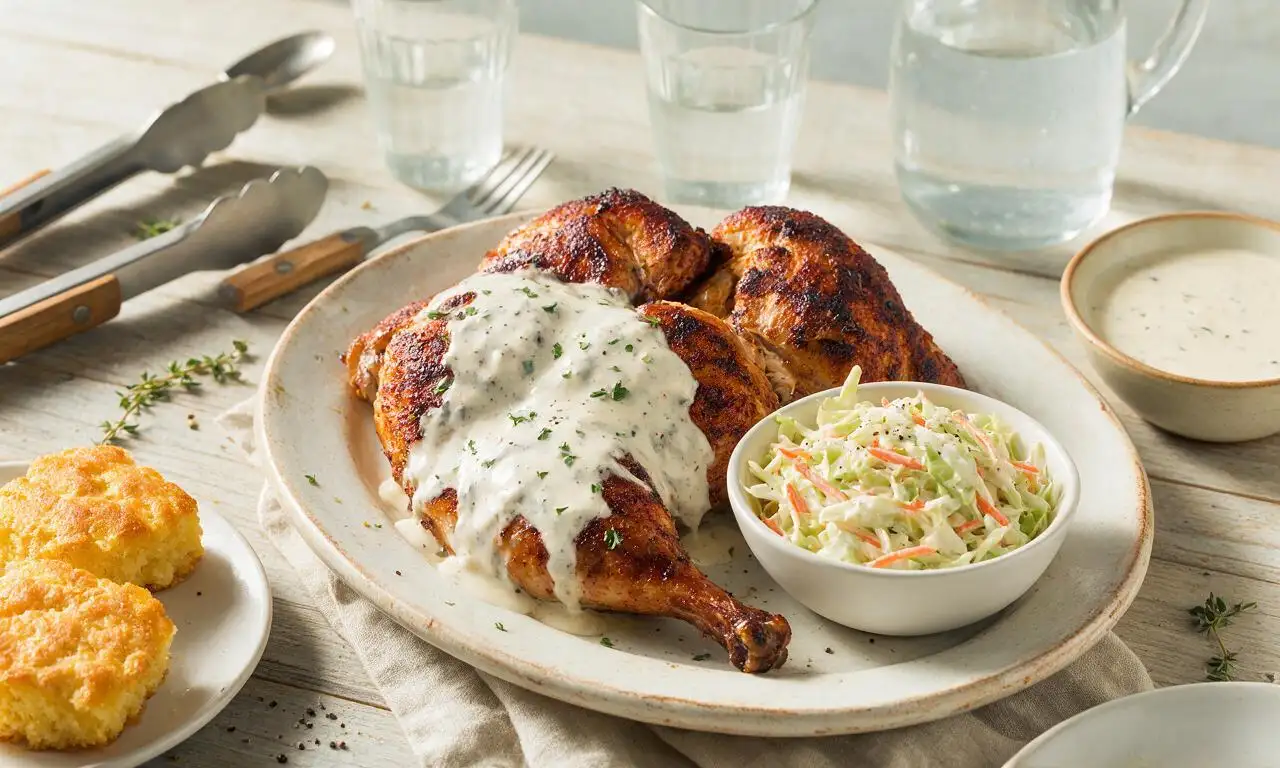
Iconic Alabama-style BBQ featuring tender hickory-smoked chicken slathered in tangy creamy white sauce, a beloved regional Southern cookout staple.

⏱️ 3 hoursBBQ & Grilling ★ 5

Royal Rumble Burnt Ends:Frequently Asked Questions

1.What cut of beef is required for authentic Royal Rumble Burnt Ends? ▾
You’ll need a full packer-cut beef brisket point with its fat cap fully intact for this recipe. The well-marbled point renders down into rich, juicy bites, while the intact fat cap slowly bastes the meat as it smokes to prevent dryness. Skip the lean brisket flat here—it will turn tough and chewy instead of melt-in-your-mouth.
2.Can I make these burnt ends if I don’t have a dedicated smoker? ▾
Absolutely! You can replicate that signature smoky flavor on a standard charcoal or gas grill by setting it up for indirect heat, holding a steady 225°F, and adding soaked wood chip packets to the heat source. You won’t get quite the same smoke depth as a dedicated smoker, but you’ll still end up with sticky, caramelized bites that wow cookout guests.
3.Why is this recipe called Royal Rumble Burnt Ends? ▾
The name nods to their showstopping status at summer cookouts, where guests will bicker over the last bite! Just like the iconic wrestling event, these bold, sticky, smoky bites are the main event that overshadows every other dish on the spread, with a tangy-sweet punch that matches the high-energy vibe.
4.What’s the simple dry rub for these burnt ends? ▾
The rub is intentionally straightforward to let the beef and smoke shine: mix equal parts coarse ground black pepper and kosher salt, plus a half portion each of smoked paprika and garlic powder. Skip heavy, sugary rubs at the start—sugar burns easily during long smokes and will make your ends bitter instead of caramelized.
5.How long do I need to smoke the brisket point before cubing it for burnt ends? ▾
Plan to smoke the whole, rubbed brisket point at 225°F for 5 to 6 hours, until it hits an internal temp of 165°F and has a deep, dark mahogany bark on the outside. At that point, it’s firm enough to cube cleanly without falling apart, and will hold up to the second stage of cooking in sauce.
6.Do I trim the fat cap off the brisket point before smoking? ▾
Don’t trim all the fat off! Leave a ¼-inch thick, intact fat cap on the point to act as a natural basting layer as it renders during the long smoke. You can trim away any loose, hard chunks of fat that won’t render down, but removing the whole cap will leave you with dry, bland burnt ends.
7.What kind of BBQ sauce works best for tossing these burnt ends? ▾
Reach for a classic Kansas City-style BBQ sauce to match the recipe’s iconic roots—look for a balanced tangy-sweet blend with a tomato base, a hint of molasses, and a mild vinegar kick. Avoid overly spicy or thin, vinegar-heavy Carolina-style sauces here, as they won’t caramelize into that signature sticky coating.
8.Why did my burnt ends turn out tough and chewy instead of tender? ▾
Tough burnt ends almost always come from one of two missteps: either you used the lean brisket flat instead of the well-marbled point, or you didn’t cook the cubed meat long enough after saucing. The cubes need to braise in sauce at 250°F for another 1.5 to 2 hours until they give easily when poked with a fork.
9.Can I prep these burnt ends ahead of time for a summer cookout? ▾
You can smoke the whole brisket point a day ahead, wrap it tightly, and store it in the fridge, then cube it, toss it in sauce, and finish it in the oven or on the grill 2 hours before guests arrive. This actually helps the flavors meld, and cuts down on day-of cookout stress without sacrificing texture.
10.What internal temperature should the finished burnt ends reach? ▾
Your burnt ends are done when the cubed pieces hit an internal temperature of 195°F to 203°F, and a fork slides into the meat with almost no resistance. Don’t rely strictly on cook time—brisket can hit the dreaded temperature stall unexpectedly, so a reliable instant-read thermometer is your most important tool.
11.Do I need to wrap the brisket point during the first smoke? ▾
You don’t need to wrap the point during the initial 5 to 6 hour smoke, because leaving it unwrapped lets the dry rub form that crisp, flavorful bark that makes burnt ends iconic. Wrapping too early will steam the meat, soften the bark, and leave you with mushy, bland bites instead of chewy, smoky edges.
12.What wood is best for getting that classic smoky burnt ends flavor? ▾
Stick to traditional midwestern hardwoods for authentic KC-style burnt ends: hickory is the classic pick, with a bold, bacon-like smoke that pairs perfectly with beef. Oak works as a milder alternative, but skip strong, resinous woods like pine or mesquite, which will overpower the beef and make your ends taste bitter.
13.How big should I cut the brisket cubes for burnt ends? ▾
Aim for uniform 1 to 1.5 inch cubes when you cut the smoked point. Cutting them too small will make them dry out and turn overly crispy during the sauce braise, while cutting them too large means the sauce won’t coat every bite, and the centers won’t get that perfect tender, caramelized texture.
14.Can I add extra seasonings to the dry rub if I want more flavor? ▾
You can absolutely add small amounts of complementary seasonings like a pinch of cayenne for heat, dry mustard, or onion powder, but don’t overdo it. The core flavor of great burnt ends comes from slow-smoked beef, simple seasoning, and tangy-sweet sauce—overloading the rub will cover up that iconic, rich smoky taste.
15.How do I keep burnt ends warm during a cookout without them drying out? ▾
Transfer the finished sauced burnt ends to a disposable aluminum pan, cover it tightly with foil, and hold it in a 225°F cooler or on the cool side of the grill for up to 2 hours. Toss them with a splash of extra BBQ sauce every 45 minutes if they start to look dry, and they’ll stay sticky and tender through the whole party.
16.Are these burnt ends supposed to have slightly charred, crispy edges? ▾
That’s the signature of great burnt ends! The name comes from those slightly crispy, caramelized bark edges that form when the sauced cubes cook, contrasting with the melt-in-your-mouth tender beef inside. You don’t want them fully blackened, but deep, dark, sticky edges are exactly what you’re aiming for.

Comments (16)

2 days ago

OMG these burnt ends were an absolute game changer for our Royal Rumble watch party! I was worried the 6.5 hour cook time would be too much, but I split the prep the night before and it was totally doable for a medium skill level like me. Every single person at the party asked for the recipe, even my cousin who swears he only eats restaurant BBQ. SO good.

yesterday

So stoked these were a hit for your watch party, Mike! Prepping the night before is such a smart hack to cut down on day-of cook stress, especially when you’re hosting a crowd. Cheers!

1 week ago

Made these for Sunday family dinner and my kids literally fought over the last piece! I adjusted the sauce a tiny bit to be a little less spicy for my youngest, and they still turned out caramelized and perfectly tender. Will absolutely be adding these to our monthly rotation.

3 days ago

Took these to my office potluck last week and people were coming back for thirds! I will say, make sure you leave enough time for the cubed brisket to render properly — I rushed the last 45 minutes my first test run and they were a little chewy, but the full 6.5 hours is chef’s kiss.

2 days ago

Oh thanks for the heads up about not rushing the render! I’m making these for my boyfriend’s birthday BBQ this weekend and almost planned to cut the cook time short to fit in a hike. Saved me from a total flop!

yesterday

Great call out Greg! That low and slow render is non-negotiable for that melt-in-your-mouth texture. So glad you stuck with the full cook time to get that perfect bite! And hope the birthday BBQ is a hit, ChicagoFoodieGirl!

2 weeks ago

Was skeptical burnt ends would hold up for meal prep but wow, these stay tender in the fridge for 4 days easy! I portion them out with roasted broccoli and mac and cheese for my work lunches, and all my coworkers are jealous. Worth every minute of cook time on Sunday.

5 days ago

Medium difficulty is spot on for this recipe! I’ve been smoking meats for about a year now and this didn’t feel too intimidating, but the flavor payoff is way better than some harder recipes I’ve tried. My only tip is to use a good meat thermometer so you don’t overcook the point.

3 days ago

Totally agree about the meat thermometer! I used to eyeball all my smokes and ruined so many good cuts before I got a decent digital one. These burnt ends were the first thing I made that turned out perfect first try when I used it!

yesterday

Made these for our neighborhood block party and they were gone in 20 minutes flat! I used a hickory and apple wood blend for the smoke and it gave the perfect sweet and smoky balance. Even the old guy down the street who competes in local BBQ comps said they were competition level.

2 hours ago

Wait that hickory/apple blend sounds incredible! I usually just use straight hickory, I bet the apple cuts that strong smoke so nicely. Gonna try that next time I fire up the smoker for these.

30 minutes ago

That wood blend choice is top tier! So glad these held up against a local BBQ pro’s standards, that’s the highest compliment we could ask for. Enjoy that next smoke!

30 minutes ago

I don’t even have a full smoker, just a pellet grill on my tiny apartment balcony, and these still turned out insane! I was worried the limited space would mess things up but as long as you keep the temp consistent, it works. 10/10 will make again for my next watch party.

1 week ago

Brought these to my friend’s Royal Rumble themed potluck and everyone kept calling me the BBQ queen all night! The sauce glaze is so sticky and perfect, I didn’t change a single thing from the recipe and it worked flawlessly. So glad I found this!

5 days ago

Love that these made you the potluck MVP, Katie! The glaze is one of our favorite parts too, so happy you loved it as written. Can’t wait to hear what you cook next!

2 hours ago

Okay, flavor was amazing but I definitely struggled a little with the cook time as a total beginner. The difficulty says medium, which I get, but if you’ve never smoked a brisket point before, block off extra time for prep and don’t try to multitask too much! I burned the first batch of glaze because I got pulled into a work call.

30 minutes ago

Oh man I feel that! I did the exact same thing my first time making these — set a timer on your phone for the glaze step, it goes from perfect to burnt so fast if you’re not watching. Don’t give up, they’re worth the extra focus!

5 minutes ago

Thanks for the honest feedback, Ben! We’ll add a note to the recipe reminding folks to set timers for the glaze step, since it can go quickly — that’s such a helpful tip. So glad the flavor still landed for you, and we hope you give them another shot soon!

5 days ago

My teen son is obsessed with burnt ends so I made these for his 16th birthday dinner and he said they were better than the ones we get at our favorite BBQ joint. That is the highest possible praise coming from a 16 year old who lives on takeout, let me tell you. Worth every second of the long cook time.

1 week ago

Game. Changer. I’ve tried half a dozen burnt end recipes over the years and this one takes the cake. The balance of sweet, savory, and a little kick of heat is exactly what I’ve been searching for. Made these for the playoff game last weekend and my buddies are already begging me to make them again for the Super Bowl.

5 days ago

Wait how much heat is there? My wife is super sensitive to spicy food, so I’m wondering if I can cut the cayenne in half without ruining the flavor?

2 weeks ago

Wait y’all, I made these on a random Tuesday after work? I had to use my smoker’s delayed start function so it would be ready when I got home, and it worked perfectly! Tender, sticky, full of flavor, even with me not being home to babysit it the whole time. Who says you can’t have fancy BBQ on a weeknight?

1 week ago

Wait the delayed start function works for this? I’ve been scared to use that for brisket because I thought it would be unsafe or dry out. That’s a total game changer for my weeknight cooks too!

1 week ago

So smart to use the delayed start, Rae! As long as your smoker holds a consistent temp and you’re following food safety guidelines for holding meat, that’s such a great hack for weeknight meals. So glad it worked out for you!

3 days ago

I was in charge of the meat for our family reunion and I was so nervous these wouldn’t turn out for 25 people, but they were a massive hit! I tripled the recipe and cooked three brisket points, and we only had a tiny handful left over (which I ate for breakfast the next day, no shame).

2 days ago

Feeding 25 people is no small feat! We’re so impressed you pulled that off for a family reunion, and we fully support eating leftover burnt ends for breakfast — no judgment here at all.

5 minutes ago

Made these for my dog’s birthday party (don’t judge, all our human friends came too) and even the people who said they don’t like BBQ went back for seconds. The bark is perfectly crispy, the inside is melt-in-your-mouth tender, the sauce is finger-licking good. 10/10, no notes.

yesterday

Made these after a long day of hiking last weekend and they were the perfect post-adventure meal! I accidentally added a little too much brown sugar to the rub at first, but I sprinkled a little extra salt and paprika to balance it out and it still turned out amazing. Super forgiving recipe for when you’re half tired from being on the trail all day.

2 hours ago

That’s good to know it’s forgiving! I’m the worst at measuring spices when I’m cooking, I always just eyeball everything, so I’ve been nervous to try a longer cook recipe for fear I’ll mess up the ratios.

1 week ago

As someone who’s been making burnt ends for 20+ years, I went into this recipe pretty skeptical, but color me impressed. The tip to sauce the cubes and then put them back on for that final 15 minutes to caramelize is a trick I’d never tried before, and it made such a huge difference in the texture of the glaze. Tip of the hat to the chef on this one.

5 days ago

Wait that final 15 minute sauced caramelization step? Total game changer! I used to just toss them in sauce after pulling them off and they were always soggy, this trick makes the glaze stick perfectly and get that crispy caramelized edge.

3 days ago

Coming from a 20+ year BBQ vet, that compliment means the absolute world! That final caramelization step is our secret to getting that perfect sticky, crispy glaze that doesn’t get soggy, so glad it worked for you. Thanks for giving the recipe a shot!