
Russian Imperial Stout
intro
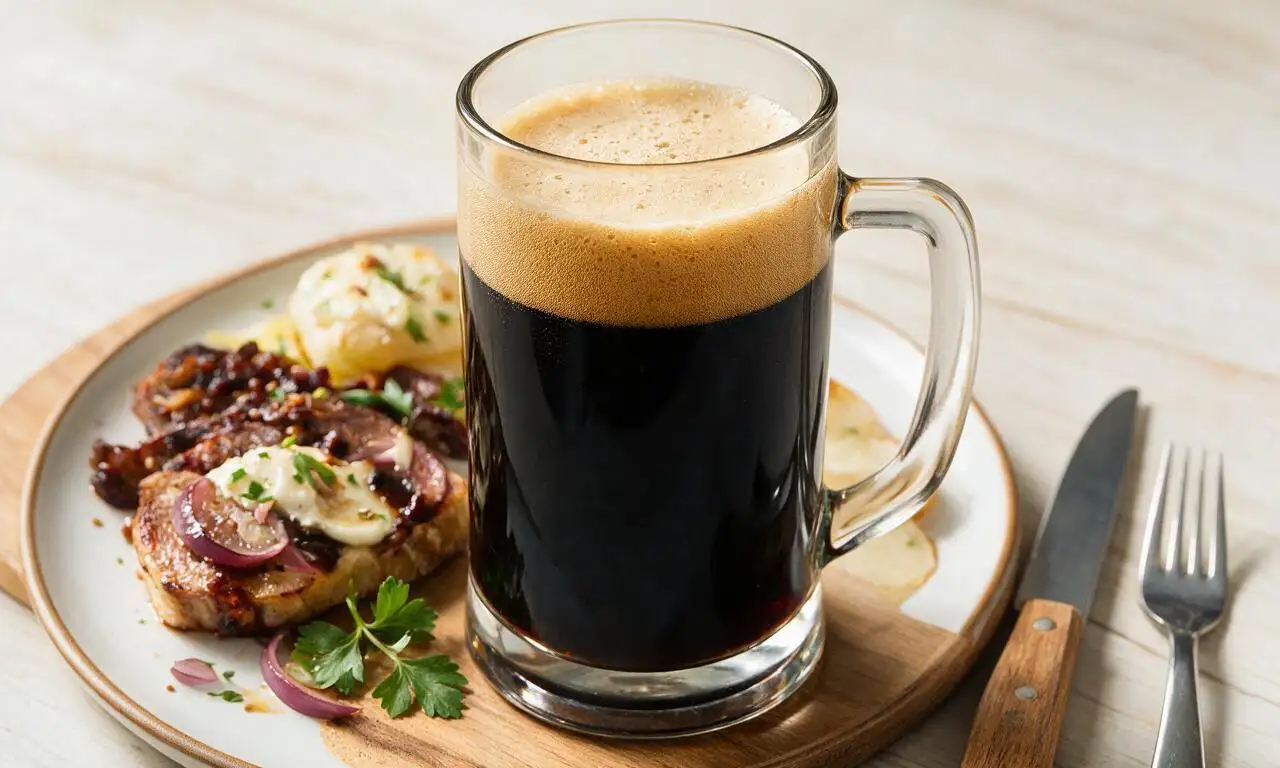
A deeply roasted, high-ABV dark stout with notes of dark chocolate, coffee, and dried fruit, originally brewed for Russian imperial courts. Rich, smooth, and ideal for cold-weather sipping.
Ingredients
Steps
Mill the brewing grains
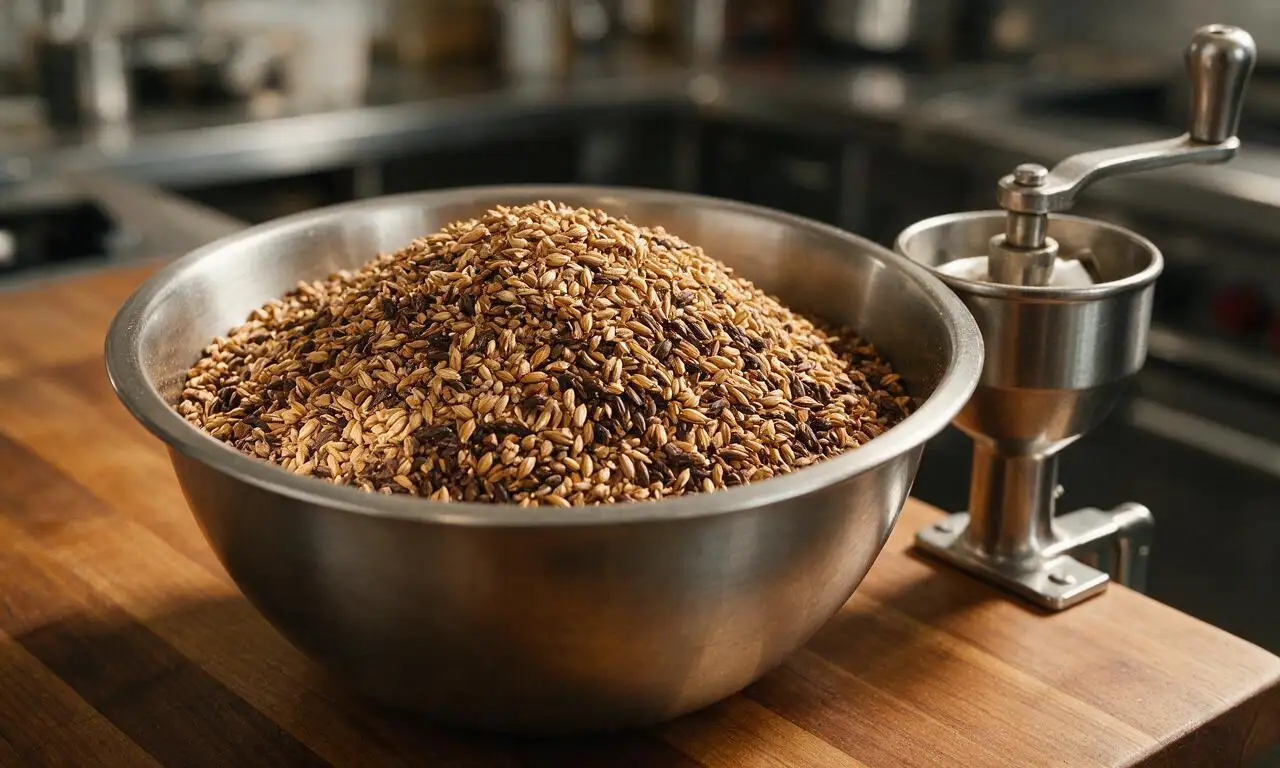
Weigh out 450g 2-row pale malt, 110g roasted barley, 70g chocolate malt, 50g 60L crystal malt, and 30g black patent malt. Pass grains through a grain mill set to a 0.04-inch gap, cracking kernels open without grinding them into fine powder, to expose starchy interiors for efficient sugar extraction during mashing.
Conduct the mash rest
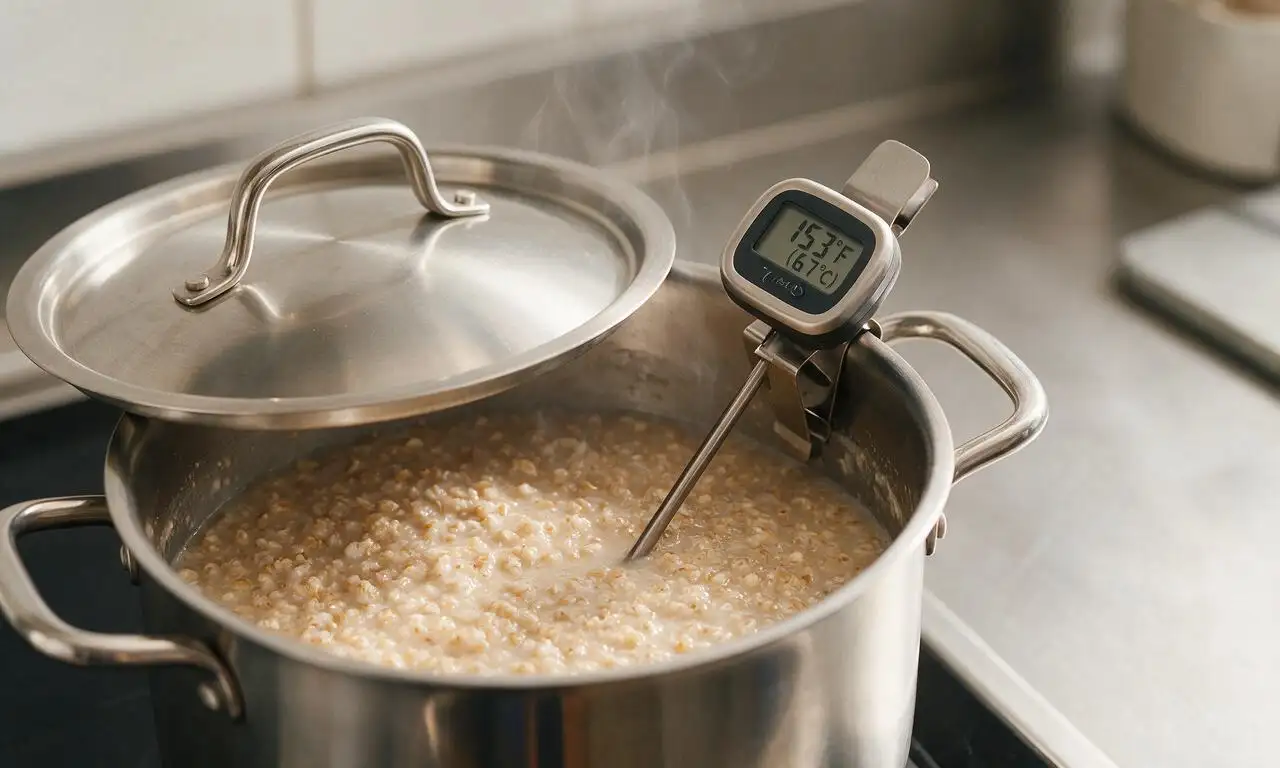
Heat 3L of filtered water to 71°C (160°F) in a 5L stock pot, add cracked grains, and stir thoroughly to eliminate dry clumps. Hold the mash temperature steady at 67°C (153°F) for 60 minutes, adjusting heat to low as needed to avoid temperature spikes above 70°C. The mixture will release a deep aroma of toasted bread and dark roast coffee.
Sparge and collect wort
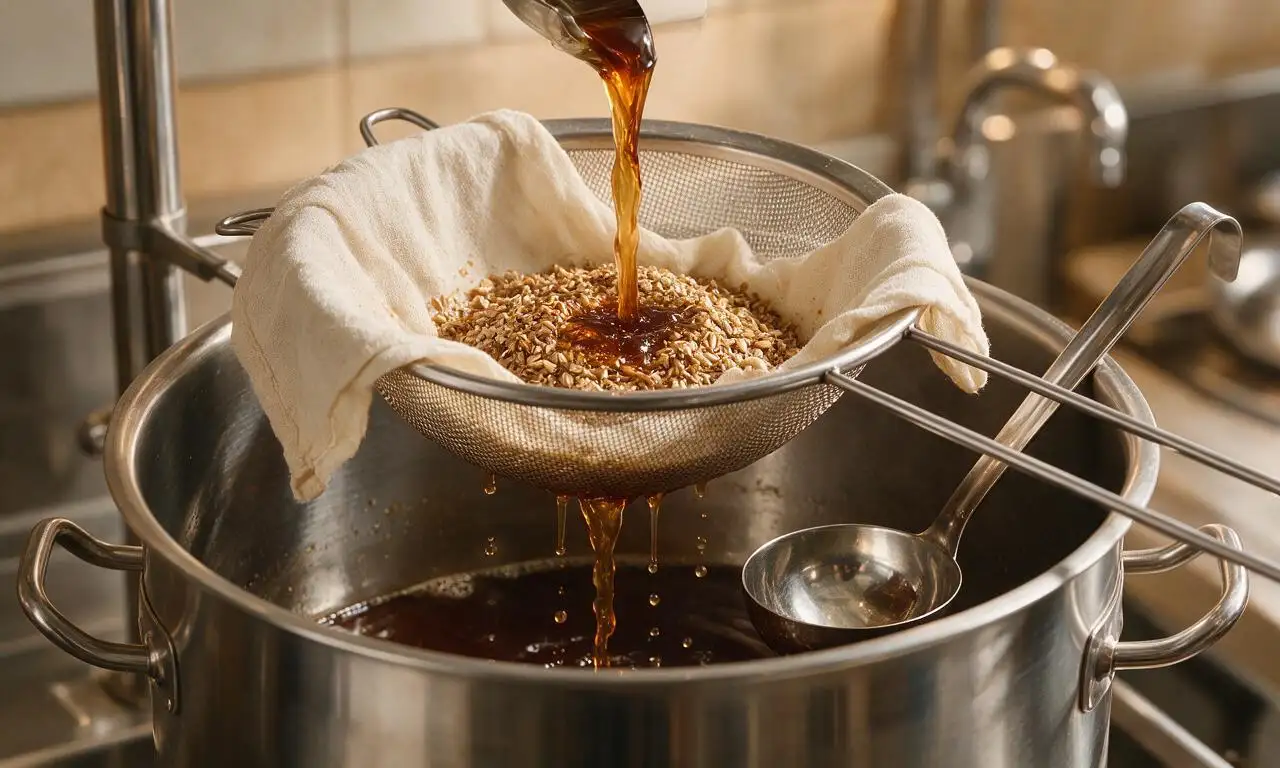
After the 60-minute mash rest, slowly pour the grain mixture through a fine mesh strainer lined with cheesecloth into a second 8L brew pot. Rinse (sparge) the leftover grain bed with 1.5L of 77°C (170°F) filtered water, pouring slowly over the grains to extract remaining sugars, until you collect 3.8L (1 gallon) of sweet, dark brown wort in the pot.
Boil wort with additions
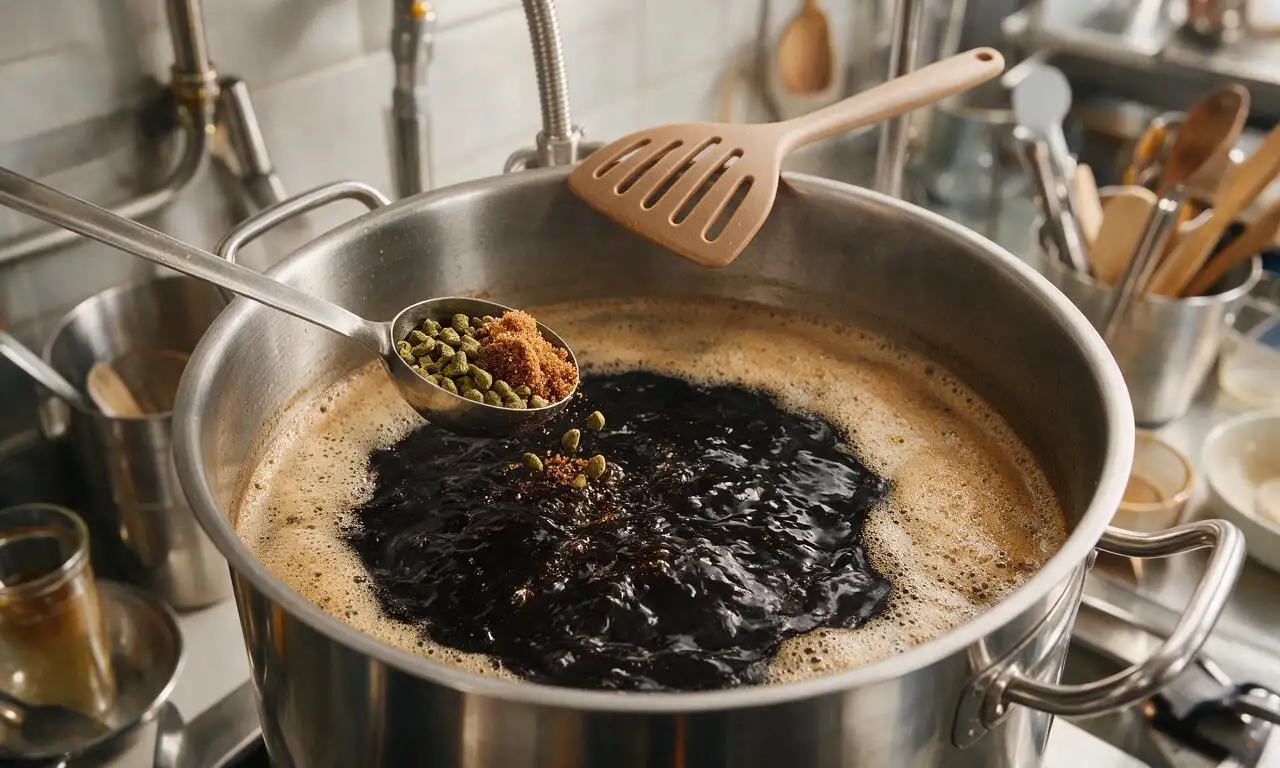
Place the pot of collected wort over high heat, bring to a gentle rolling boil, and reduce heat slightly to prevent boilovers. Hold the boil for 60 minutes total: add 18g East Kent Goldings hops at the start of the boil for bitterness, 7g hops with 15 minutes remaining, and the final 3g hops plus 100g dark brown sugar and 30g cocoa nibs with 5 minutes remaining. Skim foamy krausen from the surface as needed.
Cool wort and pitch yeast
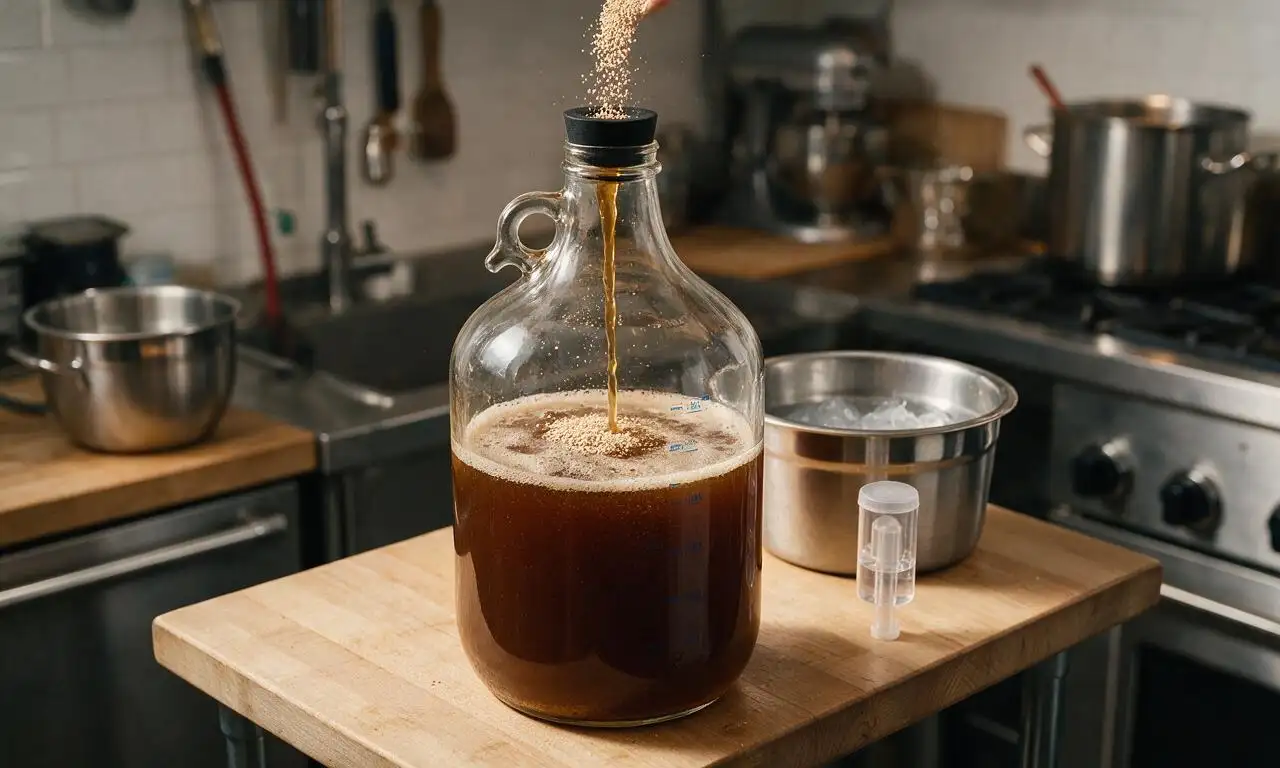
After the 60-minute boil, remove the pot from heat immediately. Submerge the sealed pot in an ice bath of equal parts ice and cold tap water, stirring the wort gently every 5 minutes until it cools to 20°C (68°F), roughly 20 minutes total. Pour cooled wort into a sanitized 1-gallon glass fermentation jug, sprinkle 11g of English ale yeast evenly over the surface, and seal with an airlock filled halfway with no-rinse sanitizer.
Ferment and condition stout
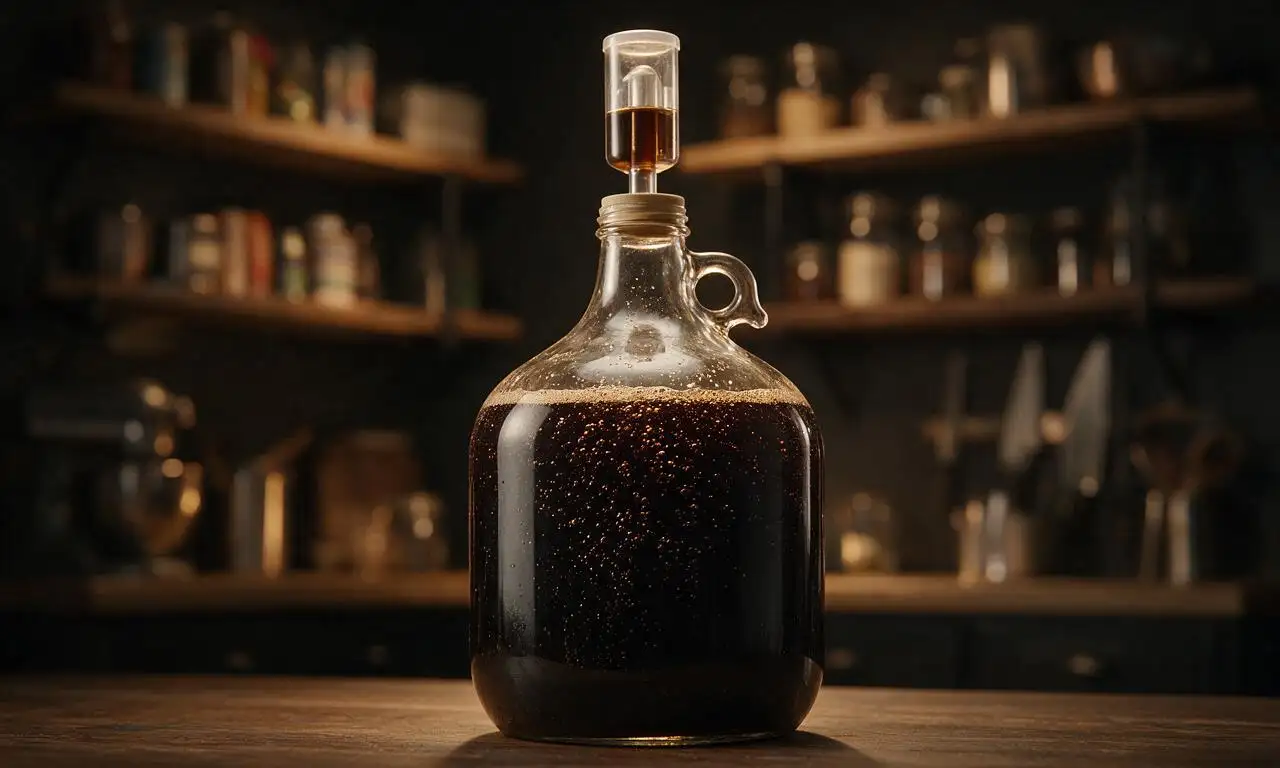
Store the sealed fermentation jug in a dark, temperature-stable space held at 18–20°C (65–68°F) for 2 weeks, until bubbling in the airlock stops completely. Siphon (rack) the stout off the settled yeast sediment into a second sanitized glass jug, seal, and let condition for an additional 2 weeks at the same temperature to mellow harsh roasted flavors.
Bottle and carbonate stout
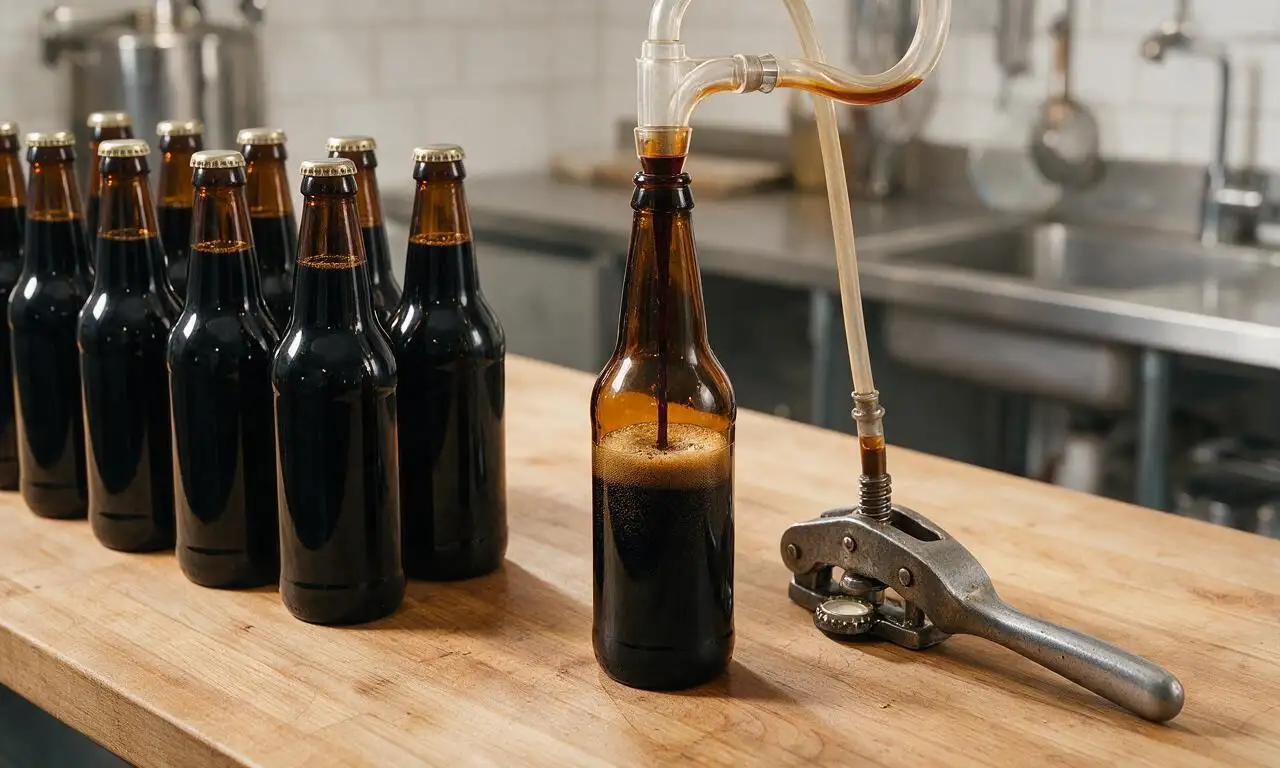
Boil 25g corn sugar in 60ml of water for 5 minutes, then stir gently into the conditioned stout to evenly distribute for natural carbonation. Siphon the stout into sanitized 355ml (12oz) amber glass beer bottles, cap tightly with sanitized metal bottle caps, and store upright in the same dark, 18–20°C space for 2 weeks to carbonate fully before chilling to 10°C (50°F) to serve.
Tips
2.Hold mash temperature steady between 65–68°C (149–154°F); temperatures above 70°C (158°F) will extract harsh, astringent tannins from grain husks that ruin the stout's smooth flavor.
3.For extra depth, add 30ml of bourbon and 1 split vanilla bean to the secondary fermenter to add warm oak and vanilla notes that complement the roasted malt profile.






OMG, I’ve been chasing that bold, coffee-forward Russian imperial stout taste from my favorite local Fort Collins brewery for YEARS and this recipe absolutely nailed it! Blocked off 2 hours last Saturday for the active brew, and waiting the full 6 weeks of fermentation and conditioning felt like total torture but the payoff? So rich, perfect subtle boozy warmth, zero weird off-flavors. Brought a growler to my buddy’s fall potluck last weekend and everyone was hounding me for the recipe before the night was over.
Total game changer, y’all. I’ve had three separate Russian imperial stout recipes turn out either thin and watery or harshly bitter before I found this one. Followed the directions to a T, put in the 2 hours of active brew time on a lazy Sunday, let it condition the full 6 weeks even though I was dying to crack a bottle early, and it’s better than the $15 bombers I pick up at the fancy liquor store. Shared a few bottles at family dinner last Sunday and my brother-in-law offered to pay me to make him a whole dedicated batch!
Quick question, y’all — the recipe says total time is 6 weeks for fermentation and conditioning, right? I’m supposed to bring homebrew to my friend’s housewarming in 5 weeks and I’m panicking a little! I already bought all the grains and supplies, but I don’t wanna show up with green, unconditioned beer that tastes weird. Am I gonna have to run to the store last minute for backup?
SO good. I was worried a medium-difficulty imperial stout would mean I’d have to run out and buy a million fancy pieces of specialty brewing equipment, but I already had almost everything I needed from my basic 5-gallon homebrew setup. The only thing I had to grab extra was the black patent malt, and that was super cheap at my local homebrew shop. Let it sit the full 6 weeks, poured it with a thick tan head, got notes of dark chocolate, espresso, a little hint of dried plum — absolute perfection.
I don’t even brew beer that often, but my partner is obsessed with Russian imperial stouts so I decided to give this a go for our 3 year anniversary. The 2 hours of active brewing time was totally manageable even on a weeknight after work (I pre-measured all the grains the night before to make it easier). Tried the first bottle last night and he said it’s the best anniversary gift I’ve ever given him, ha! Already planning to make a double batch for our big holiday potluck in December.
Quick heads up for anyone new to brewing high-ABV stouts like this: don’t skip the wort oxygenation step! I almost forgot on my first batch of this a couple months ago and fermentation got off to a super slow start, but I course-corrected and it still turned out great. This is easily one of the most reliable imperial stout recipes I’ve ever tried — no weird hacks, no overly complicated steps, just solid, consistent results every time. I’ve made it twice now and both batches were total hits on my fall camping trip last month.
Took a chance on this recipe even though I’ve had terrible luck with high ABV brews stalling out on me before, and I’m so glad I did. Followed the temperature guidance exactly, hit my target ABV right on the nose, and the flavor is smooth as can be — no harsh alcohol burn like my last failed stout attempt. Brought a few bottles to my neighborhood block party potluck last weekend and everyone was raving about it, even the people who swear they “don’t like dark beer”. Total win, will be making this again for sure.