
Sage and Onion Stuffing

title 1
Sage and Onion Stuffing
⏱️ cook time 45 minutes
🍽️ servings 8
⚡ Difficulty easy

intro

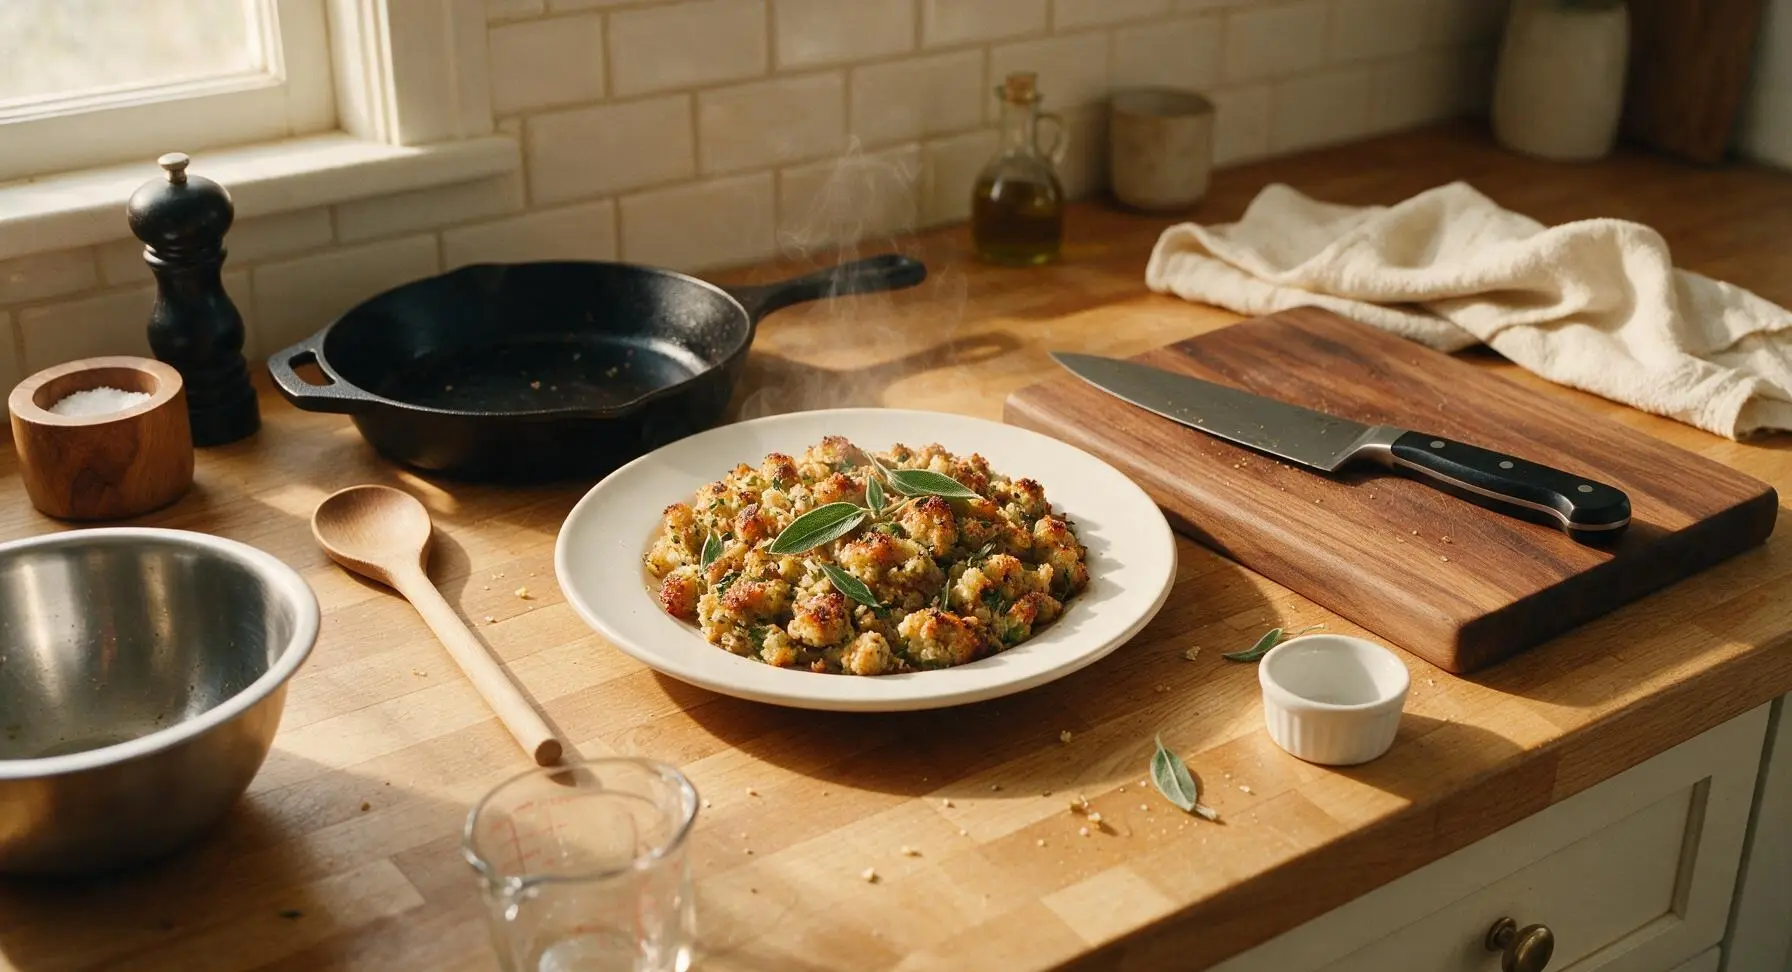
Buttery, herb-packed classic sage and onion stuffing with crisp golden edges and a soft, savory center—an iconic Thanksgiving side perfect for pairing with roast turkey and gravy.

Ingredients
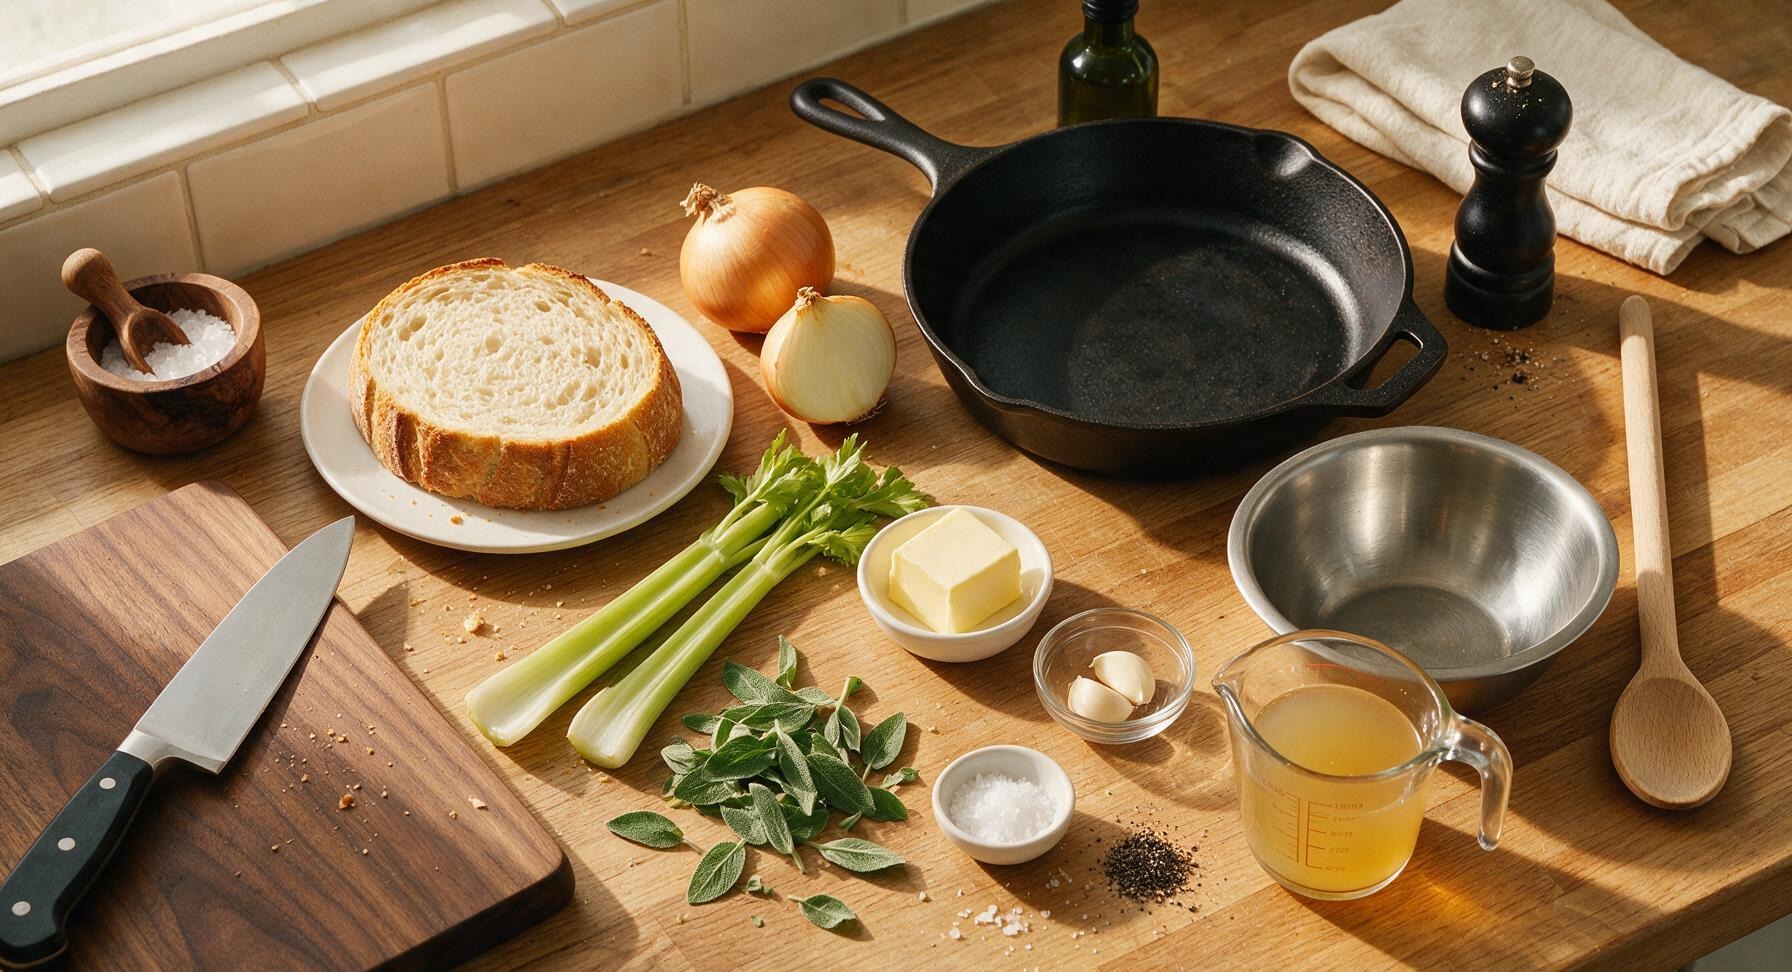
Day-old crusty white country loaf 400g
Large yellow onions 2 (300g total)
Fresh sage 15g (≈20 leaves)
Unsalted butter 75g
Celery stalks 2 (100g total)
Garlic cloves 2 (10g total)
Low-sodium chicken stock 250ml
Flaky sea salt 1 tsp
Freshly ground black pepper 1/2 tsp

Steps

1

Cube the day-old bread

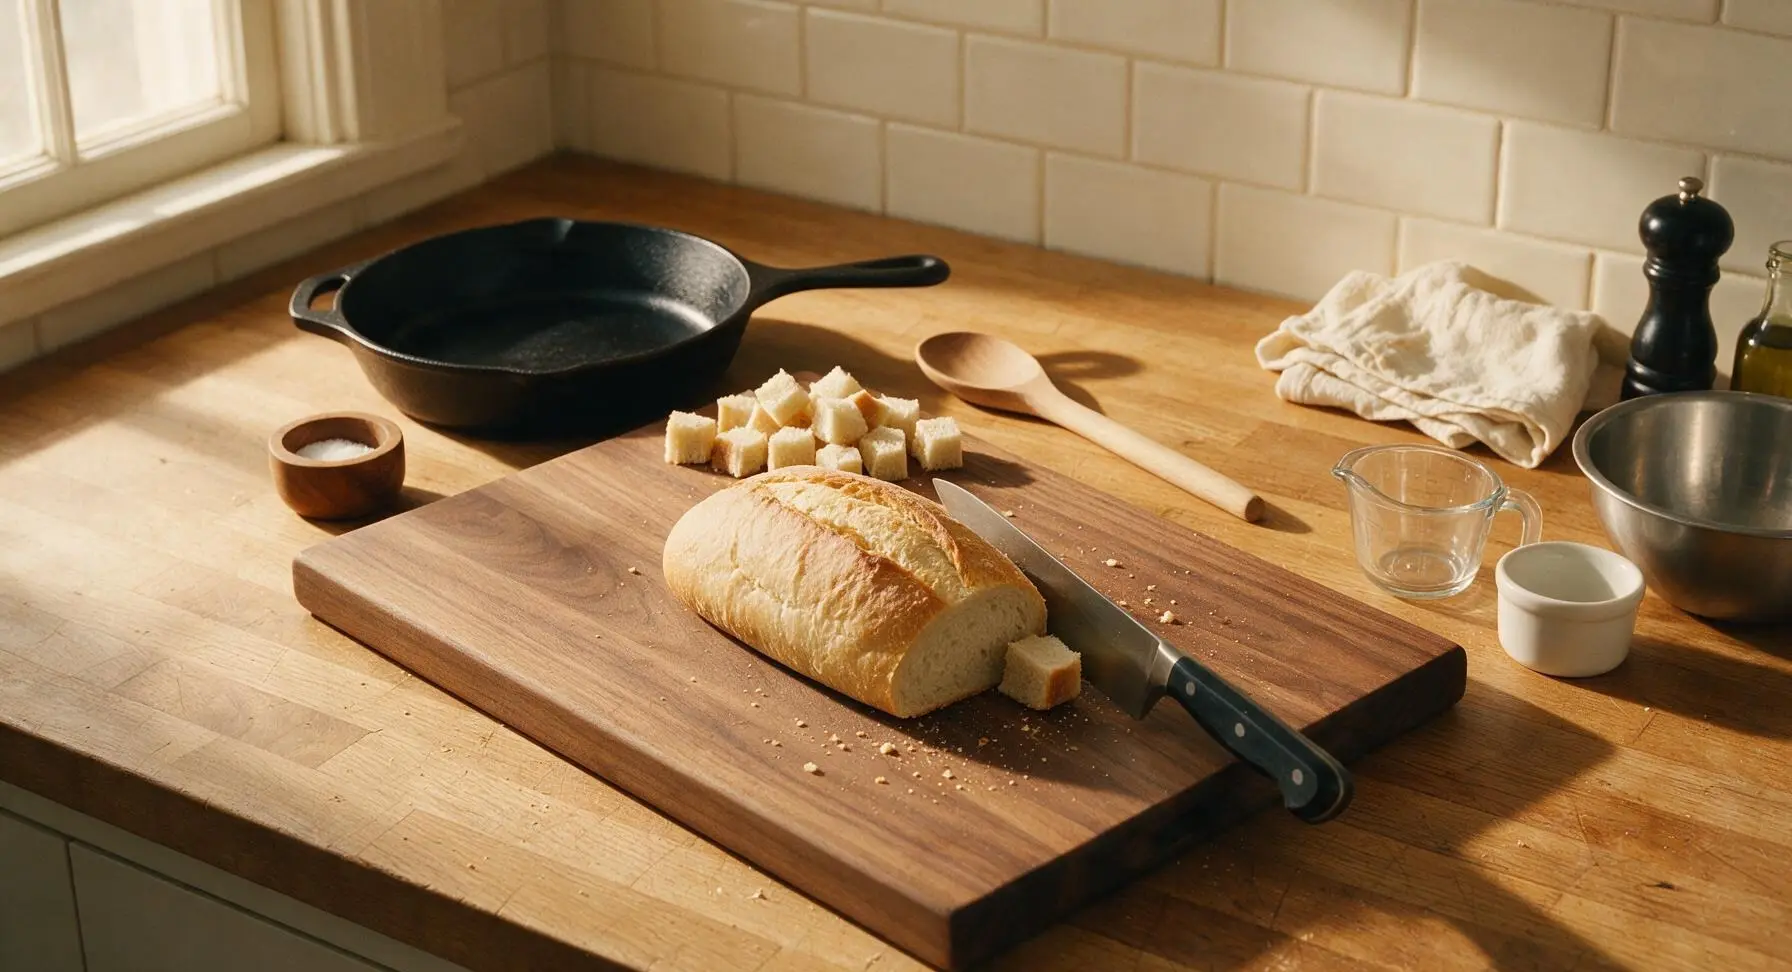
Place the day-old crusty white bread on the large maple cutting board. Using the chef knife, cut the loaf into 1.5cm (1/2 inch) uniform cubes, discarding any overly hard, dried-out crust edges if present. Spread the cubes in a single layer on the cutting board to air dry slightly while you prep the vegetables. This takes about 5 minutes; evenly sized cubes ensure they toast and absorb moisture at a consistent rate for even texture.
Step 1
step1:Cube the day-old bread
2

Dice the aromatics

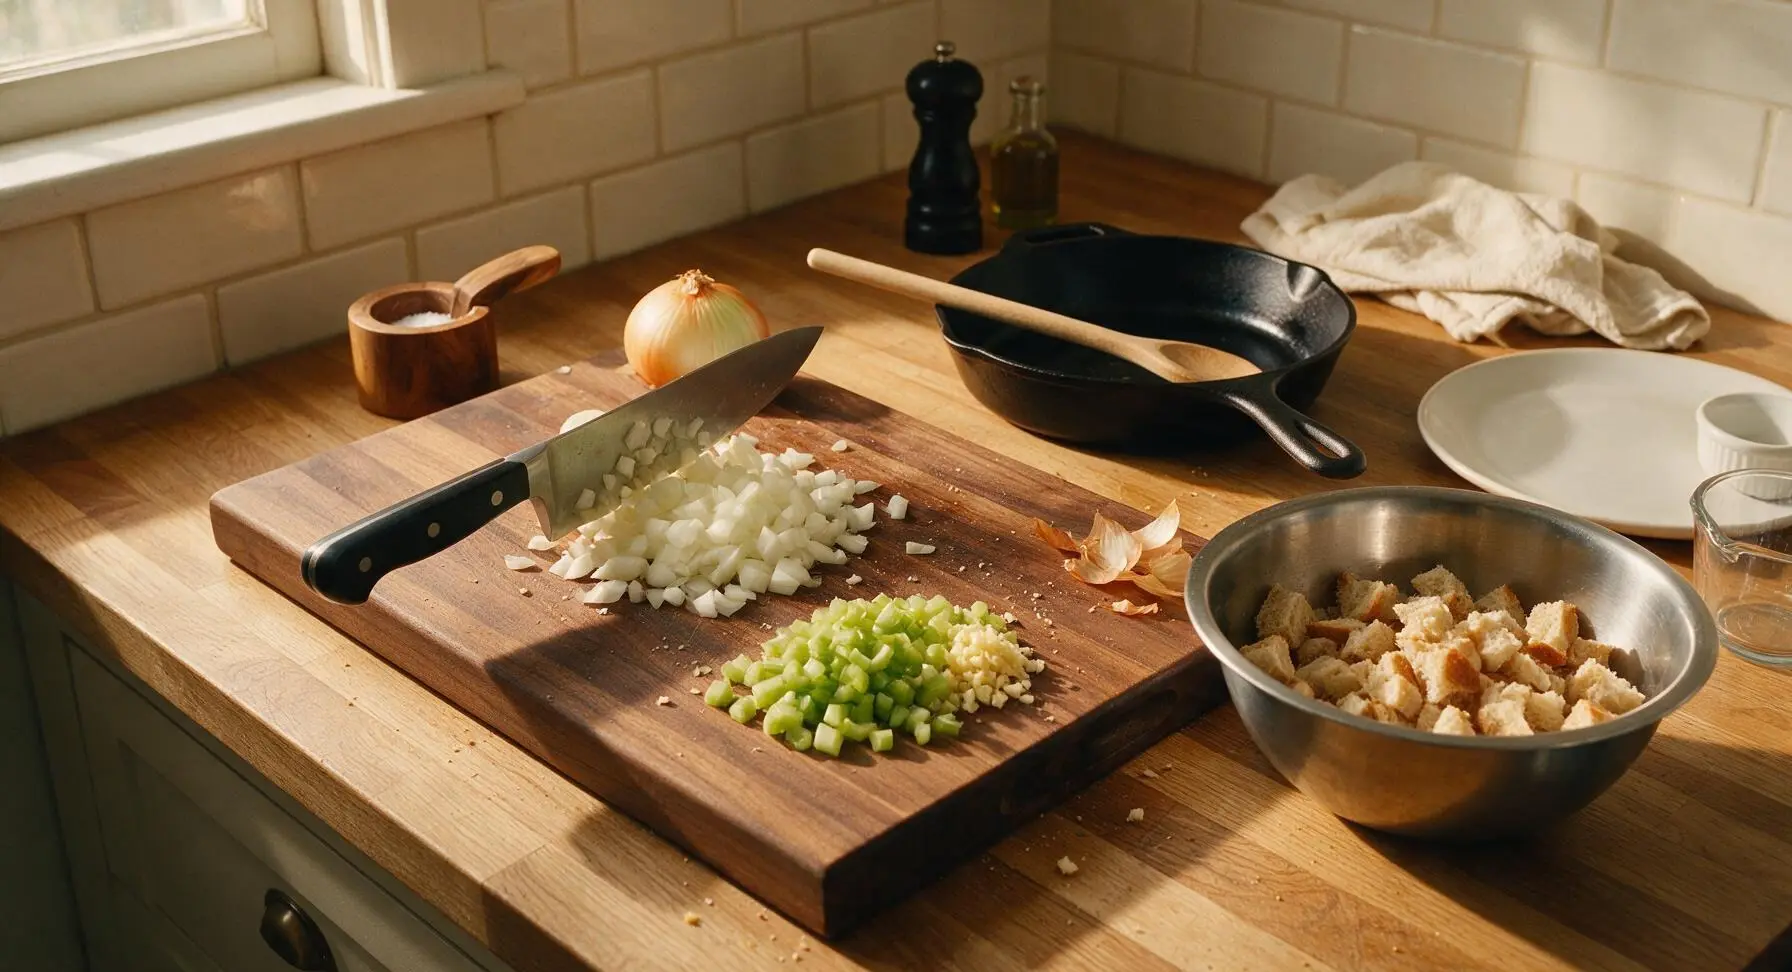
Transfer the cubed bread from the cutting board into the medium stainless steel mixing bowl. Return the cutting board to the work surface, then peel the yellow onions, trim the celery stalks, and peel the garlic cloves. Use the chef knife to dice the onions and celery into 5mm (1/4 inch) uniform pieces, and mince the garlic finely. Pile the prepped vegetables on the edge of the cutting board; this takes about 7 minutes, with no large chunks remaining that would stay crunchy after cooking.
Step 2
step2:Dice the aromatics
3

Sauté vegetable base

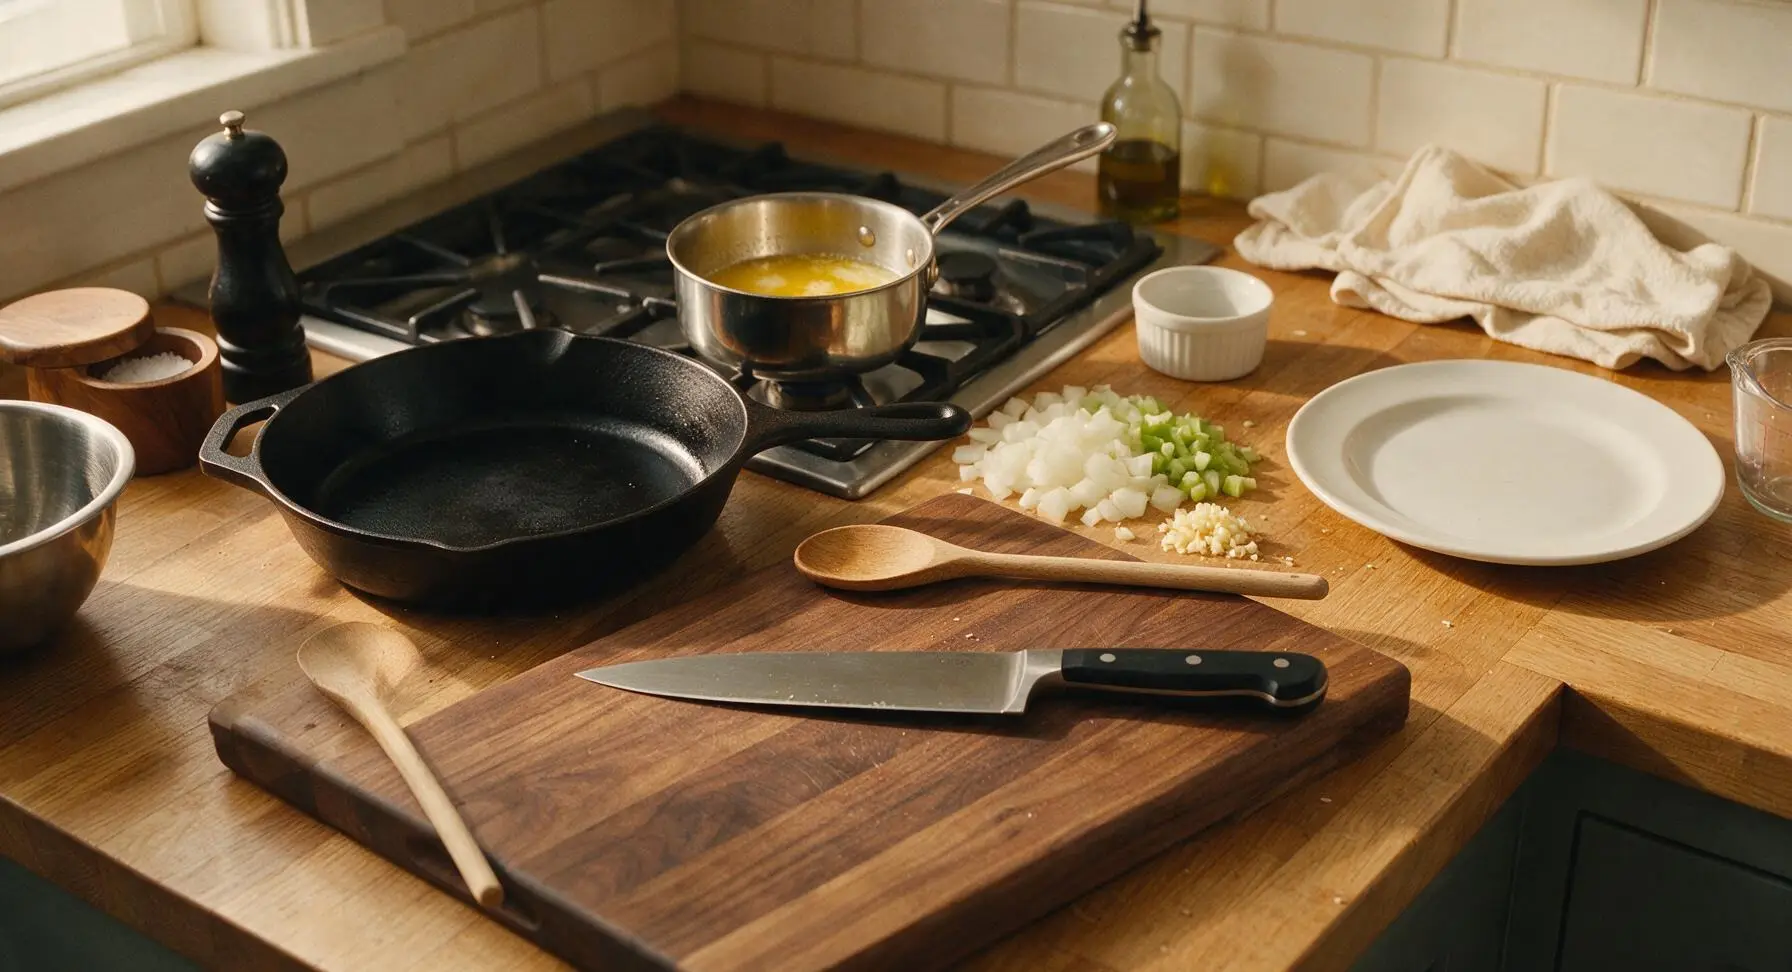
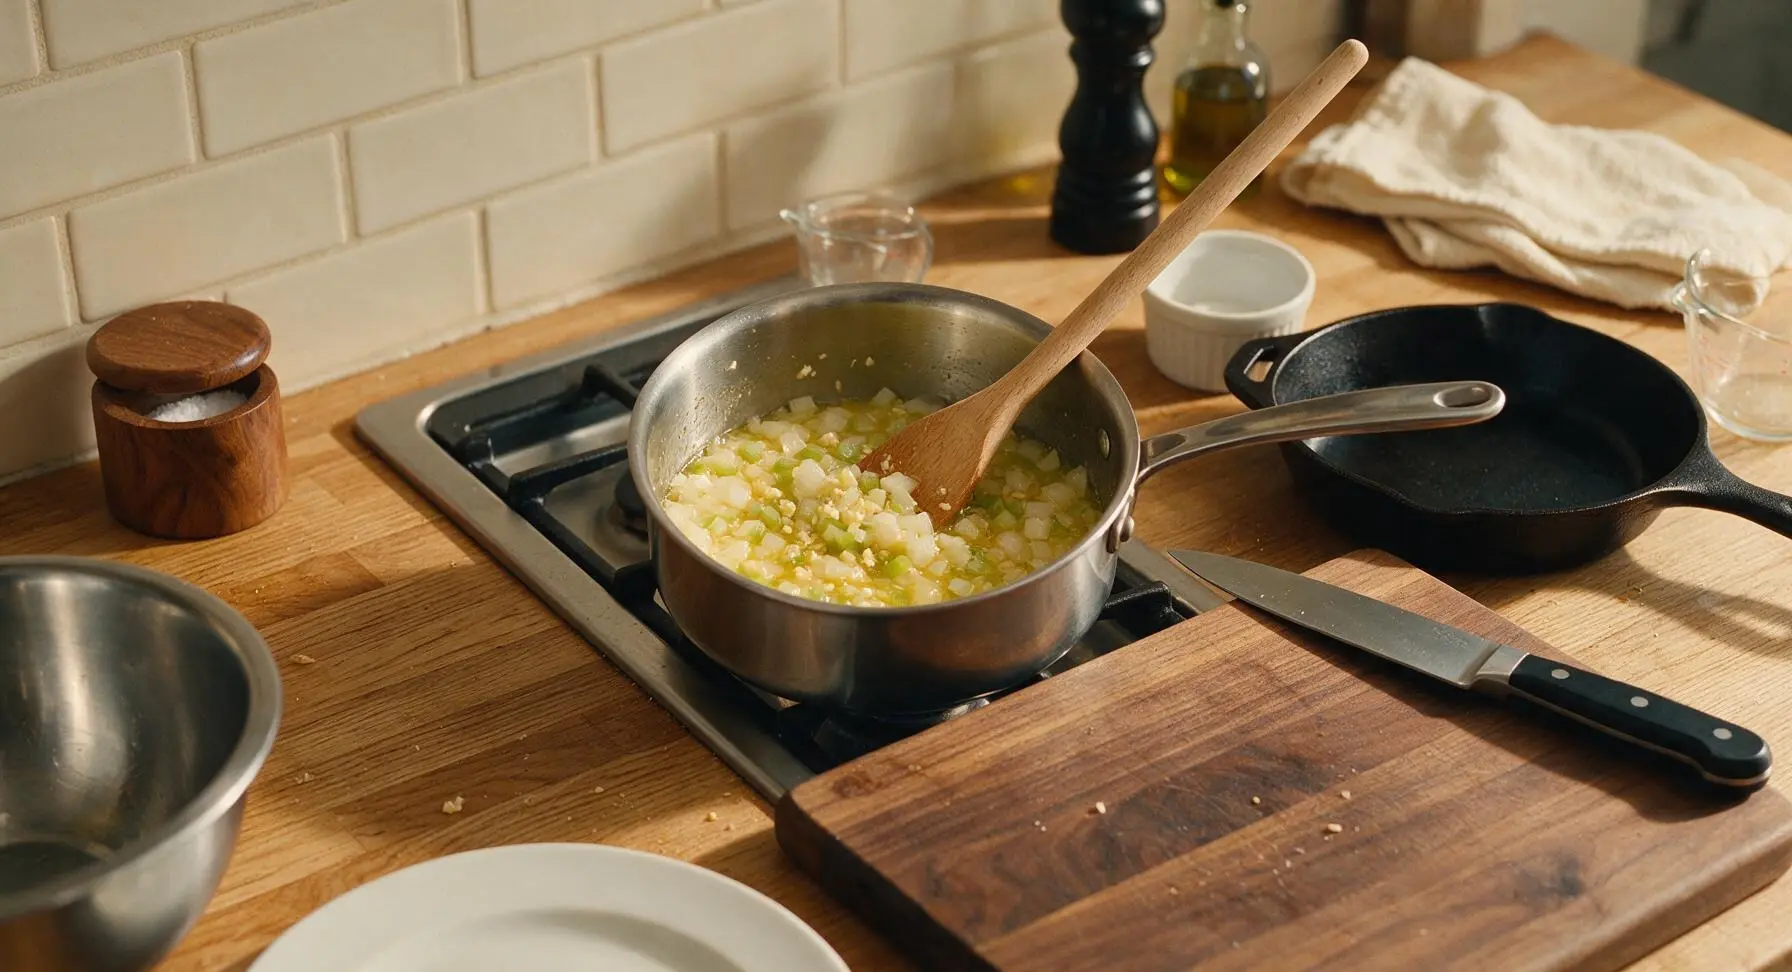
Place the small stainless steel saucepan on the stovetop just behind the counter over medium-low heat. Add all 75g of unsalted butter, and allow it to melt fully over 2 minutes, taking care not to let it brown. Add the diced onion, celery, and minced garlic to the melted butter, stirring with the beech wood wooden spoon to coat evenly. Cook for 8-10 minutes, stirring occasionally, until the onions are soft and translucent and the celery is tender. Do not let the vegetables brown; reduce heat to low if edges start to darken too quickly.
Step 3
step3:Sauté vegetable base
Step 3
step3:Sauté vegetable base
4

Chop fresh sage

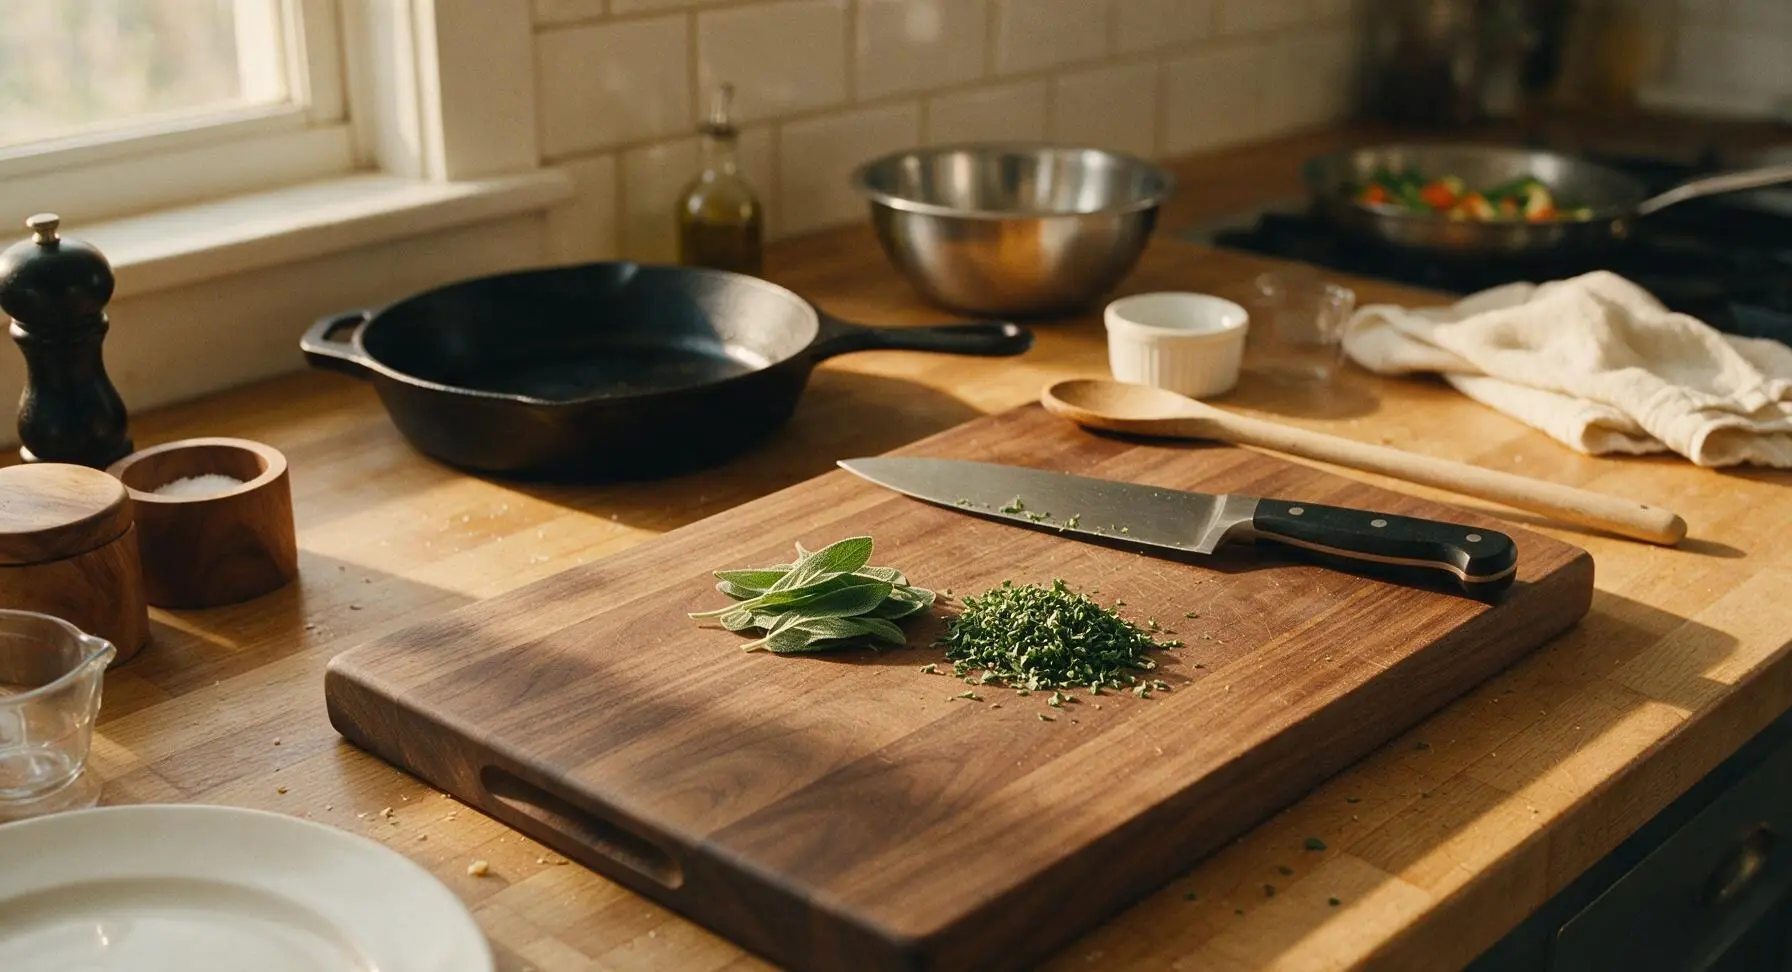
While the vegetables cook, stack fresh sage leaves pulled from the fixed bunch on a clean section of the cutting board. Using the chef knife, chop the leaves finely to yield 2 tablespoons of chopped sage, taking care not to over-chop, as bruising leaves releases bitter compounds. This takes about 2 minutes, with pieces roughly 2mm in size and no large whole leaves remaining; set chopped sage aside until vegetables finish cooking.
Step 4
step4:Chop fresh sage
5

Mix stuffing base

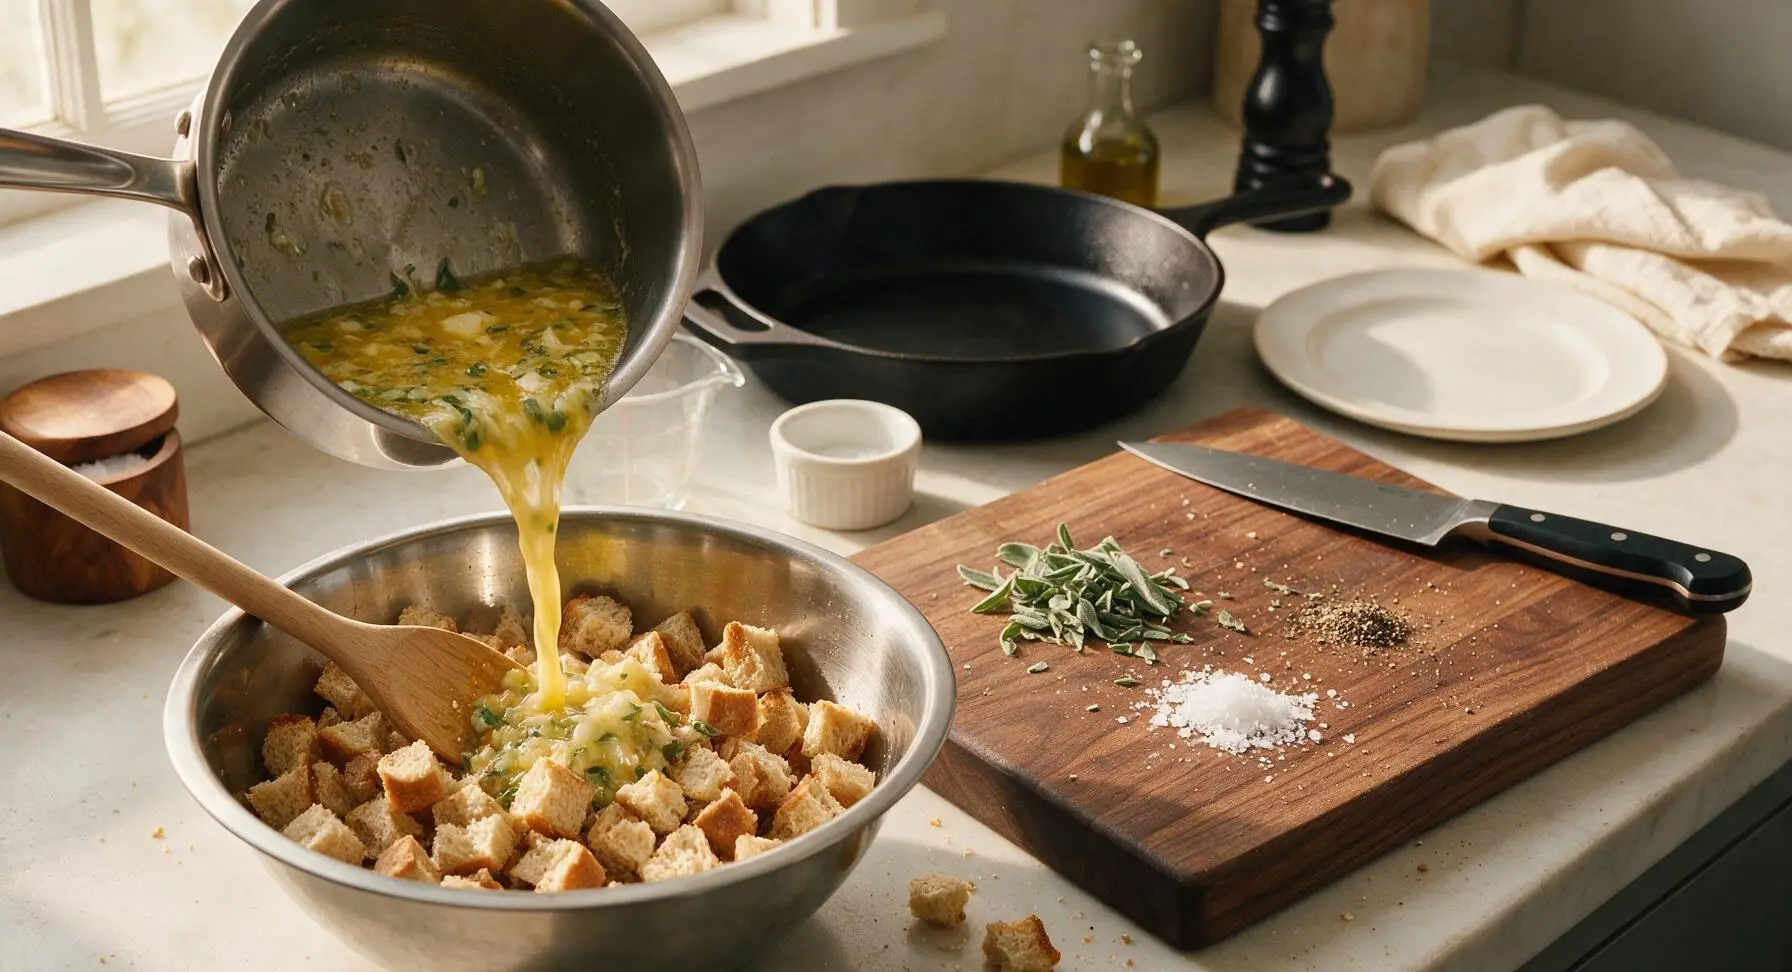
Once the sautéed vegetables are soft, remove the saucepan from heat. Pour the butter and vegetable mixture over the cubed bread in the medium stainless steel mixing bowl. Add the chopped fresh sage, 1 tsp flaky sea salt, and 1/2 tsp ground black pepper. Gradually pour in 200ml of the chicken stock from the glass measuring cup, stirring gently with the wooden spoon to coat all bread cubes evenly. Add up to the remaining 50ml of stock only if the bread feels very dry; the mixture should be moist but not soggy, with no pools of liquid at the bottom of the bowl. Let rest 5 minutes for bread to absorb liquid.
Step 5
step5:Mix stuffing base
6

Add to baking dish

Use the wooden spoon to transfer the moistened bread mixture into the matte off-white square ceramic baking dish, spreading it in a loose, even layer across the dish. Do not press the mixture down too firmly—packing tightly results in dense, heavy stuffing instead of light, fluffy texture with crisp edges. Use the boar bristle pastry brush to dab the top of the stuffing with any remaining melted butter left in the mixing bowl for extra crispness.
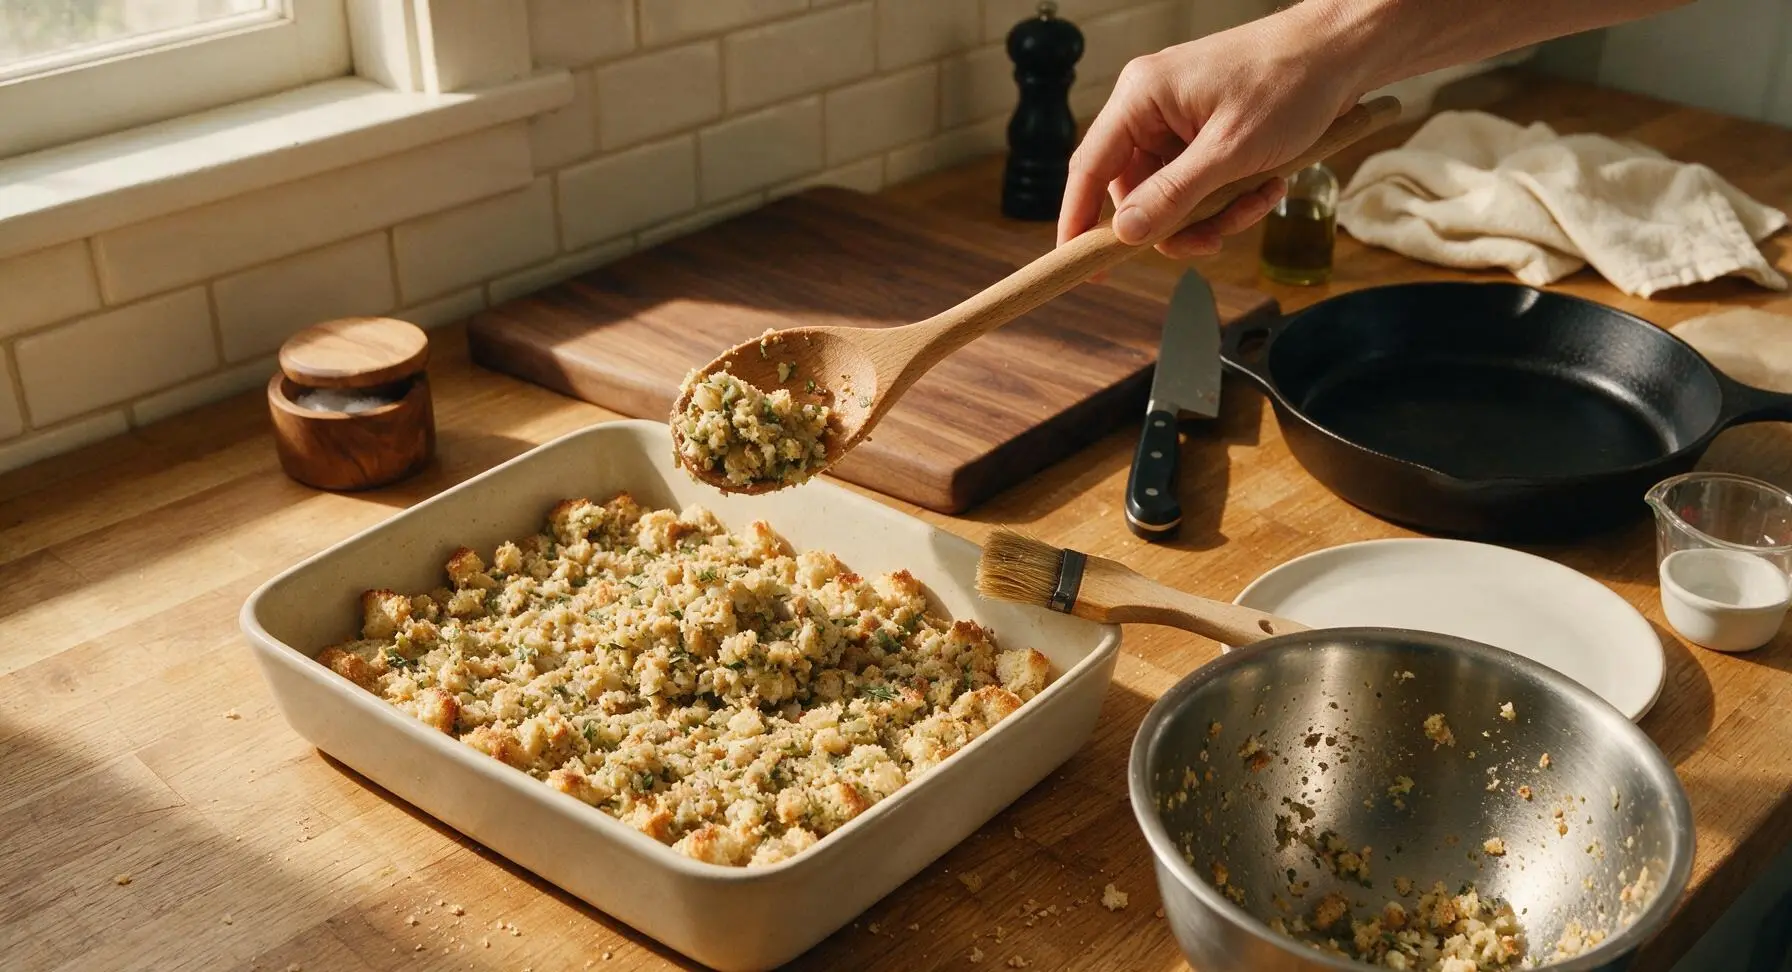
Step 6
step6:Add to baking dish
7

Bake until golden

Place the baking dish in a preheated 180C (350F) oven, uncovered, for 35-40 minutes. Bake until the top is deep golden brown and crisp around the edges, and the center is set and fluffy, with no wet, raw bread visible when a fork is inserted into the middle. If the top browns too quickly before the center is set, tent loosely with aluminum foil for the last 10 minutes of cooking.
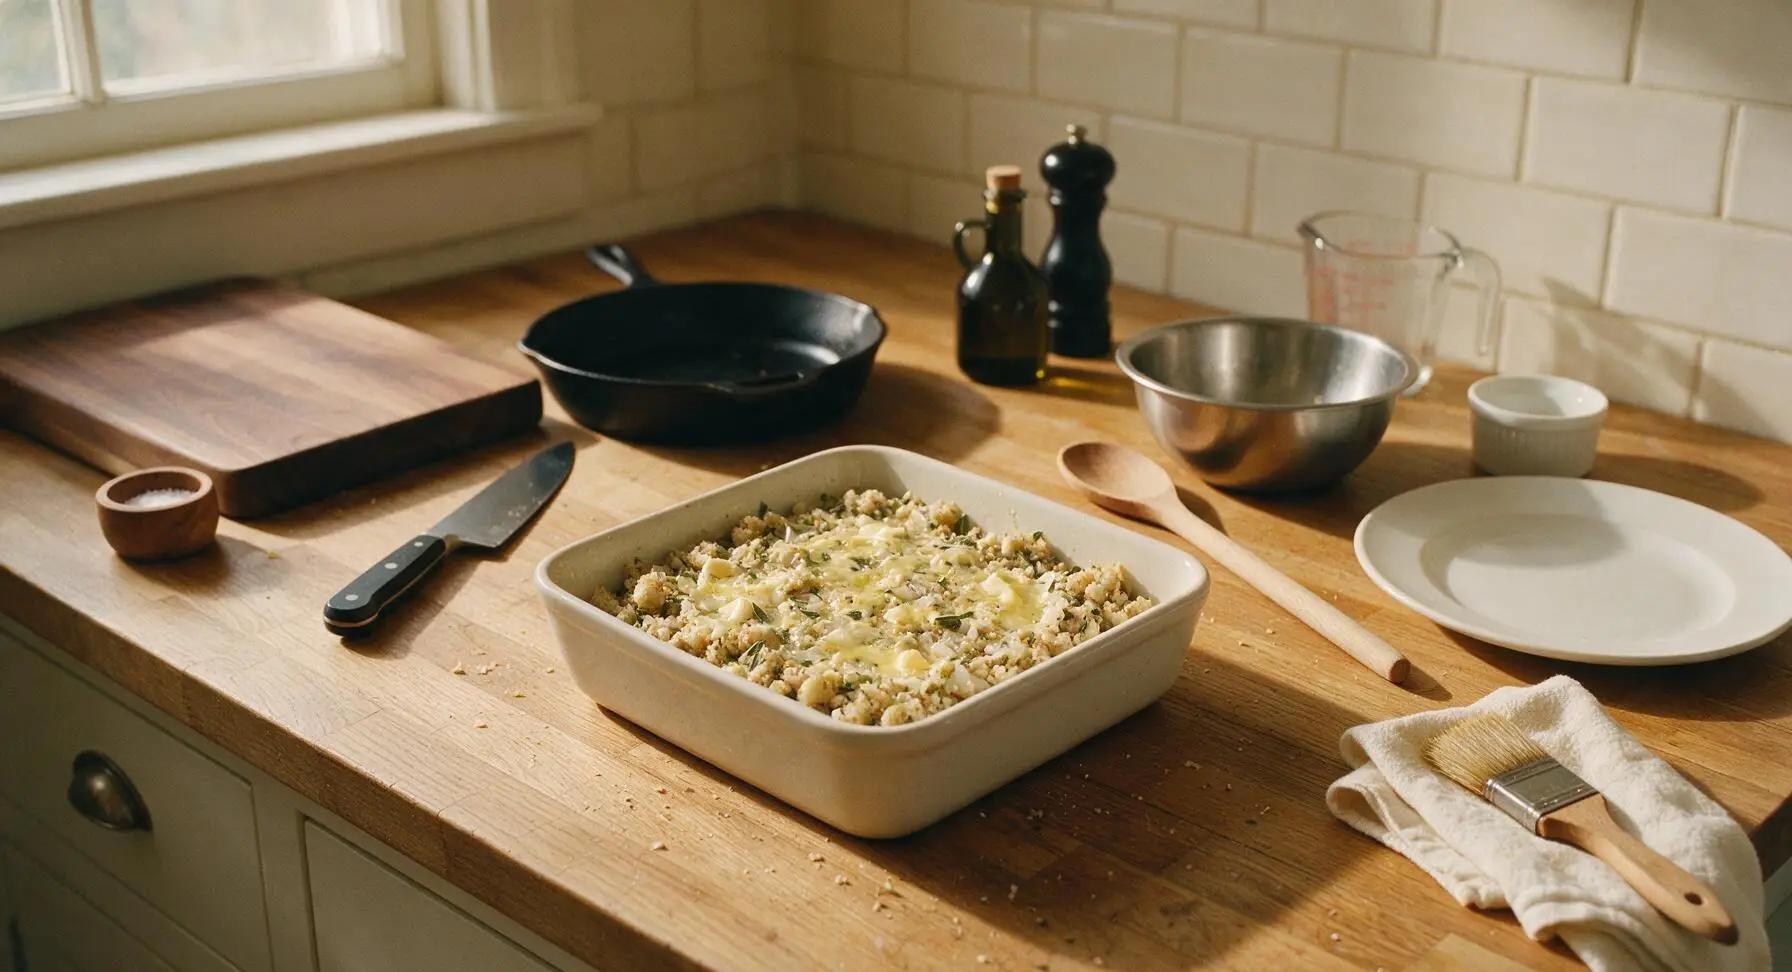
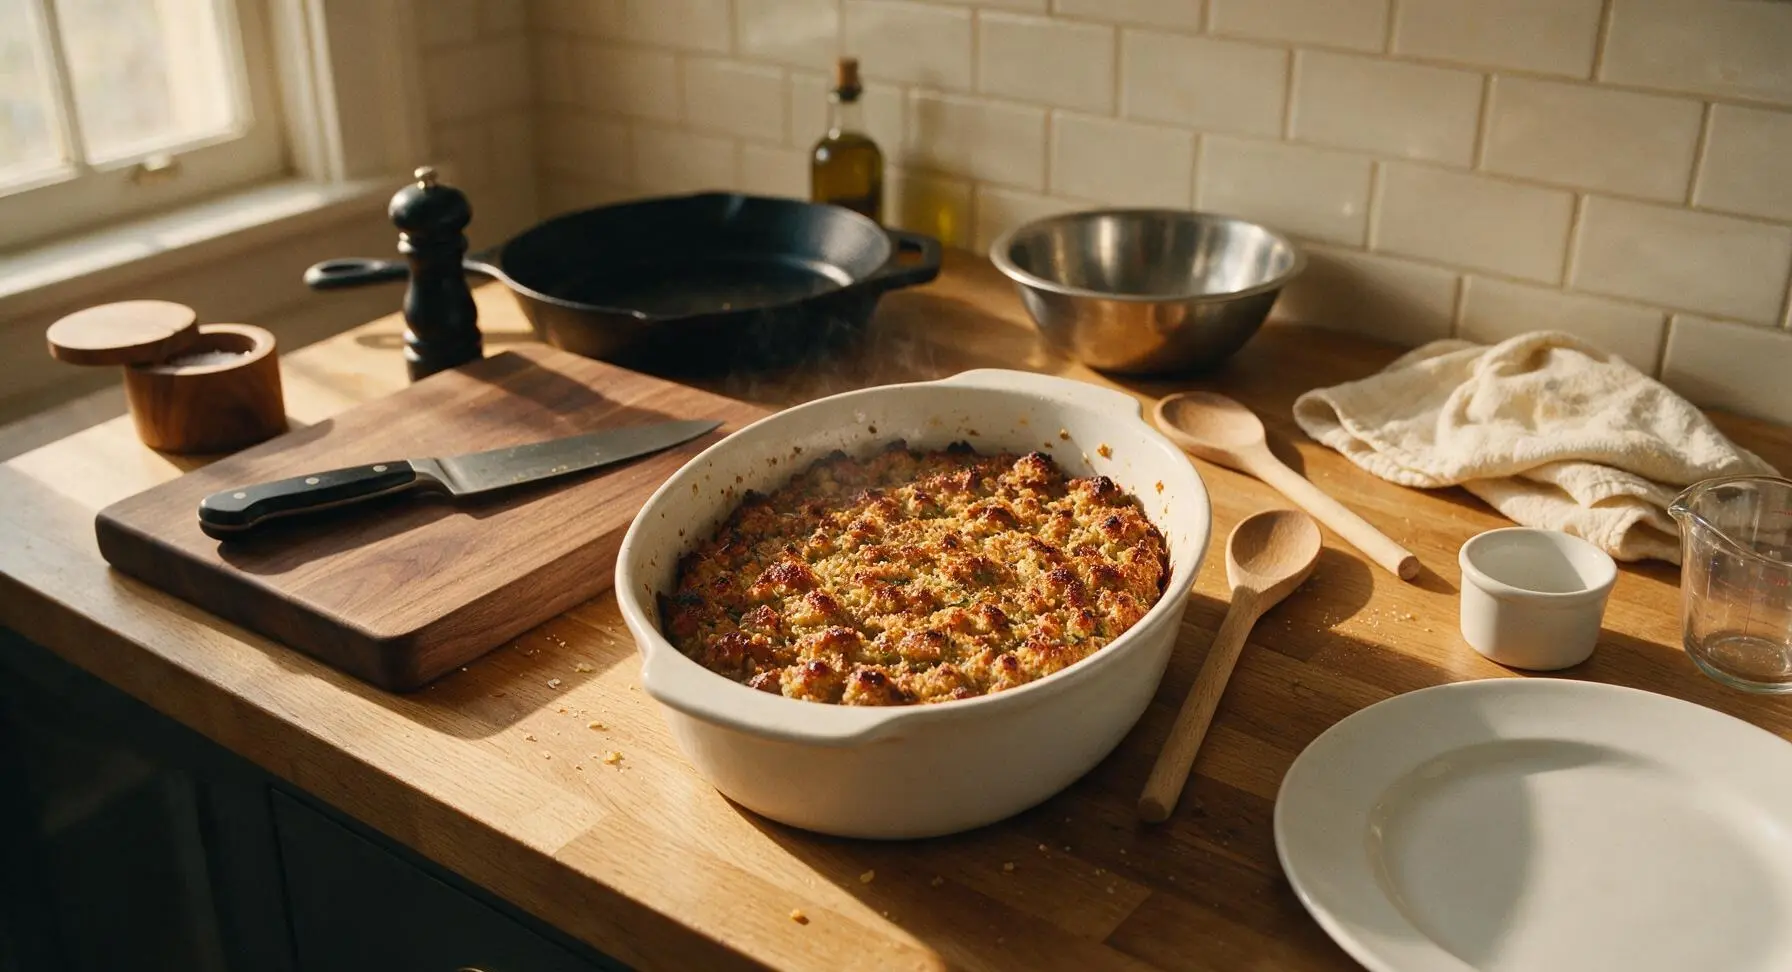
Step 7
step7:Bake until golden
Step 7
step7:Bake until golden
8

Rest and plate

Remove the baked stuffing from the oven, and let it rest for 5 minutes at room temperature to allow moisture to redistribute, which prevents the stuffing from being crumbly when served. Use a large serving spoon to scoop mounded portions of the stuffing onto the matte cream round serving platter, leaving some pieces with crisp edges facing up for visual appeal, and tuck a small fresh sage sprig into the side as a garnish.
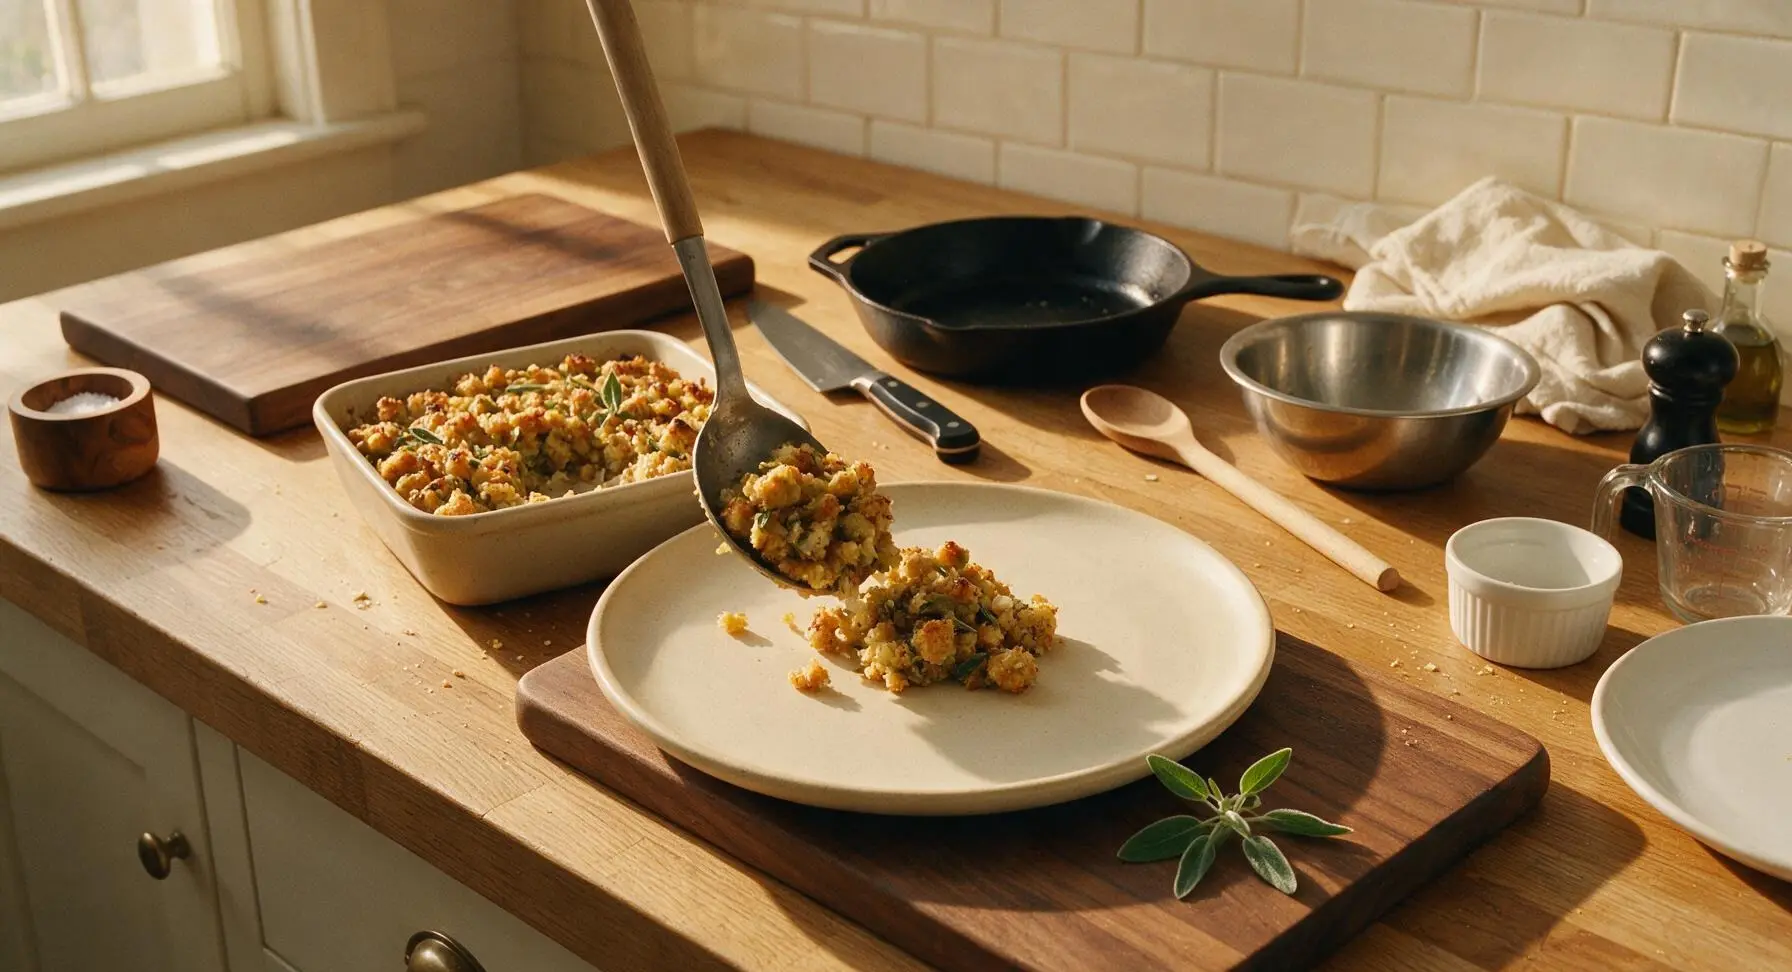
Step 8
step8:Rest and plate

Tips

1.Use day-old (slightly stale) crusty bread instead of fresh soft bread: fresh bread becomes mushy when mixed with stock and butter, while stale bread holds its structure, absorbs savory flavors evenly, and creates the ideal balance of soft center and crisp edges. If only fresh bread is available, toast cubes in a 150C (300F) oven for 10 minutes to dry them out first.
2.Avoid packing the stuffing tightly into the baking dish: pressing the mixture down compresses the bread cubes, resulting in a dense, heavy texture. Keep the mixture loose in the dish to allow hot air to circulate, creating light, fluffy bites and craggy, golden crisp spots across the top.
3.This recipe is easily make-ahead for holiday meals: assemble the uncooked stuffing mixture in the baking dish, cover tightly, and refrigerate for up to 2 days. When ready to bake, remove the cover and add 10 minutes to the total cook time (no need to bring to room temperature first) to cut down on busy day-of prep.


✨ You May Also Like

Side Dishes
🍜 India

Velvety, aromatic all-purpose curry sauce perfect for tossing with roasted veggies, grilled protein, or rice for fast, cozy, flavorful meals.

⏱️ 25 minuteSide Dishes ★ 4.8
Side Dishes
🍜 Spain

Tender, starchy boiled yuca tossed in bright, garlicky citrus mojo sauce—an iconic, zesty side that pairs beautifully with roasted pork, grilled meats, and rice and beans.

⏱️ 40 minuteSide Dishes ★ 5
Side Dishes
🍜 United States

Tender, paper-thin potato flatbread, a beloved Norwegian-American Minnesota Christmas staple, griddled until softly spotted and served warm with butter.

⏱️ 1 hour 30Side Dishes ★ 4.6
Side Dishes
🍜 United States

Rich, deeply savory cured salt pork, a long-lasting kitchen staple perfect for frying crispy as a side or adding umami to stews, beans, and chowders.

⏱️ 7 days (2Side Dishes ★ 4.9
Side Dishes
🍜 United States

Crispy, tangy classic Southern fried green tomatoes with a crunchy cornmeal crust, served hot for a nostalgic, comforting summery bite.

⏱️ 25 minuteSide Dishes ★ 4.9
Side Dishes
🍜 United States

Moist, golden-crusted savory muffins with sweet corn, zesty jalapeño, and melted cheddar, perfect for pairing with smoky summer grilled fare.

⏱️ 30 minuteSide Dishes ★ 4.9

Sage and Onion Stuffing:Frequently Asked Questions

1.Why do I need to use day-old crusty bread instead of fresh bread for this stuffing? ▾
Great question! Fresh bread holds too much residual moisture, which will turn your stuffing soggy instead of giving it that ideal contrast of crisp golden edges and soft, savory center. Day-old bread is dried out just enough to soak up melted butter, sage, and onion flavor without turning mushy. If you only have fresh bread, cube it and toast at 300°F for 10-12 minutes to dry it out first.
2.Can I prep this sage and onion stuffing ahead of time for Thanksgiving? ▾
Absolutely—this recipe is perfect for make-ahead holiday prep. You can mix all the uncooked ingredients (hold off on adding any extra stock until bake day) and store it tightly covered in the fridge for up to 2 days. Let the dish sit on the counter for 15 minutes to take off the chill before baking, so it cooks evenly without soggy spots.
3.Do I have to cook this stuffing inside the turkey, or can I bake it in a casserole dish? ▾
You never have to cook stuffing inside a turkey—baking it in a buttered shallow casserole dish is my go-to for consistent texture and reliable food safety. If you do stuff your turkey, make sure the stuffing center hits 165°F on an instant-read thermometer to avoid foodborne illness, and never pre-stuff a turkey the night before.
4.Can I use dried sage instead of fresh sage if that’s what I have on hand? ▾
You absolutely can substitute dried sage for fresh! The standard ratio is 1 teaspoon of rubbed dried sage for every 1 tablespoon of chopped fresh sage, since dried herbs are far more concentrated in flavor. Keep in mind dried sage has a slightly more muted, earthy tone, so taste the mixture and add a pinch extra if you want a bolder sage punch.
5.Why does my stuffing always turn out mushy, and how do I fix that? ▾
Mushy stuffing almost always comes down to two common mistakes: using under-dried soft fresh bread, or adding too much extra liquid. Remember, your celery and onions will release moisture as they cook, on top of the melted butter. Start with just ¼ cup of low-sodium turkey stock, add a splash more only if the mix looks dry, and don’t over-stir once combined.
6.Can I add extra mix-ins to this classic recipe without ruining the flavor? ▾
Of course! This simple, classic base is really flexible for fun custom tweaks. Great add-ins include cooked crumbled breakfast sausage, toasted chopped walnuts, diced tart Honeycrisp apple, or dried cranberries. Just keep total add-ins to 1 cup per batch so you don’t overpower that iconic, cozy sage and onion flavor that makes this a holiday staple.
7.How do I get those perfectly crisp, buttery golden edges everyone raves about? ▾
For crave-worthy crisp edges, bake your stuffing uncovered in a shallow 9x13-inch casserole dish instead of a deep, narrow baking pan. Dot the top with a few extra thin pats of unsalted butter right before baking, and don’t pack the mixture down too tightly—leave it a little loose so hot air can circulate and crisp up the surface as it bakes.
8.What’s the best way to reheat leftover stuffing without drying it out? ▾
The easiest way to reheat stuffing so it tastes fresh-baked is to spread it in an even layer in a baking dish, sprinkle with 1-2 tablespoons of turkey stock or melted butter, and cover tightly with foil. Bake at 350°F for 15-20 minutes, then remove the foil for the last 5 minutes to crisp the top back up to its original texture.

Comments (9)

2 days ago

OMG this sage and onion stuffing is SO good! I made it for our Sunday family dinner last night and even my super picky 7 year old asked for seconds. I swapped regular white bread for sourdough scraps I had in the fridge and it came out perfectly crispy on top, soft in the middle. Total game changer for holiday meals going forward!

1 day ago

Oh the sourdough swap is genius! I’ve got half a loaf going stale on my counter right now, definitely trying that this weekend for our cookout.

1 day ago

So glad your whole family loved it, Molly! The sourdough swap is such a great call – the tang pairs so well with the earthy sage. Pro tip: toss in a handful of dried cranberries if you want a little pop of sweet tartness too!

3 days ago

I brought this stuffing to our neighborhood block party potluck last weekend and people were begging me for the recipe! It was so easy to throw together even with my 2 year old clinging to my leg the whole time I was prepping. I did add a little extra melted butter on top before baking because who doesn’t love more butter? 10/10 will make again for Thanksgiving.

2 days ago

The extra butter move is chef’s kiss! I did the same thing last time I made stuffing and it made the top so crunchy and golden, no sad soggy bits at all.

2 days ago

We love the extra butter hack! So happy it was a hit at the potluck – this recipe is totally built for busy cooks, even when you’ve got a little helper (or clingy toddler) in the kitchen.

1 week ago

This is way easier than the stuffing recipe my mom has been using for 30 years, no cap. I prepped a double batch on Sunday and portioned it out for weeknight sides with roasted chicken, and it held up perfectly in the fridge all week. Only note: I used dried sage instead of fresh because that’s what I had, and it still slapped.

5 days ago

Wait how did you reheat it? I tried meal prepping stuffing once and it got all dried out when I microwaved it. Would love tips!

4 days ago

Great to hear it worked for meal prep, Jake! Dried sage works perfectly as a swap – just use 1/3 the amount since it’s more concentrated. For Patty’s reheating question: sprinkle a tiny bit of chicken or vegetable broth over the top before microwaving, cover with a damp paper towel, and it’ll stay nice and moist!

5 days ago

First time ever making stuffing from scratch instead of using the boxed stuff, and this recipe was so straightforward! I was super nervous I’d mess it up for my first time hosting Friendsgiving, but it came out perfect. The cook time was exactly 45 minutes like it said, no guesswork.

4 days ago

Yay, so proud of you for making it from scratch! This easy recipe is perfect for first-time hosts – no fancy skills required, just cozy, classic flavor. Hope your Friendsgiving was amazing!

2 hours ago

I added a handful of cooked crumbled sausage to this for our Sunday supper and wow, it took it to the next level. The sage flavor is perfectly balanced, not overpowering like some stuffing recipes I’ve tried before. My husband said it’s better than his grandma’s, which is high praise lol

5 minutes ago

The sausage add-in is such a classic! I do that every year for Christmas dinner, pairs so well with the sage and sweet onion. Can’t wait to try this base recipe instead of my usual one!

2 weeks ago

I made this with gluten free sourdough bread for my celiac daughter, and it turned out just as good as the regular version I remember growing up! No weird texture, no off flavors, just that cozy sage and onion vibe I crave every fall. Will be on repeat all season.

1 week ago

That makes us so happy to hear! Gluten free bread works beautifully here as long as you let it get a little stale/toasted first so it doesn’t get mushy. So glad your daughter could enjoy it too!

just now

Pro tip from me: spread the stuffing in a thin layer on a baking sheet instead of baking it in a deep dish if you love that crispy, crunchy top texture all the way through. I did that with this recipe and it was *chef’s kiss*, no mushy middle bits at all. 10/10

yesterday

I’ve been making sage and onion stuffing for over 40 years, and this recipe is hands down the simplest, most consistent one I’ve ever found. No weird fancy add-ins, just classic, comforting flavor that tastes like holidays at my ma’s house. My grandkids devoured it at our last family dinner.

30 minutes ago

I was shocked how much flavor this easy stuffing has for only 45 minutes of total cook time! I threw it together last minute when my sister texted she was coming over for dinner, and it felt like I spent hours in the kitchen. Served it with roasted turkey thighs and broccoli, total hit. Even my teen said it was “actually not bad” which is the highest possible compliment from him lol.



