
salmon bacon
intro
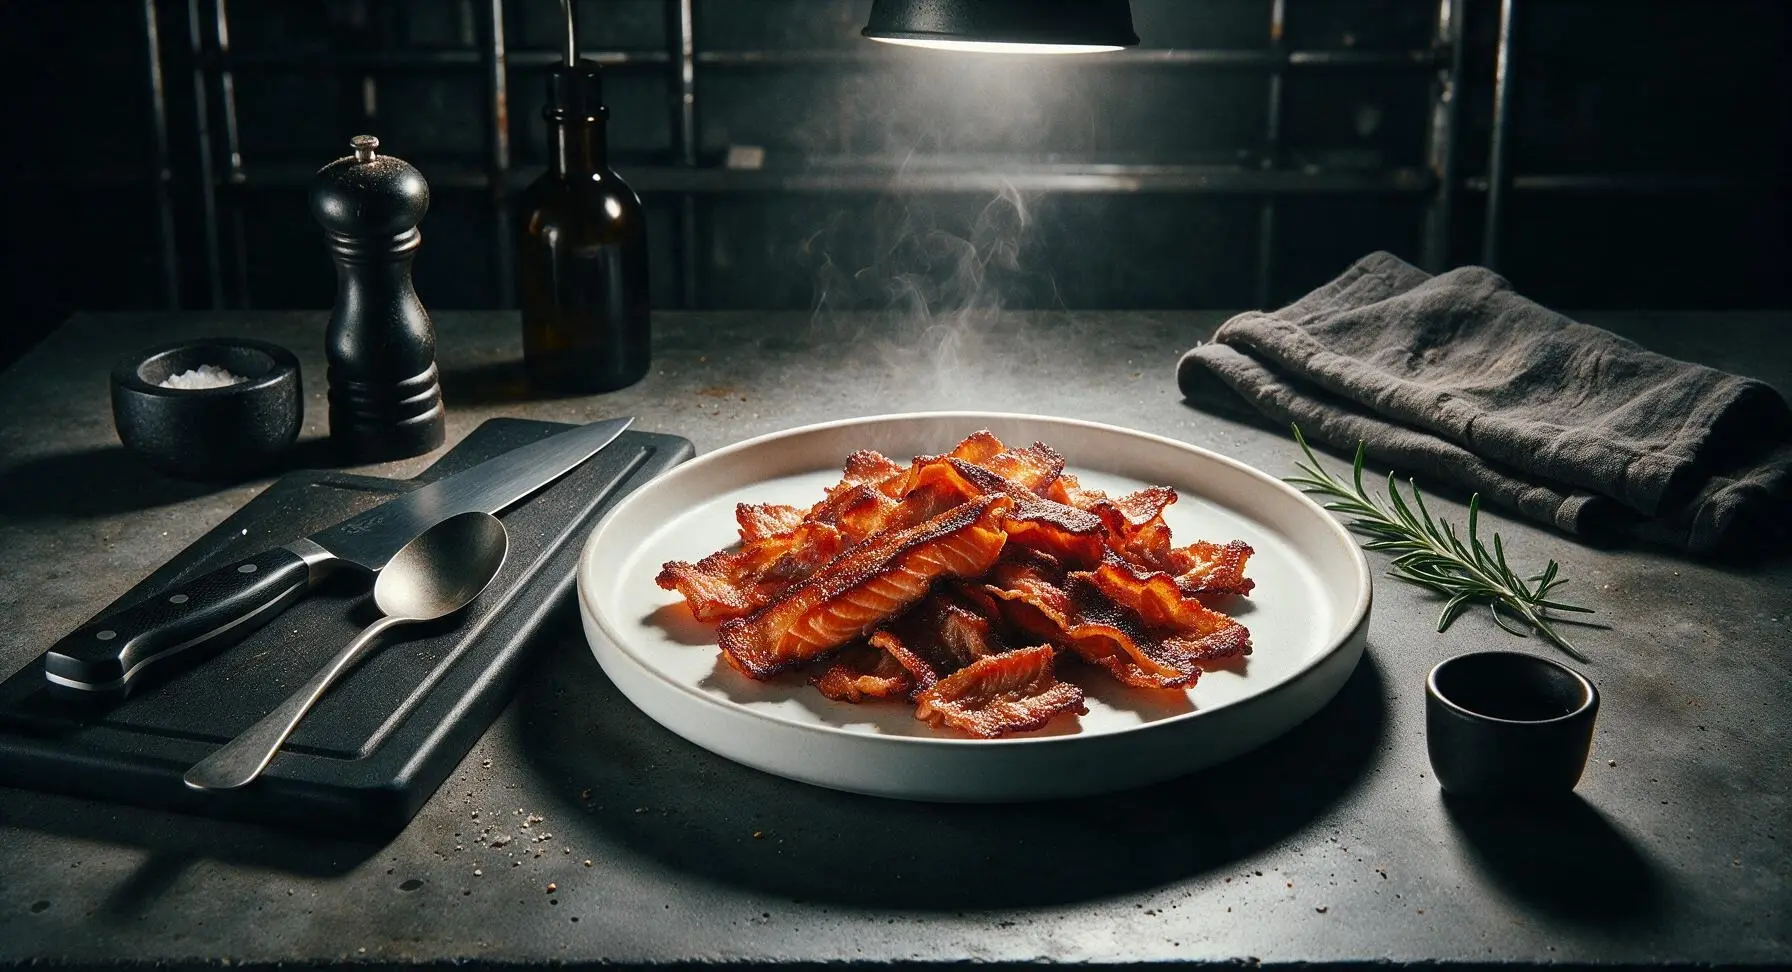
Shatteringly crisp, briny, slightly smoky salmon bacon made from fatty salmon belly, a quick-curing, high-protein swap for traditional pork bacon perfect for any meal.
Ingredients
Steps
Prep and Cut Salmon
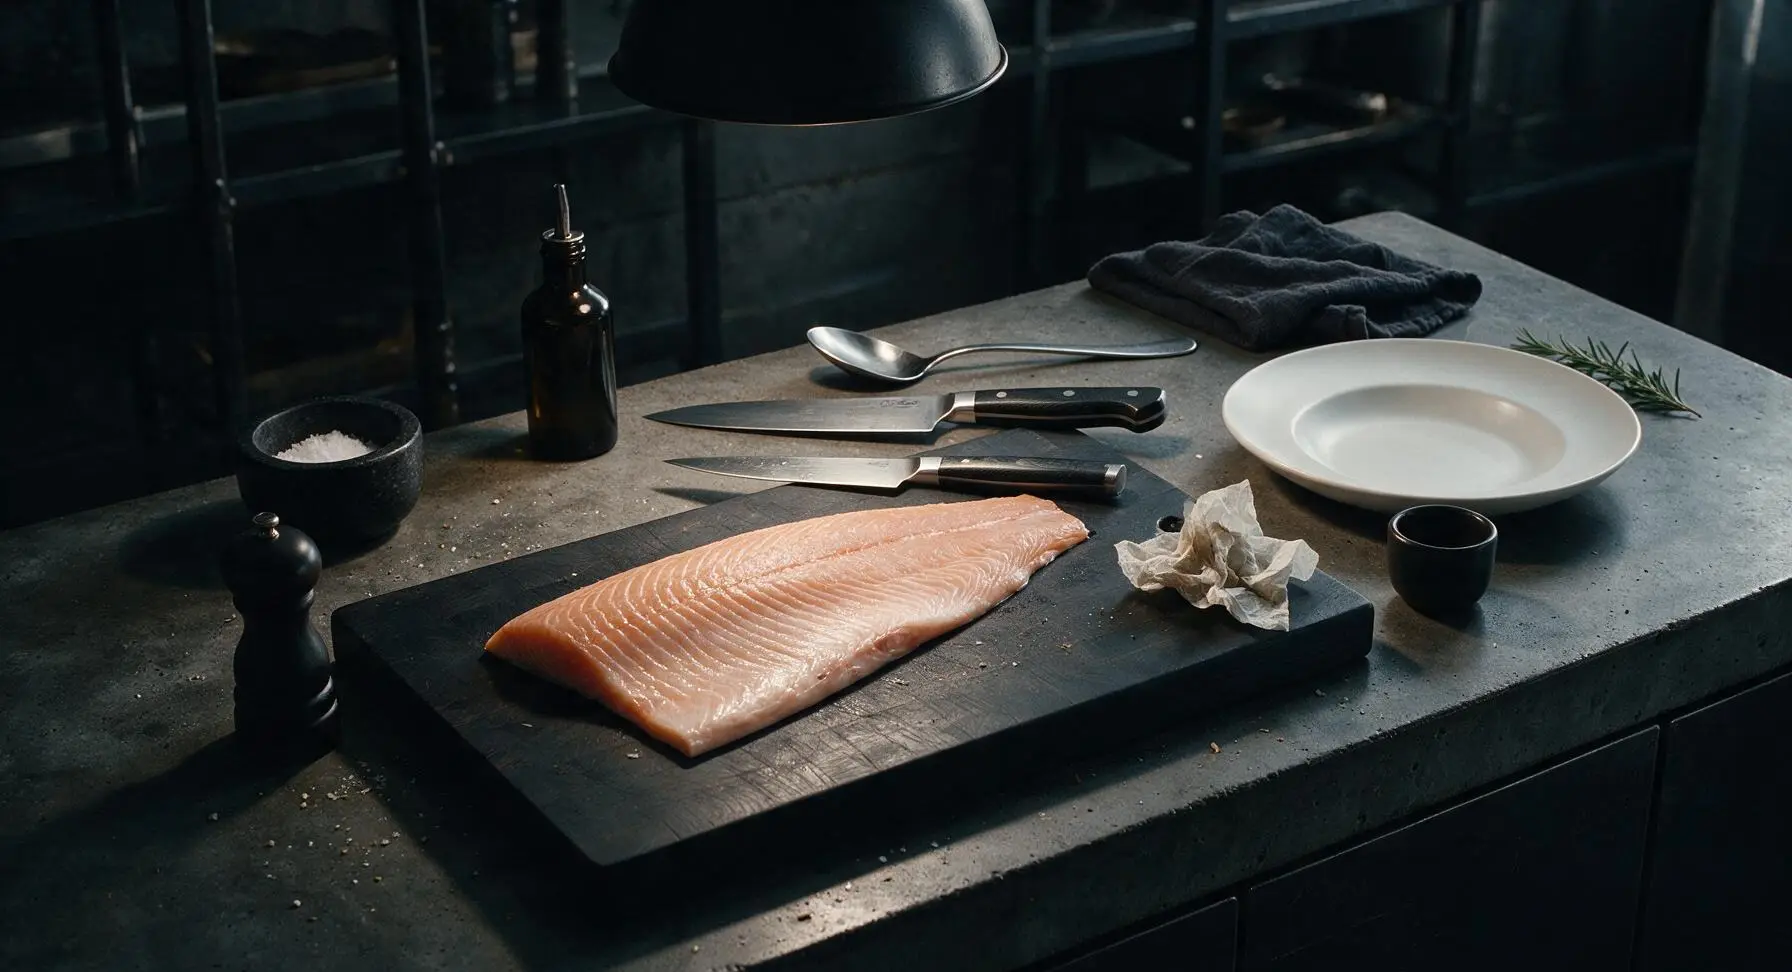
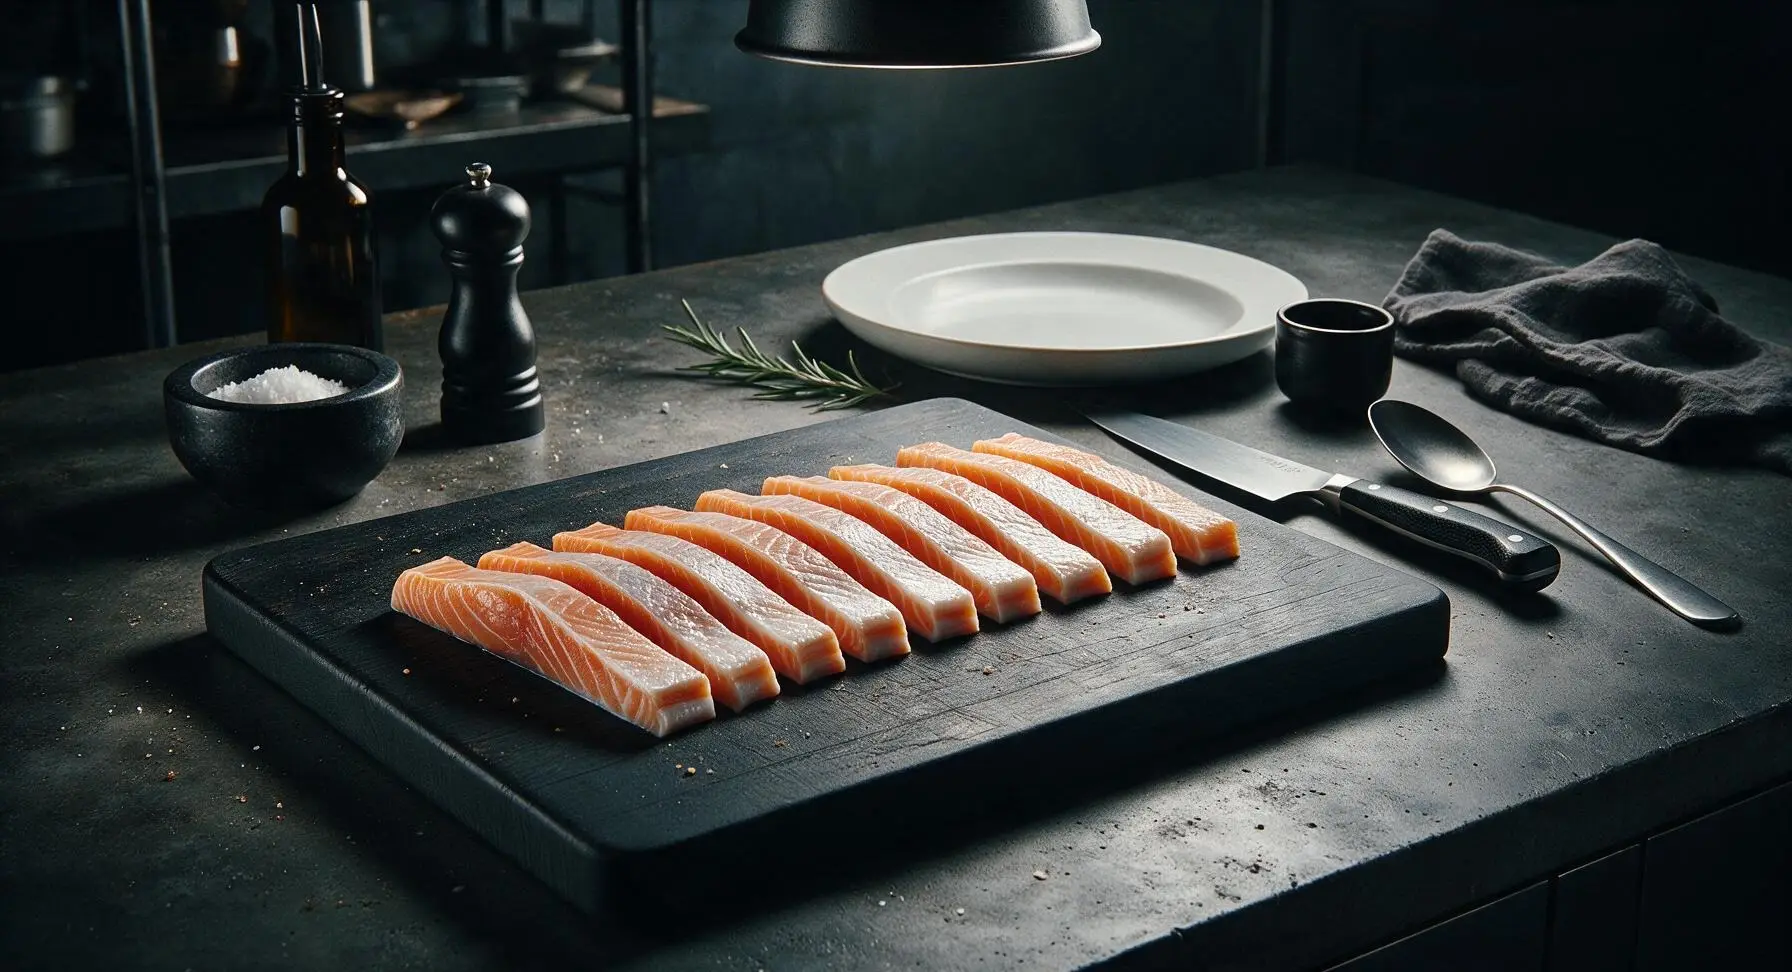
Place the 450g skin-on salmon belly on the honey-toned bamboo cutting board. Use the 6-inch stainless steel fillet knife to trim any thin, ragged edges and remove loose connective tissue. Run a clean finger across the flesh to detect remaining pin bones, pulling any out with your fingertips. Cut the salmon belly crosswise into uniform 1/2-inch thick, 4-inch long strips, ensuring every strip has an even layer of skin, fat, and lean flesh. Pat all strips completely dry on both sides using unbleached paper towel, until no surface moisture remains for the crispiest seared texture.
Mix the Dry Cure
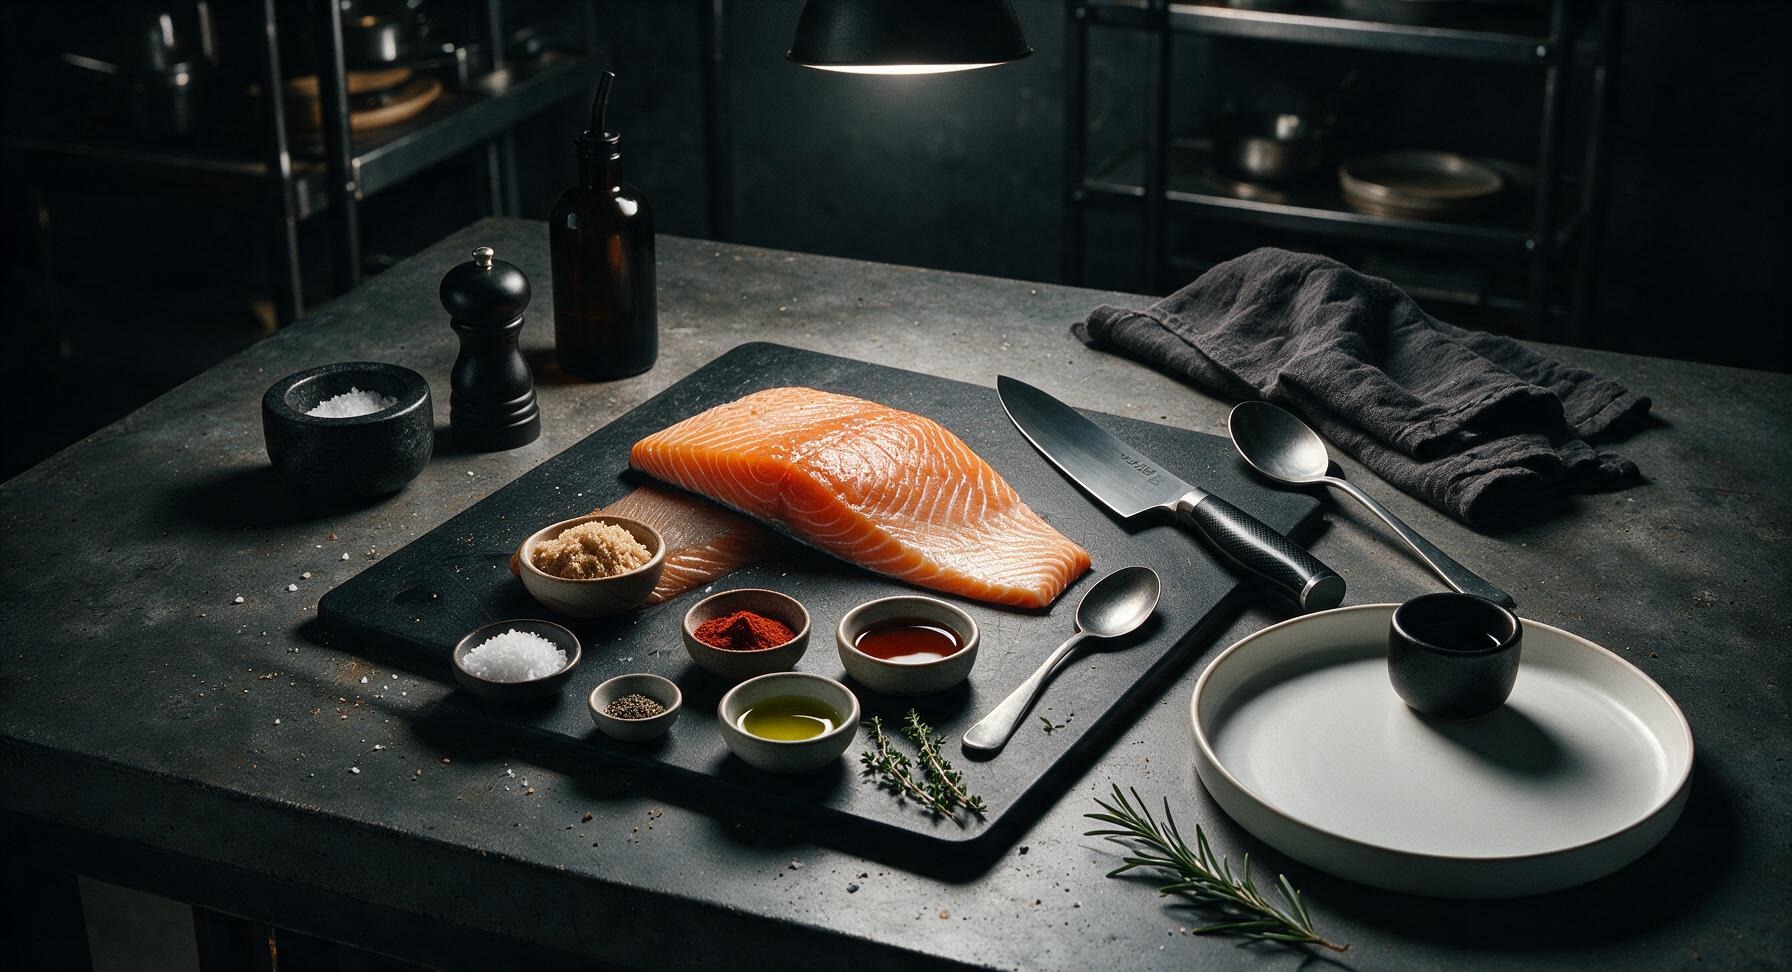
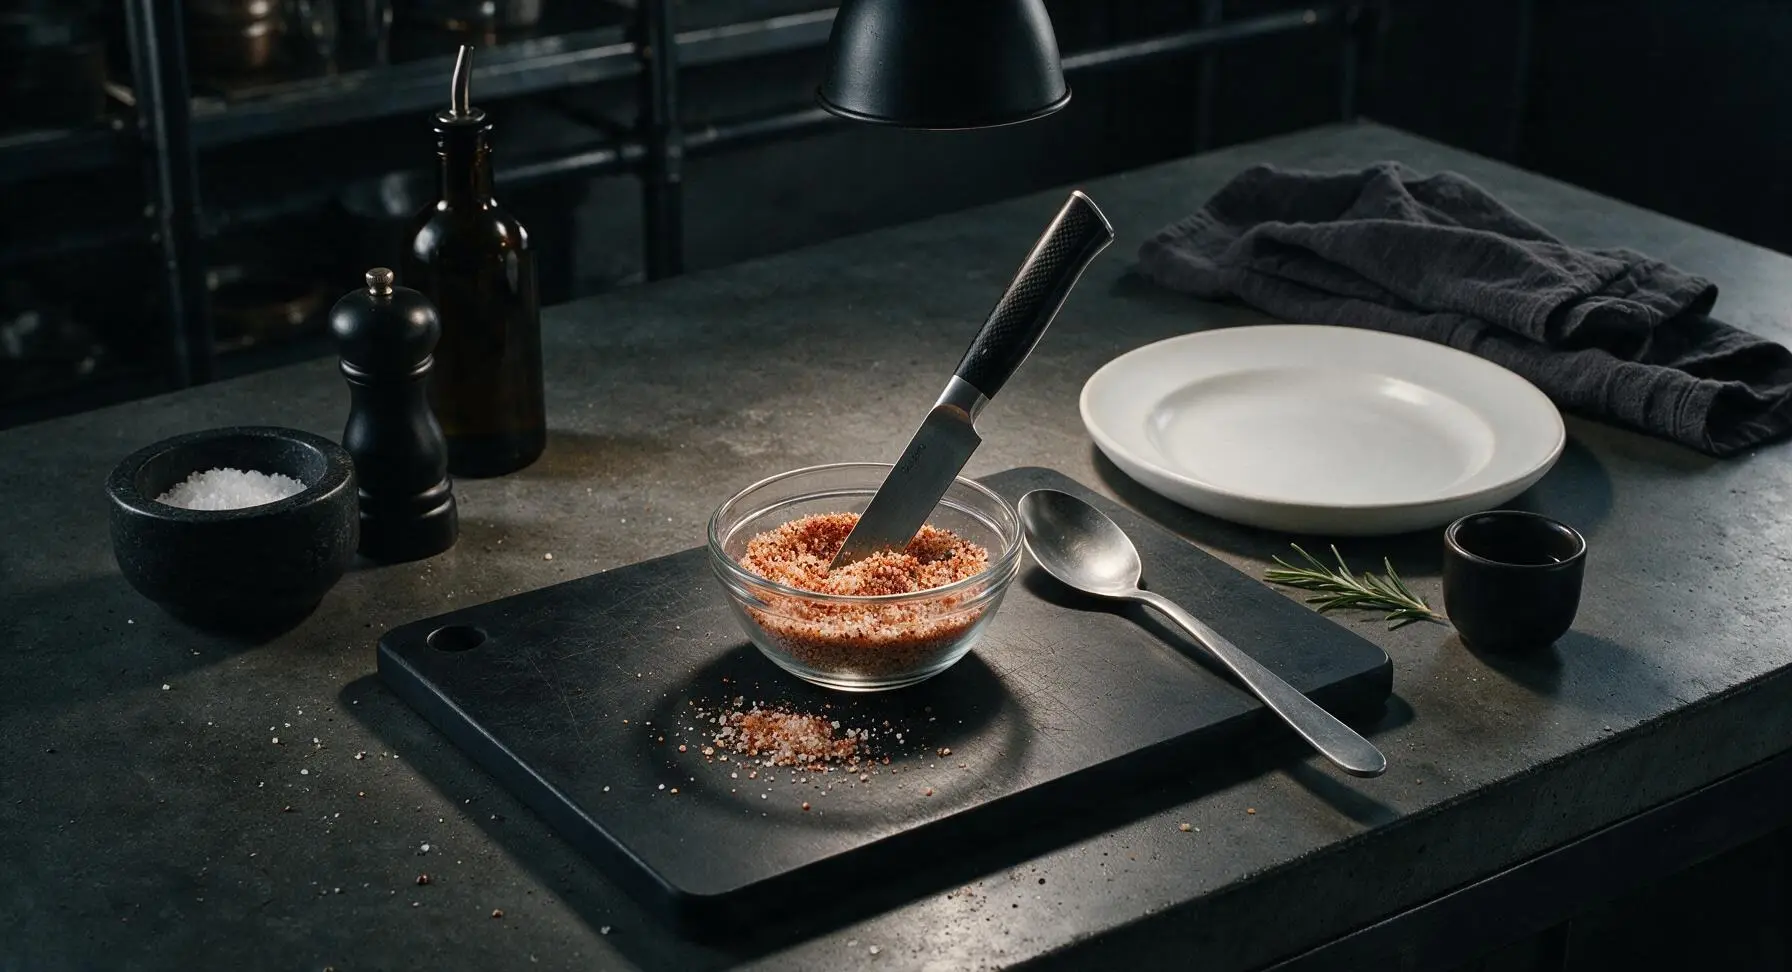
In one of the small clear glass pinch bowls, combine 2 tablespoons coarse kosher salt, 1 tablespoon light brown sugar, 1 teaspoon smoked paprika, and 1/2 teaspoon freshly ground black pepper. Stir the mixture with the tip of the fillet knife until evenly blended, breaking up any small clumps of brown sugar until the cure is a uniform light reddish-tan color.
Cure the Salmon Strips
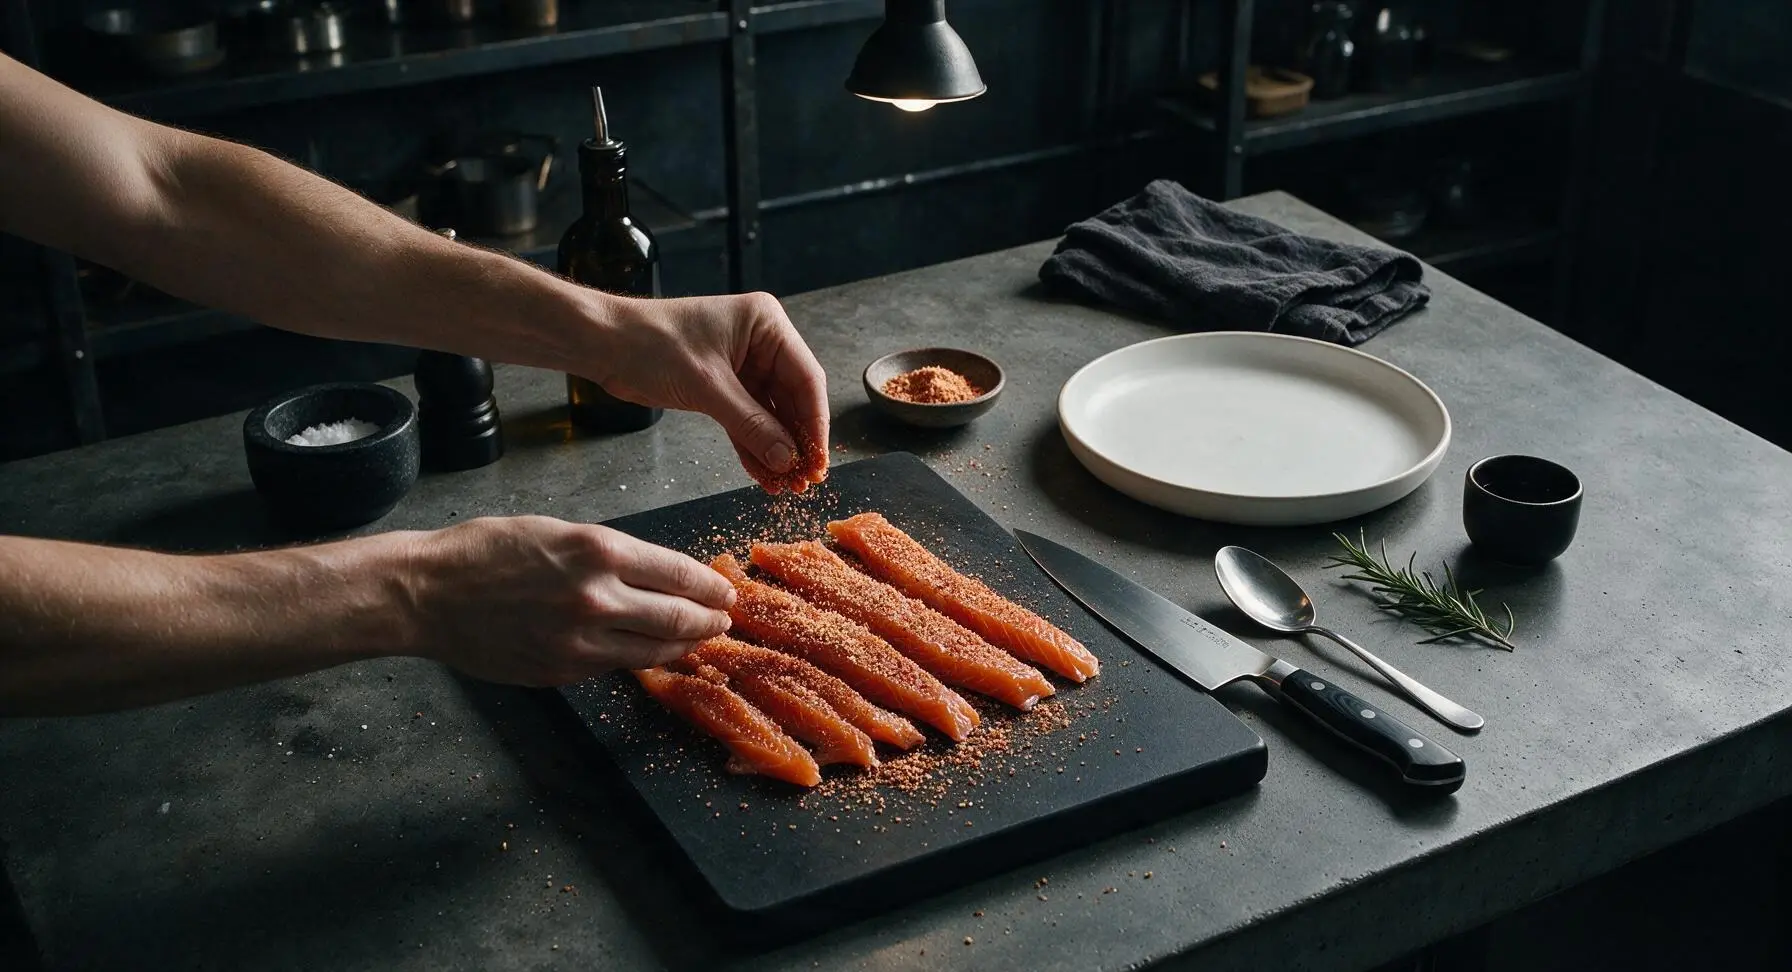
Sprinkle the dry cure mixture evenly over both sides of all salmon strips, using roughly 1/4 teaspoon of cure per strip—reserve any leftover cure for other uses, as over-salting will ruin the final texture. Arrange the cured strips in a single layer on the cutting board, and let rest for 15 minutes at room temperature. The surface of the salmon will glisten slightly as the salt draws out small amounts of surface moisture, helping the seasoning adhere evenly.
Pat Off Excess Cure
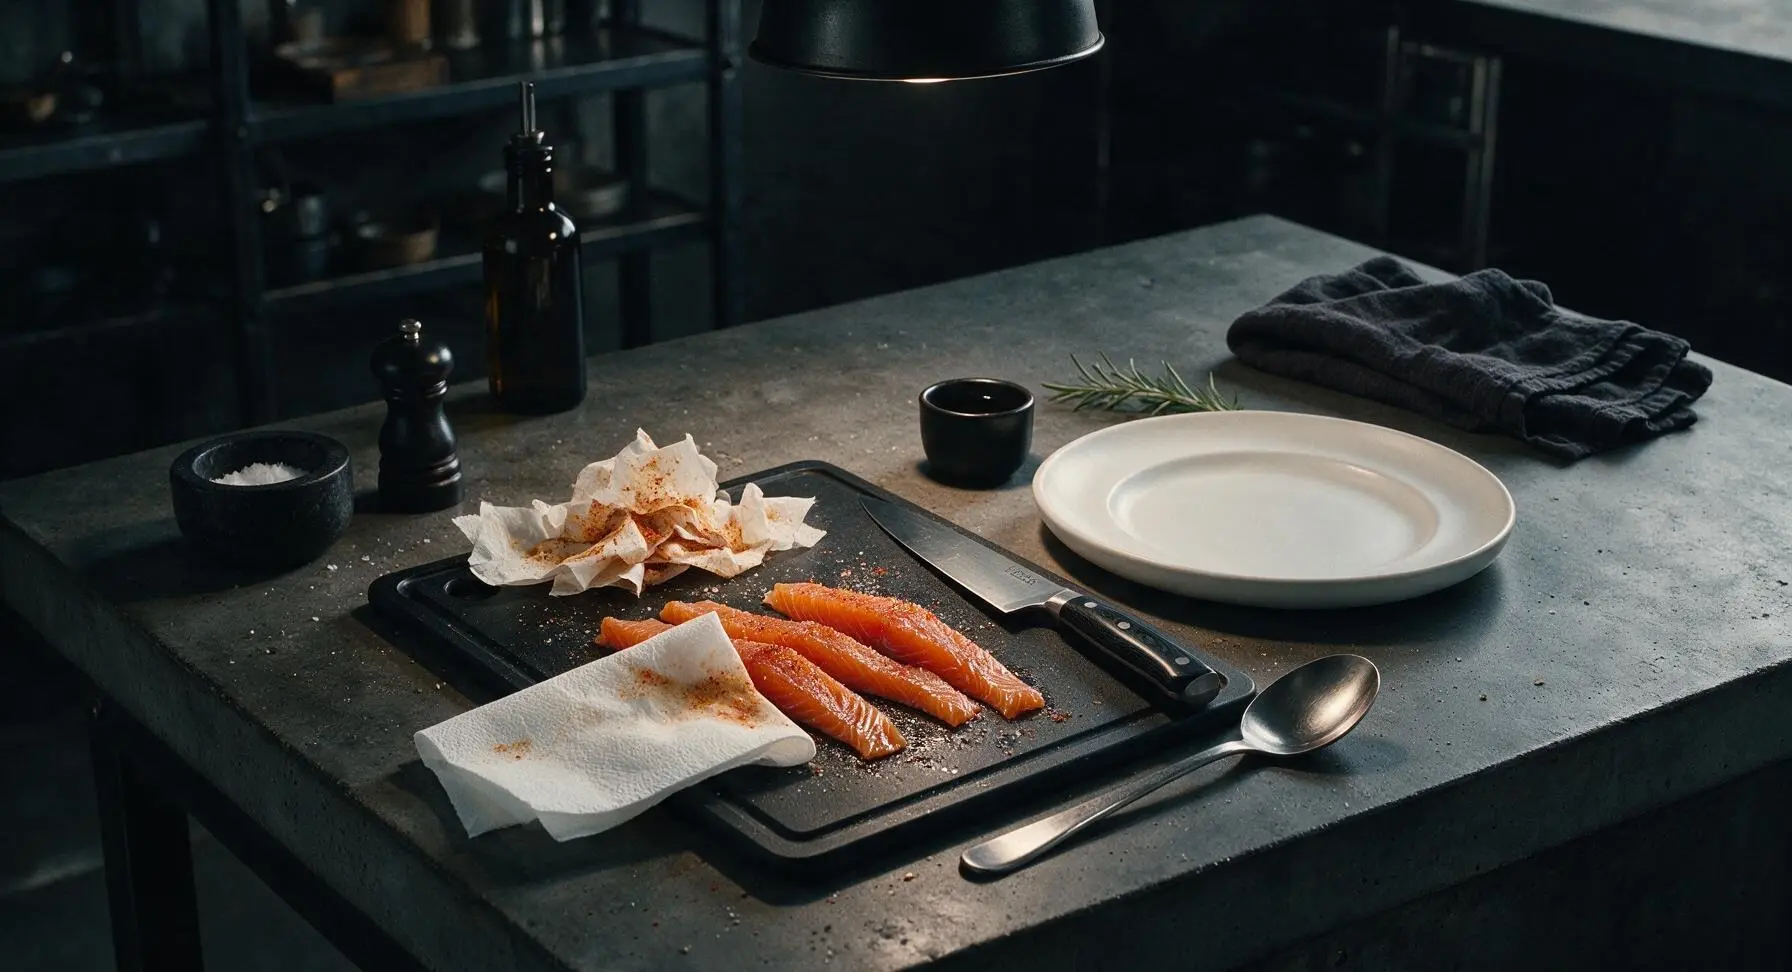
After the 15-minute cure rest, use a fresh piece of unbleached paper towel to wipe all excess cure off every surface of the salmon strips. Do not rinse the salmon, as this will add unwanted moisture that prevents crisping; wiping ensures the final bacon is not overly salty, and leaves a thin, even layer of seasoning on the flesh. The strips will feel slightly firm to the touch after curing.
Preheat Skillet for Searing
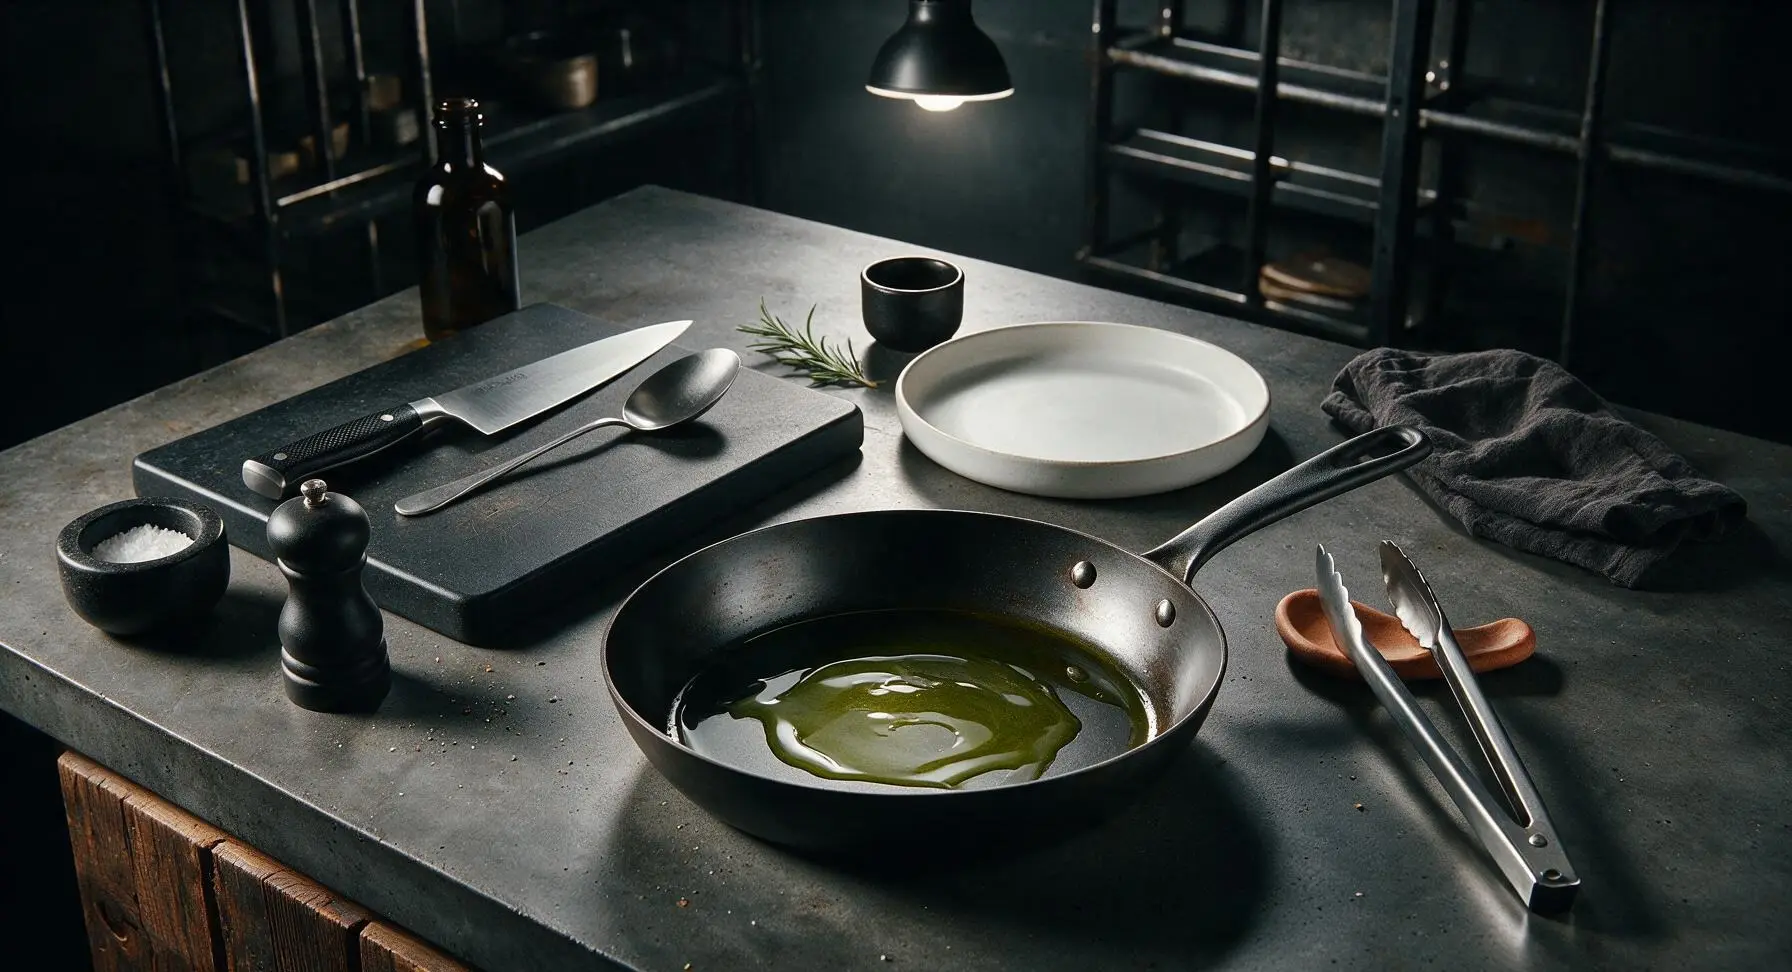
Move the 10-inch matte black carbon steel skillet from its stovetop storage position to the active center cooking zone, set heat to medium, add 1 teaspoon avocado oil, and heat for 2 minutes until the oil shimmers but does not smoke. Wipe excess oil out of the pan with a paper towel so only a thin, even coating remains—this prevents sticking without making the bacon greasy.
Sear Skin Side First
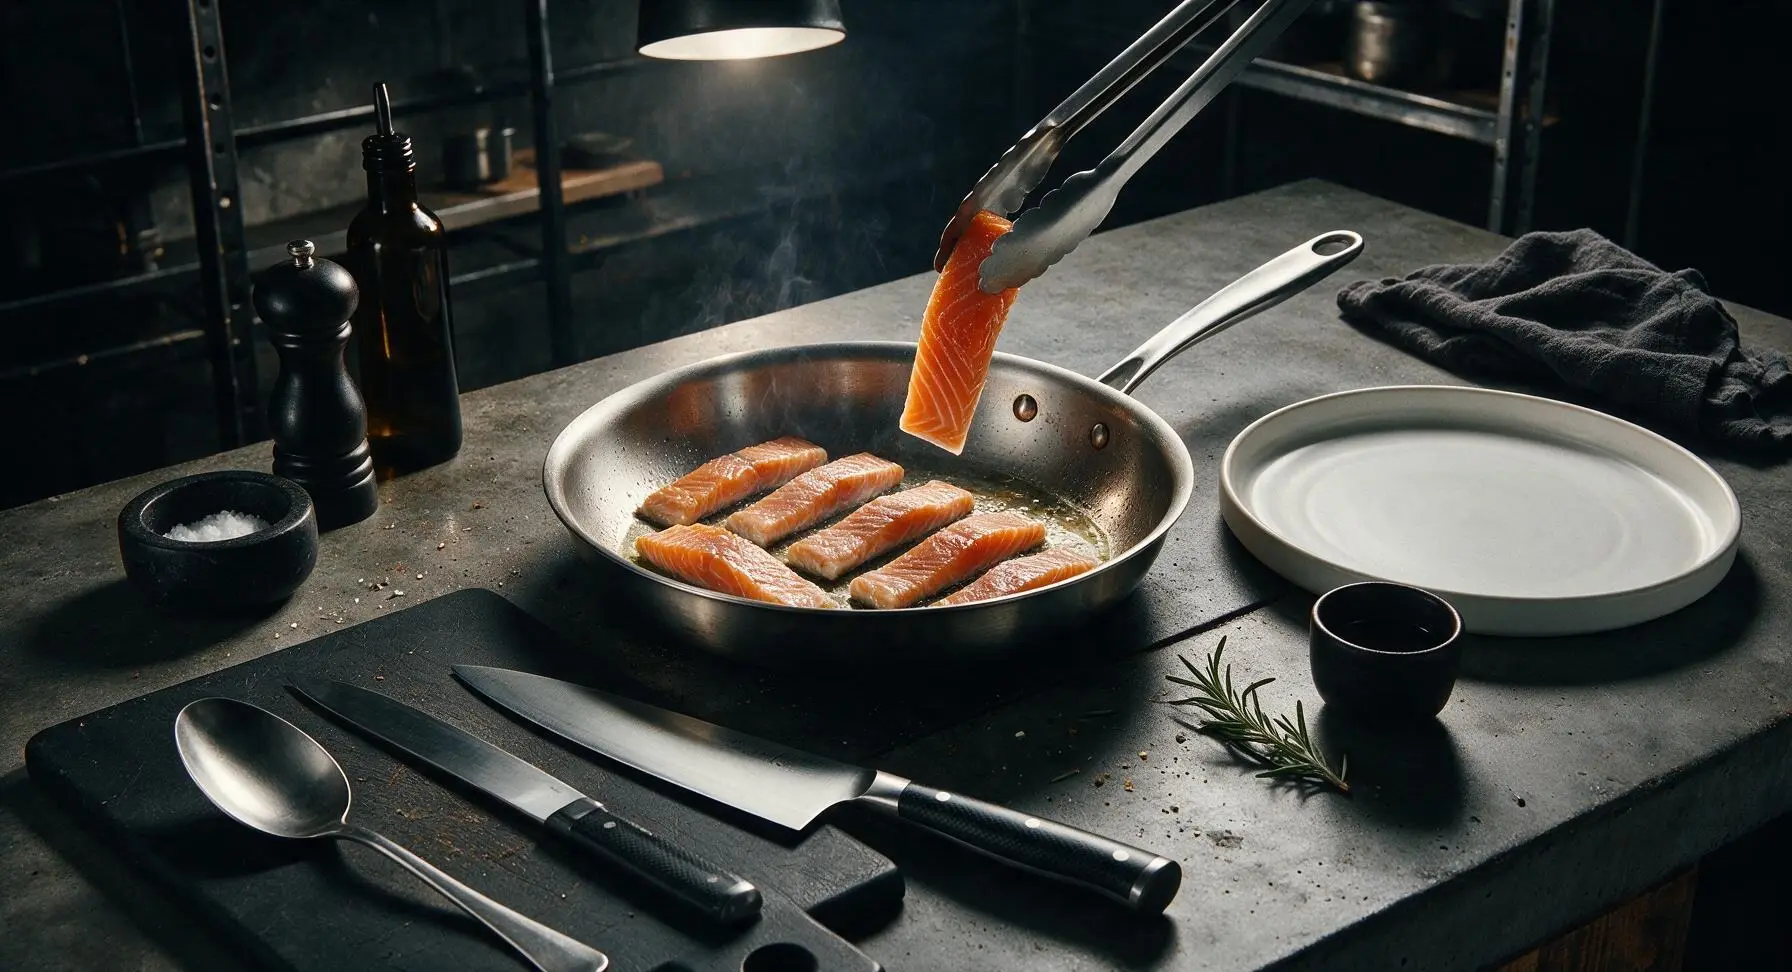
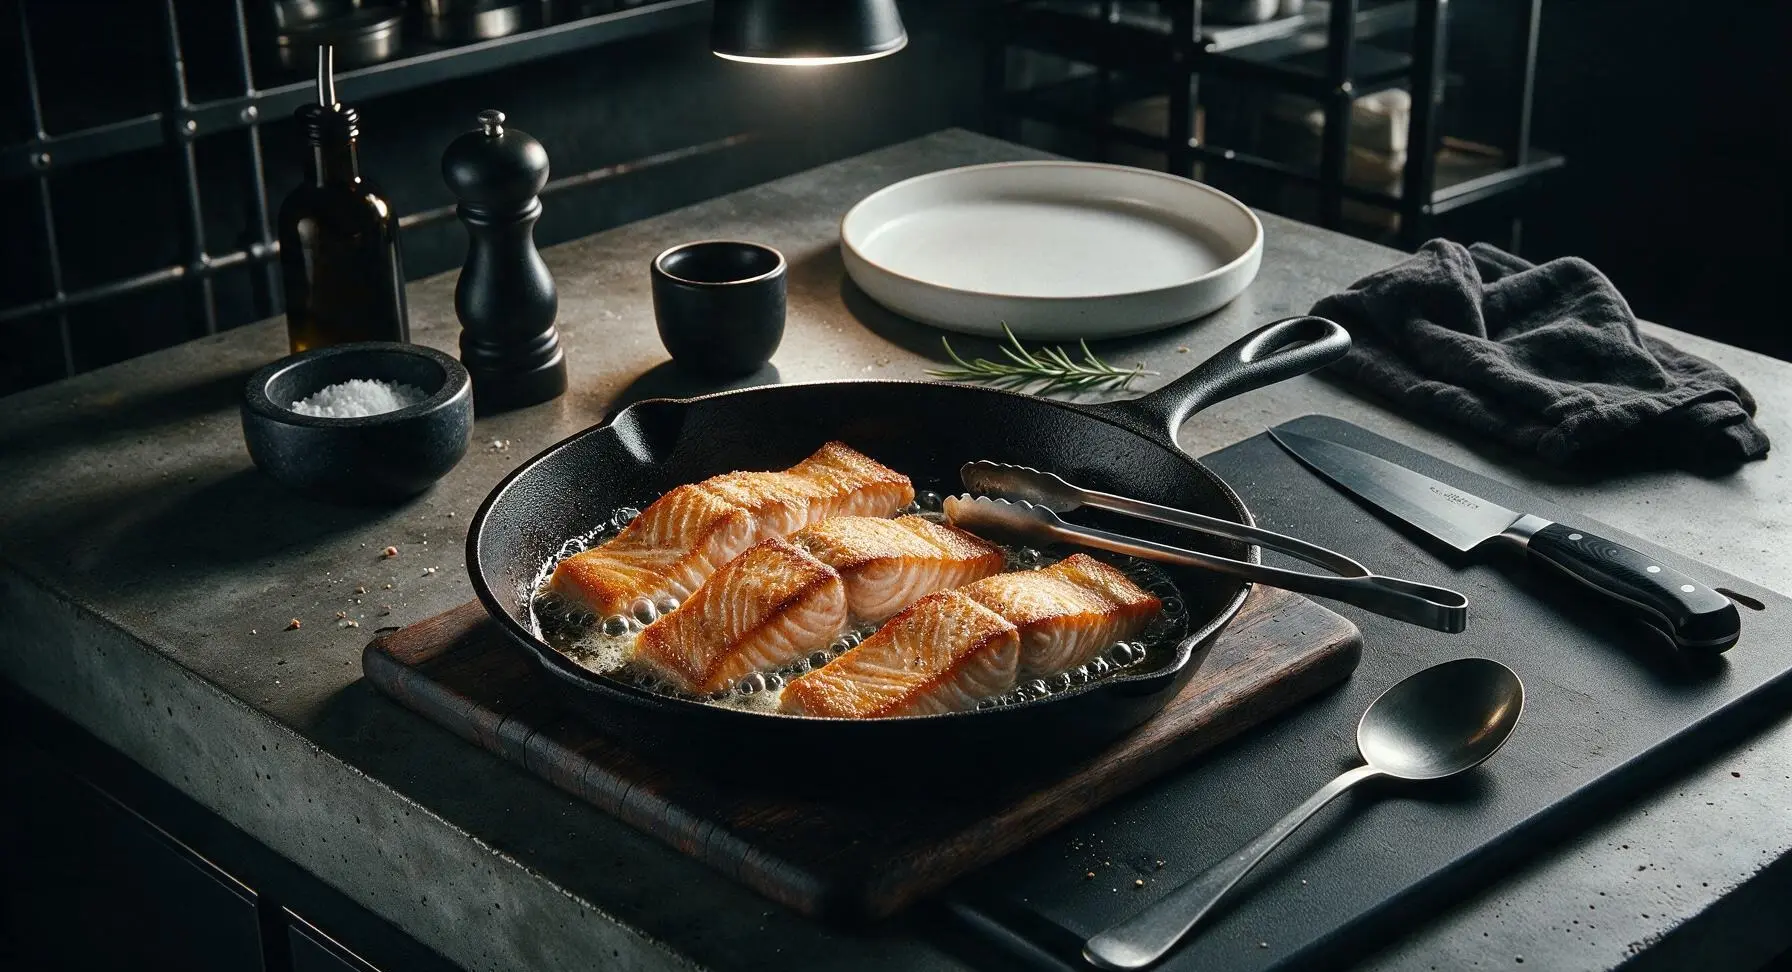
Use the stainless steel tongs to place the salmon strips in the hot skillet skin-side down, leaving 1/2 inch of space between each strip (cook in 2 batches if needed to avoid crowding). Cook for 3 minutes over medium heat, without moving the strips, until the skin is deep golden, crispy, and renders out a thin layer of clear salmon fat. Press gently on each strip with the tongs after 2 minutes to ensure full skin contact with the pan for even crisping.
Flip and Finish Cooking
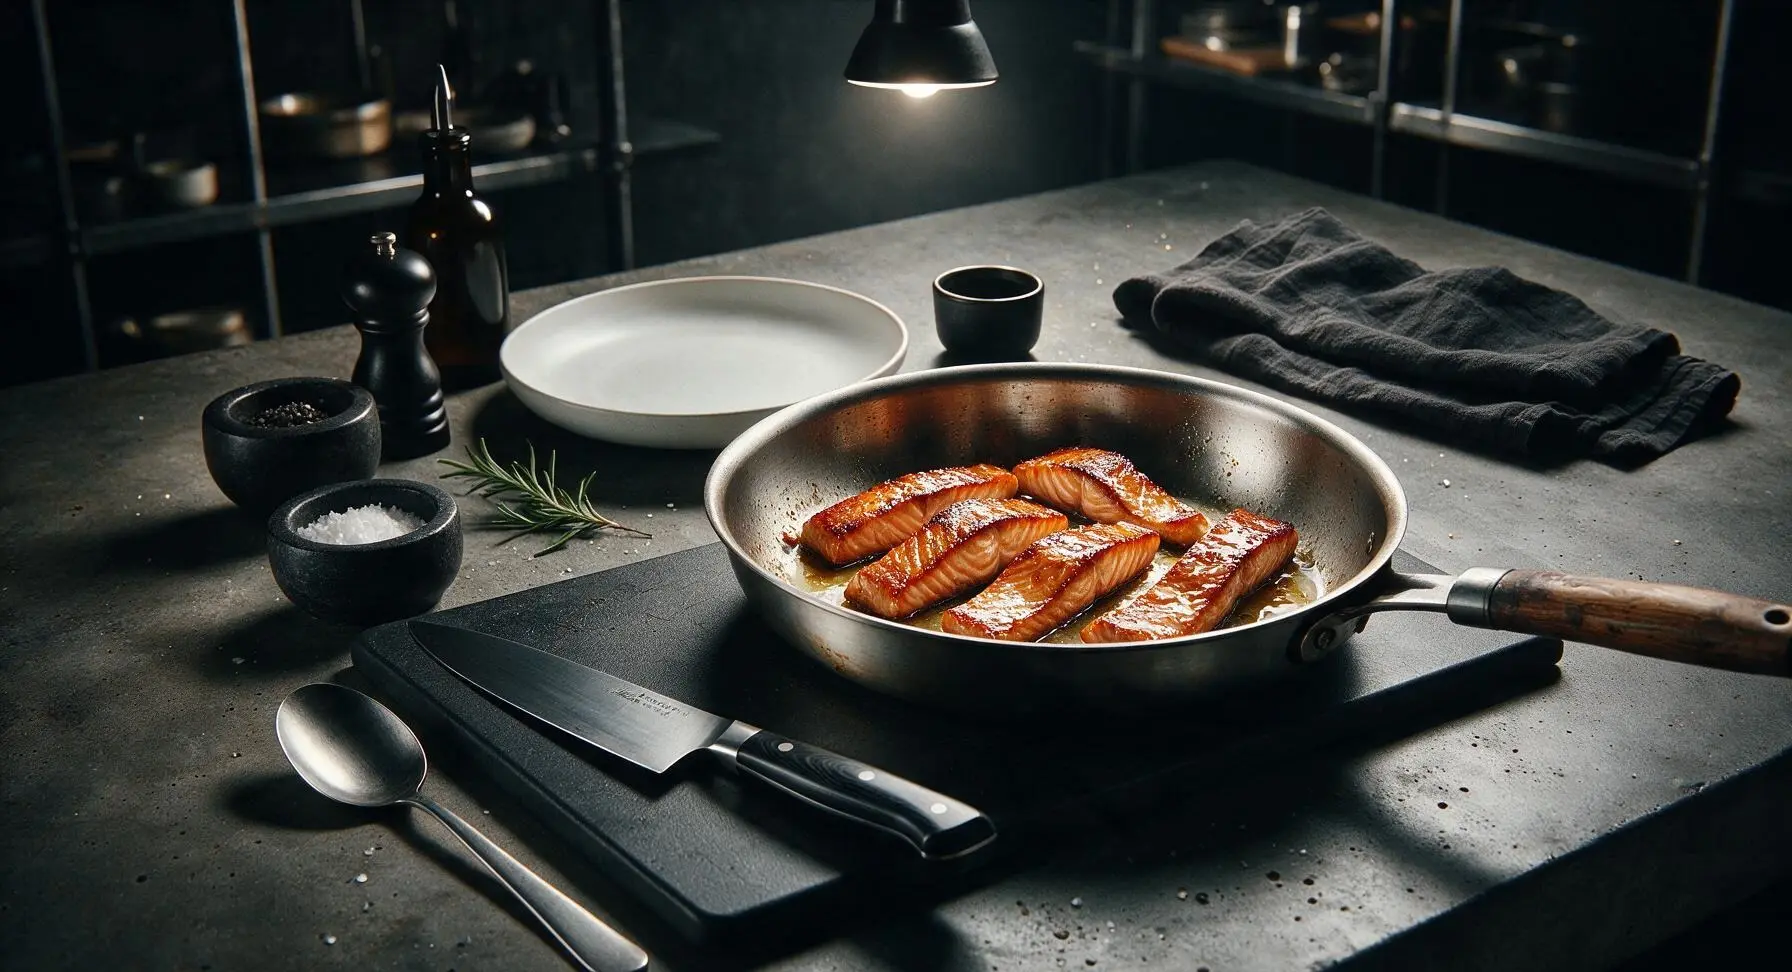
Use the tongs to flip each salmon strip to the flesh side. Drizzle 1 tablespoon of pure maple syrup evenly over the top of the cooking strips, letting the syrup caramelize slightly. Cook for 2 more minutes, until the flesh is just opaque through the center, and the edges are deep caramel brown. Do not overcook, as the salmon will turn tough and dry if left on heat longer than 2 minutes.
Drain and Rest Bacon
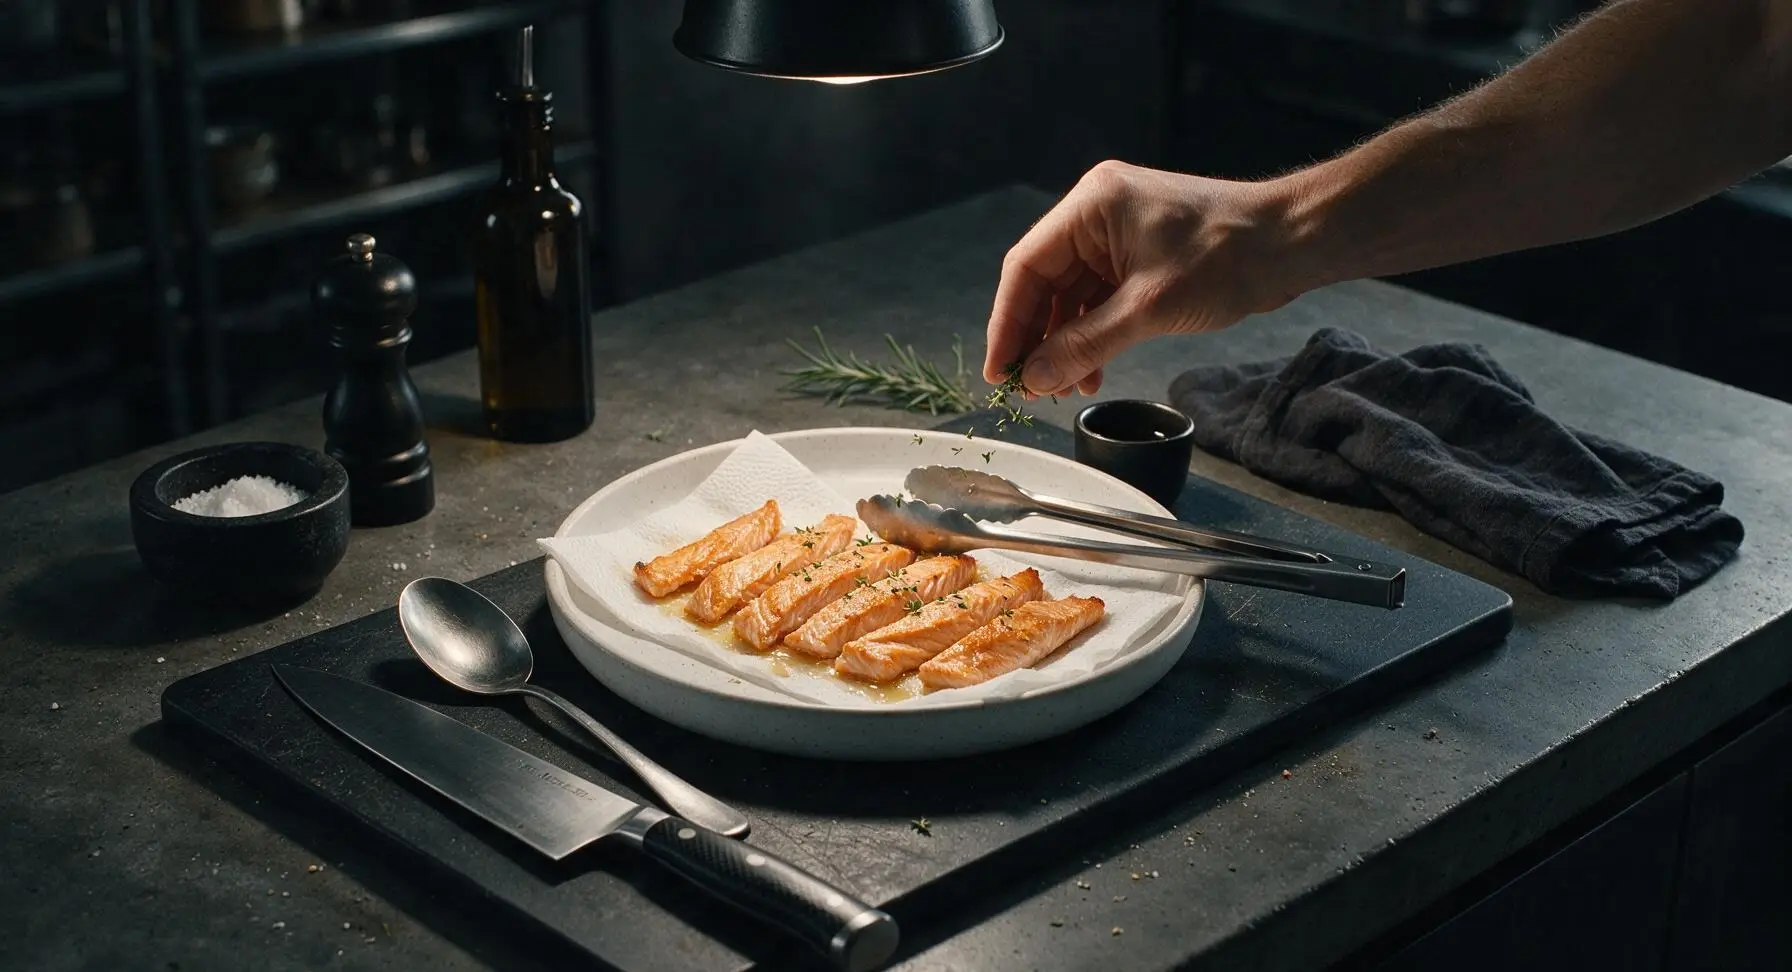
Use the tongs to transfer the cooked salmon bacon strips to a paper-towel lined section of the speckled stoneware dinner plate to drain excess rendered fat for 1 minute. Sprinkle lightly with fresh thyme leaves while still warm, so the herbs stick to the glistening maple-coated surface. Discard the paper towel lining before final plating.
Tips
2.Resist the urge to use all the prepared dry cure: this is a quick 15-minute cure, not a long cold-smoke process, so over-applying cure or letting it rest longer than 15 minutes will result in overly salty, jerky-like salmon instead of tender, crisp bacon.
3.Never crowd the skillet when searing: if strips are placed too close together, trapped moisture will make them steam instead of sear, leading to soft, rubbery skin instead of the signature shatteringly crisp bacon texture. Cook in two small batches if your pan is smaller than 10 inches.






OMG y’all, this crispy salmon bacon is a total game changer for our weeknight dinners! I was so skeptical pairing salmon with bacon grease but the skin gets SO crispy, even my picky 7 year old asked for seconds. Cook time was actually 10 minutes like it said, no fancy tools needed. Threw it on a salad for my meal prep this week and it’s held up perfectly! 10/10 will make again.
Made this for my Sunday potluck with the guys and it was gone in 5 minutes flat. I used thick cut applewood smoked bacon per the tip in the recipe notes and the flavor was insane. Only note is I cranked the heat a little too high on my first batch and burned the edges, but the second batch came out perfect at medium heat. Easy enough for a guy who barely knows how to boil water, fr.
Took this camping last weekend and cooked it on my cast iron over the camp stove. Tasted better than any restaurant salmon I’ve ever had! The bacon fat adds such a rich, smoky flavor that doesn’t overpower the salmon at all. Already added this to my regular camping rotation.
Has anyone tried this with turkey bacon instead of regular pork bacon? I have a pork sensitivity but am DYING to make this, it looks so good!
Made this for my wife’s birthday dinner last night paired with roasted asparagus and garlic mashed potatoes, and she said it’s the best thing I’ve ever cooked. Win for the husband resume, baby!
SO good. I make a batch every Sunday for my kids’ school lunches, they swap their usual turkey sandwiches for salmon bacon wraps now and don’t even complain about eating fish. Win for mom!
Loved the flavor, but my salmon skin kept sticking to the pan even after I added the bacon grease! Did I do something wrong? I used a stainless steel pan if that helps.
Wait a second… salmon AND bacon? That sounds insane, in the best way possible. I’m a broke college student with only a tiny nonstick pan in my dorm, is this doable with minimal cleanup?