1.Can I use pre-cooked chicken instead of raw for this casserole?
▾
Absolutely—this cuts total cook time by 15 to 20 minutes! Shred 3 cups of leftover cooked or rotisserie chicken, toss it with the salsa, beans, corn, and taco seasoning, then bake for 20 minutes until bubbly. Always confirm the internal temperature hits 165°F for food safety, even when using pre-cooked poultry.
2.What heat level of salsa works best if I don’t want the dish too spicy?
▾
Chunky medium salsa is the recipe’s tested baseline, but if you prefer milder flavor, swap it for mild chunky salsa and add ¼ teaspoon of smoked paprika to keep that rich, zesty depth without extra heat. Skip thin restaurant-style salsa, as it will make the casserole watery instead of thick and cohesive.
3.Why does my casserole sometimes turn out watery?
▾
Watery results usually come from using thin, runny salsa instead of chunky, or not fully draining your black beans before adding them. If your frozen corn has excess ice crystals, thaw it first and pat off extra moisture before mixing in. You can also bake uncovered for the last 10 minutes to let excess steam evaporate and thicken the filling.
4.Can I make this casserole ahead of time for weekly meal prep?
▾
Yes! Assemble the entire filling (hold the tortilla strip topping) in a baking dish, cover tightly, and refrigerate for up to 3 days, or freeze for up to 3 months. When ready to bake, add the tortilla strips, tack on 10 to 15 minutes of bake time if cooking from chilled, until the center is bubbly and hits 165°F.
5.What can I use as a substitute if I don’t have a pre-made taco seasoning packet?
▾
Whip up a quick homemade blend that matches the flavor perfectly: Mix 1 teaspoon chili powder, ½ teaspoon ground cumin, ½ teaspoon garlic powder, ¼ teaspoon onion powder, ¼ teaspoon dried oregano, and a pinch of salt and pepper per tablespoon of store-bought mix the recipe calls for. It has no added fillers or preservatives, too.
6.Do I need to pre-cook raw chicken before adding it to the casserole?
▾
You don’t have to! Cut boneless, skinless breasts into uniform 1-inch cubes first, and they will cook fully during 35 to 40 minutes of covered baking at 375°F, as long as you spread them evenly in the dish. Always confirm the internal temp hits 165°F with a meat thermometer before adding cheese and toppings.
7.When should I add the tortilla strips so they stay crispy instead of soggy?
▾
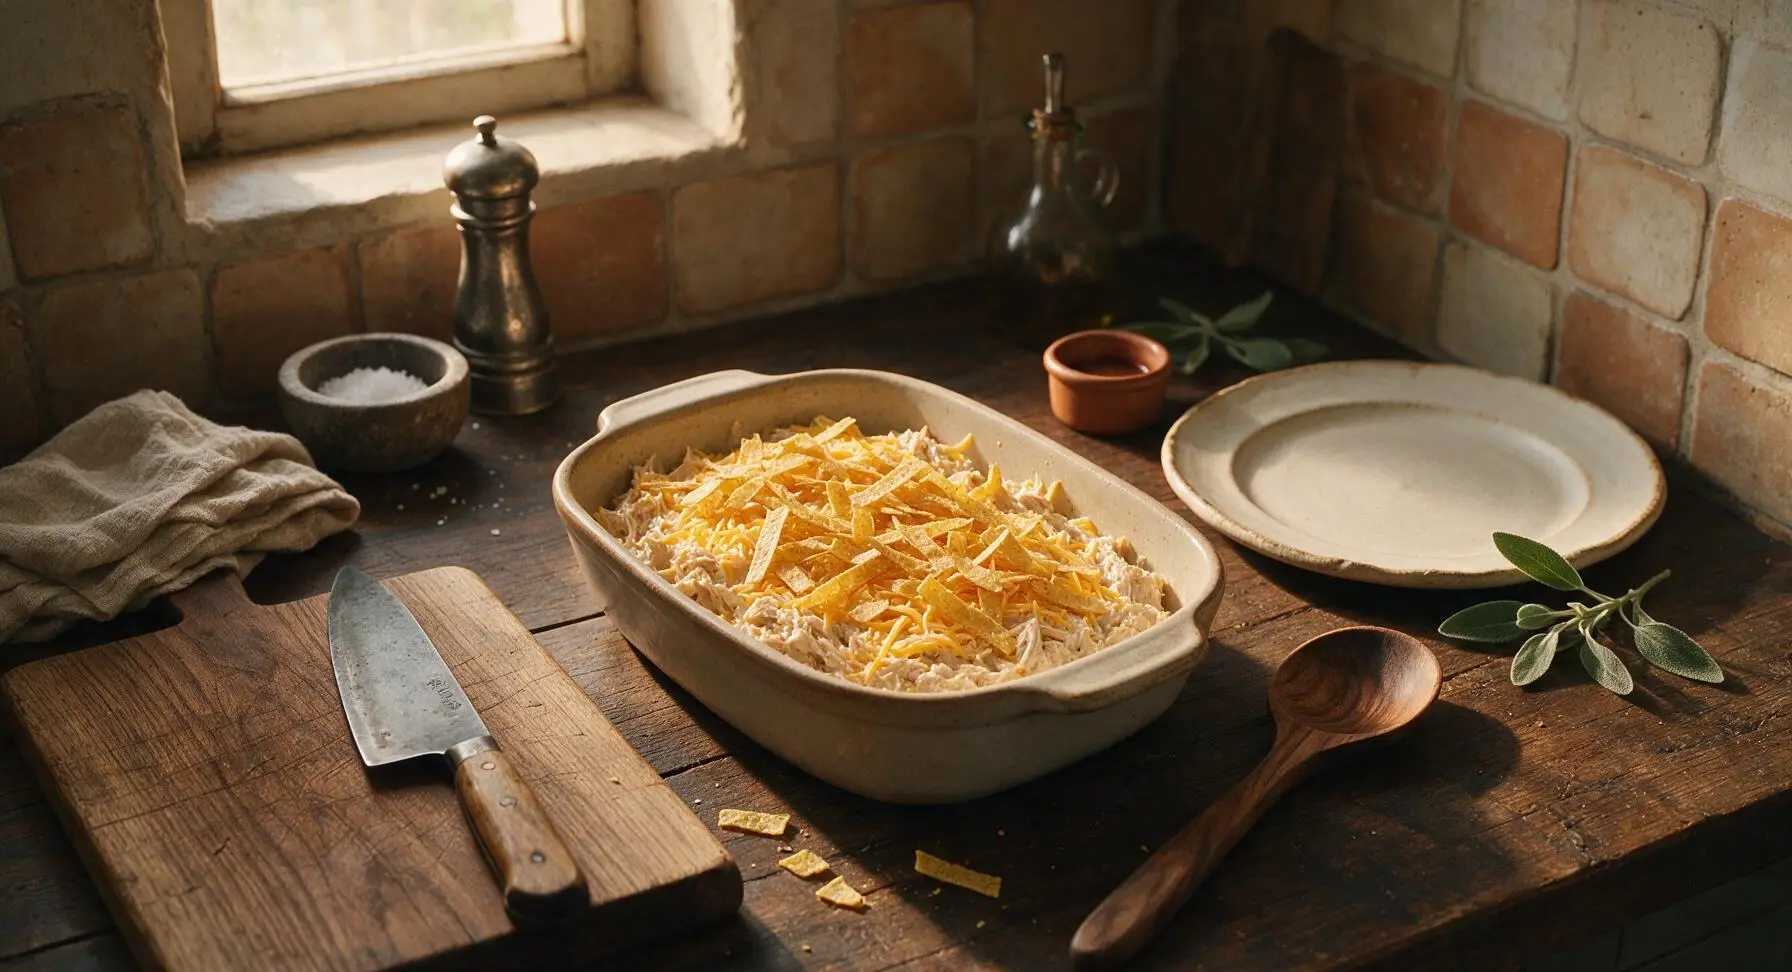
Add the crispy tortilla strips during the last 8 to 10 minutes of baking, right after you sprinkle shredded cheese over the fully cooked filling. If you mix them in earlier or add them at the start of baking, they’ll absorb too much moisture from the salsa and turn mushy instead of light, crunchy, and golden brown.
8.Can I use boneless, skinless chicken thighs instead of chicken breasts?
▾
Absolutely! Boneless, skinless chicken thighs work beautifully here, and actually add extra rich, juicy flavor since they have a touch more fat than lean breasts. Cut them into the same 1-inch cubes as you would breasts, and keep all other recipe measurements identical—no cook time adjustments are needed for this swap.
9.What kind of cheese works best for the casserole topping?
▾
The classic, most reliable pick is shredded Mexican-blend cheese, which melts smoothly and has a mild, creamy flavor that pairs perfectly with zesty salsa. You can also use sharp cheddar, Monterey Jack, or pepper Jack if you want an extra kick of heat. Sprinkle 1.5 cups over the filling right before adding the tortilla strips.
10.Can I add extra veggies to this casserole without ruining its texture?
▾
Totally! Diced bell peppers, sautéed onions, diced zucchini, or even a handful of chopped spinach work great as mix-ins. Just sauté firmer, high-moisture veggies first to cook off excess water before stirring them into the filling, and stick to 1 to 1.5 cups of added veggies so you don’t throw off the recipe’s balance.
11.How long do leftover portions stay fresh in the refrigerator?
▾
Stored in an airtight, sealed container, leftover salsa chicken casserole will stay fresh for 3 to 4 days in the refrigerator. Reheat individual portions in the microwave for 1 to 2 minutes, or reheat the whole dish in a 350°F oven for 15 minutes until warmed through. Add fresh tortilla strips on top to bring back crunch if needed.
12.What simple swaps do I need to make this recipe gluten-free?
▾
It’s incredibly easy to adapt for gluten-free diets! First, double-check that your taco seasoning packet doesn’t contain hidden wheat fillers (many budget blends do). Use certified gluten-free corn tortilla strips for the topping, confirm your salsa is gluten-free, and the entire dish will be fully celiac-safe with no other changes needed.
13.What simple sides pair best with this salsa chicken casserole?
▾
It pairs perfectly with light, fresh sides to cut the rich, cheesy, zesty flavor. Try a dollop of sour cream or plain Greek yogurt, a side of cilantro-lime rice, a simple green salad with lime vinaigrette, sliced avocado, or a scoop of fresh pico de gallo. A squeeze of fresh lime right before serving also brightens every bite.
14.Can I use canned corn instead of frozen sweet corn in the filling?
▾
Absolutely! Canned corn works just as well as frozen—just make sure you drain it really well before stirring it into the filling, to avoid adding extra liquid that makes the casserole watery. For an extra flavor boost, use fire-roasted canned corn, which adds a subtle smoky, charred note that pairs perfectly with Tex-Mex spices.
15.Do I need to cover the casserole dish while it bakes in the oven?
▾
Yes, cover it tightly with aluminum foil for the first 25 to 30 minutes of baking to trap steam, which helps the chicken cook evenly and stay tender without drying out. Remove the foil for the last 10 minutes to add your cheese and tortilla strips, so the cheese melts fully and the strips crisp up instead of getting steamy and soft.
16.Can I adapt this recipe to cook in a slow cooker instead of the oven?
▾
You bet! Spray your slow cooker insert with nonstick spray, add all the filling ingredients (raw cubed chicken, salsa, drained beans, corn, taco seasoning), stir to combine, and cook on low for 4 to 5 hours or high for 2 to 2.5 hours. Shred the chicken if desired, then top with cheese and tortilla strips in the last 10 minutes before serving.
17.What adjustments do I need if I use no-salt-added black beans?
▾
No major changes are needed! If you’re using no-salt-added black beans, just add an extra ¼ teaspoon of kosher salt to the filling mix when you stir in the taco seasoning. Taste the filling before baking if you can, and adjust salt a pinch at a time—remember, salsa and taco seasoning already have quite a bit of sodium, so go light at first.
18.Can I use flour tortillas instead of corn tortilla strips for the crunchy topping?
▾
You can, but the texture will be a little different. Cut flour tortillas into thin strips, toss them with a tiny bit of olive oil, and toast them in the oven for 5 minutes first before adding them to the casserole top, so they crisp up instead of turning gummy. Corn tortilla strips are more traditional and hold their crunch better under melted cheese, though.
19.Can I adjust this recipe to be fully dairy-free?
▾
Absolutely! Swap the regular shredded cheese for your favorite dairy-free Mexican-style shredding cheese—look for a variety that melts well, usually made with a coconut or oat base. Skip sour cream garnish or use a dairy-free sour cream alternative, and double-check your taco seasoning and salsa don’t have hidden dairy for a fully dairy-free meal.

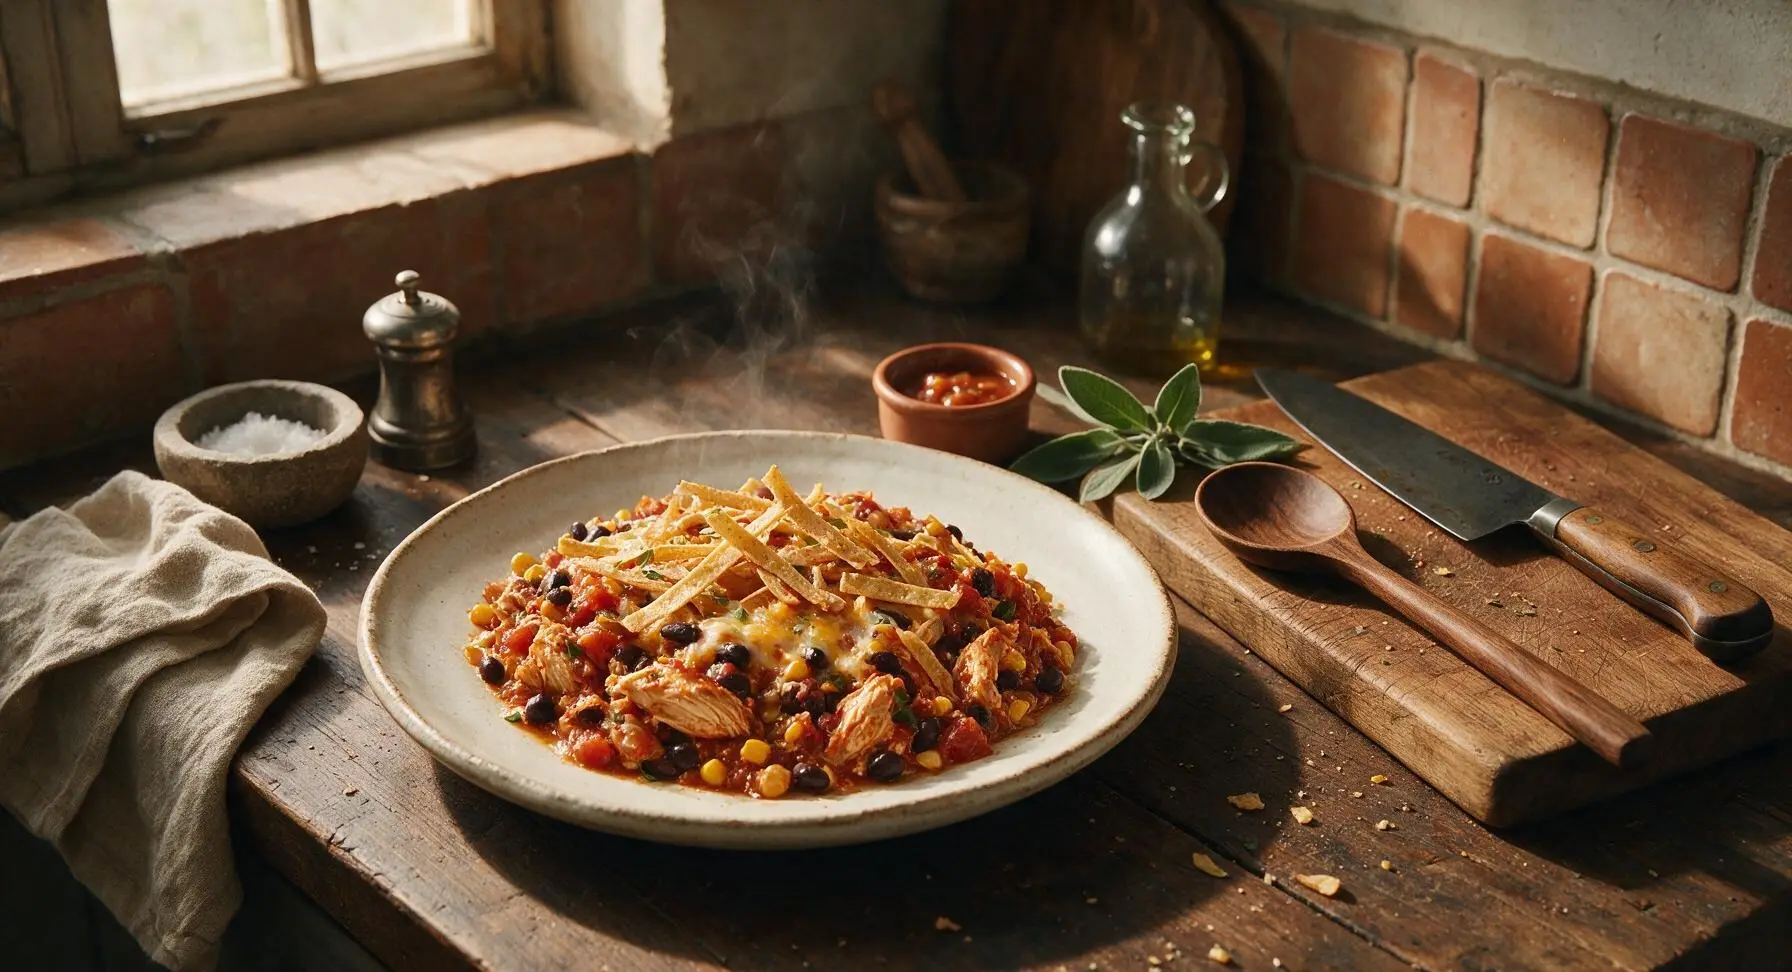
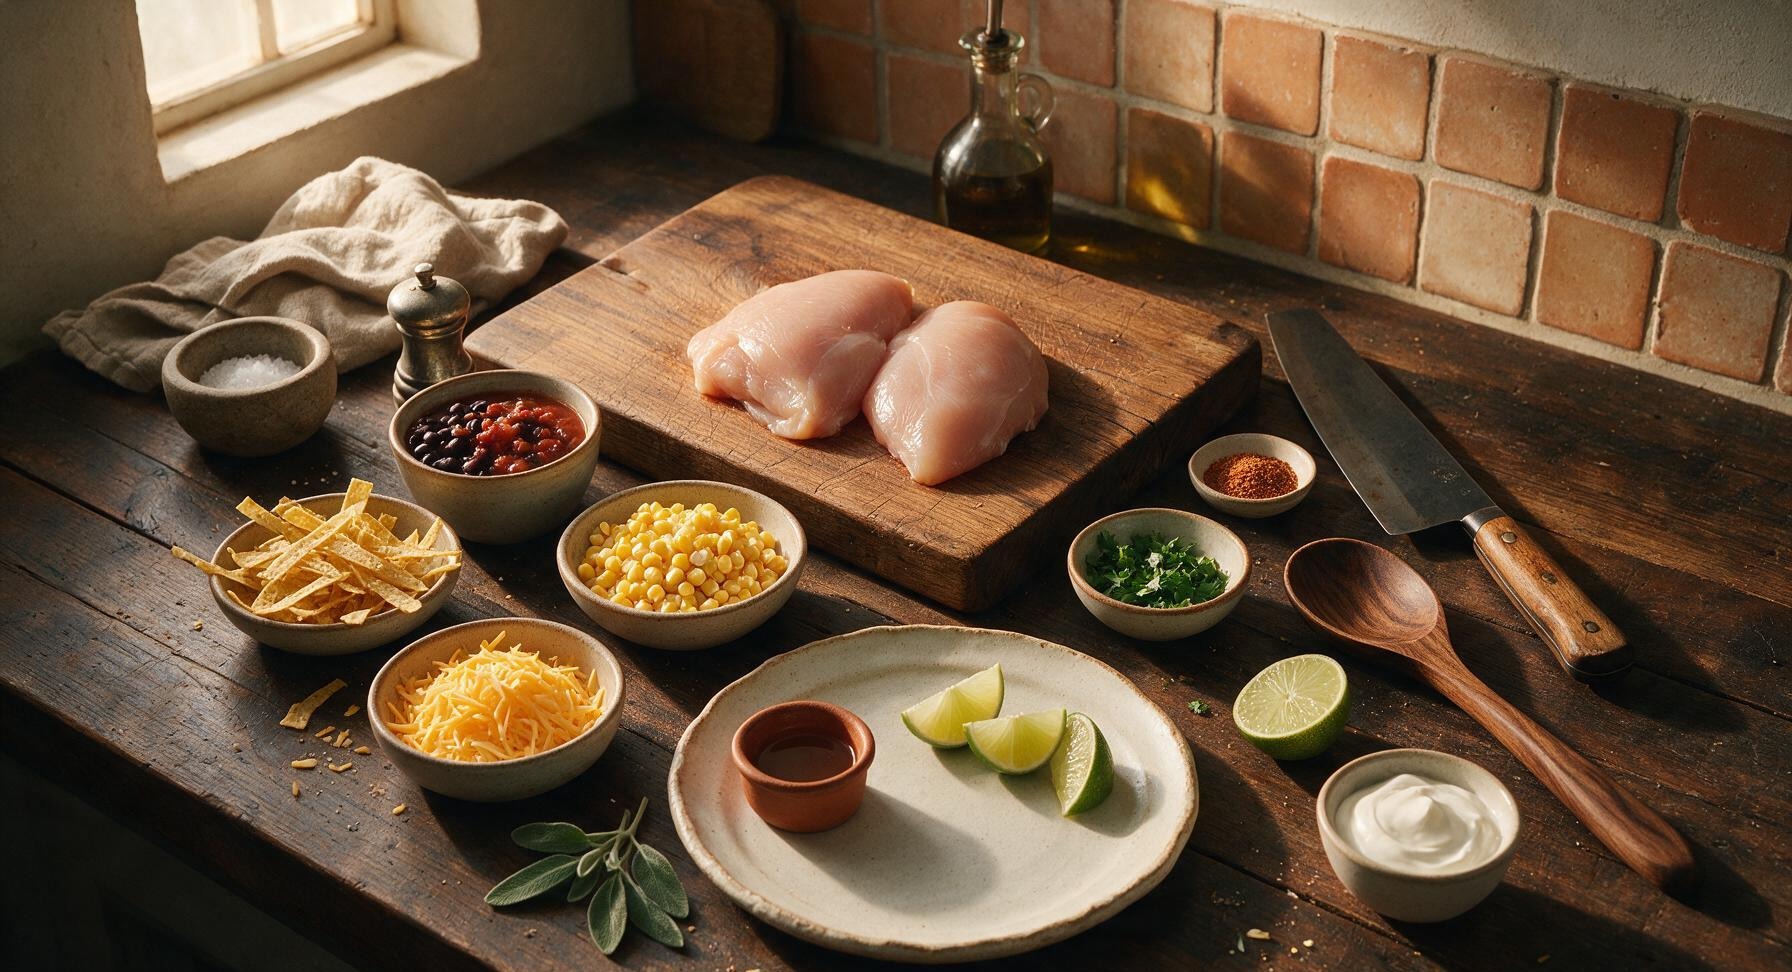
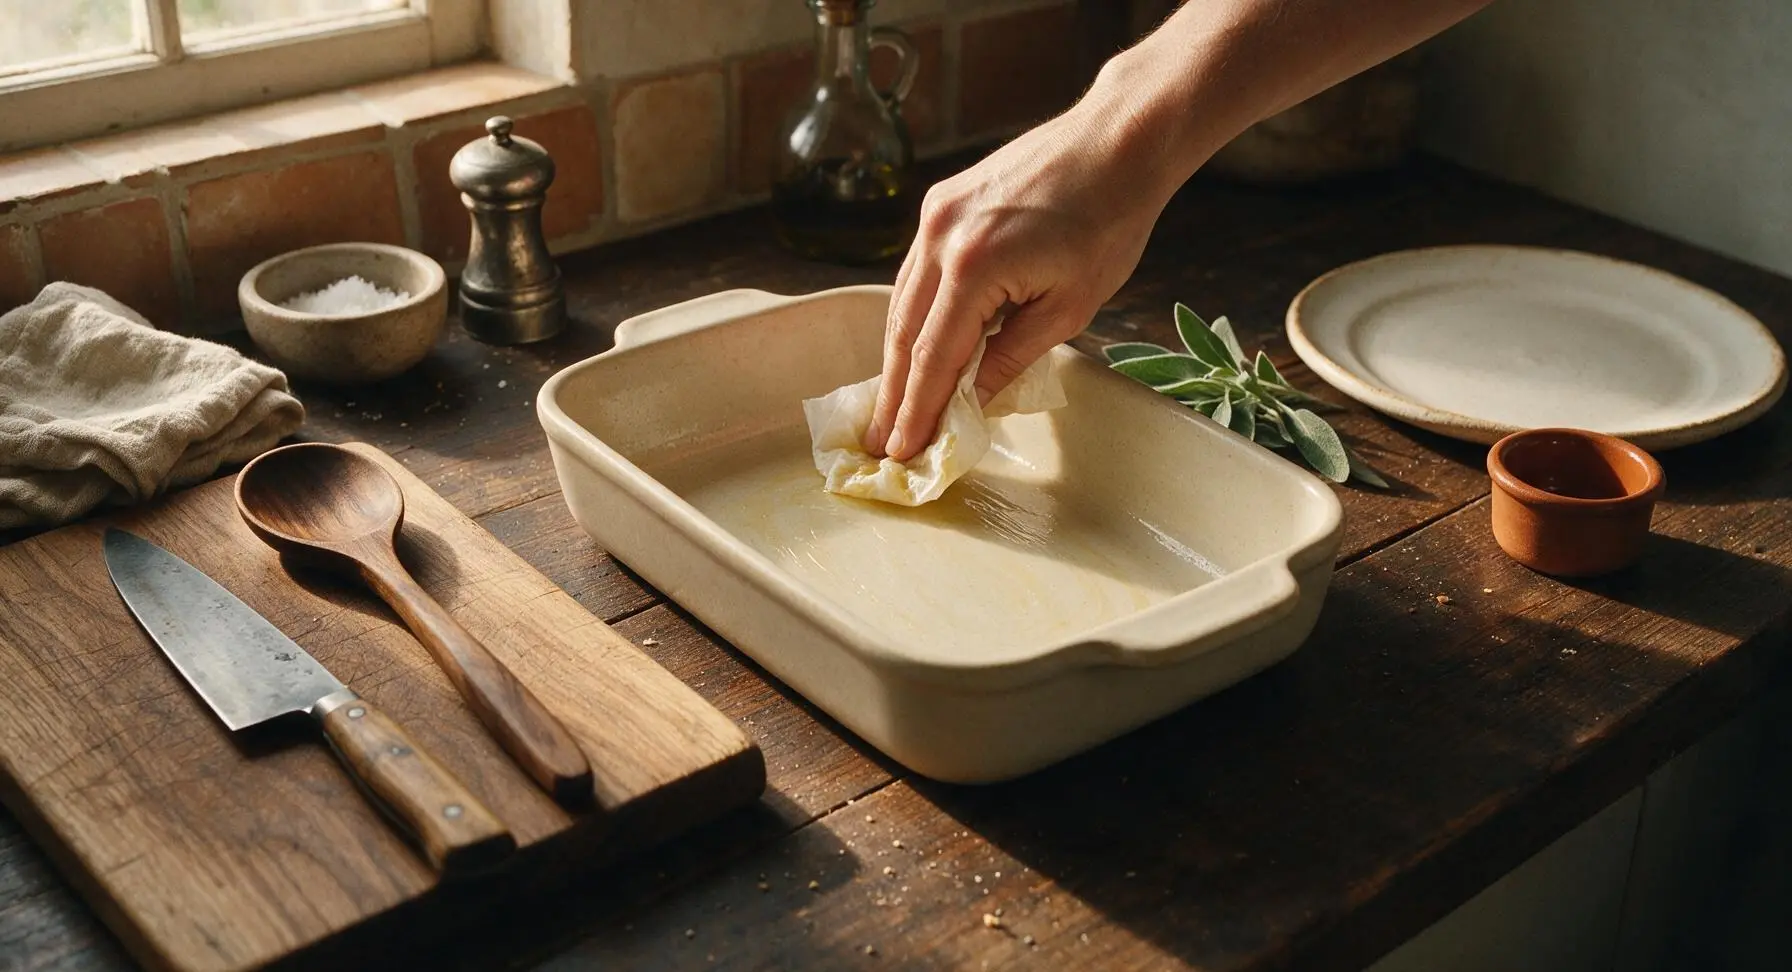
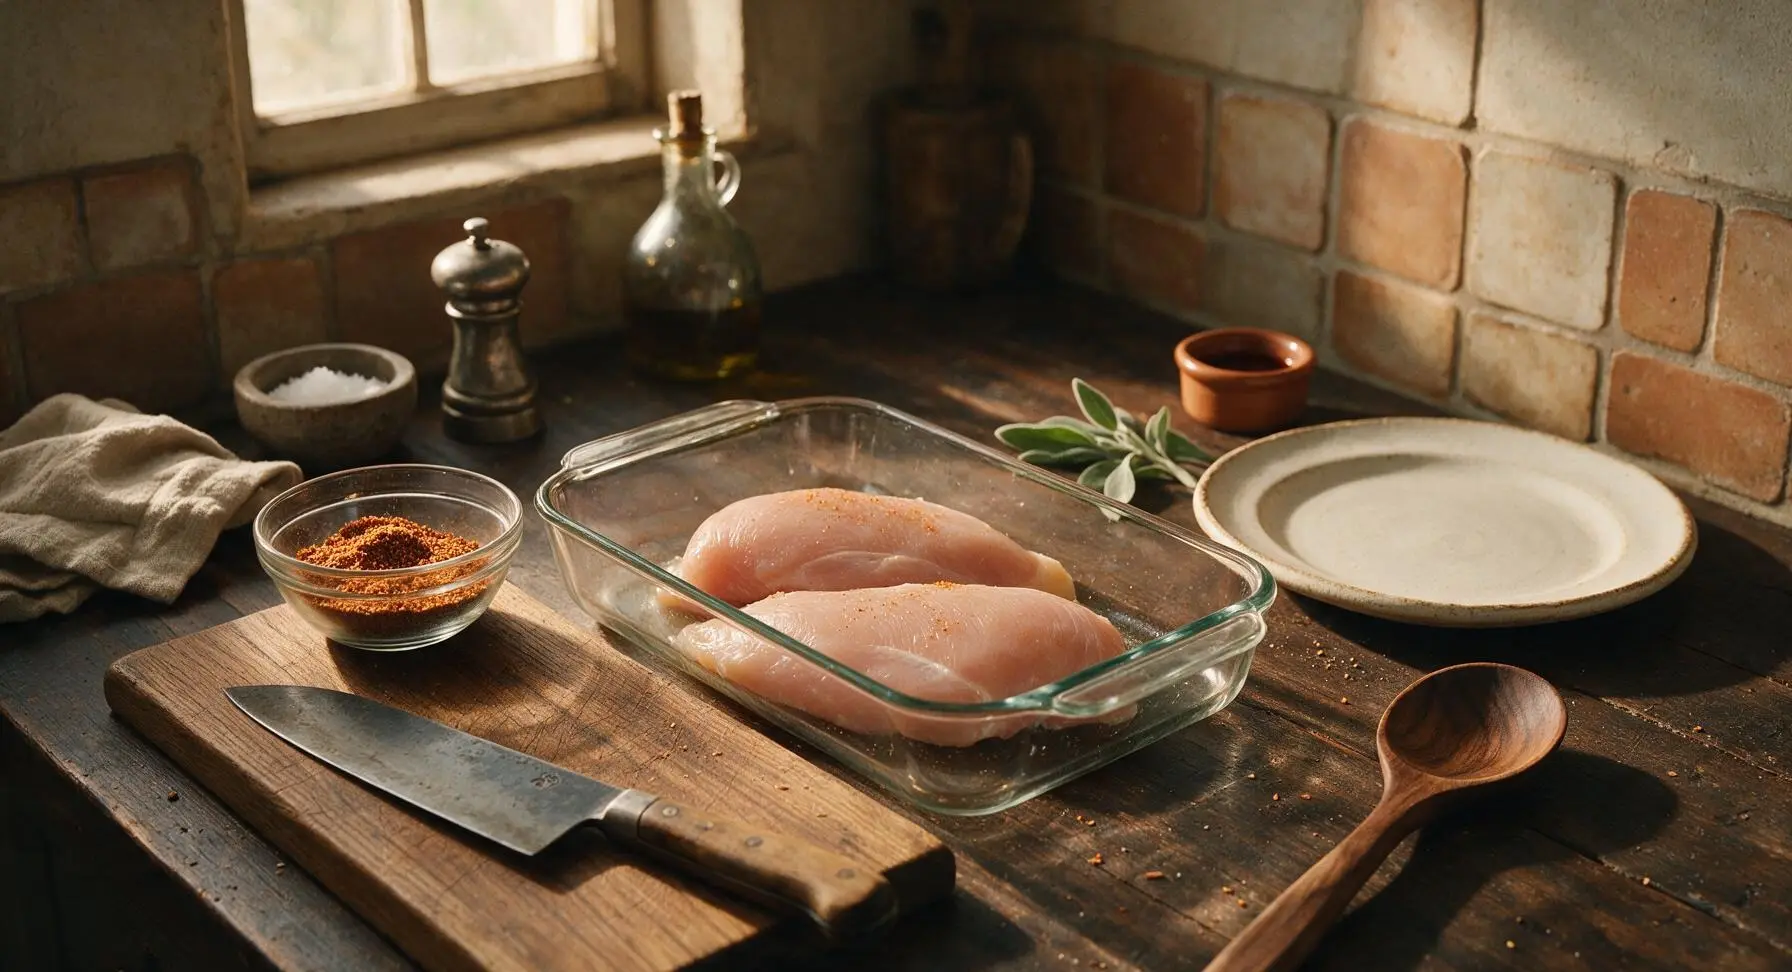
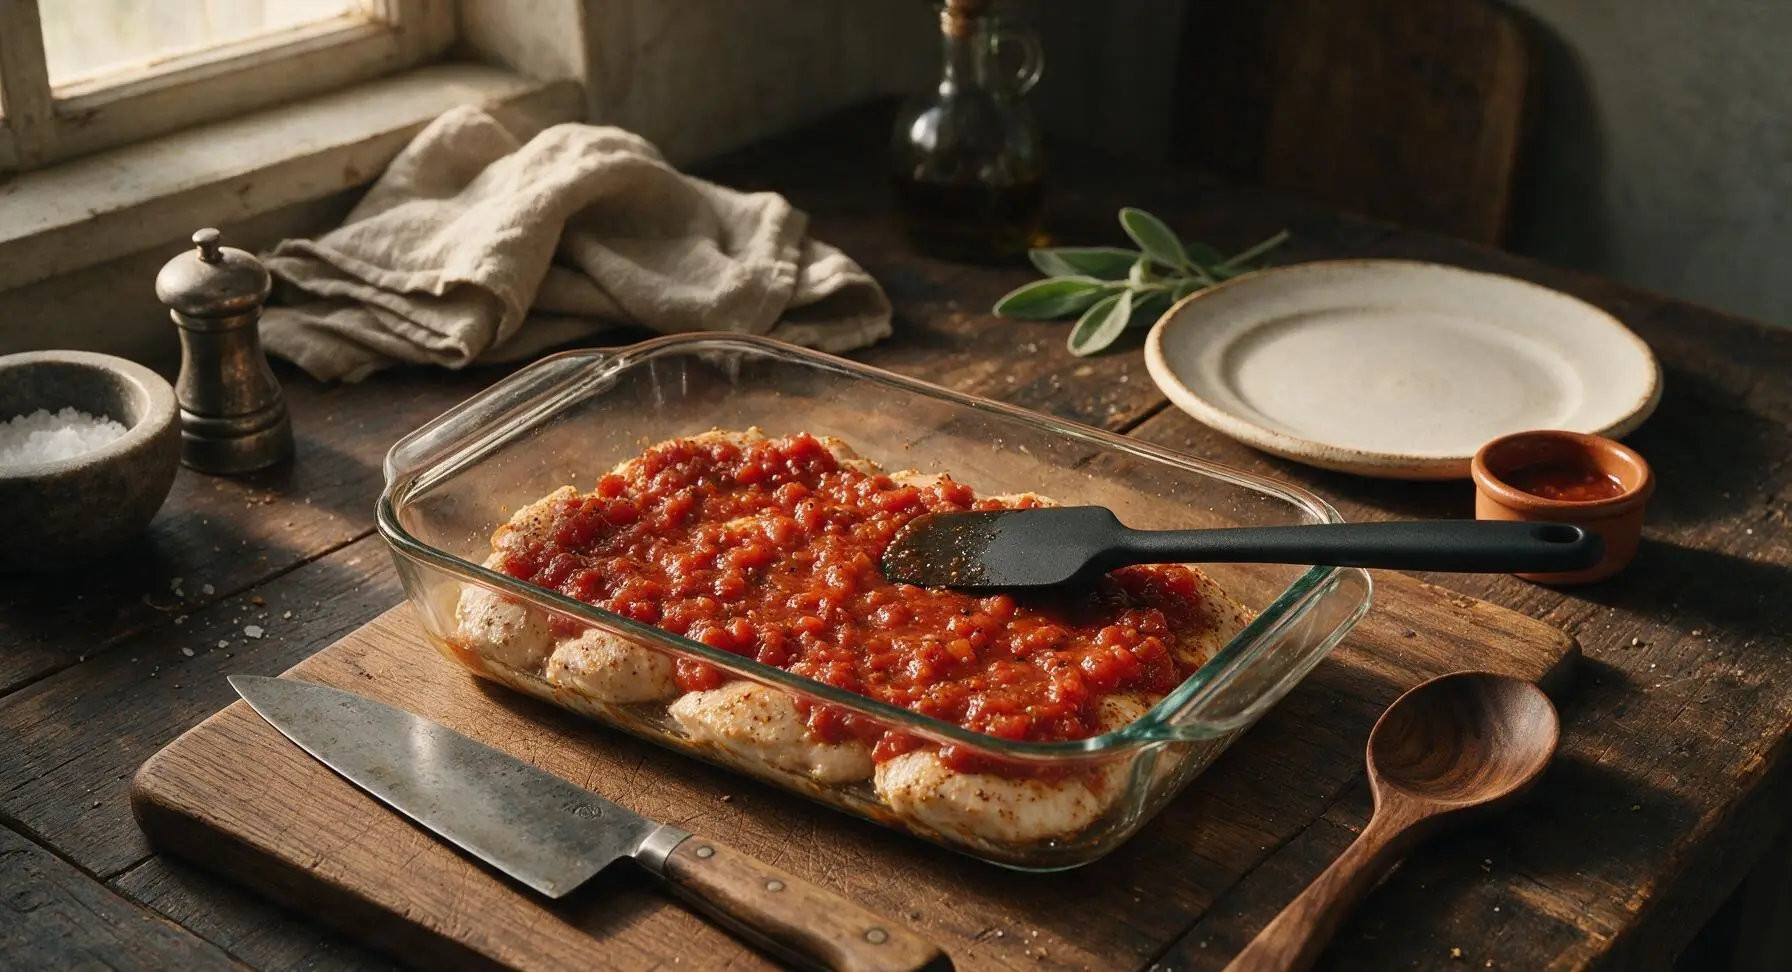
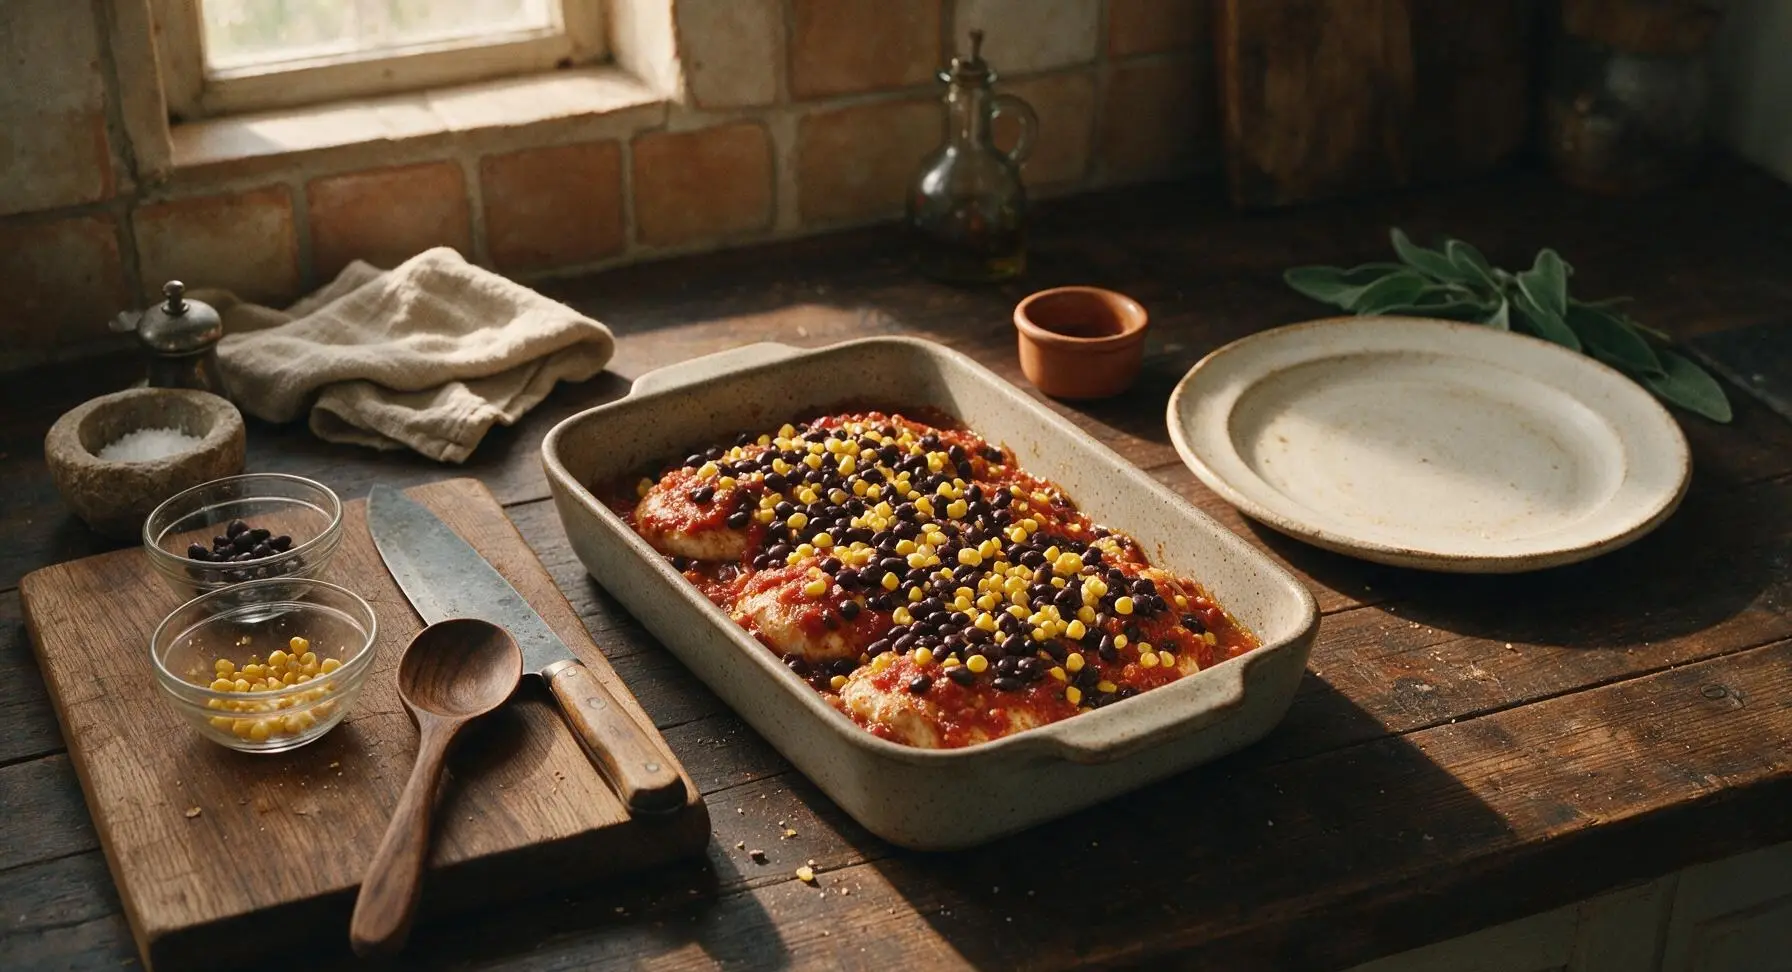
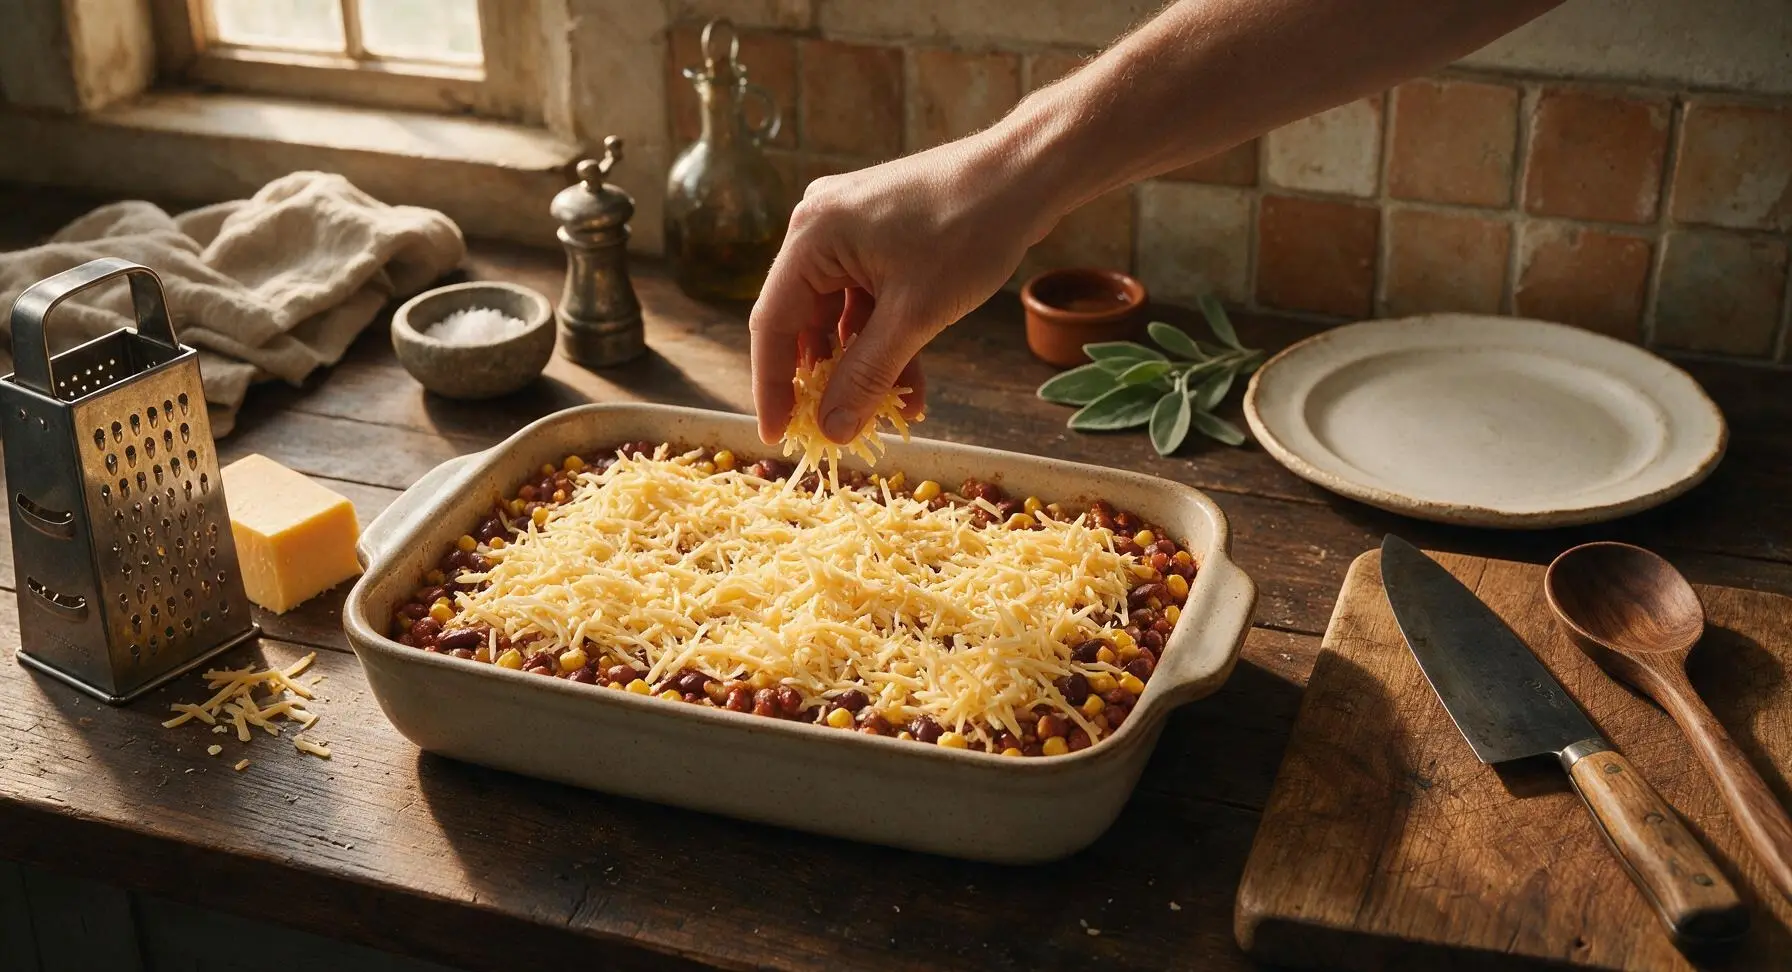
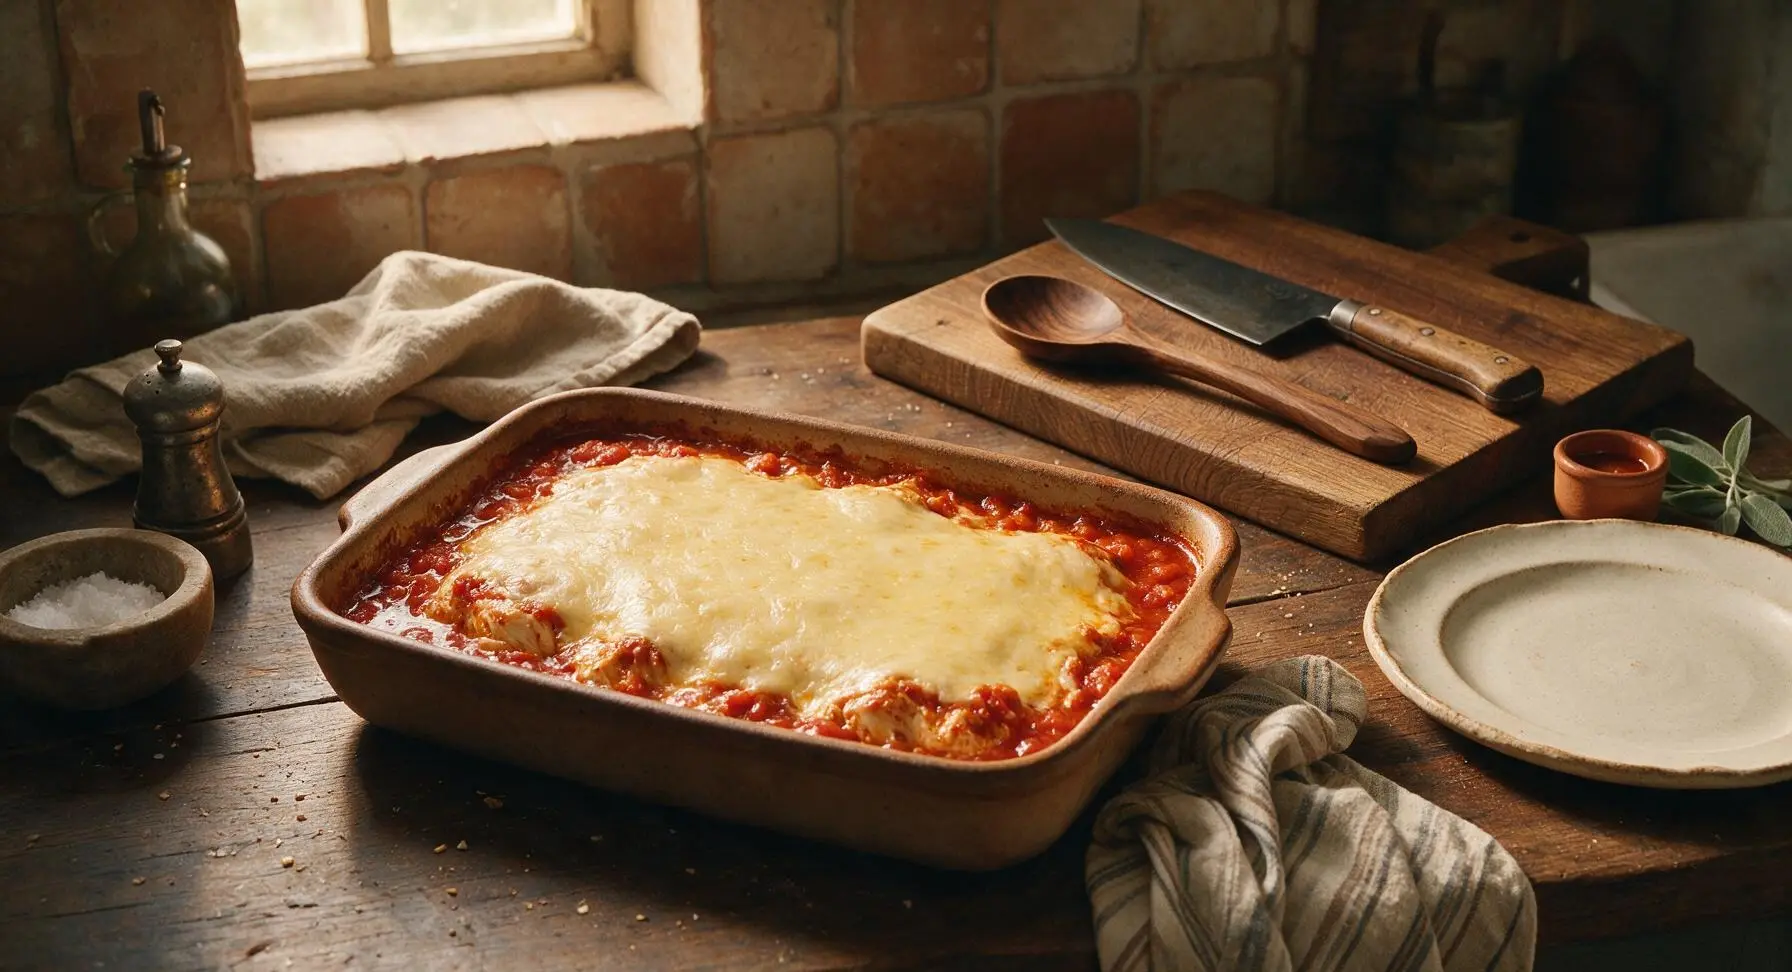
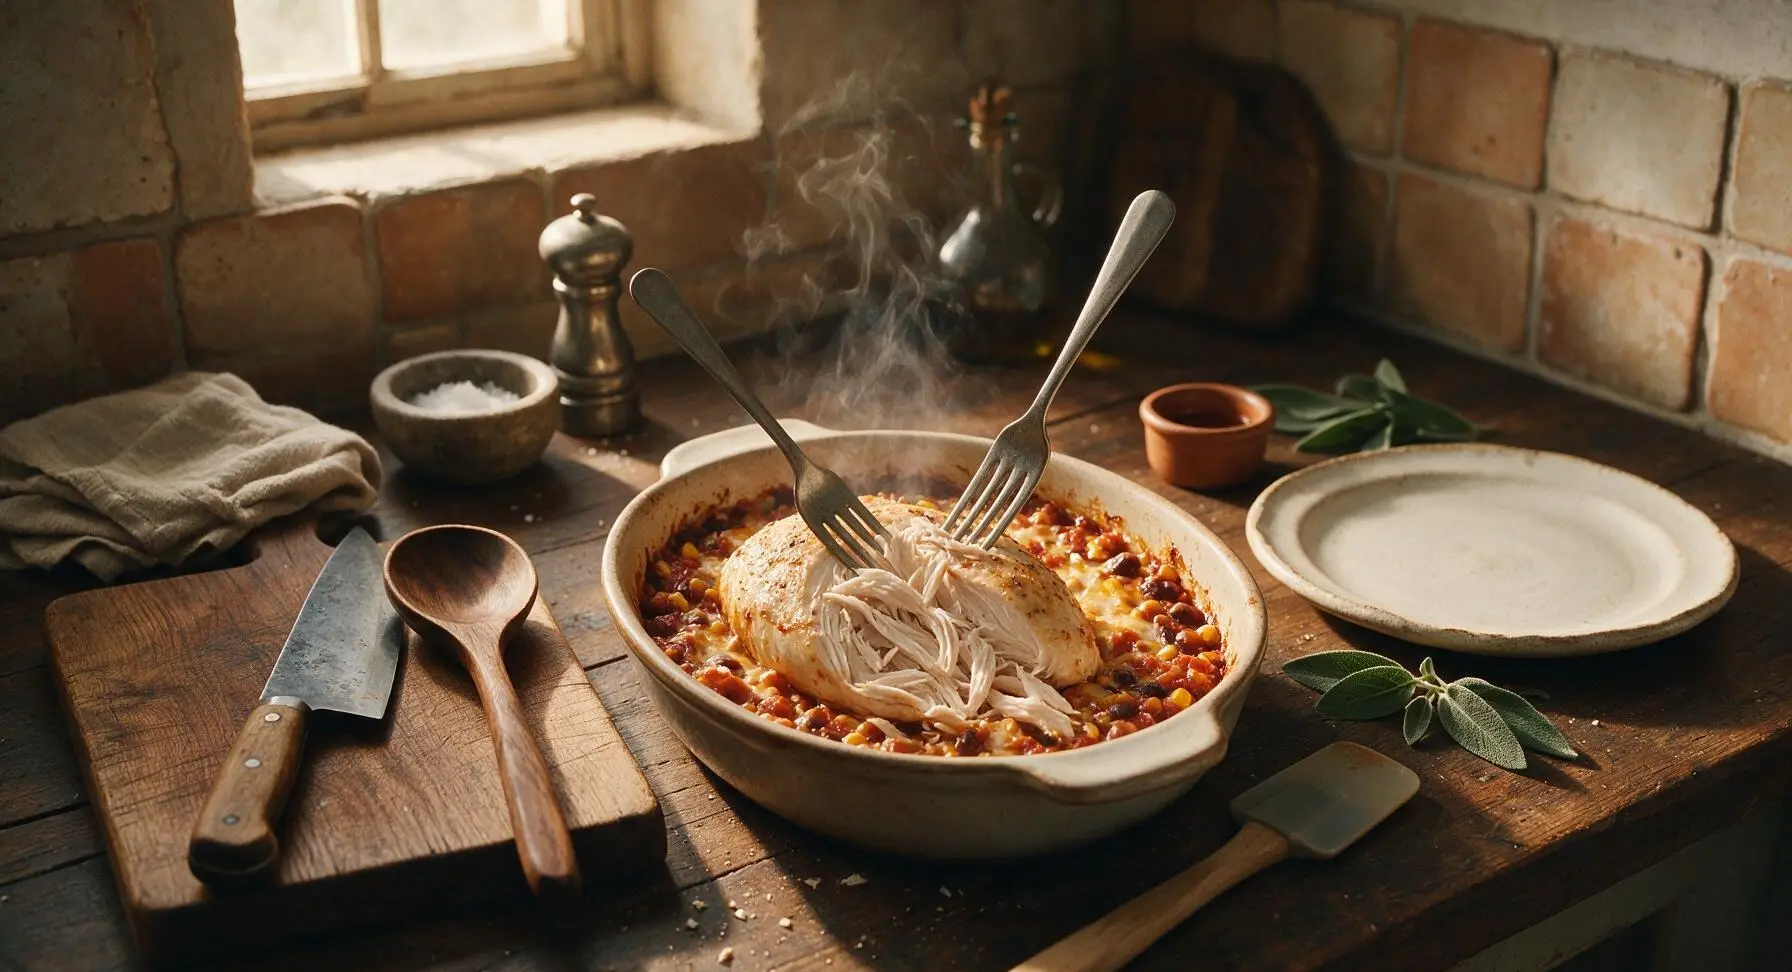
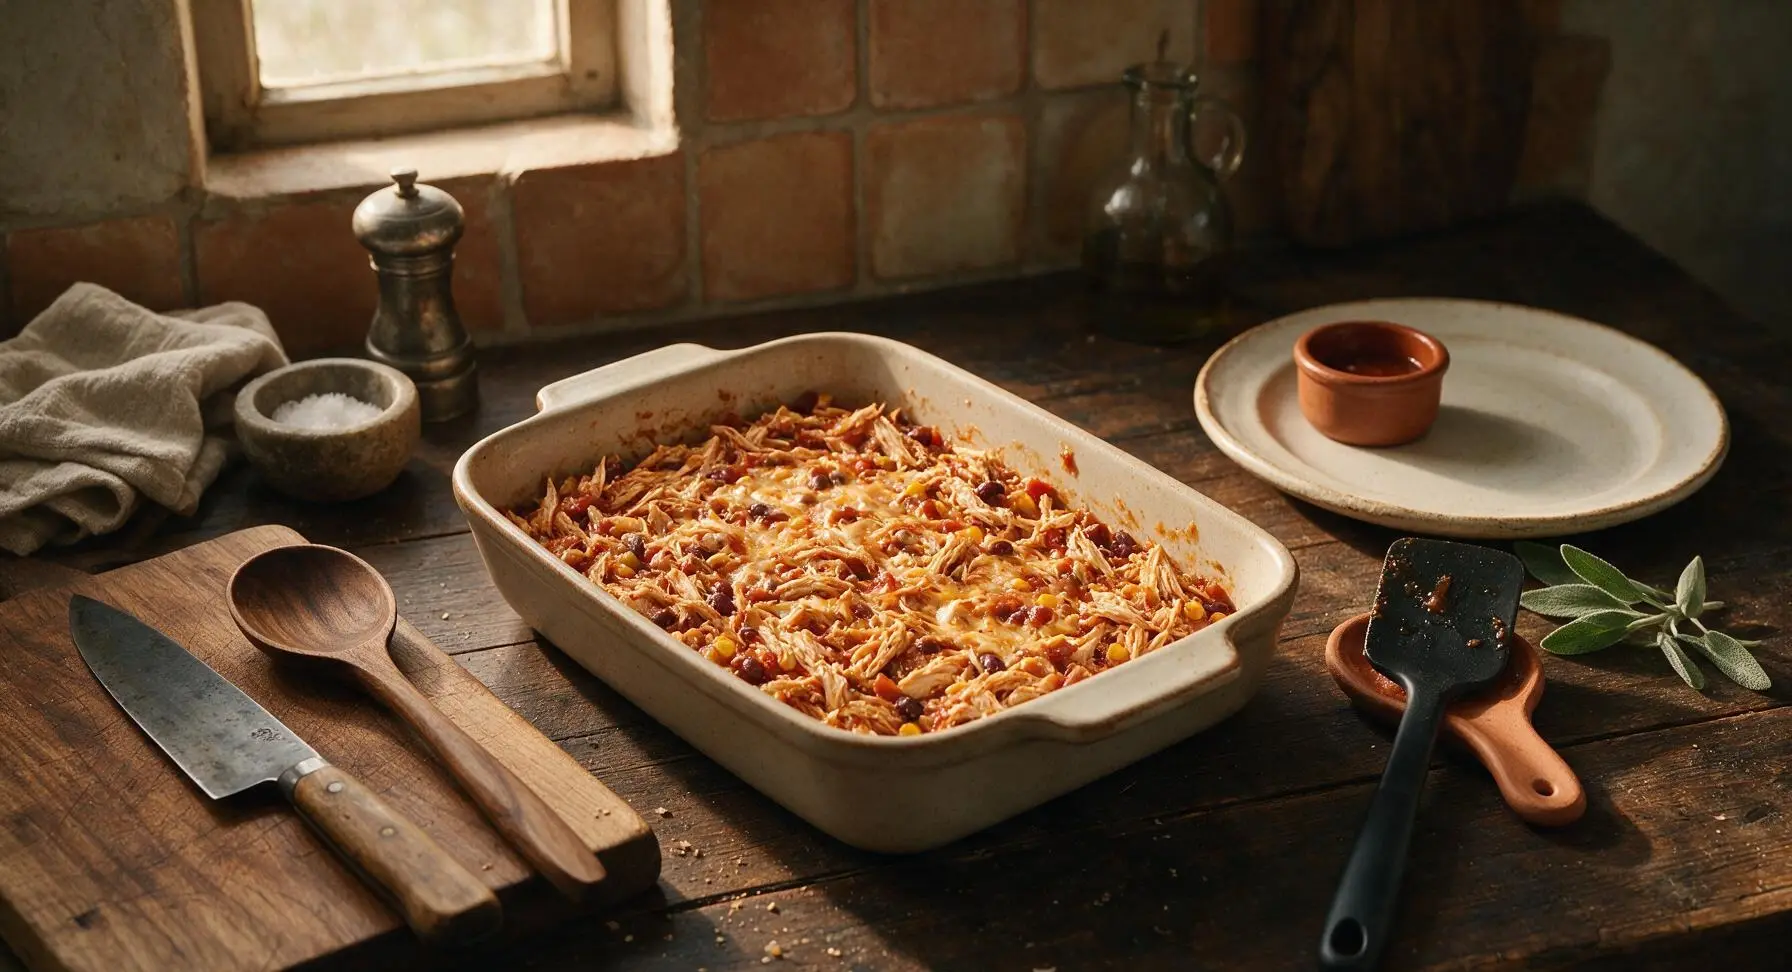
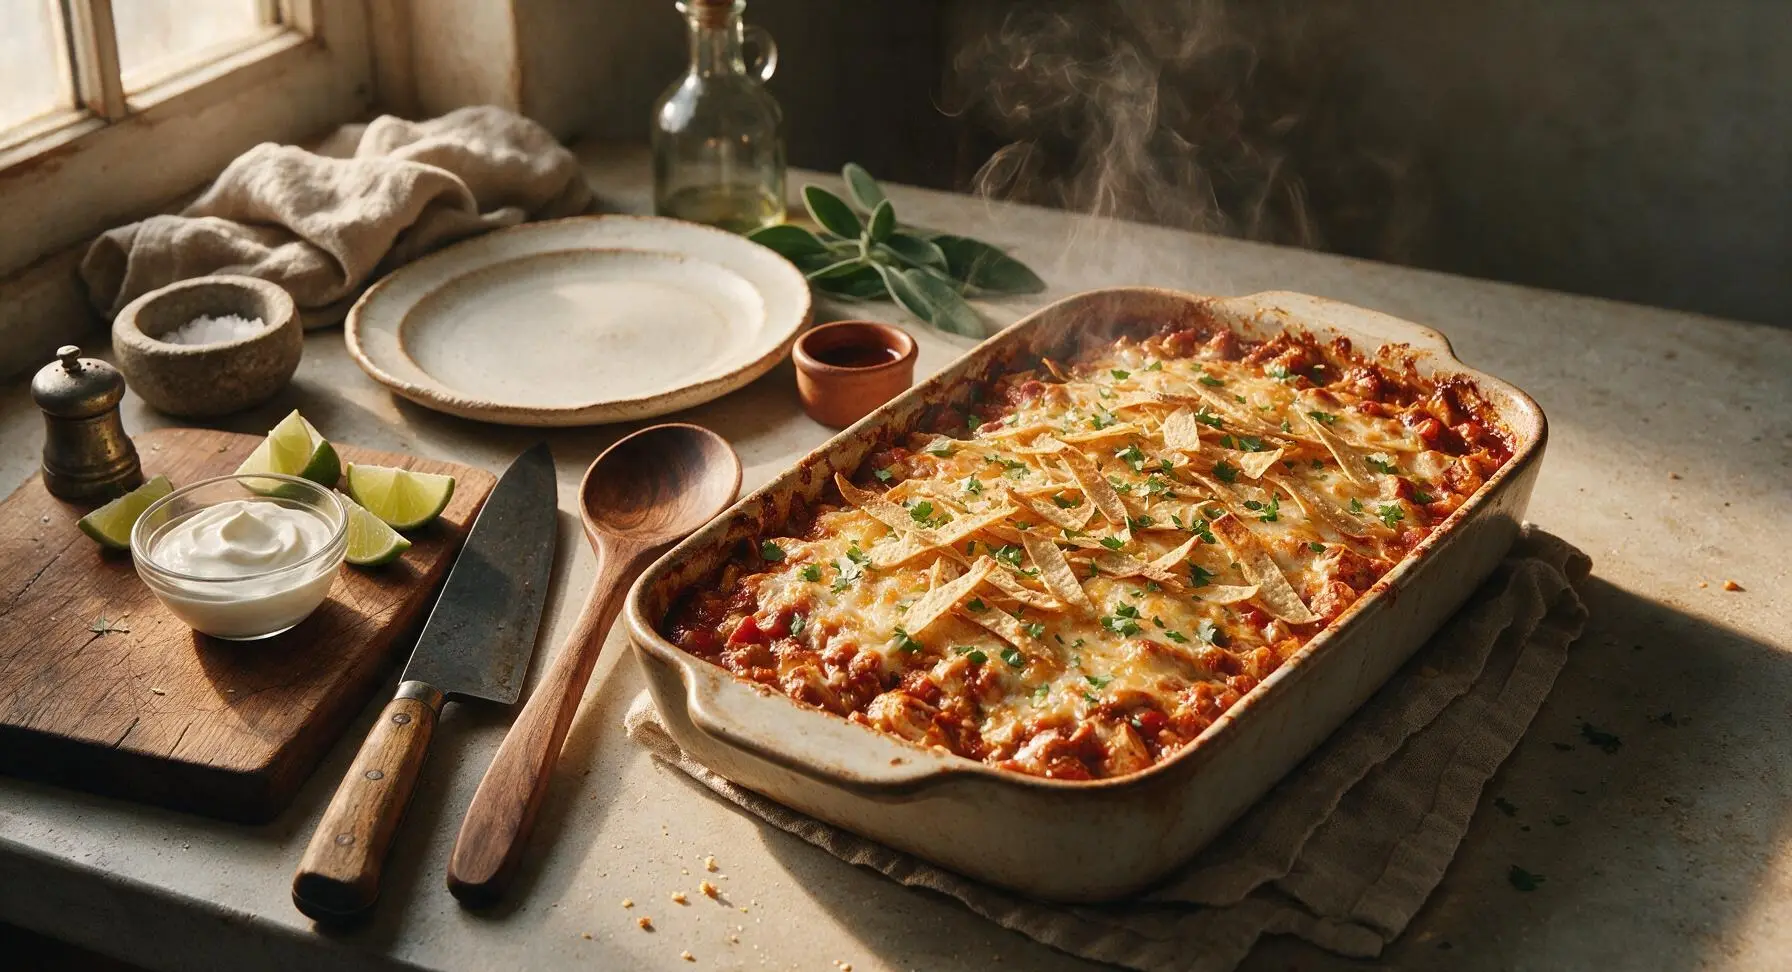






OMG this Salsa Chicken Casserole was a total game changer for our weeknight family dinner! My three kids usually turn their noses up at anything that isn’t plain chicken nuggets, but they all went back for seconds and begged me to put it on the monthly meal rotation. It was so easy to throw together too—total cook time was 35 minutes just like the recipe says, I didn’t even have to precook the chicken! I used medium salsa because we like a little kick, and it was SO good. 10/10, will make again for our next neighborhood potluck too!
I made a big batch of this on Sunday for my weekly meal prep, and it held up really well all week in the fridge! Even reheated in the microwave at work, it didn’t get soggy or weird like a lot of casseroles do. I added a can of black beans and some frozen corn to bulk it up a little for extra protein and fiber, and it kept me full through my whole work shift. My only tiny note is that it’s a little bland if you use super basic store-brand salsa, so I stirred in a little taco seasoning halfway through baking to kick it up. Super easy, minimal cleanup, great for busy people overall.
Made this last night for me and my partner, and we both loved it! I only had mild salsa on hand so it was a little less spicy than I prefer, but that’s on me. Next time I’m gonna throw in some pickled jalapeños on top for extra zing. Quick question—has anyone tried freezing this after baking? Wanna make a double batch to stash for busy nights.
I brought this to my office potluck yesterday and it was GONE in 10 minutes flat. Multiple people came up to ask for the recipe before they even finished their first bite! I used a jar of that roasted garlic salsa from the grocery store instead of regular, and it added such a deep, yummy flavor. Only dirty one dish too, which is a massive win when I’m running around trying to get out the door in the morning.
Super easy recipe even for someone who burns toast half the time lmao. I didn’t have any fancy ingredients, just cheap store-brand salsa, frozen chicken breasts, and shredded cheese, and it still came out amazing. My roommates and I devoured the whole pan in one sitting. Will definitely be making this on repeat when I don’t feel like ordering takeout.
So happy I found this recipe! It’s naturally gluten free as long as you use a gluten free salsa (which most are, just double check the label!), so I didn’t have to make any weird substitutions for my celiac disease. It was so flavorful, I didn’t even miss the tortillas or crackers I usually serve with casseroles. My husband said it’s his new favorite dinner I make, which is high praise coming from a guy who thinks every meal needs bread. 10/10!