Sausage Melt

title 1
Sausage Melt
⏱️ cook time 15 minutes
🍽️ servings 4
⚡ Difficulty easy

intro

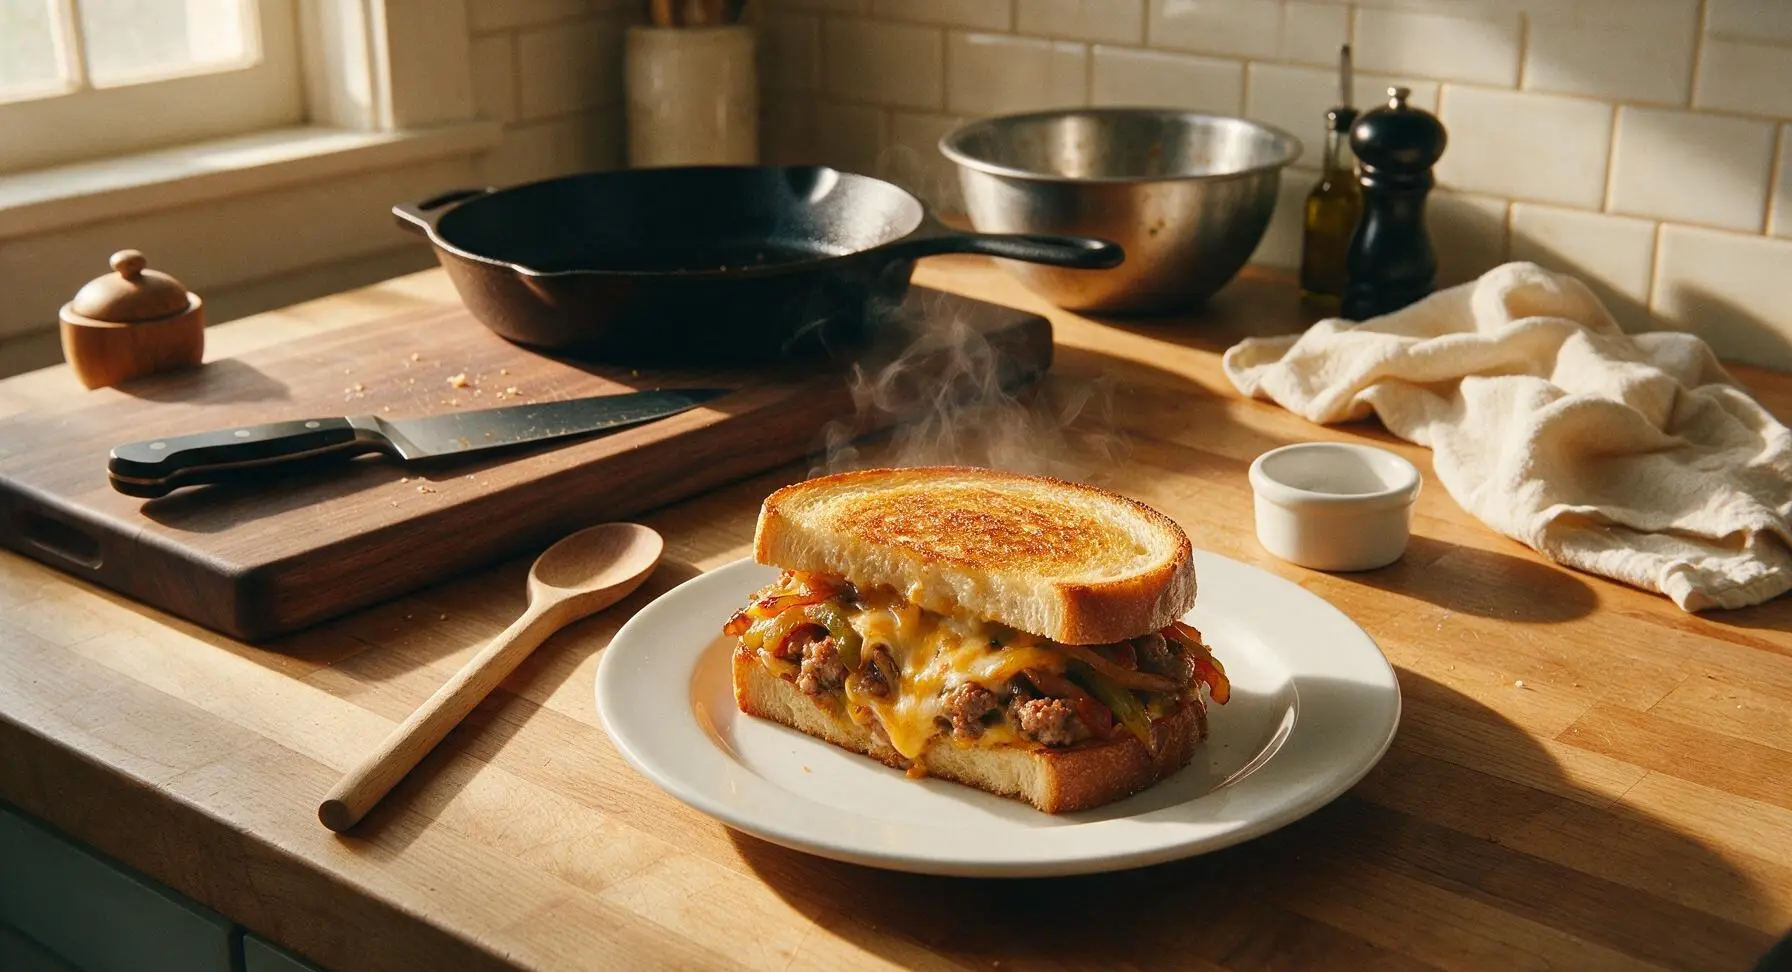
Crisp, buttery sourdough packed with savory crumbled sausage, caramelized peppers and onions, and gooey melted cheddar. This classic sausage melt is quick, cozy, and endlessly satisfying.

Ingredients
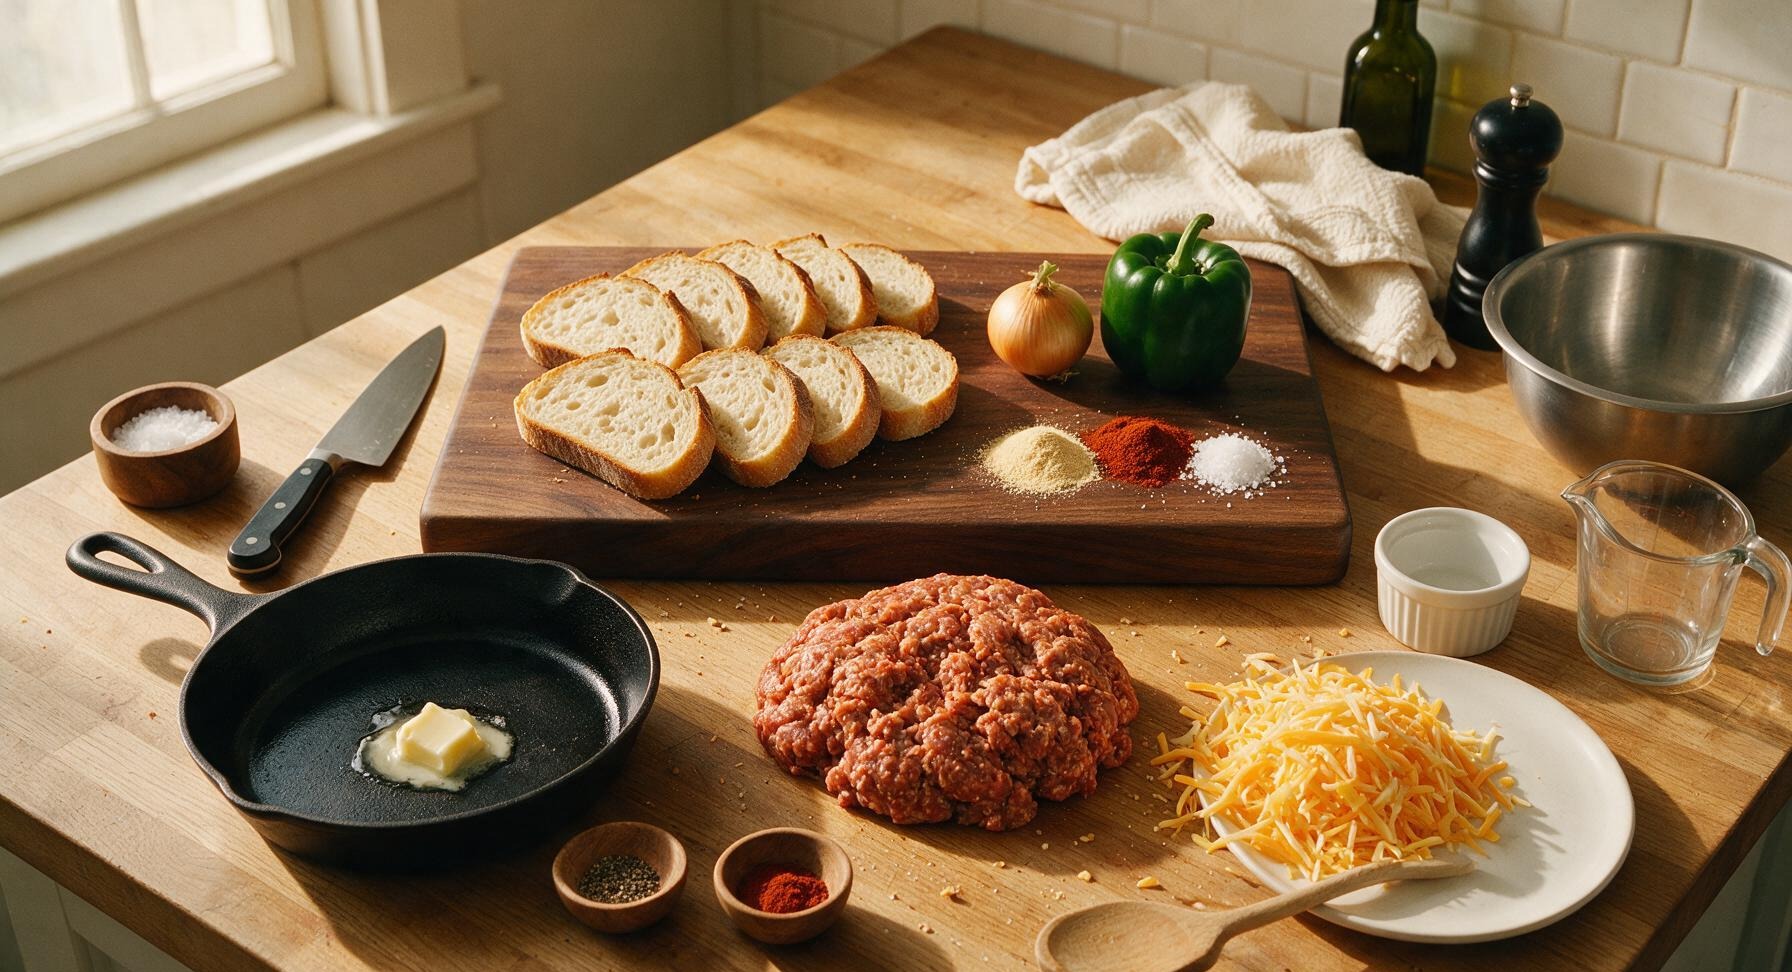
Bulk mild Italian sausage 450g
Sourdough bread 8 slices (1.5cm thick)
Sharp cheddar cheese 220g, shredded
Yellow onion 1 small (150g)
Green bell pepper 1 small (120g)
Unsalted butter 2 tbsp (28g), softened
Garlic powder 1 tsp
Smoked paprika 1/2 tsp
Kosher salt 1/4 tsp
Freshly ground black pepper 1/8 tsp

Steps

1

Prep Base Ingredients

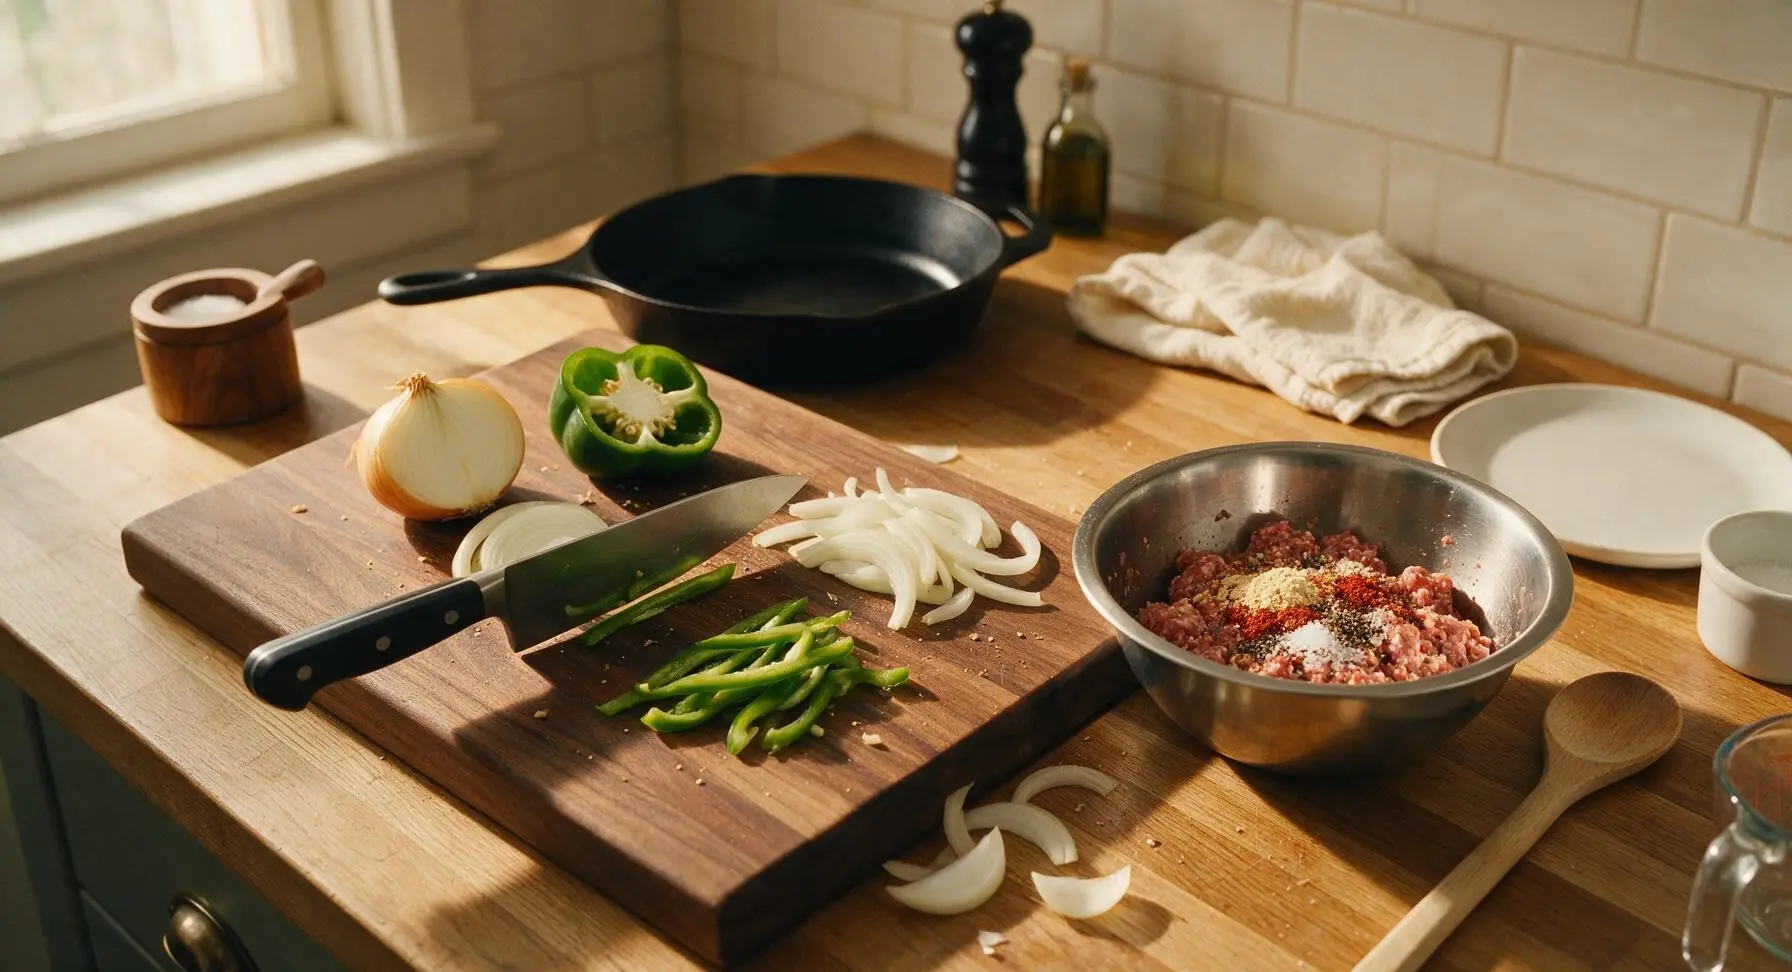
Place the maple cutting board center-left on the counter. Using the chef knife, thinly slice the yellow onion and green bell pepper into 3mm thick strips, transferring them to the stainless steel mixing bowl. Add the bulk Italian sausage, garlic powder, smoked paprika, kosher salt, and black pepper to the bowl, mixing gently with your hands until just combined – do not overwork the sausage, as this will make it tough. The mixture should be evenly speckled with spices, with no large clumps of seasoning remaining.
Step 1
step1:Prep Base Ingredients
2

Cook Sausage Filling

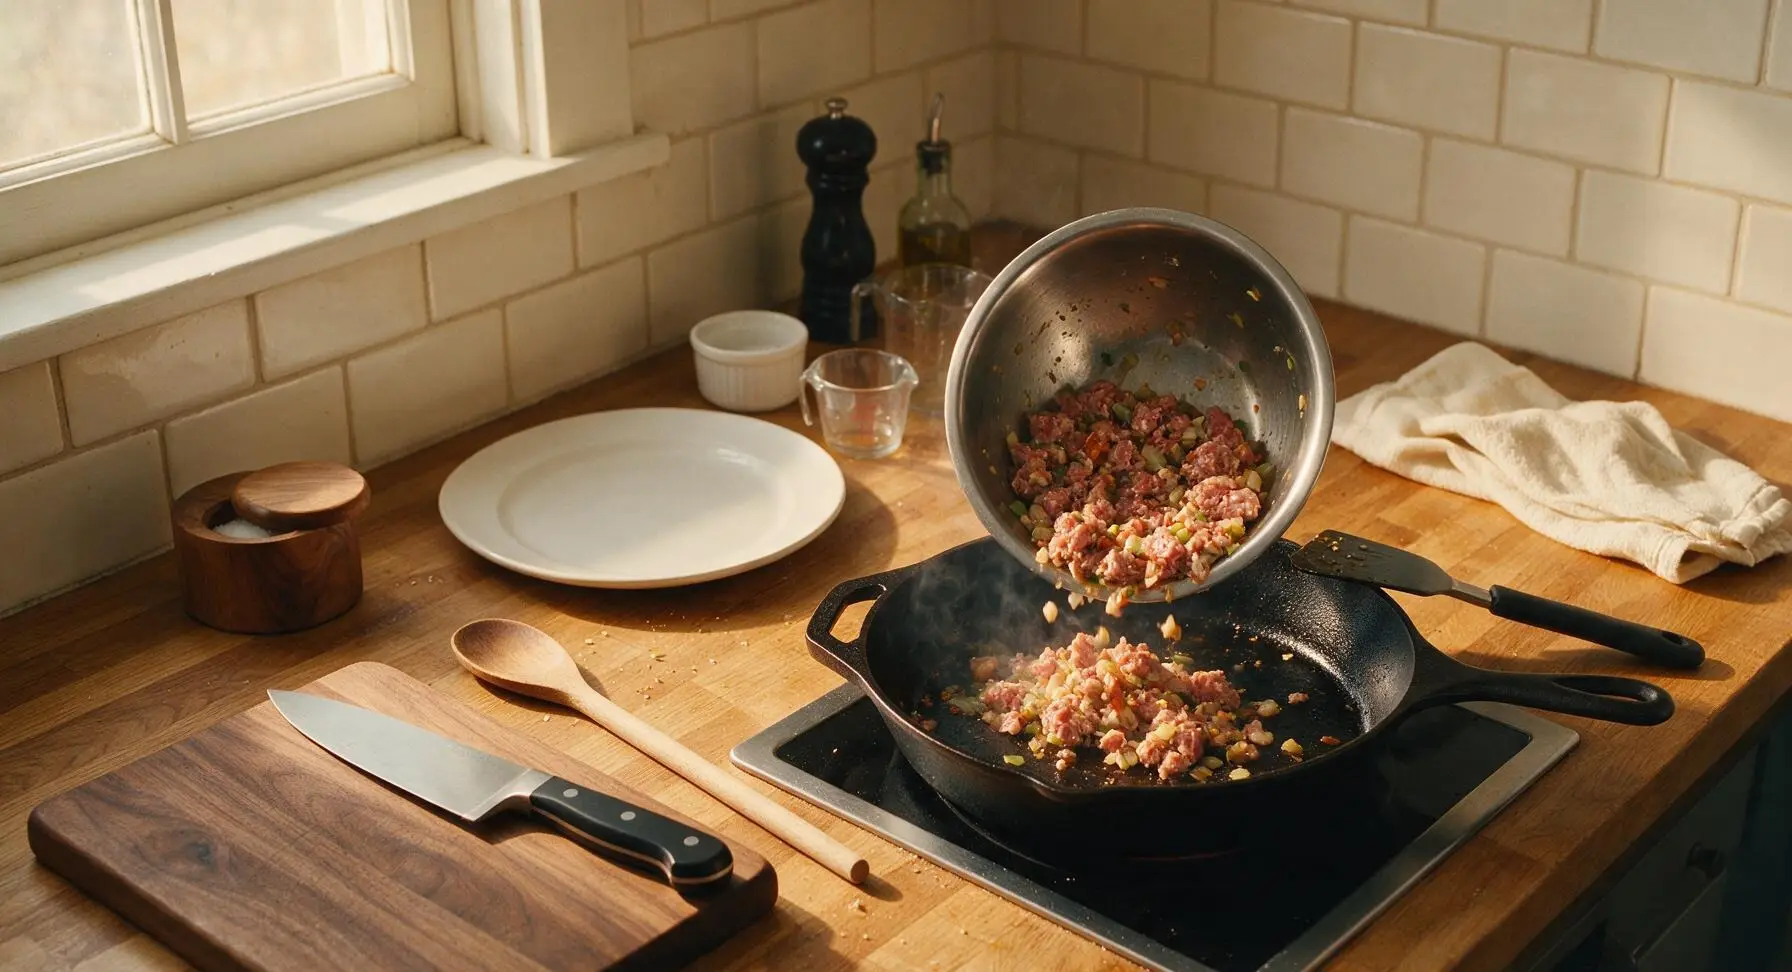
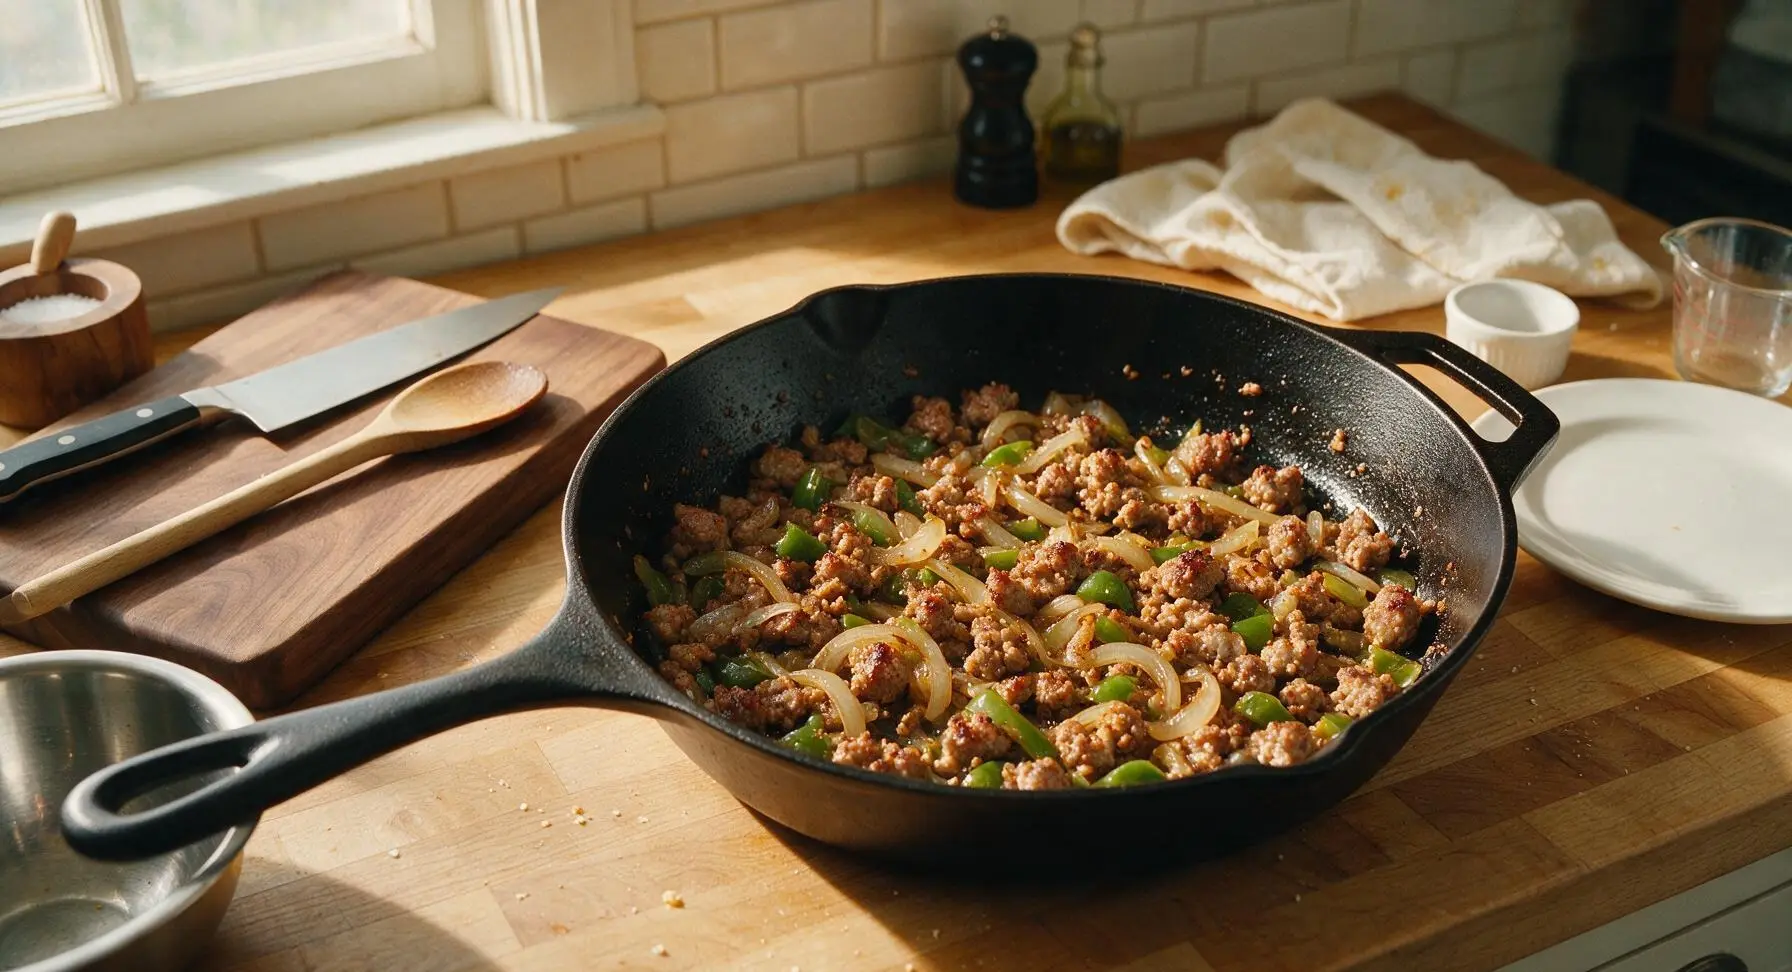
Place the 12-inch carbon steel skillet on the burner over medium heat (350°F/175°C). Once the pan is warm, add the sausage and vegetable mixture, breaking it apart with the turner spatula into small, 1-2cm crumbly pieces. Cook for 6-7 minutes, stirring occasionally, until the sausage is fully browned with no pink remaining, and the onions and peppers are soft and slightly caramelized at the edges. Turn off the heat, transfer the cooked mixture to the matte cream ceramic dinner plate, and wipe the skillet out lightly with a corner of the linen towel to remove any burnt crumbs, leaving a thin layer of residual fat for toasting.
Step 2
step2:Cook Sausage Filling
Step 2
step2:Cook Sausage Filling
3

Butter Sourdough Slices

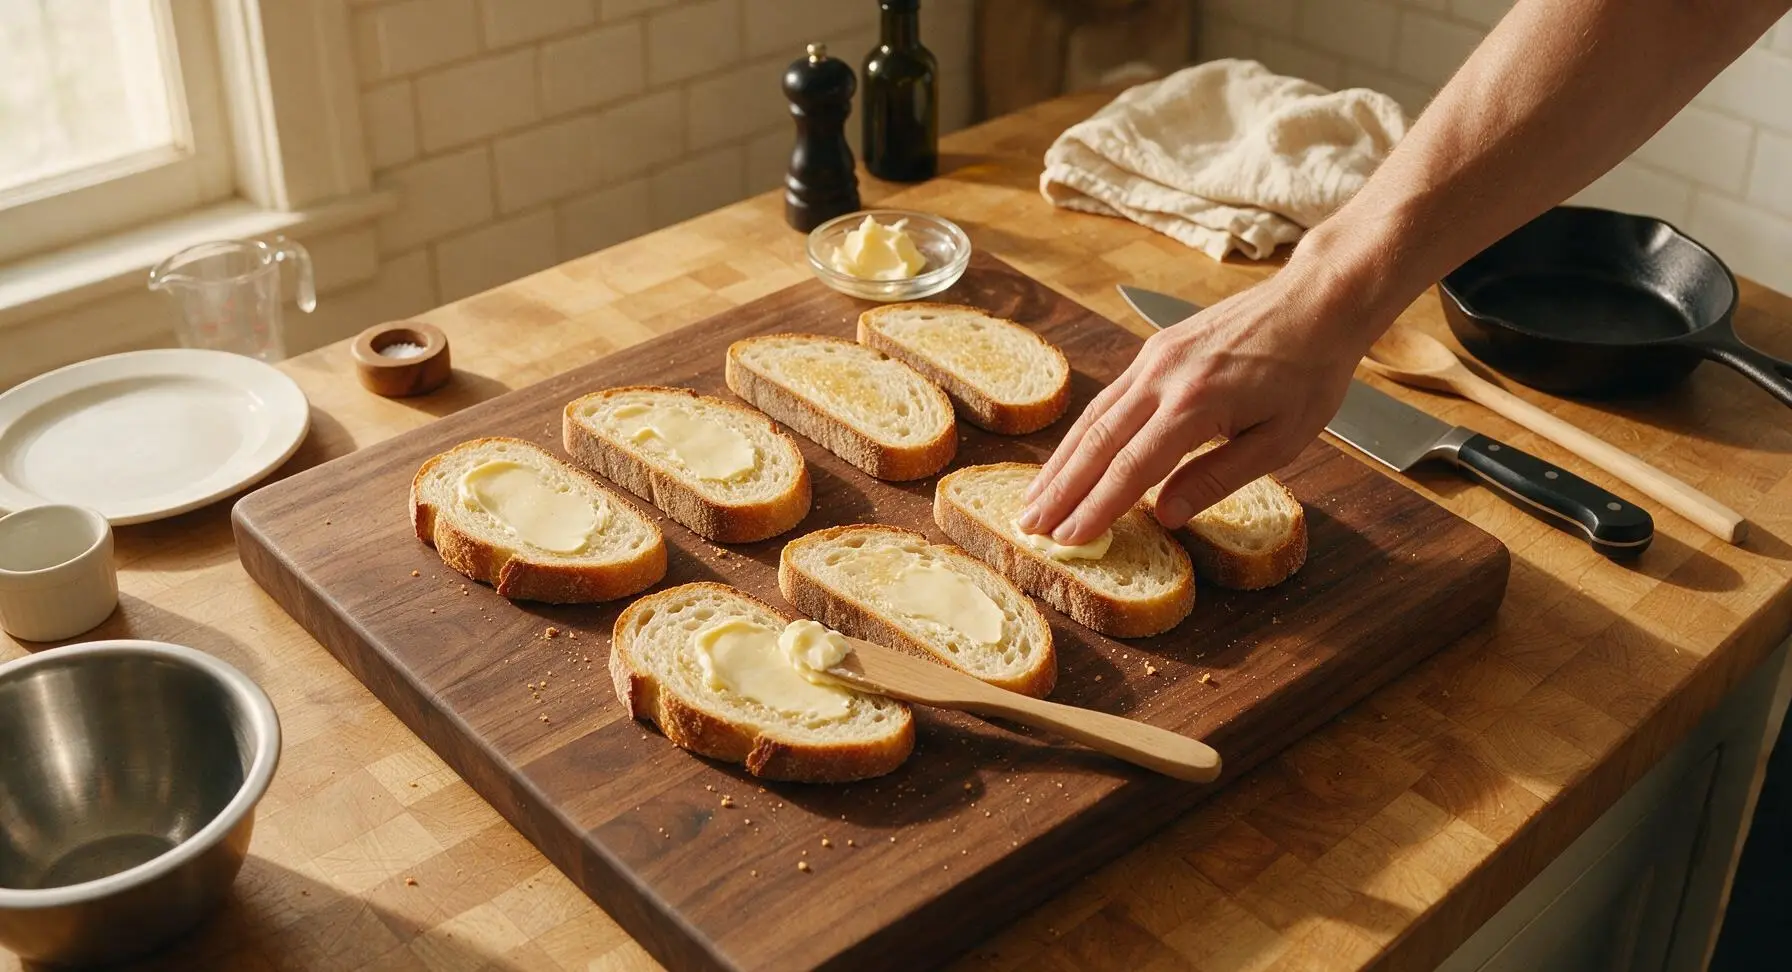
Lay all 8 sourdough slices flat on the maple cutting board. Use the beech wood butter spreader to spread 1/4 tsp of softened unsalted butter evenly across one entire side of each slice, making sure to cover all the way to the crust edges – this ensures a uniformly golden, crisp toast without pale, soggy spots. The buttered side of the bread will face outward against the skillet when toasting.
Step 3
step3:Butter Sourdough Slices
4

Layer Sandwich Fillings

Flip 4 of the buttered bread slices so the buttered side faces down on the cutting board. Divide half (110g) of the shredded sharp cheddar evenly across these 4 slices, spreading it in a thin layer right to the edges. Top the cheese with the full amount of cooked sausage and vegetable mixture, pressing it down lightly into an even layer. Sprinkle the remaining 110g of cheddar over the sausage, then top with the remaining 4 bread slices, buttered side facing up. Press each sandwich down firmly with the palm of your hand to compact the layers so they do not slide apart while cooking.
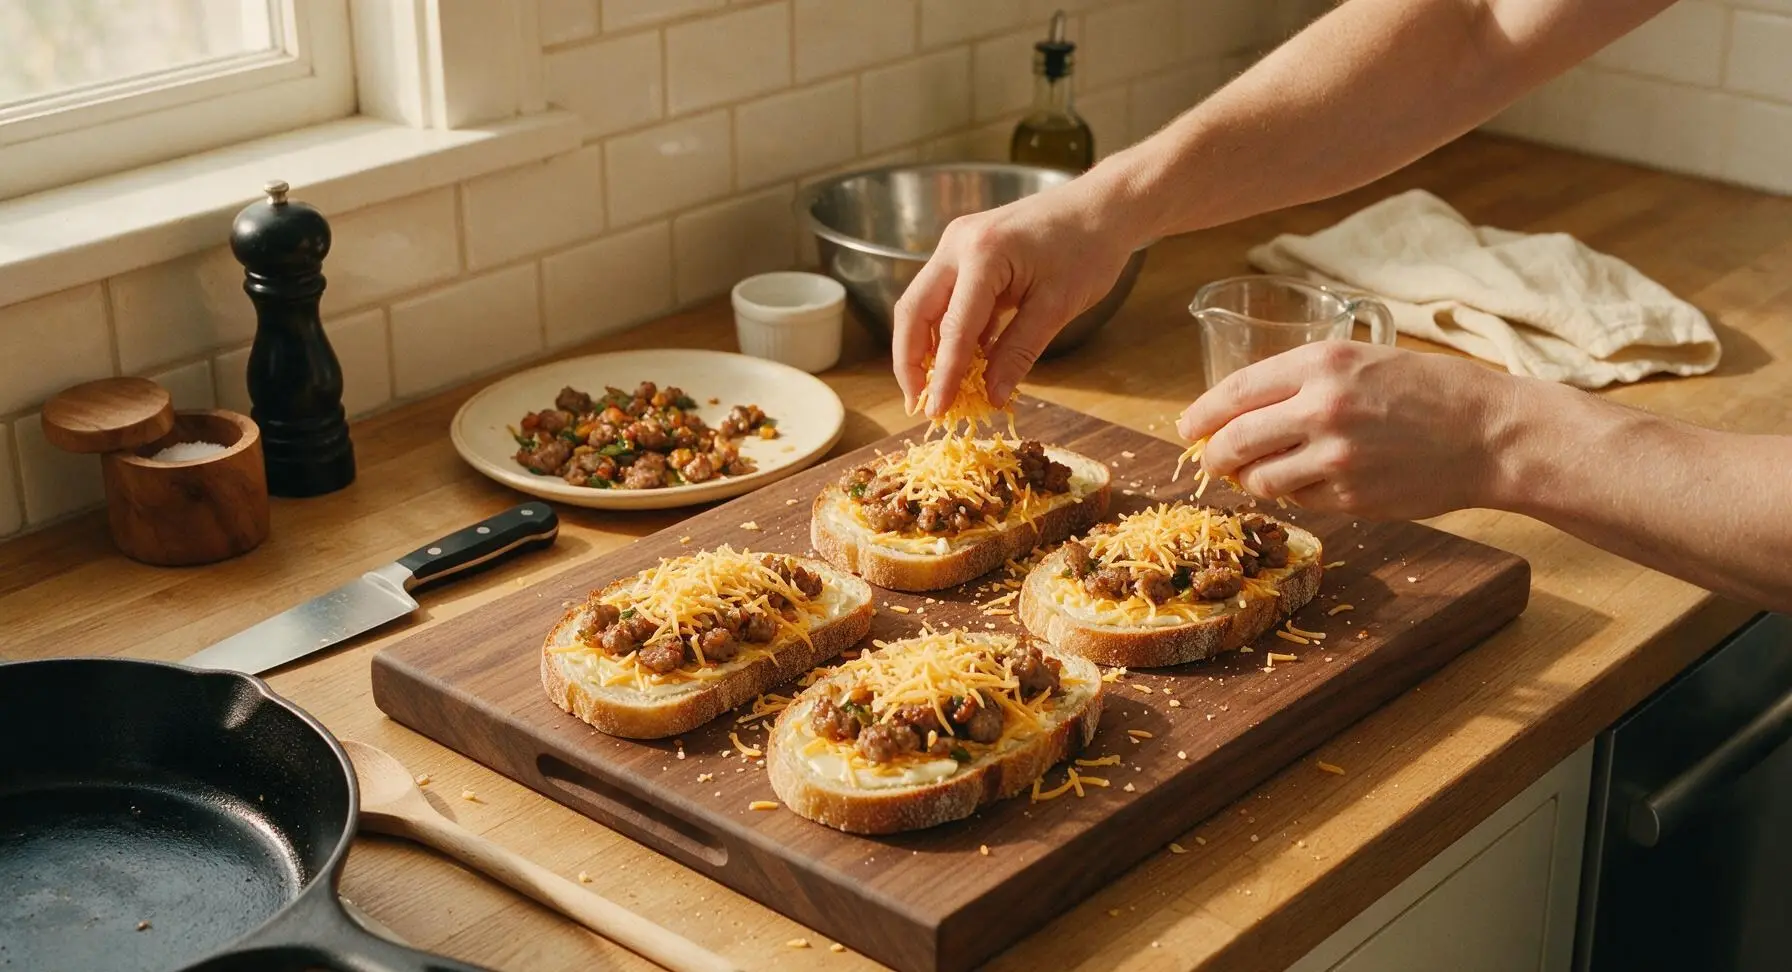
Step 4
step4:Layer Sandwich Fillings
5

Toast Until Cheese Melts

Return the carbon steel skillet to medium-low heat (325°F/160°C). Carefully place 2 assembled sandwiches into the skillet, leaving 2cm of space between them. Cook for 4-5 minutes on the first side, until the bottom bread is deep golden brown and crisp. Use the turner spatula to carefully flip each sandwich, then cook for another 3-4 minutes on the second side, pressing down lightly with the spatula, until the second side is golden and the cheese is fully melted and oozing slightly from the edges. Transfer cooked sandwiches to the cream ceramic dinner plate, and repeat with the remaining 2 sandwiches.
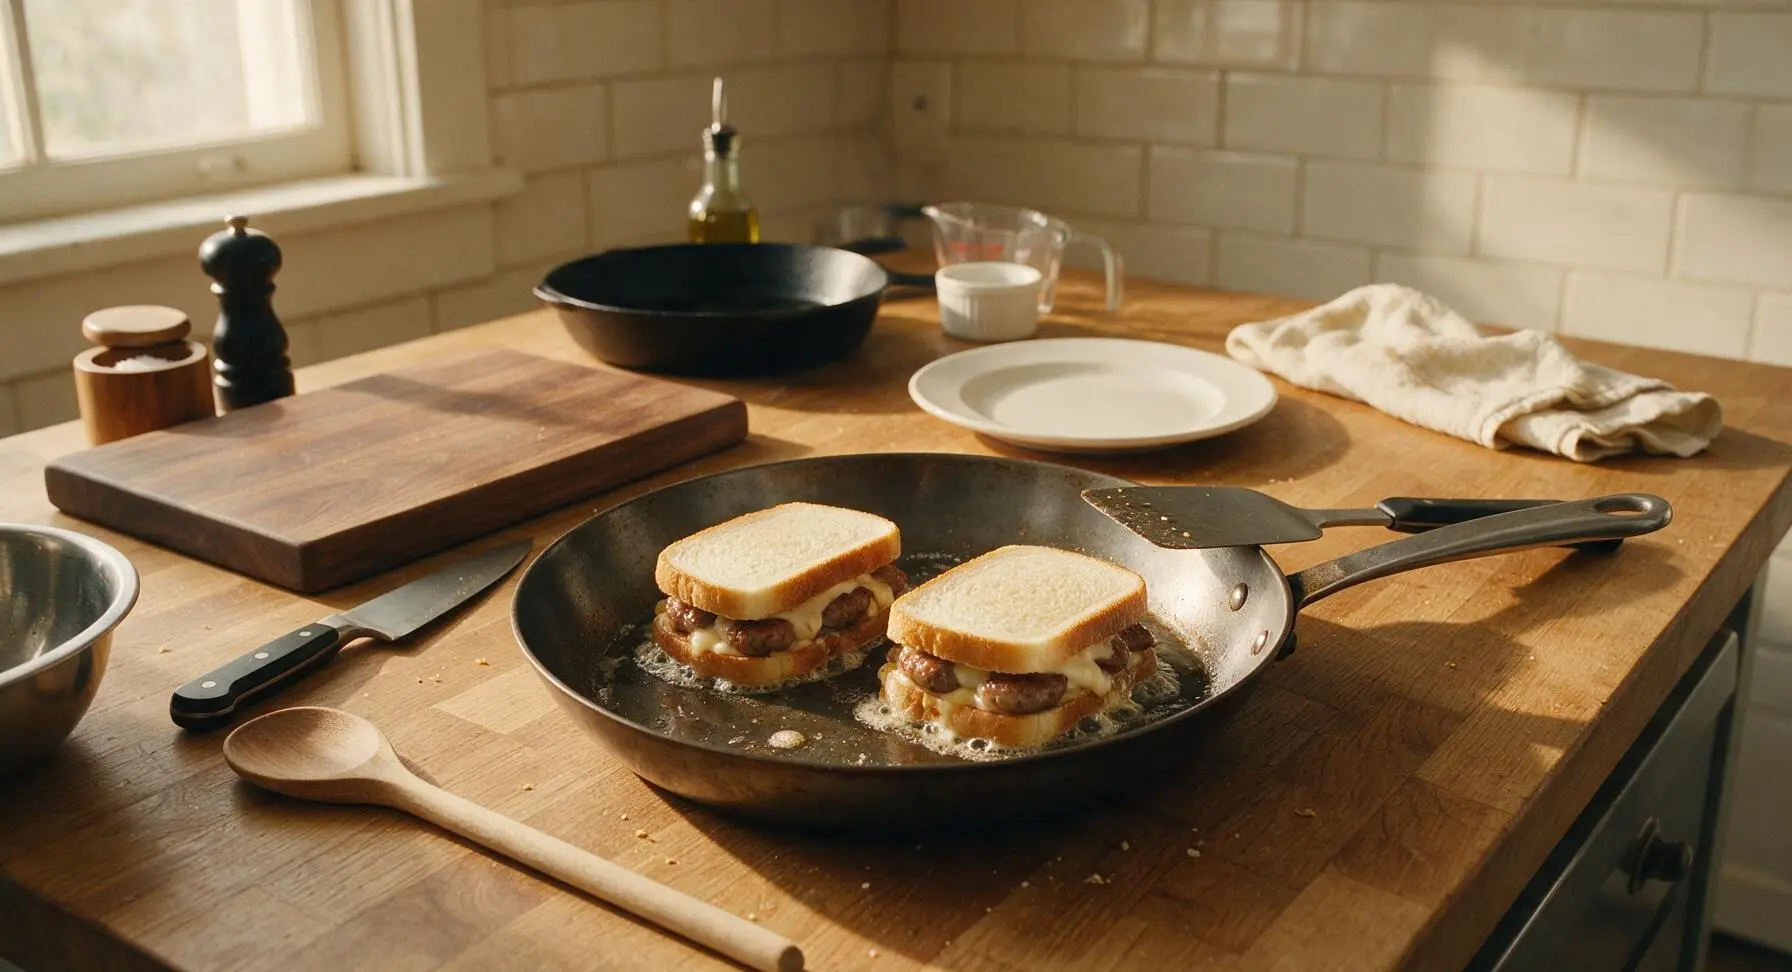
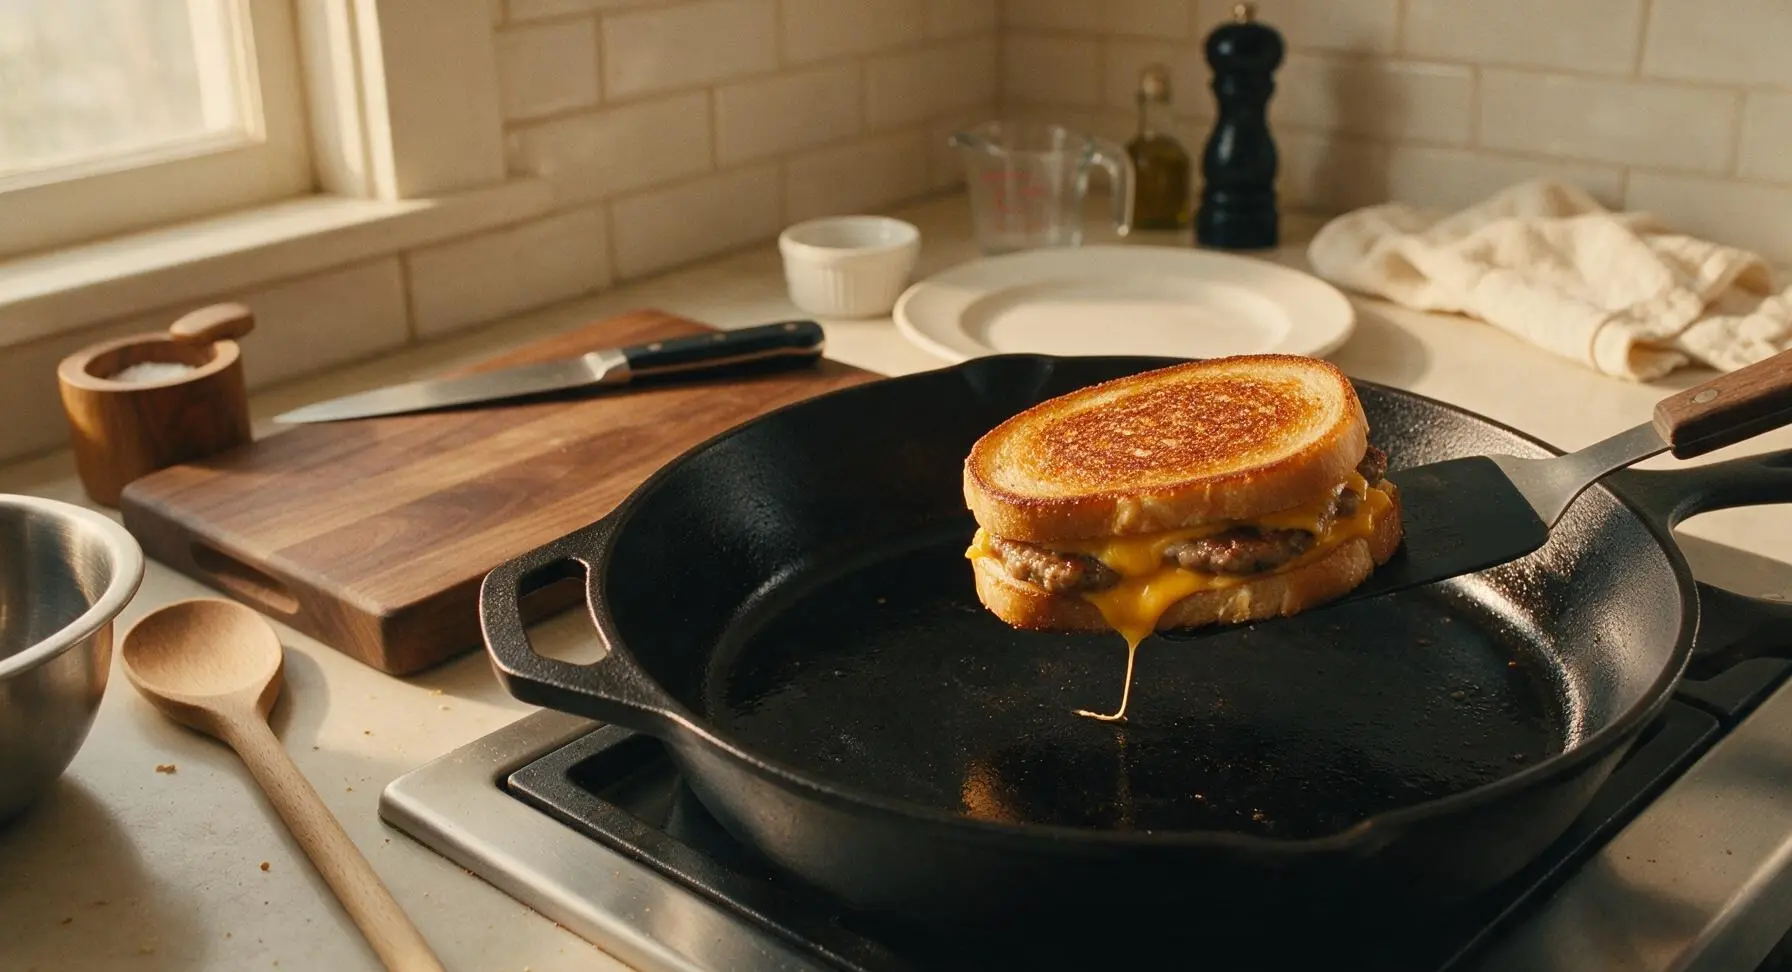
Step 5
step5:Toast Until Cheese Melts
Step 5
step5:Toast Until Cheese Melts
6

Slice and Plate Melts

Let the cooked sandwiches rest on the cream ceramic dinner plate for 2 minutes to allow the cheese to set slightly (this prevents all the cheese from oozing out when cut). Use the chef knife to cut each sandwich diagonally into two triangular halves. Arrange the halves on the plate, and serve immediately while warm.
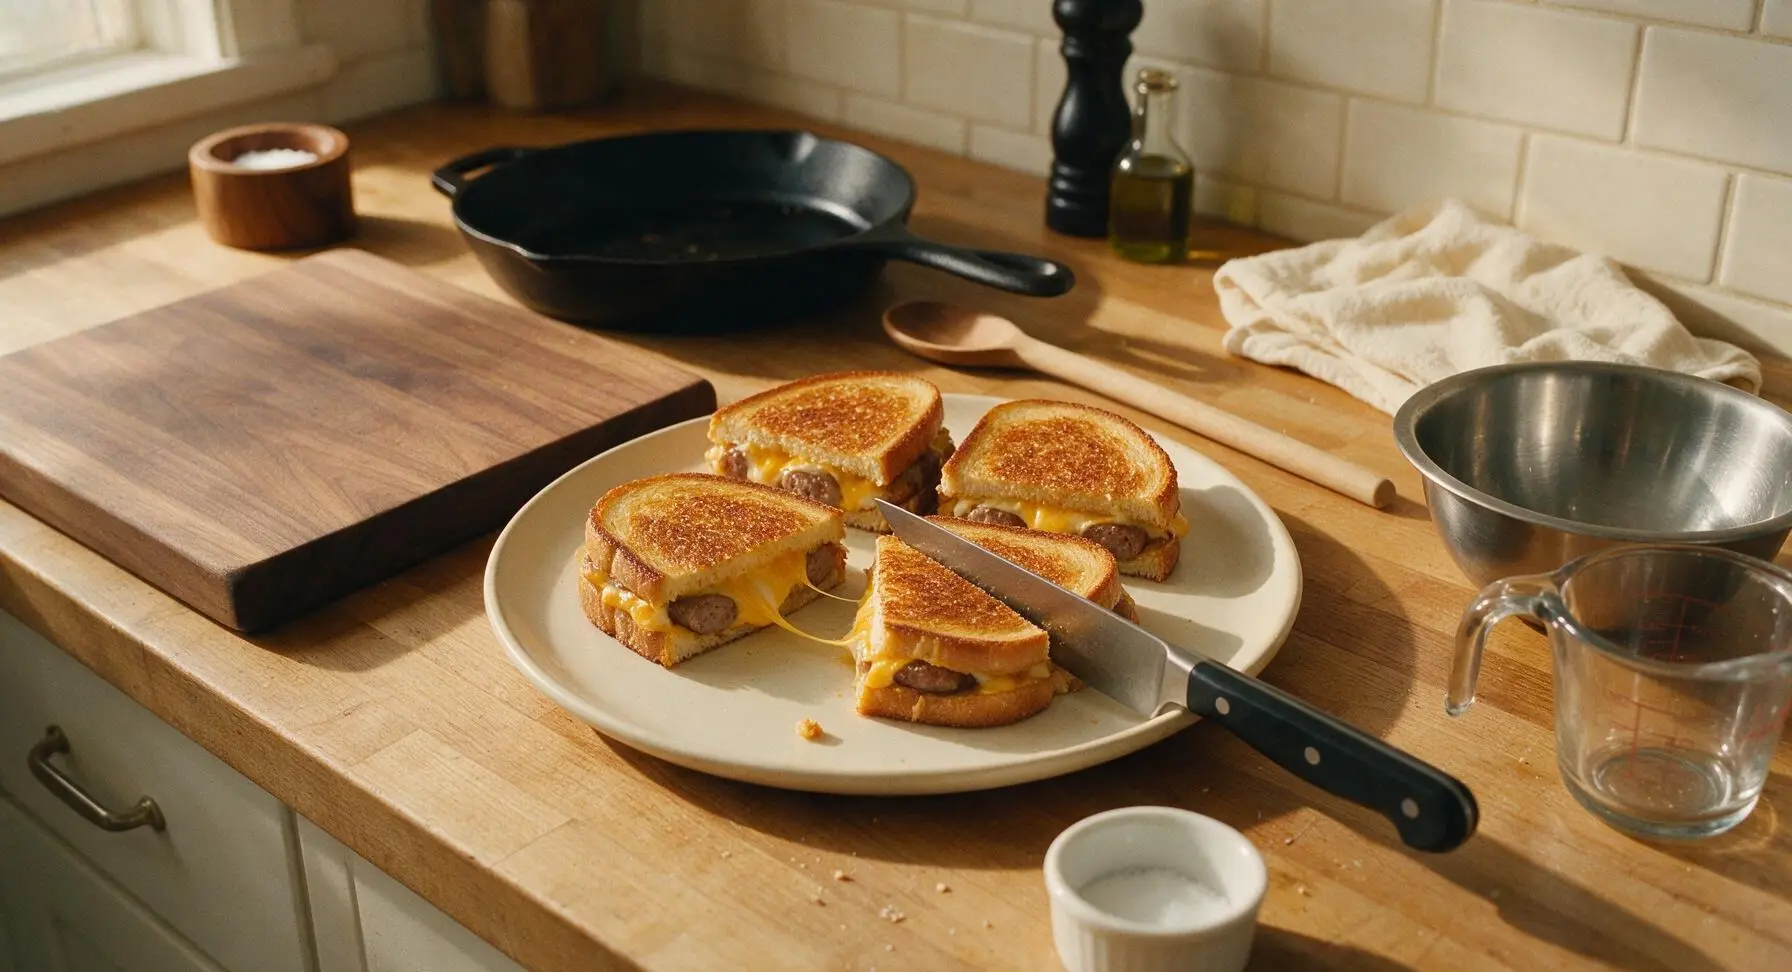
Step 6
step6:Slice and Plate Melts

Tips

1.Soften butter to room temperature before spreading: Cold butter tears soft sourdough crumb and leaves uneven patches that either burn quickly or stay pale and soggy, while room-temperature butter spreads in a thin, uniform layer for consistently golden, crisp toast on every bite.
2.Cook sandwiches over medium-low heat, not high: High heat chars the bread exterior before the cheese has time to fully melt, while lower heat slowly toasts the bread to a deep golden crisp and allows the cheese to melt into a smooth, stretchy texture that binds the fillings together.
3.Let cooked sandwiches rest for 2 minutes before slicing: This short rest lets the melted cheese set slightly so it does not gush out when cut, and allows trapped steam to escape so the bread stays crisp instead of turning soggy.

✨ You May Also Like

Dinner
🍜 United States

A festive, hearty spread of classic Swedish small plates, featuring cured fish, tender meatballs, cheese, and seasonal sides, perfect for holiday gatherings.

⏱️ 2 hoursDinner ★ 4.8
Dinner
🍜 United States

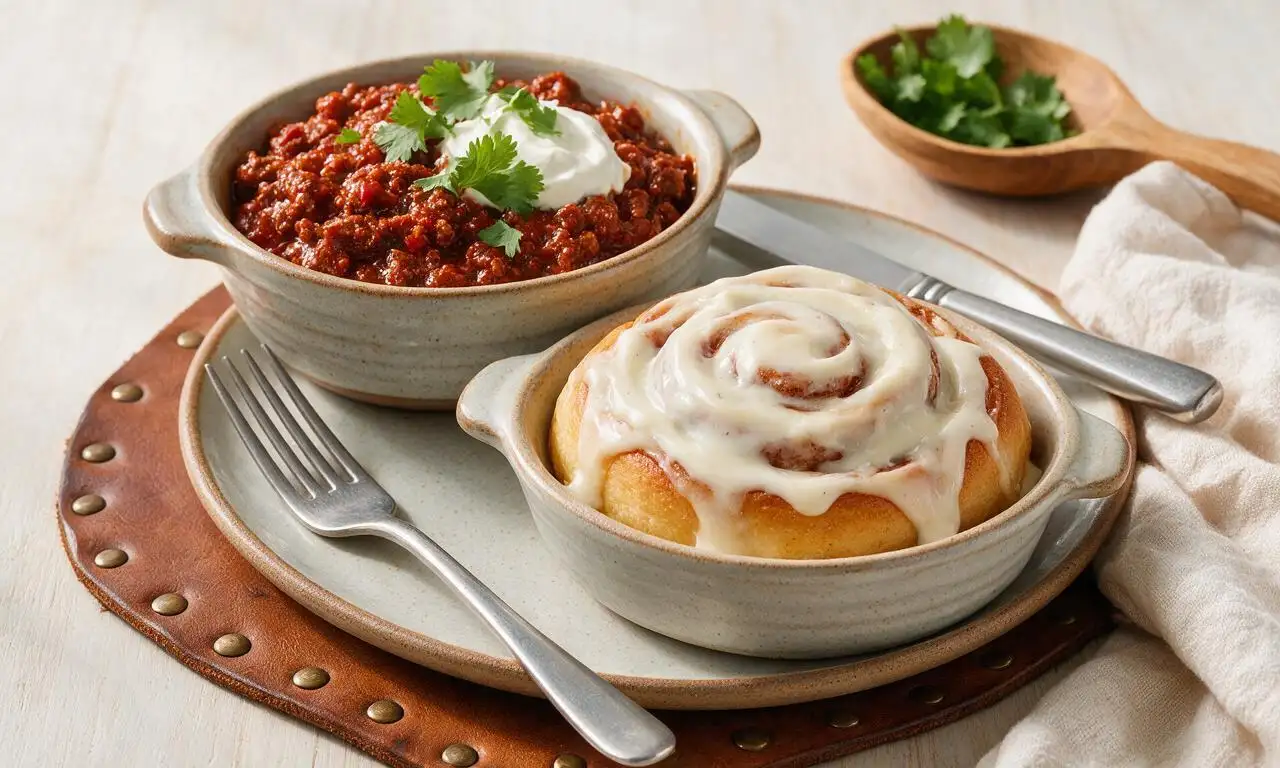
Iconic Midwestern comfort meal pairing rich, spiced beef chili with soft, frosted cinnamon rolls for the perfect sweet-savory cold-weather bite.

⏱️ 1 hour 45Dinner ★ 4.7
Dinner
🍜 Canada

A beloved sweet-savory pizza loaded with smoky ham, juicy pineapple, and gooey melted cheese on a crisp golden crust, perfect for casual shared meals.

⏱️ 25 minuteDinner ★ 4.9
Dinner
🍜 United States

Juicy herb-roasted turkey with savory sourdough stuffing and rich pan gravy, the iconic cozy holiday meal made for gathering loved ones around the table.

⏱️ 4 hours 3Dinner ★ 4.9
Dinner
🍜 Italy

Crispy chewy crust, tangy tomato sauce, gooey melted mozzarella, and spicy curled pepperoni: this takeout favorite is simple to make perfectly at home.

⏱️ 35 minuteDinner ★ 4.9
Dinner
🍜 Italy

Crispy, chewy crust loaded with colorful fresh veggies, melted mozzarella, and zesty tomato sauce: a satisfying, crowd-pleasing meatless meal.

⏱️ 35 minuteDinner ★ 4.8

Sausage Melt:Frequently Asked Questions

1.Can I use a different type of sausage if I don’t have bulk mild Italian sausage on hand? ▾
Absolutely! You can swap in bulk breakfast sausage for a more classic diner breakfast vibe, spicy Italian sausage if you want a little heat, or even crumbled cooked bratwurst. No matter which you pick, be sure to fully drain excess rendered grease after cooking to keep your bread from turning soggy.
2.How do I keep my sourdough bread from getting soggy in this melt? ▾
Two easy, foolproof tricks prevent sogginess every time. First, drain all excess grease from your cooked sausage and caramelized veggies before assembling—wet, greasy fillings are the number one culprit. Second, butter only the outward-facing sides of the bread, and cook on medium-low so the bread toasts crisp before the cheese fully melts.
3.What cheese swaps work if I don’t have sharp cheddar? ▾
Sharp cheddar brings that iconic tangy diner flavor, but you have great swap options. Use deli American for extra silky gooeyness, pepper jack for a subtle spicy kick, or provolone for a milder, super stretchy melt. Skip crumbly fresh cheeses like feta or goat cheese—they won’t get that signature oozing, pull-apart texture you want here.
4.Can I prep components of this sausage melt ahead for quick weeknight meals? ▾
Absolutely, this recipe is super meal-prep friendly. You can cook and drain the crumbled sausage, peppers, and onions up to 3 days ahead, and store them in a sealed airtight container in the fridge. When you’re ready to eat, just pile the cold filling on buttered sourdough with cheese, and cook for 3-4 minutes per side until toasty and melty.
5.Why do my peppers and onions turn out crunchy instead of soft and caramelized? ▾
This almost always happens when you cook the veggies too fast over high heat. After you finish cooking the sausage, turn the heat down to medium, toss your sliced peppers and onions in a tiny bit of the leftover rendered fat, and cook them slow for 8 to 10 minutes, stirring occasionally, until they’re soft and pale golden with no raw crunchy bite.
6.Can I make these melts in a panini press or air fryer instead of a stovetop skillet? ▾
You bet, both appliances work beautifully for this recipe. For a panini press, butter the outside of your assembled sandwiches and cook 3 to 4 minutes until crisp and melty. For an air fryer, spritz the bread exterior with butter spray, cook at 375°F for 6 to 8 minutes, flipping halfway, for that same perfect crispy, gooey result.

Comments (6)

yesterday

Game changer for busy school nights! I had some ground sausage in the fridge I needed to use up and stumbled on this recipe. 15 minutes from start to finish is no lie, y’all. My kids fought over the last bite, even my picky 7 year old who turns his nose up at everything lately. It tastes SO good, exactly like the melts we get at our local diner when we go out for weekend breakfast! I added a little extra dill pickles on mine, chef’s kiss.

5 minutes ago

So glad this was a hit with your picky eater! Adding extra pickles is such a good call, the bright tang cuts through the richness of the sausage and melted cheese perfectly. Thanks for giving the recipe a try!

3 days ago

Made this for my football watch party with the guys on Sunday and it was gone in 10 minutes flat. Used spicy Italian sausage instead of regular breakfast sausage for a little kick, served them cut into sliders on sourdough. Absolute home run, everyone was asking for the recipe before halftime. Super easy, no fancy ingredients, will be making these for every tailgate this fall.

5 days ago

Wait, has anyone tried making these ahead for meal prep? I’m always looking for easy lunches I can make on Sunday and reheat during the work week, but I’m worried the bread will get soggy. Would toasting it first help? This looks too good not to try!

3 days ago

I made these last week for meal prep! I toasted the bread really well before assembling, skipped adding any extra saucy condiments that might make it soggy, and kept them in airtight containers for 4 days. Reheated in the toaster oven at work and they were perfect, not mushy at all! 10/10

2 days ago

Great question! Toasting the bread first definitely helps prevent sogginess for meal prep, as Leslie mentioned. If you’re still worried, you can also store the cooked sausage and cheese separate from the bread and assemble right before reheating for that fresh-out-of-the-diner texture. Hope you love them!

2 hours ago

OMG, just made this for a quick solo lunch and wow, I’m impressed. Used rye bread instead of white because that’s what I had in the pantry, added a swipe of spicy brown mustard, and it tasted exactly like the melts I used to get at the old diner by my college apartment. So easy, minimal cleanup, perfect for when I don’t feel like putting a ton of effort into cooking after my morning commute.

30 minutes ago

Rye bread is such a good swap! I did that last time I made these too, the earthy rye pairs so well with the salty sausage and melted cheddar. I’m gonna try the spicy mustard addition next time, that sounds chef’s kiss.

1 week ago

This was so cheap and easy to make! I already had all the ingredients on hand except the sausage, which I picked up on sale for $3 at the grocery store. Total cost for 4 melts was like $5, which is way cheaper than ordering takeout for my family. Only thing is I wish I’d let the bread crisp up a little longer, mine was a little softer than I wanted. Still tasty though!

5 days ago

Pro tip: butter the outside of the bread really well and cook it on medium-low heat for a couple extra minutes! It gets that perfect crispy, buttery crust without burning the bread or leaving the cheese half-melted. Total game changer.

3 days ago

So happy to hear this worked for your budget! CrispyToastStan’s tip is spot on – medium-low heat and a good layer of butter on the outside of the bread gives that perfect crunchy diner-style crust every time. Give it another go with that trick and I think you’ll love it even more!

2 weeks ago

Brought these to our neighborhood potluck last weekend and I can’t even tell you how many people begged for the recipe! I cut them into small, bite-sized squares so they were easy finger food, and topped each with a tiny dill pickle slice for a little tang. They were the first dish empty on the table – beat out even my famous double chocolate chip cookies, which is saying something! Who knew such a quick, simple recipe would be such a massive crowd pleaser? 10/10, will be making these for every block party and game night from now on.