
shamrock waffle maker
intro
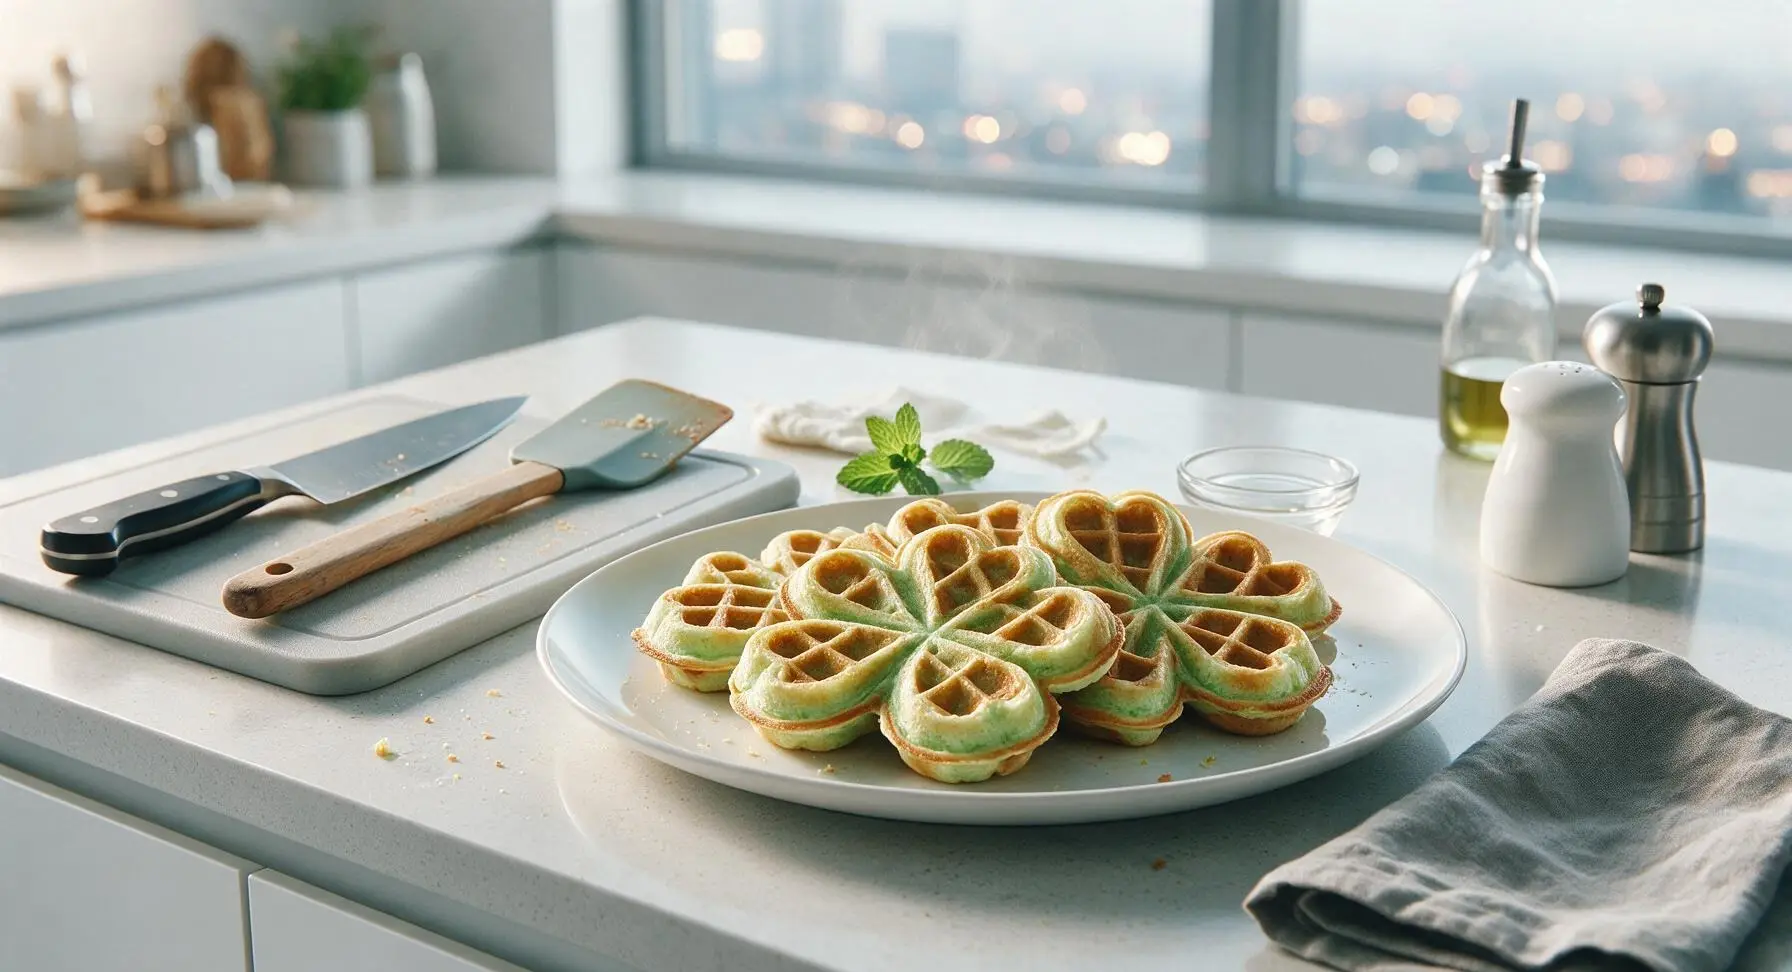
Crisp-edged, fluffy vanilla-kissed shamrock waffles with a soft pale green hue and tender crumb, an easy, festive spring breakfast treat perfect for holiday family mornings.
Ingredients
Steps
Preheat Waffle Maker
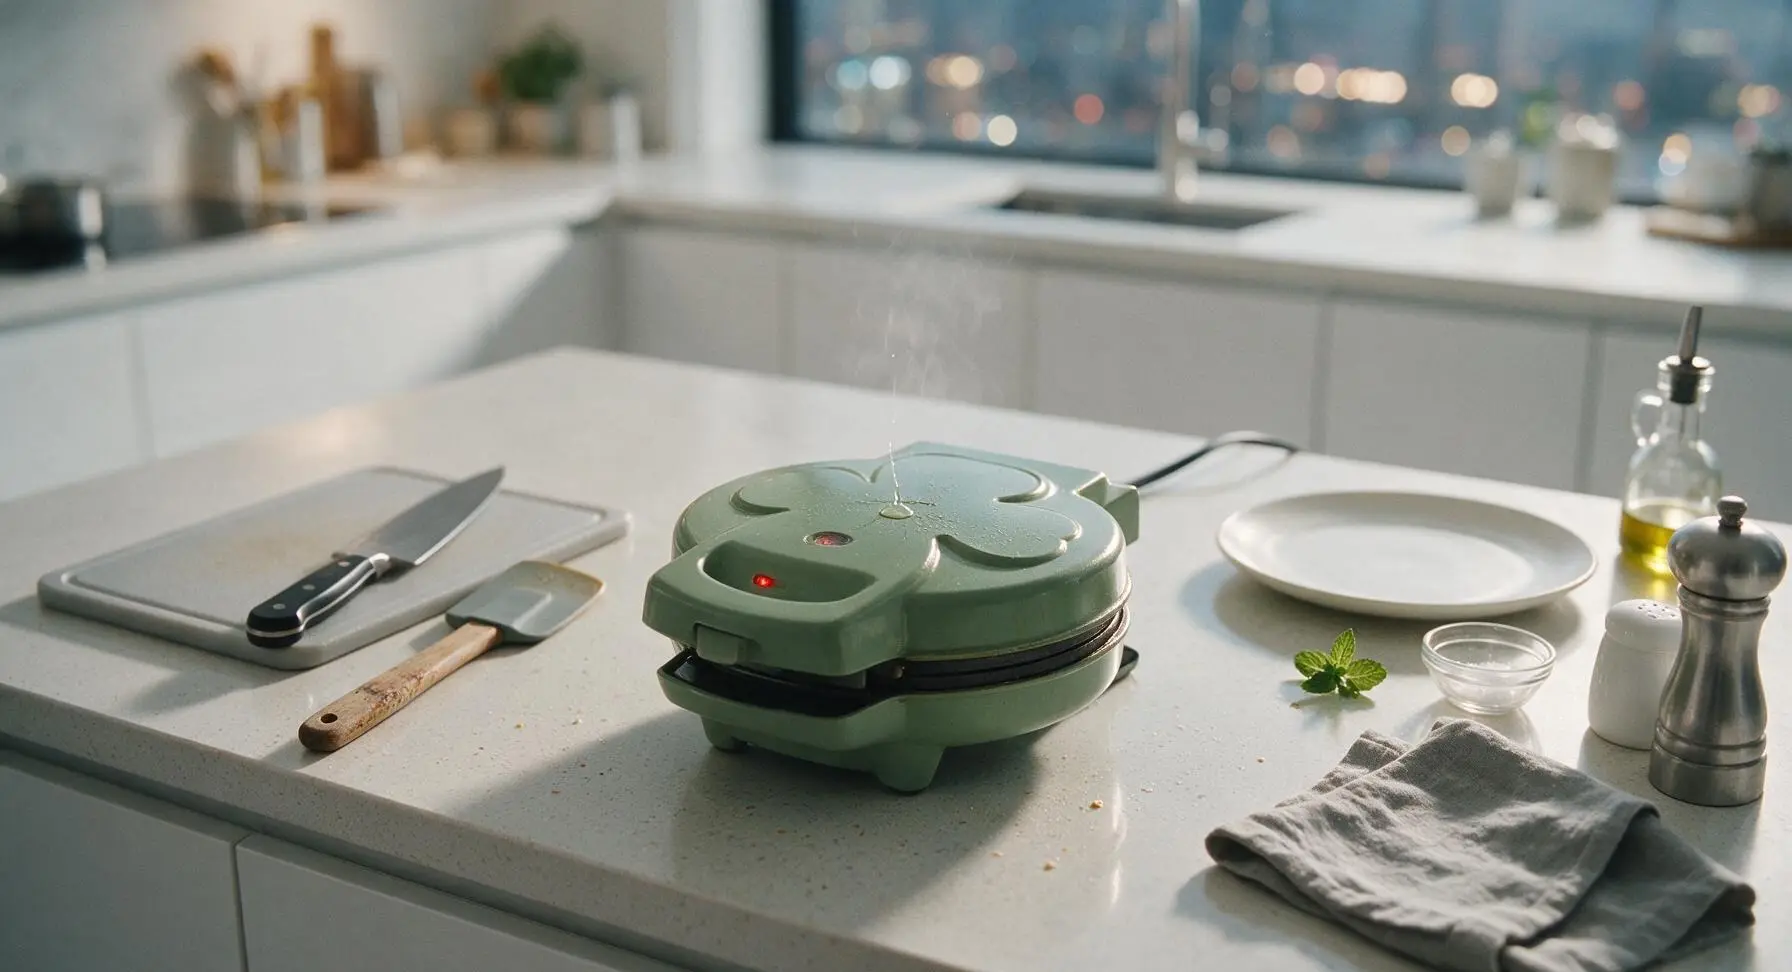
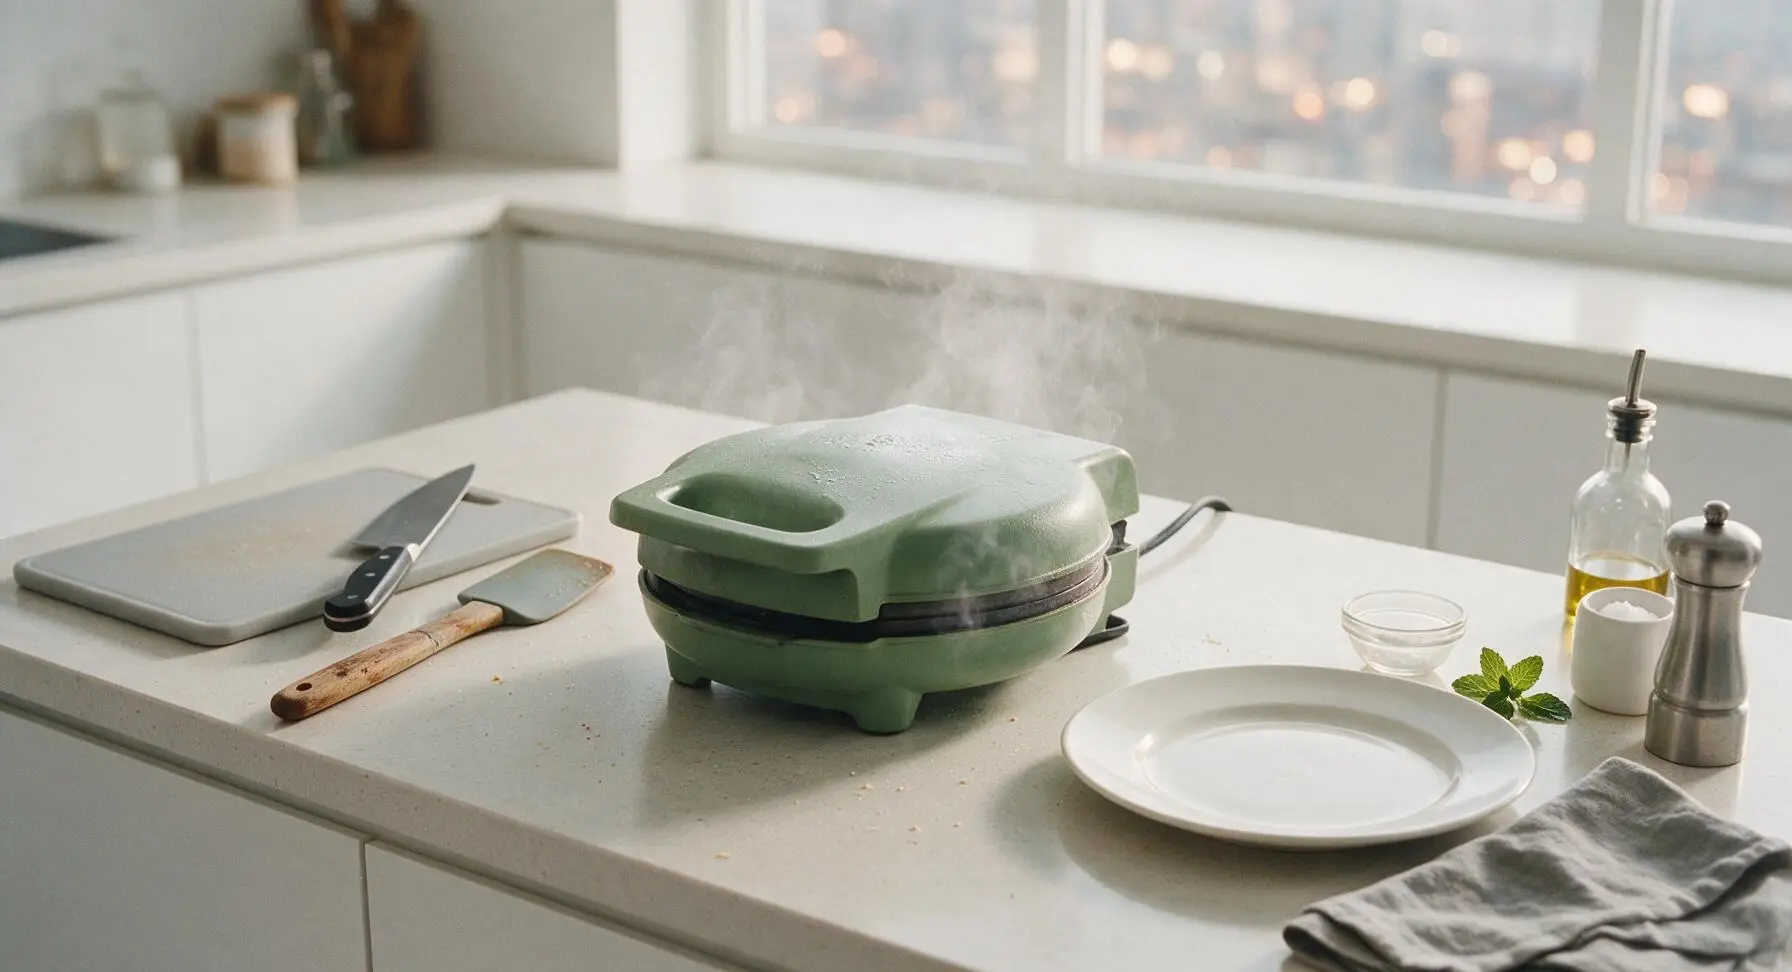
Plug in the sage green shamrock waffle maker, set it to medium heat, and close the lid to preheat for 5 minutes. The waffle maker is ready when a drop of water flicked onto the cooking plates sizzles and evaporates within 2 seconds. Do not grease the plates if your model has a non-stick coating; for older worn models, lightly brush with 1/4 tsp melted butter to prevent sticking.
Mix Dry Ingredients
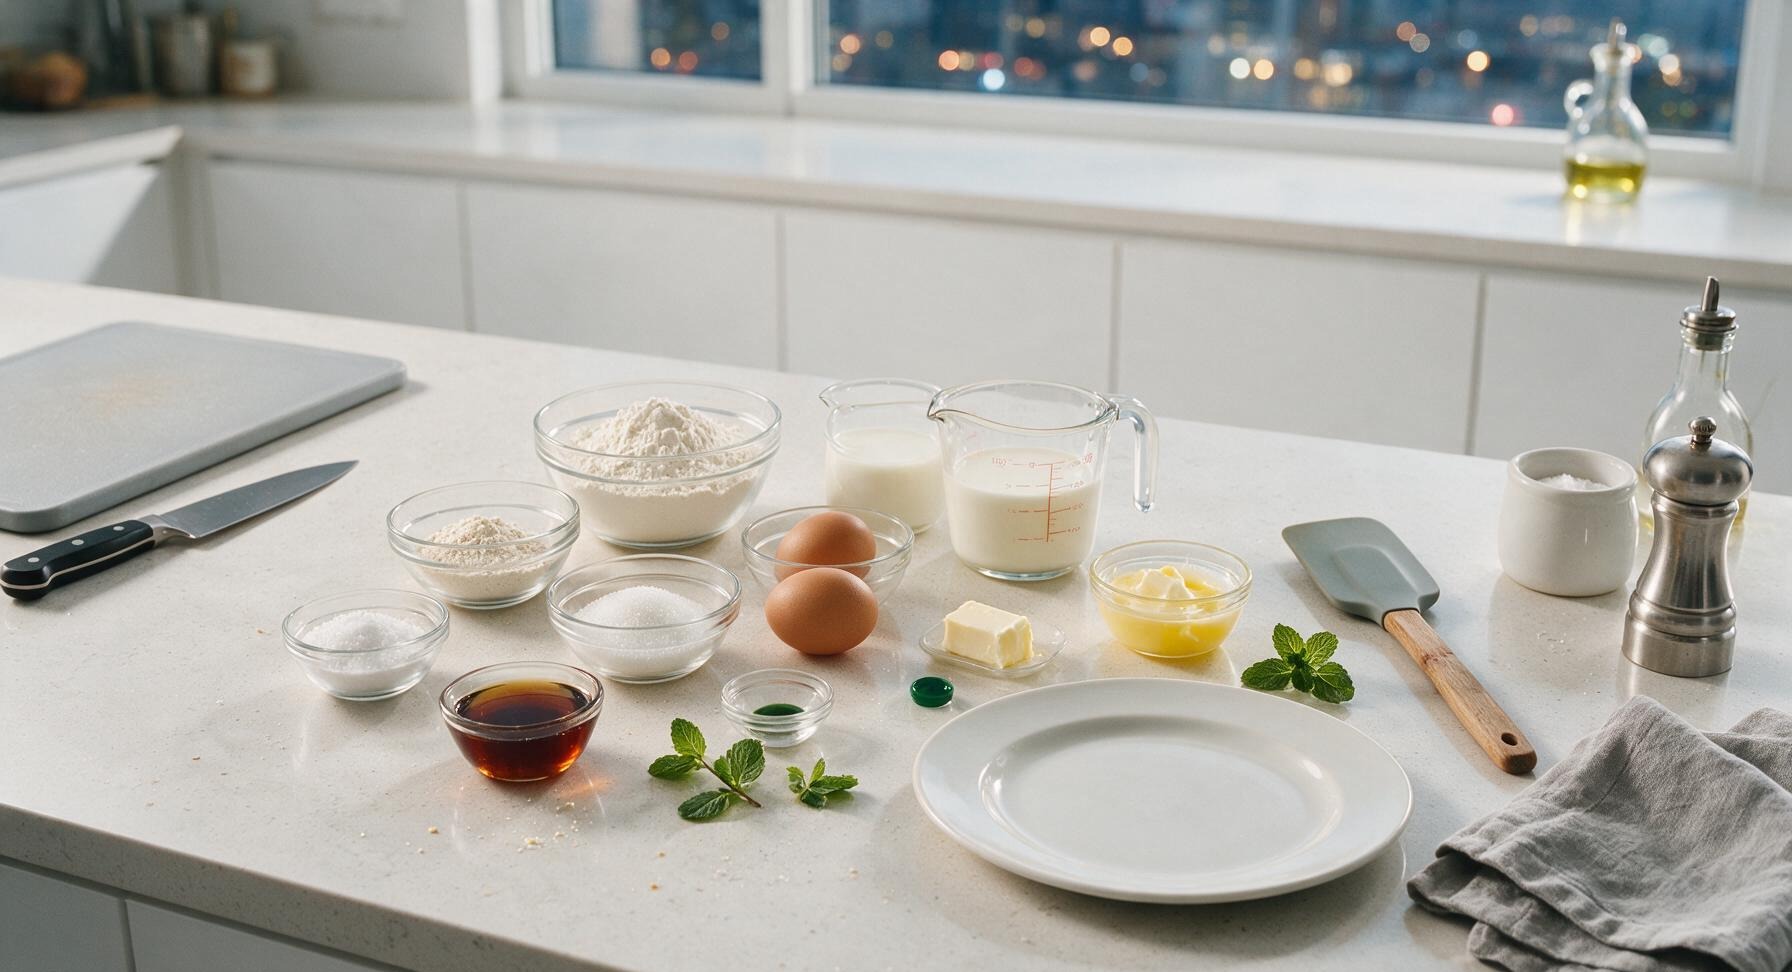
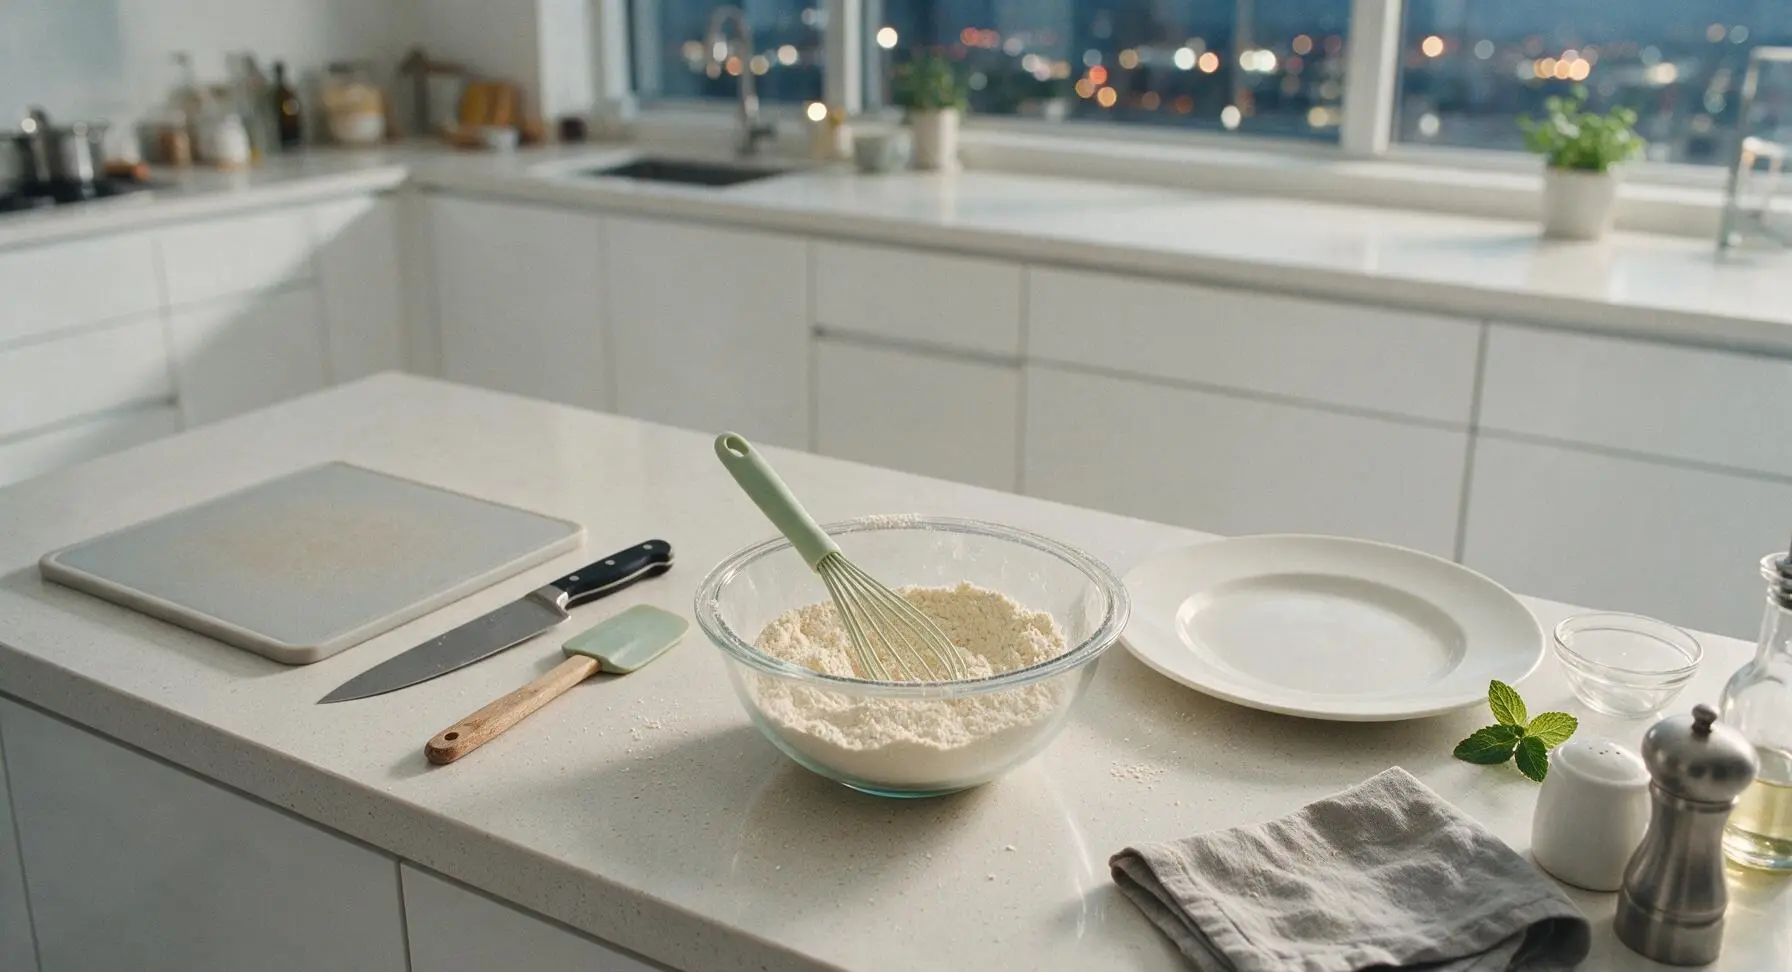
In the clear glass mixing bowl, combine 2 cups all-purpose flour, 2 tsp baking powder, 1/2 tsp fine sea salt, and 2 tbsp granulated sugar. Use the pale green handled whisk to stir the ingredients for 30 seconds until fully combined, with no visible clumps of baking powder or salt. The mixture should be a uniform pale off-white color.
Whisk Wet Ingredients
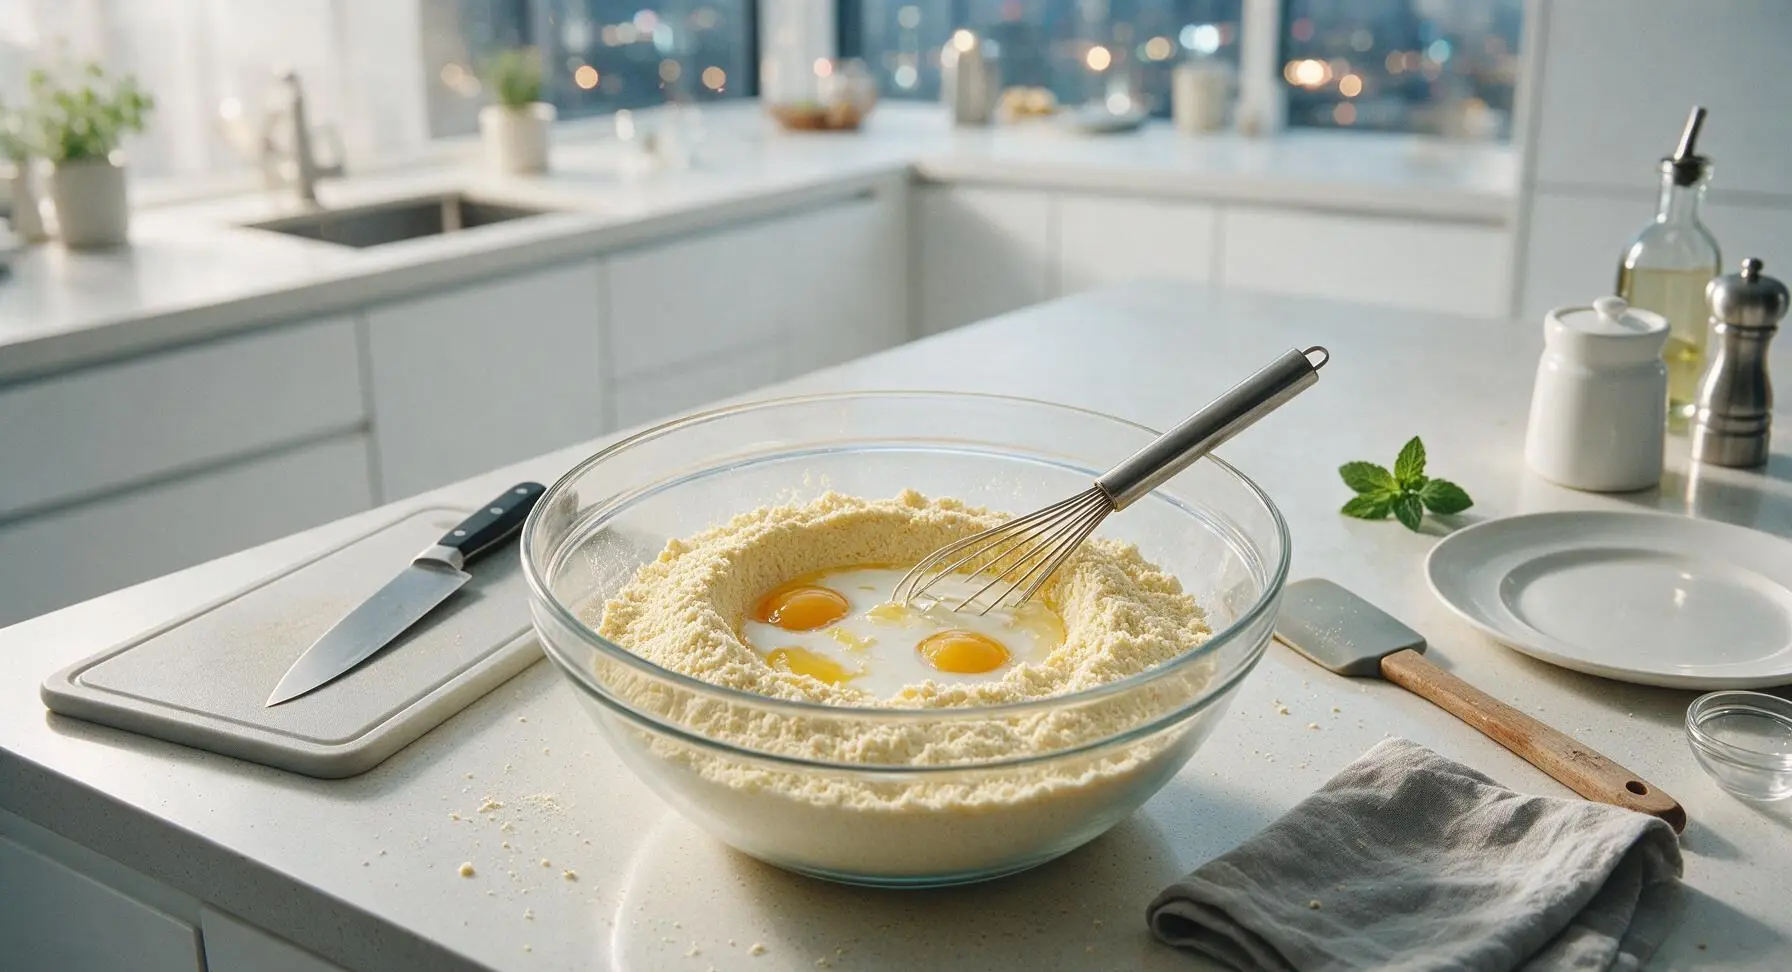
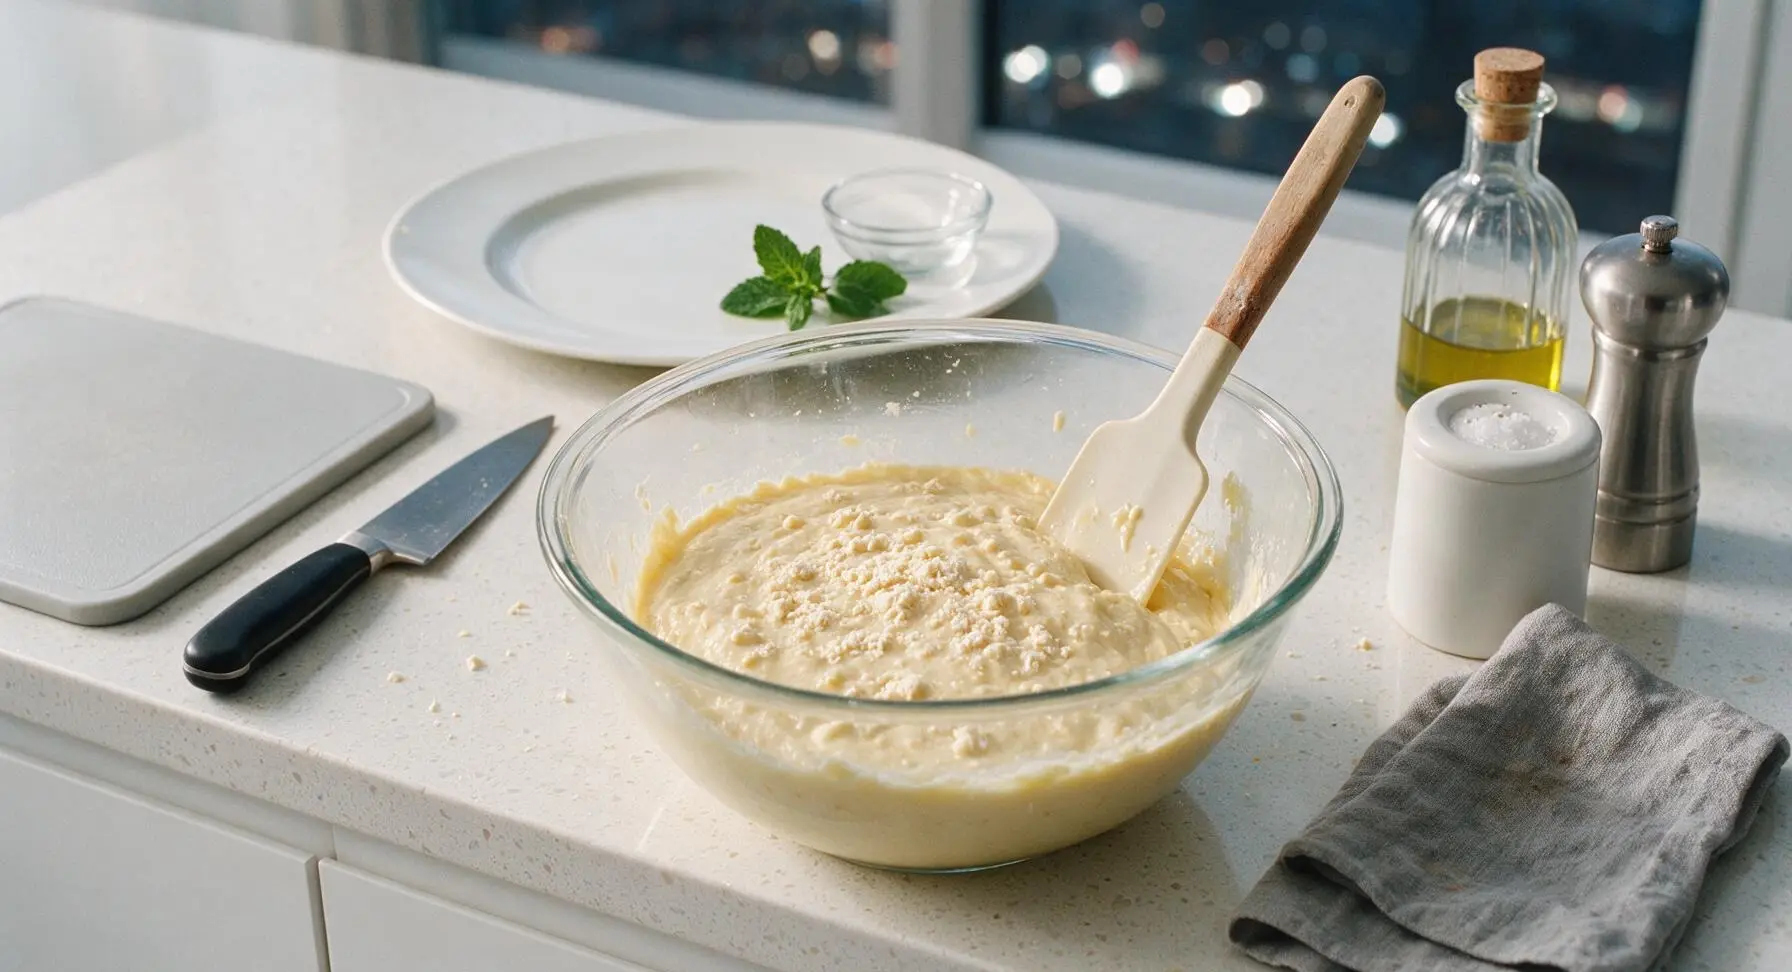
Make a small well in the center of the dry ingredient mixture. Crack the 2 large eggs into the well, then pour in 1 3/4 cups whole milk, 1/3 cup cooled melted butter, and 1 tsp pure vanilla extract. Whisk slowly from the center outward, gradually incorporating the dry ingredients into the wet, until just combined. Do not overmix—small lumps in the batter are normal and will result in fluffier waffles.
Tint Batter Soft Green
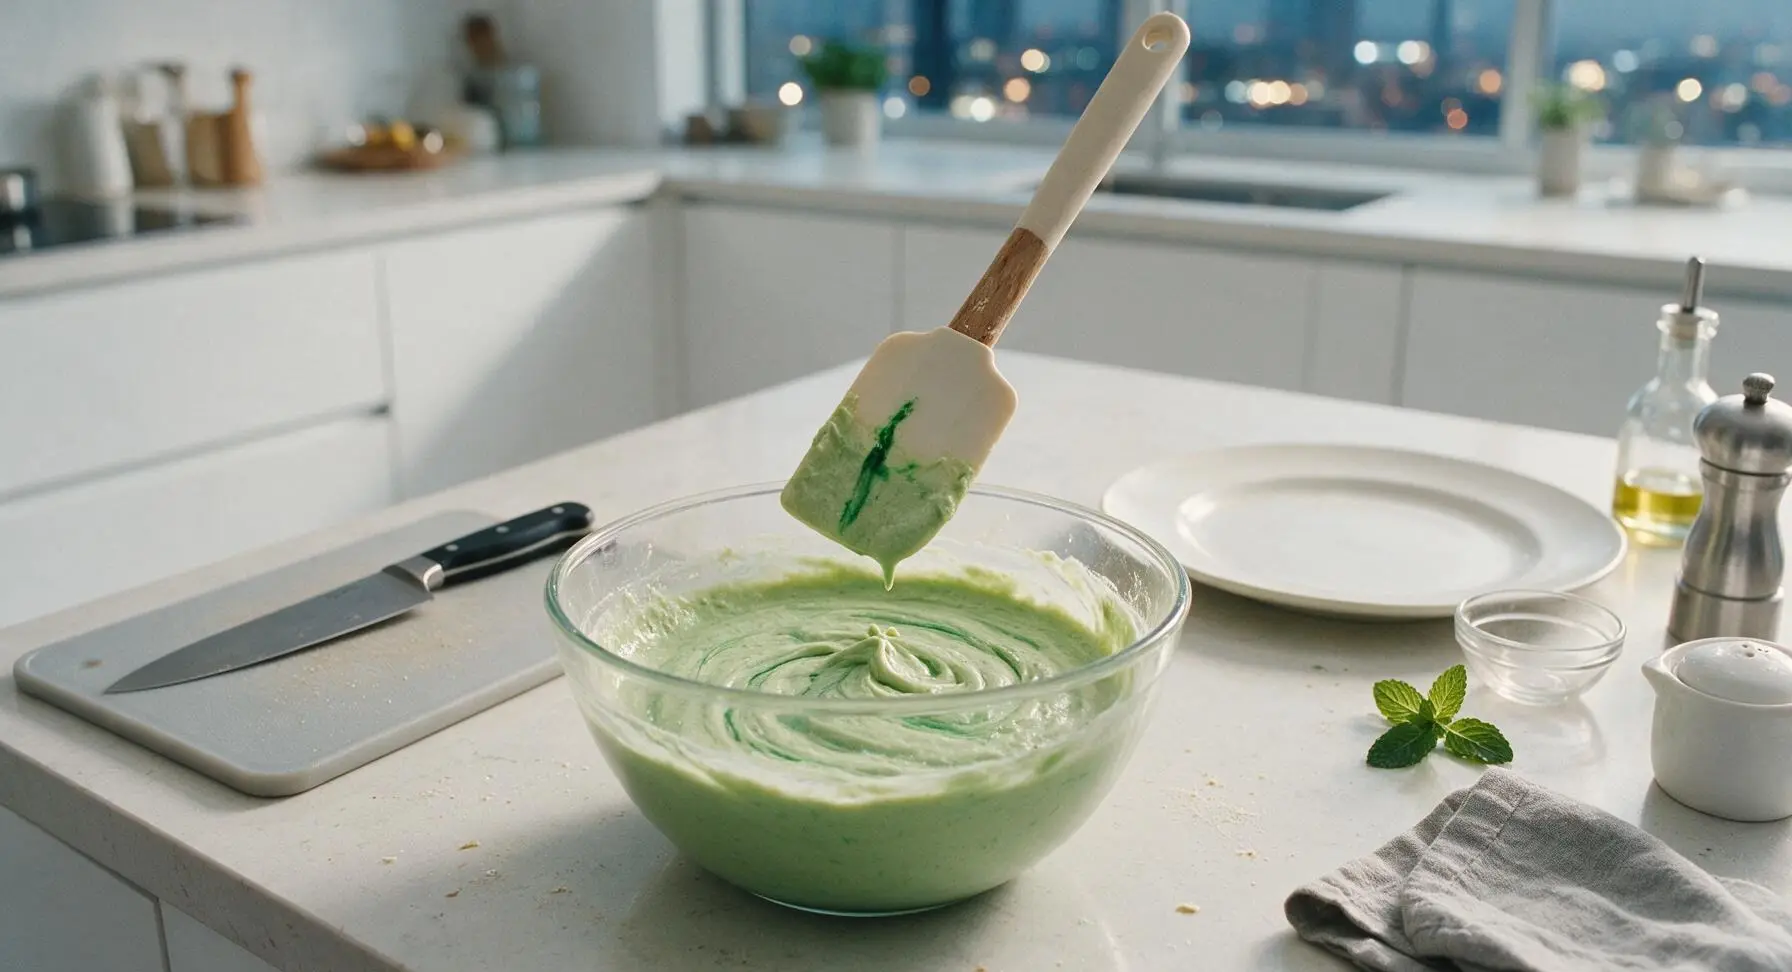
Add 2 drops of natural green gel food coloring to the batter. Use the off-white silicone spatula to gently fold the color into the batter in 3-4 slow turns, until the batter is a soft, even pale shamrock green. Do not over-stir; subtle lighter green streaks are acceptable and will create a pretty marbled effect in the finished waffle. Avoid adding more coloring, as this will result in an unnaturally bright, artificial green waffle.
Pour Batter Into Iron
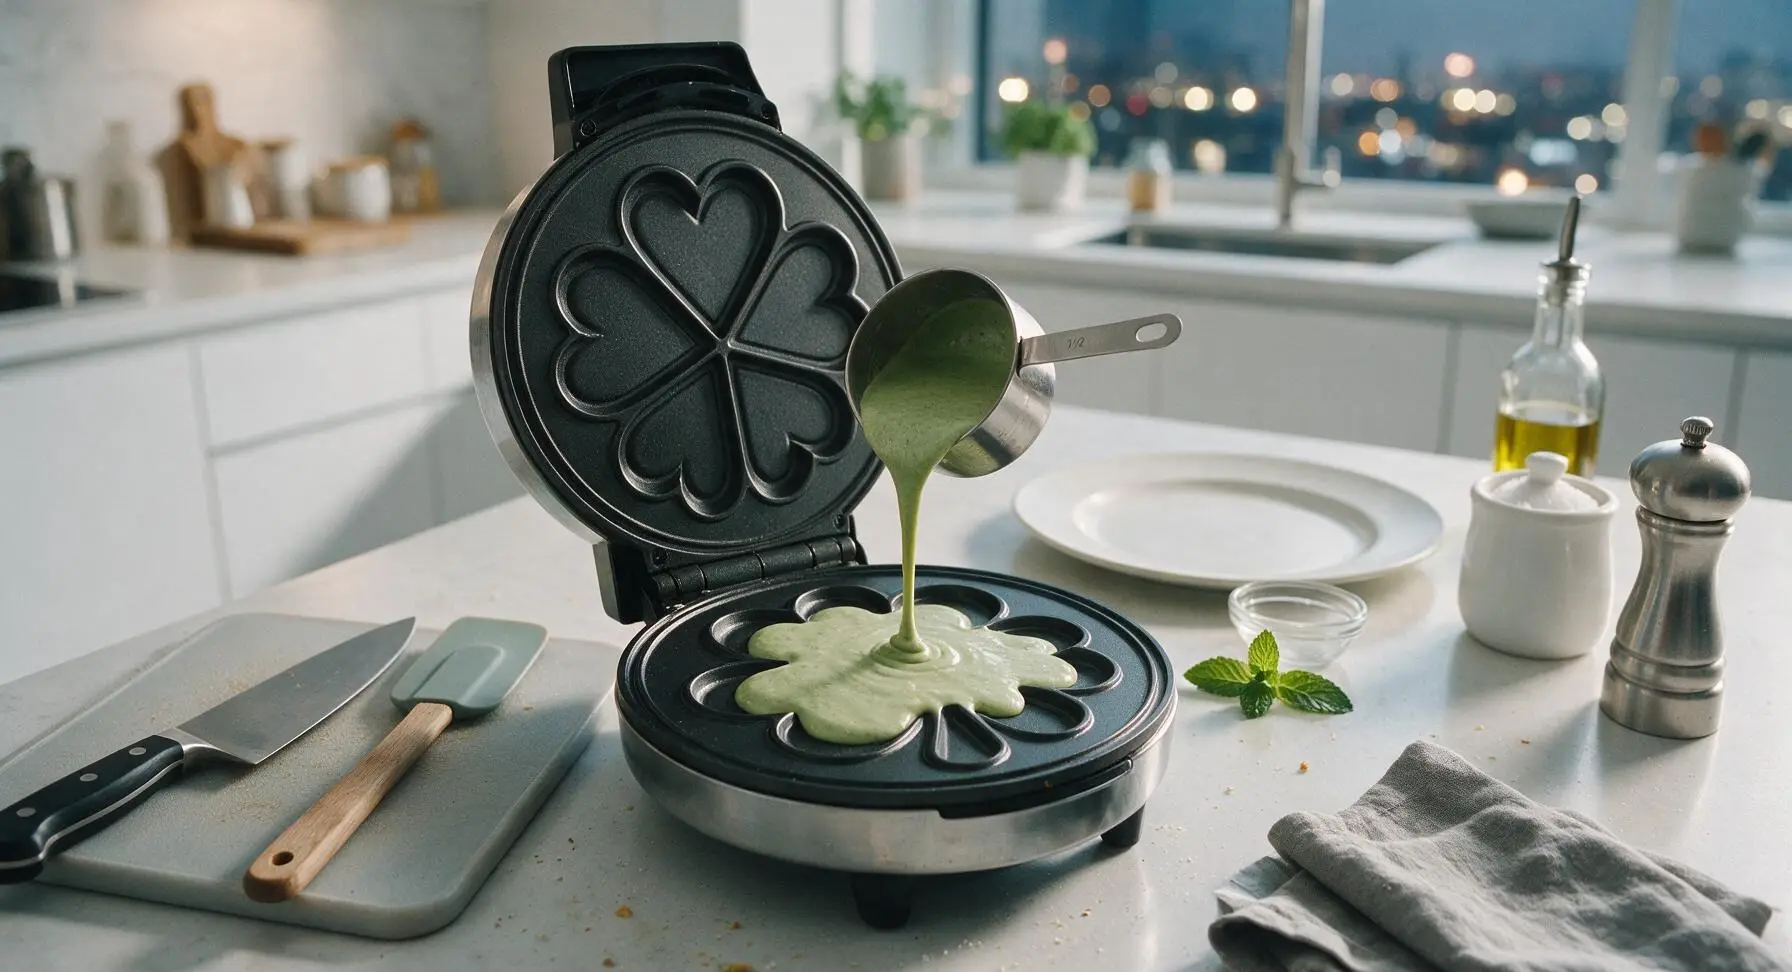
Once the waffle maker is fully preheated, use the 1/2 cup dry measuring cup to scoop the green batter, pouring it directly into the center of the shamrock-shaped cooking plate. Do not spread the batter—it will spread naturally as you close the lid. Use exactly 1/2 cup batter per waffle to avoid overflow as the batter rises and cooks.
Cook Waffles Crisp
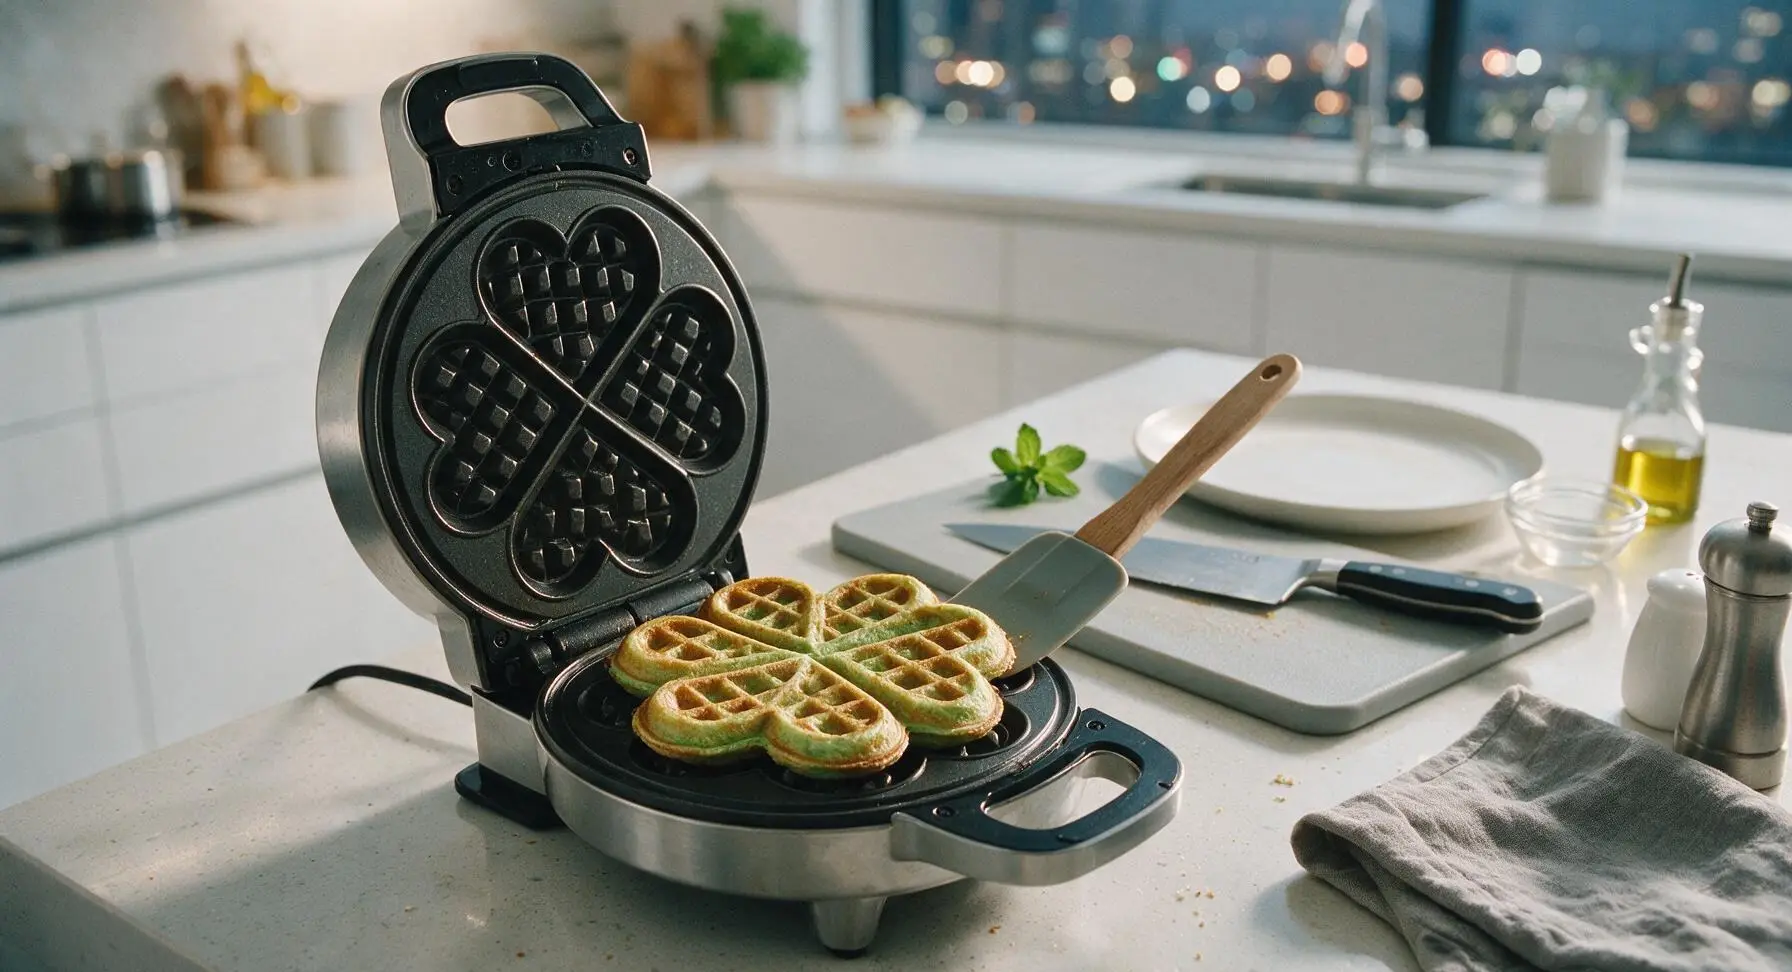
Close the waffle maker lid and cook for 3 to 4 minutes, until the waffle is golden brown at the edges, set in the center, and no more steam escapes from the edges of the waffle maker. Do not open the lid before the 3 minute mark, as this will cause the waffle to split and stick. When done, lift the waffle out with the silicone spatula, and transfer to a wire rack to keep warm while you cook the remaining 3 waffles.
Stack Waffles On Plate
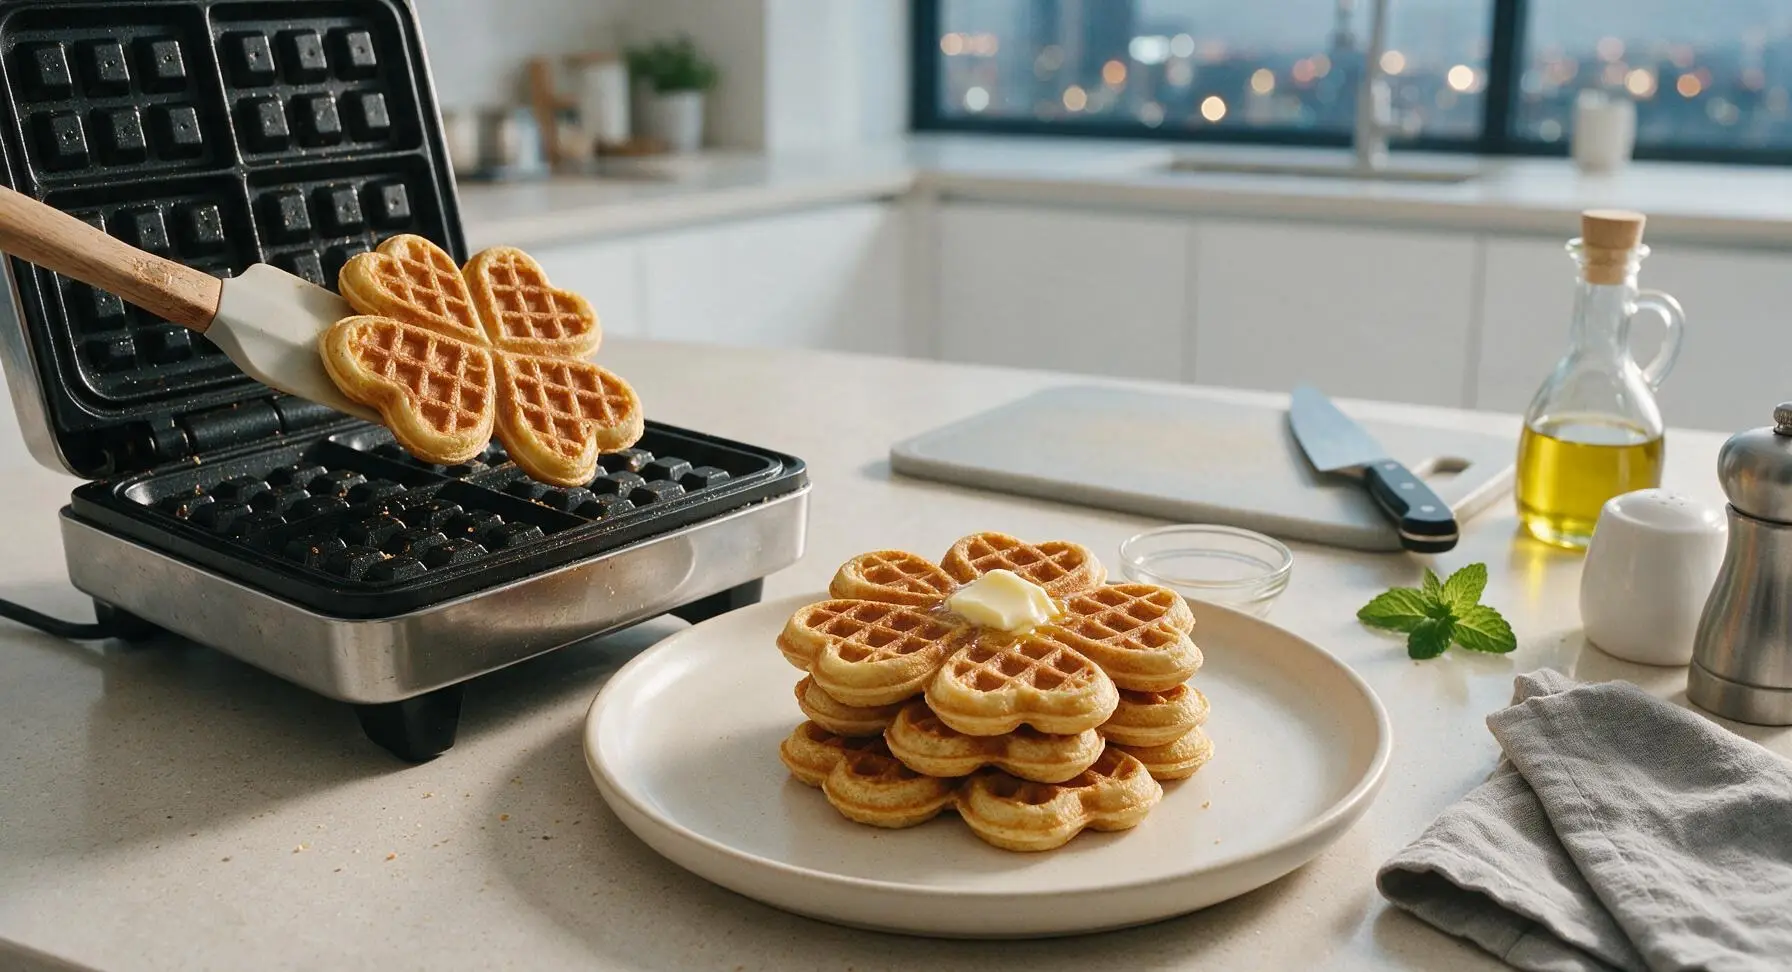
As each waffle finishes cooking, stack them neatly centered on the matte cream ceramic dinner plate. Place a 1/2 tablespoon pat of cold unsalted butter on the top waffle, so it melts slightly from the residual heat of the warm waffles. Do not press down on the waffle stack, as this will squeeze out the light, fluffy interior texture.
Garnish And Serve
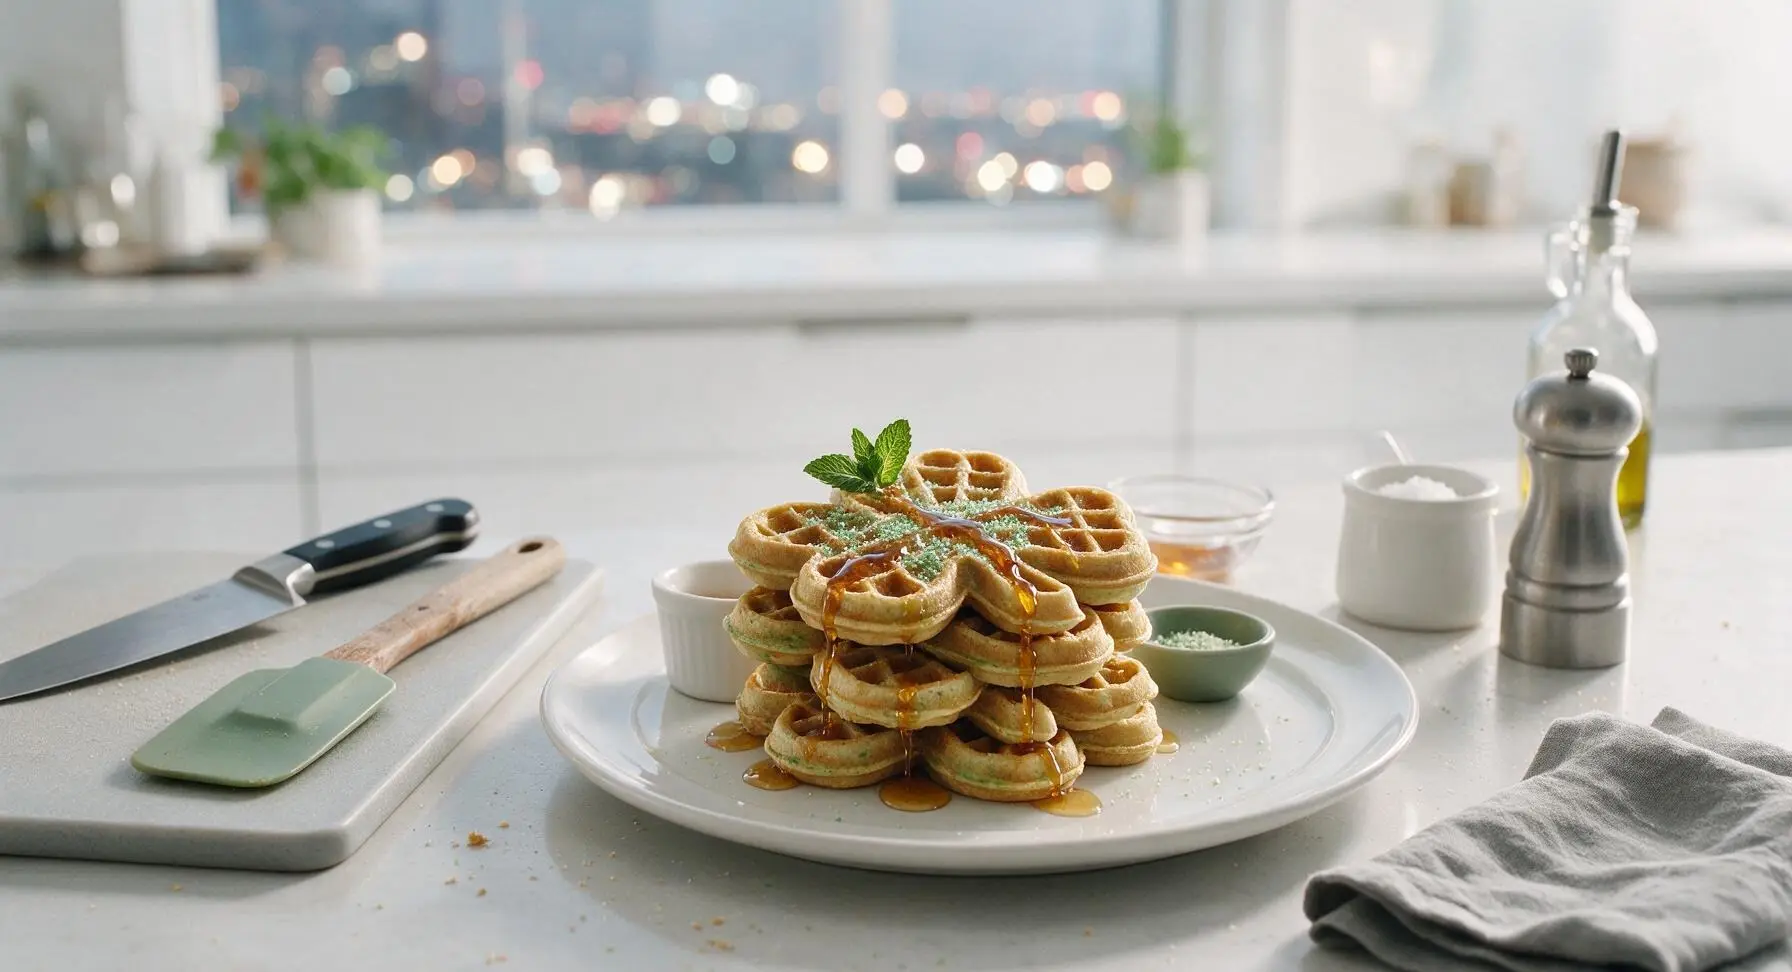
Drizzle 2 tablespoons of warm maple syrup over the top of the waffle stack, letting it run down the sides of the shamrock shapes. Tuck a small fresh mint sprig next to the butter at the top of the stack for a pop of fresh green, and add a light dusting of pale green sanding sugar if desired. Serve immediately while warm, with extra maple syrup and butter on the side.
Tips
2.For a 100% natural green color without artificial dye, replace 2 tablespoons of the whole milk with 2 tablespoons of strained, pureed fresh spinach. The mild spinach flavor is undetectable in the finished sweet waffles, and it creates a soft, natural pale green hue.
3.To keep waffles crisp while cooking successive batches, place cooked waffles on a wire rack set over a baking sheet in a 200°F (95°C) oven instead of stacking them directly on the plate early. Stacking traps steam between waffles, which makes edges soggy before serving.






OMG these were such a hit for St. Patrick’s Day breakfast! My kids went crazy for the shamrock shape, and the texture is *perfect* — crisp on the outside, so fluffy inside, no soggy spots at all. I added a little green food coloring to the batter and topped with whipped cream and gold sprinkles, chef’s kiss. 10/10 will make again next year, probably even before then!
Game changer brunch recipe! Made these for my roommate’s St. Paddy’s day potluck and everyone was asking for the recipe. Super easy to throw together, didn’t have to run to the store for any weird ingredients, cook time was totally accurate too. Only thing I changed was swapping regular milk for oat milk because that’s what we had, turned out great.
SO good. I’ve tried so many waffle recipes that come out either too dense or too crispy to the point they’re crunchy, but this one hits the exact middle. My picky toddler ate two whole waffles without complaining, which is basically a miracle in my house. Topped with a little maple syrup and fresh berries, no green dye needed for us and it still felt festive!
Made these for a lazy Sunday meal prep and they froze perfectly! I just pop them in the toaster during the week for a quick breakfast before work, and they get right back to that crisp fluffy texture. The difficulty level is no joke — I’m a terrible cook and I didn’t mess these up at all, lol.
These were delicious, but I will say my first batch came out a little undercooked in the middle? I think my waffle iron runs a little cooler than most, so I added an extra minute per waffle and the rest came out perfect. Definitely keep that in mind if you have an older appliance!
Made these for my annual St. Patrick’s day party and served them with a little Irish cream whipped cream on top — absolute home run. Not too sweet, so the topping didn’t make them cloying, crisp enough that they didn’t get soggy even when people let them sit on their plates for 20 minutes while chatting. Will be adding this to my regular rotation, not just for March!
My kids loved it! I let them help stir the batter and add the green sprinkles before closing the waffle iron, and they were so proud to serve them to dad for breakfast. Super straightforward recipe, no fancy steps, which is exactly what I need for weekend mornings with two little ones running around.
Wait why did I think waffles were hard to make? This recipe was so easy, 16 minute cook time is no lie — I had a full batch done before my coffee even finished brewing. The crisp exterior is *chef’s kiss*, no sad floppy waffles here. I topped mine with a little lemon zest and powdered sugar and it was divine.
I was worried these would be too gimmicky for how good the reviews said, but wow — they’re legitimately the best waffles I’ve ever made. The shamrock shape is just a fun bonus, the base recipe is so solid I’ll be using it for regular round waffles all year long. 10/10, no notes.
Made these for brunch with my girlfriends yesterday and we all devoured them. I set up a little topping bar with maple syrup, whipped cream, sprinkles, chocolate chips, and fresh fruit, so everyone could customize their own. The waffles held up to every topping, no sogginess even loaded down with chocolate chips and syrup. Can’t recommend enough.