
Sheet Pan Mac and Cheese

title 1
Sheet Pan Mac and Cheese
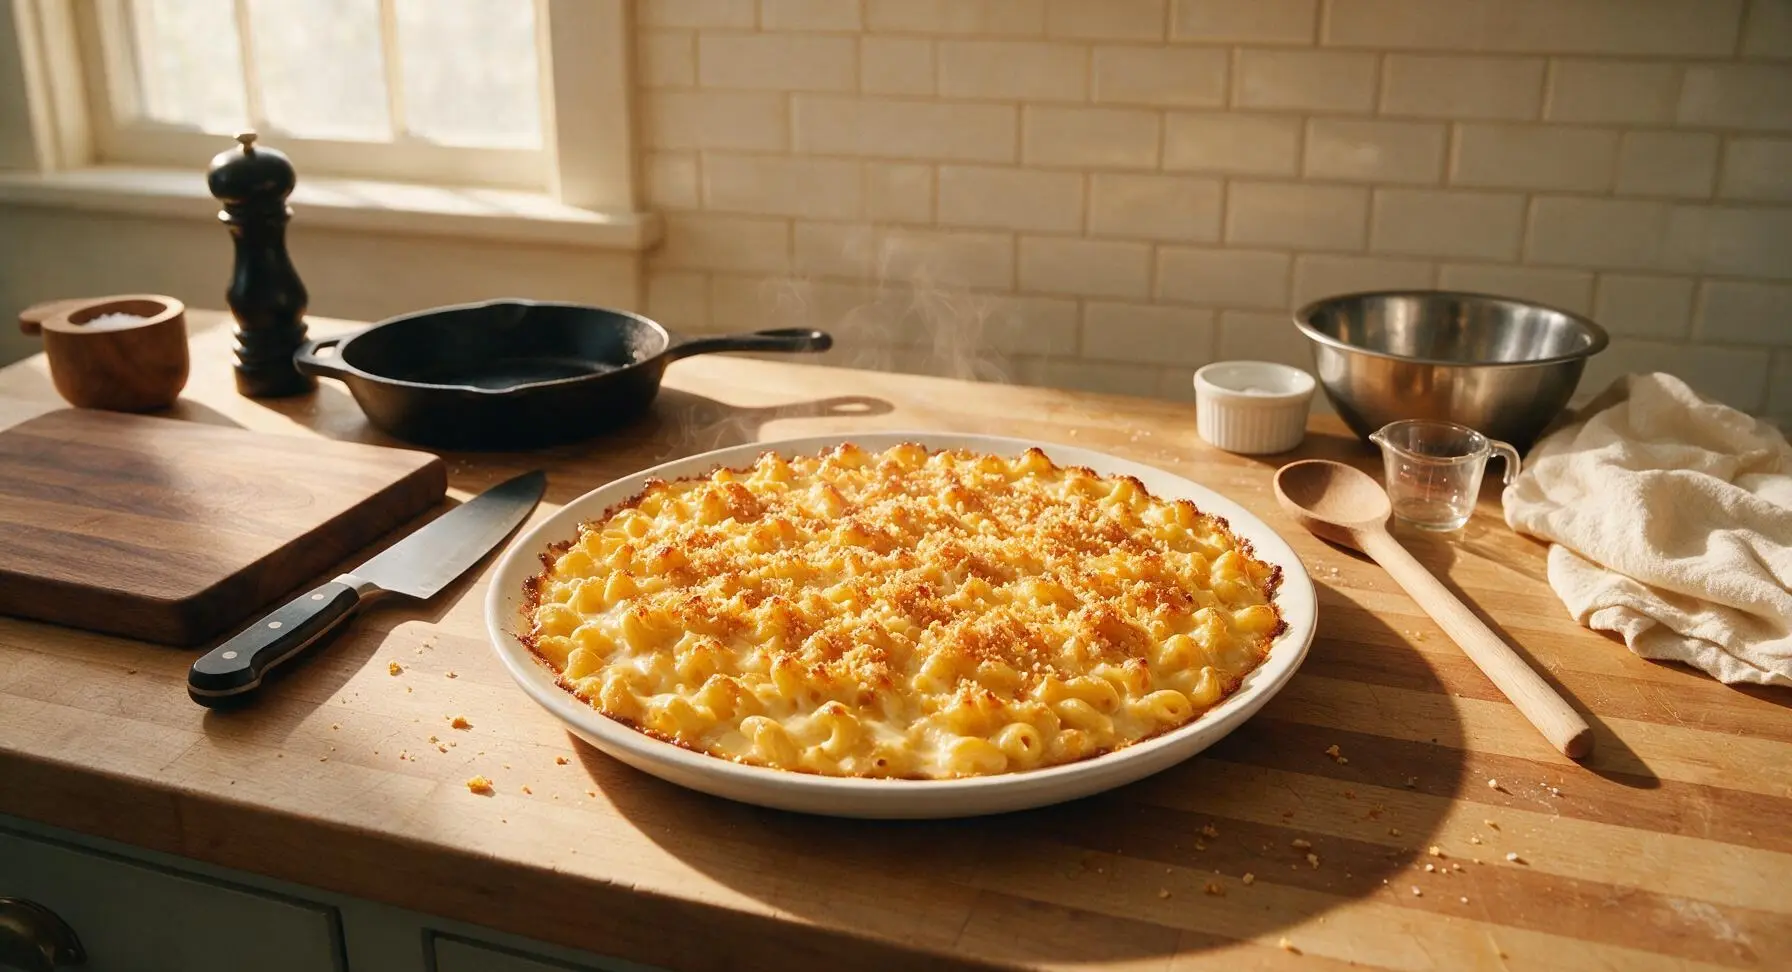
⏱️ cook time 25 minutes
🍽️ servings 4
⚡ Difficulty easy

intro

Crispy-edged, ultra-cheesy sheet pan mac and cheese cooks in 35 minutes total, with no fussy roux, minimal cleanup, and crunchy golden topping in every bite.

Ingredients
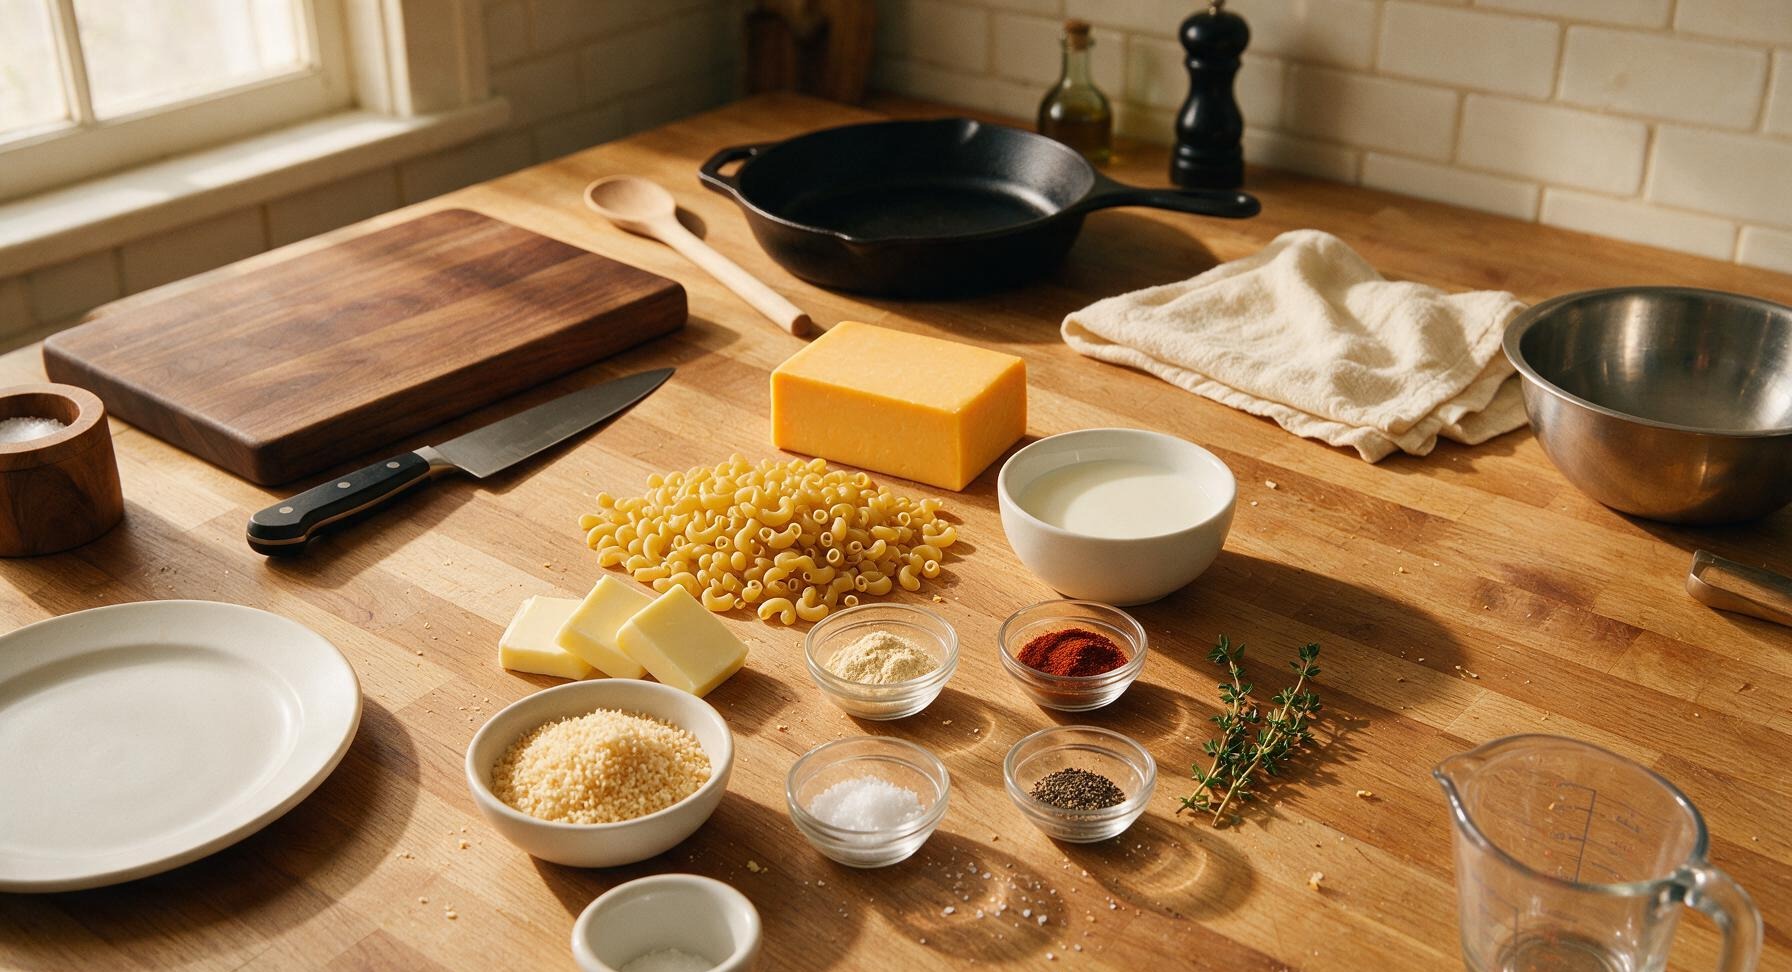
Dry elbow macaroni 227g (8oz)
Block sharp cheddar cheese 227g (8oz)
Whole milk 240ml (1 cup)
Unsalted butter 3 tbsp (42g)
Panko breadcrumbs 60g (3/4 cup)
Garlic powder 1 tsp
Smoked paprika 1/2 tsp
Kosher salt 1.5 tsp
Freshly ground black pepper 1/2 tsp
Fresh thyme sprigs 2 sprigs

Steps

1

Prep Pan and Preheat Oven

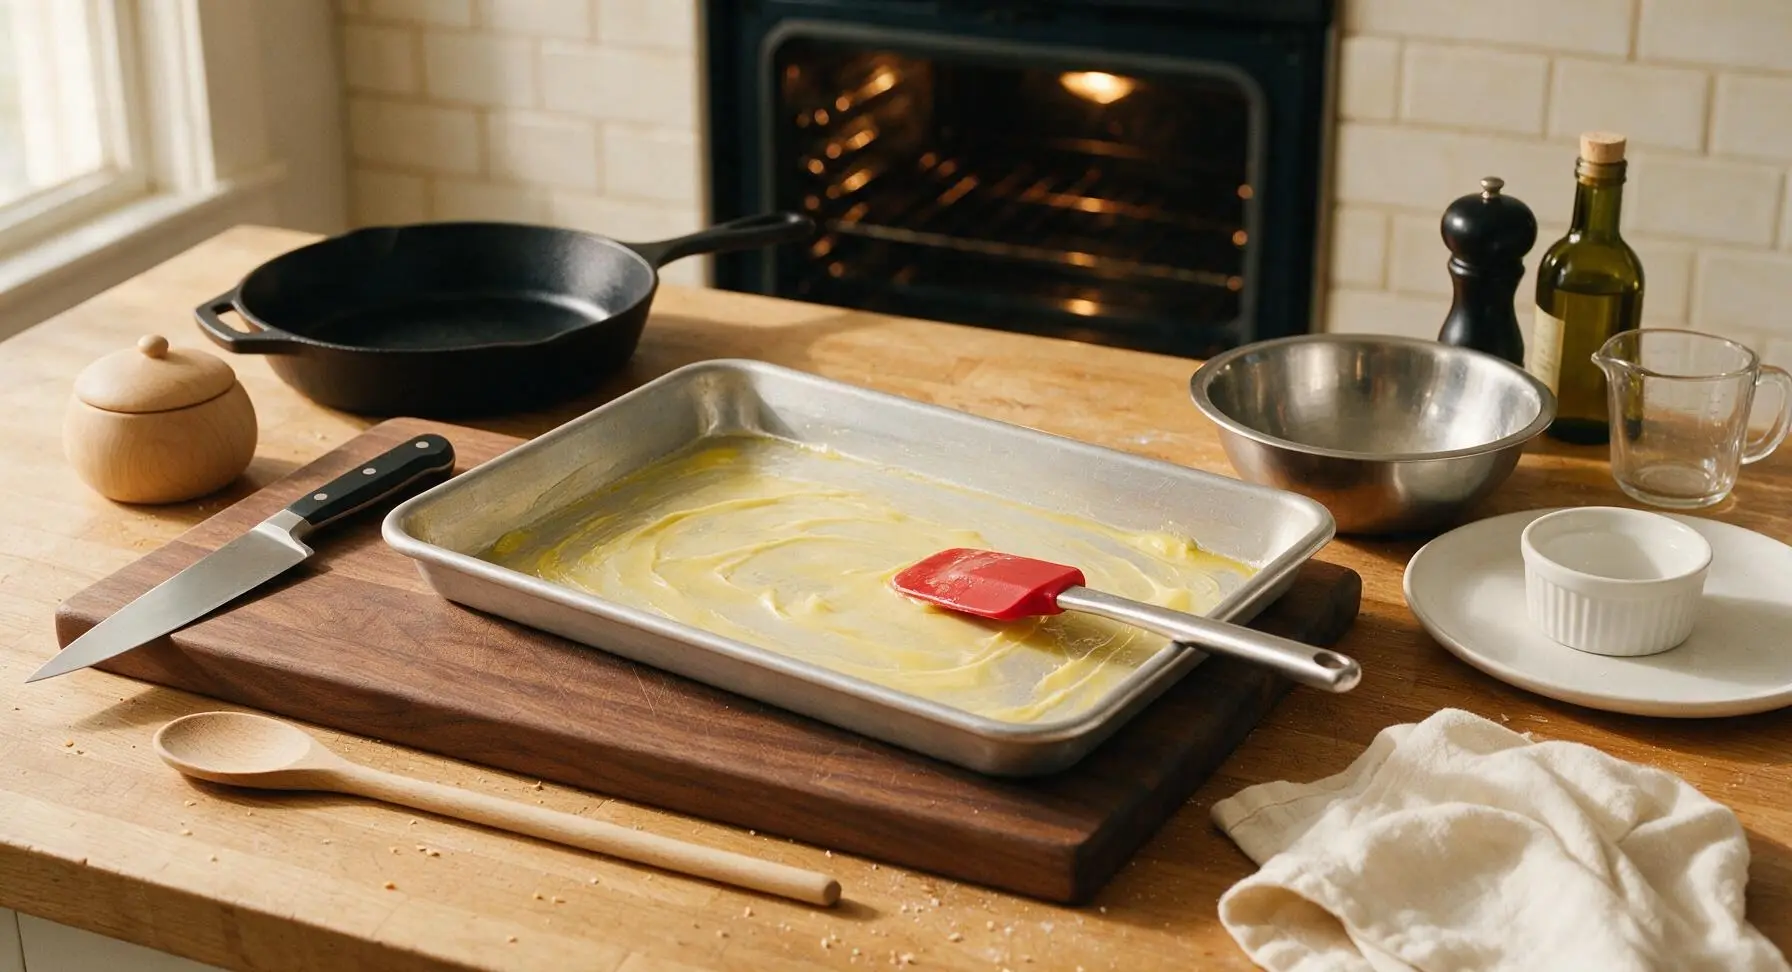
Adjust oven rack to middle position, preheat oven to 425°F (220°C). Use 1 tablespoon of the melted butter to evenly coat the entire interior surface of the large rimmed aluminum sheet pan, including the raised edges, using the red silicone spatula to spread the butter. Set the prepared pan aside near the induction cooktop. This prevents sticking and helps form crispy golden edges on the macaroni.
Step 1
step1:Prep Pan and Preheat Oven
2

Cook Pasta Al Dente

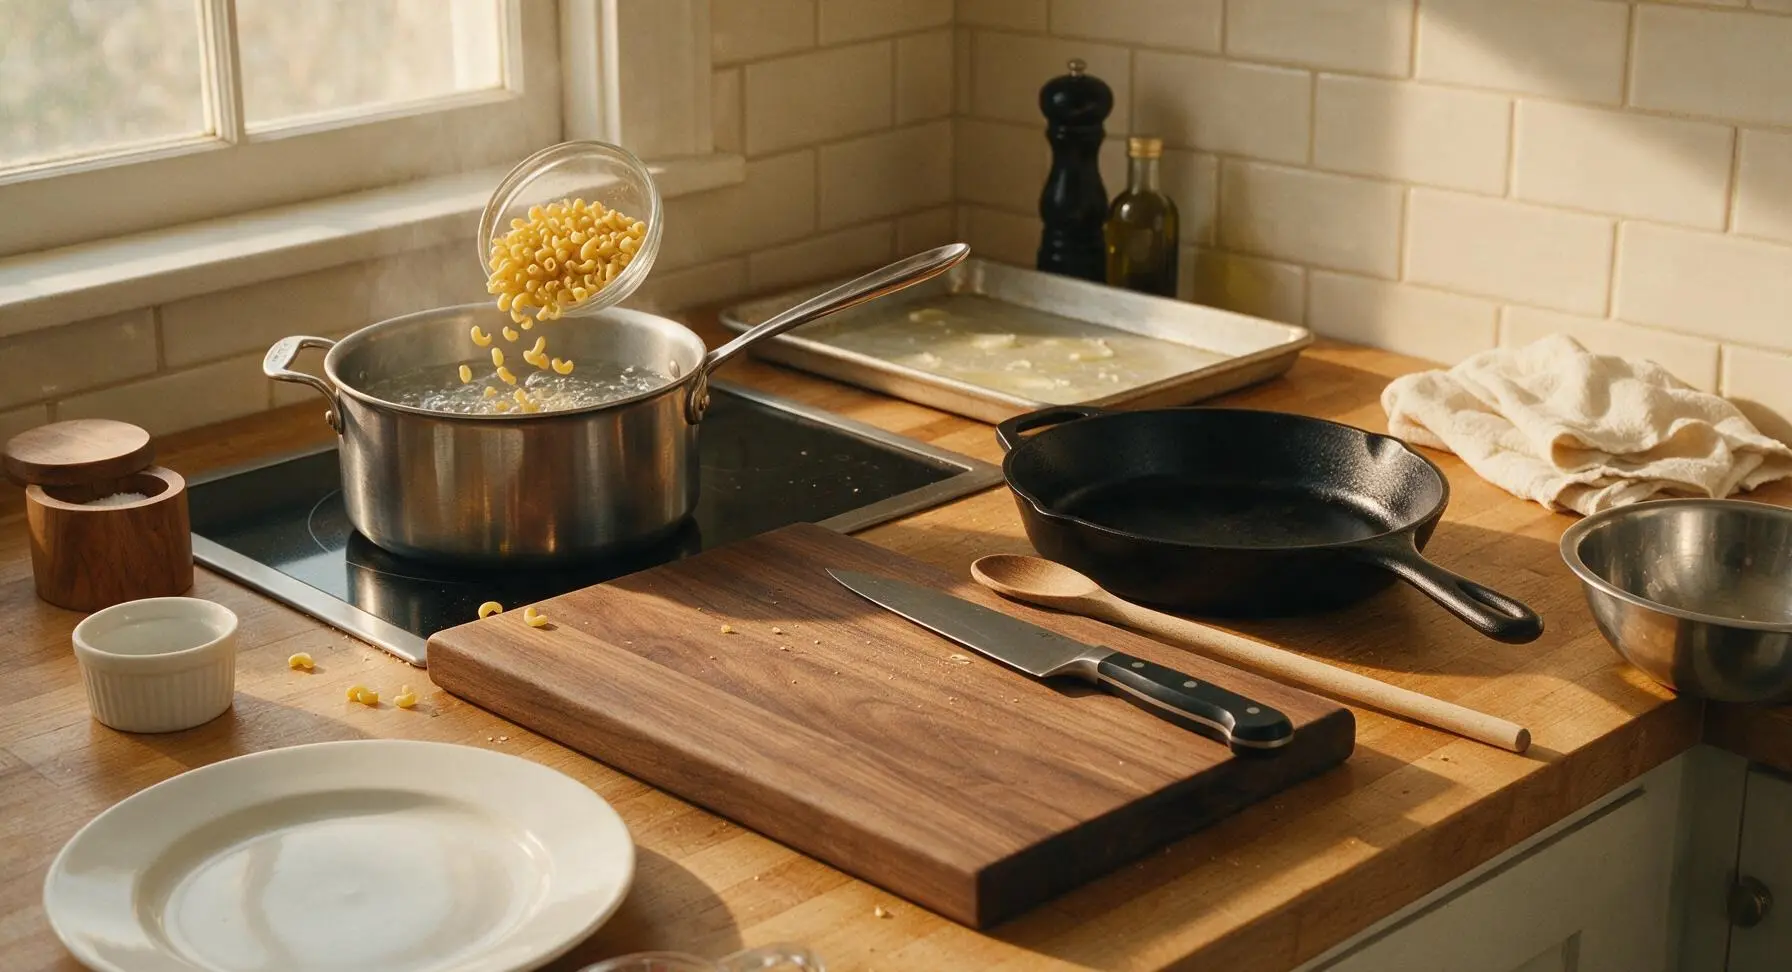
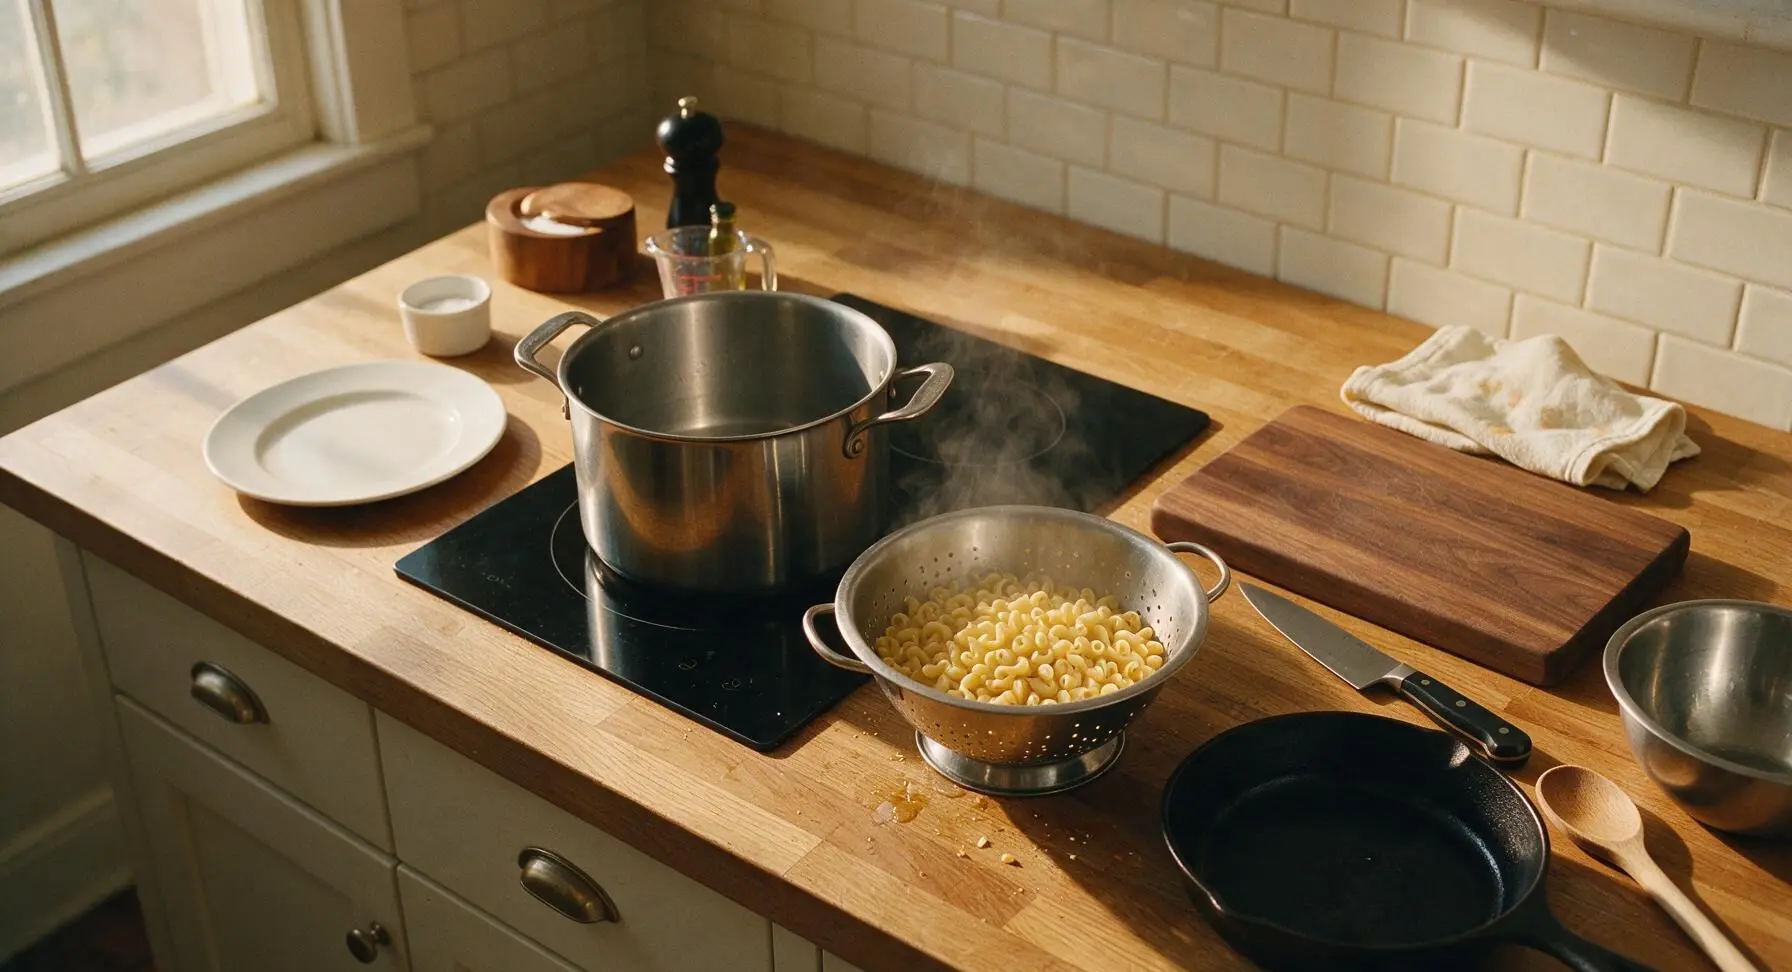
Fill the medium stainless steel stock pot with 4 quarts of water, add 1 teaspoon of kosher salt, and bring to a rolling boil over high heat on the induction cooktop. Add the 227g dry elbow macaroni, stir once with the silicone spatula to prevent sticking, and cook for 6 minutes (2 minutes less than package directions for al dente, as pasta will finish cooking in the oven). The pasta should be firm to the bite with a tiny white core at the center when tested.
Step 2
step2:Cook Pasta Al Dente
3

Drain Cooked Pasta

Once pasta reaches the 6-minute al dente mark, carefully pour the pot contents into the stainless steel colander. Shake the colander firmly for 10 seconds to remove all excess starchy water – do NOT rinse the pasta, as the surface starch helps the cheese sauce cling evenly. Let the pasta rest in the colander for 1 minute to drain fully.
Step 3
step3:Drain Cooked Pasta
4

Grate Cheddar Cheese

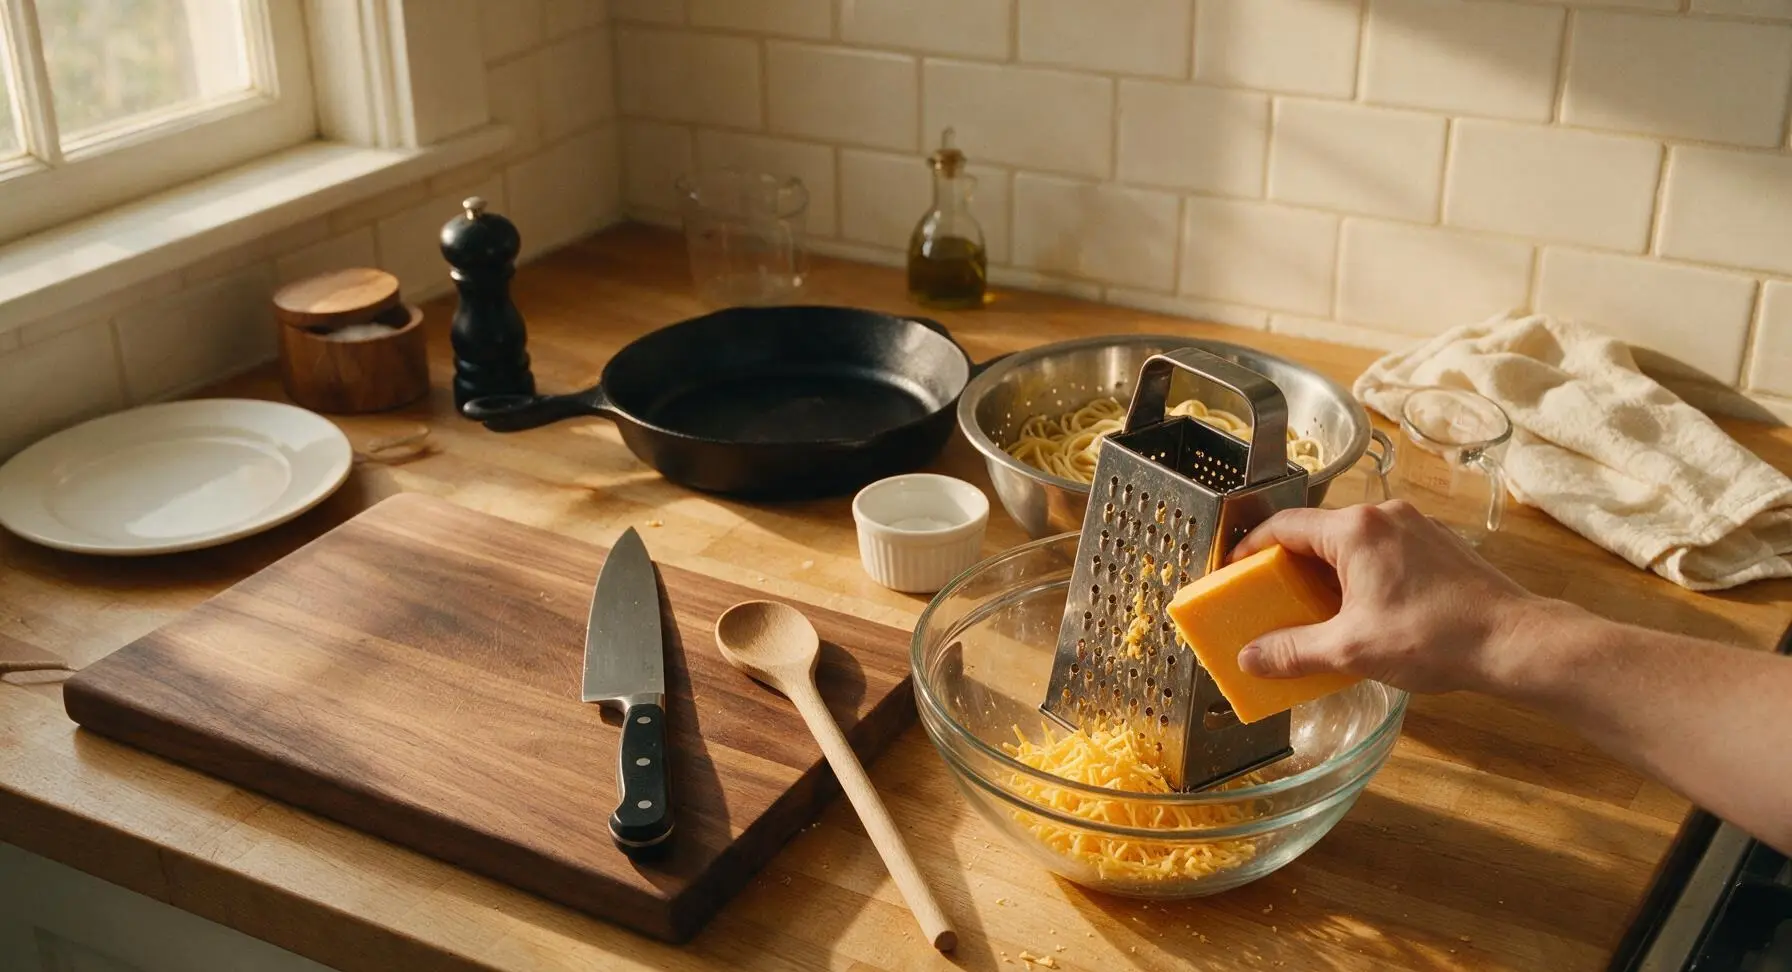
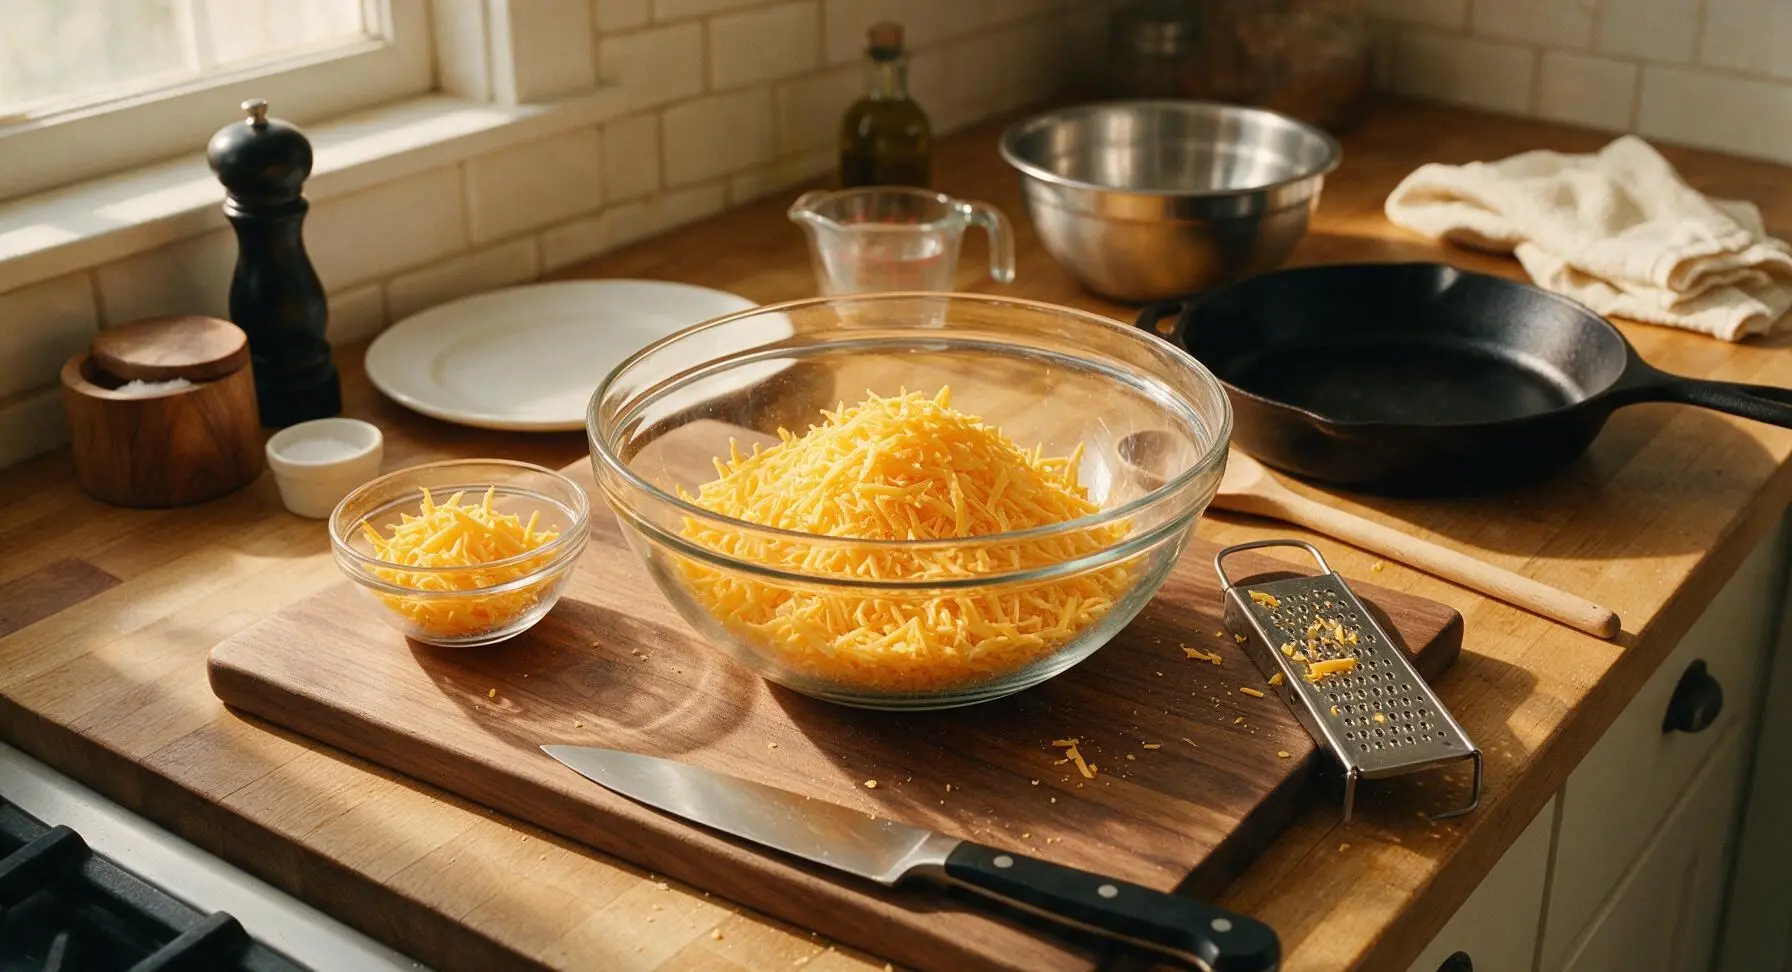
While the pasta drains, use the four-sided stainless steel box grater to shred the entire 227g block of sharp cheddar cheese into the large clear glass mixing bowl. Set aside 1/3 cup of the shredded cheese in one of the small clear prep bowls to sprinkle on top for extra crispy cheese edges. For the smoothest melt, shred cheese fresh off the block instead of using pre-shredded cheese, which is coated in anti-caking agents that prevent smooth melting.
Step 4
step4:Grate Cheddar Cheese
Step 4
step4:Grate Cheddar Cheese
5

Toss Pasta with Cheese

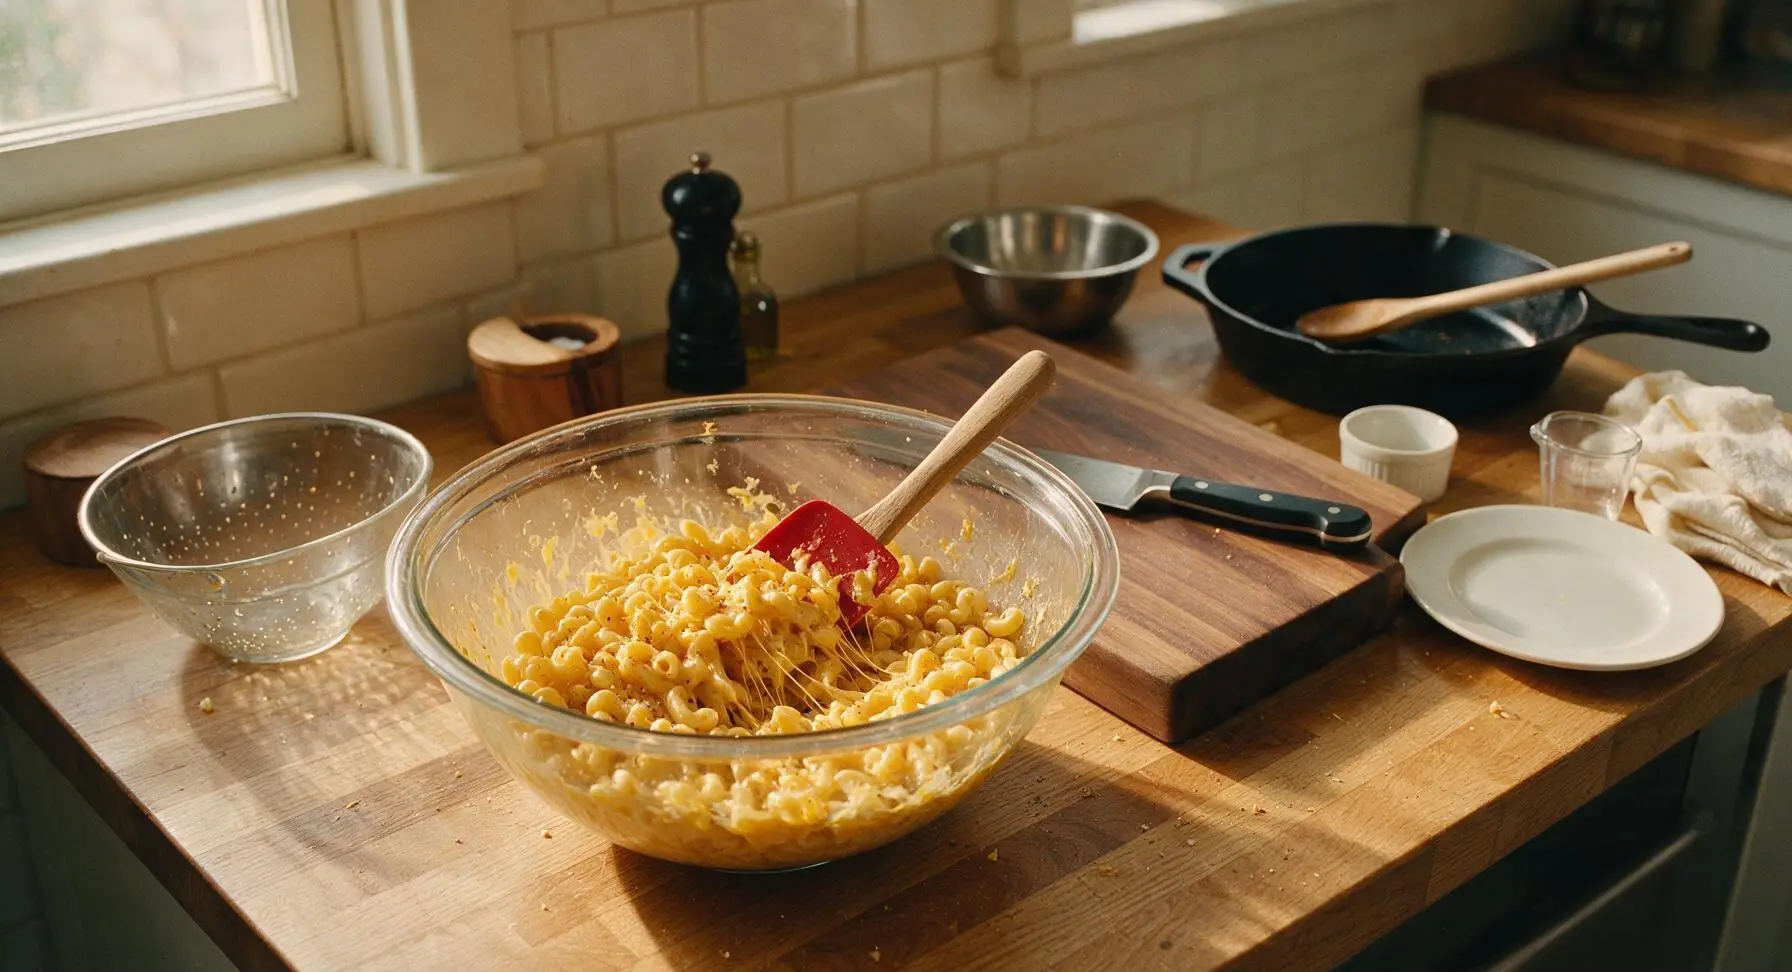
Add the hot drained pasta directly to the large glass mixing bowl with the shredded cheddar. Pour in 240ml whole milk (measured in the clear glass measuring cup), 1 tablespoon melted butter, 1 teaspoon garlic powder, 1/2 teaspoon smoked paprika, 1/2 teaspoon kosher salt, and 1/2 teaspoon freshly ground black pepper. Use the red silicone spatula to toss thoroughly for 1 minute, until the cheese is fully melted into a smooth, glossy sauce that coats every macaroni piece. The residual heat from the pasta will melt the cheese completely without extra stovetop cooking.
Step 5
step5:Toss Pasta with Cheese
6

Spread onto Sheet Pan

Pour the entire cheese-coated pasta mixture onto the pre-buttered large aluminum sheet pan. Use the silicone spatula to spread it into an even, thin layer across the entire pan surface, making sure pasta reaches all the way to the raised edges. The thin layer is what creates the signature crispy, caramelized edges that make sheet pan mac and cheese unique.
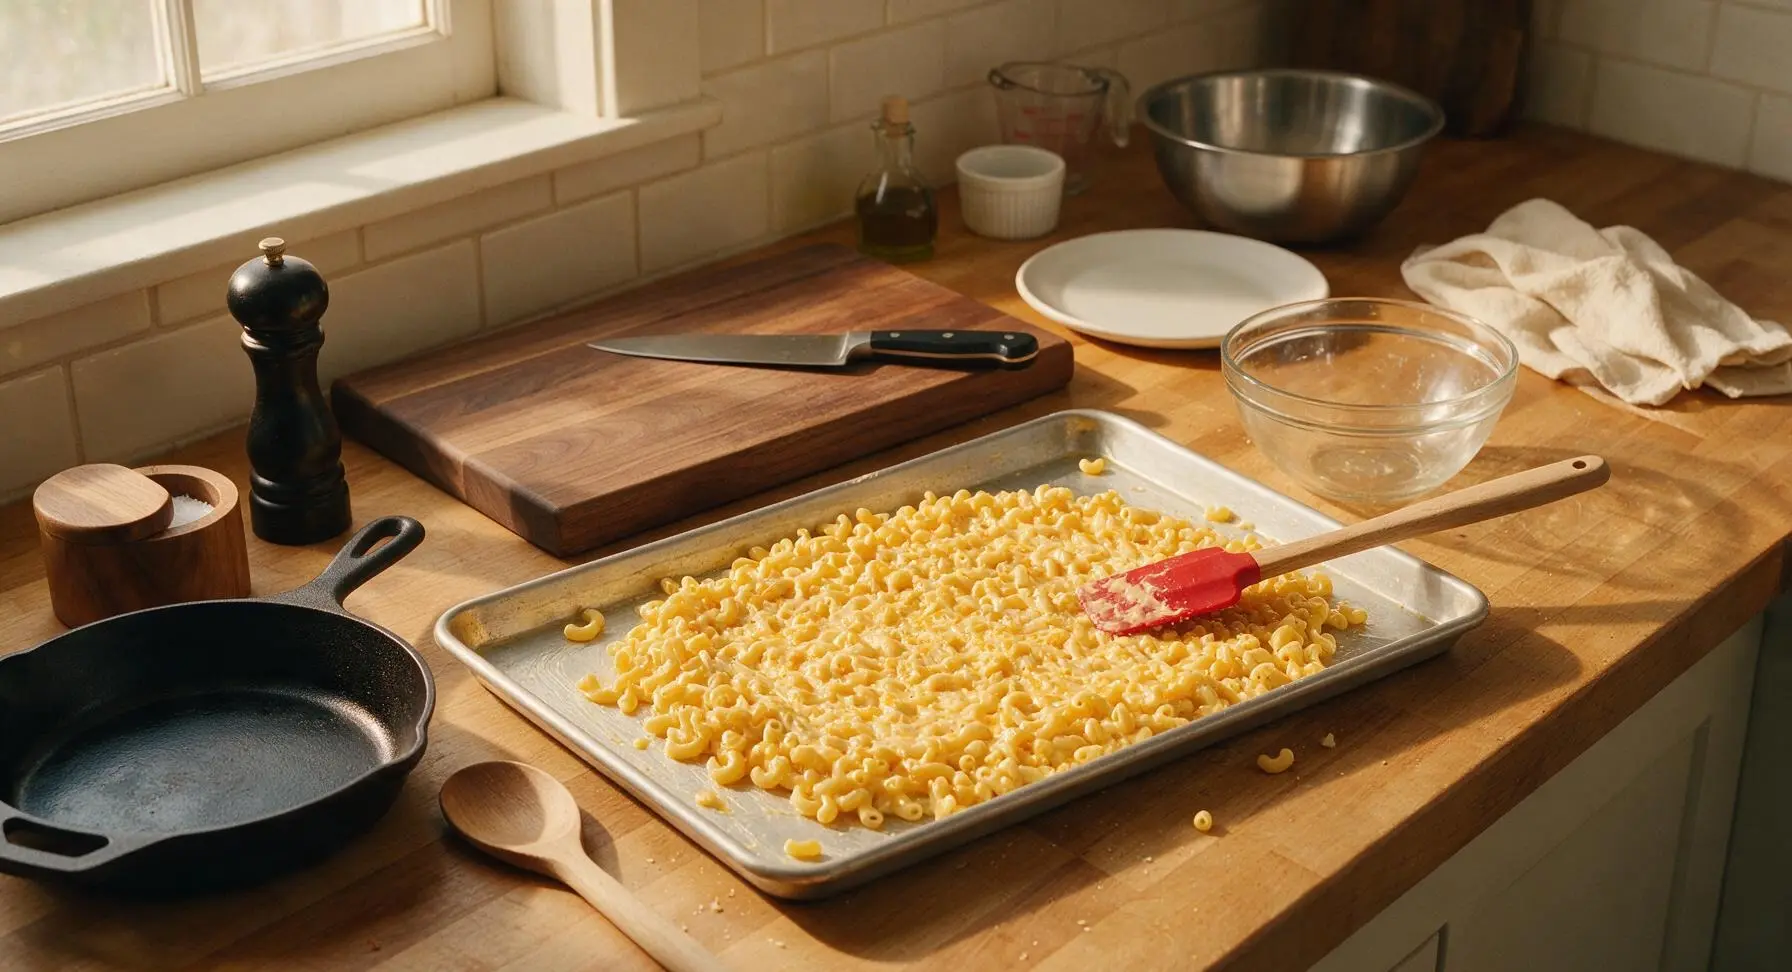
Step 6
step6:Spread onto Sheet Pan
7

Top with Buttered Panko

In one of the small clear prep bowls, mix the 60g panko breadcrumbs with the remaining 1 tablespoon of melted butter, stirring until every crumb is lightly coated. Sprinkle the buttered panko evenly across the entire surface of the pasta, then top with the reserved 1/3 cup of shredded cheddar. The buttered crumbs will toast to a deep golden crunch in the oven, while the reserved cheese creates lacy crispy cheese bits across the top.
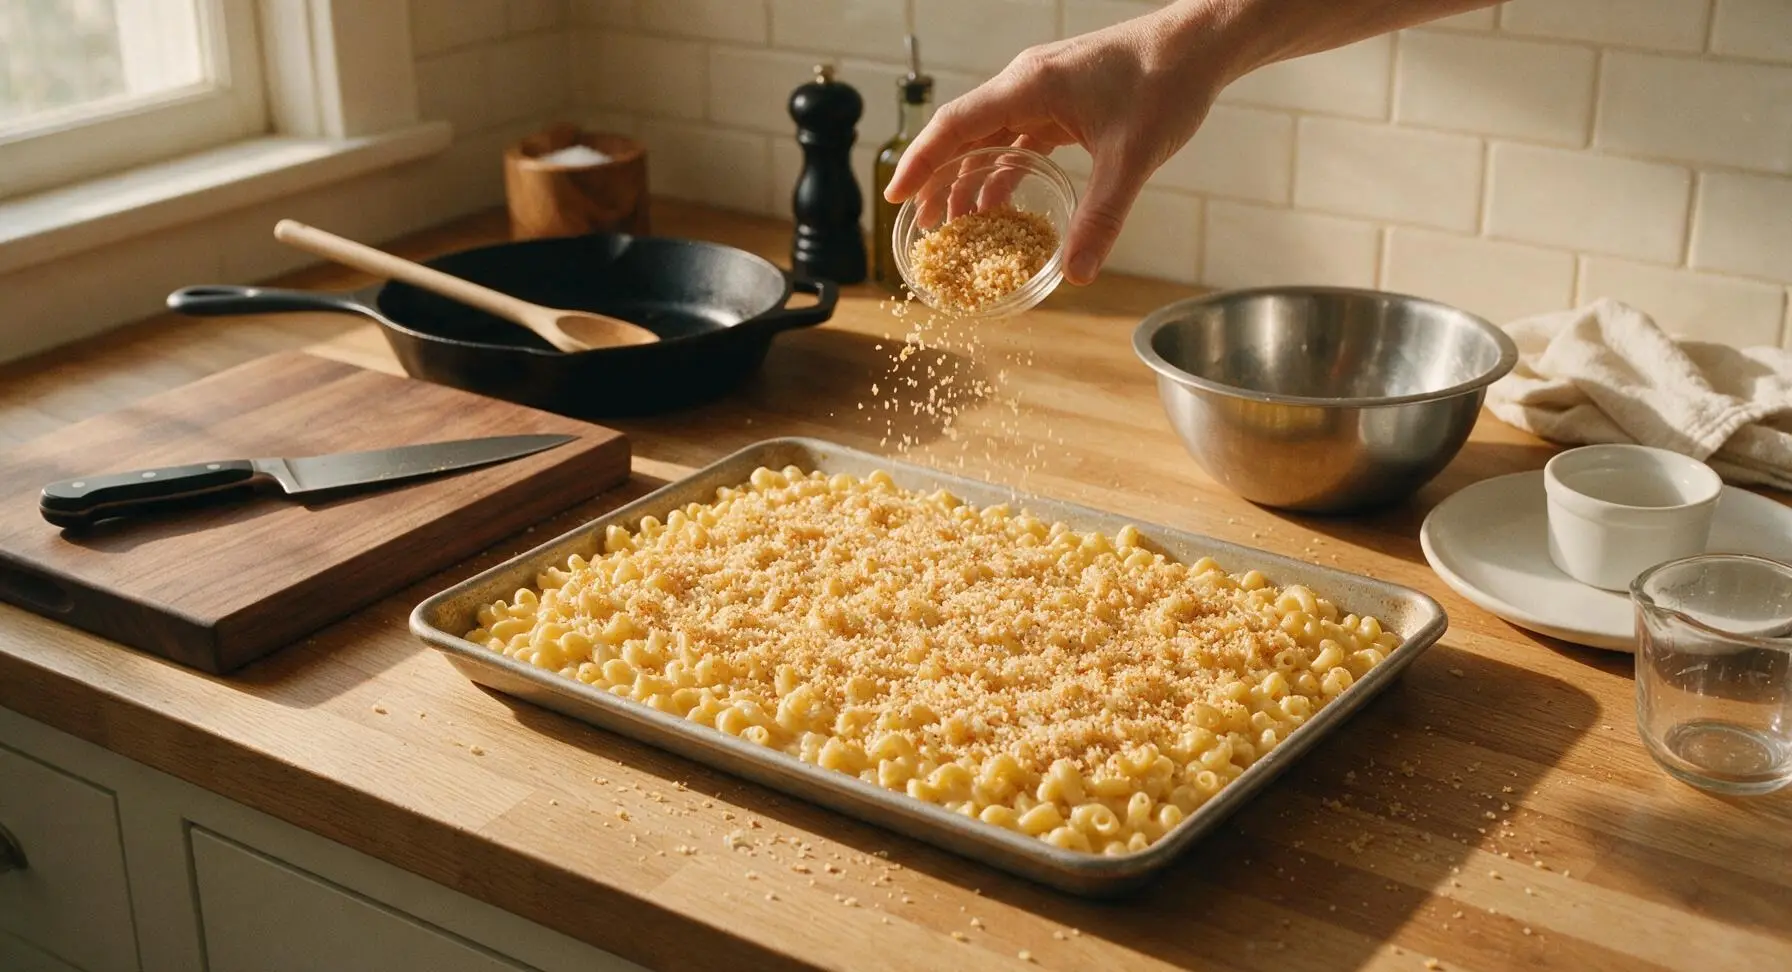
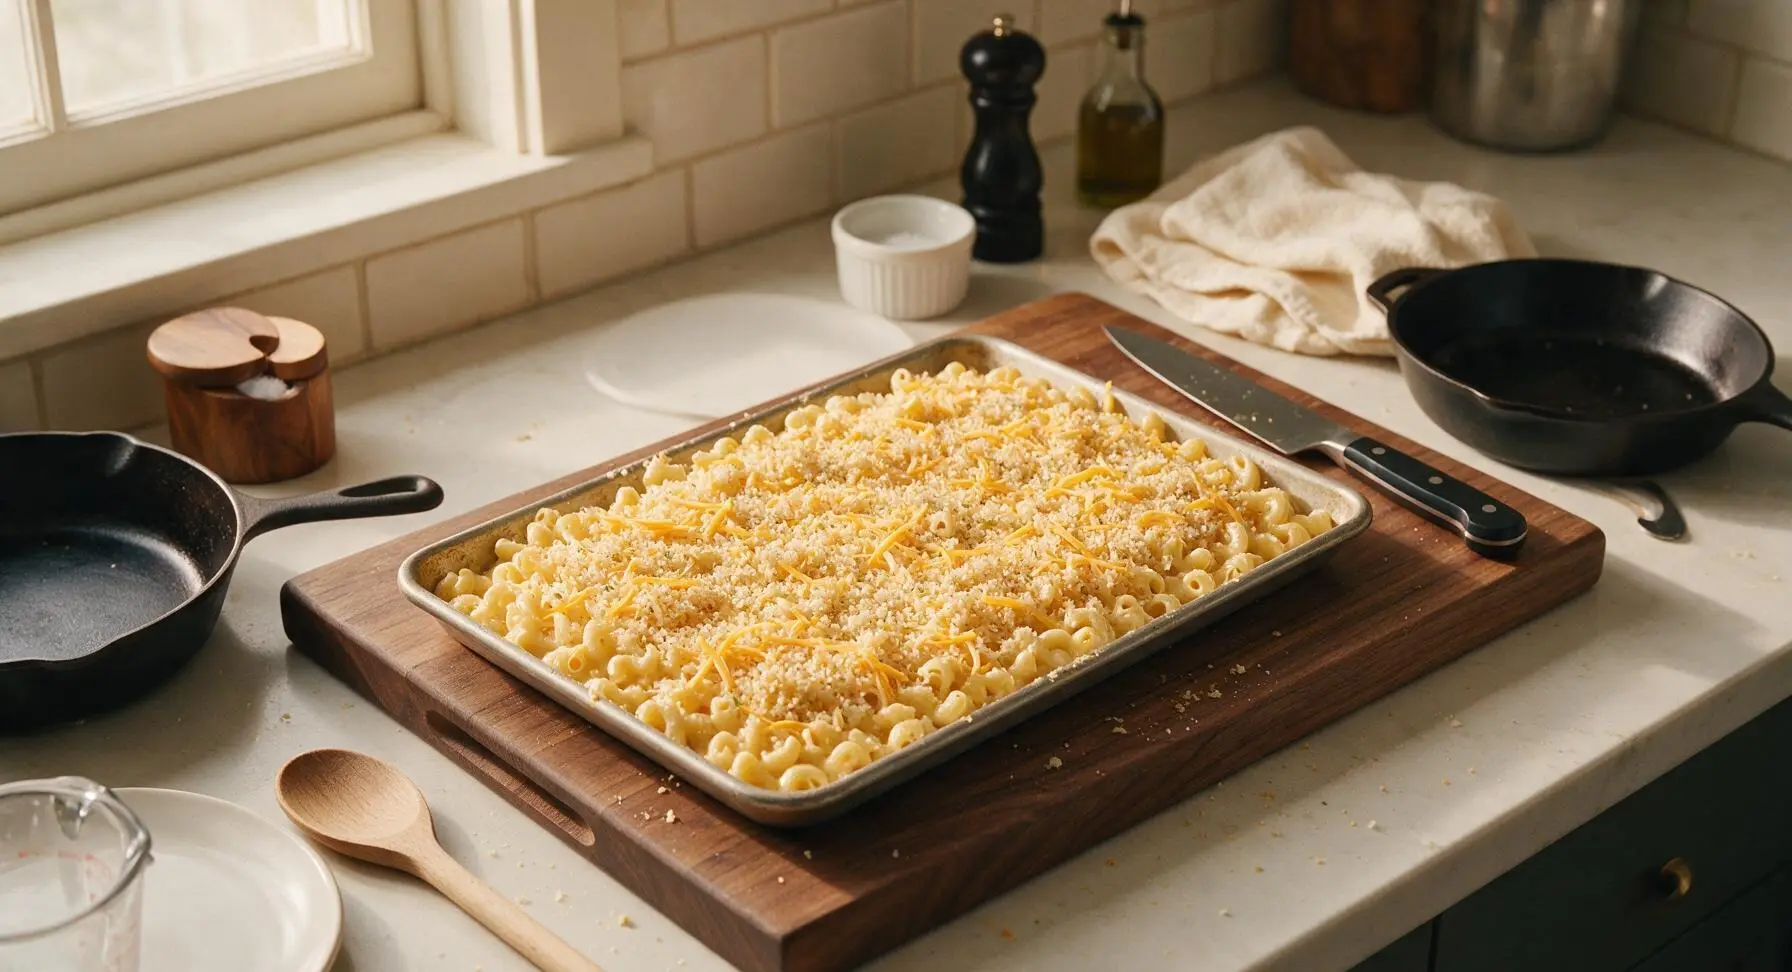
Step 7
step7:Top with Buttered Panko
Step 7
step7:Top with Buttered Panko
8

Bake to Golden Perfection

Carefully place the sheet pan on the middle oven rack, bake for 15 minutes at 425°F (220°C), until the sauce is bubbling around the pan edges, the panko topping is deep golden brown, and the cheese at the edges is crispy and slightly caramelized. Do not cover the pan, as this will make the topping soggy instead of crunchy. Once done, remove the pan from the oven and let it rest for 3 minutes before serving, to let the sauce set slightly.
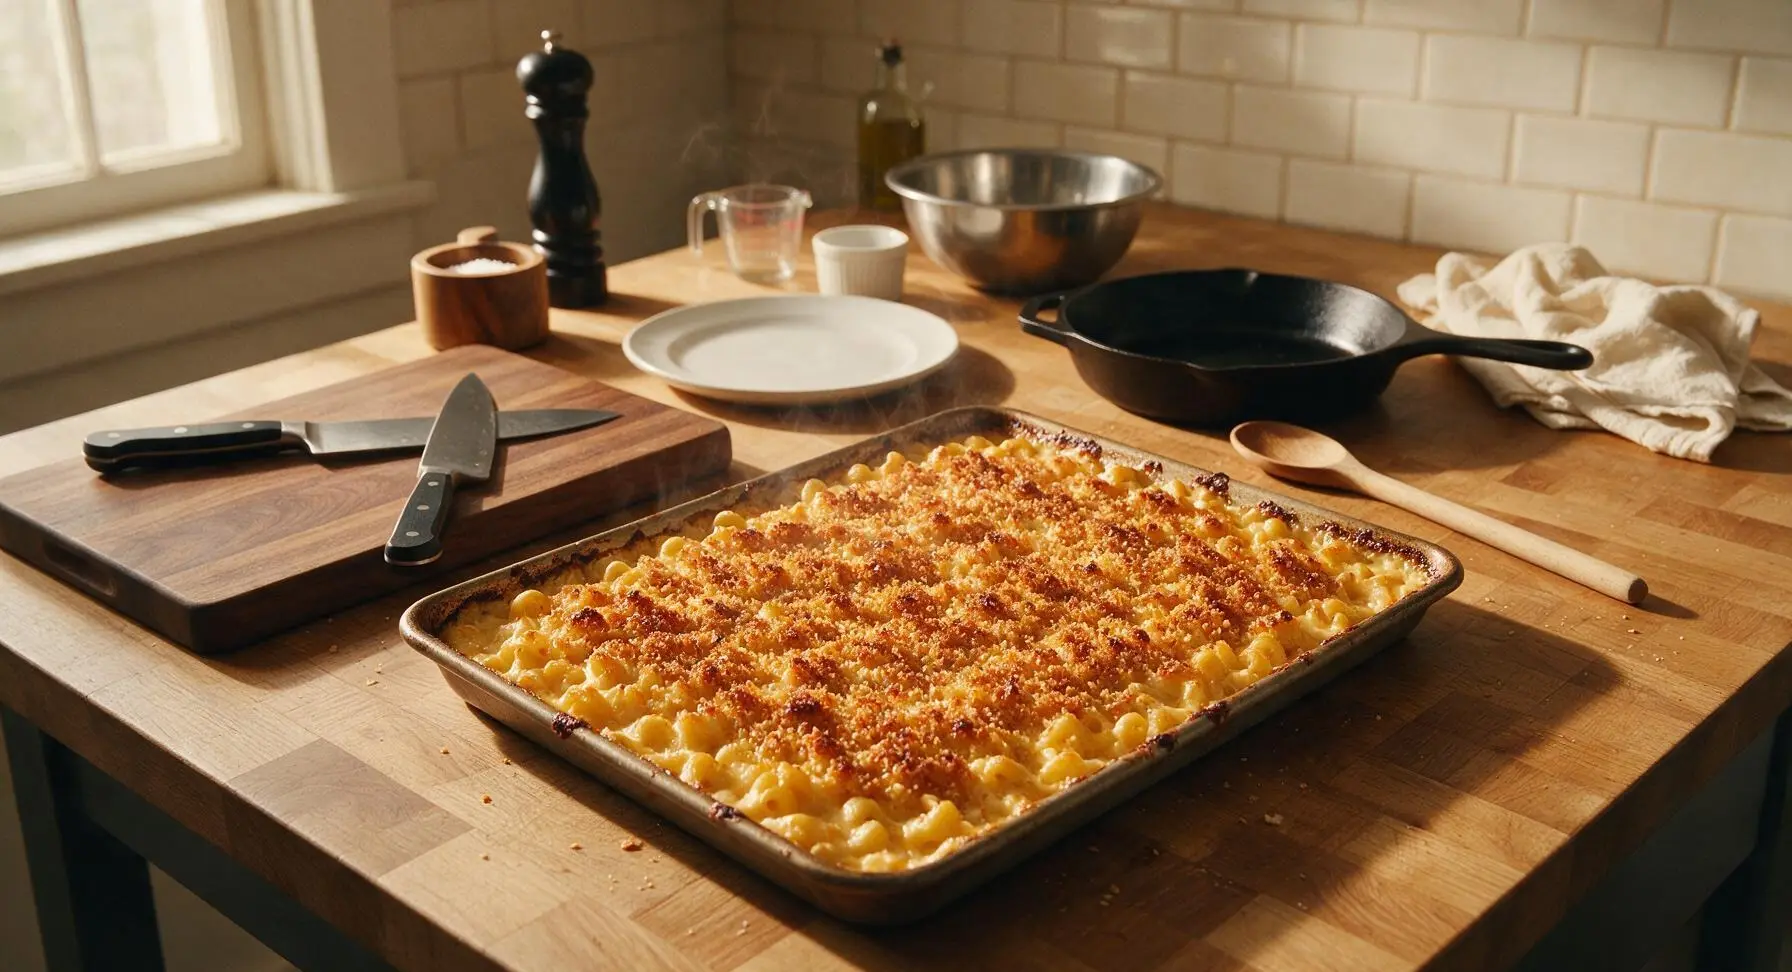
Step 8
step8:Bake to Golden Perfection
9

Garnish and Plate Servings

Pick the leaves from the 2 fresh thyme sprigs, chop them lightly, and sprinkle evenly across the top of the hot mac and cheese. Use the polished stainless steel serving spoon to scoop generous portions onto the matte cream white ceramic dinner plates, making sure every serving includes a mix of creamy center pasta and crispy edge pieces.
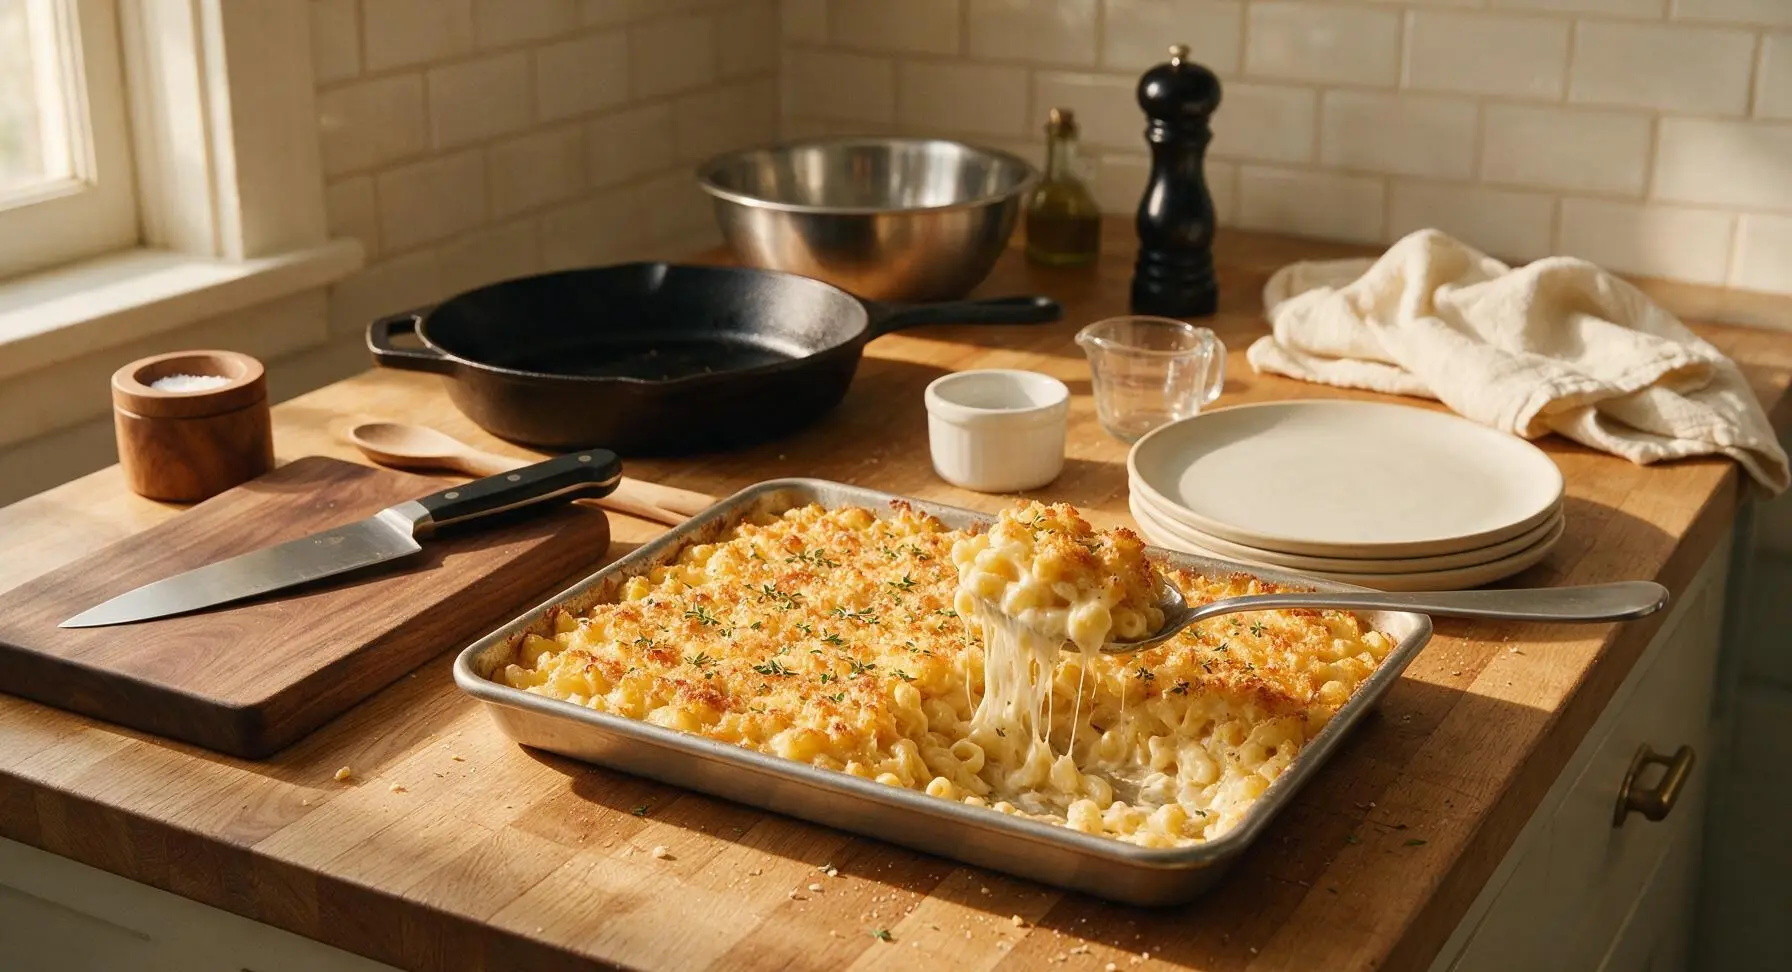
Step 9
step9:Garnish and Plate Servings

Tips

1.Skip pre-shredded cheese for this recipe: pre-shredded cheese is coated in potato starch and anti-caking agents to prevent clumping in the bag, which stops it from melting into a smooth, glossy sauce and can leave a grainy, starchy texture. Freshly grated block cheddar melts seamlessly for the creamiest, most cohesive cheese sauce.
2.Do not rinse pasta after draining: the starchy coating on hot cooked pasta acts as a natural thickener for the cheese sauce, helping it cling to every macaroni piece instead of sliding off and pooling at the bottom of the pan. Rinsing removes this starch and leads to watery, separated sauce.
3.Resist the urge to pile the pasta thickly on the sheet pan: a thin, even layer (no more than 1 inch deep) ensures every serving gets a mix of creamy, tender center pasta and crispy, caramelized cheese edges, rather than a soggy, dense center that never crisps up.


✨ You May Also Like

Main Course
🍜 United Kingdom

A showstopping classic of tender seared beef, savory mushroom duxelles, and crisp prosciutto wrapped in flaky golden puff pastry, baked to juicy perfection.

⏱️ 2 hours 1Main Course ★ 4.7
Main Course
🍜 India

Tender charred marinated chicken simmered in a rich, spiced creamy tomato sauce, this iconic Anglo-Indian curry pairs perfectly with basmati rice or warm naan.

⏱️ 50 minuteMain Course ★ 4.6
Main Course
🍜 Thailand

Classic tangy, sweet, and savory Thai stir-fried rice noodles with shrimp, tofu, and crunchy garnishes, balancing all five core Thai flavor profiles.

⏱️ 30 minuteMain Course ★ 4.5
Main Course
🍜 United Kingdom

Crispy golden beer-battered cod and fluffy double-fried chips, served with tangy tartar sauce and malt vinegar: the timeless, beloved British pub comfort classic.

⏱️ 45 minuteMain Course ★ 4.7
Main Course
🍜 Mexico

Smoky, chile-marinated pork tacos with caramelized pineapple, fresh cilantro, and lime: a beloved classic Mexican street food perfect for casual summer gatherings.

⏱️ 1 hour 45Main Course ★ 4.8
Main Course
🍜 United States

Crunchy Fritos corn chips layered with savory beef chili and melted cheddar, topped with cool, zesty fixings for a beloved, cozy Tex-Mex comfort food.

⏱️ 35 minuteMain Course ★ 4.8

Sheet Pan Mac and Cheese:Frequently Asked Questions

1.How is sheet pan mac and cheese different from regular baked mac and cheese? ▾
Unlike traditional baked mac that requires a stovetop roux, deep baking dish, and 45+ minutes of cook time, this version skips the fussy roux, cooks entirely on a single sheet pan in 35 minutes total, and delivers crispy golden edges plus crunchy panko topping in every bite, with far less post-cooking cleanup.
2.Do I really not need to make a roux for this recipe? ▾
Nope, no roux required at all! The high, even heat of the sheet pan, combined with starchy pasta cooking water, whole milk, and melted sharp cheddar, creates a perfectly smooth, creamy cheese sauce as it bakes. You’ll skip the constant whisking and risk of lumpy sauce that comes with a traditional roux base.
3.Why do you recommend block sharp cheddar instead of pre-shredded cheese? ▾
Pre-shredded cheese is coated in anti-caking agents like potato starch that keep it from melting smoothly, which can leave your sauce grainy. Freshly grating a block of sharp cheddar gives you that ultra-gooey, creamy melt we all want, plus its bold, tangy flavor cuts through the richness of butter and milk perfectly.
4.Can I use a different pasta shape instead of elbow macaroni? ▾
Dry elbow macaroni works best here because its small, curved shape catches cheese and panko perfectly, but you can swap in other small, sturdy dry pasta shapes like cavatappi, small shells, or rotini if that’s what you have on hand. Just keep the pasta amount the same and don’t overcook it before baking.
5.How do I make sure every bite has that crunchy panko topping? ▾
The shallow, wide surface of a standard sheet pan is your secret here! Instead of piling panko only on the top of a deep dish, you’ll spread the pasta mixture in a thin, even layer across the pan, then sprinkle panko evenly over the whole surface so no section misses out on that golden, crispy crunch.
6.What size sheet pan should I use for this recipe? ▾
Reach for a standard 18x13-inch half-sheet pan for best results. That size gives you the perfect thin layer of pasta to get those coveted crispy, cheesy edges without the mac and cheese spilling over the sides as it bakes. If you use a smaller pan, your pasta layer will be too thick and won’t crisp up evenly.
7.Do I need to boil the pasta all the way before baking it on the sheet pan? ▾
You’ll do a short, partial boil of the dry elbow macaroni first—cook it to just al dente, about 2 minutes less than the package directions, so it doesn’t turn mushy as it bakes in the milk and cheese on the sheet pan. Reserve a small splash of starchy pasta water to help the sauce come together smoothly if needed.
8.Can I use low-fat milk instead of whole milk for this recipe? ▾
Whole milk gives the creamiest, richest cheese sauce without any extra work, thanks to its higher fat content. You can use 2% milk if that’s all you have, but skip skim or low-fat non-dairy milks—those will result in a watery, thin sauce that doesn’t coat the pasta evenly or deliver that rich, cheesy mouthfeel.
9.How do I keep the mac and cheese from sticking to the sheet pan? ▾
First, use the recommended amount of unsalted butter to grease the pan generously before adding your pasta and cheese mixture. You can also line the pan with parchment paper for extra easy cleanup if you’d like, just leave a ½-inch border around the edges so those crispy, cheesy bits still form for maximum crunch.
10.How long does this sheet pan mac and cheese take to make from start to finish? ▾
Total time is just 35 minutes flat! That includes 10 minutes of prep (grating cheese, par-boiling pasta, mixing ingredients), 20 minutes of bake time on the sheet pan, and 5 minutes of cool down time before serving, making it perfect for quick, low-fuss weeknight dinners.
11.Can I add mix-ins like bacon, broccoli, or hot sauce to this recipe? ▾
Absolutely! This simple base is super customizable. Fold in cooked crumbled bacon, steamed chopped broccoli, diced ham, a dash of hot sauce, or a pinch of smoked paprika to the pasta mixture before spreading it on the sheet pan. Just avoid adding too many watery mix-ins that could thin out the creamy cheese sauce.
12.Why is my mac and cheese coming out soggy instead of crispy on the edges? ▾
Sogginess almost always stems from two common issues: using a pan that’s too small so the pasta layer is too thick, or overcooking your pasta before baking. Make sure you’re using a half-sheet pan for a thin, even pasta layer, and only par-boil your macaroni to al dente so it crisps up as it bakes.
13.Should I melt the butter before mixing it with the panko for the topping? ▾
Yes! Melt the measured unsalted butter, then toss it with the panko breadcrumbs before sprinkling the mixture evenly over the top of the pasta on the sheet pan. This helps the panko toast up to that perfect golden, crunchy texture instead of staying dry and powdery on top of the baked mac.
14.How do I reheat leftover sheet pan mac and cheese without it getting mushy? ▾
For best results, reheat leftovers on a sheet pan in a 375°F oven for 8 to 10 minutes, rather than microwaving it. The dry oven heat will bring back those crispy edges and crunchy panko topping, while gently warming the creamy cheese center, so leftovers taste just as fresh as the night you made them.
15.Can I make this recipe ahead of time for meal prep or a potluck? ▾
You can assemble the par-boiled pasta, cheese, and milk mixture on the greased sheet pan up to 24 hours ahead, cover it tightly, and store it in the fridge. Wait to add the buttered panko topping until right before you bake it, to keep the crumbs from getting soggy, then bake as directed for fresh, crispy results.
16.Is there a way to make this recipe extra cheesy? ▾
For an extra-cheesy kick, reserve ½ cup of your freshly grated sharp cheddar to sprinkle over the top right before you add the buttered panko layer. That extra cheese will melt into bubbly, golden pockets across the surface of the sheet pan, adding even more tangy cheddar flavor and extra crispy cheese bits.
17.How much cleanup does this recipe actually require compared to traditional mac and cheese? ▾
Since this recipe skips the extra saucepan needed for a roux and cooks entirely on one sheet pan, cleanup is extremely minimal. You’ll only have the pot you used to par-boil the pasta, your cheese grater, and the single sheet pan to wash, cutting post-dinner dish time by more than half.

Comments (6)

2 days ago

OMG this sheet pan mac and cheese is an absolute game changer for chaotic weeknight dinners! The 25 minute cook time is no joke—threw it together right after my youngest’s soccer practice, didn’t have to dirty a million dishes, and all three of my picky kids loved it so much they went back for seconds. Those crispy, cheesy edges from baking on the sheet pan are *chef’s kiss* so much better than the soupy stovetop stuff I usually make. This is going straight into our permanent family dinner rotation!

yesterday

This sounds perfect for our neighborhood block party next weekend! Quick question—did you use regular elbow macaroni or the cavatappi the recipe mentions? I want to make sure it turns out perfect, I’m in charge of the sides this year!

yesterday

We’re so thrilled your whole family loved it! Both elbow macaroni and cavatappi work beautifully here—cavatappi holds onto the cheese sauce a little better if you have it on hand, but there’s no need to make a special grocery run for it. We hope it’s a total hit at the block party!

5 minutes ago

SO good and so easy! I don’t have any fancy baking dishes in my tiny dorm apartment, so the fact that this only needs a single sheet pan sold me immediately. Made it for my roommates last night during our midterm study session and we ate the entire pan before we even got through our first flashcard set. I tossed a little extra hot sauce on my serving and it slapped, 10/10.

1 week ago

Tested this for my Sunday meal prep last week and it held up way better than I thought it would in the fridge! Portioned it out into 5 containers for work lunches and it reheated perfectly in the microwave, no weird mushy pasta or grainy cheese sauce. I did sprinkle a handful of panko breadcrumbs on top before baking for extra crunch, would definitely recommend that easy hack!

5 days ago

We love the panko breadcrumb hack—such a great call for extra crunch! So glad this worked well for your weekly meal prep; this recipe stays great in the fridge for 3-4 days, so it’s ideal for grab-and-go lunches. Thanks so much for sharing your tip!

5 days ago

Made this as a side for our backyard cookout over the weekend and it was gone in 10 minutes flat! Every single guest was hounding me for the recipe, and nobody believed me when I said it only took 25 minutes from start to finish. Those crispy cheese bits that bake onto the edges of the sheet pan? Absolute best part, I was scraping those off for myself before anyone else could get to them lol.

3 days ago

So excited to try this! Giving 4 stars for now because this looks so perfect for my kid who has a gluten sensitivity! I’ve been hunting for a simple mac and cheese recipe that doesn’t require a ton of weird specialty ingredients, and this fits the bill. Quick question—has anyone tried making this with gluten free pasta? I want to make sure it doesn’t turn out mushy or crunchy when baked on the sheet pan!

2 days ago

I made this last week with brown rice gluten free elbows! Just cook the pasta a minute less than the package says before tossing it with the sauce and baking, and it turned out perfect—no mushy mess at all. My gluten-eating husband didn’t even notice it wasn’t regular pasta, it was that good!

2 days ago

Great question! Gluten free pasta works wonderfully in this recipe, as long as you undercook it by a minute or two before baking so it doesn’t get too soft in the oven. We’ve tested it with both chickpea and brown rice pasta, and both turn out super creamy and delicious. Hope your kid loves it!

2 hours ago

Wait a second—y’all are telling me I don’t have to boil the pasta on the stovetop first? I was fully ready to drag out my big pasta pot when I read the instructions, but nope—everything mixes right on the sheet pan and bakes in 25 minutes? Tried it last night and my mind is completely blown, no extra pots to wash, perfectly creamy, zero crunchy undercooked pasta. Why didn’t I think of this hack sooner?!

30 minutes ago

Right?! I was so skeptical about the no-boil thing too! I added a splash of extra warm water to the cheese sauce the first time I made it just to be safe, and it came out perfectly creamy, no crunchy bits at all. Total weeknight dinner game changer for when I don’t feel like doing a sink full of dishes.



