
Shokupan Scrambled Eggs
intro
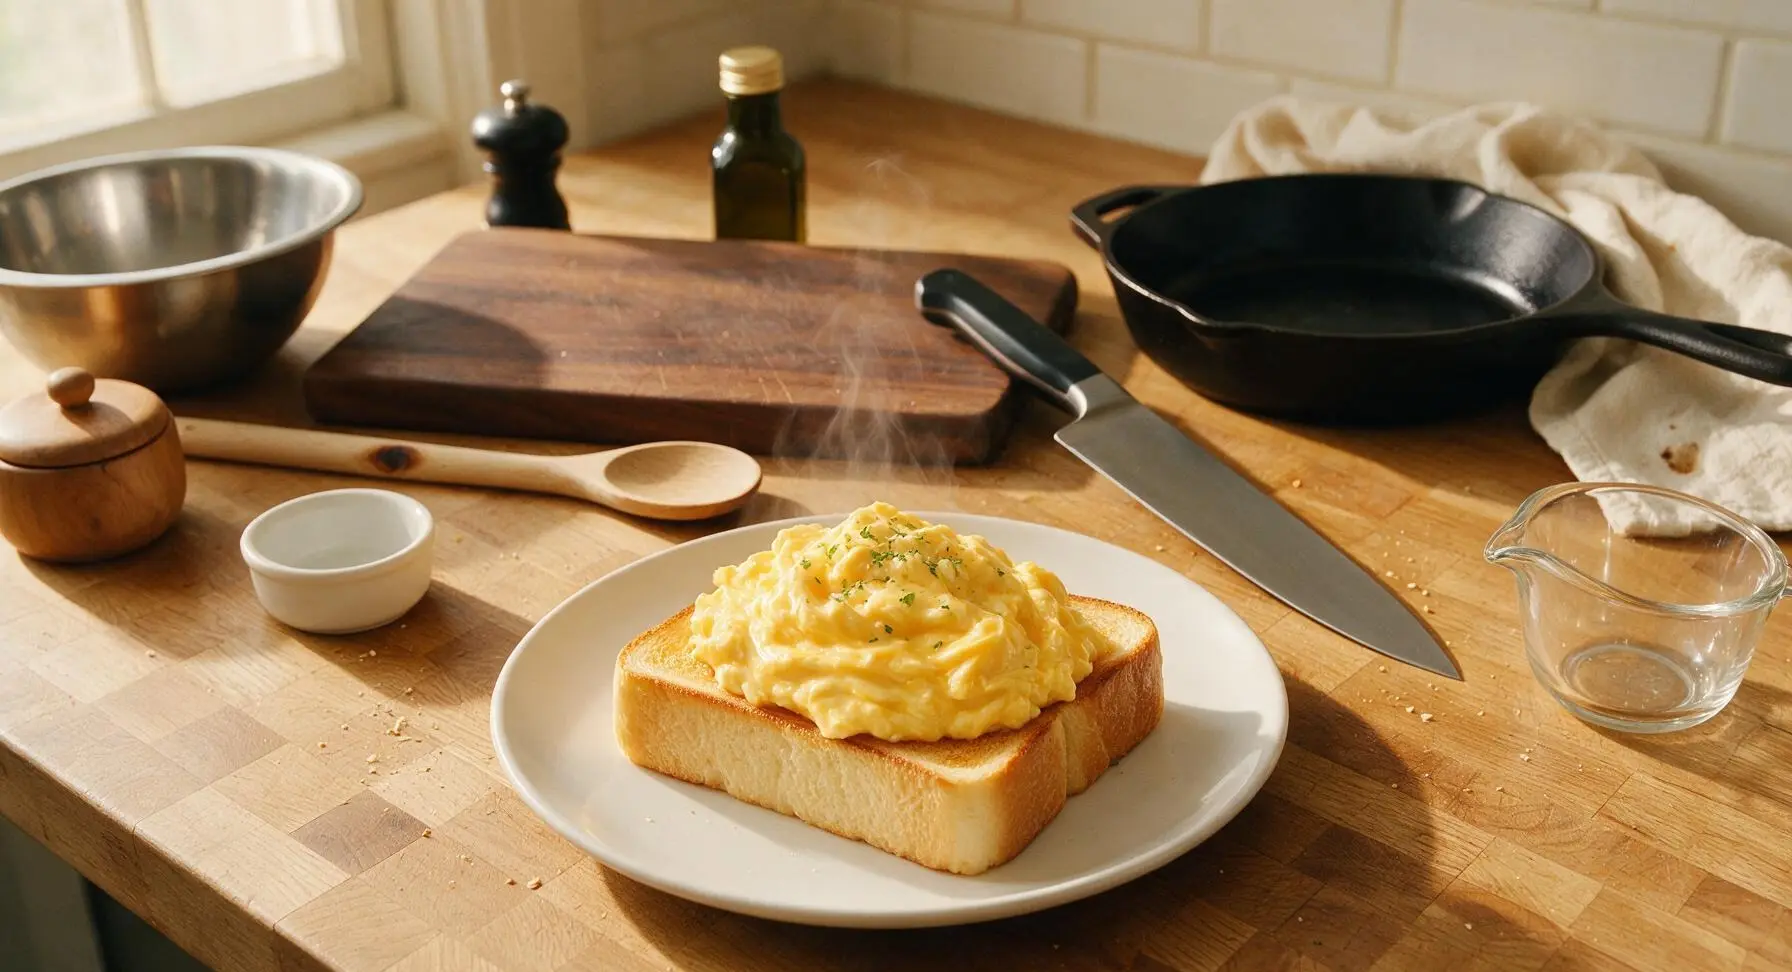
Silky, melt-in-your-mouth Japanese-style soft scrambled eggs piled high on pillowy, buttery pan-toasted shokupan—light, creamy, ready in 12 minutes for a cozy, satisfying meal.
Ingredients
Steps
Prep All Ingredients
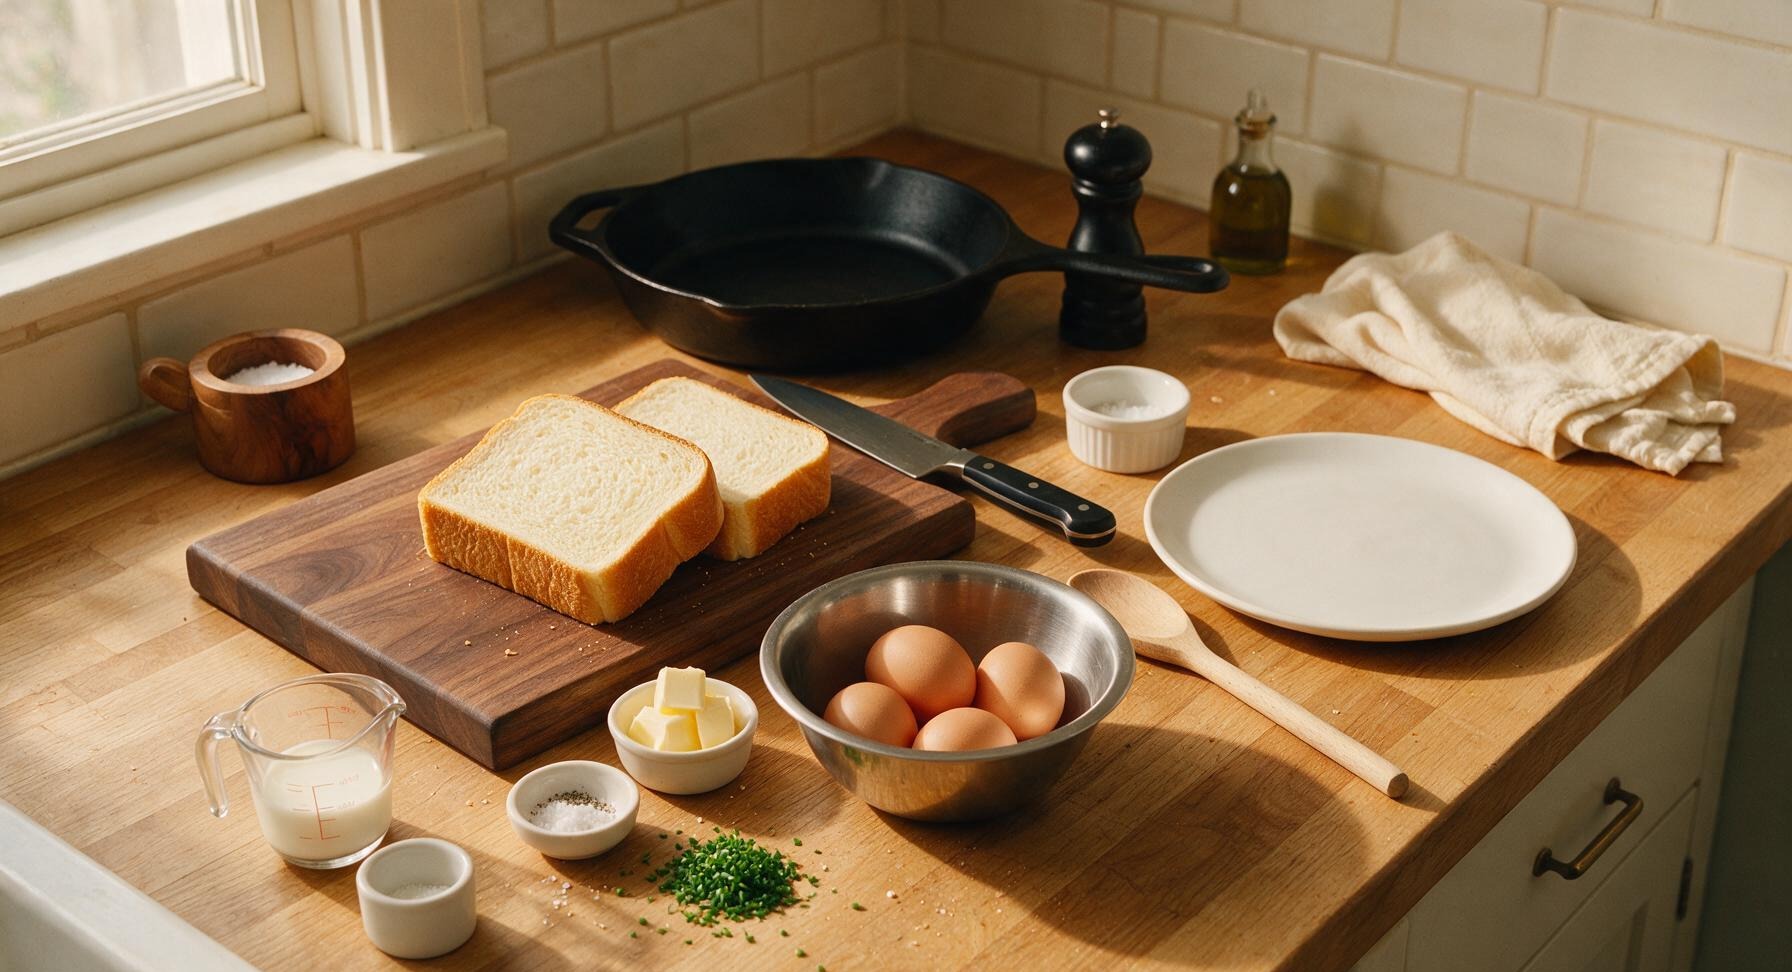
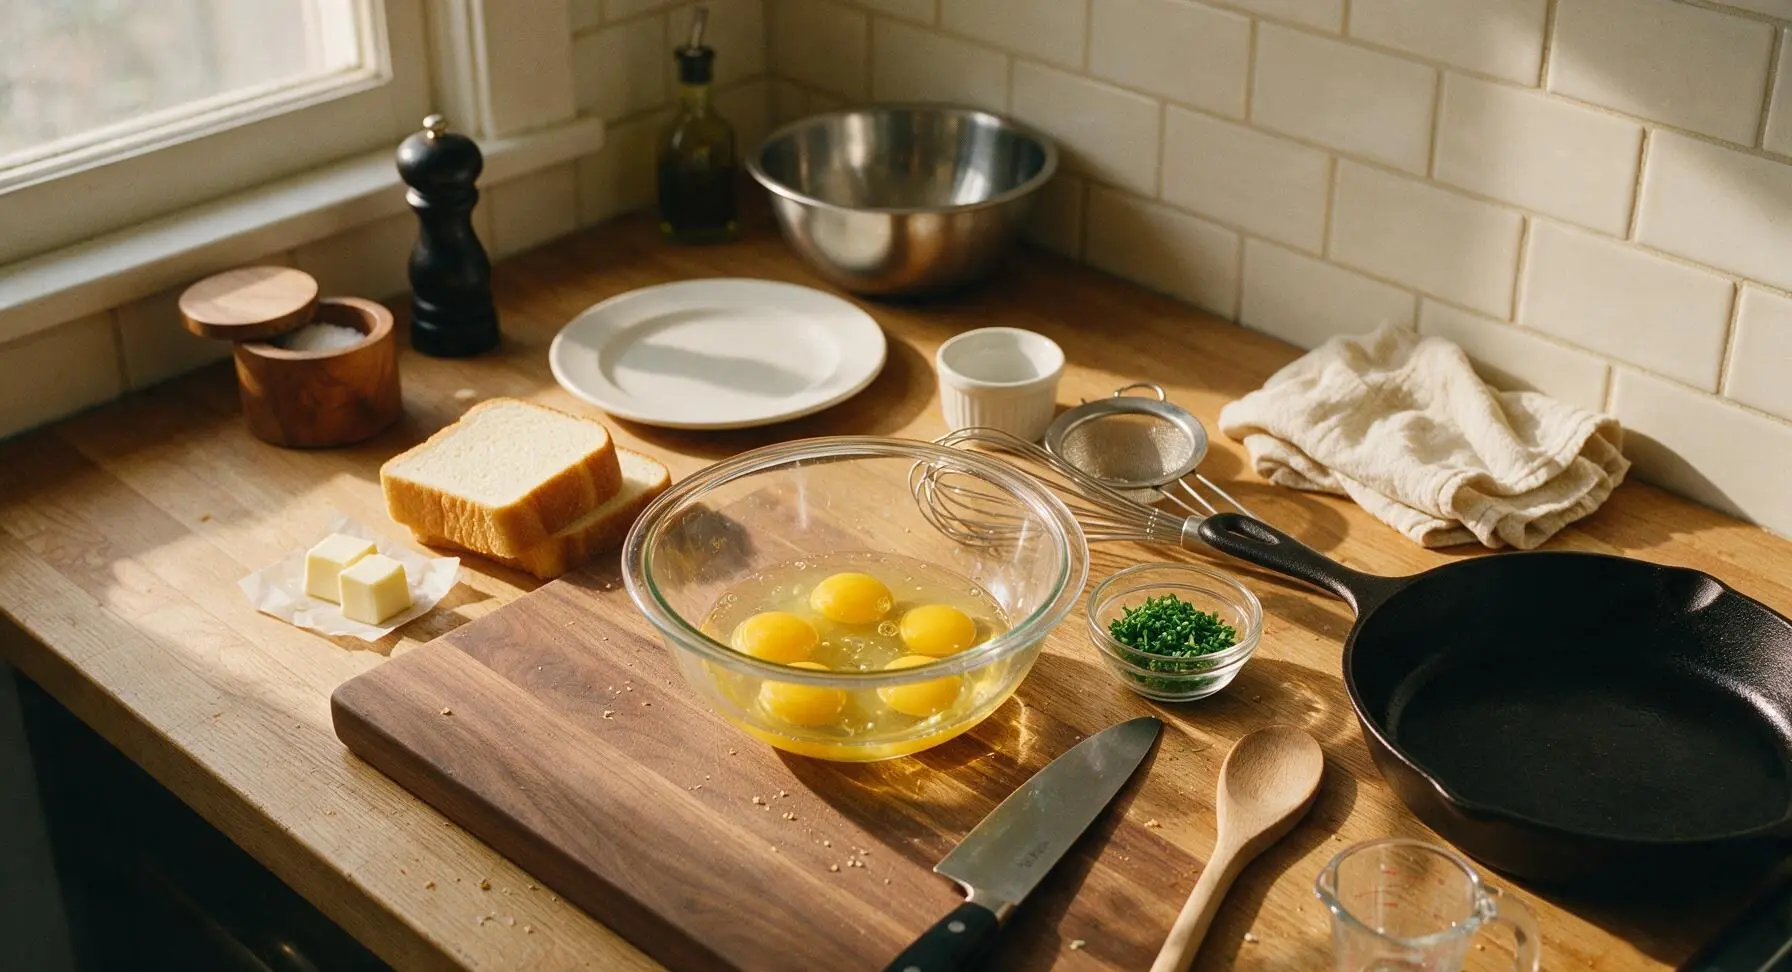
First, gather all ingredients on the counter: cut shokupan into 4cm (1.5in) thick slices if not pre-sliced, snip 1 tablespoon of chives into fine 2mm pieces and place into the small clear glass ramekin, and divide 2 tablespoons of unsalted butter into two equal 1-tbsp pats, setting them on a small scrap of wax paper. Crack all 4 large eggs into the medium borosilicate glass mixing bowl, taking care to fish out any small shell fragments with a piece of egg shell if they fall in.
Whisk Egg Base Smooth
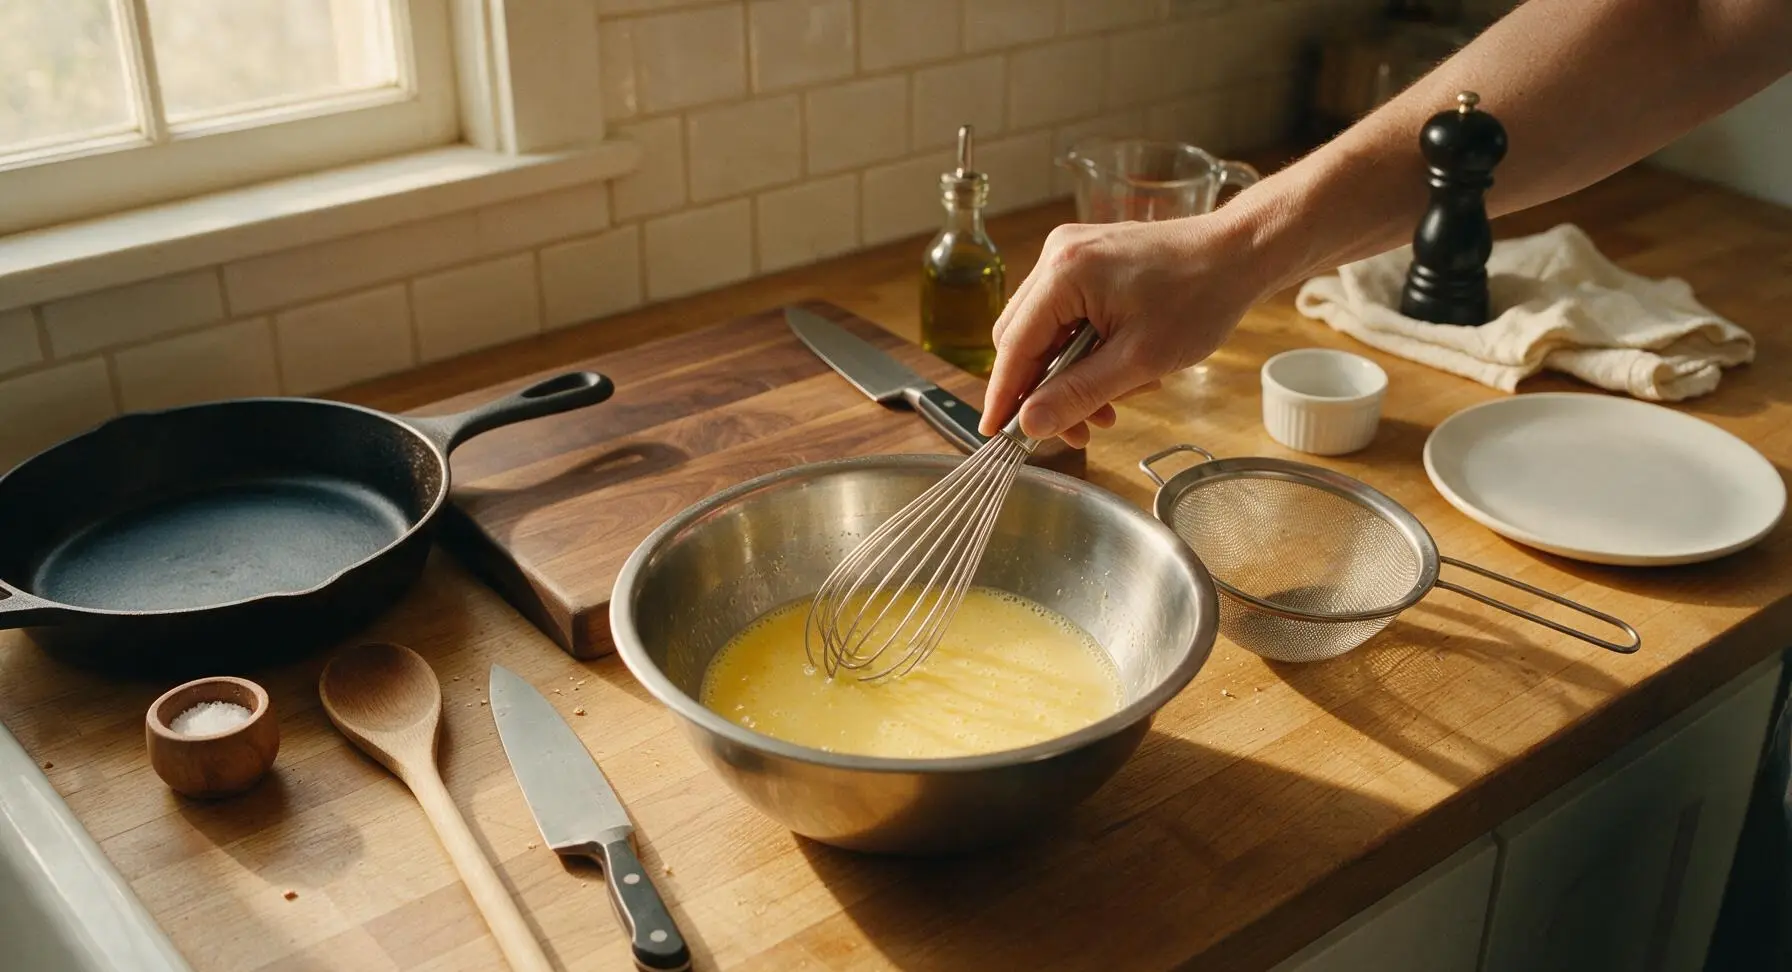
Add 2 tablespoons whole milk, 1/4 teaspoon fine white pepper, and 1/8 teaspoon flaky sea salt to the eggs in the mixing bowl. Use the small stainless steel wire whisk to beat the mixture for 30-45 seconds, until yolks and whites are fully combined, no streaks of clear egg white remain, and the surface is covered in tiny, uniform bubbles. Avoid over-whisking, which incorporates excess air and leads to dry, spongy eggs instead of a creamy texture.
Strain Egg Mixture
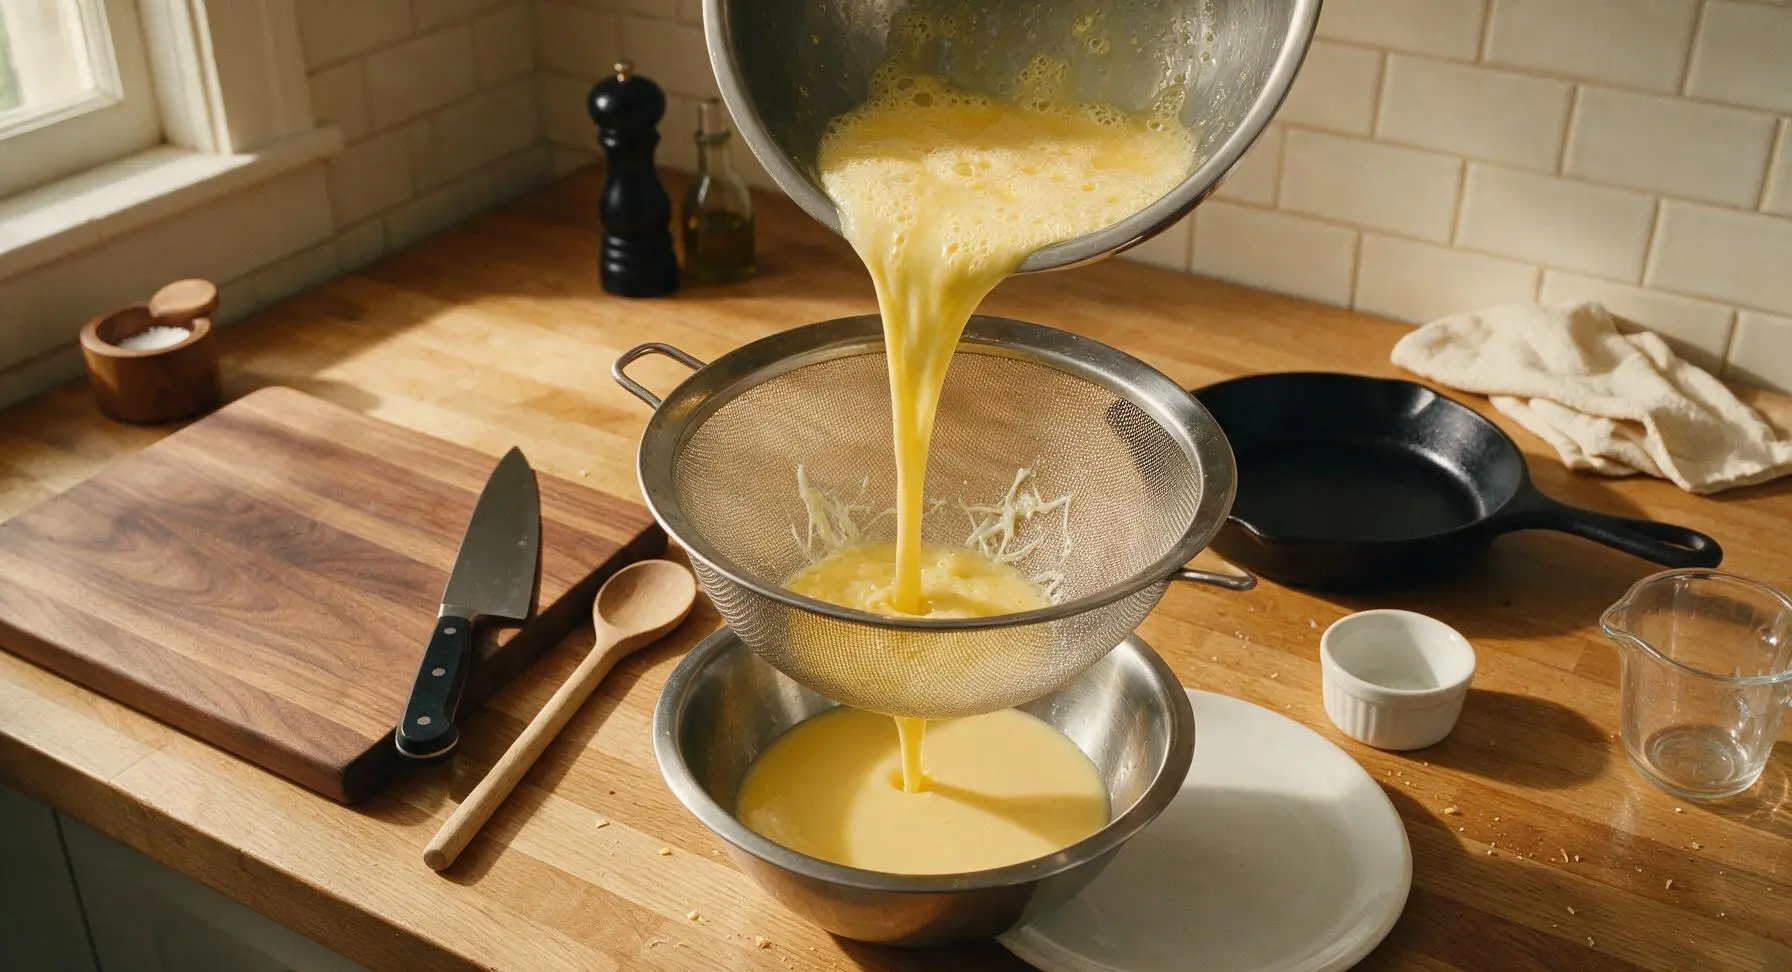
Set the small fine-mesh stainless steel sieve over the top of the mixing bowl. Pour the whisked egg mixture through the sieve to catch any stringy chalaza (the opaque white strand attached to the yolk) and unincorporated egg white bits, which cause lumpy scrambled eggs. Discard any small solid bits left in the sieve; the strained mixture will be perfectly smooth, uniform pale yellow, with no visible lumps or strands.
Toast Shokupan Slices
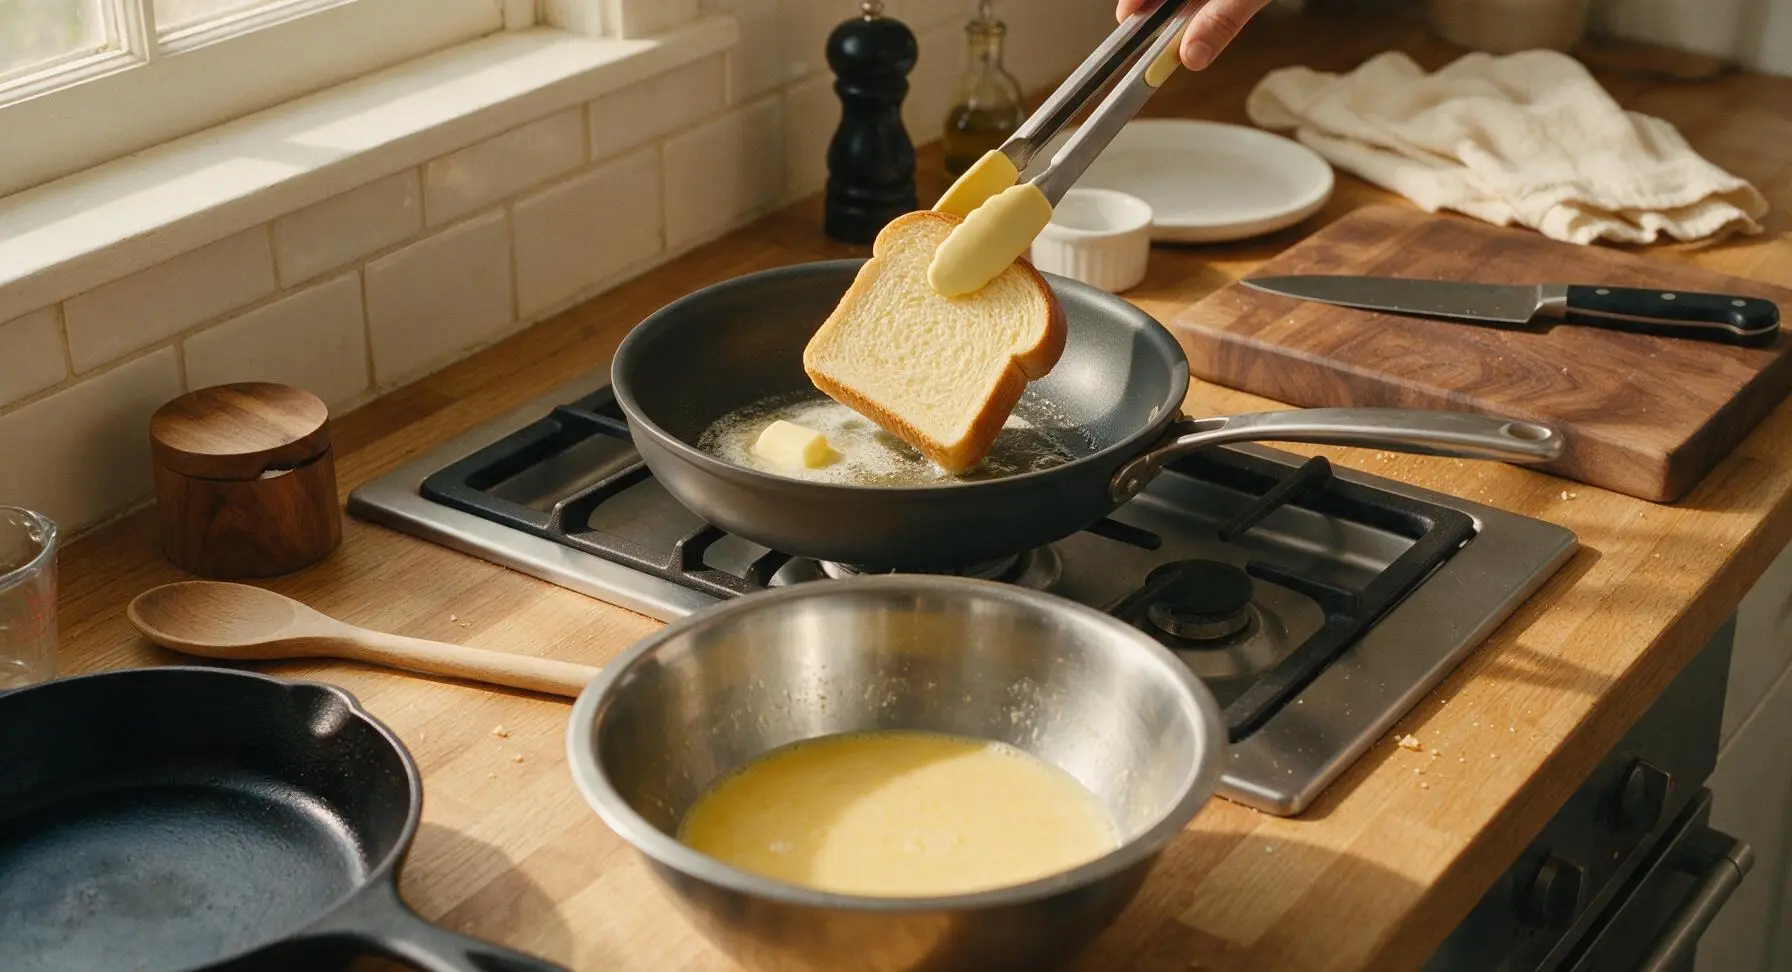
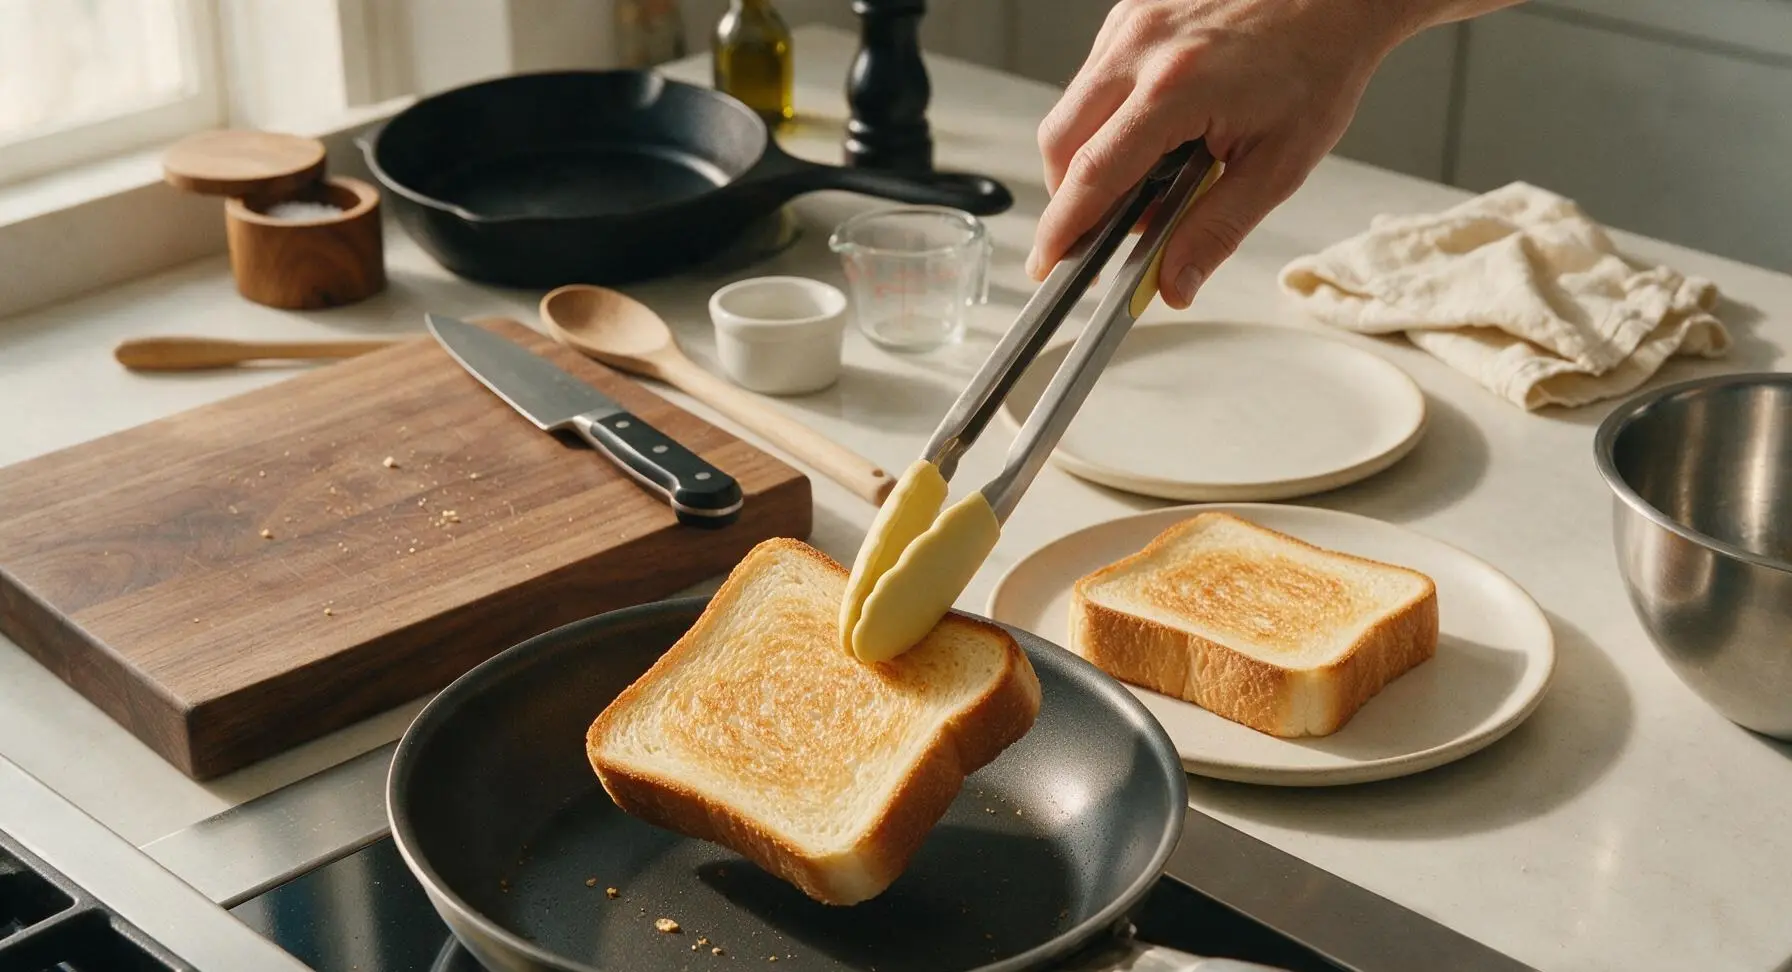
Place the 20cm non-stick frying pan on the stovetop over medium-low heat (150°C / 300°F). Add 1 tablespoon of butter to the pan, and once melted and foaming lightly (about 30 seconds, no browned butter), add the two thick shokupan slices. Use the stainless steel tongs with pale yellow silicone tips to flip the slices after 1.5 minutes, toasting the second side for another 1.5 minutes until both sides are pale golden brown, with a crisp outer edge and soft, pillowy center. Transfer toasted shokupan to the two matte off-white ceramic plates (one slice per plate) and set them near the back of the counter, away from direct stovetop heat.
Cook Silky Soft Eggs
Reduce stovetop heat to low (120°C / 250°F — this temperature is critical to avoid rubbery eggs). Add the remaining 1 tablespoon of butter to the same pan used for toasting bread, swirling to coat the pan surface as it melts. Pour the strained egg mixture into the pan, and let it sit undisturbed for 15 seconds until the very edges start to set slightly. Use the pale yellow silicone spatula to gently push set egg curds from the pan edges toward the center, tilting the pan to let uncooked, runny egg flow into the empty spaces. Continue this slow, gentle pushing motion for 2 to 2.5 minutes total, until the eggs form soft, large, creamy curds that are just barely set — they should look slightly underdone in the center, as they will continue to cook from residual heat. Do not stir constantly or scrape the pan hard, as this creates small, tough curds.
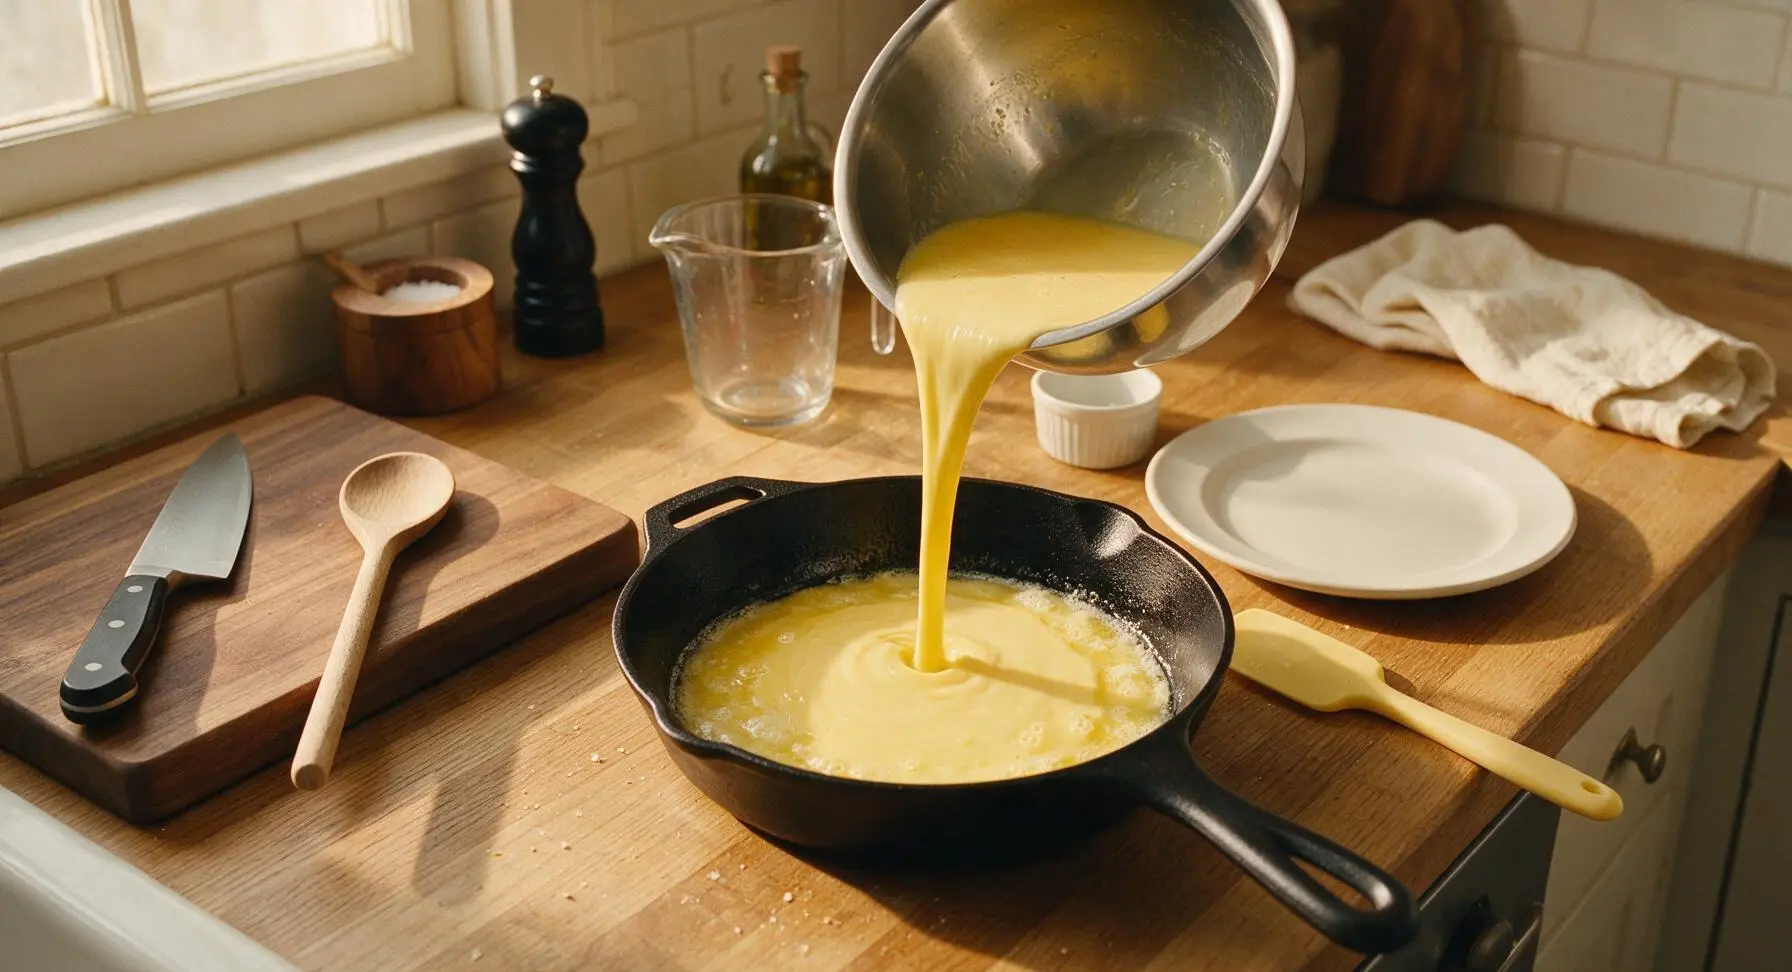
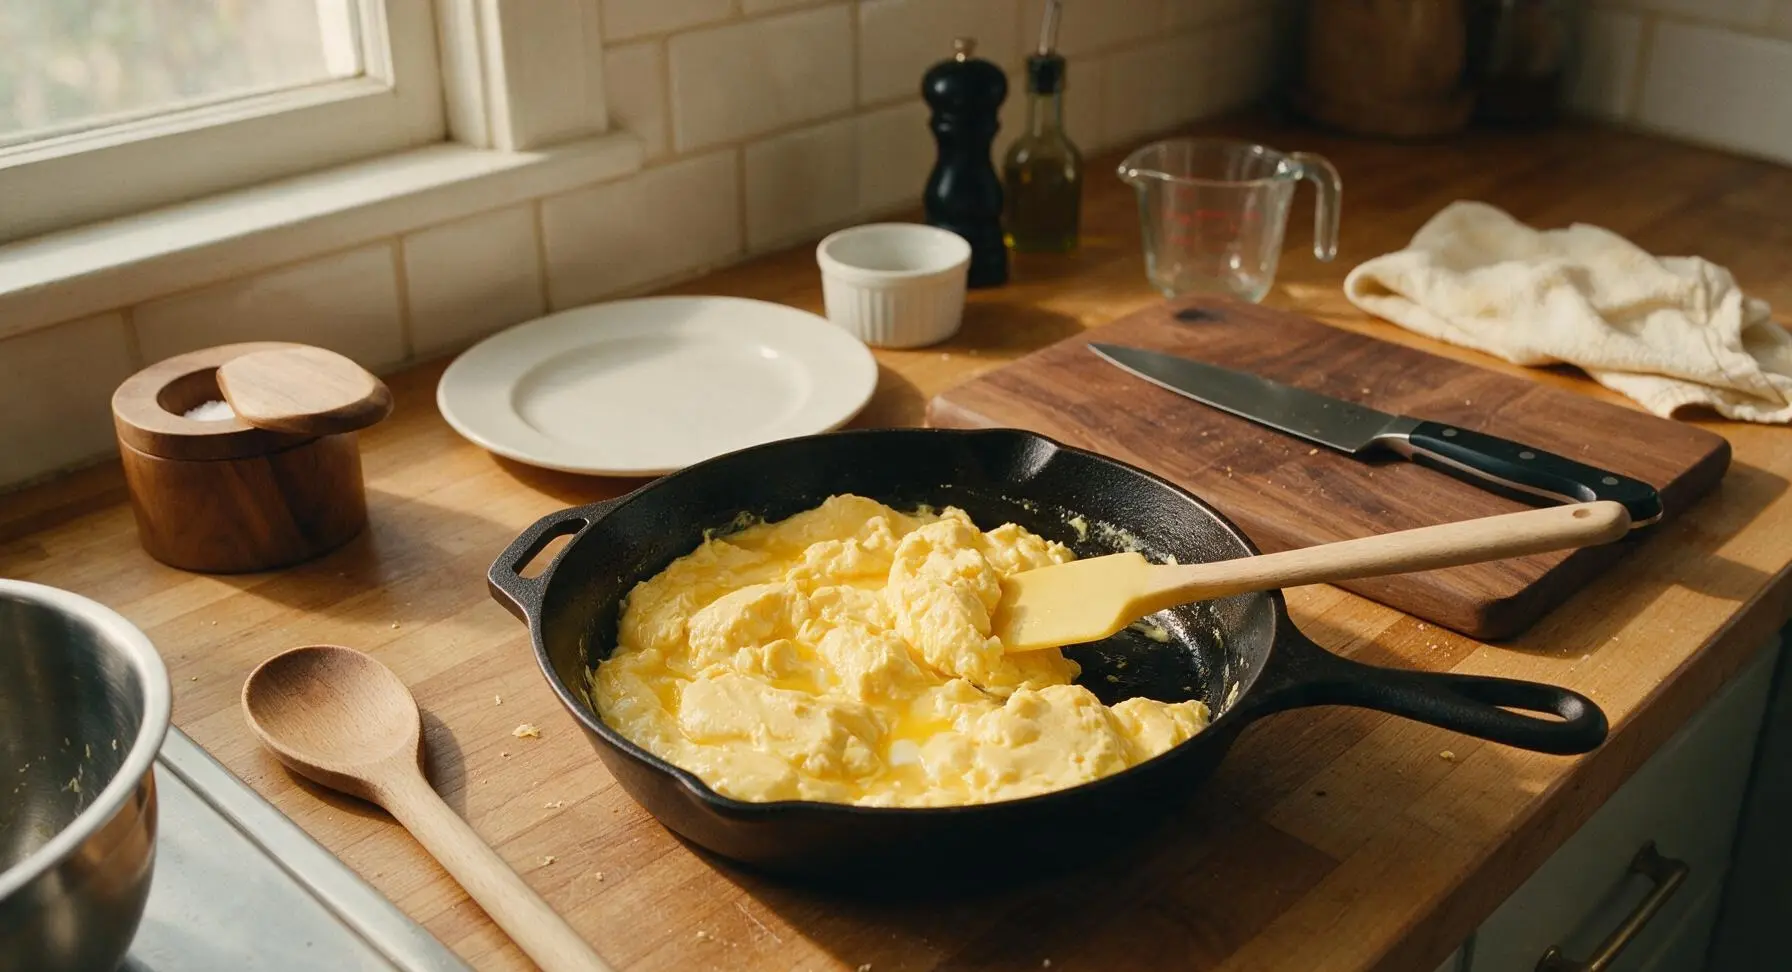
Plate Eggs on Bread
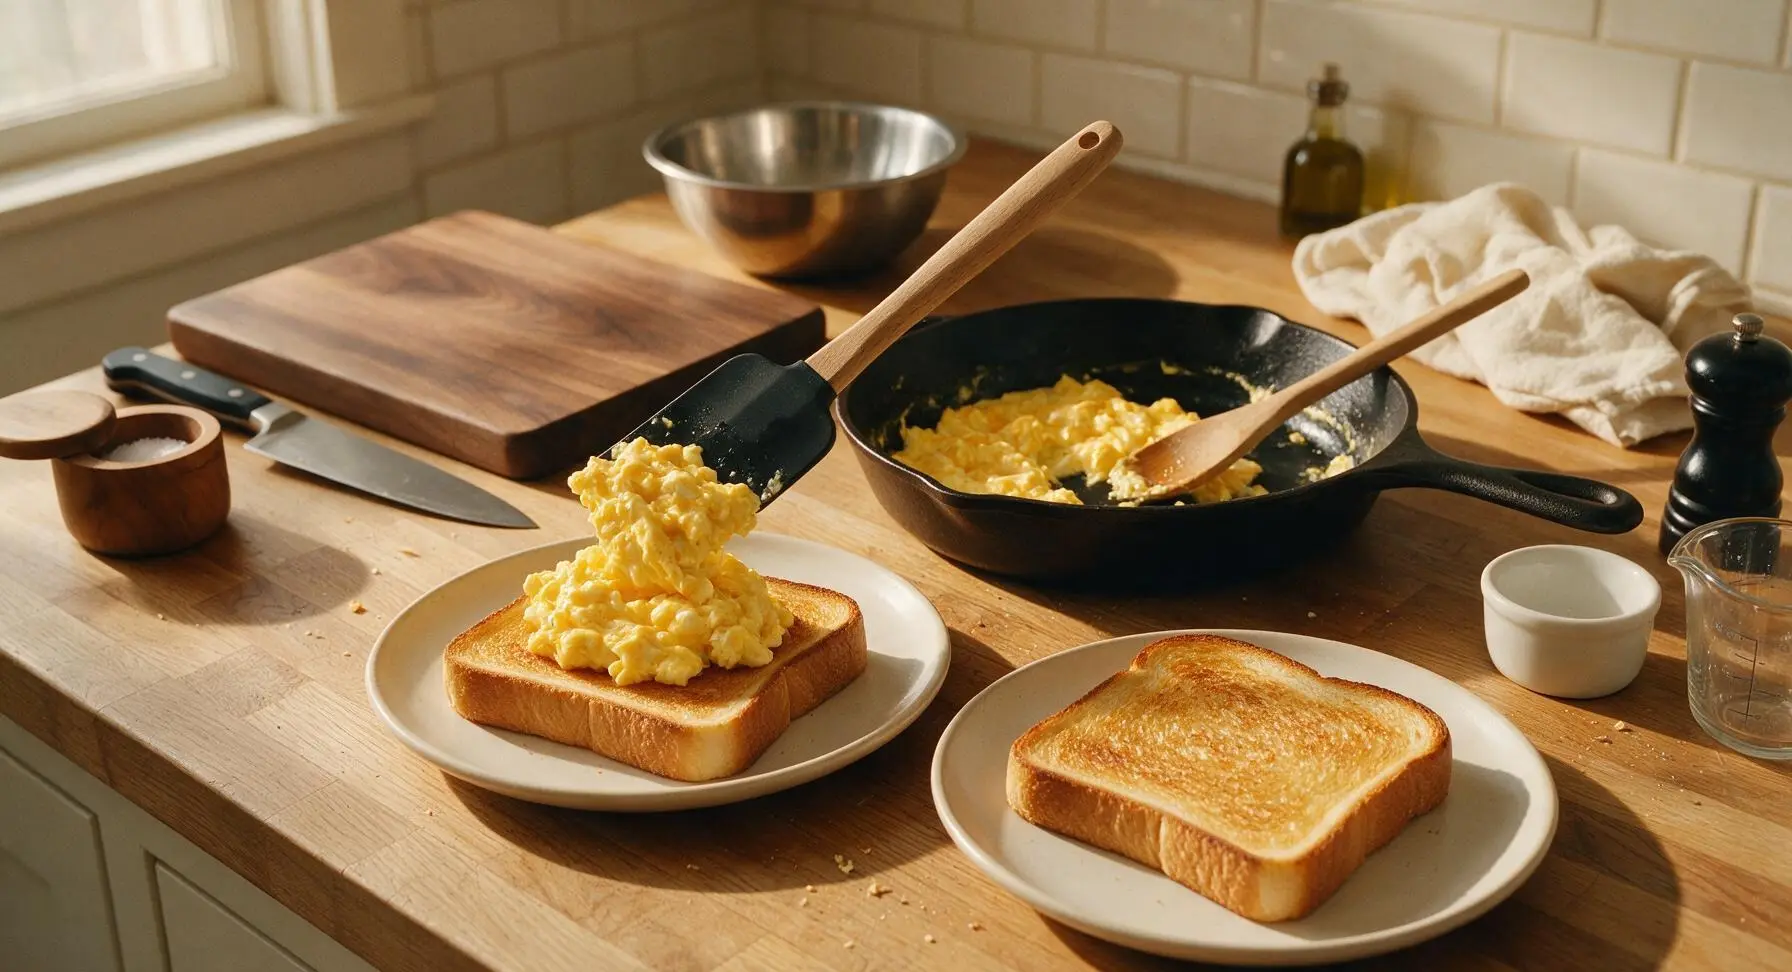
Once the eggs reach the soft, just-set large curd stage, immediately remove the pan from heat — eggs will overcook and turn rubbery in as little as 10 seconds if left on the hot burner. Use the silicone spatula to divide the scrambled eggs evenly, mounding half the eggs in a tall, fluffy pile on top of each toasted shokupan slice on the ceramic plates.
Finish and Serve Warm
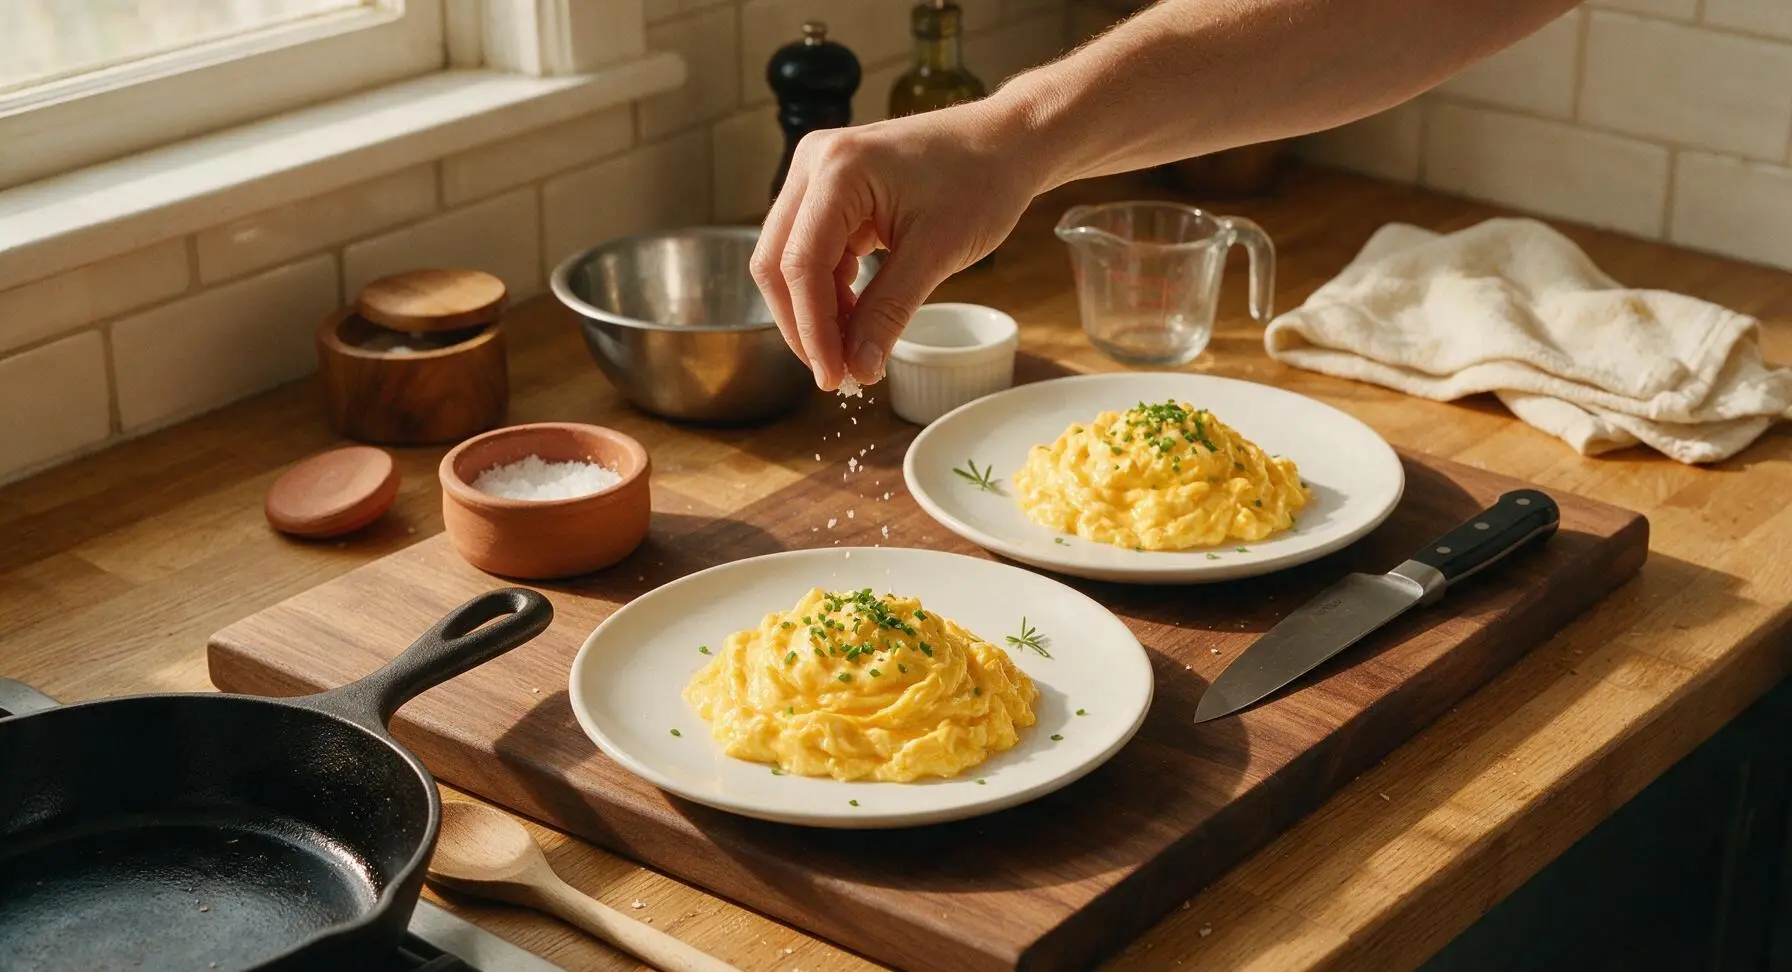
Top each mound of eggs with a tiny pinch of flaky sea salt, a light sprinkle of finely chopped chives, and one small chive sprig for garnish. Serve immediately, while the eggs are silky and warm, and the shokupan is crisp on the outside and soft, pillowy inside.
Tips
2.Straining the whisked egg mixture is non-negotiable for ultra-smooth results: it removes stringy chalaza and thick, unincorporated egg white bits that would otherwise form small, chewy lumps in the finished scramble.
3.Remove eggs from heat 10 seconds before they look fully done: residual heat in the pan and on the warm plate will continue to cook the eggs for 30-60 seconds after plating, so stopping early prevents overcooked, dry eggs.
OMG this shokupan scrambled eggs recipe is a total game changer! I’ve been making sad microwave eggs for busy work mornings forever, and this only took 7 minutes exactly like the recipe said. The fluffy eggs on that soft milk bread? *Chef’s kiss* My roommate even wandered out of her room asking what smelled so good. 10/10 will be making this every weekday from now on.
Made this for my kids’ breakfast before school yesterday and they all asked for seconds! I added a tiny sprinkle of everything bagel seasoning on top of the eggs because my oldest is obsessed, and it paired perfectly. So easy even my 10 year old could help stir the eggs without making a huge mess. Already added the ingredients to my weekly meal prep list.
Took this to a neighborhood potluck brunch last weekend and people were hovering over the platter the whole time. I cut the shokupan into little bite sized squares and topped each with a dollop of the scrambled eggs and a tiny piece of chive, perfect finger food. Way easier than making a fancy quiche that takes 45 minutes to bake. Will definitely be my go-to brunch contribution from now on.
Wait, has anyone tried making this with plant based eggs and vegan shokupan? I’m dairy free and egg free but have been craving that cozy Japanese milk bread breakfast vibe so bad, I’d love to know if the swap works before I buy all the ingredients.
Bro this is SO good. I’ve been living off instant noodles and cereal for months because I thought cooking actual food took too long, but 7 minutes? No fancy ingredients? I made this at 2am after getting home from a late study session and it felt like I was eating at a fancy brunch spot. 10/10 no notes.
I prepped a big batch of these on Sunday for quick grab and go breakfasts all week, and I was worried the eggs would get rubbery when I reheated them, but they stayed super creamy! I stored the eggs separate from the bread and just assembled each morning in 30 seconds, total game changer for my early gym days.
I added a little drizzle of hot honey on top of mine and it was the perfect sweet-savory combo. The soft shokupan soaks up just a little bit of the honey without getting soggy, and the heat cuts through the richness of the buttery eggs so well. Don’t knock it till you try it!