
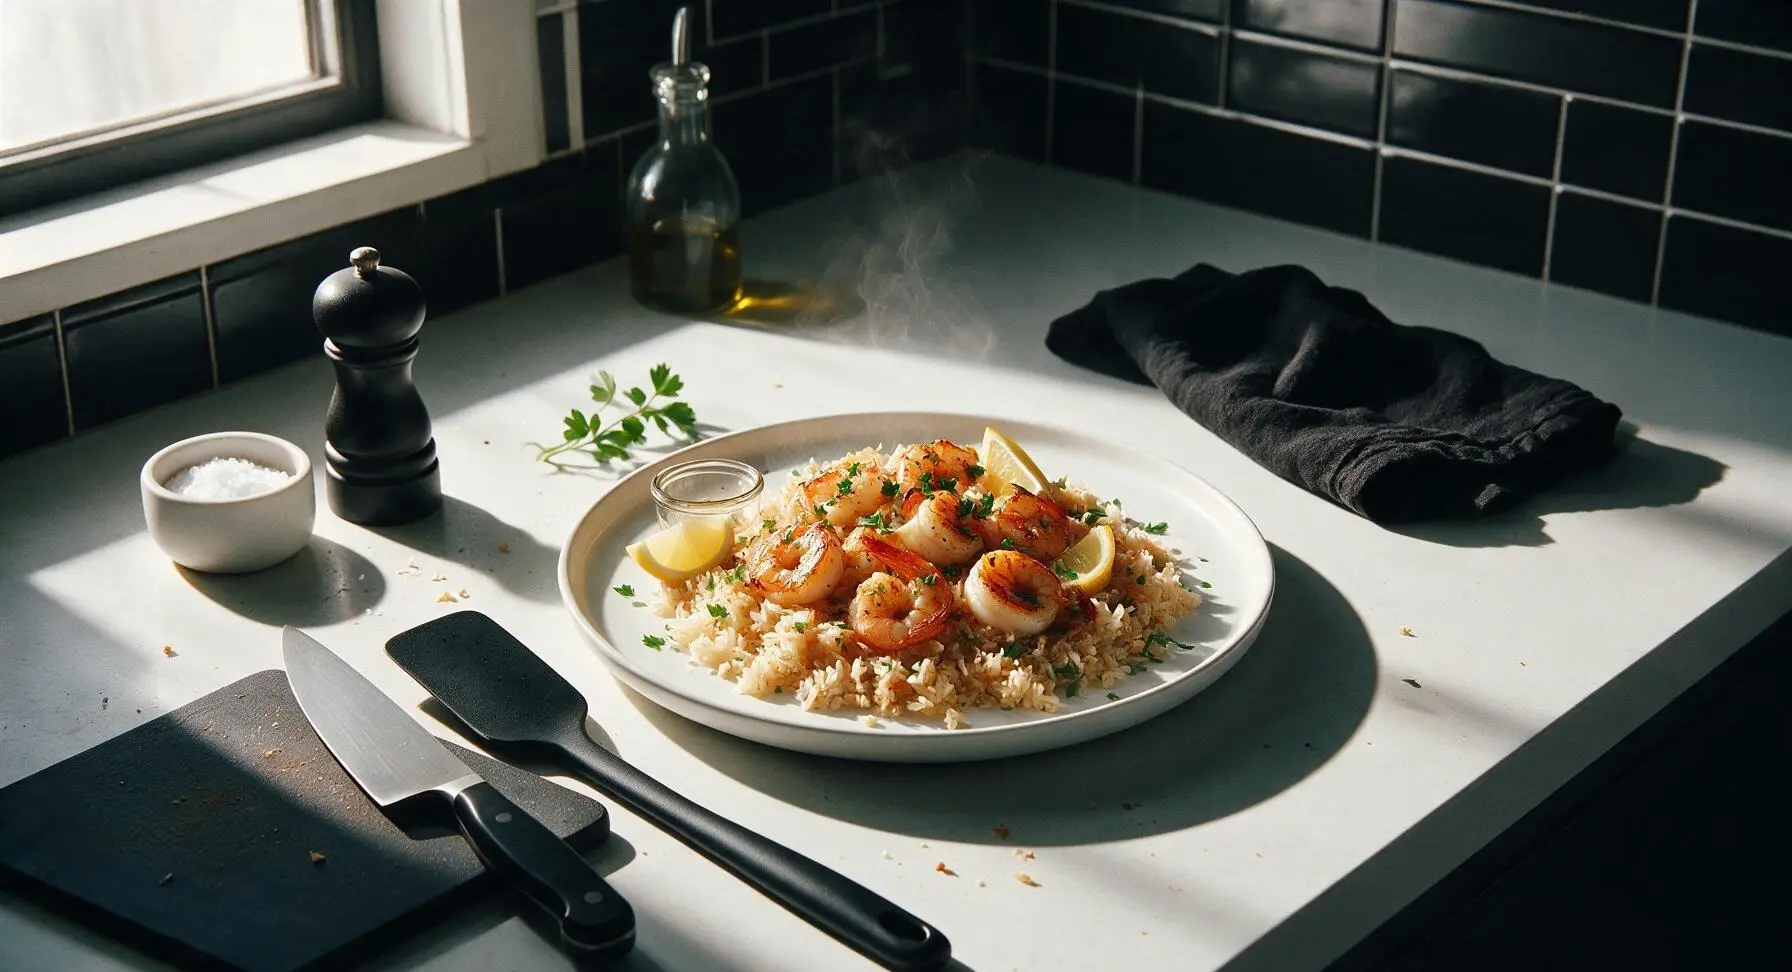
shrimp and rice

title 1
shrimp and rice
⏱️ cook time 25 minutes
🍽️ servings 4
⚡ Difficulty easy

intro

Fluffy garlic-butter toasty rice paired with plump, juicy seared shrimp, brightened with lemon and fresh parsley, all made in one pan for minimal cleanup and fast, satisfying weeknight meals.

Ingredients
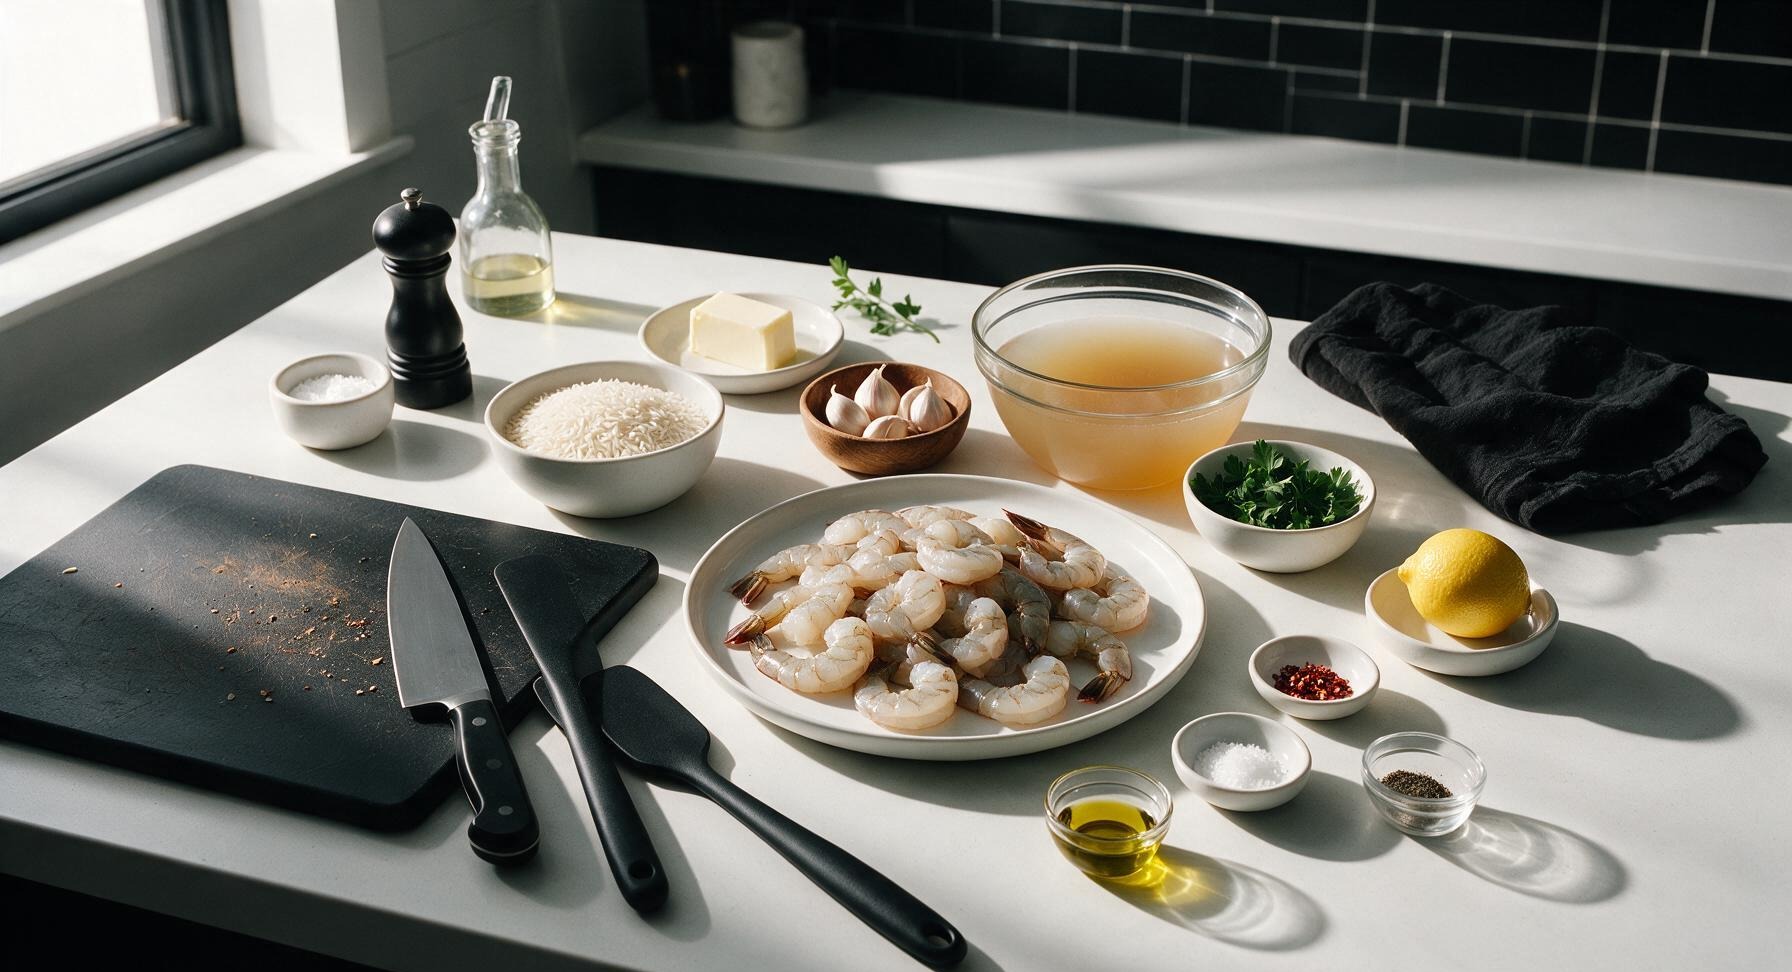
Large raw shrimp (peeled, deveined, tails on) 450g / 1lb
Long-grain white rice (uncooked) 270g / 1.5 cups
Unsalted butter 55g / 4 tbsp
Garlic cloves 6 cloves / ~18g
Low-sodium chicken broth 720ml / 3 cups
Fresh flat-leaf parsley 15g / 1/4 cup chopped
Lemon 1 whole / ~100g
Crushed red pepper flakes 0.5g / 1/4 tsp
Kosher salt 3g / 1/2 tsp
Freshly ground black pepper 1g / 1/4 tsp
Extra-virgin olive oil 5ml / 1 tsp

Steps

1

Prep shrimp and aromatics

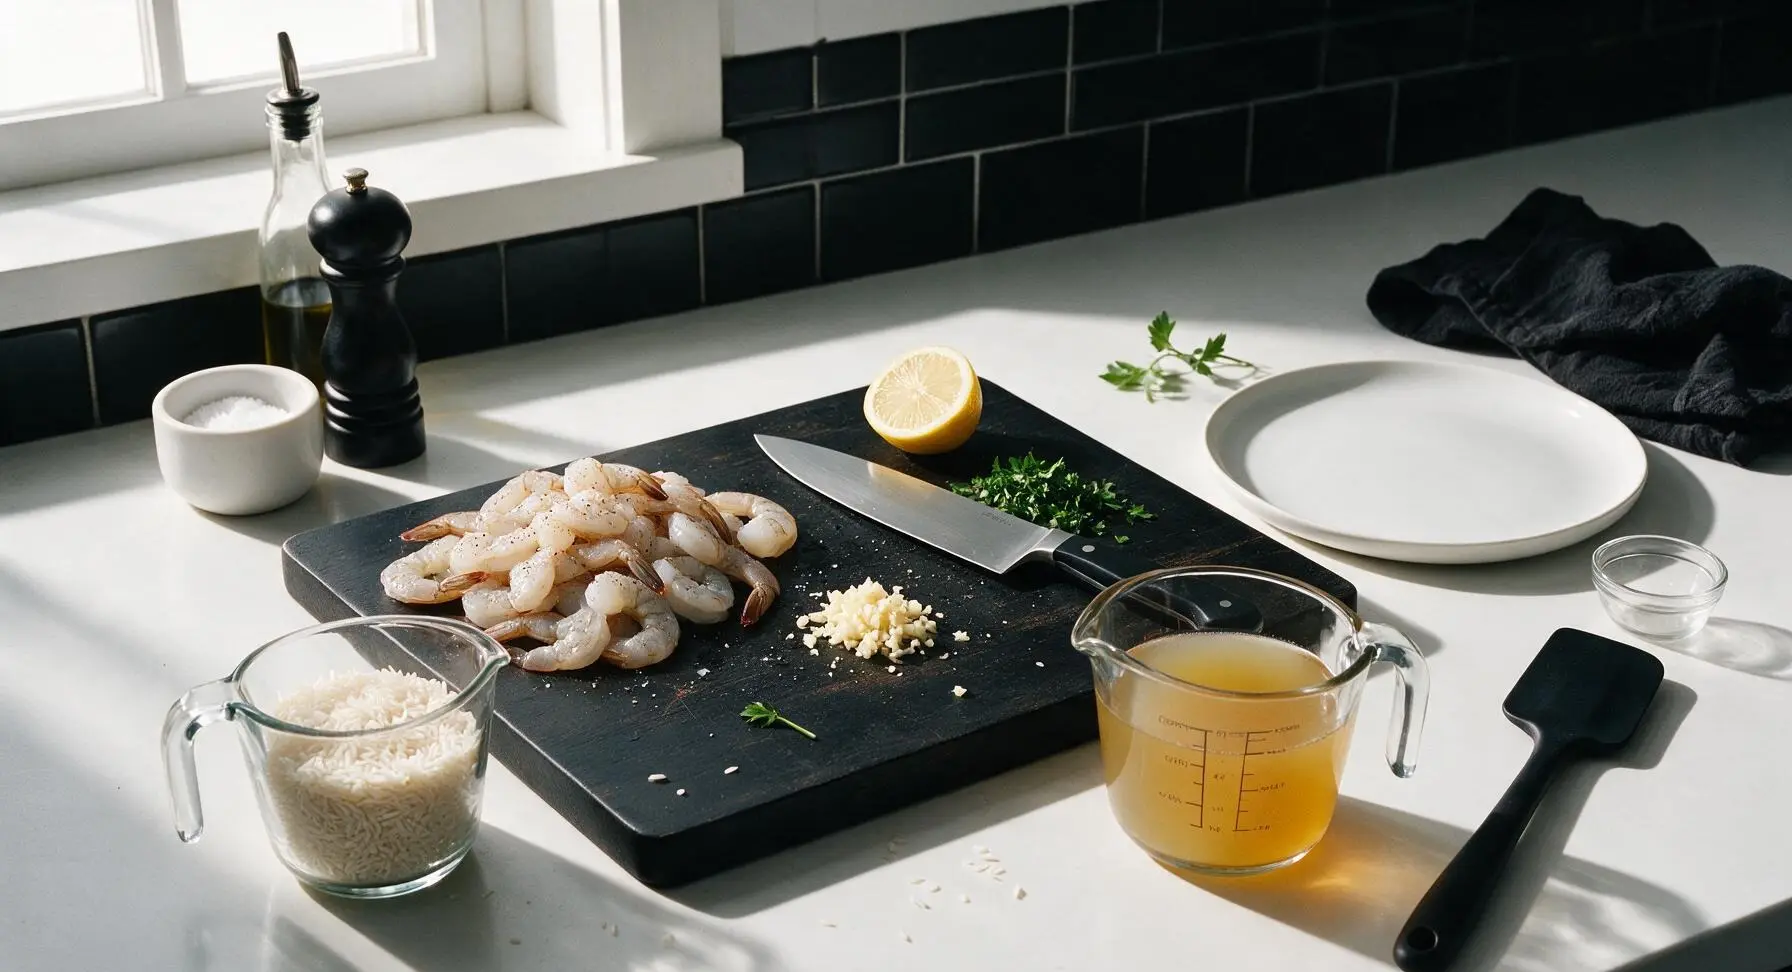
Pat the 450g raw peeled, deveined shrimp completely dry with a paper towel, then season evenly with 1/4 tsp kosher salt and 1/8 tsp freshly ground black pepper; set aside on the corner of the acacia cutting board. Finely mince the 6 garlic cloves, transfer to the matte white ceramic ramekin, chop 1/4 cup fresh parsley from the bunch, halve the lemon, and rinse the 1.5 cups long-grain white rice until water runs clear to remove excess surface starch. Measure 3 cups low-sodium chicken broth into the 4-cup glass measuring cup to complete mise en place, ensuring all ingredients are within arm’s reach before cooking begins.
Step 1
step1:Prep shrimp and aromatics
2

Sauté garlic and toast rice

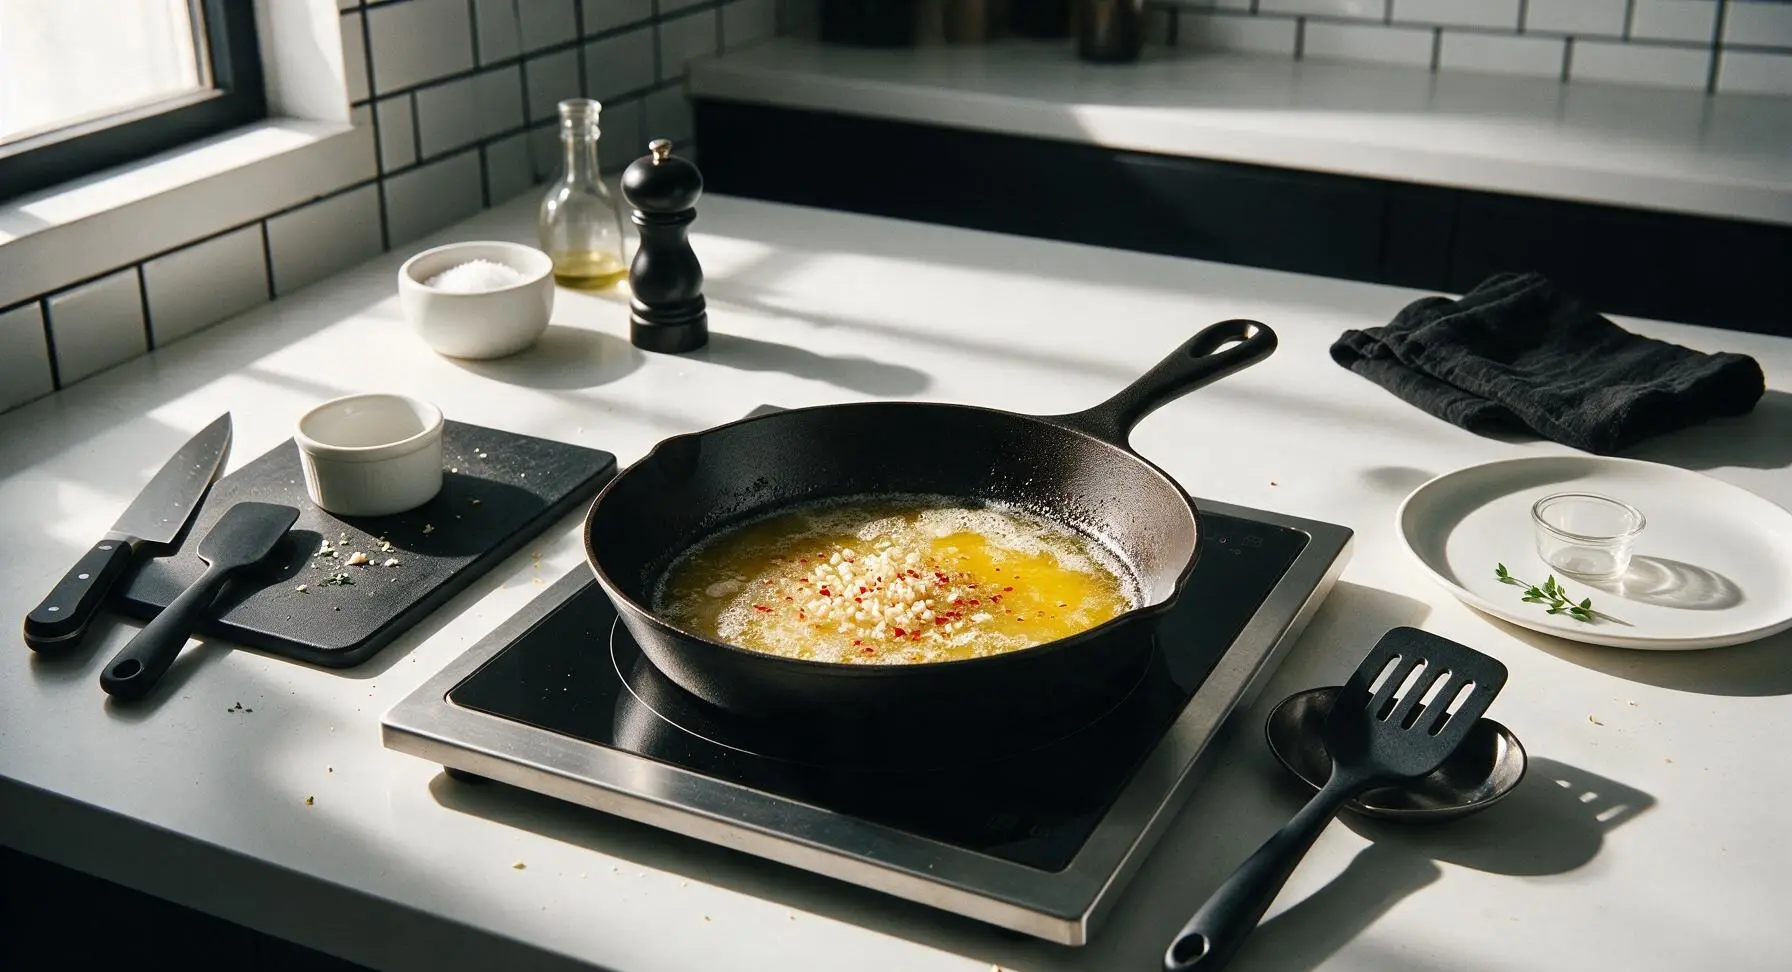
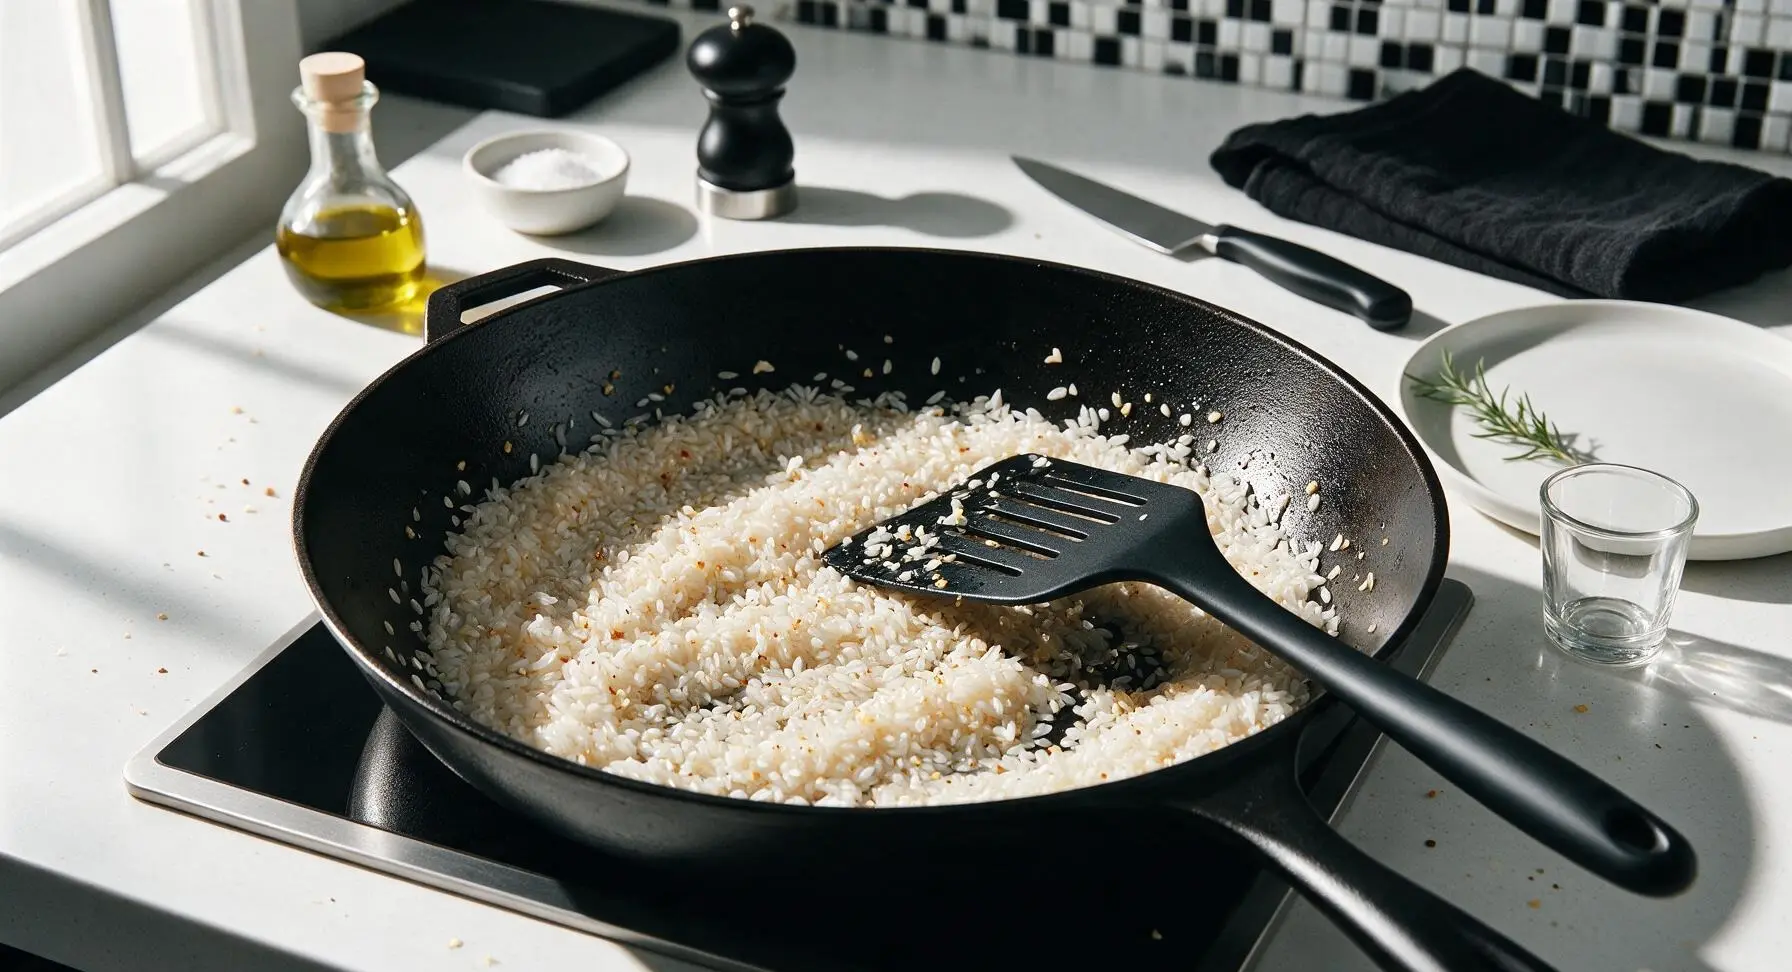
Retrieve the 12-inch matte black carbon steel skillet and place it centered on the induction cooktop over medium heat (350°F / 175°C). Add 2 tbsp of the unsalted butter and 1 tsp extra-virgin olive oil, swirling until butter is fully melted and foaming slightly. Add the minced garlic and 1/4 tsp crushed red pepper flakes, sauté for 30 seconds until fragrant (do not let garlic turn golden brown, as it will develop a bitter flavor). Add the rinsed, drained white rice to the skillet, stirring constantly with the matte black silicone slotted turner for 2-3 minutes until rice edges turn slightly translucent and give off a nutty, toasty aroma.
Step 2
step2:Sauté garlic and toast rice
Step 2
step2:Sauté garlic and toast rice
3

Simmer rice until tender

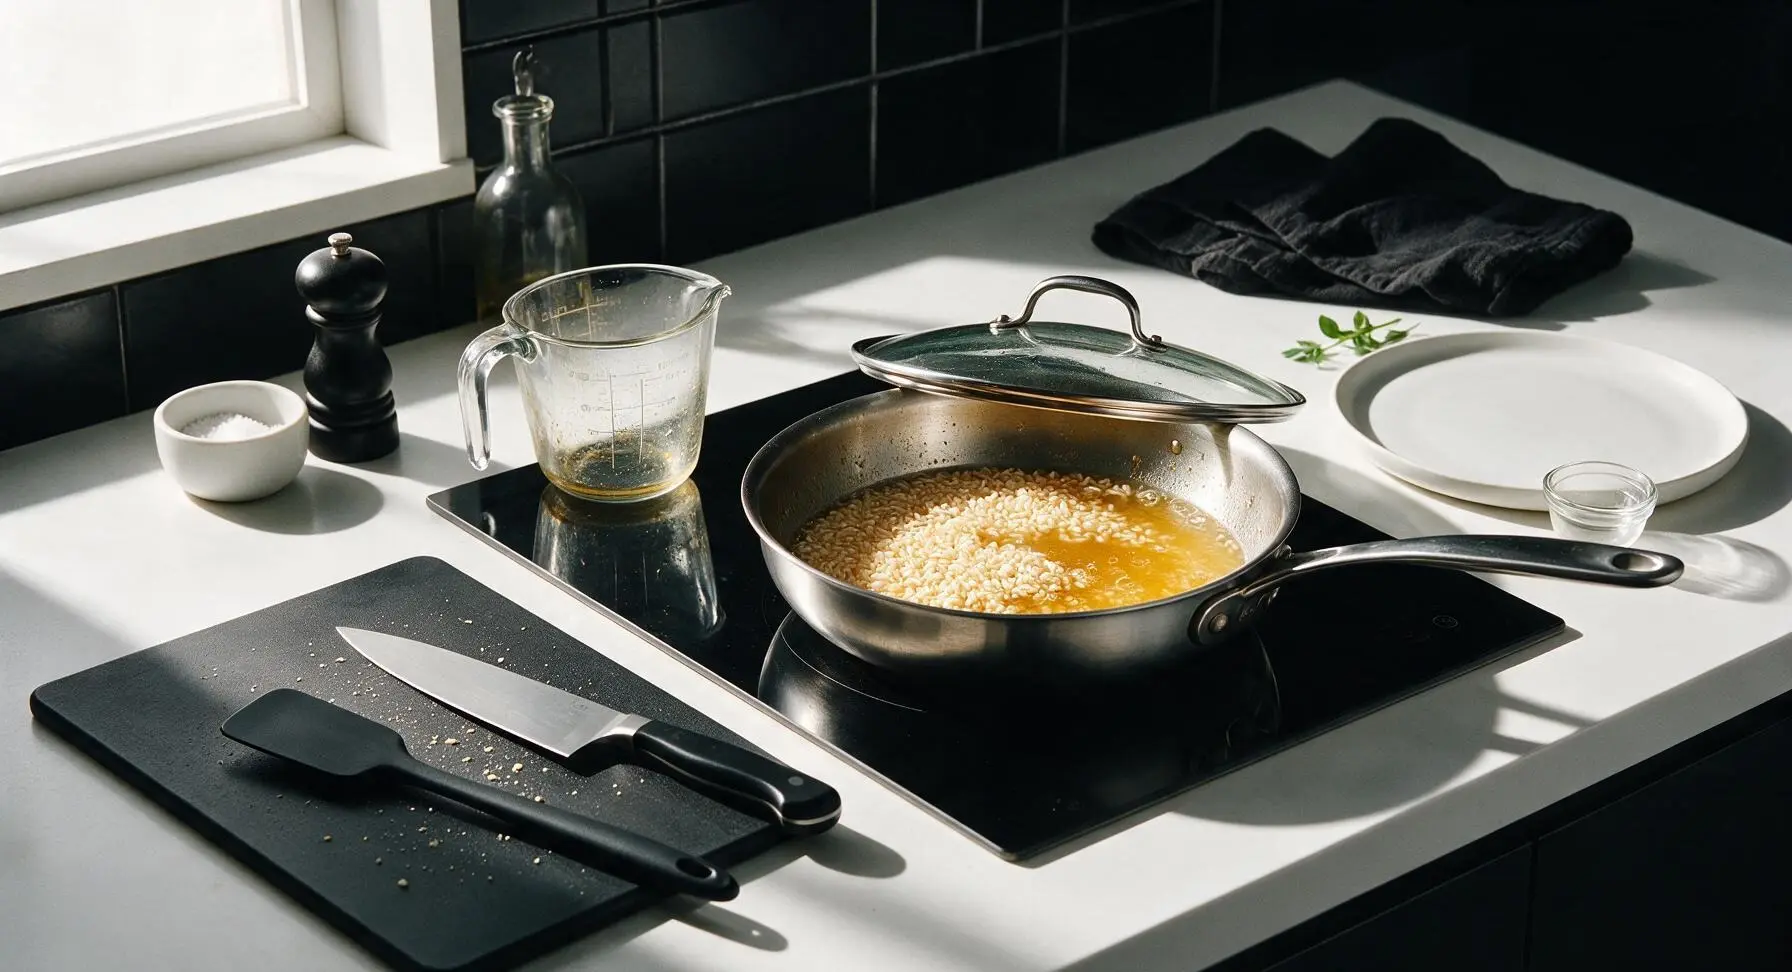
Carefully pour the 3 cups of chicken broth into the skillet with the toasted rice, stirring once with the slotted turner to scrape up any tiny browned bits from the pan bottom. Bring liquid to a gentle rolling boil, then reduce heat to low (200°F / 95°C), cover the skillet with a tight-fitting glass lid, and simmer for 15 minutes without lifting the lid. After 15 minutes, turn off the heat, let the rice rest covered for 5 additional minutes; all liquid will be fully absorbed, and rice will be fluffy and separate when fluffed with a fork.
Step 3
step3:Simmer rice until tender
4

Sear seasoned shrimp

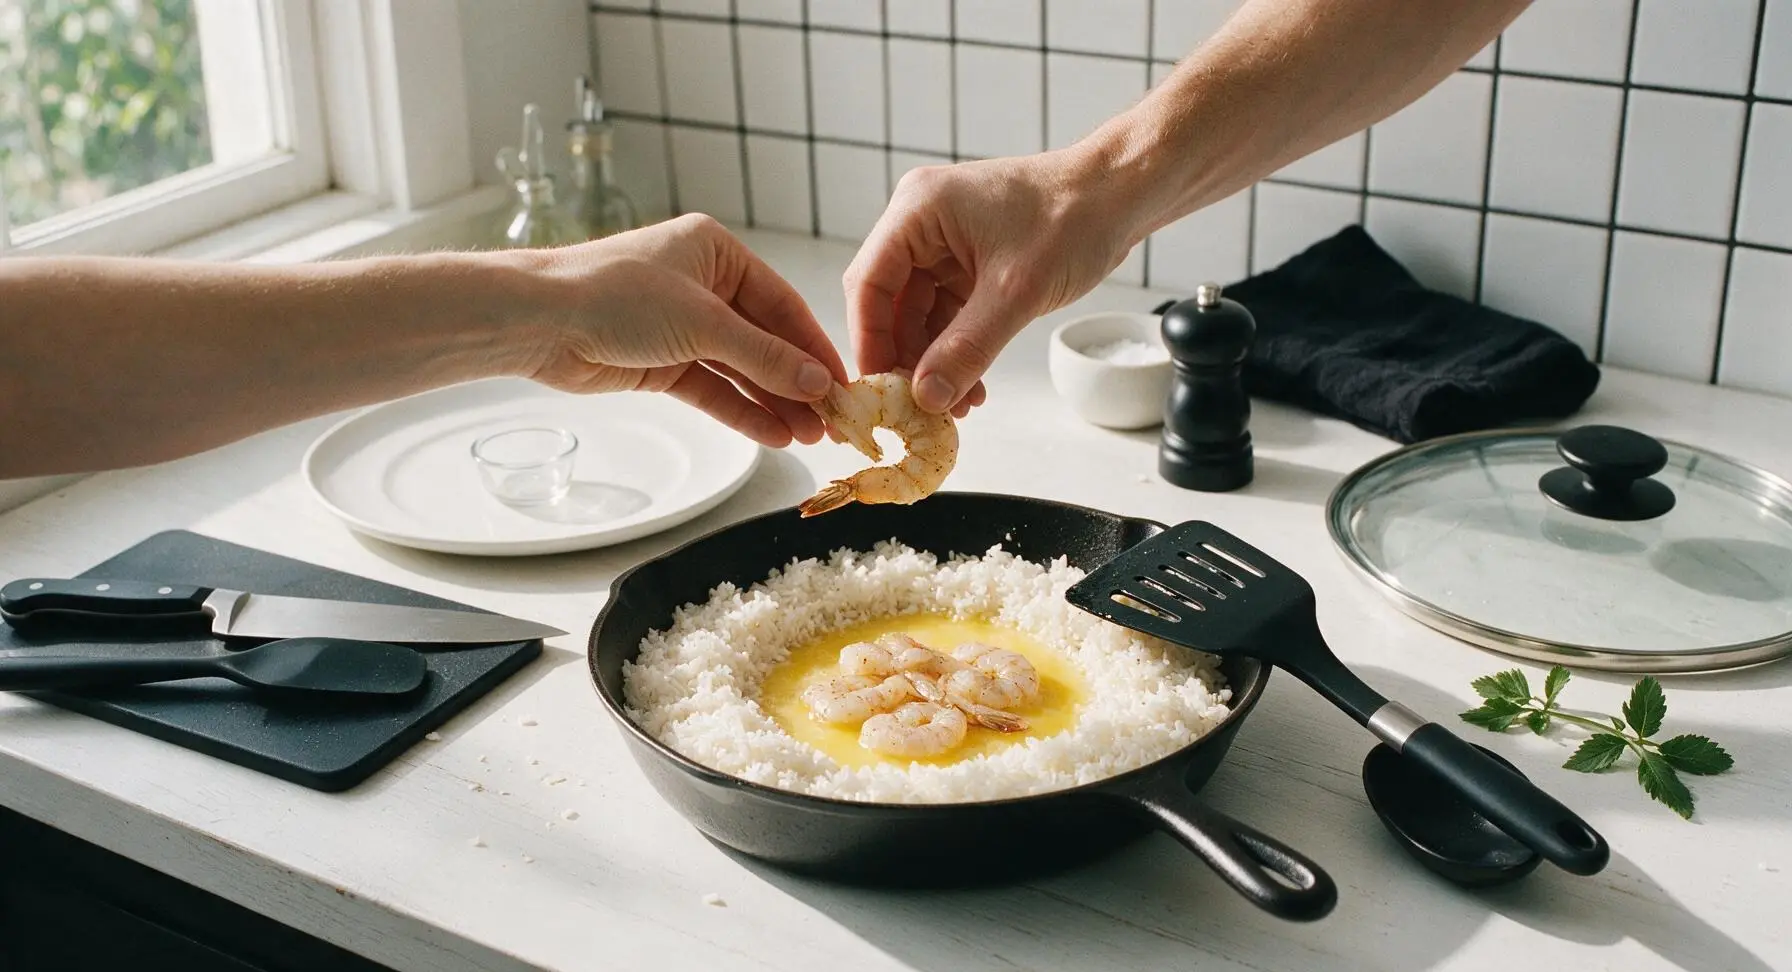
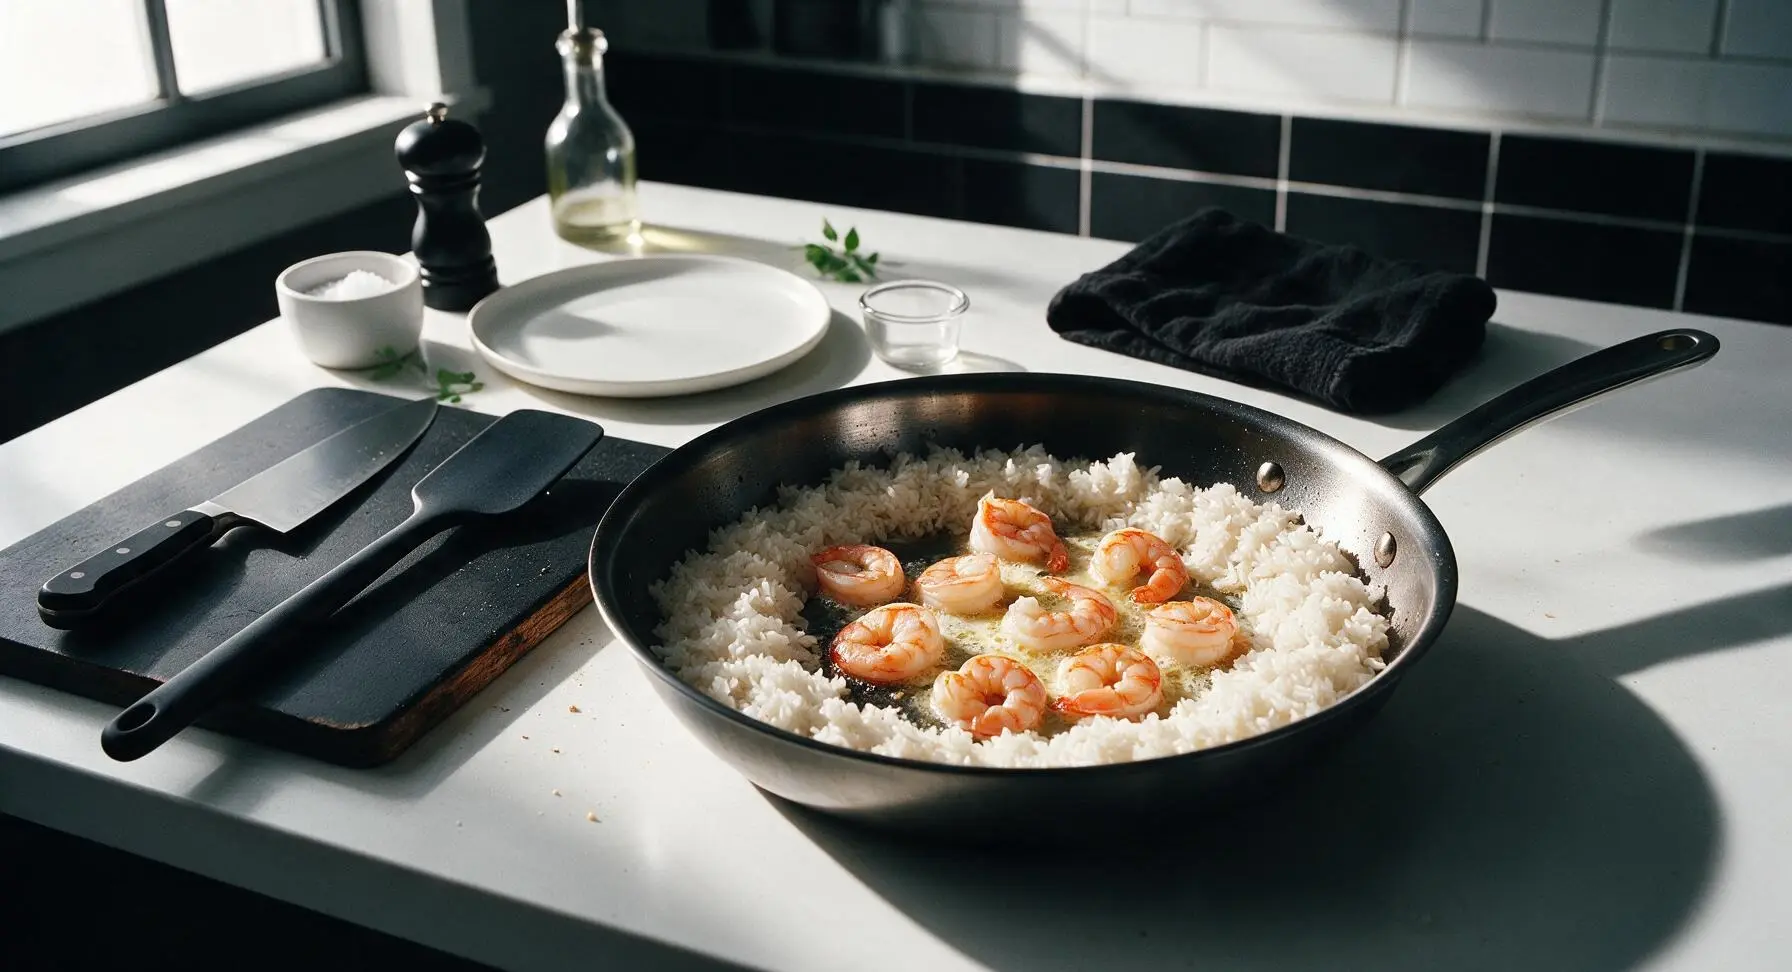
Once the rice has finished resting, remove the skillet lid, use the silicone slotted turner to push all the fluffy cooked rice to the outer edges of the skillet, leaving a 4-inch empty well in the pan center. Return heat to medium (350°F / 175°C), add the remaining 2 tbsp unsalted butter to the center well, swirling until melted. Arrange the seasoned shrimp in a single layer in the melted butter, searing undisturbed for 2 minutes until the undersides turn bright opaque pink.
Step 4
step4:Sear seasoned shrimp
Step 4
step4:Sear seasoned shrimp
5

Toss rice and shrimp

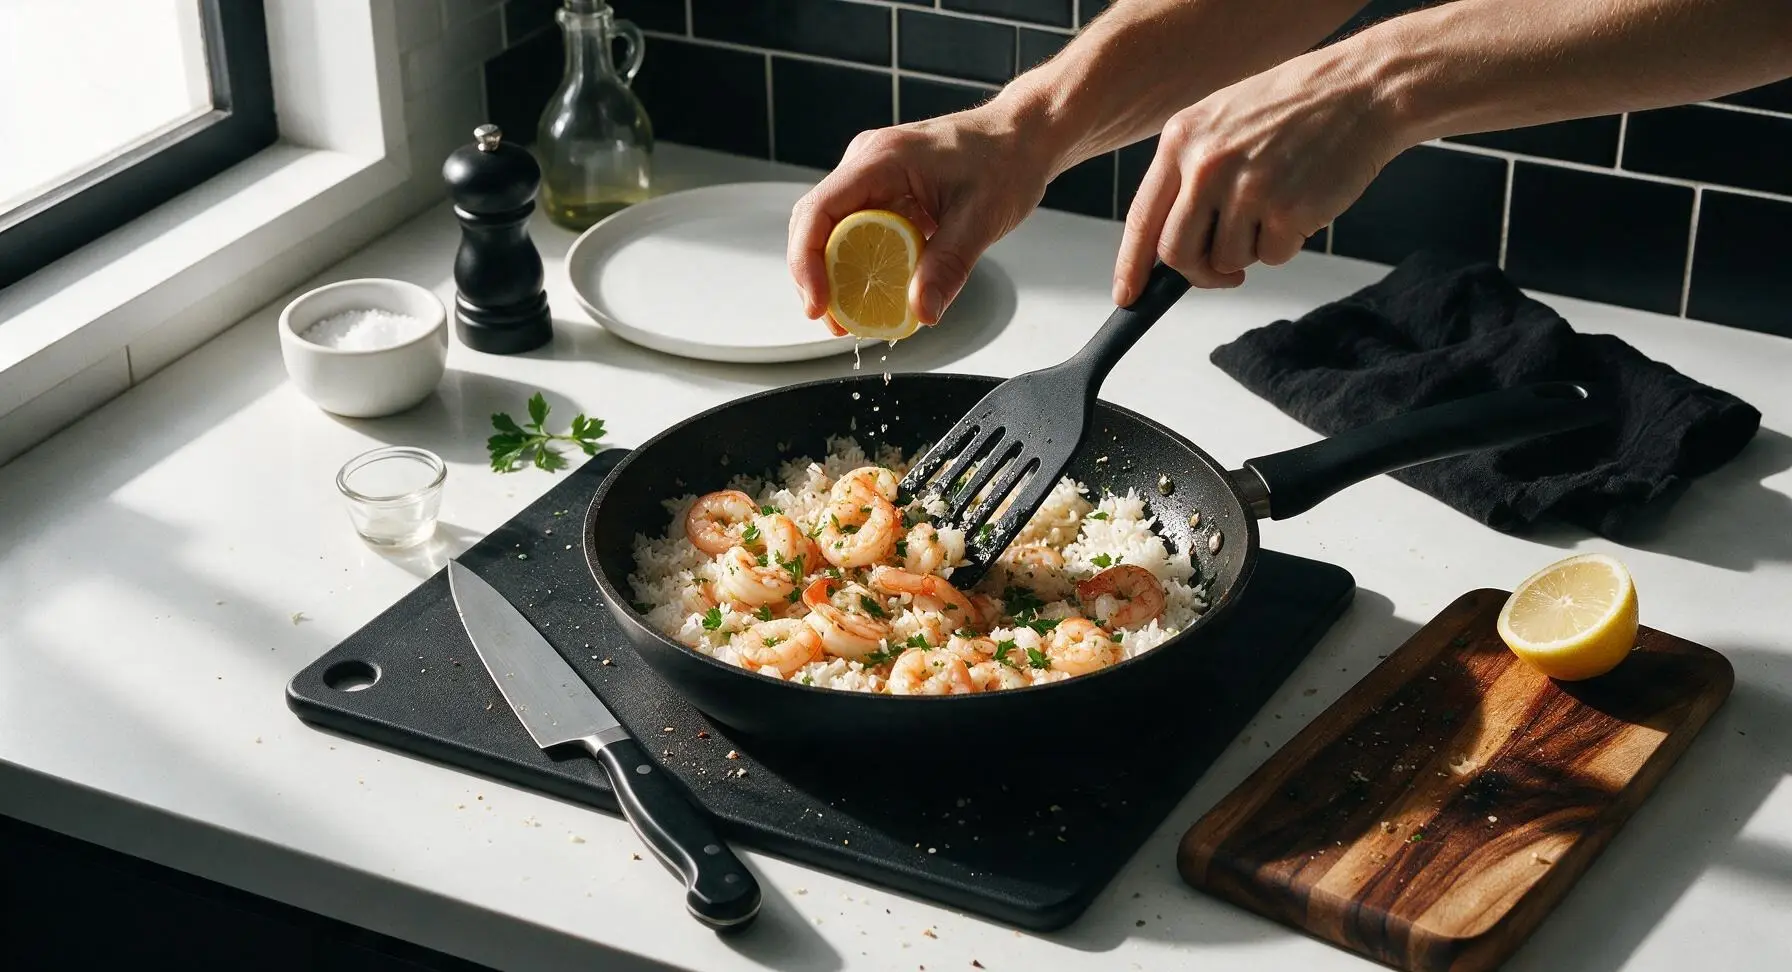
Use the slotted turner to flip each shrimp to sear the second side for 1 minute, then squeeze the juice of half the lemon over the entire pan, add half of the chopped parsley, and gently toss the shrimp and rice together until everything is evenly coated in the garlic butter lemon sauce. Taste and adjust seasoning with a pinch of extra kosher salt or crack of black pepper if needed; the rice should have a light glossy sheen, shrimp fully pink and tender.
Step 5
step5:Toss rice and shrimp
6

Plate and garnish dish

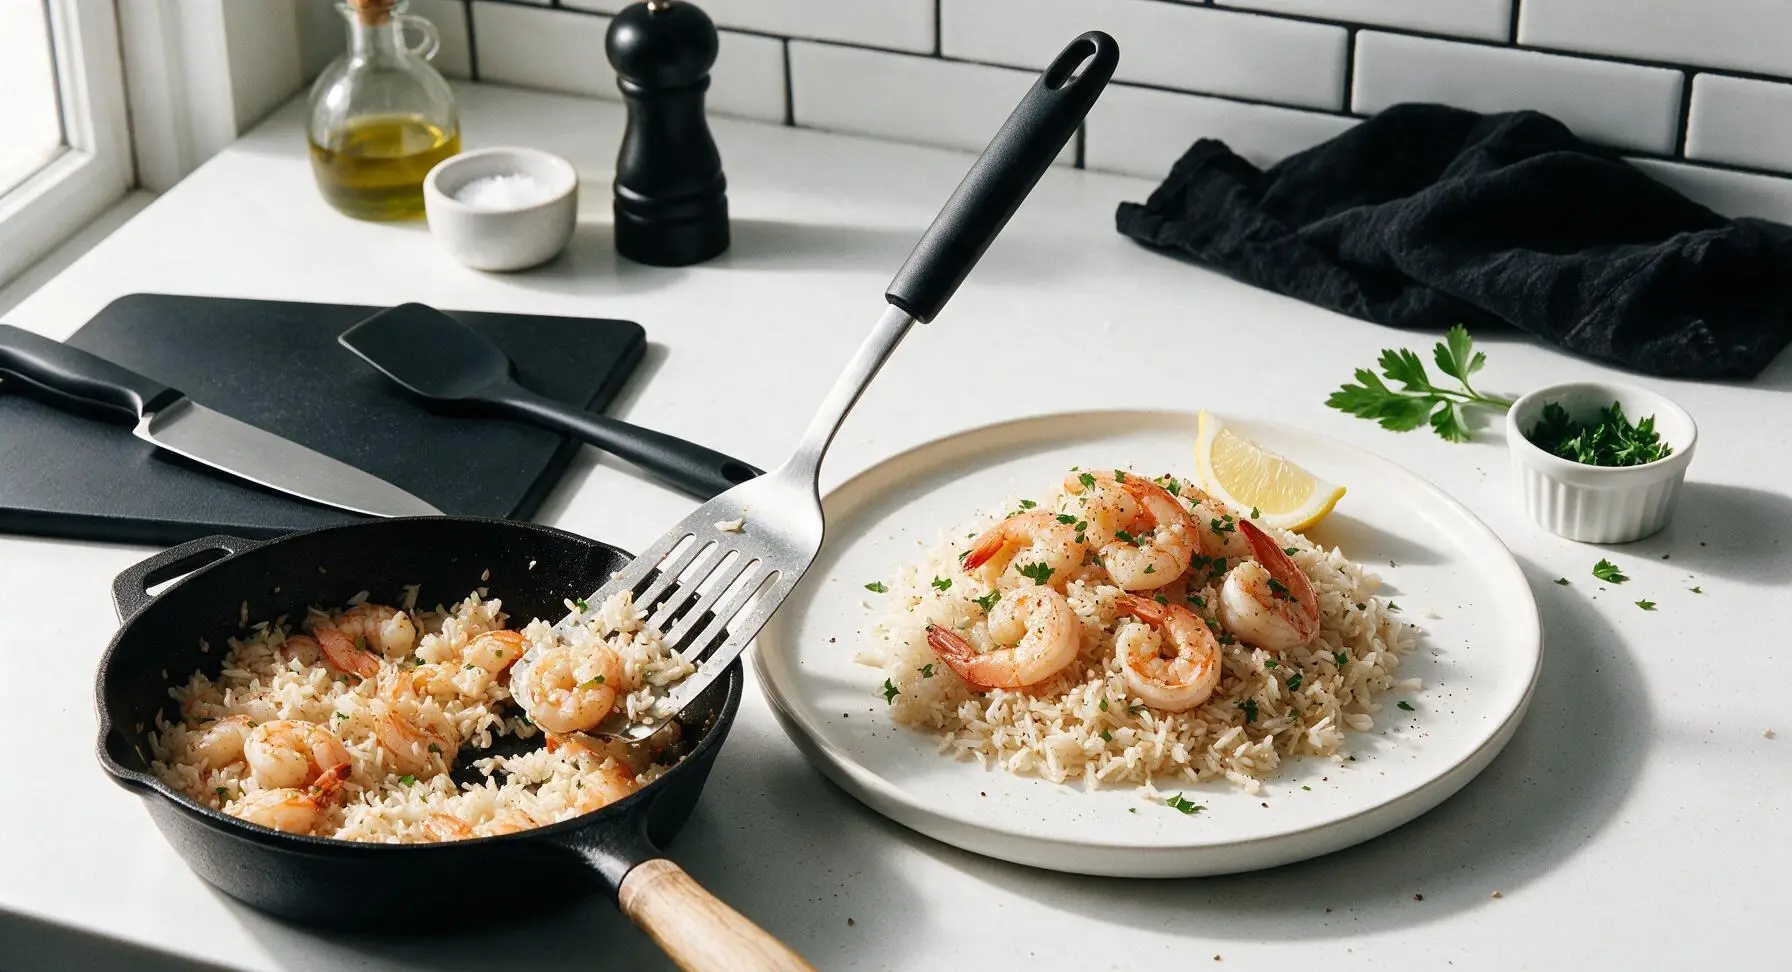
Scoop a generous mound of the shrimp and rice mixture onto the fixed matte warm white ceramic dinner plate, arranging 4-5 shrimp on top of the rice so they are clearly visible. Garnish with the remaining chopped parsley, a light crack of fresh black pepper, and tuck a wedge cut from the remaining lemon half at the edge of the plate. Serve immediately while hot.
Step 6
step6:Plate and garnish dish

Tips

1.Always rinse long-grain white rice under cold water until the runoff is completely clear before toasting: this removes excess surface starch that would otherwise make the finished rice gummy and clumpy, rather than light and separate.
2.Resist the urge to lift the skillet lid while the rice simmers: trapped steam is critical for even, consistent cooking, and releasing it early will drop the pan temperature and lead to undercooked, crunchy rice at the pan bottom.
3.Use the 'C test' for perfectly cooked shrimp: shrimp are done when they curl into a loose 'C' shape. If they curl tightly into an 'O' shape, they are overcooked and will have a tough, rubbery texture, so pull them from heat as soon as they turn fully opaque.


✨ You May Also Like

Main Course
🍜 United Kingdom

A showstopping classic of tender seared beef, savory mushroom duxelles, and crisp prosciutto wrapped in flaky golden puff pastry, baked to juicy perfection.

⏱️ 2 hours 1Main Course ★ 4.7
Main Course
🍜 India

Tender charred marinated chicken simmered in a rich, spiced creamy tomato sauce, this iconic Anglo-Indian curry pairs perfectly with basmati rice or warm naan.

⏱️ 50 minuteMain Course ★ 4.6
Main Course
🍜 Thailand

Classic tangy, sweet, and savory Thai stir-fried rice noodles with shrimp, tofu, and crunchy garnishes, balancing all five core Thai flavor profiles.

⏱️ 30 minuteMain Course ★ 4.5
Main Course
🍜 United Kingdom

Crispy golden beer-battered cod and fluffy double-fried chips, served with tangy tartar sauce and malt vinegar: the timeless, beloved British pub comfort classic.

⏱️ 45 minuteMain Course ★ 4.7
Main Course
🍜 Mexico

Smoky, chile-marinated pork tacos with caramelized pineapple, fresh cilantro, and lime: a beloved classic Mexican street food perfect for casual summer gatherings.

⏱️ 1 hour 45Main Course ★ 4.8
Main Course
🍜 United States

Crunchy Fritos corn chips layered with savory beef chili and melted cheddar, topped with cool, zesty fixings for a beloved, cozy Tex-Mex comfort food.

⏱️ 35 minuteMain Course ★ 4.8

shrimp and rice:Frequently Asked Questions

1.Can I use frozen shrimp instead of fresh for this recipe? ▾
Absolutely! Frozen shrimp works great as long as you thaw it fully first and pat every piece completely dry with paper towels before searing. Excess moisture will make shrimp steam instead of developing that nice golden seared edge, and can make your rice soggy. Thaw overnight in the fridge or in cold water for 15 minutes for a quick fix.
2.Do I have to leave the shrimp tails on like the recipe says? ▾
You don’t have to! Tails are left on for subtle, rich shellfish flavor and nicer presentation, but you can peel them entirely if you prefer easier, no-fuss eating. If you keep tails on, remind diners to remove them before biting, or save removed tails to simmer into quick homemade seafood stock later.
3.Why does my one-pan rice always turn out mushy? ▾
Mushy rice almost always comes from using too much liquid, stirring rice too much as it cooks, or using the wrong rice variety. Stick to the 2:1 liquid-to-rice ratio for long-grain white rice, bring liquid to a full boil before covering, and resist lifting the lid to stir while rice simmers so trapped steam cooks it evenly.
4.What can I use if I don’t have low-sodium chicken broth? ▾
You can swap low-sodium chicken broth for regular chicken broth, vegetable broth, or even plain water if that’s all you have. If using regular broth, cut back on any added salt at the end, since regular broth has much higher sodium that can make the dish overly salty. Add a tiny pinch of seafood bouillon to water for extra depth.
5.Can I use brown rice instead of long-grain white rice? ▾
You can, but you’ll need to adjust cook time and liquid amounts. Long-grain brown rice needs about 25% more liquid and 15-20 extra minutes of covered simmer time compared to white rice. Sear shrimp first, set them aside, let brown rice cook most of the way, then add shrimp back for the last 5 minutes so they don’t overcook.
6.How do I keep the shrimp from turning rubbery? ▾
Rubbery shrimp happens when they cook too long over heat that’s too high or too low. Sear them for just 1-2 minutes per side over medium-high heat first, set them aside while the rice cooks, then tuck them back into the pan for the last 2-3 minutes just to warm through. They’re done when opaque pink with a slight golden edge.
7.Do I need to rinse the rice before cooking it in this recipe? ▾
Yes, I recommend rinsing uncooked long-grain white rice under cold water until the water runs clear before adding it to the pan. Rinsing removes excess surface starch that would otherwise make your final rice gummy and sticky instead of light, fluffy, and separated, which is the texture we want here.
8.Does this dish work well for weekly meal prep? ▾
It stores great for meal prep! Let it cool completely, portion into airtight containers, and keep in the fridge for up to 3 days. Reheat in the microwave with a tiny splash of water or broth to fluff the rice back up, and add a fresh squeeze of lemon to brighten flavors before eating. I don’t recommend freezing it, as shrimp gets rubbery after thawing.
9.What size pan works best for this one-pan recipe? ▾
Reach for a 12-inch heavy-bottomed skillet with a tight-fitting lid for the best results. A heavy pan distributes heat evenly so rice doesn’t burn on the bottom, and the tight lid traps the steam needed to cook rice perfectly without drying it out. If your pan has no lid, tightly cover it with a double layer of aluminum foil instead.
10.Can I add extra vegetables to this meal? ▾
Absolutely! This recipe is super customizable. Diced bell pepper, frozen peas, corn, or chopped asparagus work great—sauté them in butter for 2-3 minutes before toasting the rice so they cook evenly. Add tender greens like spinach in the last minute of cook time, tossing until wilted, for extra veggies with no extra cleanup.
11.Why do you toast the rice before adding broth? ▾
Toasting uncooked rice in melted garlic butter for 2-3 minutes before adding broth does two key things: it gives the rice a nutty, deep, toasty flavor that makes the dish taste more complex, and it coats each grain in fat so cooked rice stays light and separated instead of clumping together. Stir constantly while toasting so it doesn’t burn.
12.Can I use salted butter instead of unsalted? ▾
You can use salted butter if that’s what you keep on hand, just adjust your added salt accordingly. Unsalted butter lets you control exactly how much salt goes into the dish, which is helpful when cooking with broth. If using salted butter, skip extra added salt at the end, and taste first to avoid over-seasoning.
13.My rice burned on the bottom last time I made a similar dish—what went wrong? ▾
Burnt bottom rice usually comes from cooking over too high heat, using a thin, flimsy pan, or lifting the lid too often while rice simmers. Once you add broth and bring it to a boil, turn heat to the lowest setting, cover tightly, and let it simmer undisturbed for 15 minutes. A light golden toasty layer at the bottom is a tasty bonus, not a mistake!
14.Is pre-minced jarred garlic an okay substitute for fresh garlic cloves? ▾
Pre-minced jarred garlic works in a pinch, but fresh garlic will give you a much brighter, more aromatic flavor without the slightly flat, preserved taste jarred garlic can have. If using pre-minced, use about 1 teaspoon per clove the recipe calls for, and watch it closely while sautéing—it burns faster than fresh chopped garlic.
15.When should I add the lemon for the best flavor? ▾
Add half the fresh lemon juice right after you take the pan off the heat, along with chopped parsley, and save the other half to cut into wedges for diners to squeeze over their own portions. Adding lemon too early while rice cooks can make the flavor taste flat and slightly bitter, and can make shrimp mushy if it sits in acid too long.
16.Can I use pre-cooked shrimp for this recipe to save time? ▾
You can use pre-cooked shrimp, but adjust cook time to avoid making them rubbery. Skip the initial searing step, and toss pre-cooked shrimp into the pan during the last 1-2 minutes of rice cook time just to warm them through. Pre-cooked shrimp won’t have that nice seared, buttery edge, but it works as a super fast shortcut on extra busy nights.
17.How can I make this recipe dairy-free? ▾
It’s easy to make this fully dairy-free! Swap the unsalted butter for a neutral-tasting dairy-free butter substitute or extra-virgin olive oil. Skip any dairy-based add-ins, and double check that your chicken broth is dairy-free (most store-bought low-sodium broths are, but it never hurts to scan the label for hidden milk ingredients).
18.Why didn’t my shrimp get a nice golden, crispy sear? ▾
If your shrimp didn’t develop that golden, slightly crisp edge, it’s almost always because they were too wet when they hit the pan, or the pan wasn’t hot enough. Make sure shrimp are fully thawed and patted completely dry with paper towels, and heat butter until foamy and nutty-smelling before adding shrimp in a single, uncrowded layer.
19.Can I use jasmine or basmati rice instead of regular long-grain white rice? ▾
Both jasmine and basmati are long-grain rice varieties, so they work perfectly here! Jasmine rice will give you a slightly softer, more aromatic final dish, while basmati will be extra fluffy and nutty. Stick to the same 2:1 liquid-to-rice ratio and 15-minute covered simmer time, and rinse well before toasting for the best texture.
20.Can I double this recipe to feed a larger group? ▾
You can easily double the recipe as long as you use a large enough pan—you’ll need a 14-inch or larger deep skillet with a tight lid to hold double the ingredients without crowding. Keep the same 2:1 liquid-to-rice ratio, add 2-3 extra minutes of covered simmer time, and sear shrimp in batches if needed so they cook evenly.

Comments (15)

2 days ago

OMG this was such a game changer for our weeknight dinner rotation! I’ve been searching for a one-pan meal that doesn’t taste like sad meal prep, and this hits every note. The garlic butter is so rich, the rice comes out perfectly fluffy, no burnt bits at the bottom if you stir once halfway like the recipe says. My 8 year old asked for seconds before he even finished his first serving. Total cook time was actually 22 minutes for me, even faster than advertised!

30 minutes ago

Wait, do you use raw rice for this or pre-cooked? I’ve messed up one-pan rice recipes before where the rice stays crunchy no matter how long I leave it, so I don’t wanna waste a pound of shrimp on that lol. Looks so good though, saving this for my grocery run this weekend!

5 minutes ago

Great question! We use long-grain white raw rice for this recipe — just make sure your broth is fully boiling before you cover the pan, and it will cook up perfectly tender in the 18 minute simmer time, no crunch left! If you use brown rice you’ll need to add extra liquid and cook time, so white rice is definitely the easiest pick here.

1 week ago

I brought this to my neighborhood potluck last week and people were literally coming up to me for the recipe before I even set the dish down! I added a little extra red pepper flakes for a tiny kick and a squeeze of fresh lemon at the end, chef’s kiss. Only thing is I wish I made a double batch because it was gone in 10 minutes flat.

5 days ago

How much red pepper flakes did you add? I love a little heat but my partner is a total wimp about spicy food, so I don’t wanna overdo it!

3 days ago

Love the red pepper flake add! If you’re cooking for folks who don’t love heat, start with 1/4 tsp — you can always sprinkle extra on your own serving after plating without making the whole dish too spicy for everyone else. The fresh lemon squeeze is such a good call too, it brightens up the butter so much!

2 weeks ago

Made this for my Sunday meal prep this week and it held up so much better than I thought it would! I was worried the shrimp would get rubbery reheated in the microwave, but if you undercook them by just a minute when you first make them, they’re perfect when you reheat for lunch. No mushy rice either, 10/10.

1 week ago

Oh that’s such a good tip about undercooking the shrimp a little! I meal prep every week and have had so many rubbery shrimp disasters, I’m definitely trying that trick when I make this tomorrow.

yesterday

Made this for date night last night and my boyfriend thought I spent hours slaving over the stove, little does he know it was one pan and 25 minutes total 😂 I served it with a little side salad and some crusty bread to soak up the extra garlic butter, and he’s already asking when we can have it again. Zero cleanup too, which is the real win if you ask me.

5 days ago

So happy I found this! I swapped the regular chicken broth for low-sodium gluten free broth and it turned out exactly as written, no weird texture or off flavors. This is going into the regular rotation for sure, I’ve been stuck in such a dinner rut lately and this pulled me right out.

3 days ago

Did you use regular long grain rice or did you find a gluten free specific rice? I’m always paranoid about cross contamination for my kid who has celiac!

2 days ago

Just regular plain long grain white rice from the bulk bin! Rice is naturally gluten free, I just double check to make sure the package doesn’t say it’s processed on shared equipment, which most plain rice isn’t. It worked perfectly for us!

2 hours ago

Okay full transparency, I burn basically everything I try to cook, even toast sometimes. But this recipe was actually impossible to mess up? The steps are so straightforward, I didn’t have to dirty 6 different bowls and pans, and it came out looking exactly like the photos. My roommate thought I ordered takeout lmao. Only question — can I use frozen shrimp for this instead of fresh?

30 minutes ago

So glad this worked out for you even with your self-proclaimed bad cooking track record! Frozen shrimp works perfectly here — just thaw it completely and pat it really dry with paper towels before you toss it in the pan, that way it gets nice and golden instead of steaming. You’ve got this!

3 days ago

Made this for the family last night when mom was out of town, and I didn’t hear a single complaint from the kids — that’s basically a Michelin star win in my book. I added a little parmesan on top at the end because my kids will eat anything if there’s cheese on it, and it went so well with the garlic butter. Will definitely be making this again on my dad dinner nights.

1 week ago

This is SO good, but I noticed my rice got a little mushy when I made it last night. Any idea what I did wrong? I followed the measurements exactly, I swear! Maybe I stirred it too much?

5 days ago

I had that happen the first time I made it too! Turns out I had the heat too high when it was simmering, so the rice absorbed the liquid too fast and got mushy on the outside before it cooked all the way through. Turn it down to low as soon as it comes to a boil!

3 days ago

Hank is exactly right! If the heat is too high during the simmer step, the liquid evaporates too quickly and leads to mushy, unevenly cooked rice. You want it at a gentle, low simmer with the lid tight on the pan, no peeking for the first 15 minutes! That should fix the texture next time.

2 weeks ago

I am OBSESSED with garlic butter anything, so this recipe was made for me. I upped the garlic to 6 cloves instead of 4 because there is no such thing as too much garlic in my house, and tossed in a handful of frozen peas at the end for a little veggie boost. So cozy, perfect for rainy fall nights.

1 week ago

The frozen pea add is genius! I’m always trying to sneak more veggies into my husband’s meals without him noticing, he won’t even be mad about peas in this with all that garlic butter. Thanks for the idea!

2 days ago

Love how affordable this is to make! I already had rice and butter and garlic in my pantry, so all I had to grab was shrimp and a carton of broth, and the whole meal cost like $12 to feed 4 people. Way cheaper than takeout and tastes way better too.

yesterday

That’s what we love to hear! We designed this recipe to use up common pantry staples so you don’t have to buy a million fancy, expensive ingredients for a good weeknight meal. So glad it fit your budget!

2 hours ago

Wait that’s such a good point! I’ve been overspending on those fancy meal kits lately, this is way more my speed. Adding all the ingredients to my grocery list right now for next week.

5 days ago

Made this for my game night watch party with the guys and it was a total hit. I was gonna order wings but decided to try this instead, and there were zero leftovers. I think next time I’ll add some andouille sausage to it to make it a little heartier for the guys, would that work?

3 days ago

The andouille sausage add sounds incredible! Just brown the sausage in the pan first before you sauté the garlic, then set it aside and add it back in when you toss the shrimp in at the end. That smoky flavor will pair so well with the garlic butter, we might have to test that version ourselves!

just now

I just started learning to cook a month ago and this is the first recipe I’ve made that didn’t turn out mediocre! It’s so easy to follow, the steps don’t have any weird fancy techniques, and it tastes like something you’d get at a nice seafood restaurant. I felt so proud of myself when I plated it, honestly. 10/10, no notes.

3 days ago

The one pan sell was what got me — I hate doing dishes so much that I’ll skip making a good meal if it means I have to scrub 3 pots and pans after. This only uses one skillet, a cutting board and a knife, that’s it! I was done cleaning up before the rice even finished simmering. Unbeatable.

2 days ago

Same! I live in a tiny studio with a tiny kitchen and no dishwasher, so one pan meals are my entire personality now. Can’t wait to try this, anything that cuts down on dish time is an automatic win in my book.

1 week ago

This was good, but I thought it was a little lacking in brightness? I followed the recipe exactly, but it felt really rich and heavy by the end of my serving. Not bad by any means, just missing a little something for my taste.

5 days ago

Oh you have to add the fresh lemon wedge squeeze at the end! I almost forgot that step too the first time, and it tasted so much richer and heavier before I added the lemon. It cuts through the butter so well, it’s like a totally different dish!

3 days ago

Oh duh! I totally skipped that step because I didn’t have lemons in the house when I made it, that makes so much sense. I’m picking up a lemon on my way home today and making it again tonight, I bet that fixes it!



