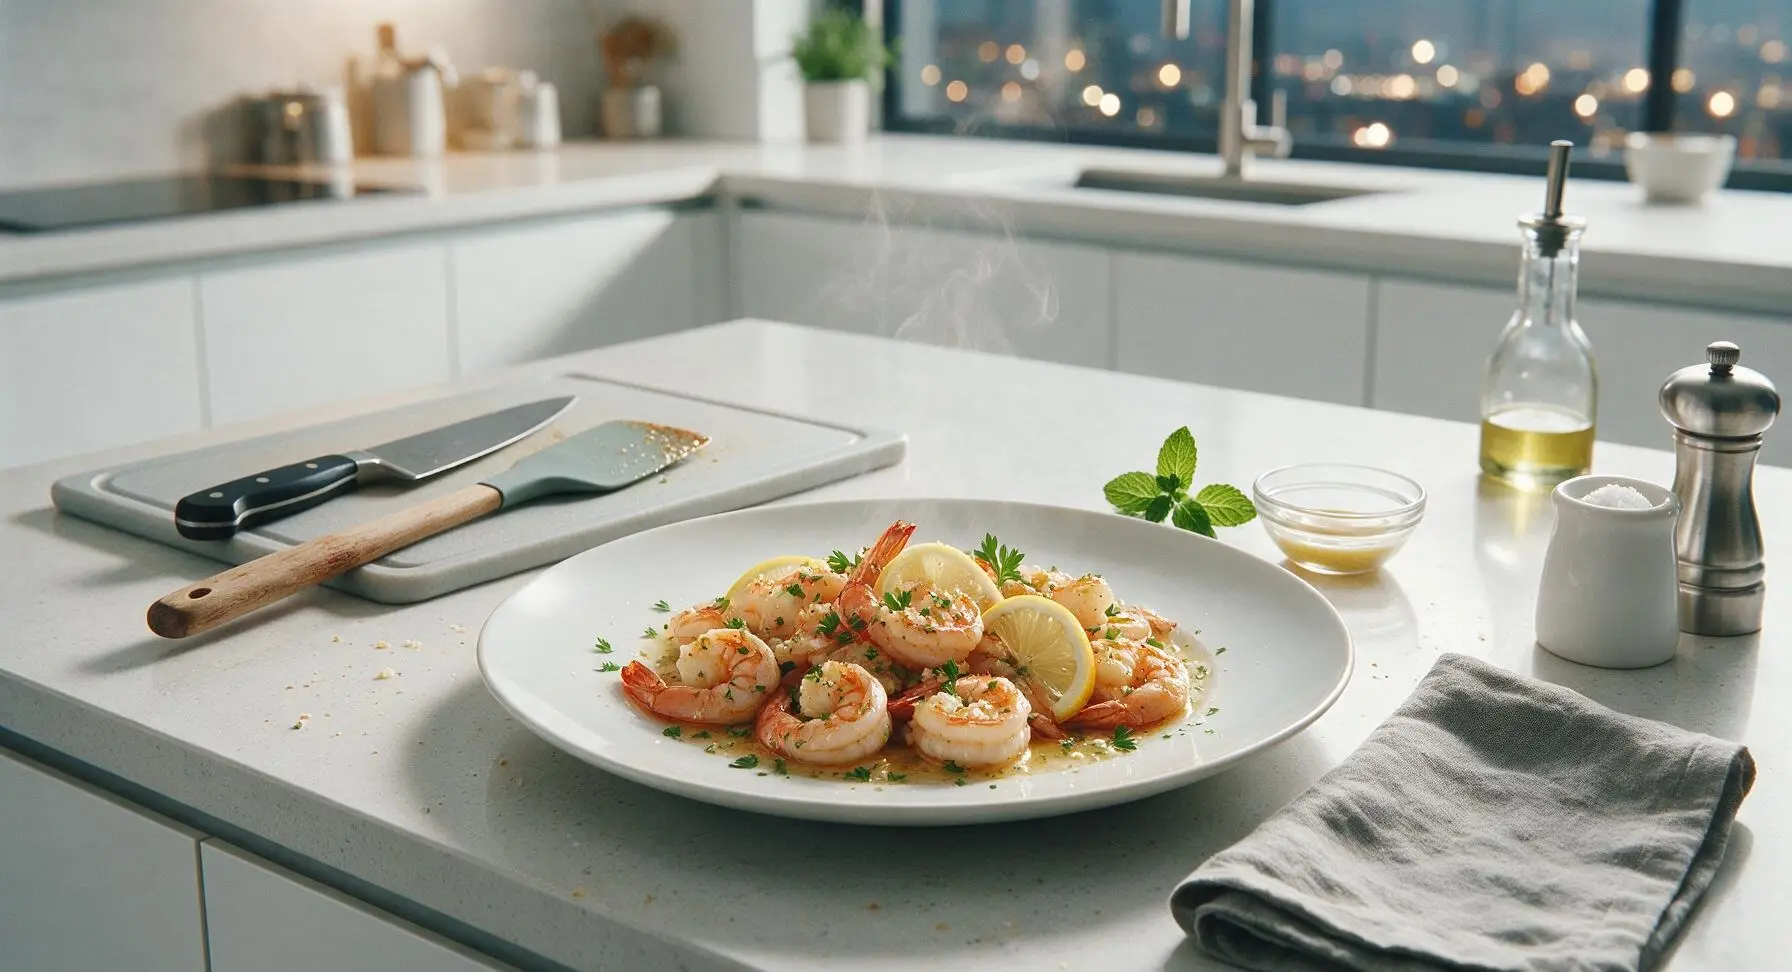
shrimp on stove

title 1
shrimp on stove
⏱️ cook time 8 minutes
🍽️ servings 4
⚡ Difficulty easy

intro

Juicy, plump shrimp tossed in fragrant garlic butter, bright lemon, and fresh parsley, ready in under 20 minutes for a fast, flavorful, light meal.

Ingredients
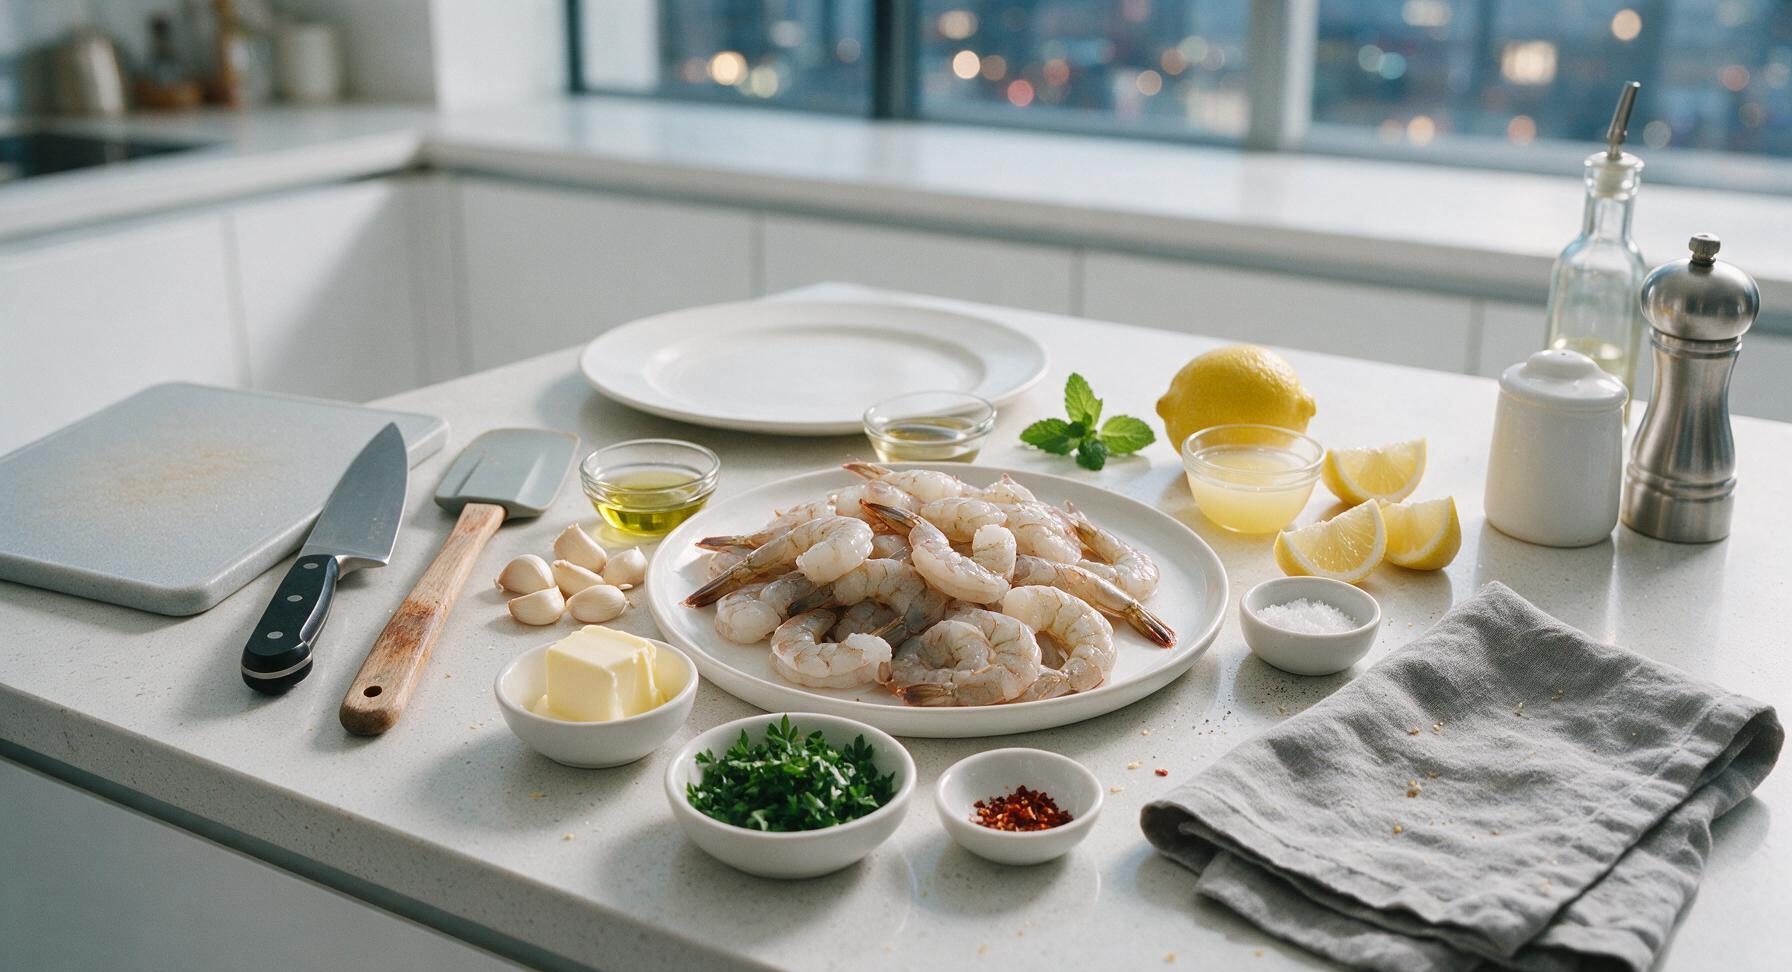
Large raw shrimp (21-25 count, peeled, deveined, tails intact) 1.5 lbs (680g)
Unsalted butter 2.5 tbsp (35g)
Extra-virgin olive oil 1 tbsp (14ml)
Garlic cloves 6 (about 20g)
Fresh flat-leaf parsley ¼ cup (10g, chopped)
Large lemon 1 (zest + 2 tbsp juice, plus wedges for serving)
Kosher salt 1 tsp
Freshly ground black pepper ½ tsp
Red pepper flakes (optional) ¼ tsp

Steps

1

Prep and Dry Shrimp

Place the raw peeled, deveined shrimp (tails left intact for easy handling) on the light maple cutting board. Pat every shrimp completely dry on all sides using paper towels, ensuring no surface moisture remains. Season with ½ tsp kosher salt and ¼ tsp freshly ground black pepper, toss lightly to coat. Dry shrimp is critical for a golden, non-steamed sear; the surface should feel matte to the touch, not slimy or wet, and no visible water should pool on the cutting board around the shrimp.
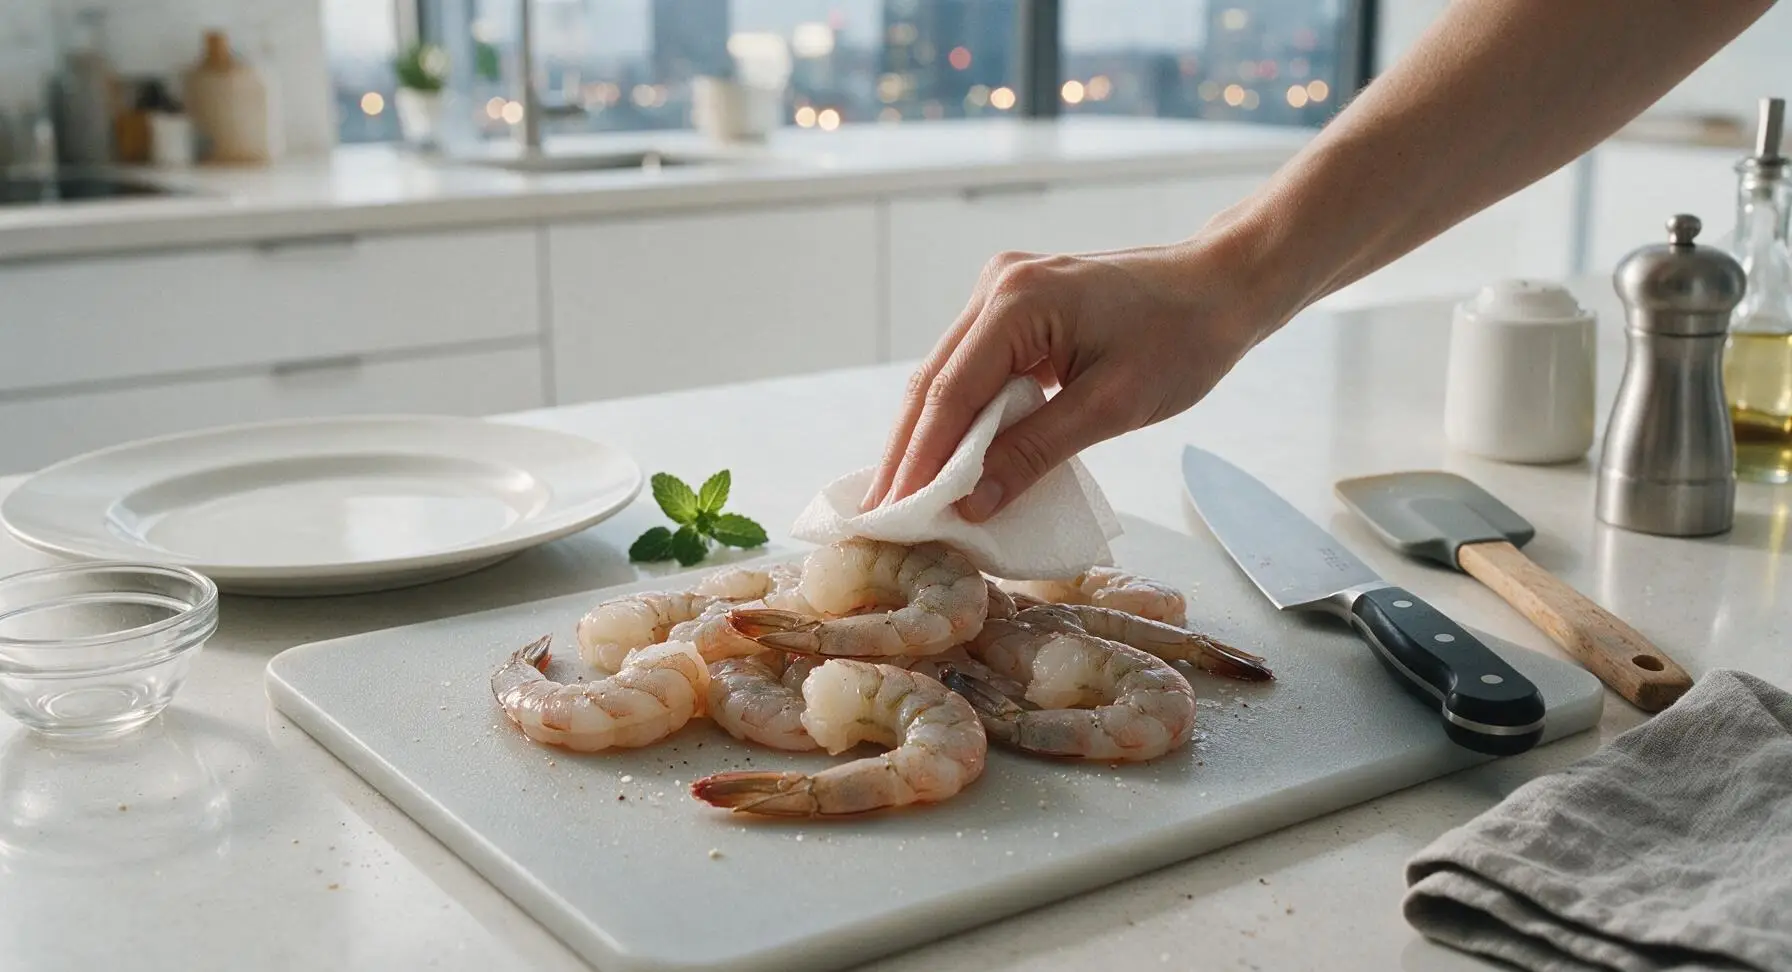
Step 1
step1:Prep and Dry Shrimp
2

Mince Garlic and Parsley

Set the seasoned shrimp aside on the top edge of the cutting board. Use the 8-inch chef knife to mince 6 peeled garlic cloves into fine, even pieces (avoid crushing garlic into a paste, as paste will burn much faster than evenly sized mince). Chop ¼ cup fresh flat-leaf parsley into fine pieces, and zest 1 tsp of yellow lemon rind, taking care not to cut into the bitter white pith under the yellow skin. Transfer minced garlic to the small stainless steel prep bowl, and set chopped parsley and lemon zest aside for later use.
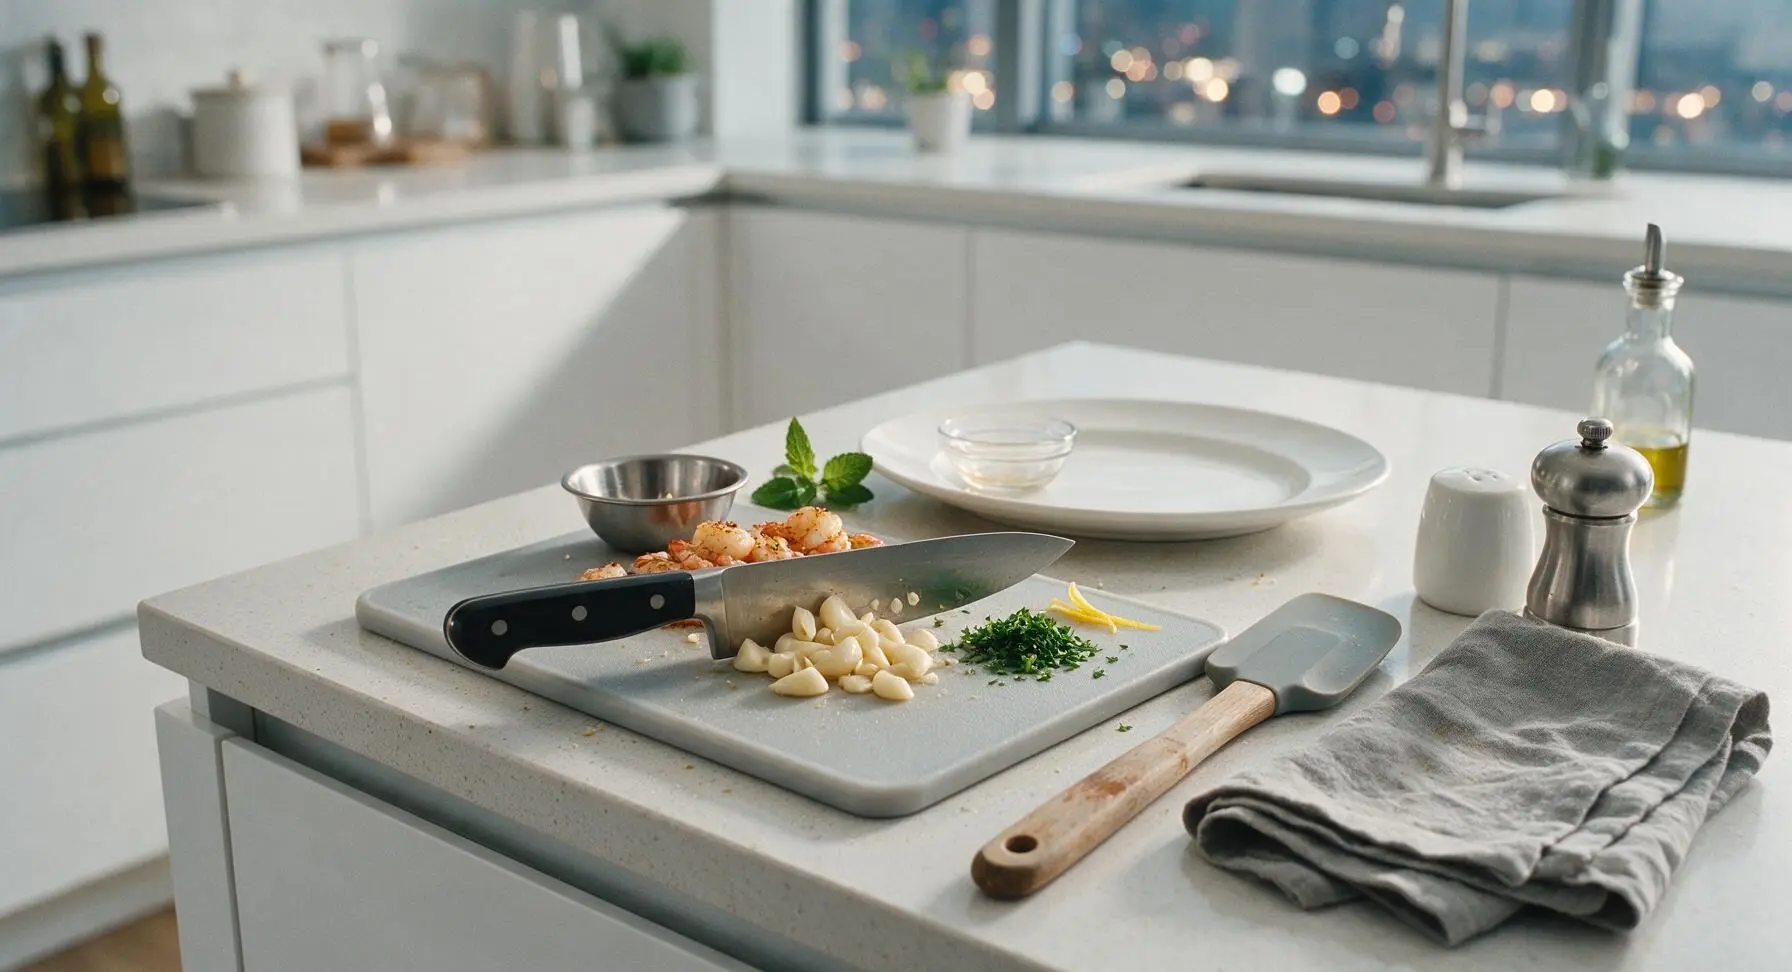
Step 2
step2:Mince Garlic and Parsley
3

Heat Skillet and Oil

Move the light maple cutting board with prepped ingredients to the left side of the counter to make space for cooking. Place the 12-inch stainless steel skillet on the central stovetop burner, turn heat to medium-high, and add 1 tbsp extra-virgin olive oil. Heat oil for 2 minutes until it shimmers and moves easily across the pan surface, but does not smoke (smoking oil means it is too hot and will burn the shrimp instantly). Rest the silicone-tipped tongs on the light grey silicone heat mat to the right of the skillet for easy access.
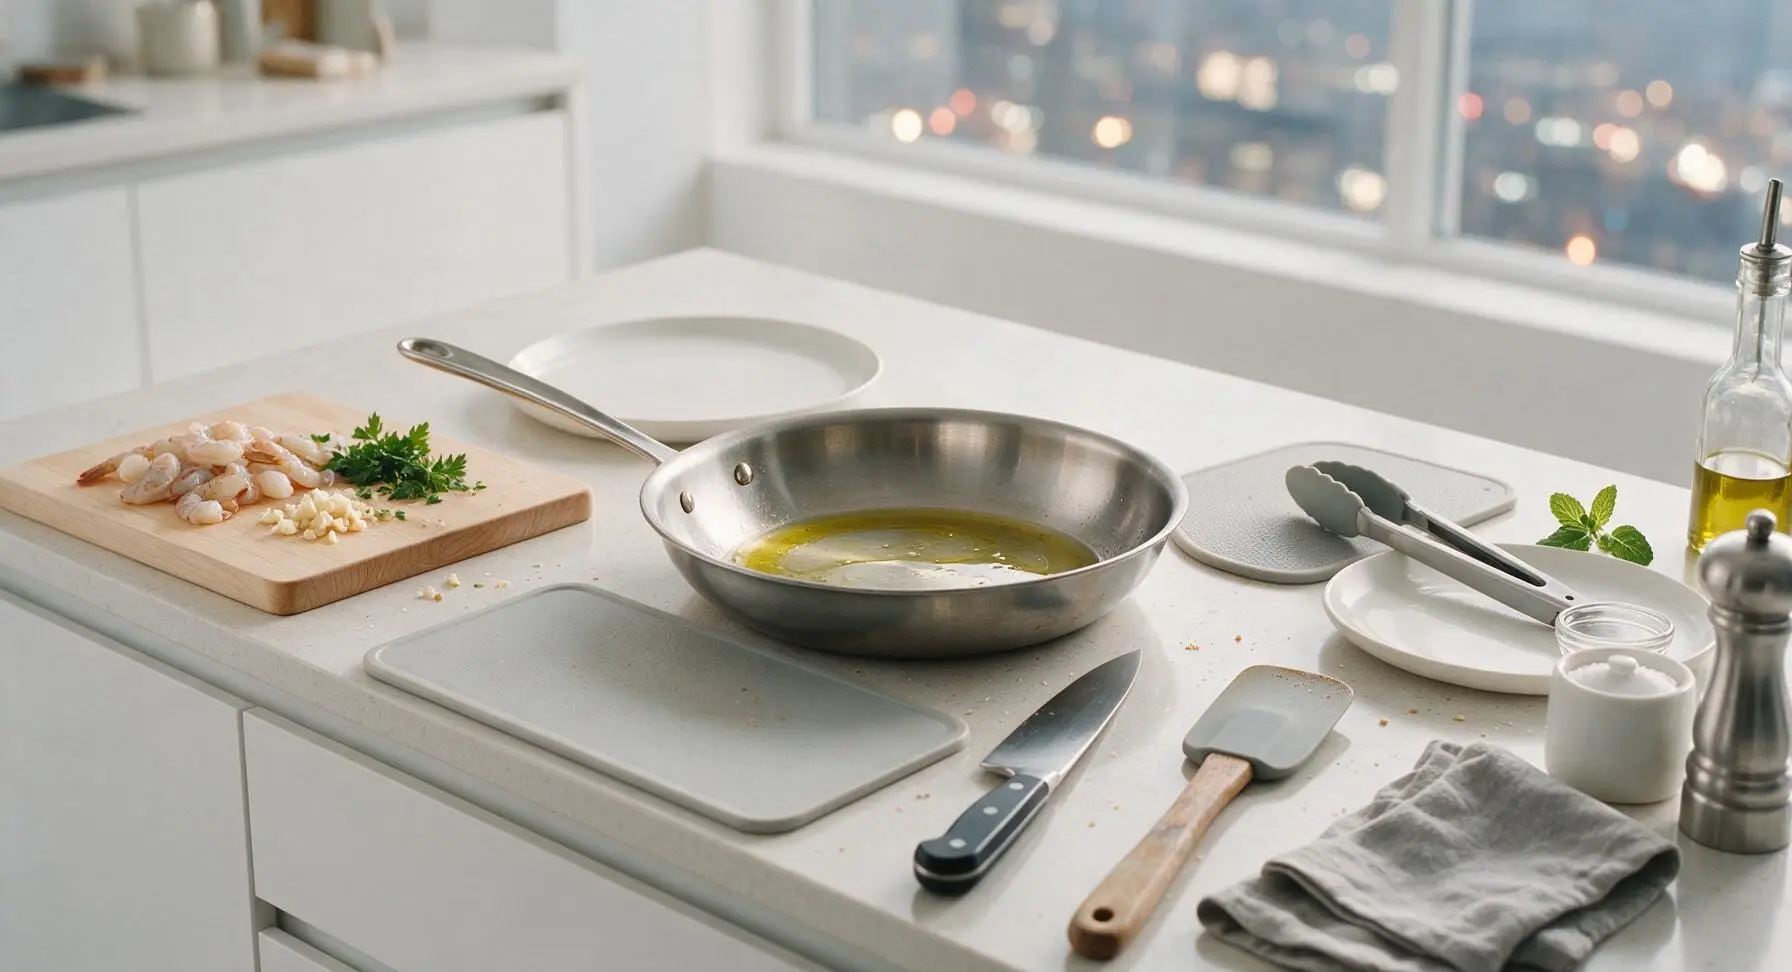
Step 3
step3:Heat Skillet and Oil
4

Sear Shrimp First Side

Use the tongs to place the dried, seasoned shrimp in a single even layer in the hot skillet, working in batches if needed to avoid crowding the pan (crowding causes steaming instead of searing). Cook undisturbed for 2 minutes on the first side, until the bottom edge of each shrimp turns opaque golden-pink and develops a light golden sear. Do not stir or move shrimp during this time to build a light, crisp crust; if shrimp are crowded, their surface will not brown properly.
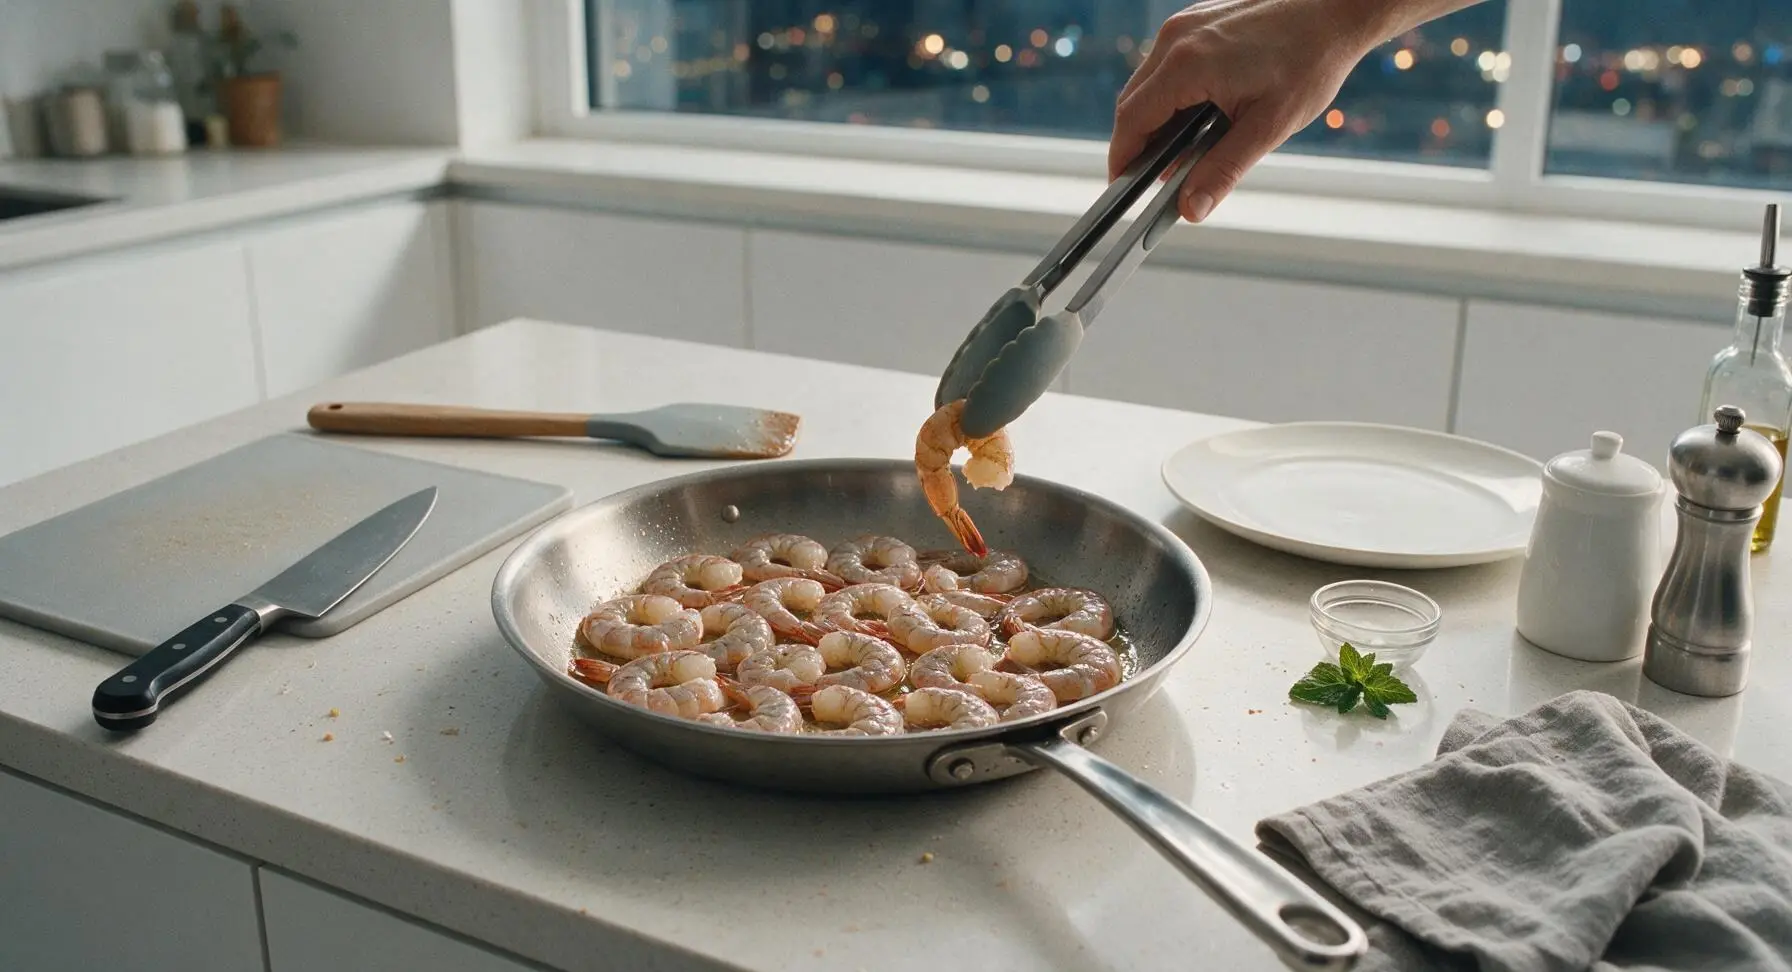
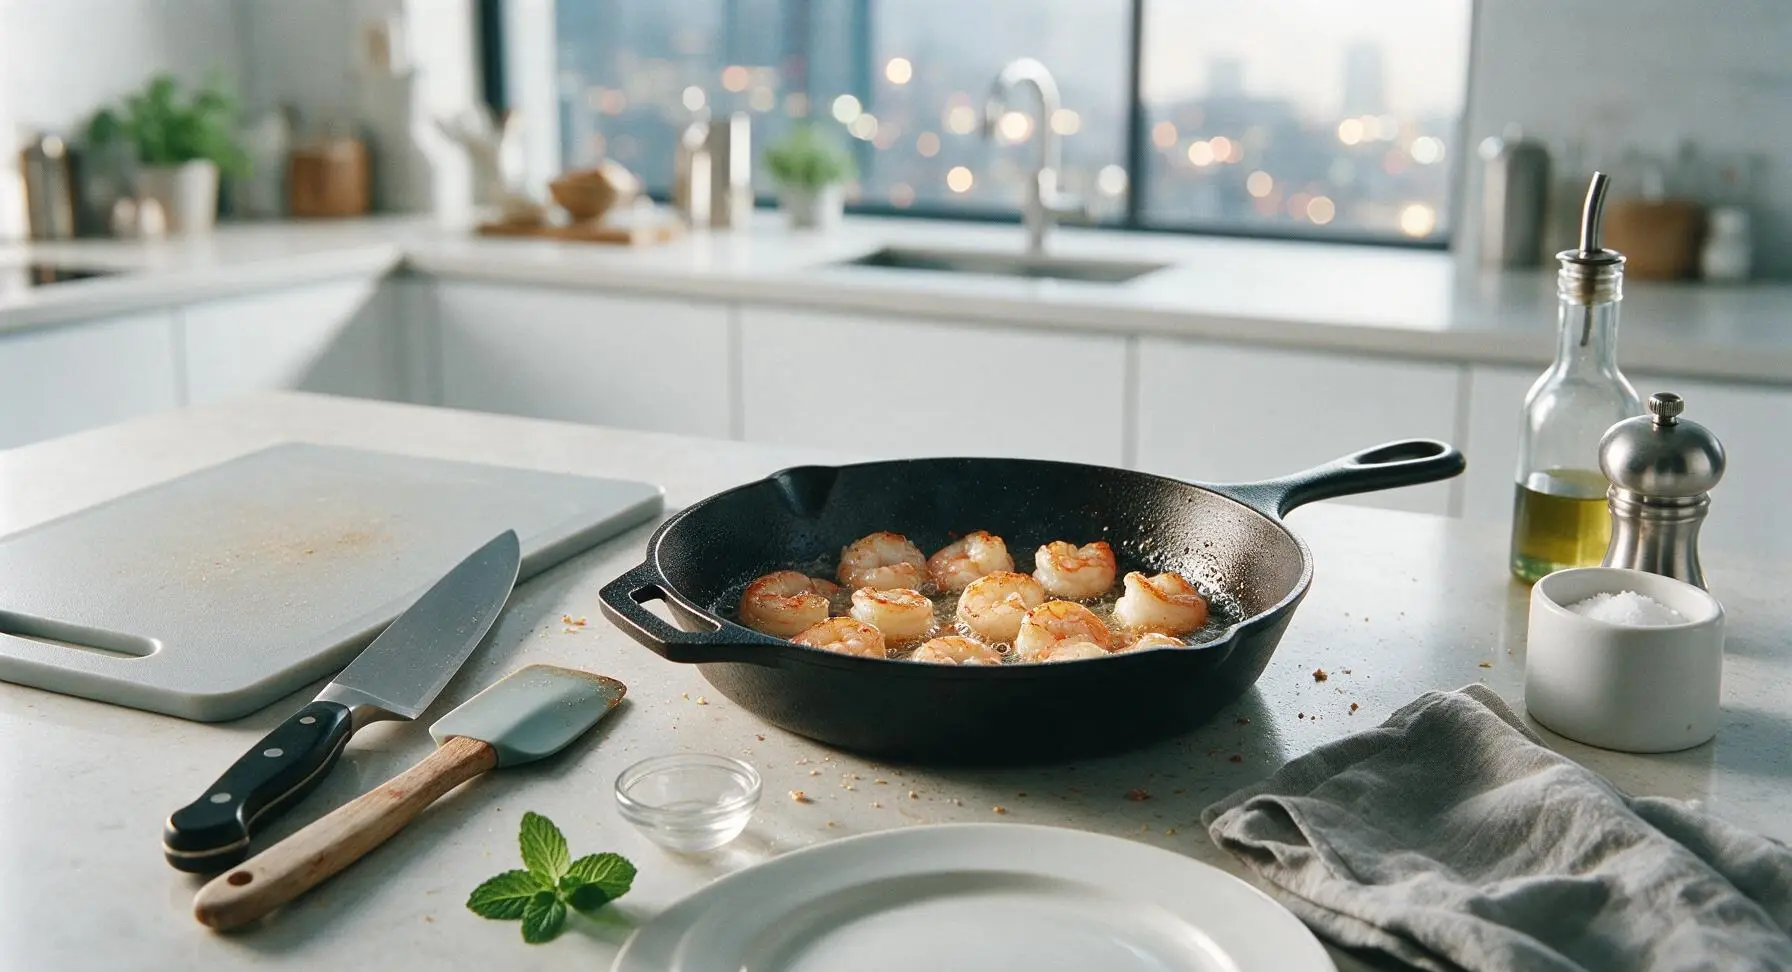
Step 4
step4:Sear Shrimp First Side
Step 4
step4:Sear Shrimp First Side
5

Flip and Add Aromatics

Use the silicone-tipped tongs to flip each shrimp to the second side. Immediately add 2.5 tbsp unsalted butter, the minced garlic, remaining ½ tsp kosher salt, ¼ tsp black pepper, and optional ¼ tsp red pepper flakes to the skillet. Tilt the pan slightly to pool the melting butter, and spoon the bubbling garlic butter over the top of the cooking shrimp continuously for 2 minutes. Watch the garlic closely: it should turn pale golden and fragrant, not dark brown, as burnt garlic has a harsh, bitter flavor.
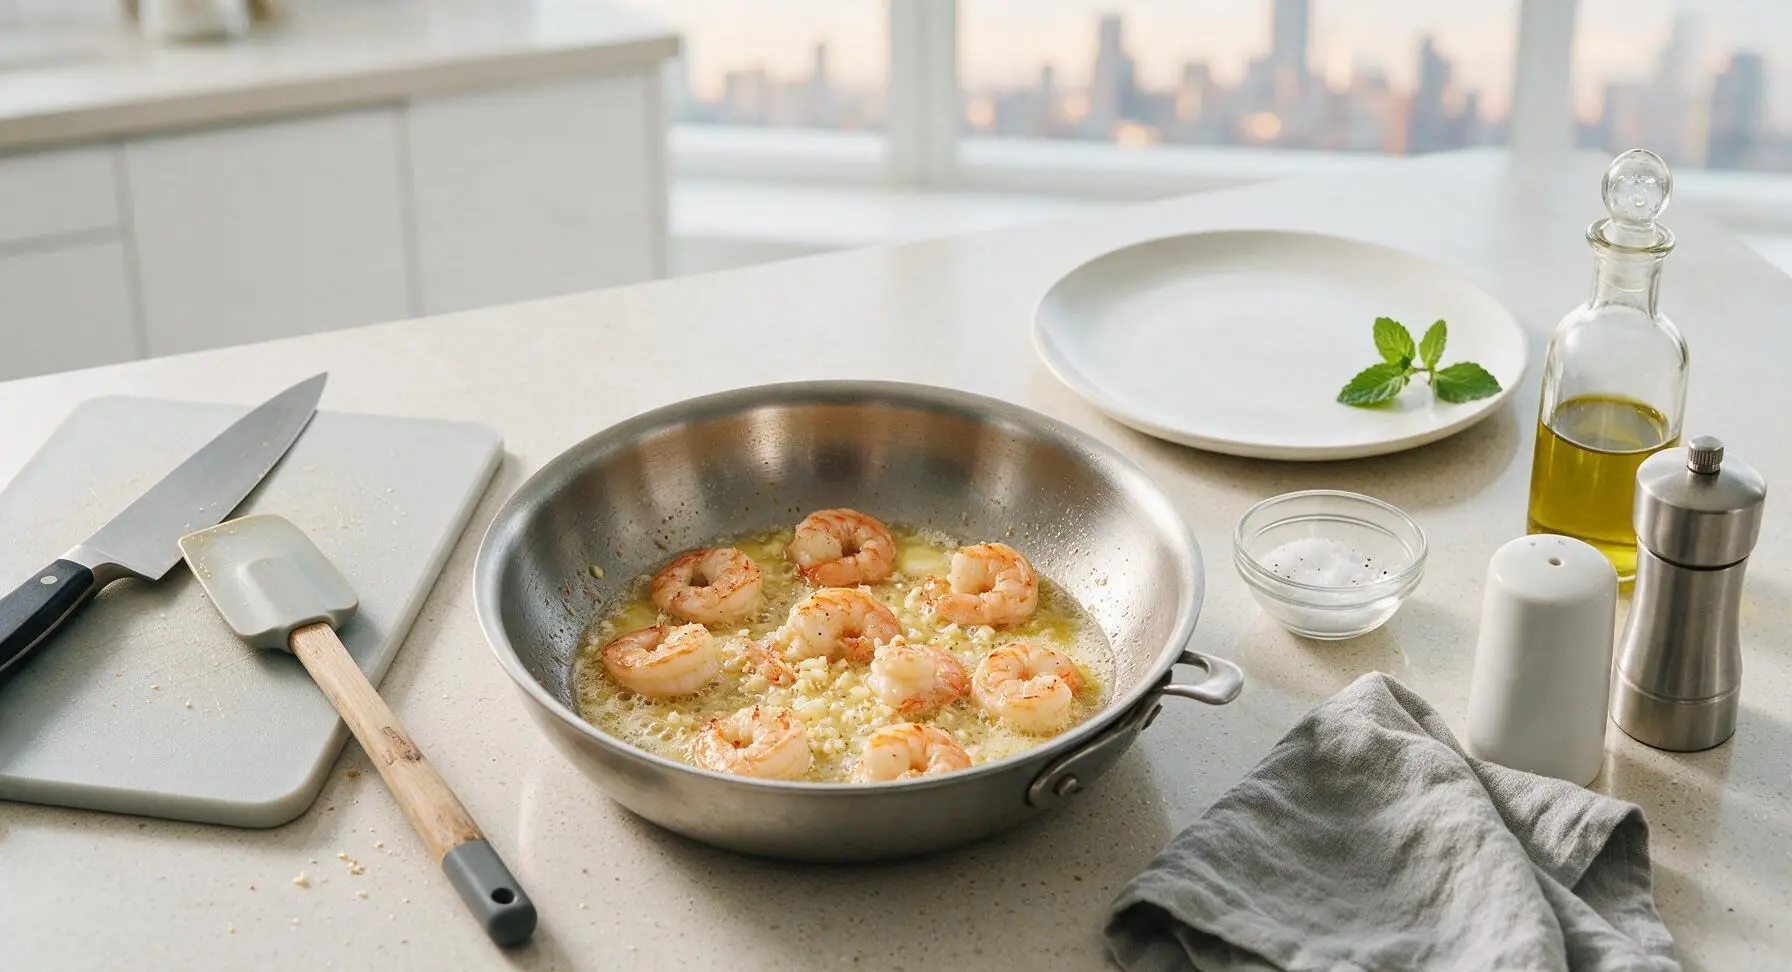
Step 5
step5:Flip and Add Aromatics
6

Add Lemon and Parsley

Turn off the stovetop heat. Add the reserved 1 tsp lemon zest, 2 tbsp fresh lemon juice, and ¾ of the chopped parsley to the skillet, tossing gently with the tongs to coat every shrimp in the glossy garlic butter sauce. The shrimp should be fully opaque pink-white with no translucent grey patches remaining, and firm to the touch but still plump; total shrimp cook time is 4 minutes, so do not leave them on heat longer to avoid rubbery texture.
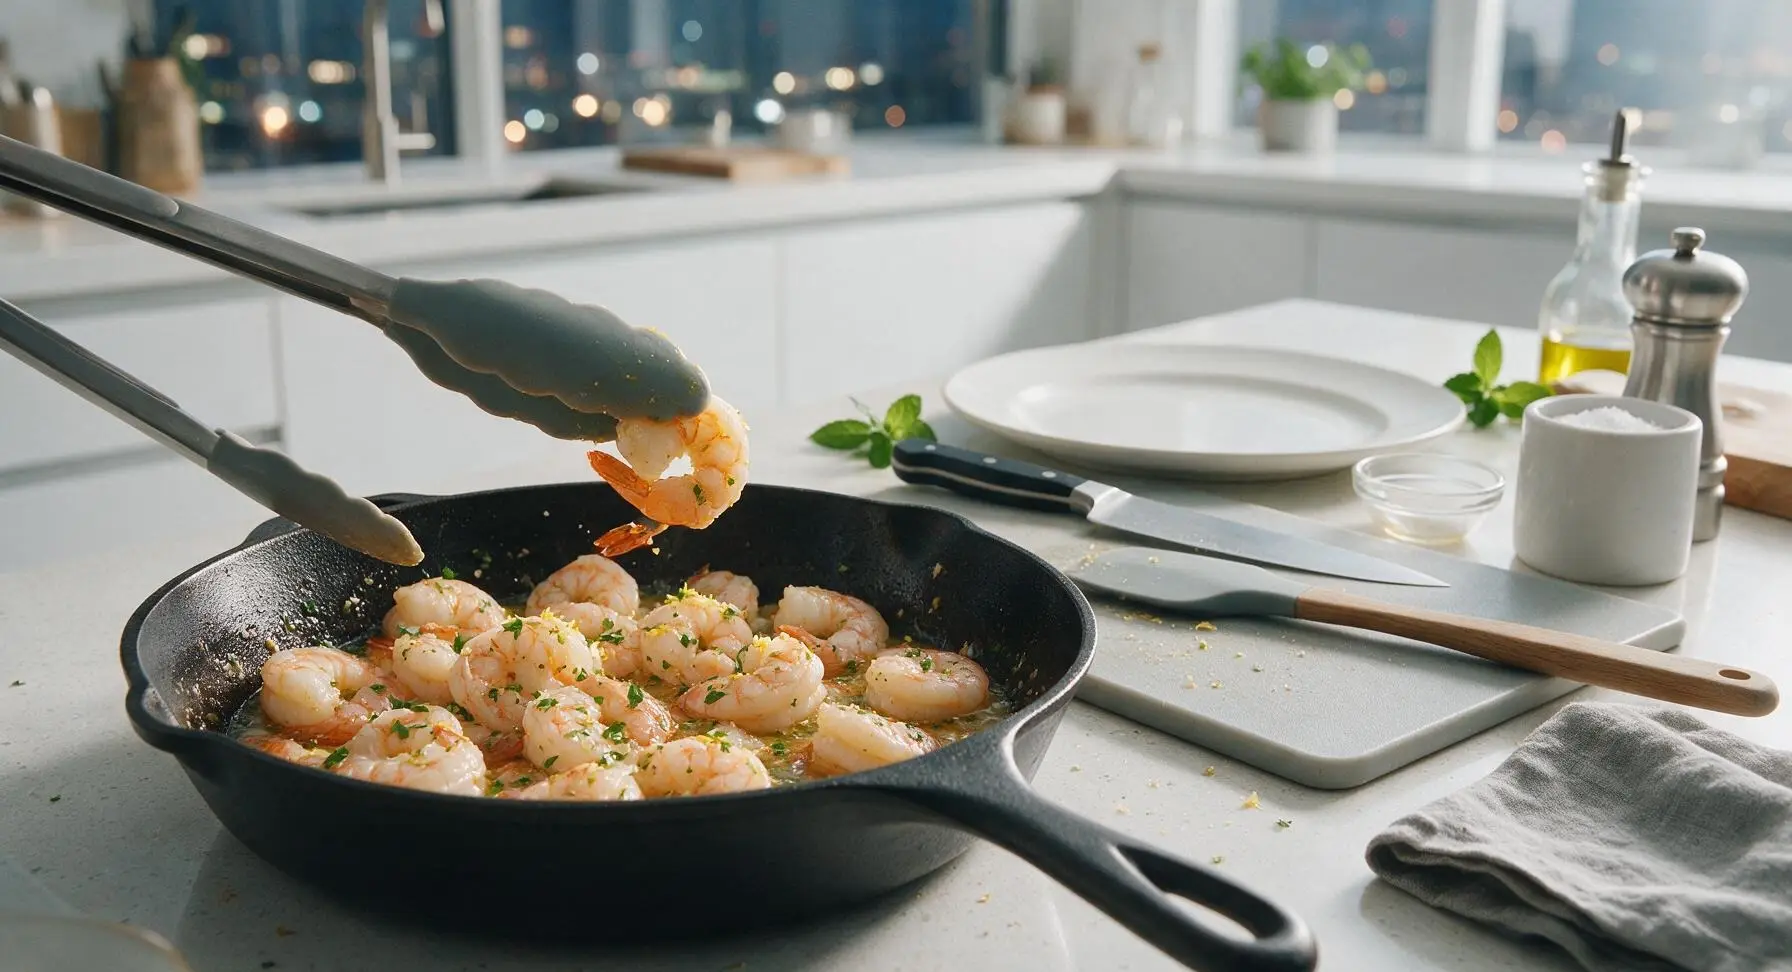
Step 6
step6:Add Lemon and Parsley
7

Plate and Garnish

Use the tongs to transfer the cooked shrimp to the matte off-white ceramic dinner plate, piling them loosely in the center. Drizzle any remaining garlic butter sauce from the skillet over the top of the shrimp. Sprinkle with the remaining chopped parsley, a light pinch of flaky sea salt from the salt cellar, and arrange 4 lemon wedges around the plate edge for squeezing. Serve immediately while hot, as shrimp cool quickly.
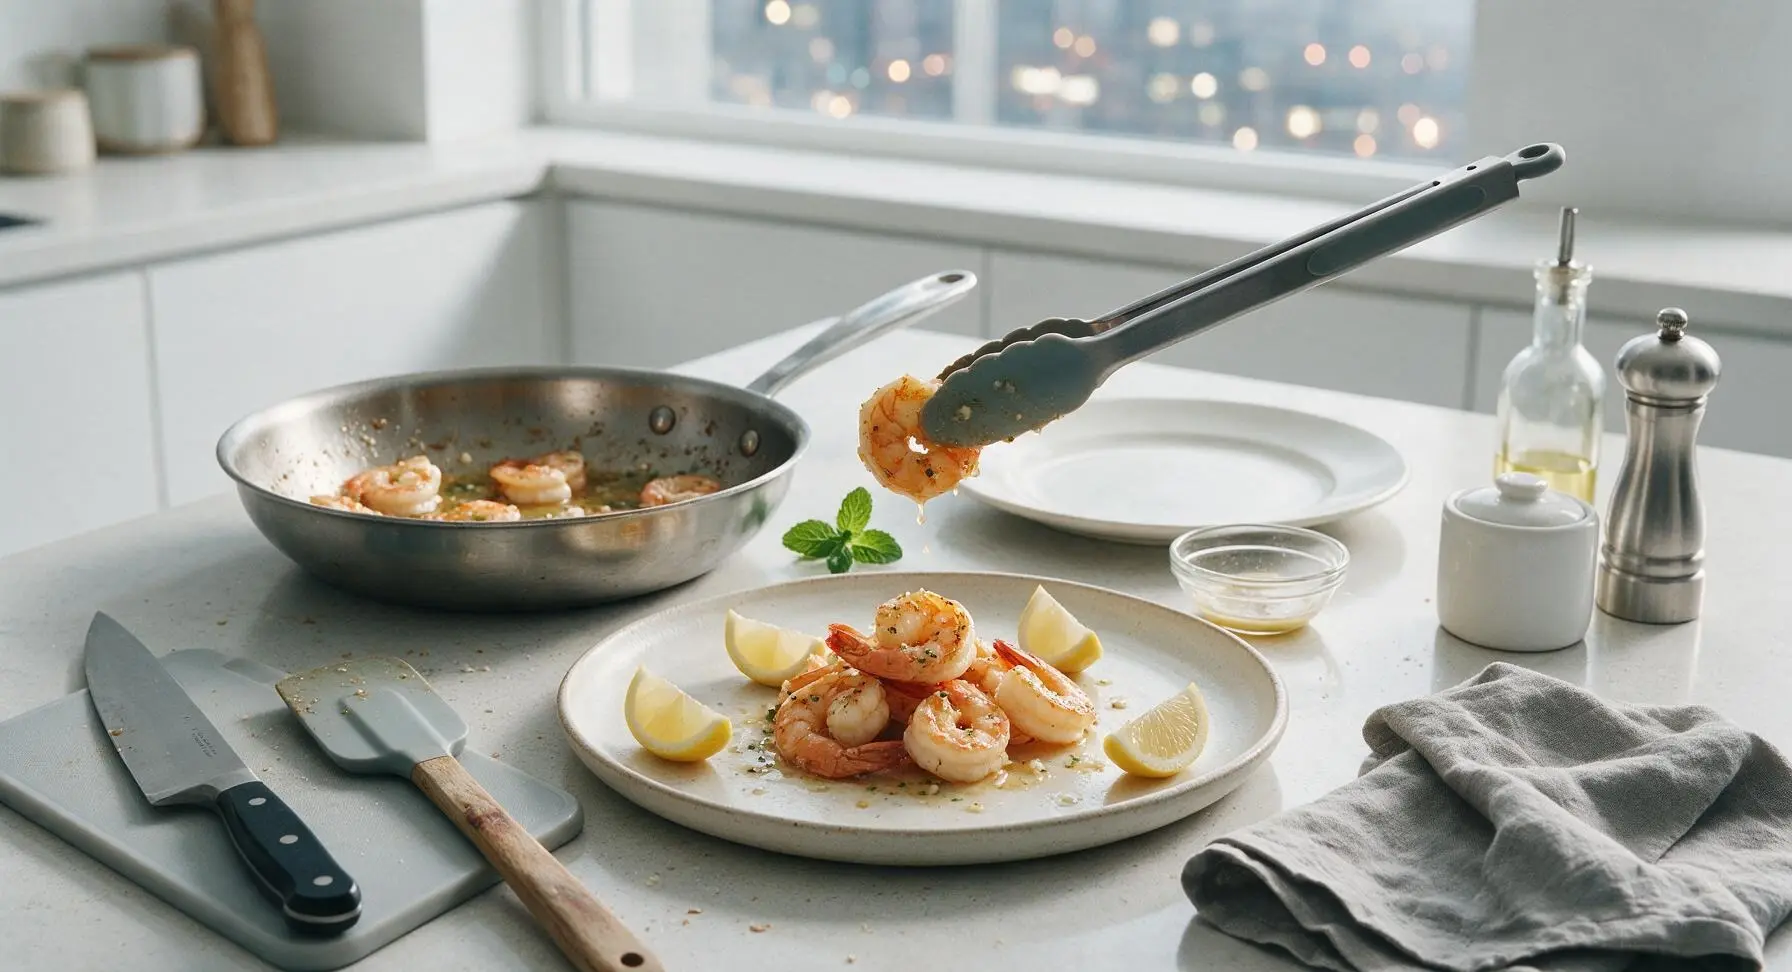
Step 7
step7:Plate and Garnish

Tips

1.Pat shrimp completely dry before searing: Any surface moisture will cause the shrimp to steam instead of developing a light, flavorful golden crust, and will cause hot oil to splatter dangerously.
2.Do not overcook shrimp: Large 21-25 count shrimp only need 4 total minutes of high-heat cook time; they will continue to cook for 1 minute after being removed from heat (carryover cooking), so remove them as soon as they turn fully opaque to avoid tough, rubbery texture.
3.Add garlic late to avoid burning: Garlic cooks in as little as 30 seconds over high heat, so add it only after flipping the shrimp when pan temperature is slightly lower. Pale golden garlic is sweet and fragrant, while dark brown garlic is acrid and will ruin the flavor of the dish.
✨ You May Also Like

Seafood
🍜 United States

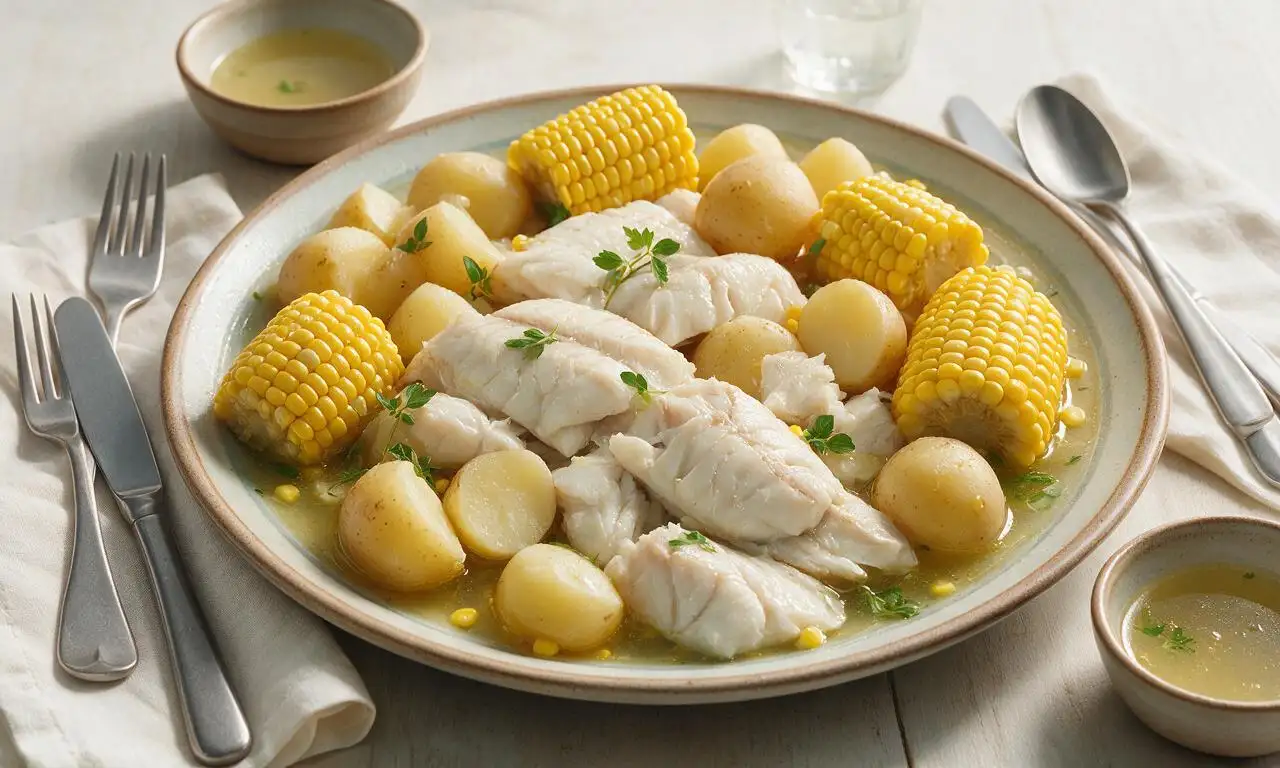
An iconic Door County, Wisconsin tradition of flaky boiled whitefish, tender potatoes, and sweet corn, cooked outdoors for casual, communal summer gatherings.

⏱️ 45 minuteSeafood ★ 4.7
Seafood
🍜 United States

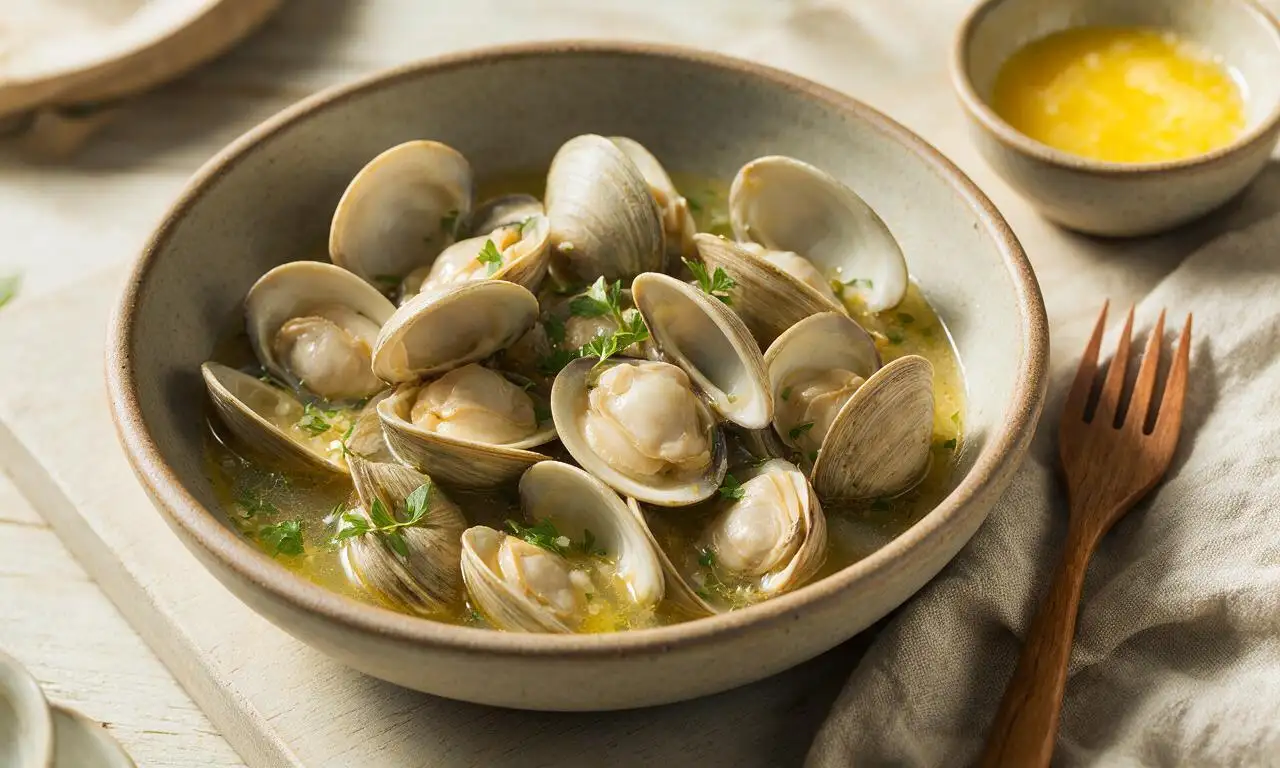
Tender, briny soft-shell clams steamed in garlicky white wine broth, served with warm broth and melted butter for dipping—classic coastal comfort food.

⏱️ 30 minuteSeafood ★ 4.7
Seafood
🍜 United States

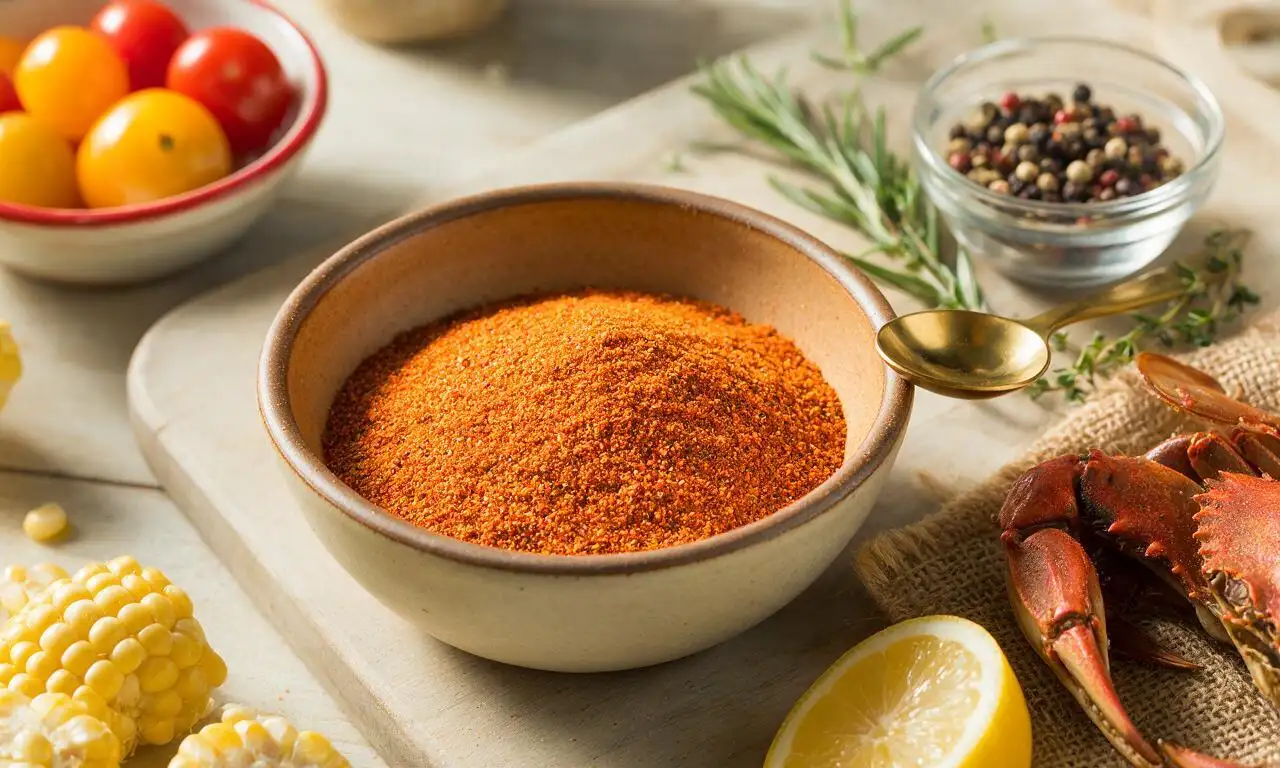
Iconic zesty, savory spice blend from Maryland’s Chesapeake Bay, perfect for seafood boils, grilled fare, fries, and corn, made fresh without preservatives.

⏱️ 10 minuteSeafood ★ 4.9
Seafood
🍜 China

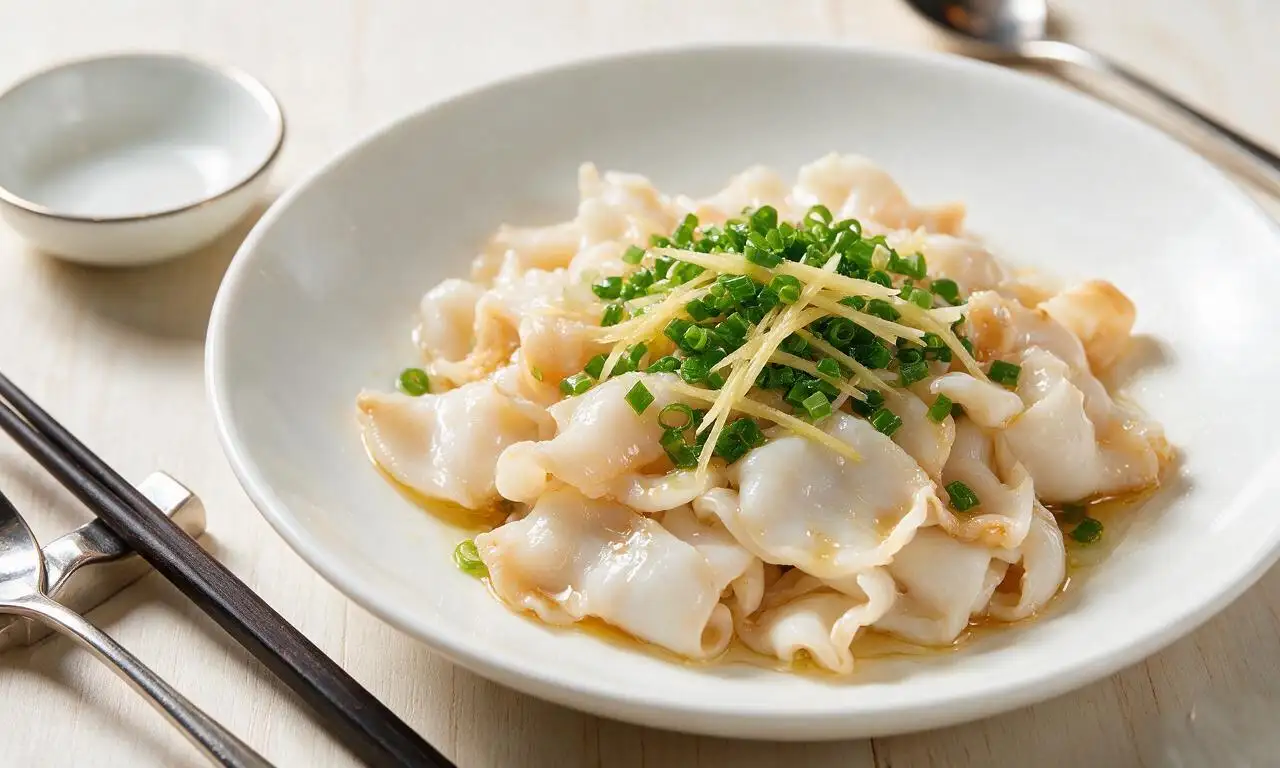
Tender, crisp, sweet blanched geoduck topped with fragrant sizzled ginger and scallion, a luxurious Cantonese dish highlighting the clam’s natural briny, delicate flavor.

⏱️ 30 minuteSeafood ★ 4.7
Seafood
🍜 United States

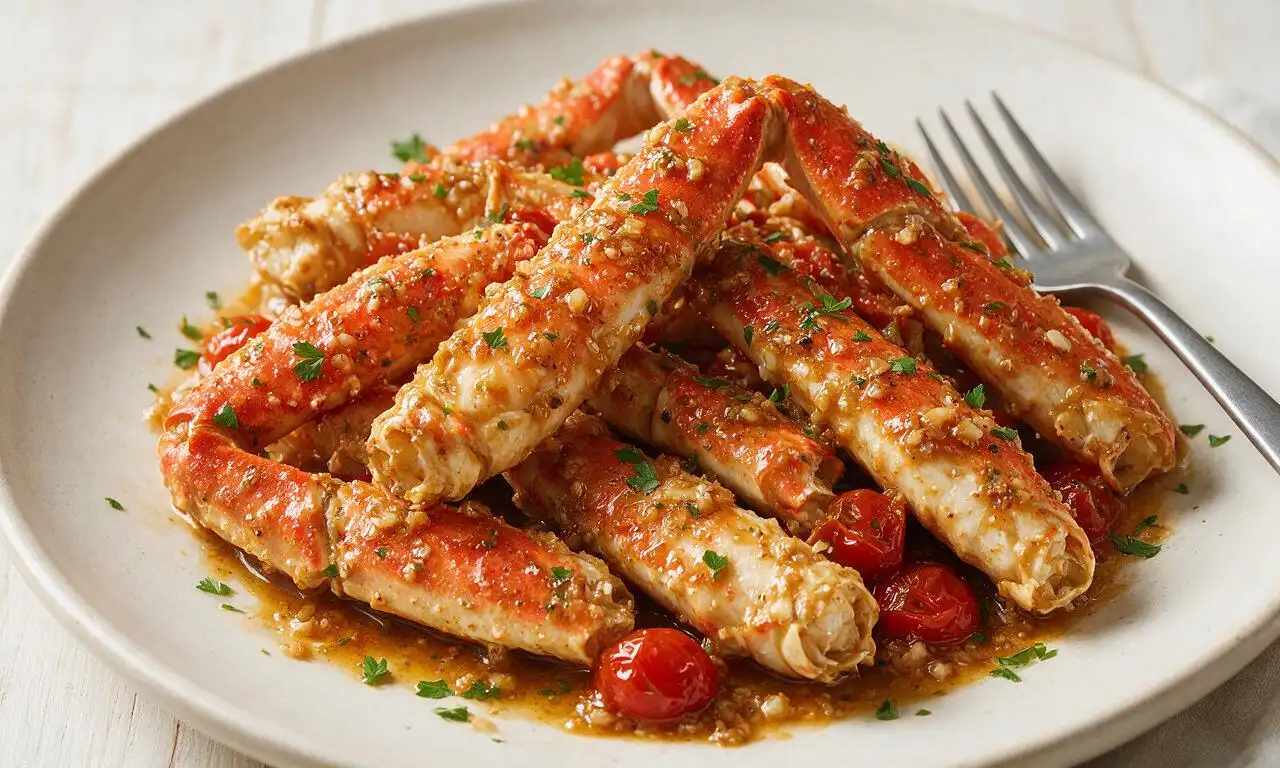
Succulent sweet crab legs coated in rich garlic butter, steamed to tender perfection for a juicy, indulgent seafood feast that requires minimal prep and cook time.

⏱️ 25 minuteSeafood ★ 4.7
Seafood
🍜 United States

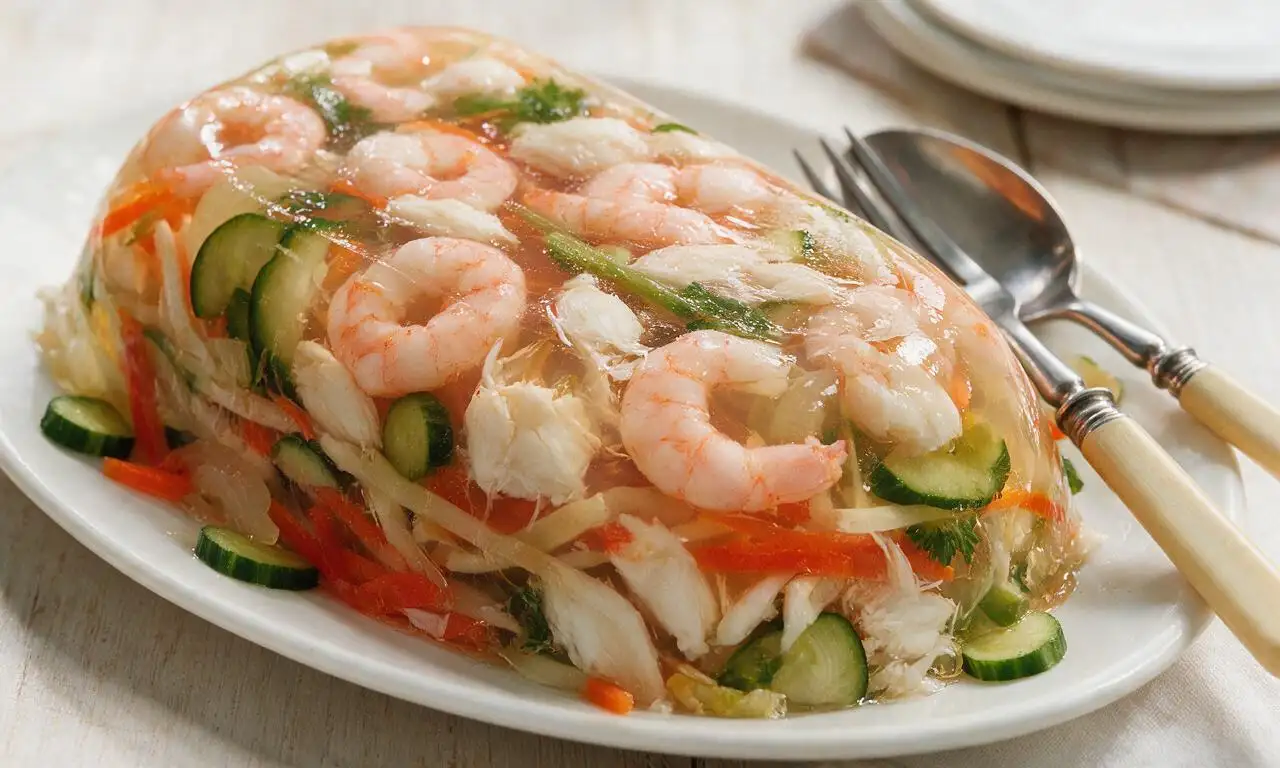
A nostalgic chilled jellied seafood staple of 1950s American potlucks, loaded with tender shrimp, lump crab, crisp veggies, and bright creamy tang.

⏱️ 4 hours 2Seafood ★ 4.6

shrimp on stove:Frequently Asked Questions

1.Why do my shrimp always come out rubbery instead of juicy and plump? ▾
That almost always stems from overcooking or cooking wet shrimp. Pat peeled, deveined shrimp completely dry with paper towels first, then cook over medium-high heat just 1 to 2 minutes per side until they turn opaque pink with a faint pearlescent center. They’ll finish cooking from residual heat off the burner, so don’t leave them on the heat too long.
2.Can I use frozen shrimp for this recipe instead of fresh? ▾
Absolutely—frozen shrimp works beautifully here, and it’s often flash-frozen at peak freshness for better flavor than “fresh” shrimp that’s sat in a grocery case for days. Thaw it overnight in the fridge, or sub sealed bags in cold water for 15 minutes, then pat extremely dry before cooking to avoid steaming instead of searing.
3.What does 21-25 count shrimp mean, and can I use a different size? ▾
The count refers to how many shrimp make up 1 pound, so 21-25 count are large, bite-sized shrimp that cook evenly and hold up well to the garlic butter sauce. You can use smaller or larger shrimp, just adjust cook time: smaller 31-40 count need 45 seconds to 1 minute per side, while extra-jumbo 16-20 count need 2 to 3 minutes per side.
4.Why does my garlic burn and turn bitter when I make this style of shrimp? ▾
Burnt garlic is such a common misstep! Add your minced garlic to the butter-oil mix right after you flip the shrimp, instead of cooking it for minutes ahead of time. It only needs 30 to 45 seconds over medium heat to turn fragrant and golden, and tossing it with the finishing shrimp keeps it from sitting on the hot pan too long.
5.Do I have to leave the tails on the shrimp, or can I peel them completely? ▾
Leaving tails on is totally optional! It adds a nice, restaurant-style presentation and a tiny bit of extra shellfish flavor to the butter as it cooks, but if you prefer easier, no-mess eating, feel free to peel the tails off before cooking. Just don’t skip patting the shrimp dry no matter which prep you choose.
6.Can I make this garlic butter shrimp ahead of time for meal prep? ▾
This shrimp is best served right off the stovetop, but you can prep components ahead to cut down on cook time: peel and devein shrimp 1 day ahead, mince garlic and chop parsley 2 days ahead, and store all in airtight containers in the fridge. I don’t recommend cooking the shrimp fully ahead, as it will turn rubbery when reheated.
7.What should I serve with this garlic butter shrimp for a full meal? ▾
It pairs beautifully with so many quick sides! Toss it over al dente pasta, creamy polenta, or crusty sourdough to soak up the extra butter sauce, or serve it alongside roasted veggies, a bright arugula salad, or rice pilaf for a lighter, well-balanced meal that comes together in the same 20-minute window.
8.I don’t have fresh parsley—can I use dried parsley instead? ▾
Fresh flat-leaf parsley adds a bright, herbaceous pop that cuts through the rich butter, but if you only have dried, use 1 teaspoon of dried parsley (1/3 the amount of fresh, since dried herbs are more concentrated) and add it with the garlic so it has time to rehydrate. A quick squeeze of extra lemon can make up for missing fresh herb brightness.
9.Should I use salted or unsalted butter for this recipe? ▾
I call for unsalted butter so you can control the exact sodium level of the dish, since shrimp have a natural mild brininess. If you only have salted butter on hand, skip adding extra salt at the start, taste the sauce right before serving, and only add a pinch more if it needs it—you can always add more, but you can’t fix overly salty butter.
10.How do I keep the butter from splitting or burning when searing the shrimp? ▾
Mixing a small amount of extra-virgin olive oil in with the butter raises its smoke point, so it won’t burn as quickly over the medium-high heat you need to get a nice sear on shrimp. Keep the heat steady, don’t crank it to high, and if the butter starts to darken early, turn the heat down a touch and add a tiny squeeze of lemon to stabilize it.

Comments (3)

2 days ago

OMG this is literally the easiest weeknight dinner win ever! I threw this together last night after my kid's soccer practice, it took literally the 8 minutes the recipe said and my whole family devoured it. The garlic butter is so flavorful I sopped up every last bit with crusty sourdough. Game changer for when I don't feel like slaving over the stove!

yesterday

Totally agree! I made this for my neighborhood potluck last weekend and people were begging for the recipe, so good! I added a little pinch of red pepper flakes for a tiny kick and it was chef's kiss.

2 hours ago

Love hearing this! So glad it worked for your busy soccer practice weeknight, Mia—Jake, that red pepper flakes twist is genius! It makes me so happy this recipe works for both quick family dinners and neighborhood potlucks.

3 days ago

This turned out really tasty! Quick question though—if I want to meal prep this for the week, will the shrimp get rubbery if I reheat it? I tried to make shrimp for meal prep once and it was so overcooked when I warmed it up the next day :(

2 days ago

Great question! For meal prep, I recommend cooking the shrimp just until barely opaque (it'll keep cooking a little from residual heat) and storing it separate from the garlic butter sauce if you can. Reheat gently in a pan over low heat for 1-2 minutes instead of the microwave, and it won't get rubbery at all! Hope that helps!

1 week ago

SO good. I was worried I'd mess up stovetop shrimp because I always overcook seafood, but the timing on this recipe is foolproof. I served it over pasta for date night with my partner last night and they said it tasted like something from a fancy waterfront restaurant. Will absolutely be making this on repeat!