
simple chaffle
intro
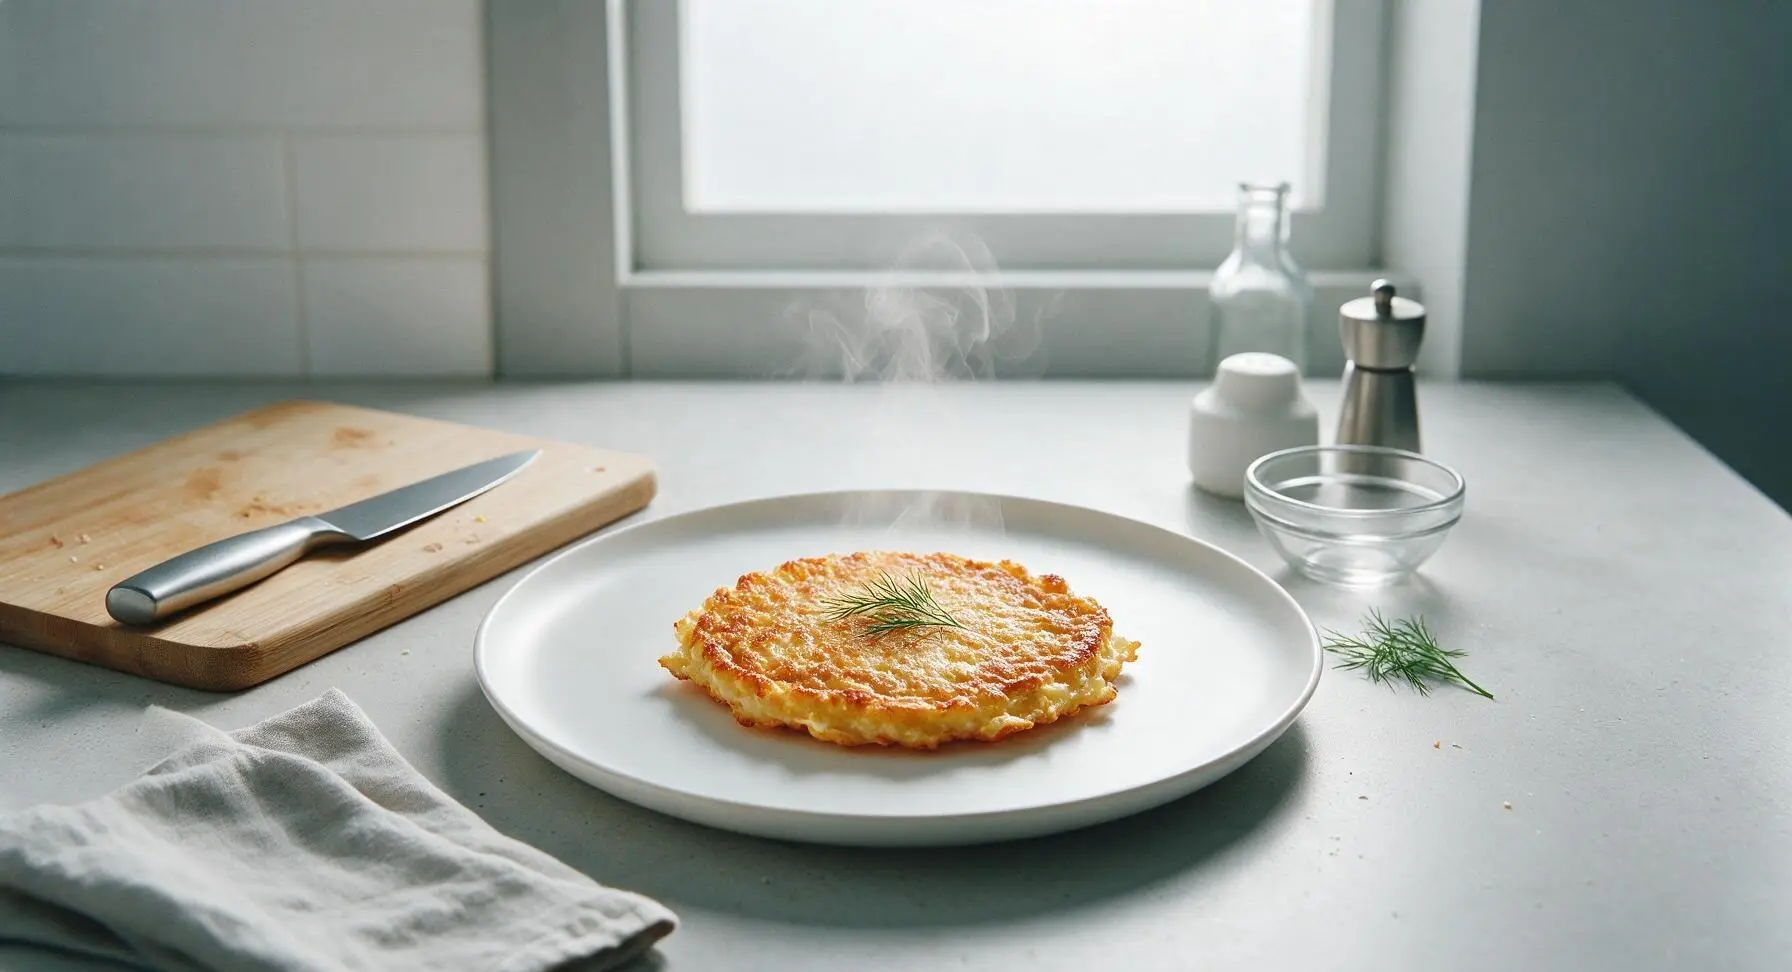
Crispy, cheesy, 3-ingredient chaffles are the ultimate fast, low-carb swap for traditional waffles, ready in under 10 minutes for busy mornings or quick weeknight meals.
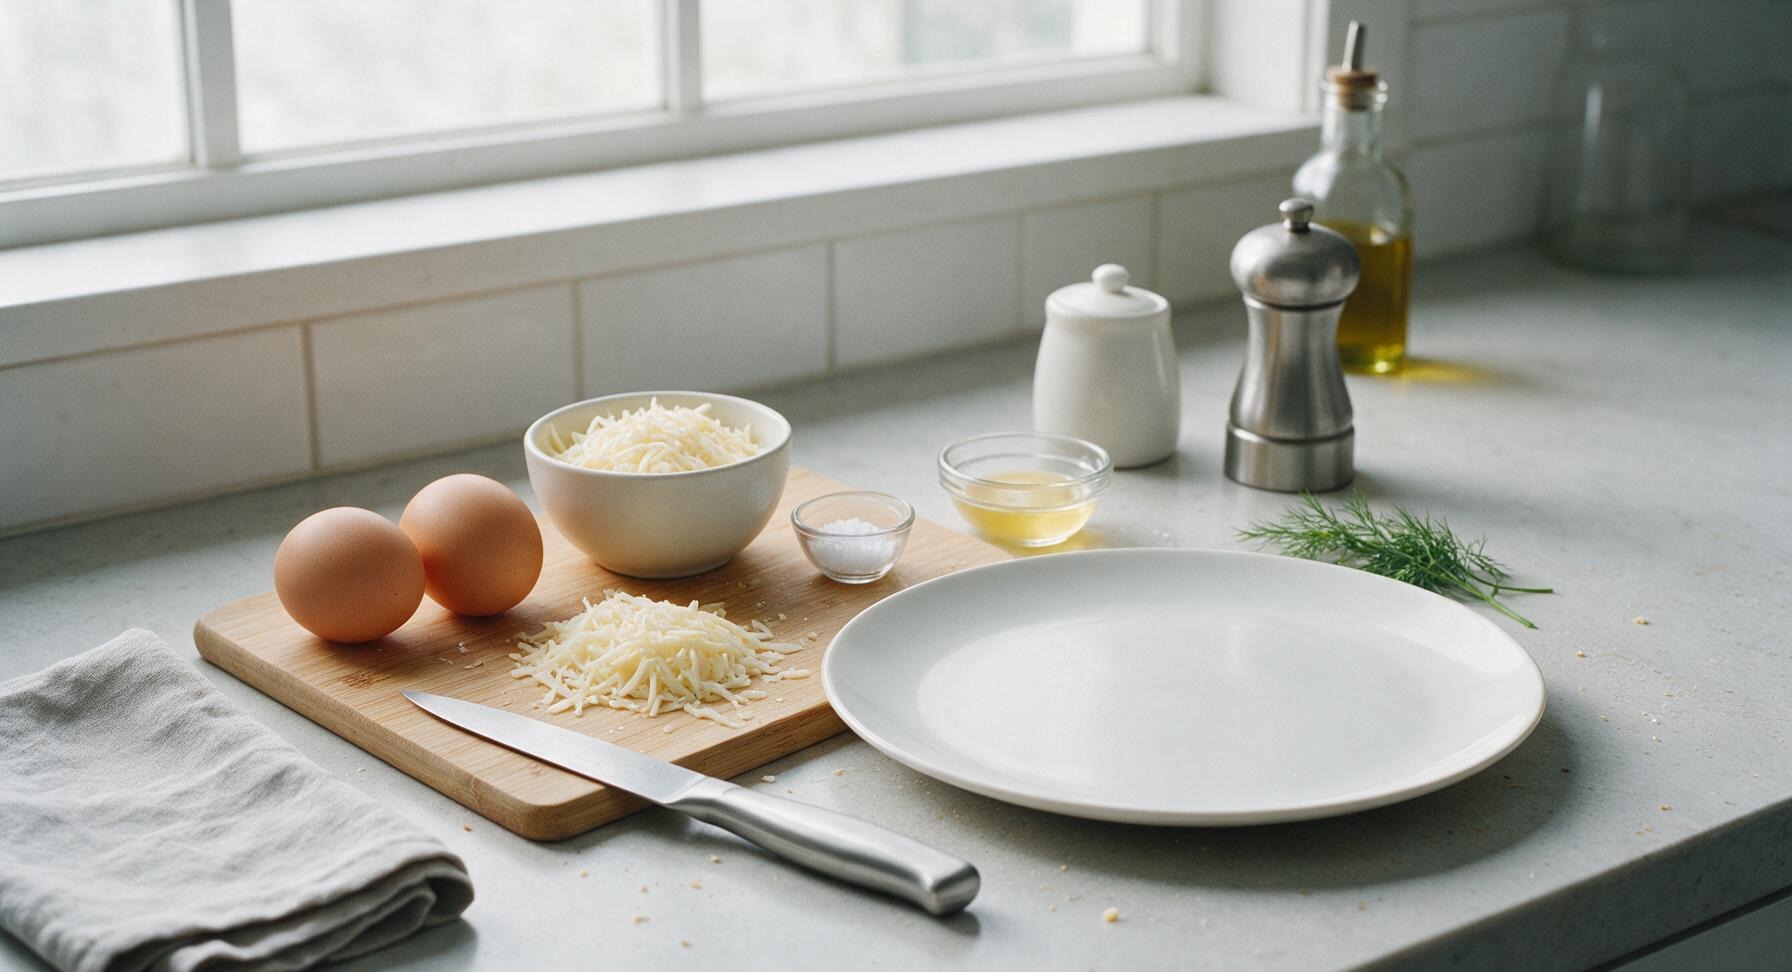
Ingredients
Steps
Preheat Waffle Maker
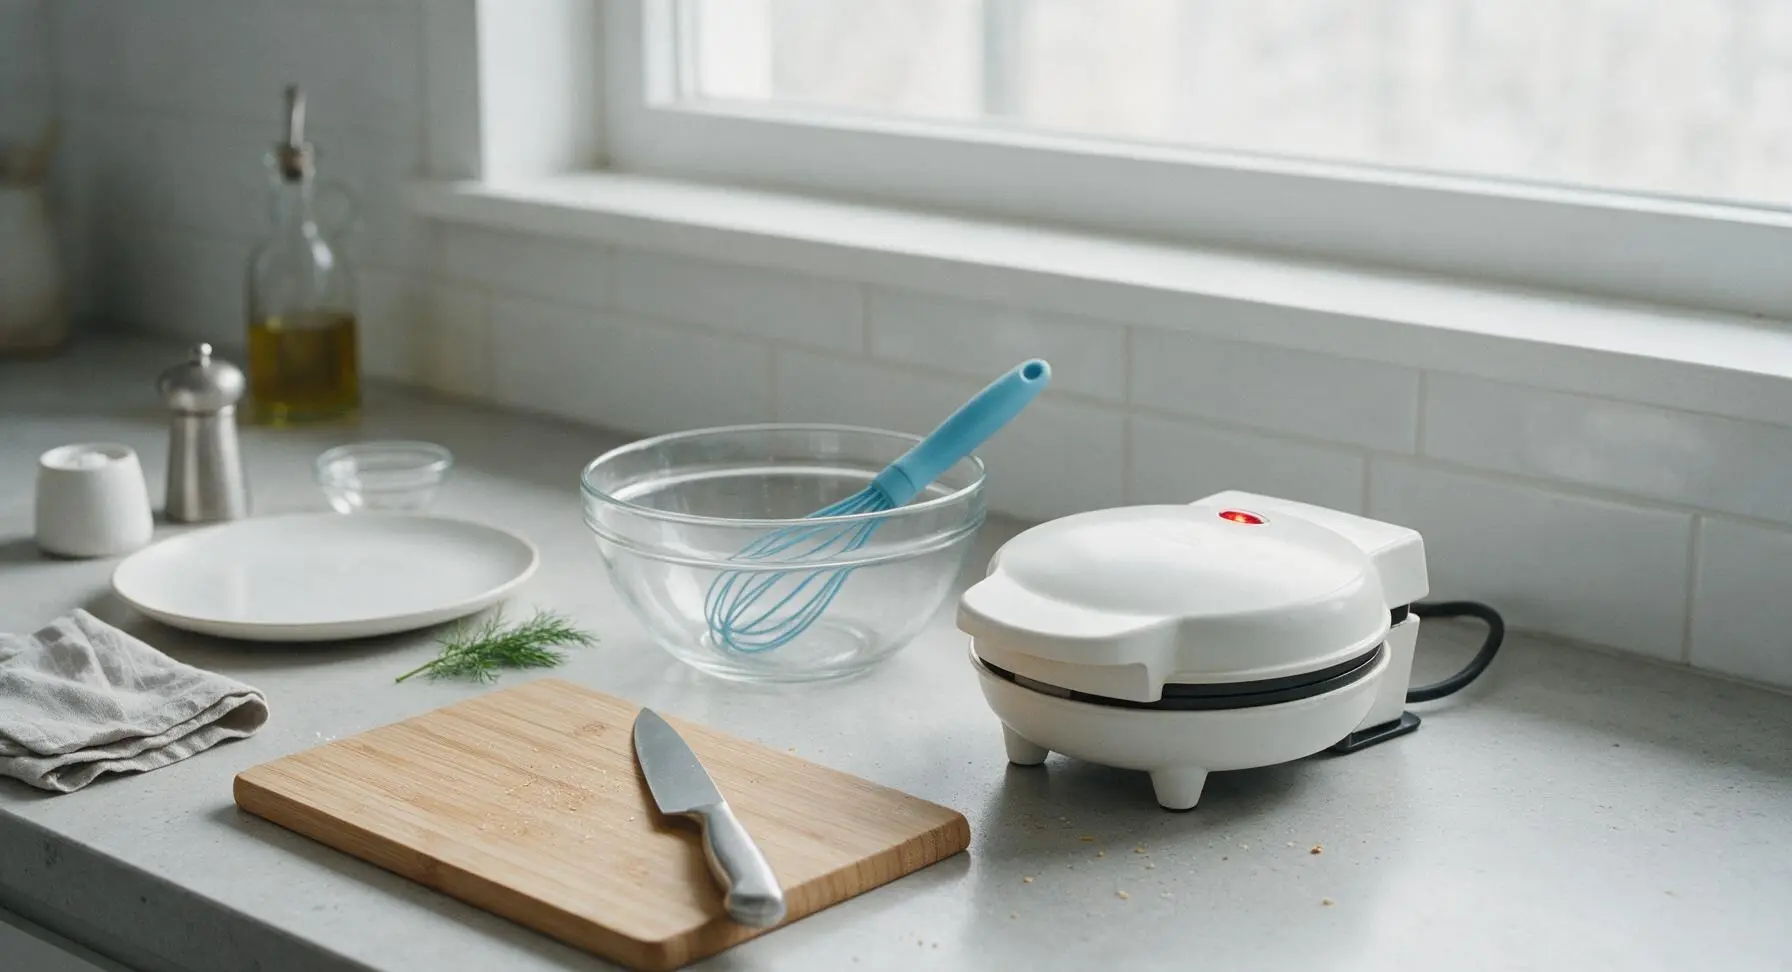
Plug in the 4-inch mini waffle maker and close the lid. Let it preheat for 2 minutes until the built-in indicator light shows it has reached 375°F (190°C), the ideal temperature for crispy chaffles. Skip greasing the plates if your waffle maker has an intact non-stick coating, as the cheese will release enough natural fat to prevent sticking.
Crack Eggs Into Bowl
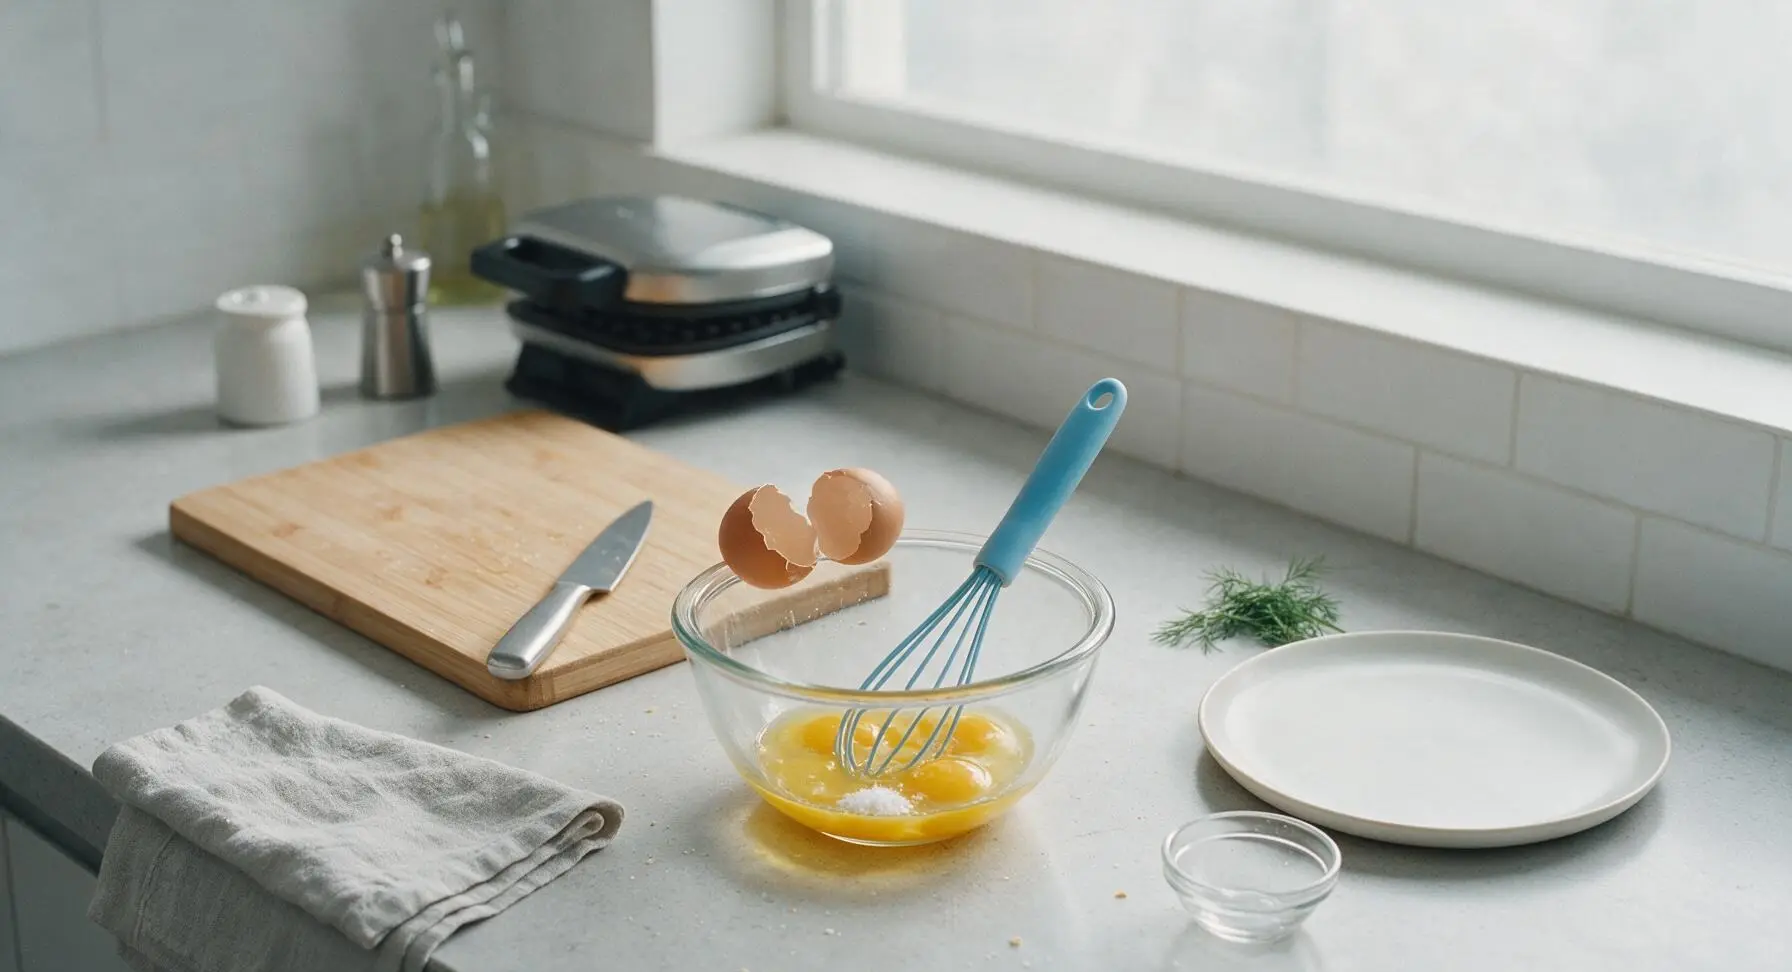
Tap each large egg gently on the rim of the clear glass mixing bowl, then pull the shells apart to pour the whole eggs into the bowl. Fish out any small shell fragments that fall into the egg mixture, then add the 1/8 teaspoon kosher salt on top of the eggs.
Whisk Egg Mixture
Hold the sky-blue silicone whisk and beat the eggs and salt together for 30 seconds, until yolks and whites are fully combined into a smooth, pale yellow liquid with no streaks of clear egg white remaining. Avoid over-whisking to prevent excess froth, which can create air pockets that make chaffles less crisp.
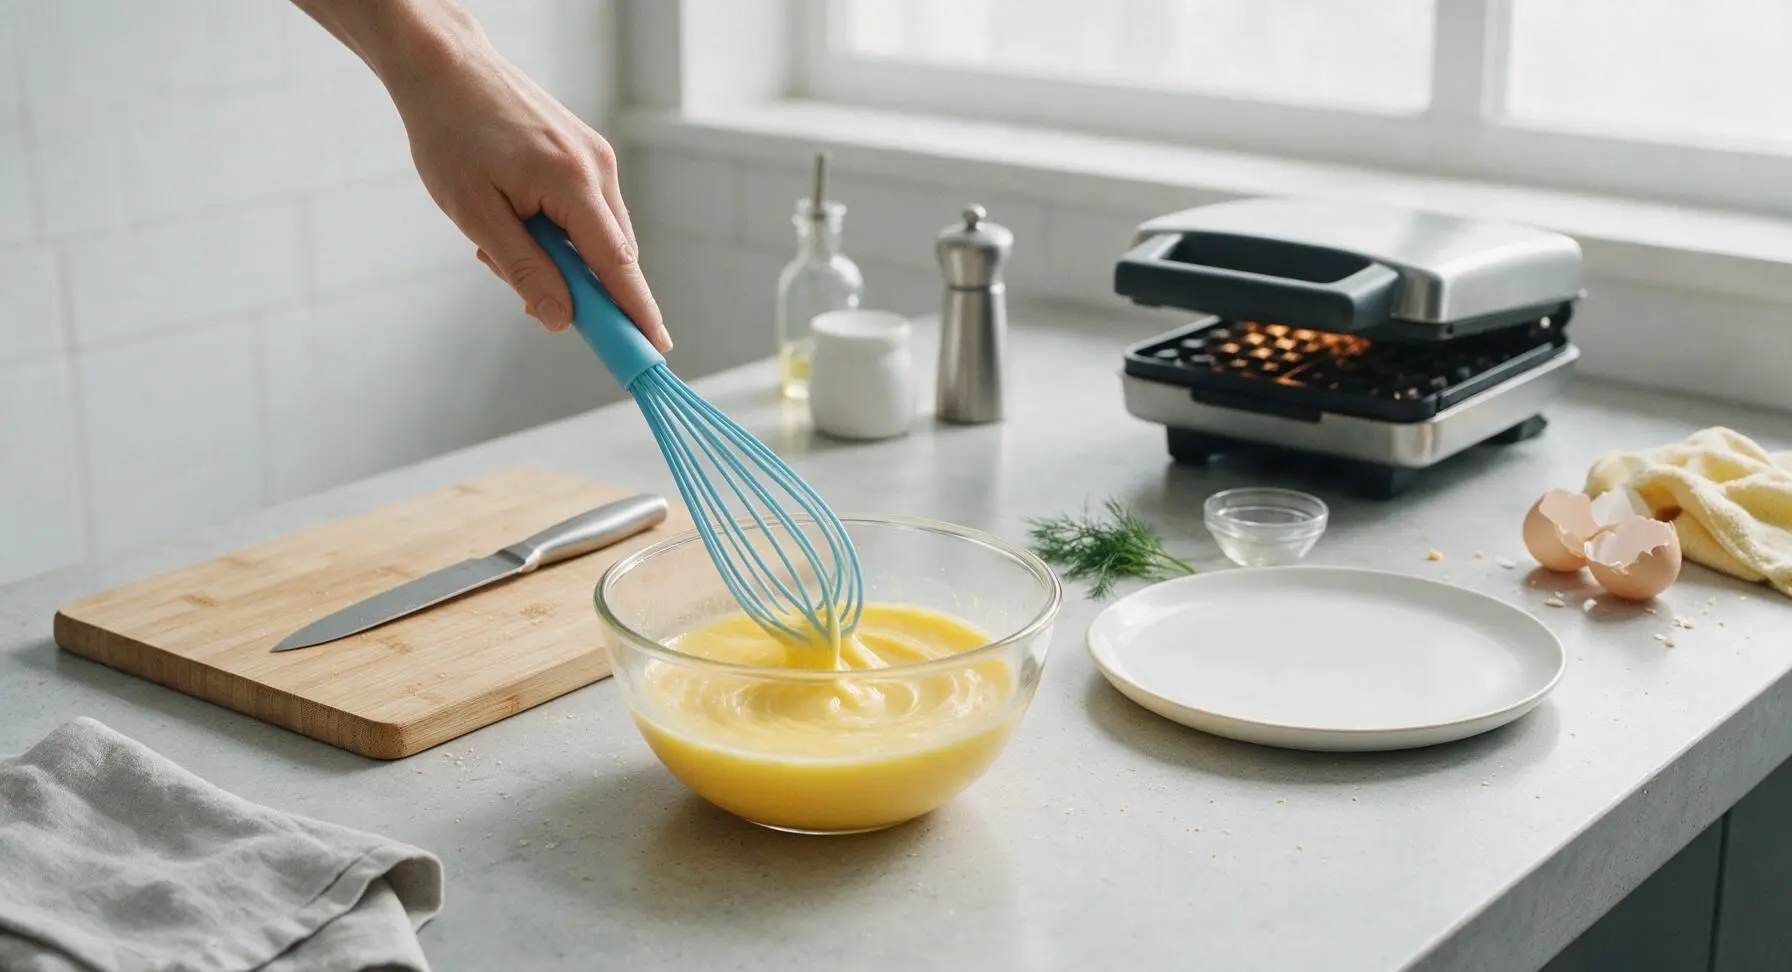
Fold in Shredded Cheese
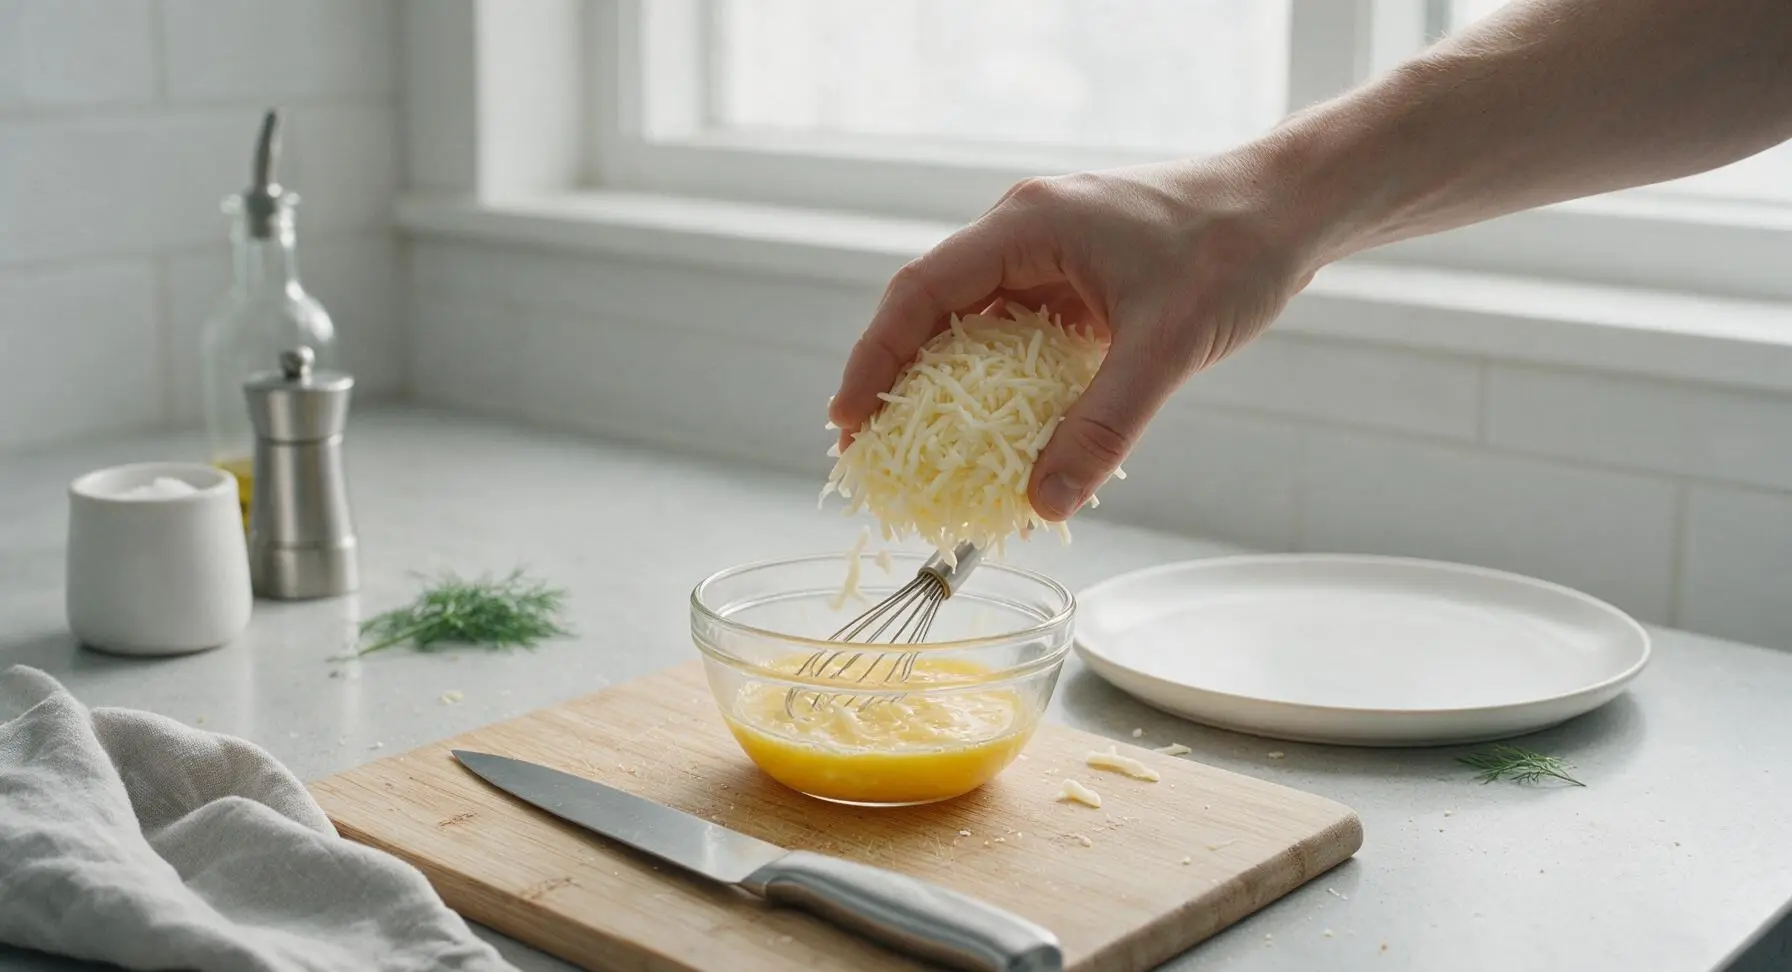
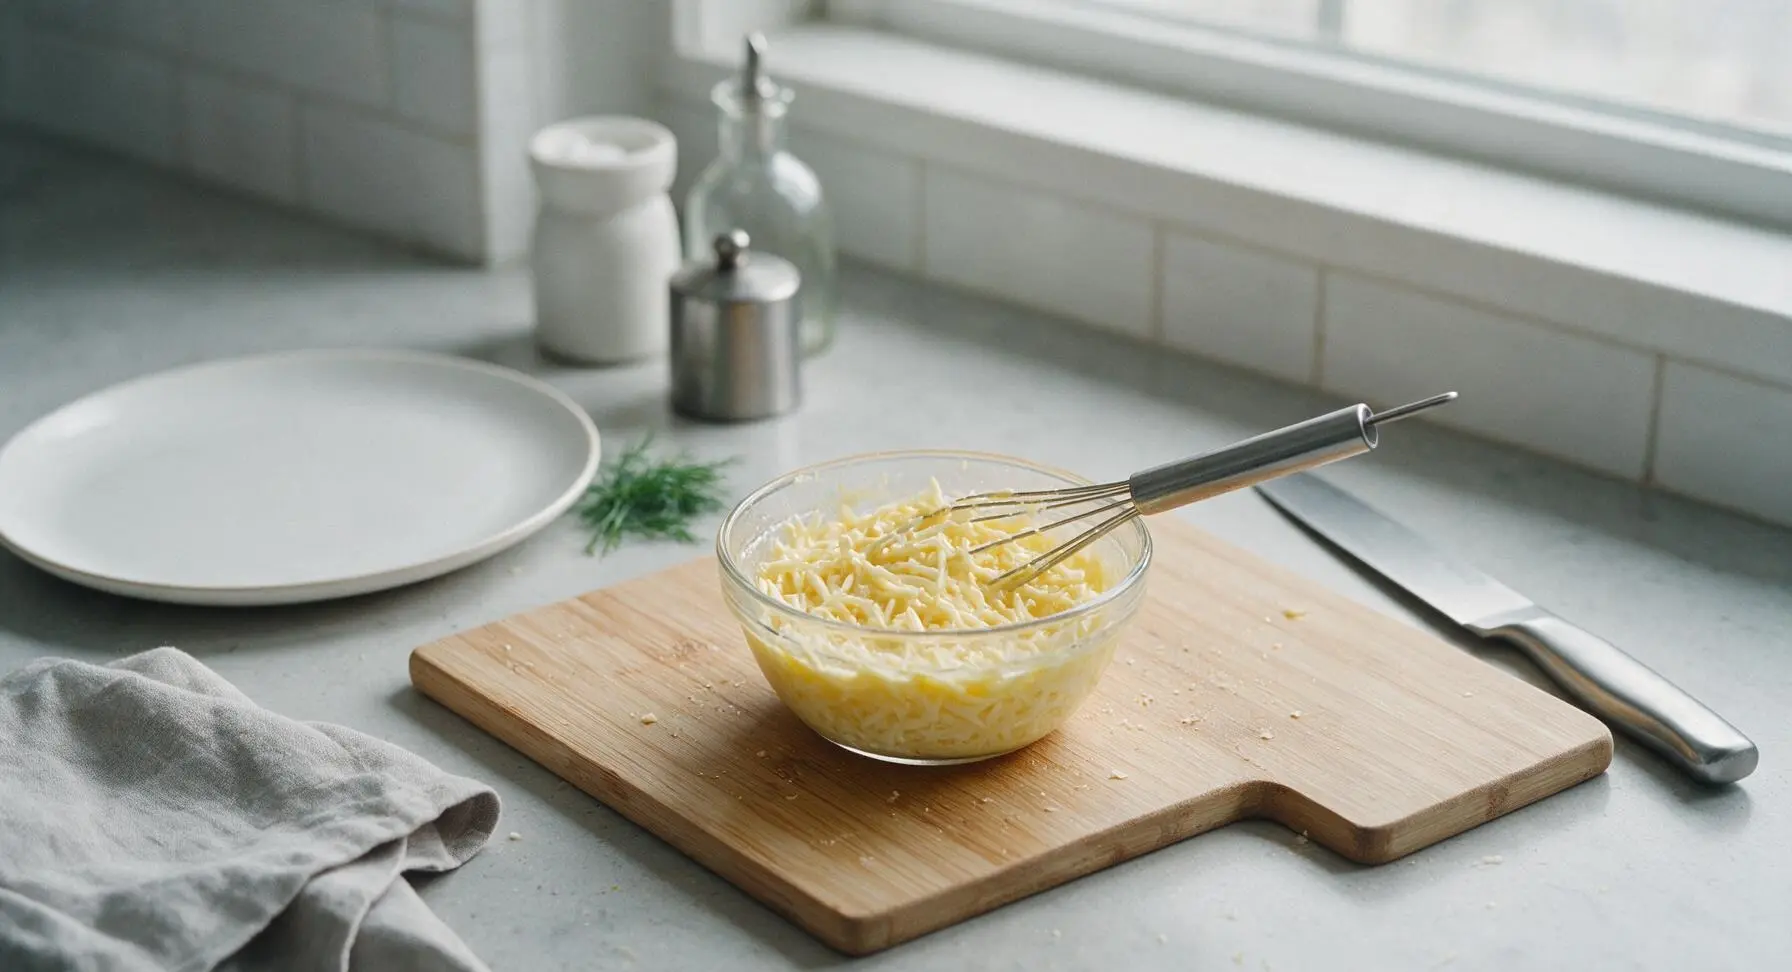
Pour the full 1 cup of shredded low-moisture mozzarella into the whisked egg mixture. Use the whisk to gently fold the cheese into the eggs until every shred is evenly coated, creating a thick, lumpy batter. Do not overmix, as this will cause cheese to clump together and create uneven texture in the finished chaffle.
Cook Chaffles in Batches
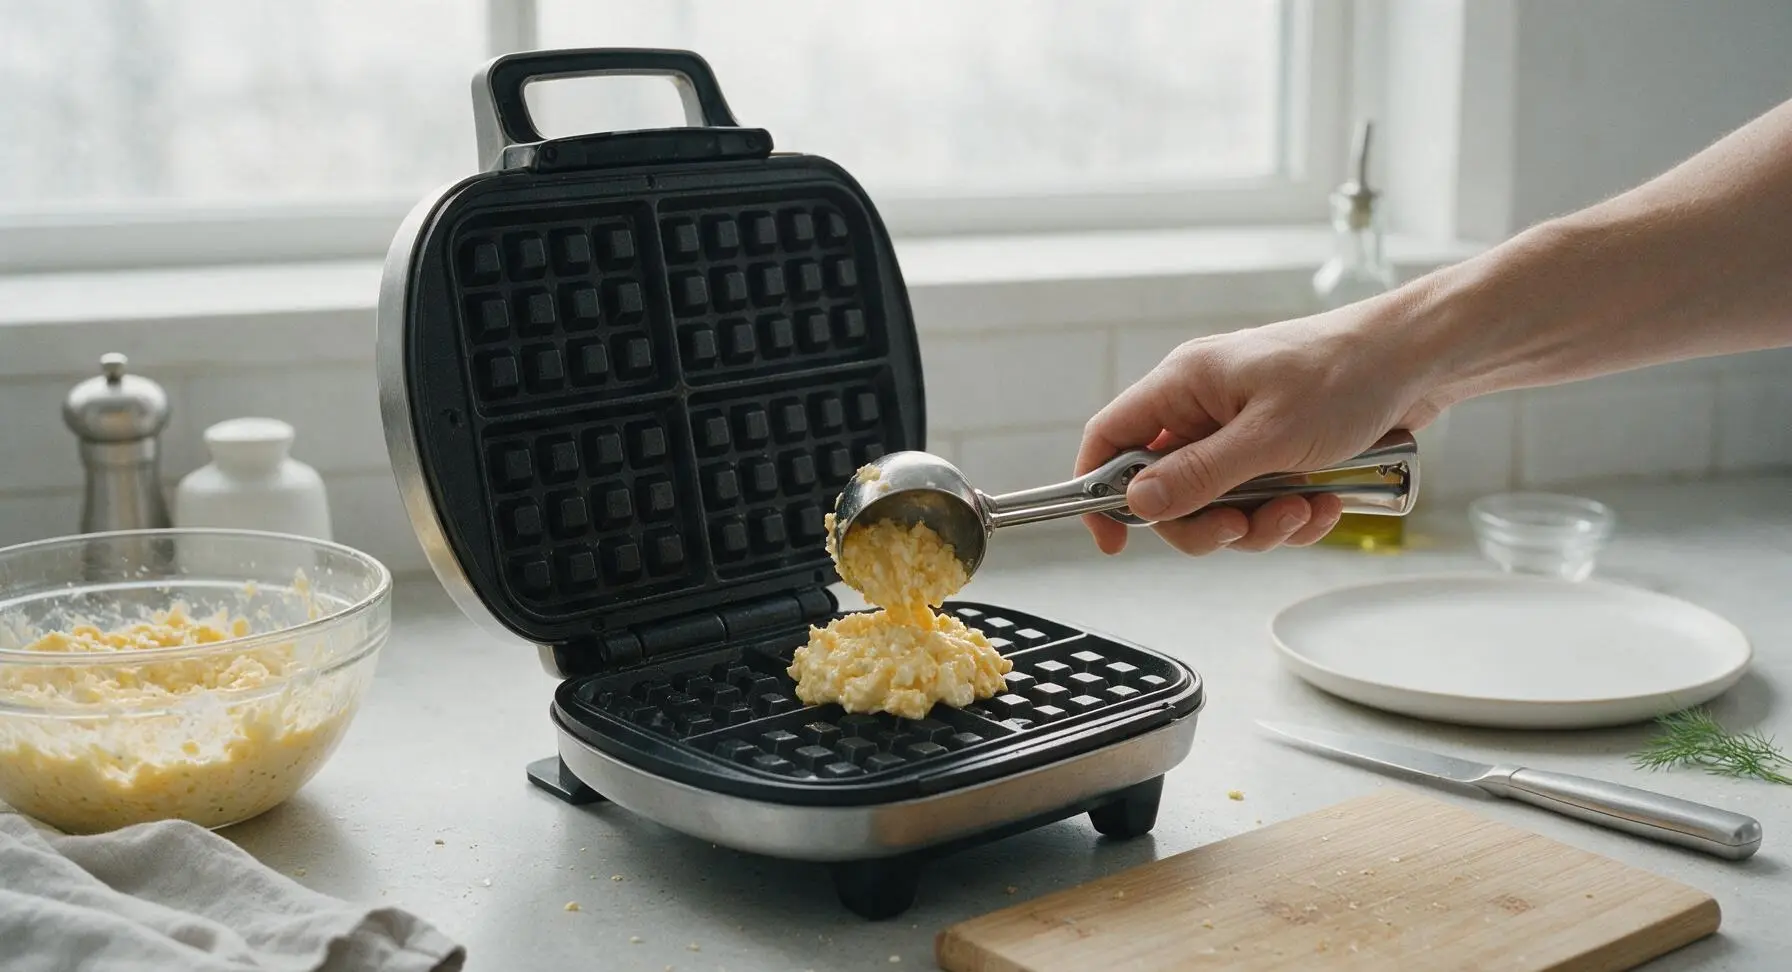
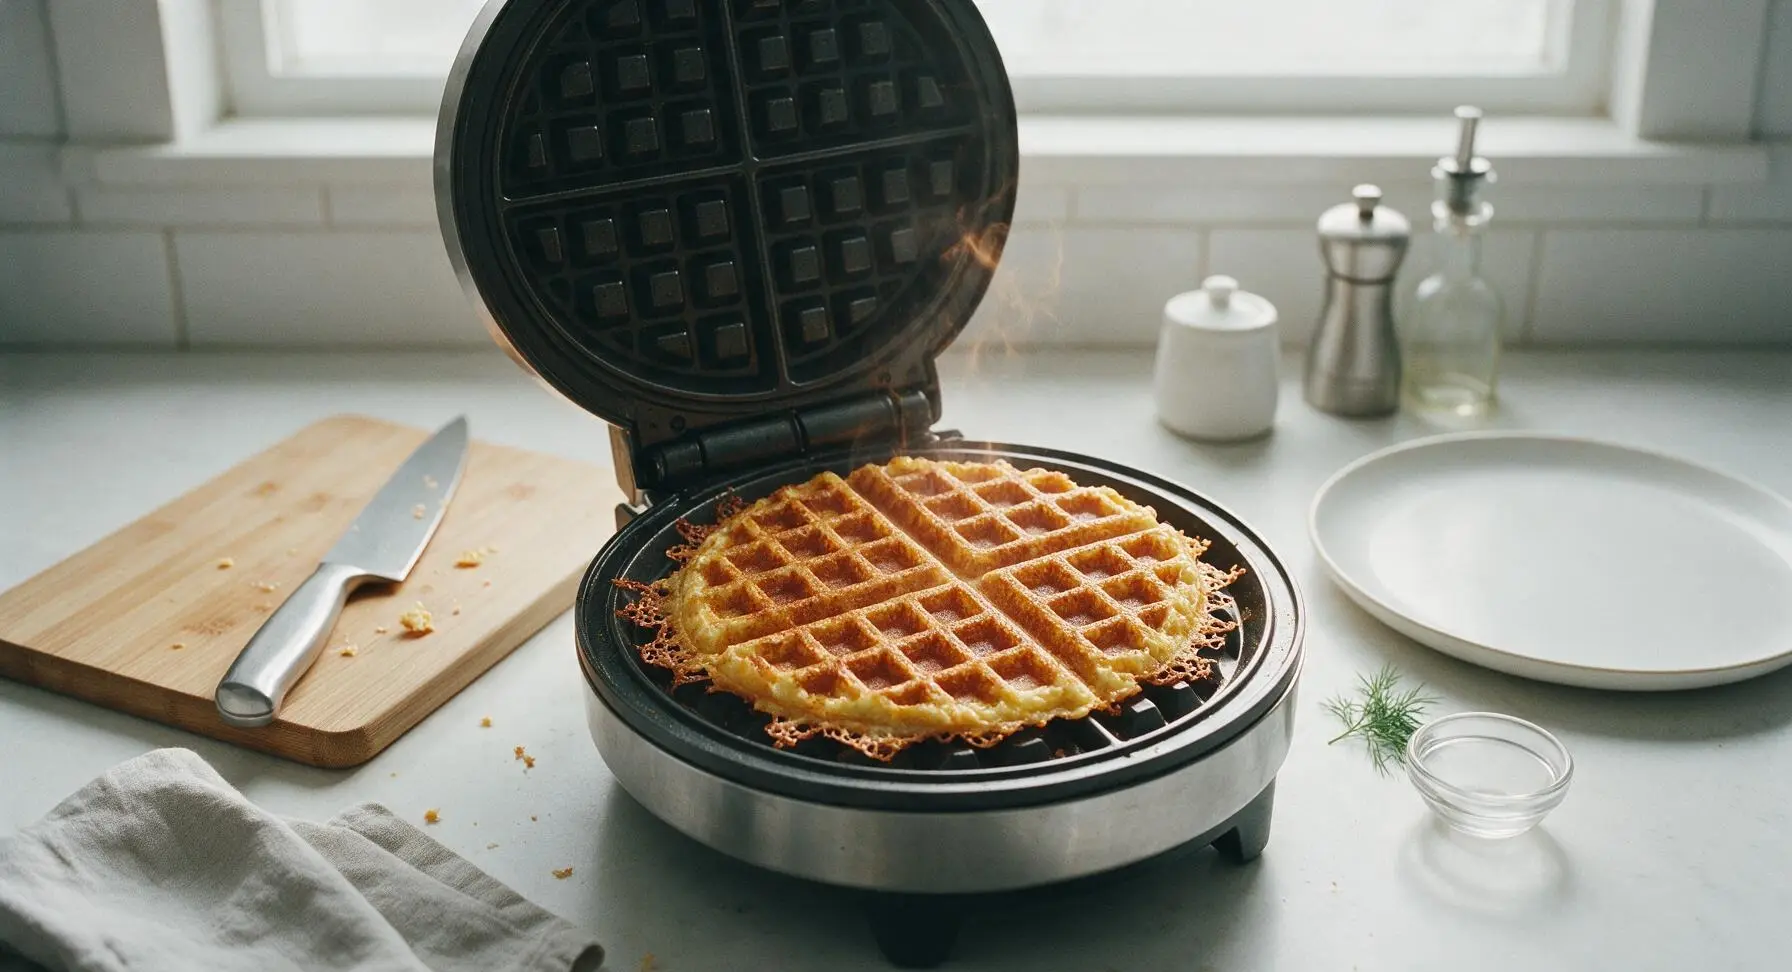
Once the waffle maker is fully preheated, lift the lid. Use the polished stainless steel cookie scoop to drop 4 level scoops (about 1/2 cup total) of batter into the center of the lower waffle plate, spreading it slightly to sit 1/2 inch from the plate edges. Close the lid gently without pressing down hard (pressing squeezes batter out the sides) and cook for exactly 3 minutes, until deep golden brown. Do not open the lid early, as this will tear the soft chaffle. Repeat with the remaining batter to make 2 total 4-inch chaffles.
Rest and Plate Chaffles
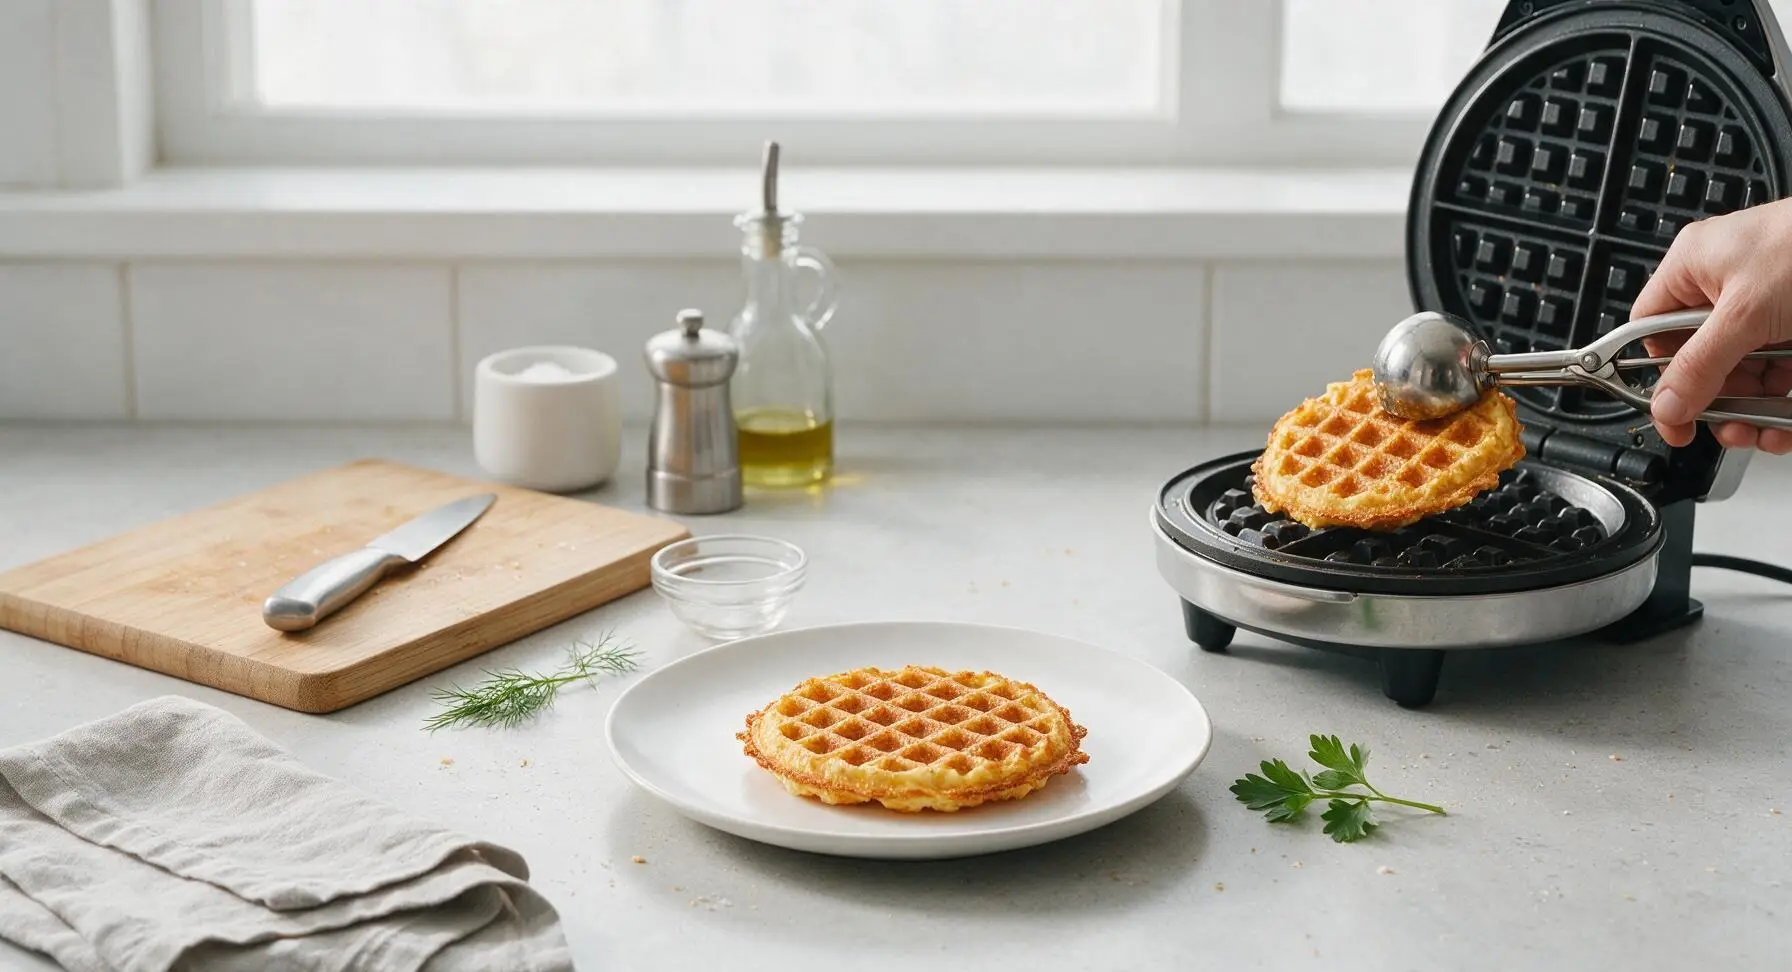
Slip the tip of the stainless steel cookie scoop under the edge of the cooked chaffle to gently lift it out of the waffle maker, then transfer it to the matte cream white ceramic plate. Let each chaffle rest for 1 minute to set and crisp up, then stack the two finished chaffles slightly offset on the plate. Top with a light sprinkle of chopped parsley from the reserved sprig, and a tiny pat of butter if desired, before serving.
Tips
2.Never open the waffle maker before the 3-minute cook time elapses: the cheese and egg structure is very soft while cooking, and opening early will tear the chaffle apart. Wait until you see thin streams of golden, dry steam (not white, wet steam) escaping from the waffle maker edges before checking for doneness.
3.Let chaffles rest for 1 full minute on the plate after removing them from the waffle maker: straight off the heat, the melted cheese is soft and pliable, but as it cools for 60 seconds, the exterior crisps to a sturdy crunch that holds up to sugar-free syrup, sandwich fillings, or a pat of butter without getting soggy.






OMG this chaffle recipe is such a game changer! I’ve been making low carb breakfasts for months and nothing hits like a crispy chaffle that only takes 6 minutes total. My kids even asked for seconds, which never happens with my keto meals! 10/10 will be making this every weekday for meal prep.
Super easy even for someone who burns toast half the time! I only had a mini waffle maker in my dorm and this turned out perfect first try. No fancy ingredients, just stuff I already had in my mini fridge. SO good with a little sugar free syrup on top.
Wait, is it normal for the first one to come out a little squishy? I think I didn’t let my waffle maker heat up long enough, but the second one was perfect! Tastes way better than the white bread I usually eat for breakfast, and it’s way lower carb. Excited to experiment with add-ins.
6 minute cook time? Sign me up! I’m always scrambling to get the kids out the door for school and make myself something that isn’t a sad granola bar. These chaffles are crispy, cheesy, and even my super picky 7 year old will eat them with a side of berries. Total win for busy school mornings.
Finally a gluten free bread substitute that doesn’t taste like cardboard! I’ve tried so many store bought gluten free waffles and they’re either gummy or rock hard, but these chaffles have the perfect crisp edge and soft, chewy center. I’ve been using them for breakfast sandwiches with egg and avocado all week.
I was so skeptical these would actually taste good because there’s no flour? But wow, I was wrong. My kid who refuses all veggies ate two of these when I mixed a little finely chopped spinach into the batter. No complaints, no weird texture, just cheesy waffle goodness. Only note: make sure you spray your waffle maker really well or they stick!
Made these for my Sunday football watch party as sliders with pulled pork and coleslaw on top. Absolute home run. Guys were going back for thirds before the first quarter even ended. Way easier than making slider buns, and they held up to all the messy toppings without getting soggy. 10/10 for game day.
I make a double batch of these every Sunday and they last the whole week in the fridge! Pop one in the toaster for 30 seconds and it’s good as new. I use them for breakfast, lunch as a sandwich bread, even as a quick snack with a little cream cheese on top. Way cheaper than buying low carb bread from the grocery store too.
Wait, can I make these without a mini waffle maker? I only have a full size Belgian waffle maker at home, will the batter cook the same? I’ve been dying to try chaffles but didn’t want to buy another kitchen gadget.
Oh my gosh these are SO good! I added a little cinnamon and a dash of vanilla extract to the batter to make a sweet version, topped with whipped cream and berries, and my family thought I bought fancy waffles from the brunch spot downtown. Can’t believe how simple these are!
Made these for a quick brunch potluck with my friend group last weekend and everyone was asking for the recipe! I added a little pinch of garlic powder and shredded cheddar to make them savory for sandwich bases, and they held up great with fried chicken in between. Will absolutely be making these again.
Tried this recipe last night and my first batch stuck so bad to the waffle maker I had to scrub it for 10 minutes! What am I doing wrong? I used the exact ingredients listed, but they just wouldn’t come out in one piece. Flavor was great when I scraped the bits off though, so I want to get it right.