
simple chicken thigh
intro
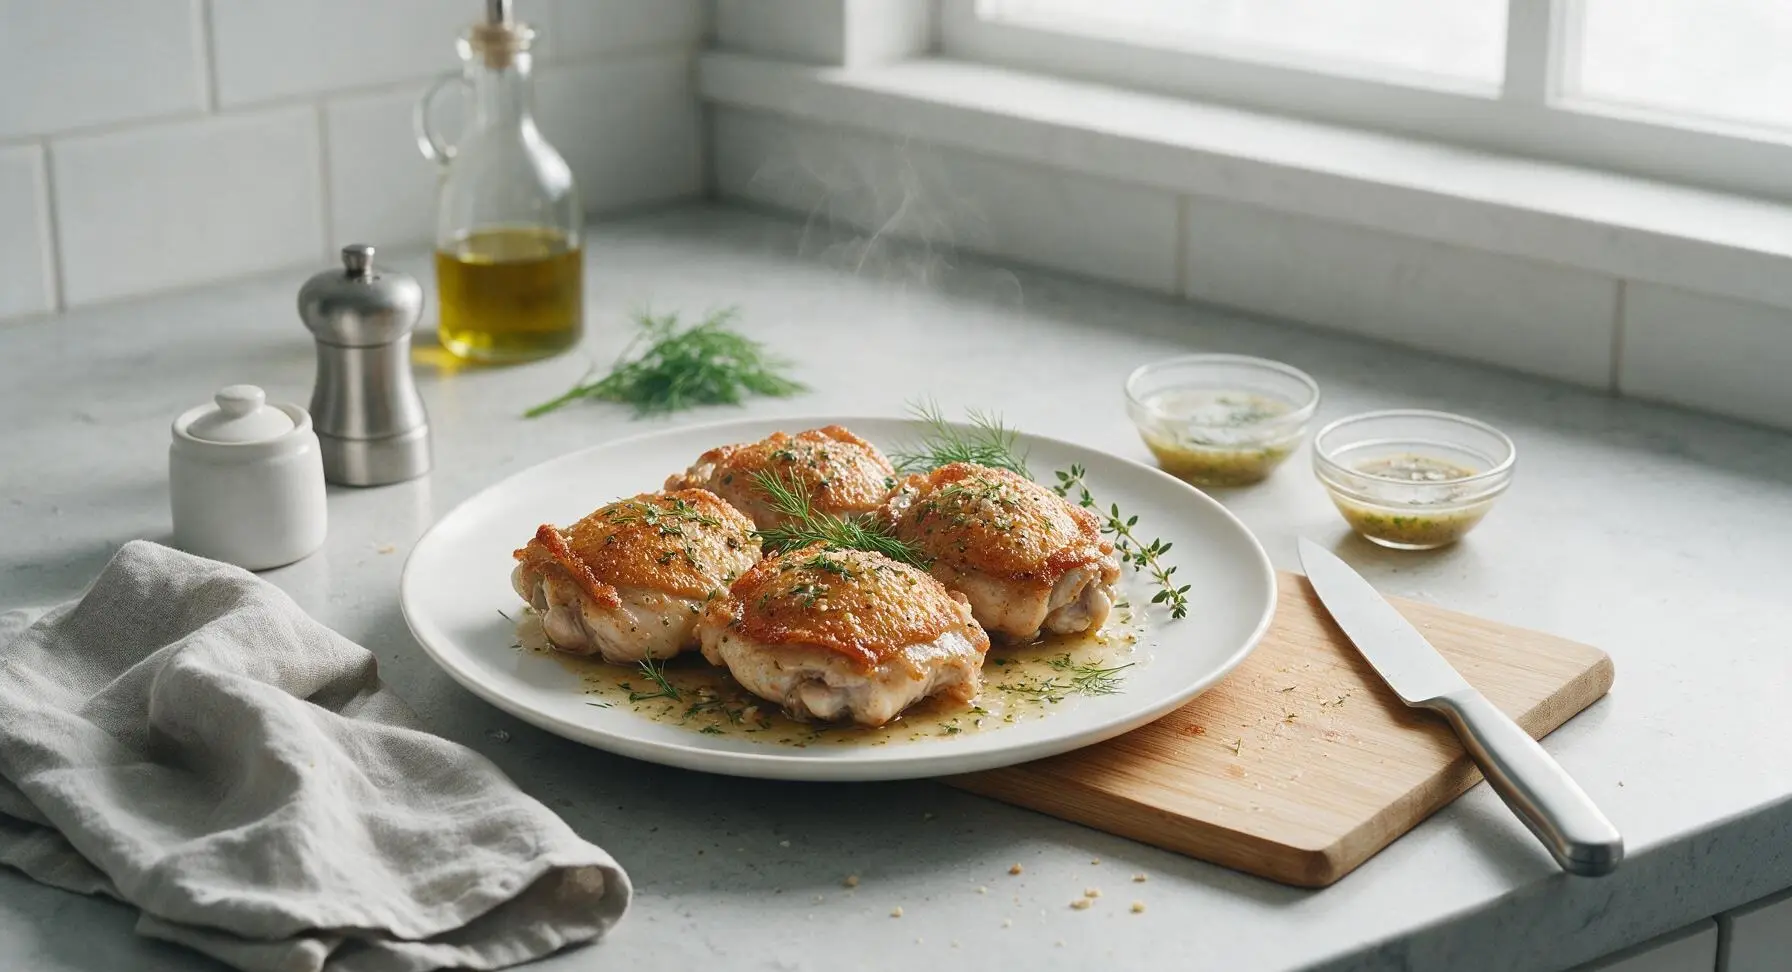
Shatteringly crisp, juicy pan-seared chicken thighs coated in nutty garlic-thyme butter, ready in 30 minutes for a satisfying, no-fuss weeknight main.
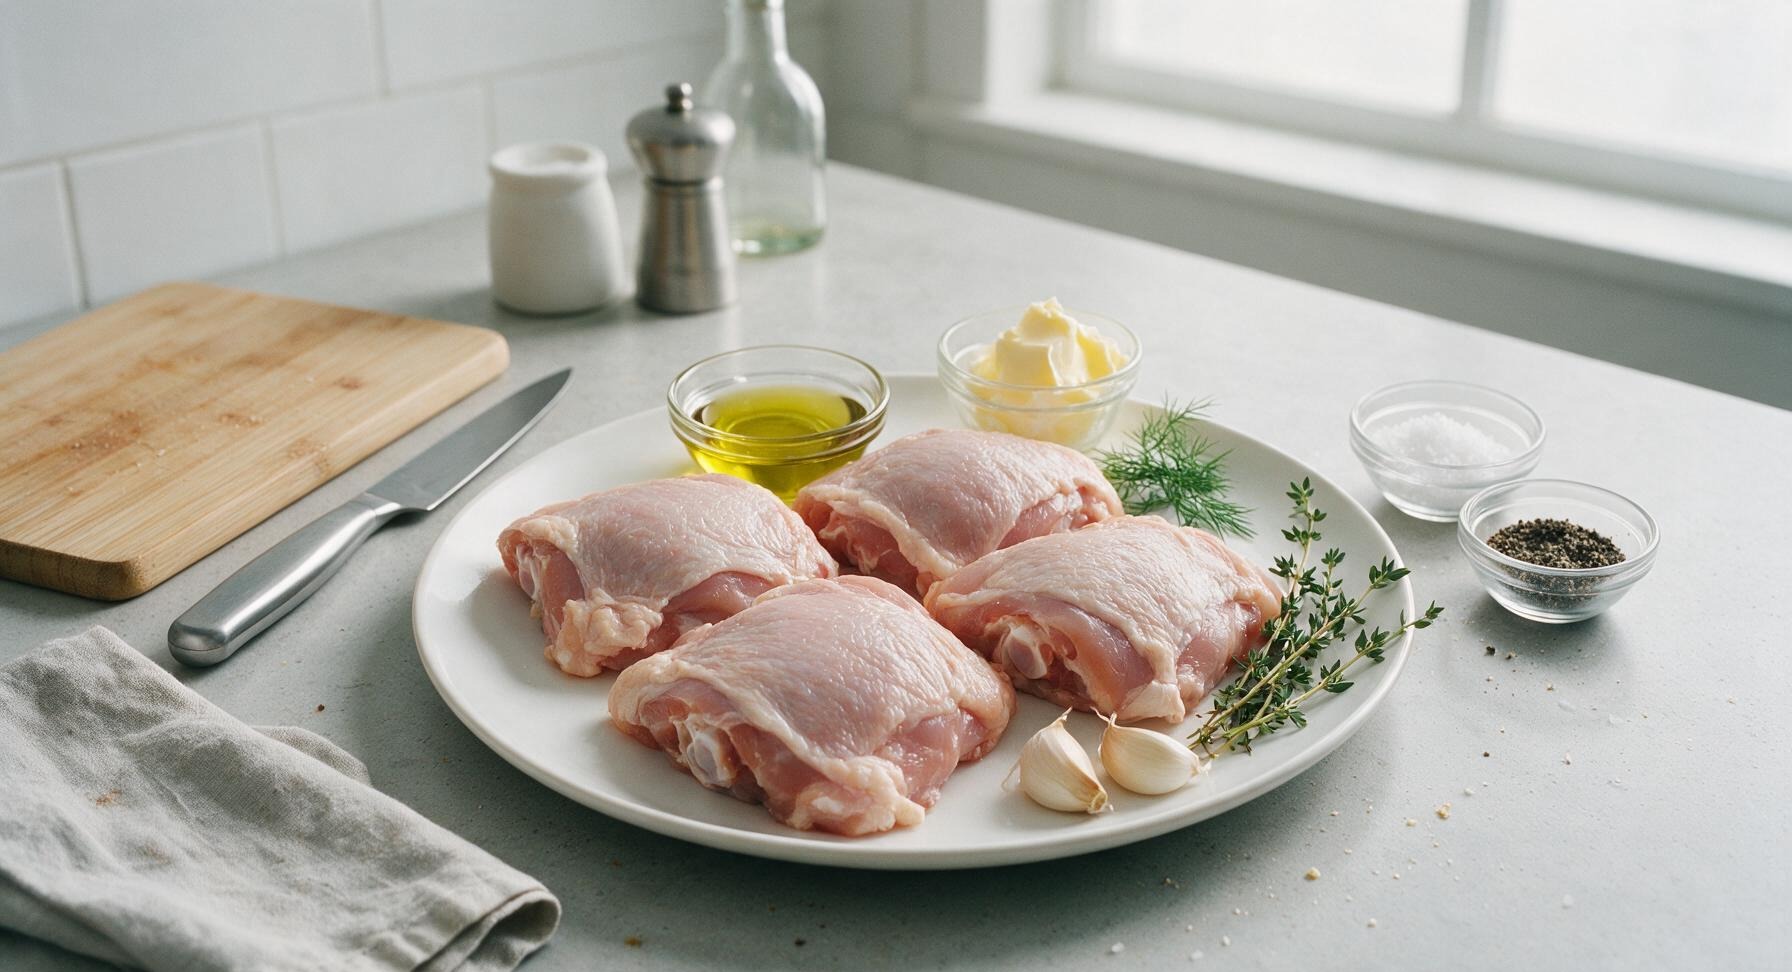
Ingredients
Steps
Pat and Season Chicken
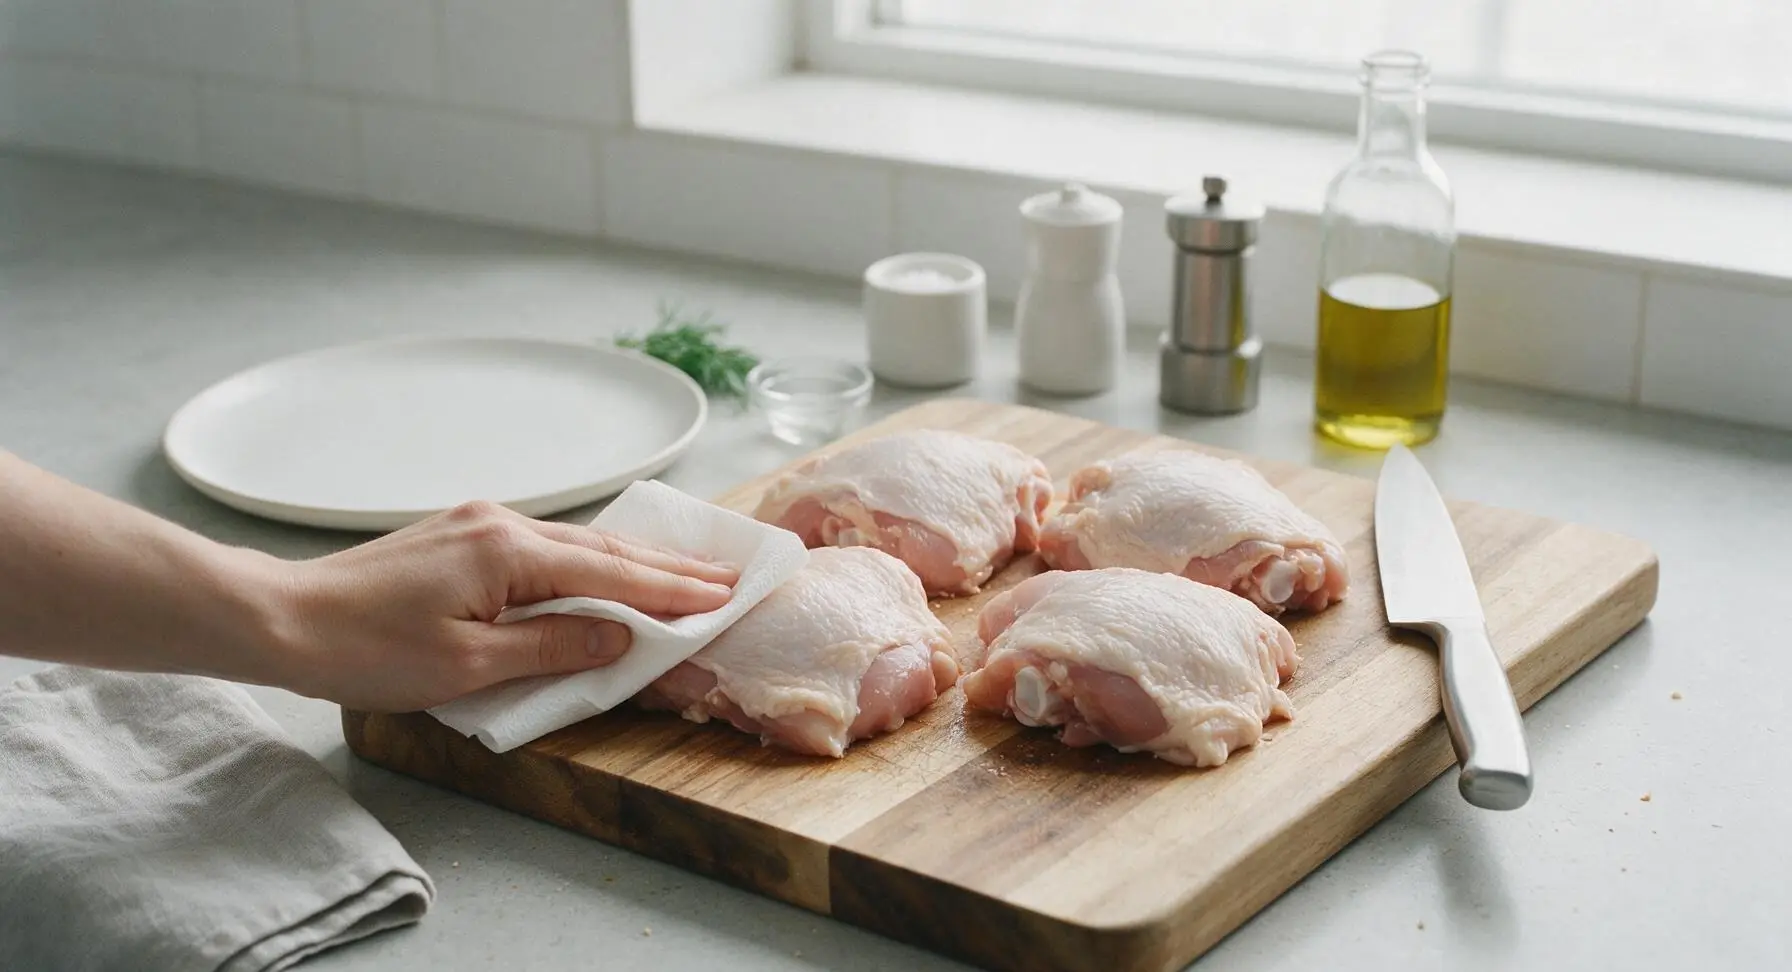
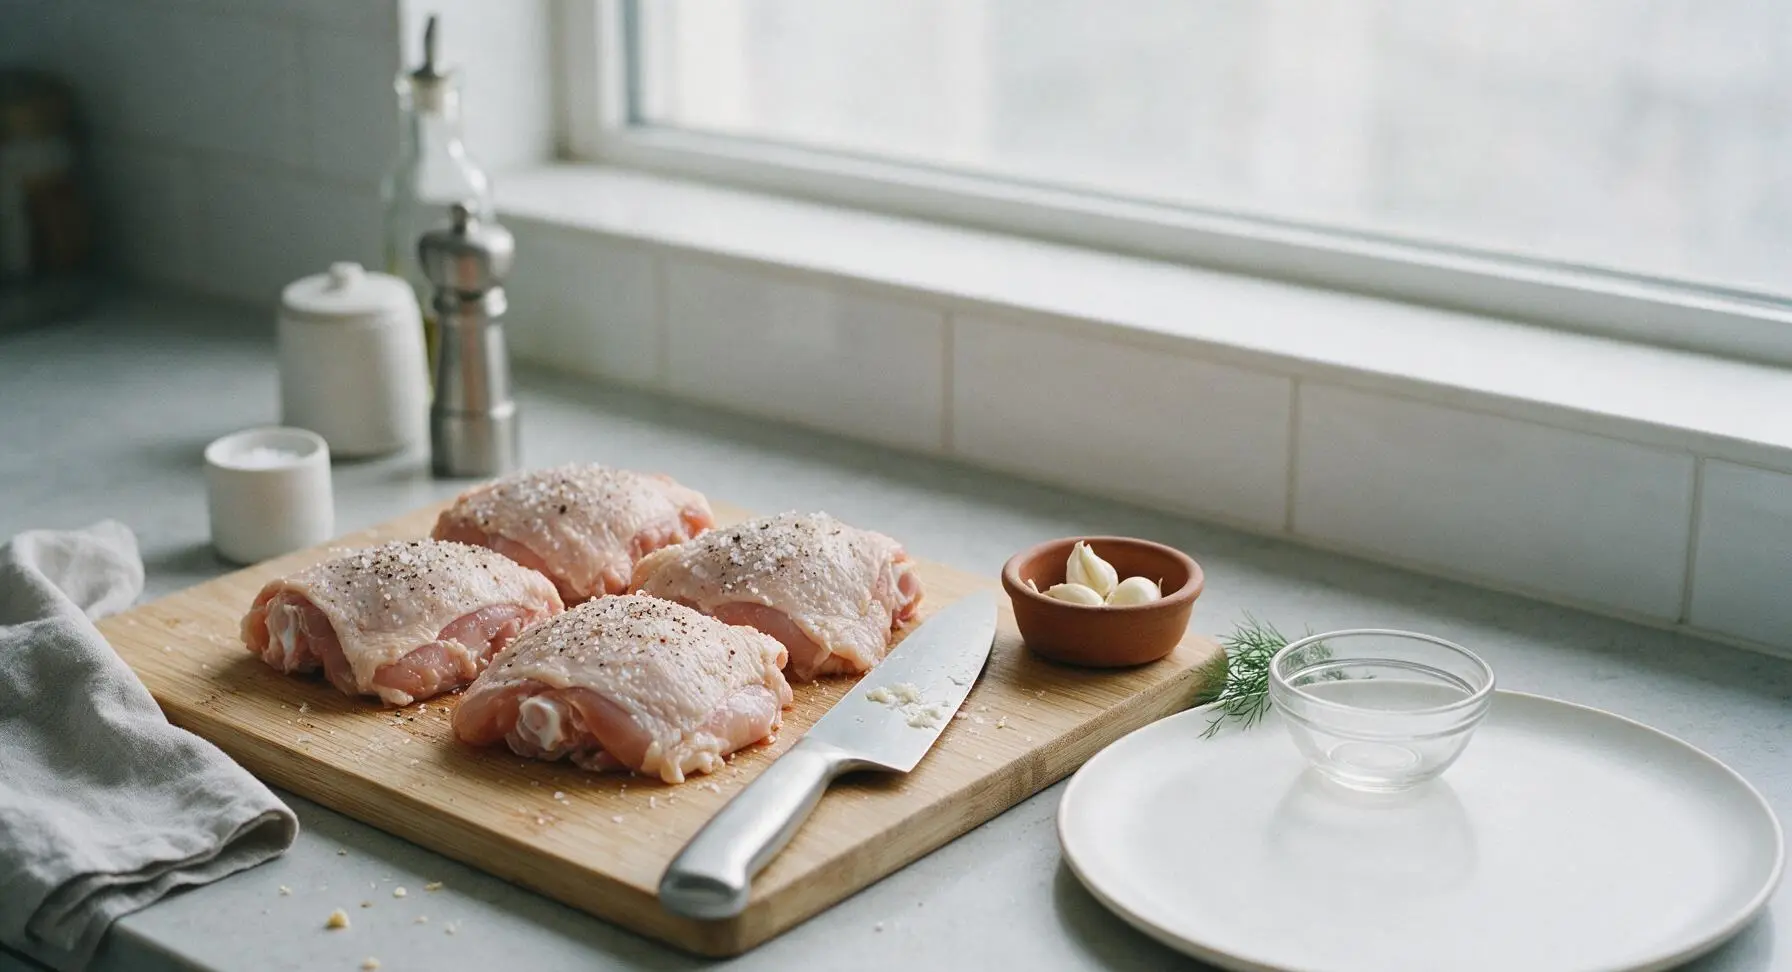
Place the 4 raw bone-in, skin-on chicken thighs on the acacia wood cutting board. Pat every surface of the chicken, especially the skin side, completely dry with clean paper towels (discarded off-frame after use) until no damp spots remain; this is non-negotiable for shatteringly crisp skin. Evenly sprinkle 2 teaspoons flaky sea salt and 1 teaspoon freshly cracked black pepper over all sides of the thighs, pressing the seasoning gently into the skin and flesh to help it stick during cooking. Use the flat side of the 8-inch chef knife to crush the 3 peeled garlic cloves (no fine mince needed) and set them in the terracotta ramekin. Let the seasoned chicken rest for 5 minutes at room temperature while the skillet preheats.
Preheat the Skillet
Place the 12-inch seasoned carbon steel skillet on the stovetop over medium-high heat. Add 1 tablespoon extra-virgin olive oil to the pan, and heat until the oil shimmers and just begins to send up thin wisps of smoke, approximately 3 minutes. Do not let the oil burn or turn dark brown.
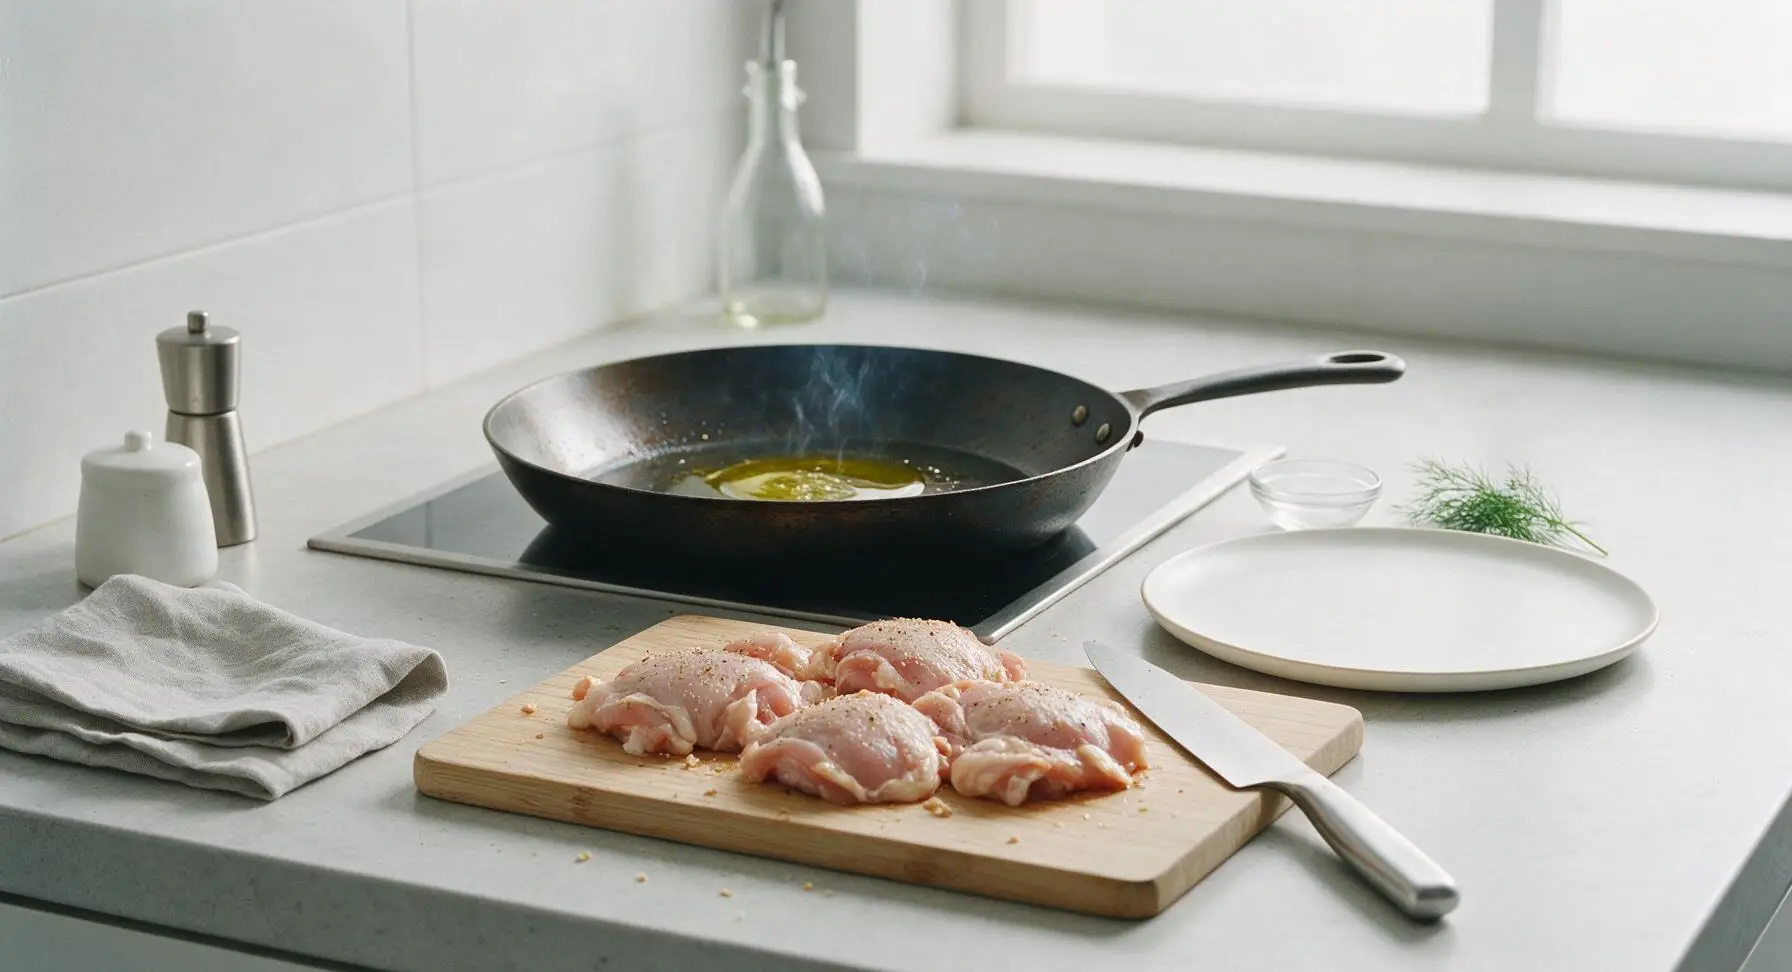
Sear Skin-Side Down
Carefully place the chicken thighs in the hot skillet skin-side down, arranging them in a single layer with 1cm of space between each piece to avoid steaming. Do not move the chicken once placed. Let sear undisturbed for 10-12 minutes over medium-high heat, until the skin is deep golden brown, crispy, and releases easily from the pan surface when nudged with tongs. If the skin sticks when nudged, cook 1-2 minutes longer before trying again.
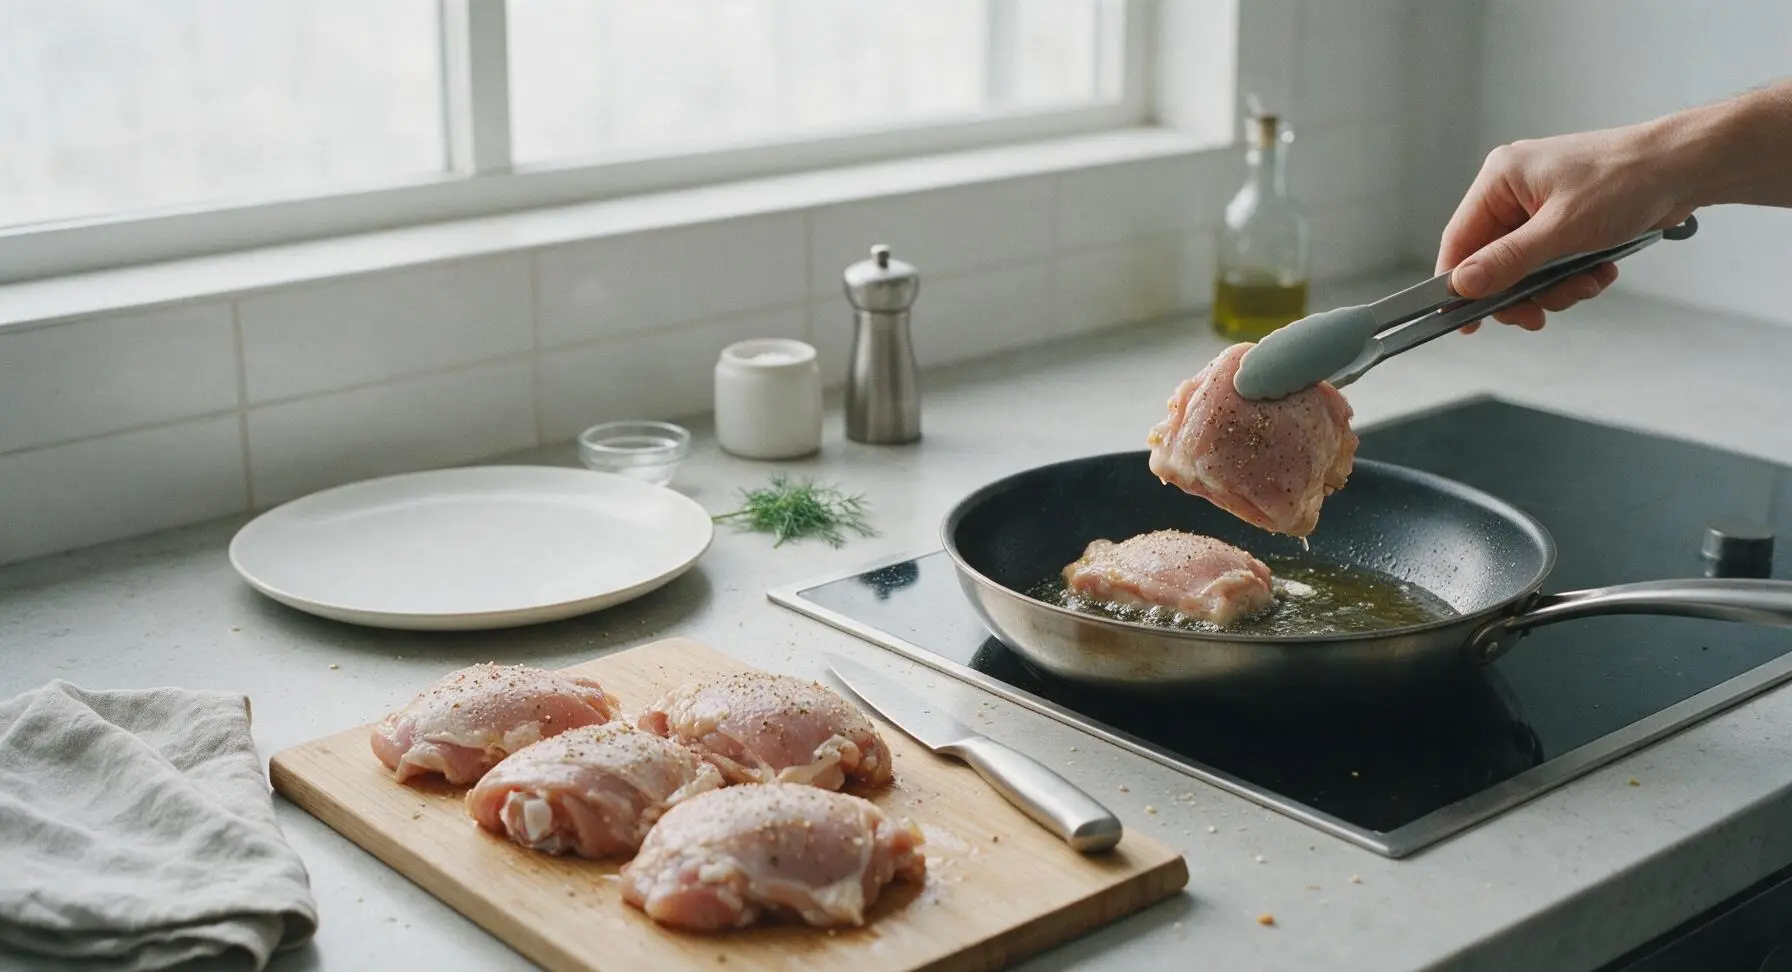
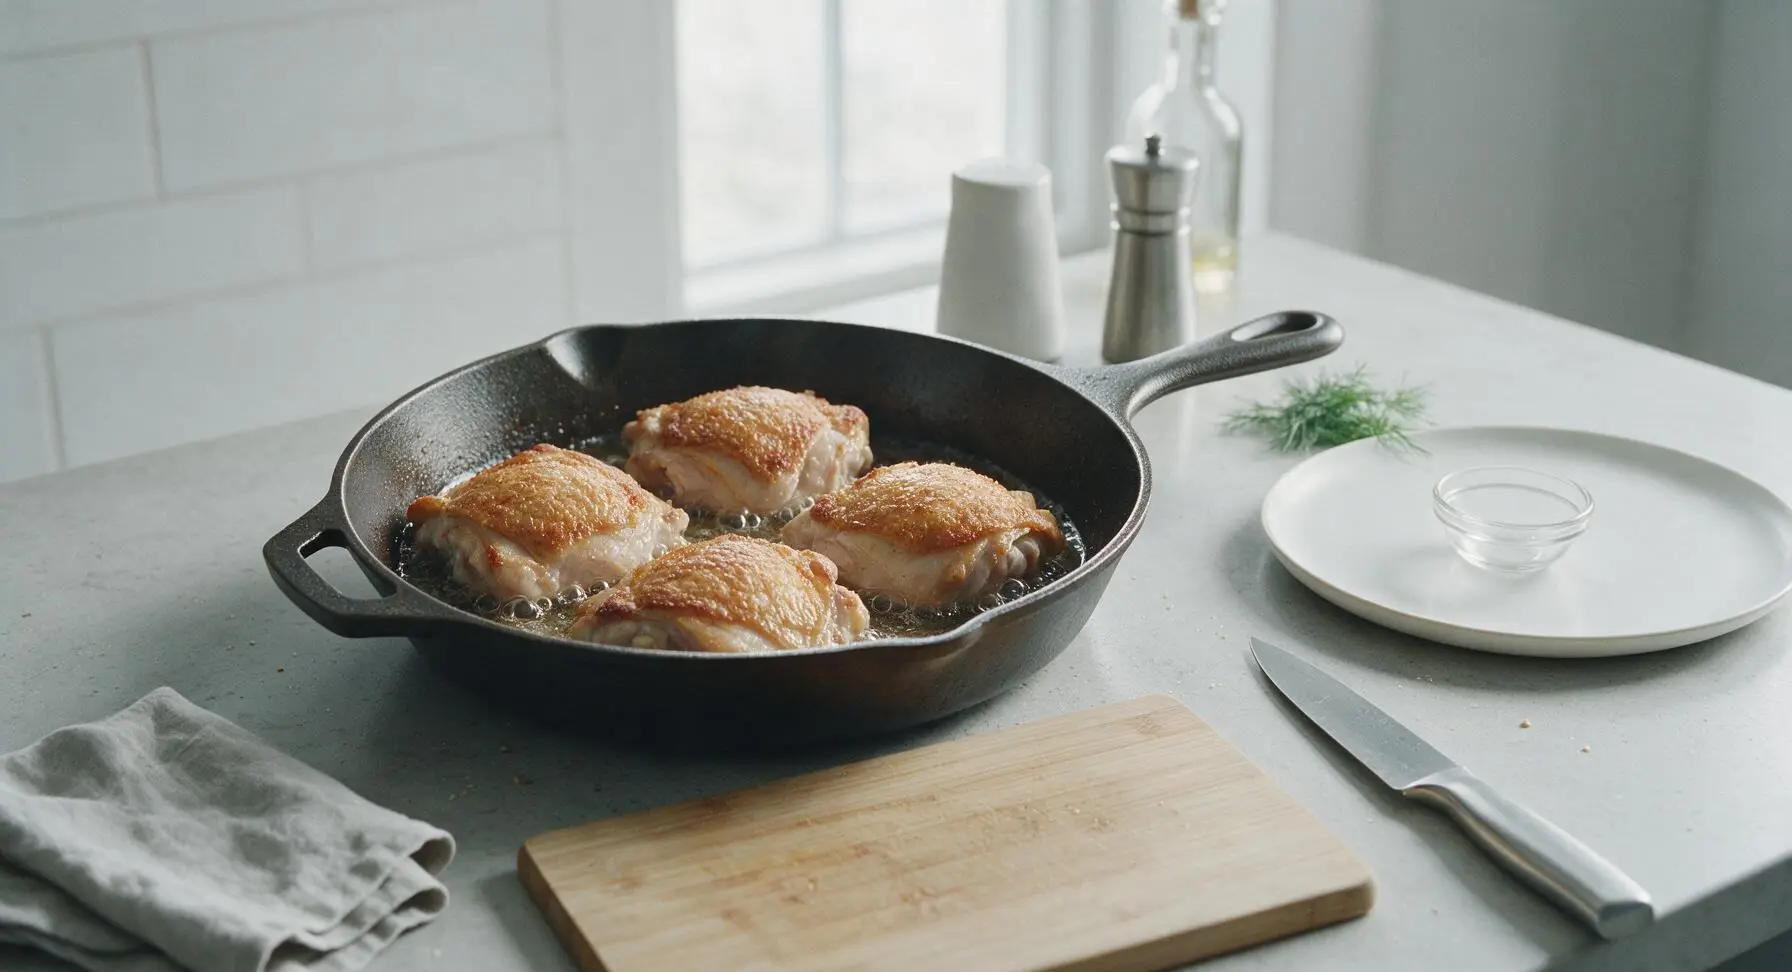
Flip Chicken Thighs
Use the silicone-tipped tongs to carefully flip each chicken thigh so the flesh side faces down in the pan. Reduce stovetop heat to medium, and continue cooking for 5 minutes, until the flesh side is lightly browned and the internal temperature at the thickest part near the bone reads 165°F (74°C) on an instant-read thermometer.

Add Aromatics and Butter
Tilt the skillet slightly so the rendered fat pools at one edge of the pan. Add the 3 crushed garlic cloves from the terracotta ramekin, 4 fresh thyme sprigs plucked from the bunch resting by the olive oil bottle, and 4 tablespoons of unsalted butter to the pooled fat. Let the butter melt completely, foaming slightly and picking up the scent of garlic and thyme, approximately 1 minute. Watch the garlic closely to ensure it does not burn, which will make the sauce bitter.
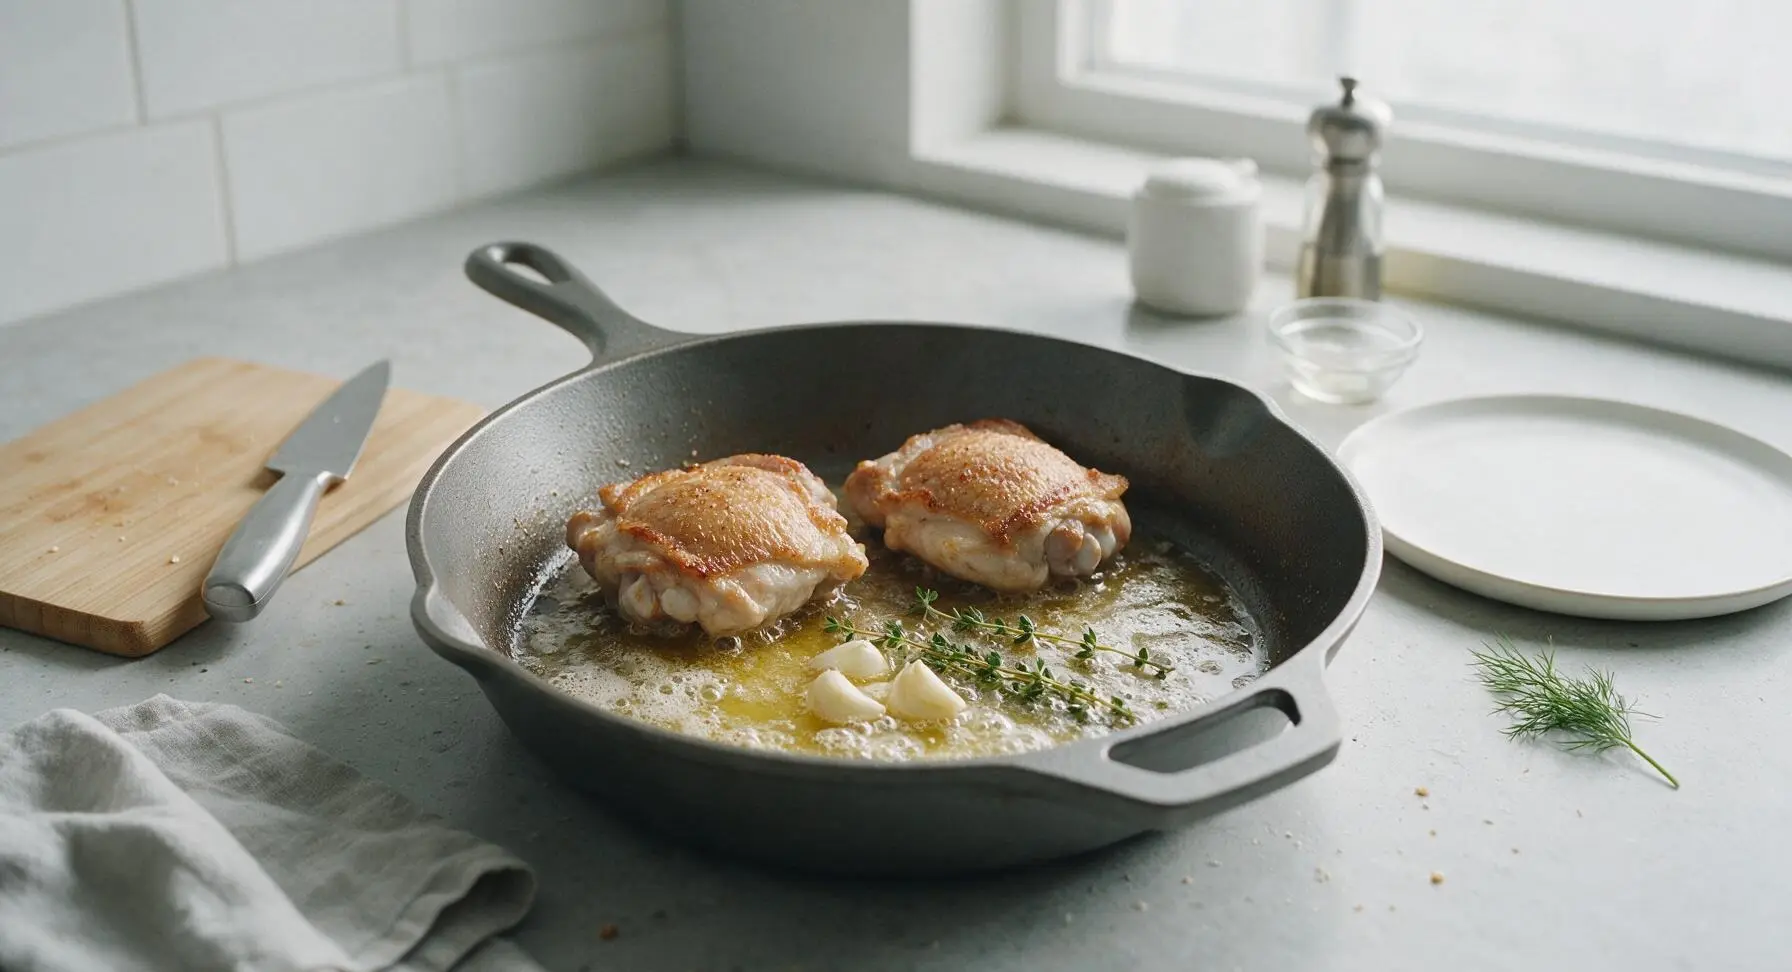
Baste Chicken Thighs
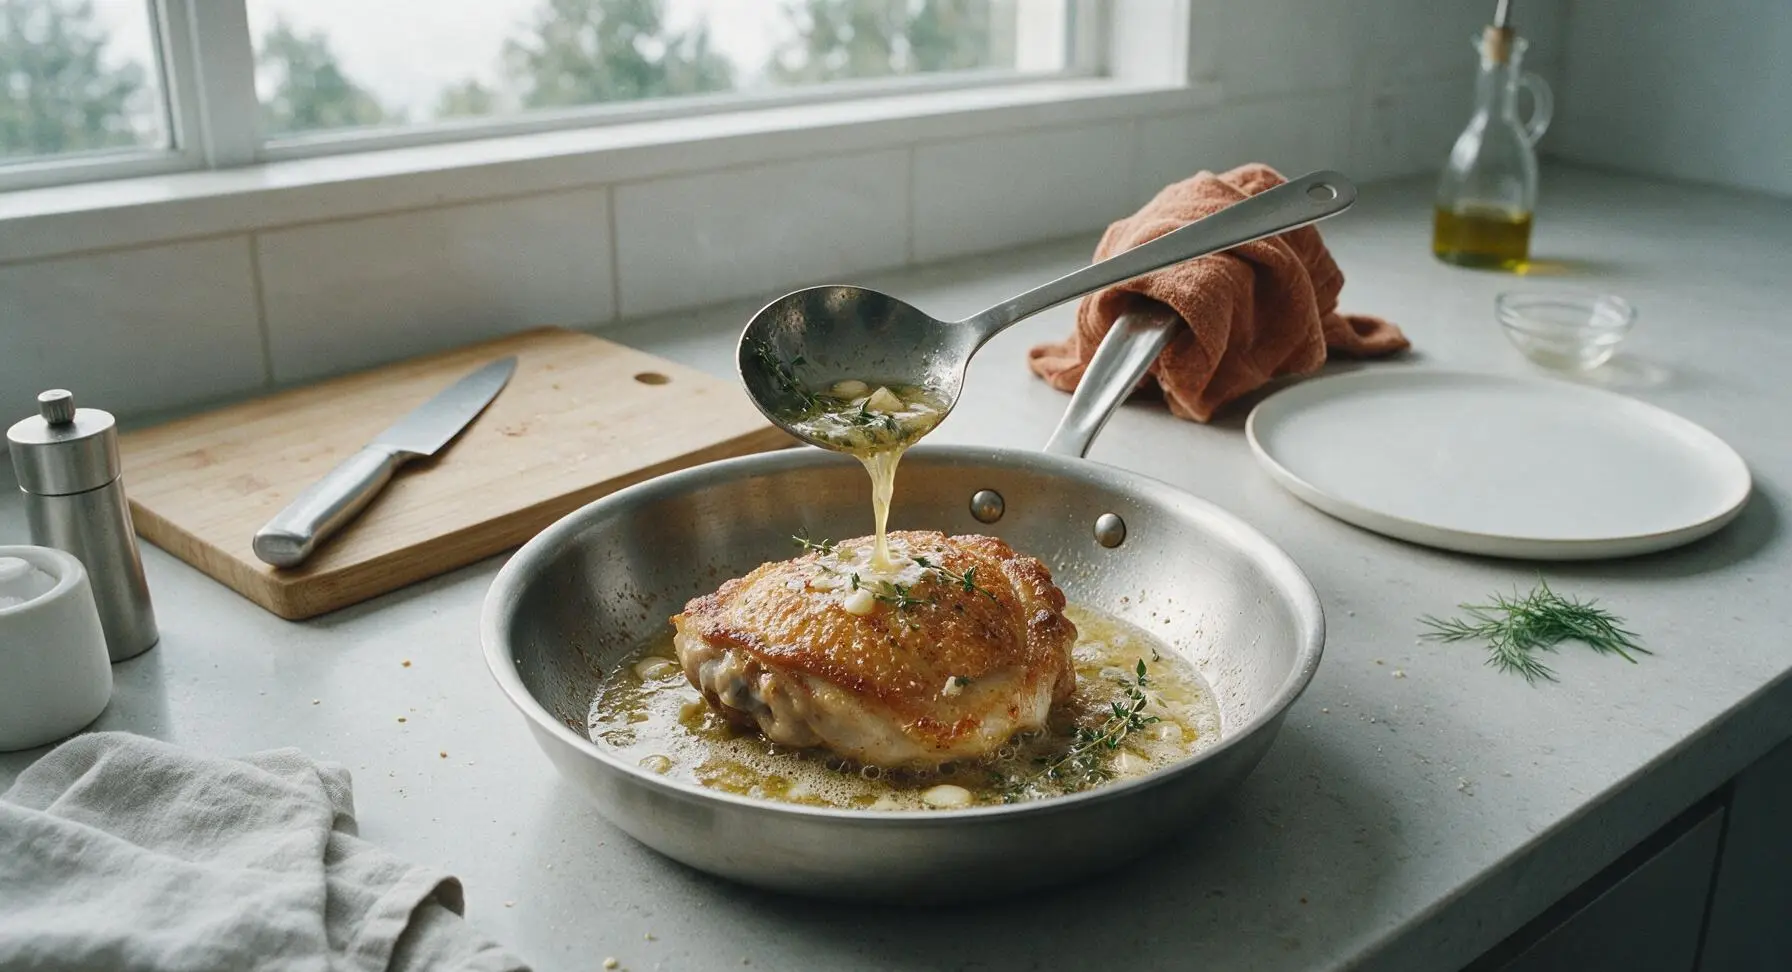
Use the stainless steel basting spoon to repeatedly scoop the foaming garlic-thyme butter from the pool at the edge of the pan, and pour it over the top of the crispy chicken skin. Continue basting continuously for 3 minutes, until the chicken is fully cooked, the skin is deeply golden and glossy, and the butter has taken on a light nutty brown aroma. Turn off the heat.
Rest and Serve
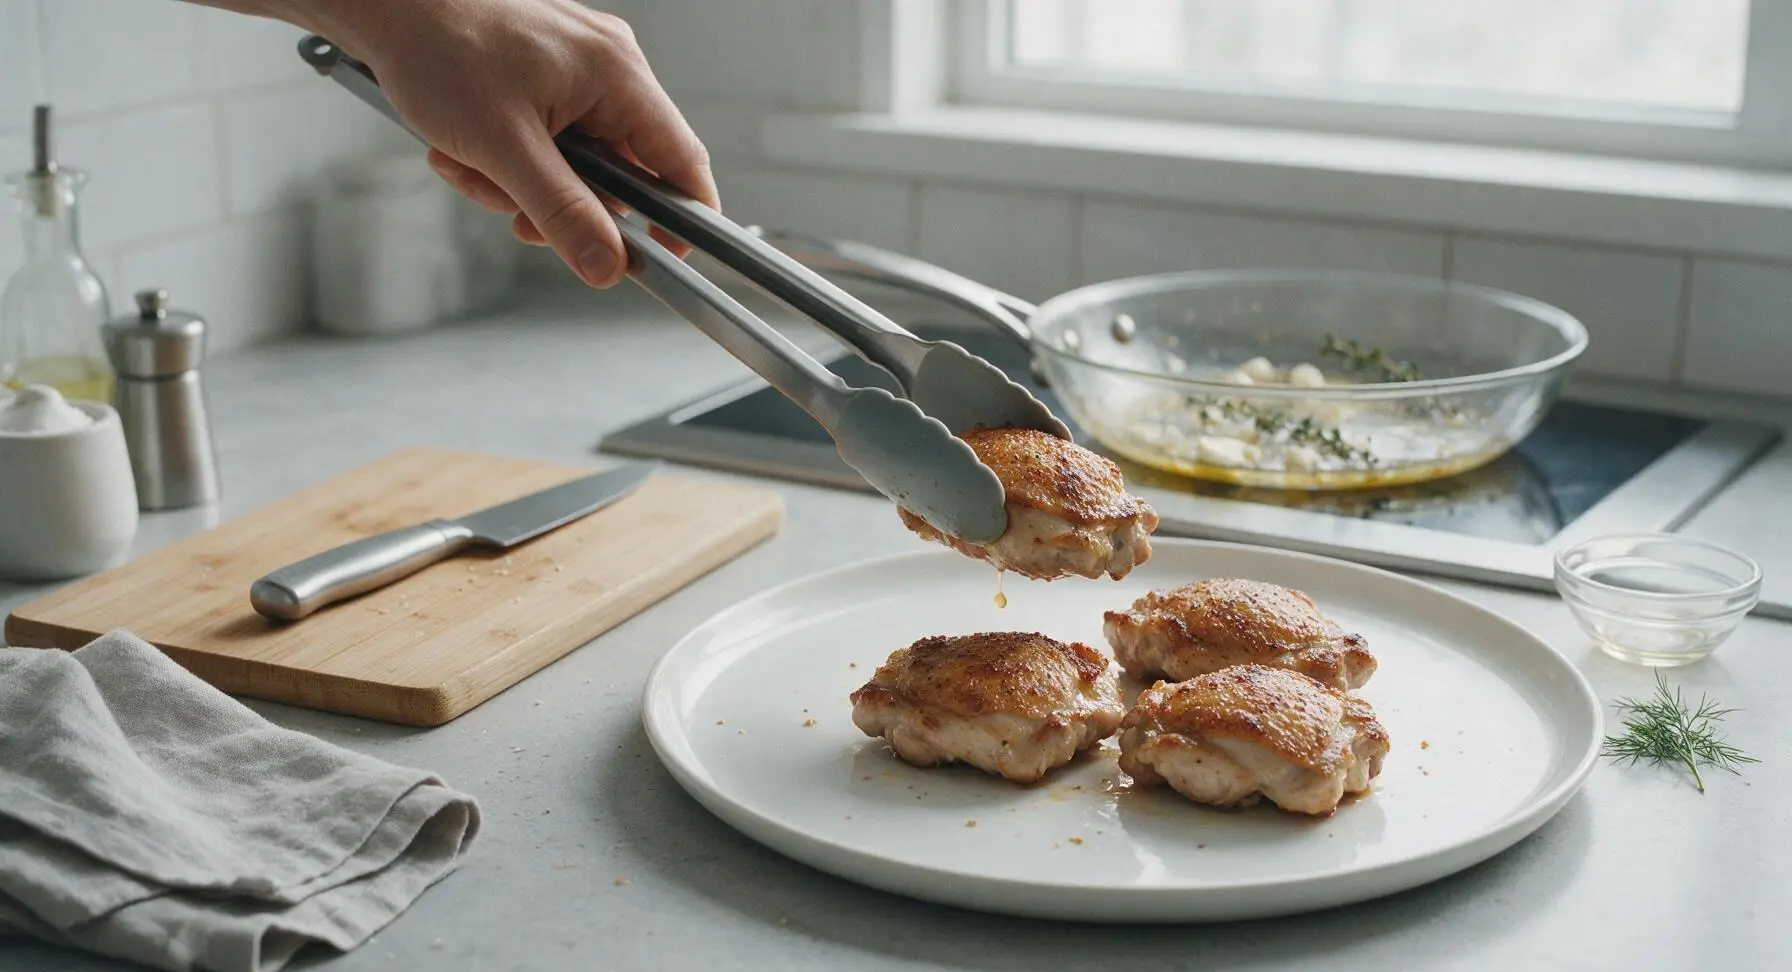
Use the tongs to transfer the cooked chicken thighs from the skillet to the warm cream stoneware dinner plate. Let the chicken rest for 3 minutes to allow juices to redistribute through the meat, rather than running out when cut. Spoon 1 tablespoon of the remaining garlic-thyme butter from the skillet over the top of the rested chicken before serving.
Tips
2.Do not move or flip the chicken while it sears skin-side down: the skin will naturally release from the pan once it is fully crisped. Flipping too early will tear the skin and leave it stuck to the pan surface, ruining the crispy texture.
3.Watch garlic closely once added to hot butter: garlic burns in as little as 30 seconds over medium-high heat, which will impart a bitter, unpleasant flavor to the entire dish. If the garlic turns dark brown before basting is complete, remove the pan from heat immediately.






OMG these pan-seared chicken thighs are a total weeknight game changer! 20 minutes cook time is no joke, I threw these together last night after soccer practice with the kids and everyone cleaned their plates. The skin got so crispy without any fancy tricks, I’ll never go back to boring baked chicken again. 10/10
Perfect for my Sunday meal prep! I make a big batch of these every week now, they reheat so well in the air fryer and don’t get all rubbery like chicken breast does. I seasoned mine with a little extra paprika and garlic powder per my preference, and they came out chef’s kiss. SO good.
These turned out really tasty! I will say I had to cook mine a couple minutes longer than the recipe said because my stovetop runs a little low heat, but once I got them up to temp the skin was perfect. Served them with mashed potatoes and green beans for our Sunday family dinner, my grandson asked for seconds.
Bro I’m a total beginner and I didn’t burn these!!! First time cooking chicken that didn’t come out raw or charred to a crisp, so easy even I could pull it off. Put mine on a salad for dinner, zero complaints from my roommates who stole half of it lmao.
Made these for our neighborhood potluck last weekend and people were hounding me for the recipe all night! I doubled the batch and there was literally zero left by the time everyone went home. Who knew simple chicken thighs could be such a crowd pleaser? 10/10 will be making these for every gathering from now on.
I swear I burn 90% of the things I try to cook on the stovetop, but these came out perfectly first try. The instructions were so straightforward, no weird ingredients I had to run to the store for. Crispy skin, juicy meat, my partner said it tastes like restaurant food. I’m shocked.
These are perfect for my low-carb diet! Zero breading, zero sugary sauces, just crispy flavorful chicken. I knocked off one star only because I wish the recipe had a couple optional seasoning blend ideas, but I just used what I had in my pantry (old bay, black pepper, garlic salt) and it worked great. Will make again.
My 4 year old is the pickiest eater on the planet and she ate two whole thighs tonight. TWO. I didn’t even have to bargain with her or bribe her with dessert. I’m saving this recipe forever, nothing short of a miracle.
Tasted fine, but my skin stuck to the pan really bad even though I used oil like the recipe said. Not sure if my pan was too cold? The meat was juicy though, so I’ll give it another shot with a hotter pan next time I guess.
Perfect for my tiny studio kitchen! No oven needed, just one pan, minimal cleanup. I made these with some roasted broccoli I cooked in the same pan after the chicken was done, tossed in the pan drippings. Absolute chef’s kiss, zero mess, maximum flavor.
Made these for my at-home date night with my boyfriend last Friday and he thought I spent hours cooking! Paired them with a little white wine sauce and roasted asparagus, it felt like a fancy restaurant meal for a fraction of the cost. 10/10, will be pulling this recipe out for every date night from now on.
Solid base recipe! I added a ton of cayenne and chili powder to mine for a little kick, and it slapped. Next time I’m gonna toss them in a little buffalo sauce after searing for game day, these would be perfect for football Sunday snacks.
I’ve been cooking chicken thighs for 40 years and this method is easily the simplest, most consistent way to get perfect crispy skin every time. No weird tricks, no flipping a million times, just let them do their thing in the pan. Shared this with all my old coworkers at the high school, they all loved it too.
Finally, a chicken recipe that doesn’t require weird gluten-containing breading or pre-made sauces! These are totally gluten free as long as you check your spices, which is perfect for my family since both my kids have celiac. Made these with quinoa and roasted veggies, everyone asked for seconds.
I used to eat fast food every single night because I thought cooking was too hard, but these took me 20 minutes total and tasted way better than any drive-thru chicken I’ve ever had. Saved me like $12 too, I’m hooked.
These have become our standard Sunday supper rotation! I make them with my famous mac and cheese and collard greens, and my whole extended family looks forward to it every weekend. The crispy skin is just unbeatable, even my 82 year old mom raves about how juicy they are.
These make the BEST leftovers! I chopped up leftover thighs to put on salads, toss in pasta, even make quick chicken sandwiches for lunch all week. The meat stays so juicy, even after 3 days in the fridge. Meal prep win for sure!
First recipe I’ve tried in my new apartment and it was a total success! I was so nervous to cook on my new gas stove but these were so easy, no mess, no stress. Celebrating with a little victory dance in my kitchen right now lmao.