1.What makes Yorkshire puddings rise tall instead of staying flat and dense?
▾
The two non-negotiables for tall, dramatic rise are screaming hot oil and a well-rested batter. When cold batter hits smoking hot oil, rapid steam instantly puffs the batter’s structure into that iconic tall shape. Make sure your tin oil is shimmering and just starting to smoke before pouring, and never fill tin wells more than ⅓ full.
2.Can I use self-rising flour instead of plain all-purpose flour for this recipe?
▾
Skip self-rising flour here, it throws off the texture completely. The added chemical leavening in self-rising flour creates small, uniform bubbles instead of the big, hollow, fluffy center and shatteringly crisp crust we want. All the rise you need comes from steam, not added leaveners, so stick to plain all-purpose flour.
3.How long do I need to let the batter rest before baking, and why does that matter?
▾
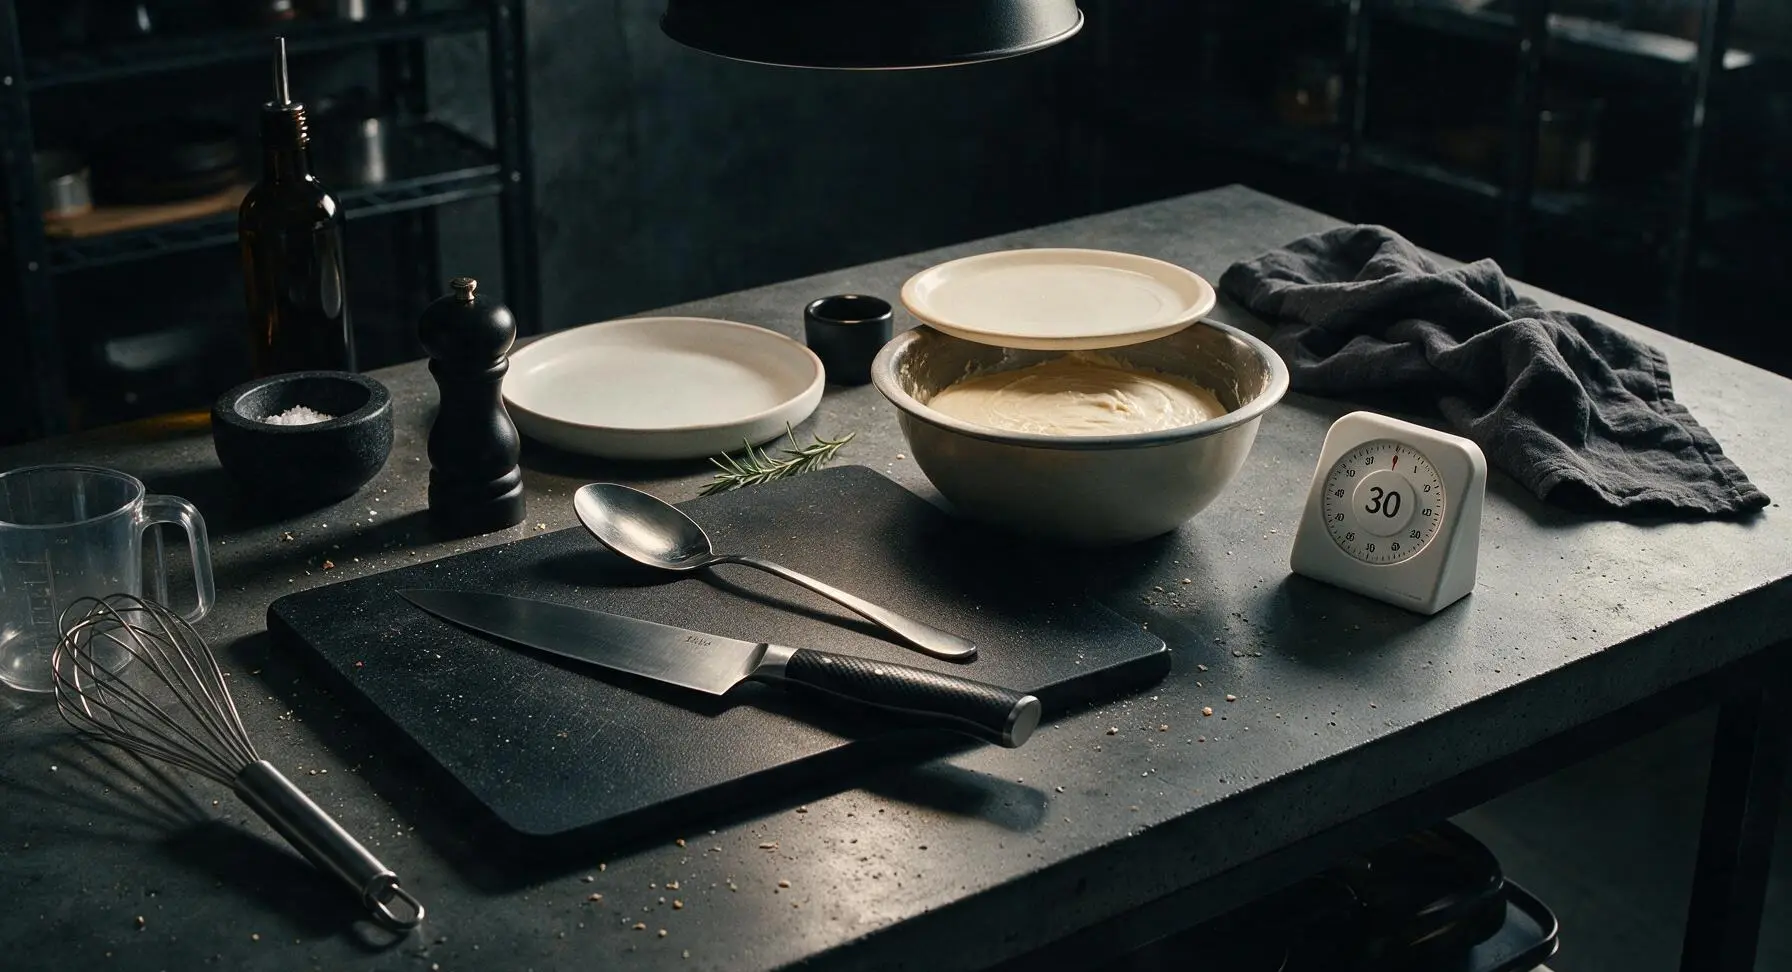
Aim for a minimum of 30 minutes of rest at room temperature, or up to 24 hours covered in the fridge. Resting lets flour fully absorb the liquid, which relaxes gluten strands so your puffs rise evenly instead of turning out tough or lumpy. Give the batter a quick, gentle stir right before pouring to keep it smooth.
4.Is sunflower oil the only oil I can use, or can I swap it for another fat?
▾
Sunflower or other neutral vegetable oils work best because they have a high smoke point, which is required to get that instant puff when batter hits the tin. Avoid olive oil, butter, or other low-smoke-point fats that burn before the tin gets hot enough. For extra richness, you can use rendered beef drippings heated to the same smoking point.
5.Why do my Yorkshire puddings have soggy bottoms instead of crisp edges?
▾
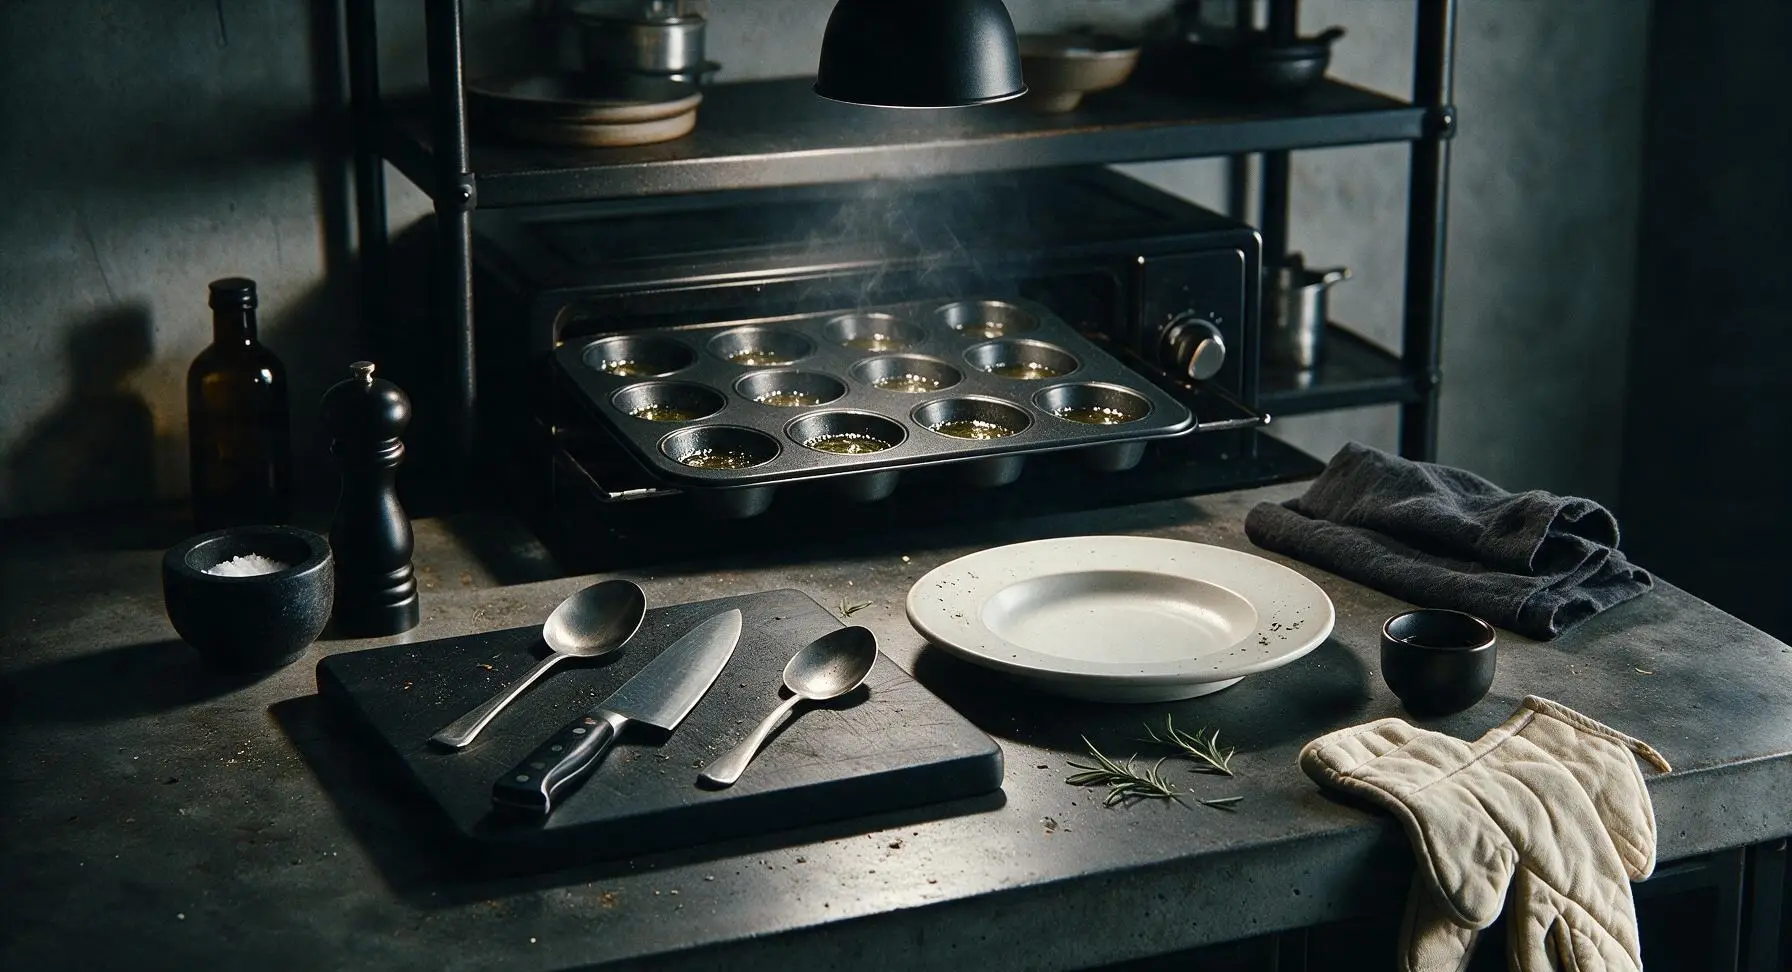
Soggy bottoms almost always mean your oil wasn’t hot enough when you poured the batter in, or you overfilled the tin wells. Let oil heat in the oven for a full 10 minutes until it’s shimmering and just starting to smoke, and only fill each well ¼ to ⅓ full. Pulling puds out too early also traps steam that sogs out the base as they cool.
6.Can I make the batter ahead of time for Sunday dinner?
▾
Absolutely! In fact, chilled, well-rested batter often gives even taller, more consistent puffs than freshly mixed batter. You can mix the flour, eggs, milk, and salt up to 24 hours ahead, cover it tightly, and store it in the fridge. Give it a quick gentle stir before pouring—don’t overmix, or you’ll develop tough gluten.
7.Do I have to use whole milk, or can I use skim or low-fat milk instead?
▾
Whole milk gives the richest, most tender crisp crust and soft, fluffy center, but you can swap in 2% milk if that’s all you have on hand. Skip skim milk entirely, though—it’s too watery, and leads to flat, bland, tough puds that don’t soak up gravy well. If using 2%, add a tiny splash of heavy cream to mimic whole milk richness if you have it.
8.What size eggs work best for this recipe, and does egg quality matter?
▾
Stick with large free-range eggs as called for, since their ratio of yolk to white creates perfect structure without making the batter too heavy. Free-range eggs have richer, brighter yolks that give puds that ideal golden color and deeper flavor, but regular large grocery store eggs work fine too. Avoid extra-large or medium eggs without adjusting the liquid ratio.
9.What oven temperature do I need to get perfectly crisp Yorkshire puddings?
▾
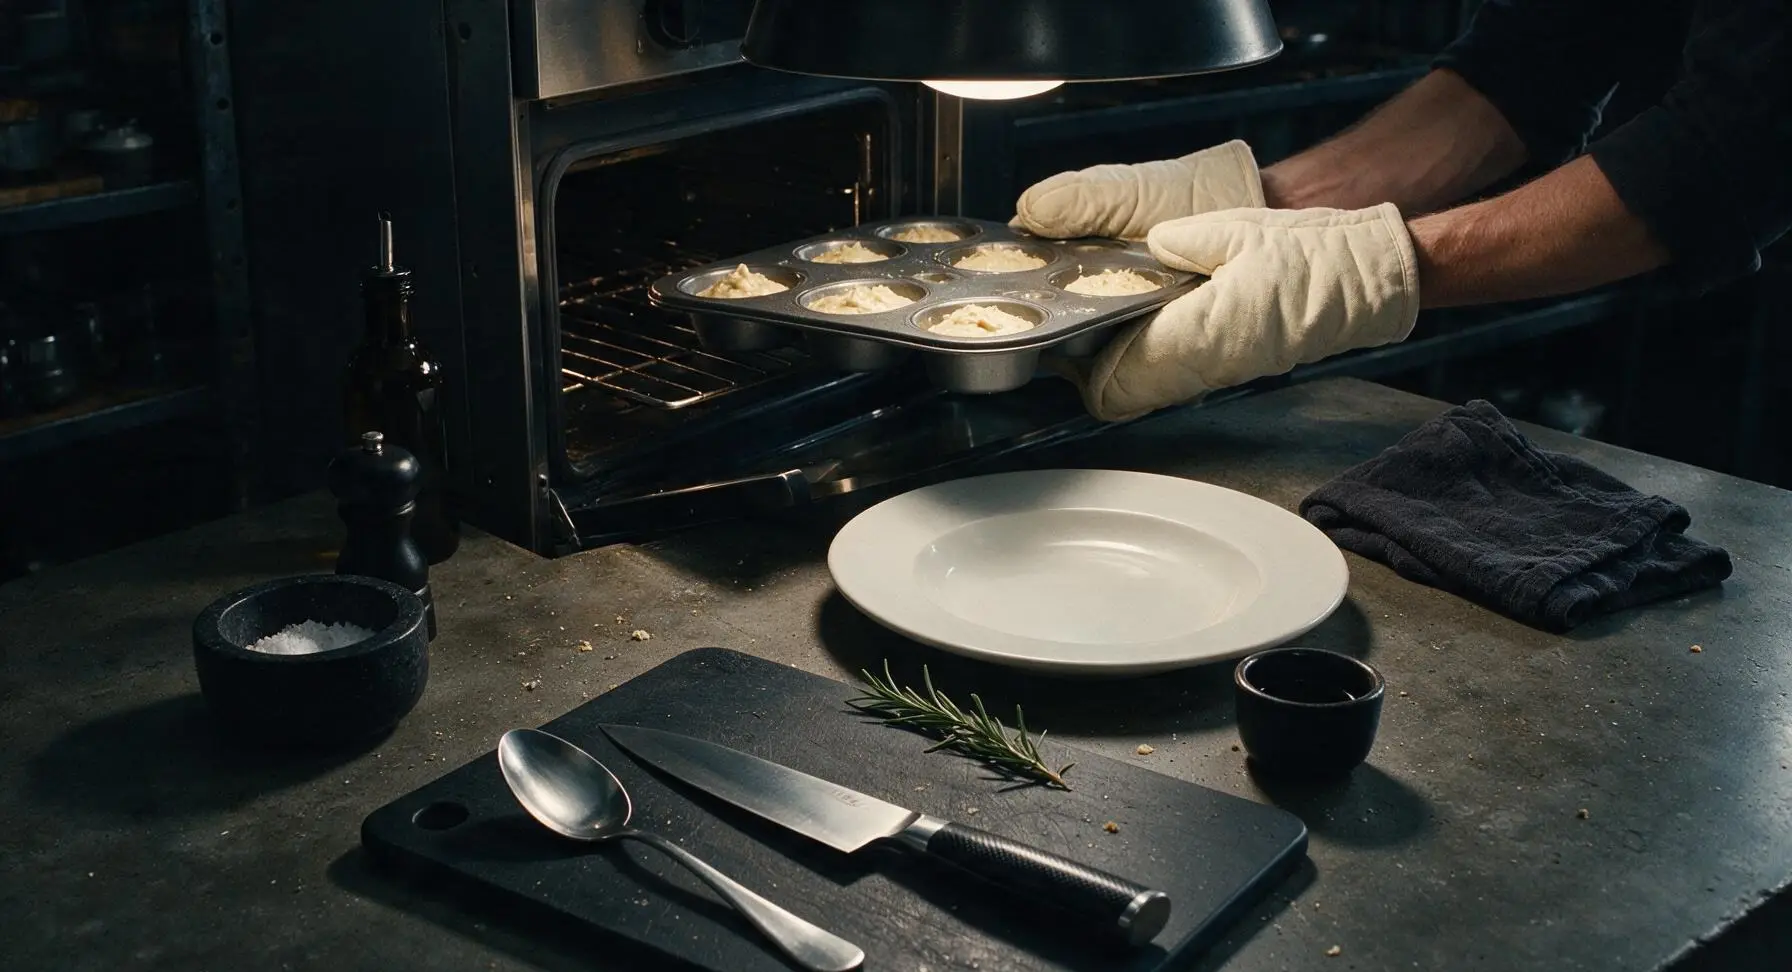
Preheat your oven to 425°F, and make sure it’s fully come to temperature before putting the oiled tin in to heat. Skip the convection fan setting at first, as it can blow puffs lopsided before they set. Keep the oven door closed for the first 20 minutes of baking, then you can rotate the tin quickly if your oven has hot spots for even browning.
10.Can I make these in a regular muffin tin, or do I need a special Yorkshire pudding pan?
▾
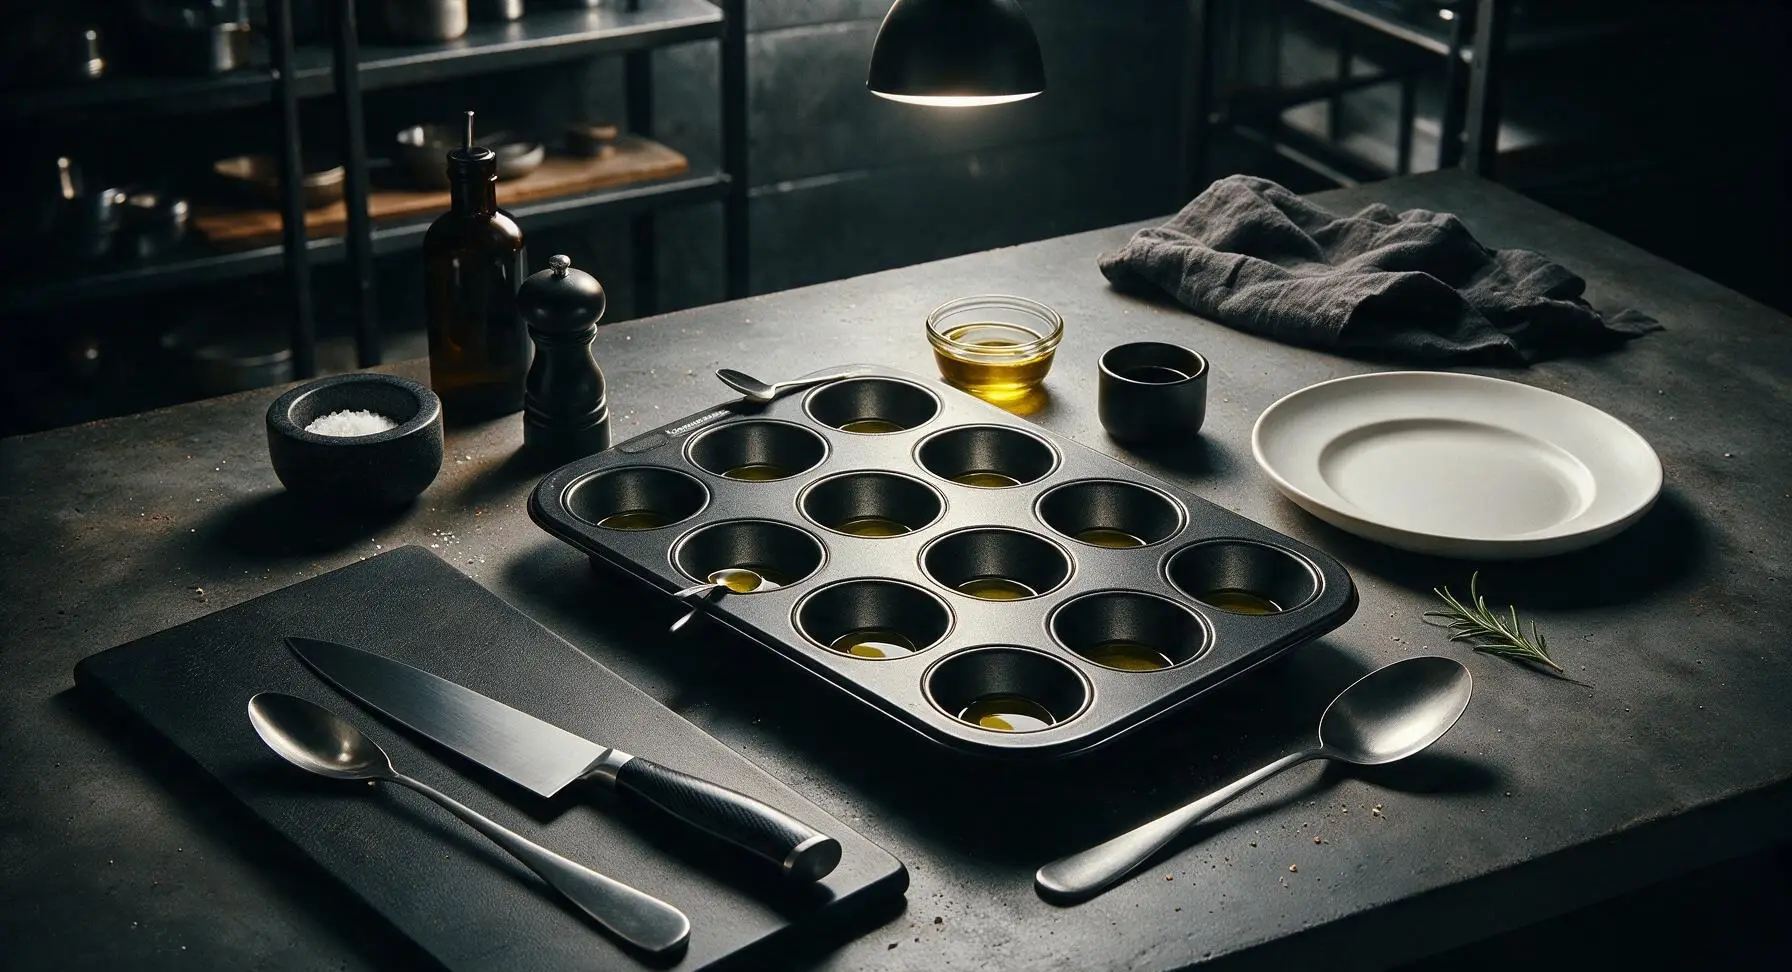
You don’t need any special equipment at all! A standard 12-cup metal muffin tin works perfectly for individual Yorkshire puddings. Just avoid thin, flimsy nonstick tins that don’t hold heat well, as they won’t get oil hot enough for a good rise. For a giant sharing-sized pud, bake the full batch in a 9x13 inch metal baking pan instead.
11.How much fine sea salt should I add, and can I use table salt instead?
▾
You only need about ½ teaspoon of fine sea salt for a standard 12-pud batch, just enough to amp up savoriness without making them taste salty. If you only have table salt, cut the amount in half, since table salt is much denser and saltier per volume than fine sea salt. Don’t skip salt entirely, or your puds will taste bland even with lots of gravy.
12.Why are my Yorkshire puddings lopsided instead of rising evenly straight up?
▾
Lopsided puds usually happen because of uneven oven heat, or because you stirred the batter too hard right before pouring, creating uneven air bubbles. Make sure your oven rack is positioned dead center, and give the batter a slow, gentle stir instead of vigorous whisking pre-pour. Rotate the tin quickly after the first 20 minutes once structure is set to fix hot spot issues.
13.Can I freeze leftover Yorkshire puddings to reheat later?
▾
Yes, they freeze beautifully! Let fully baked puds cool completely to room temperature, then tuck them into a sealed freezer bag for up to 3 months. To reheat, pop them straight from the freezer onto a baking sheet in a 400°F oven for 3 to 5 minutes, until crisp and warmed through. Skip the microwave, which turns them chewy and soggy.
14.How full should I fill each tin well with batter to get the best rise?
▾
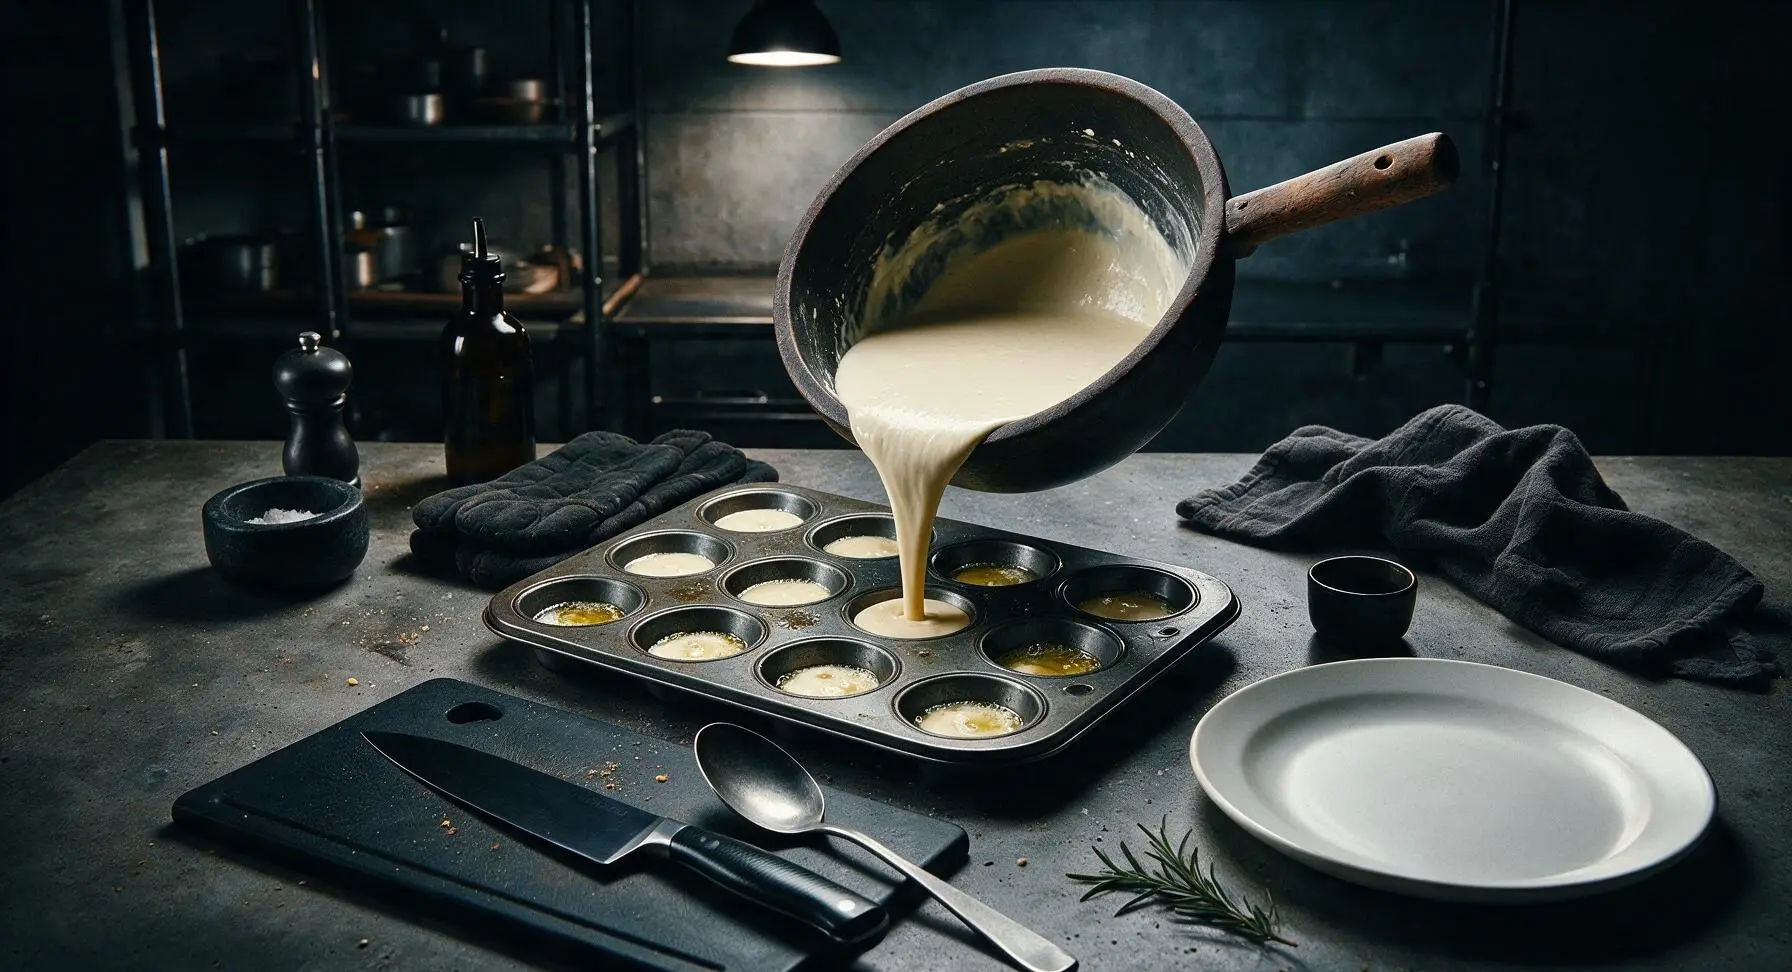
Only fill each preheated, oiled well ¼ to ⅓ of the way full with batter. It’s tempting to pour more to get bigger puds, but overfilling leads to heavy, dense puds that don’t cook all the way through, spill over tin edges, or collapse as they cool. That small amount of batter creates the perfect ratio of crisp crust to soft hollow center.
15.Do I need to sift the flour for this recipe to get smooth batter?
▾
Sifting isn’t strictly required, but it does help cut down on lumps so you don’t overmix the batter trying to smooth them out. If you don’t have a sieve, just whisk the flour slowly as you pour in the egg and milk mixture to break up clumps as you go. A few tiny lumps are totally fine—overmixing to remove them causes tough puds.
16.Can I add herbs, cheese, or other mix-ins to the batter for extra flavor?
▾
You absolutely can, once you’ve nailed the basic recipe! Stir in a teaspoon of chopped fresh rosemary or thyme, a handful of grated sharp cheddar, or a pinch of black pepper to the batter right before pouring. Just don’t add too many heavy mix-ins, as they weigh batter down and keep it from rising tall and light. Keep add-ins finely chopped for best results.
17.Why do my puddings have a tough, chewy texture instead of light and crisp?
▾
Tough, chewy Yorkshire puddings almost always come from overmixing the batter, which develops too much gluten in the flour. Mix the batter just until the ingredients come together, then let it rest to relax those gluten strands. Baking at too low a temperature can also lead to chewy puds, so make sure your oven is fully preheated to 425°F before baking.
18.Can I use a glass or ceramic muffin tin instead of a metal one?
▾
Stick to metal tins for the best results, because glass and ceramic don’t conduct heat as fast or get as hot as metal, even after extended preheating. That means your oil won’t hit the high temperature needed for that instant steam rise, leading to flat, soggy puds. If a glass or ceramic pan is all you have, heat the oil an extra 5 minutes, though your rise will be slightly less dramatic.
19.How long do these take to bake, and how do I know they’re done?
▾
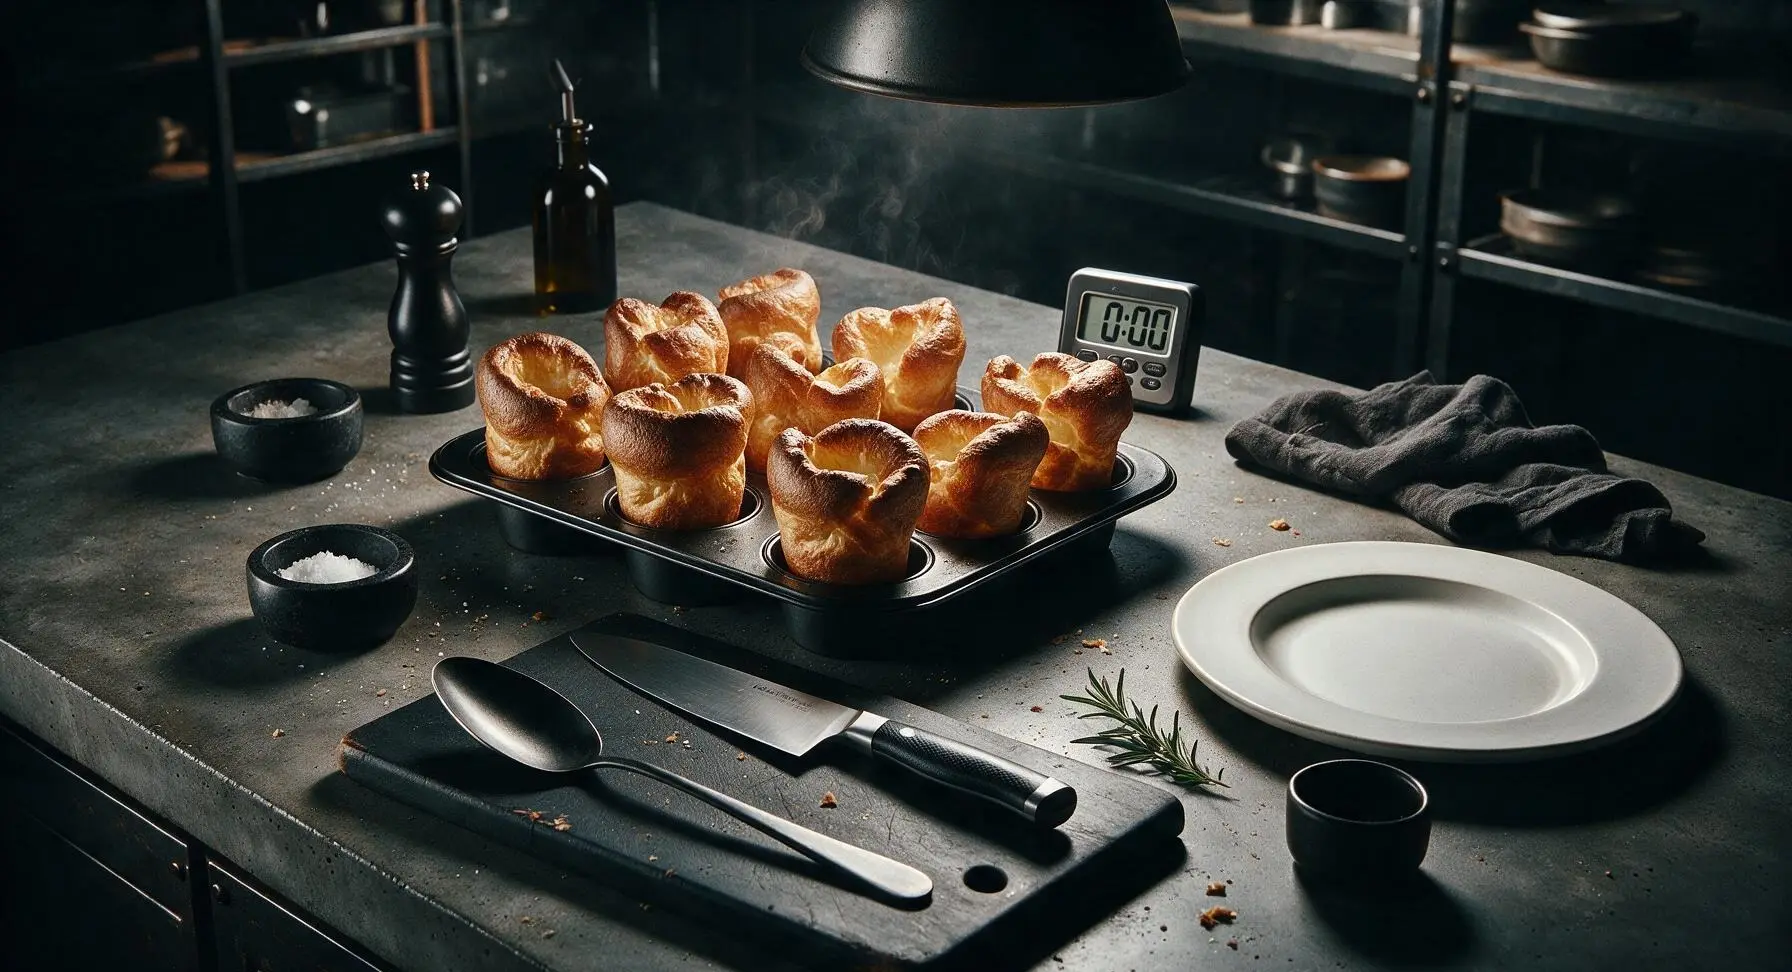
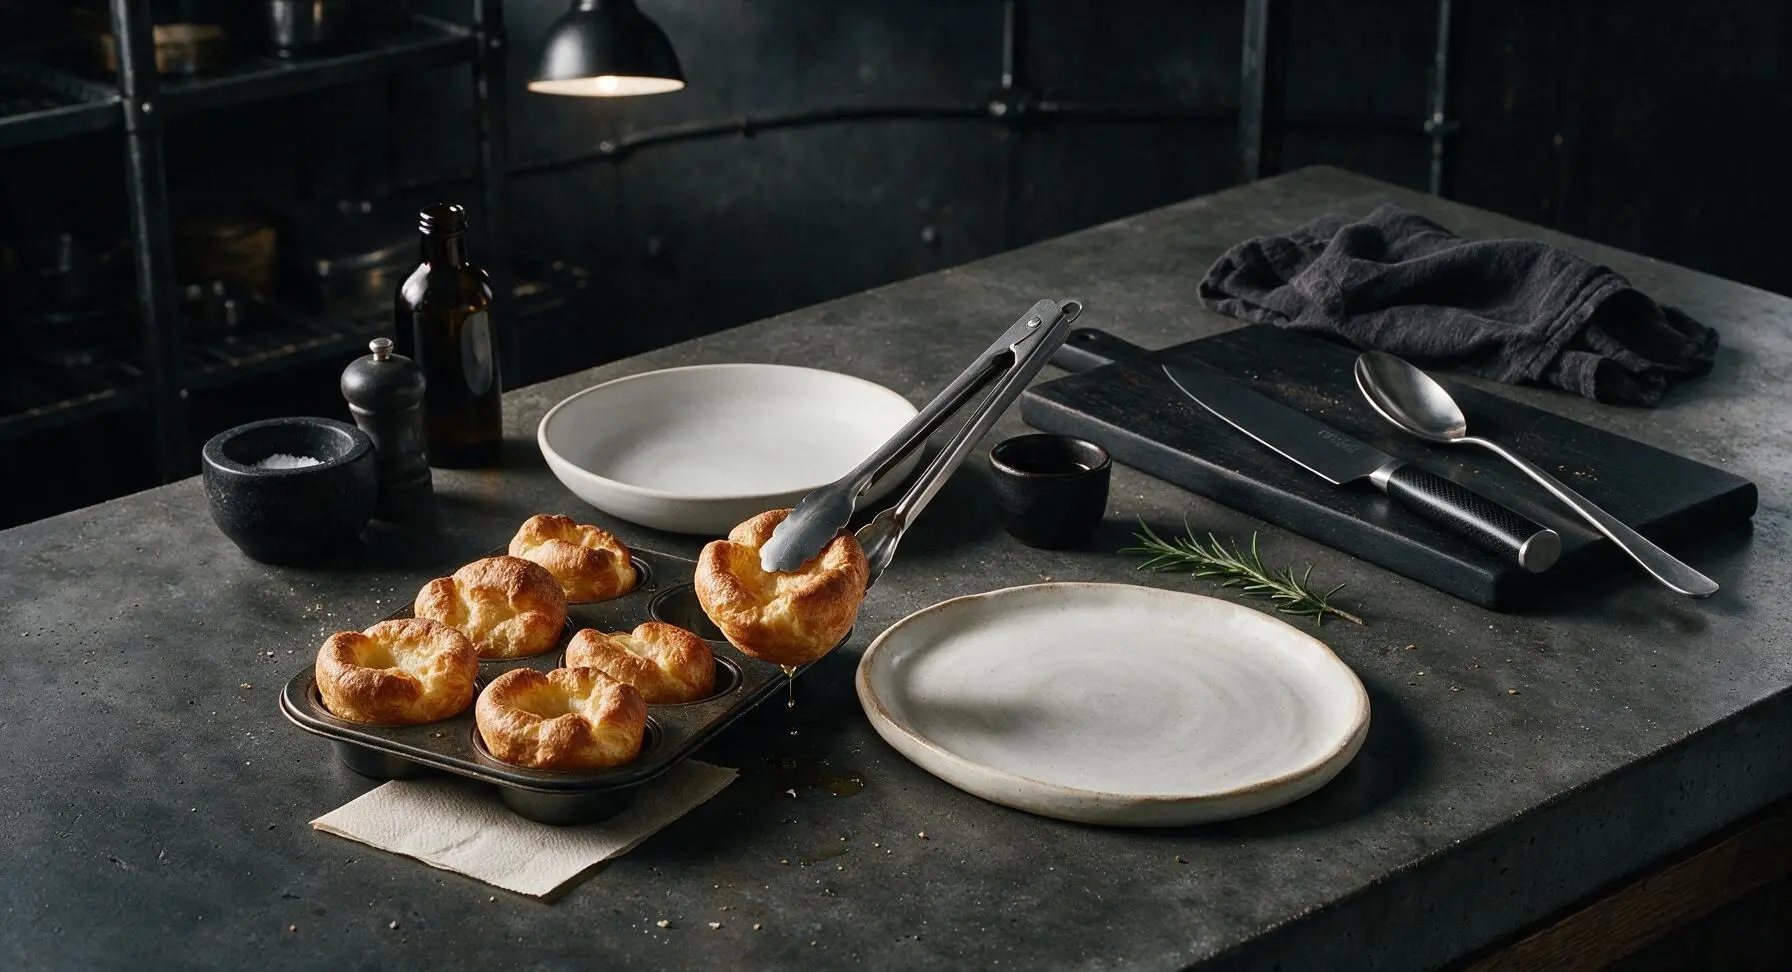
Plan for 20 to 25 minutes of total bake time, depending on your oven. You’ll know they’re perfectly done when they’re deep, rich golden brown all over, with crisp, raised edges and a light, hollow feel when you tap the side. If they’re pale yellow, they need more time—pulling them too early means they’ll deflate fast once they hit cool room air.

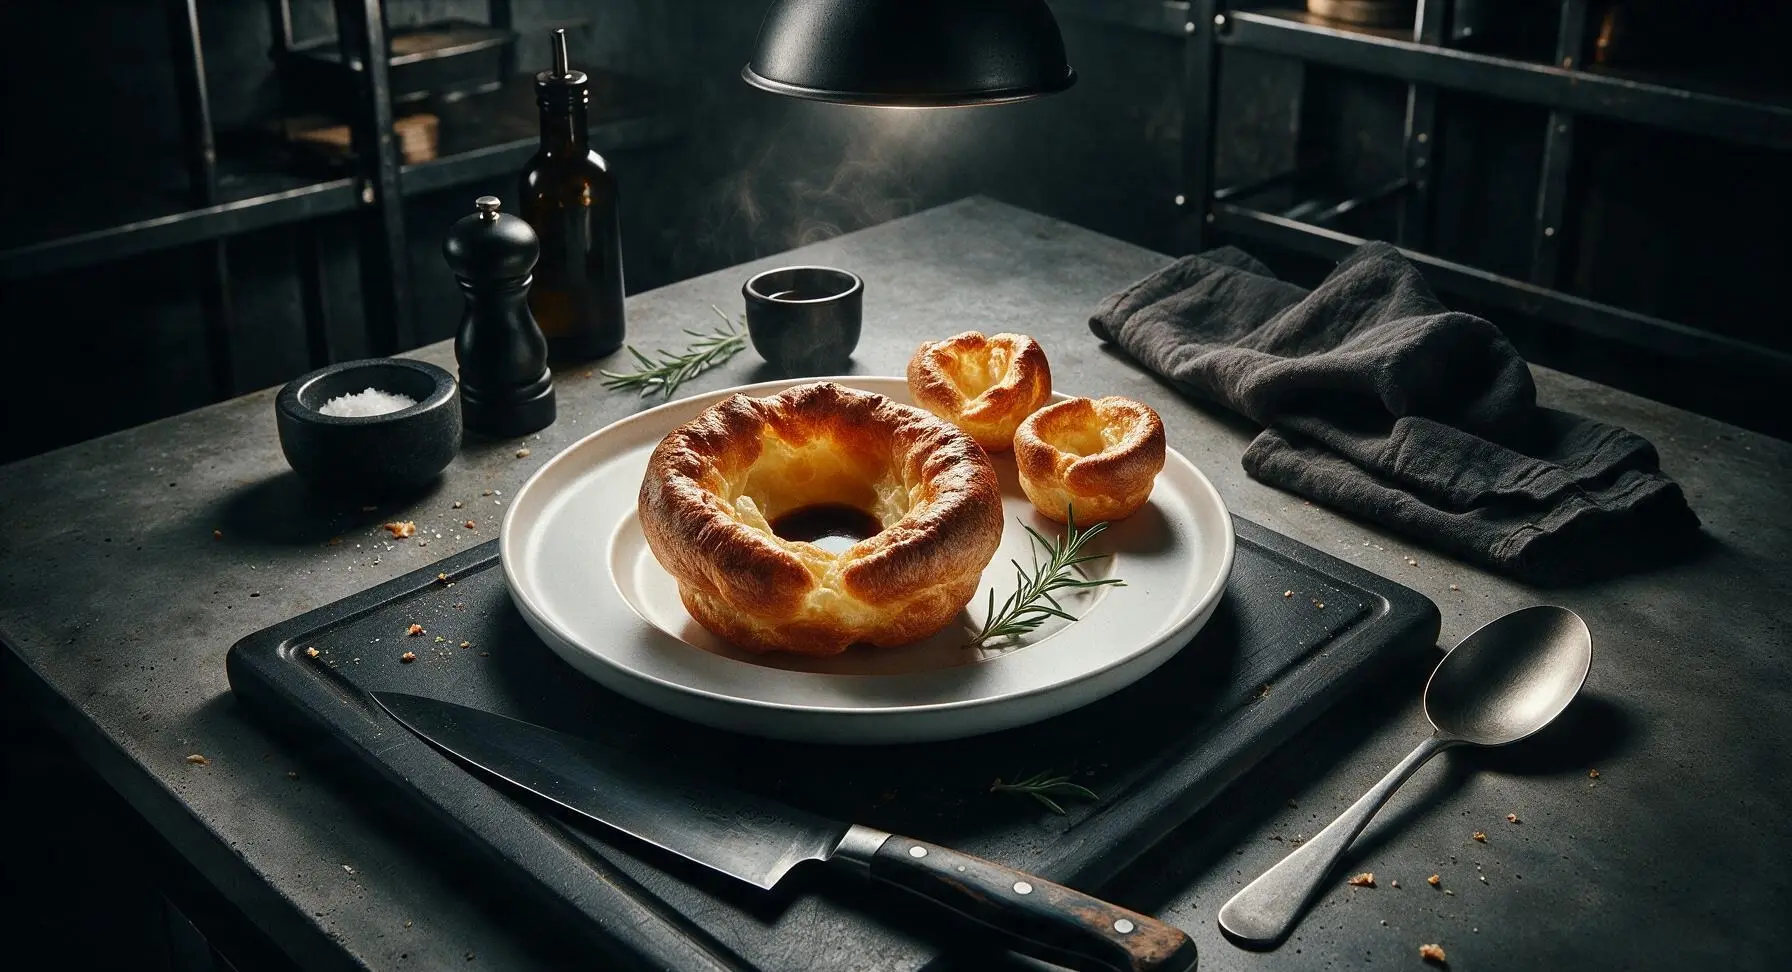
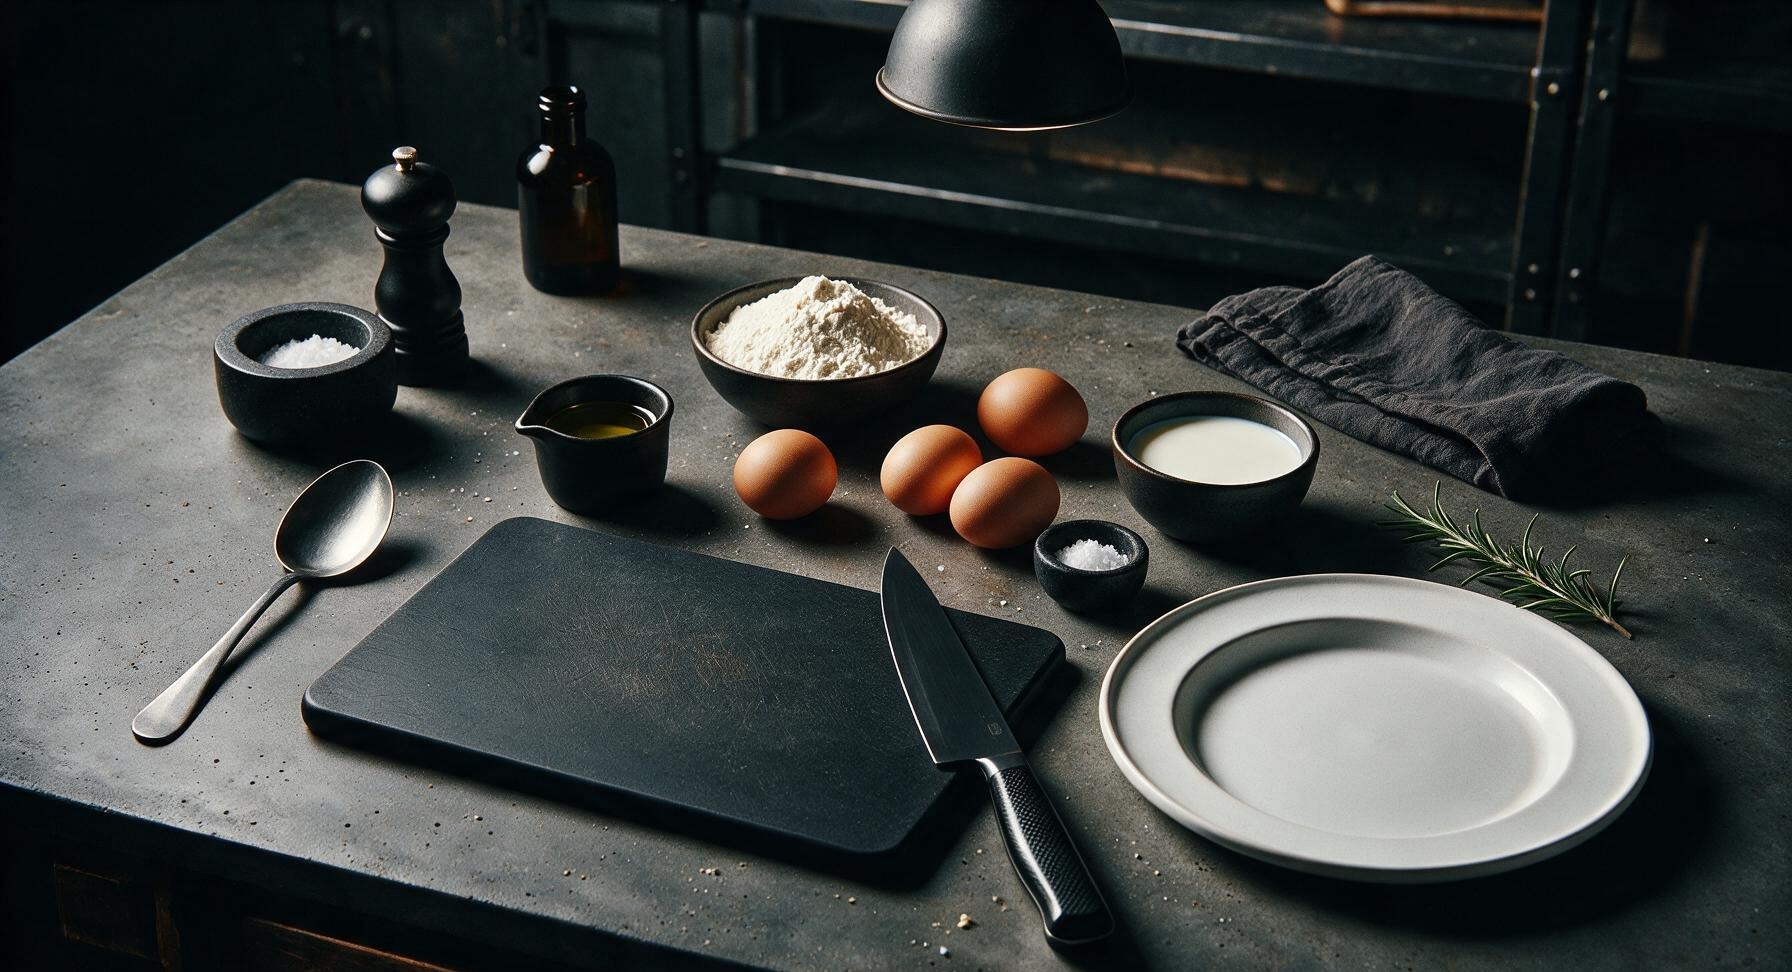
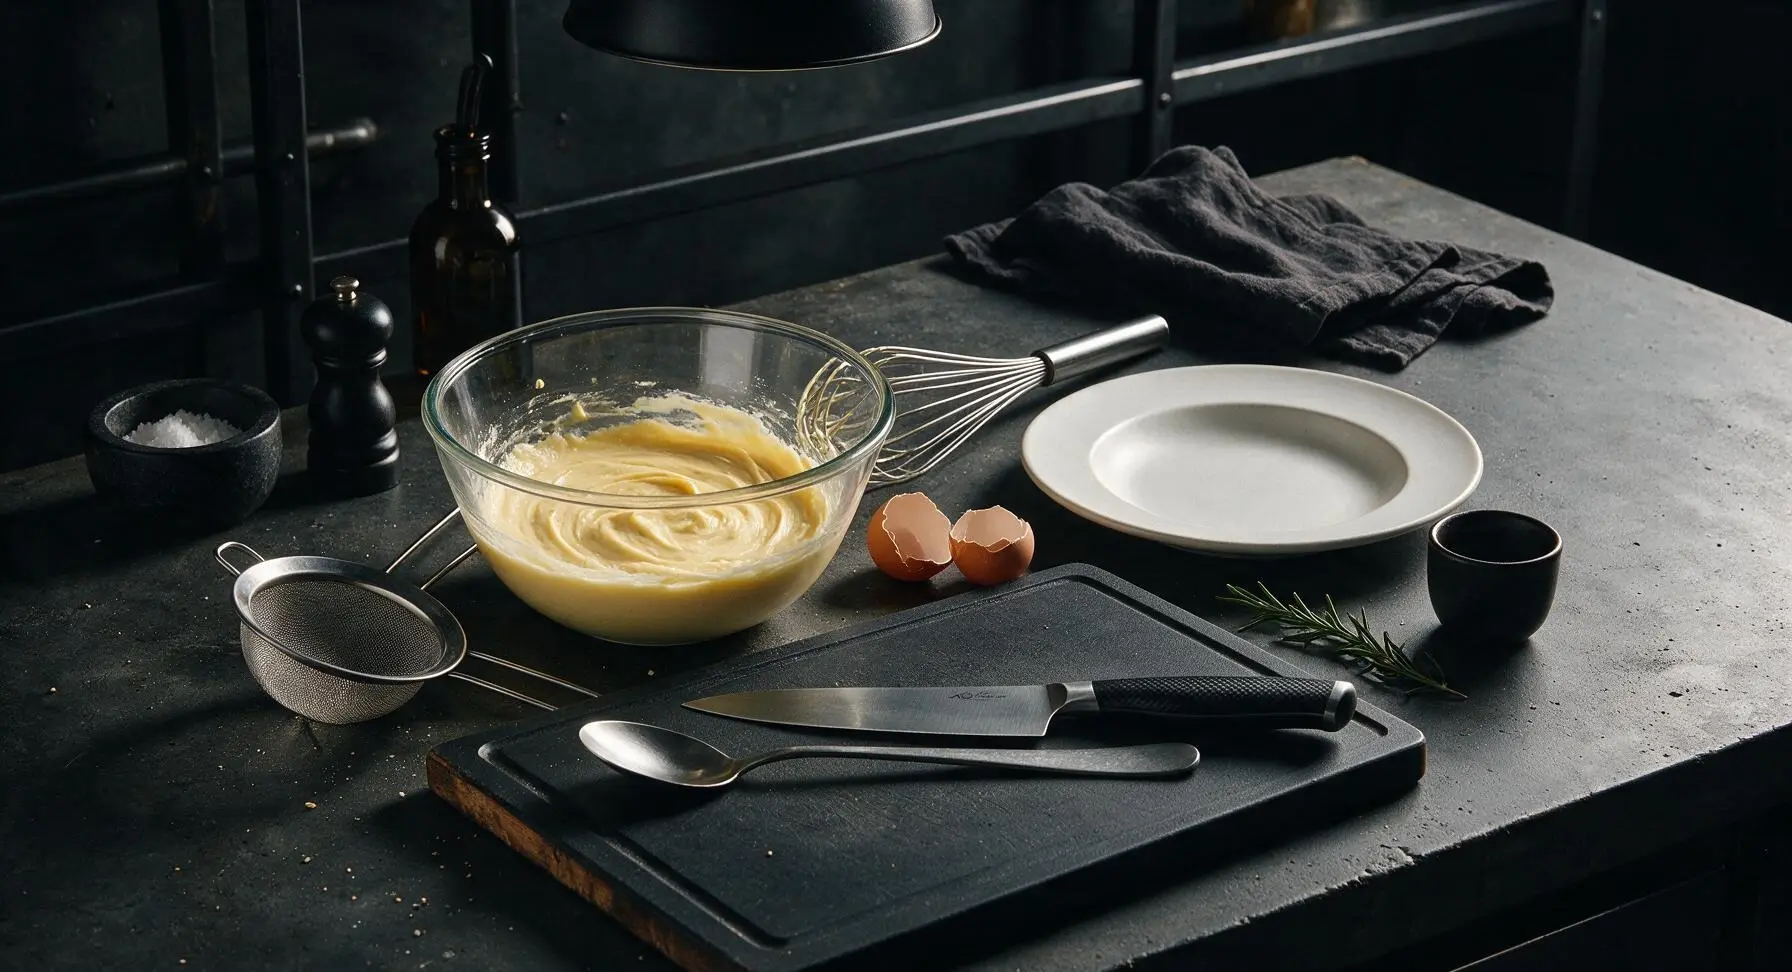
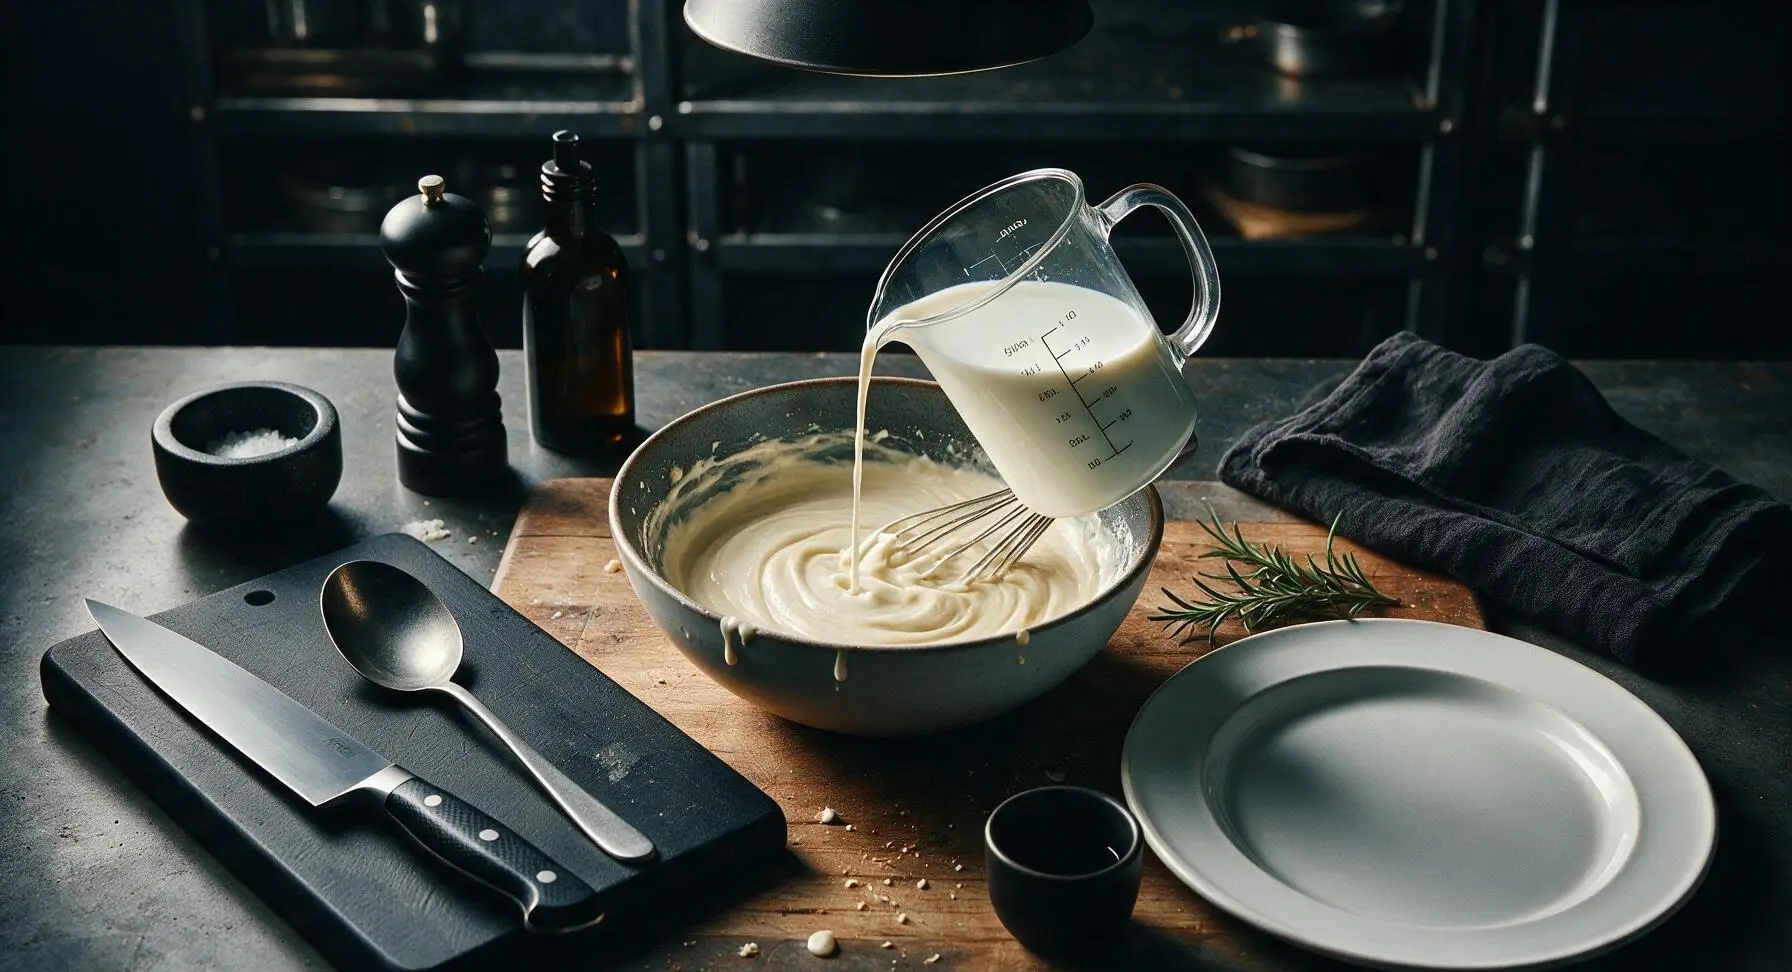






Made these for our family Sunday dinner first, then brought a batch to the neighborhood potluck last weekend and everyone was asking for the recipe! Cooked up perfectly fluffy and crispy on the edges, just like the ones I had when I visited London years ago. My kids loved them so much they asked for seconds before they even finished their roast beef. Seriously, 30 minute cook time is chef’s kiss when you’re juggling a dozen different dishes for a crowd. Will definitely be adding these to our regular rotation.
Wait, has anyone tried making these ahead for meal prep? I want to make a batch on Sunday to pair with beef stew for weeknight dinners but I’m worried they’ll get soggy if I store them in the fridge. The recipe was super easy to follow when I tested it last night, they came out perfect fresh, just need to figure out the storage hack!
First time making Yorkshire pudding ever and I didn’t mess it up!!! I was so worried I’d overmix the batter or have the oil not hot enough, but following the simple steps here worked like a charm. These came out so tall and crispy, my roommate thought I ordered them from a fancy British pub downtown. Total game changer for someone who used to be scared of baking! SO good, will make again for our next friend dinner.
OMG, tried making these for my boyfriend’s birthday roast dinner and they were a total hit! I used duck fat instead of vegetable oil because that’s what I had on hand and oh my gosh, the flavor was next level. So easy even for someone who burns toast half the time (aka me). 10/10, no notes.