
skinless chicken breast air fryer
intro
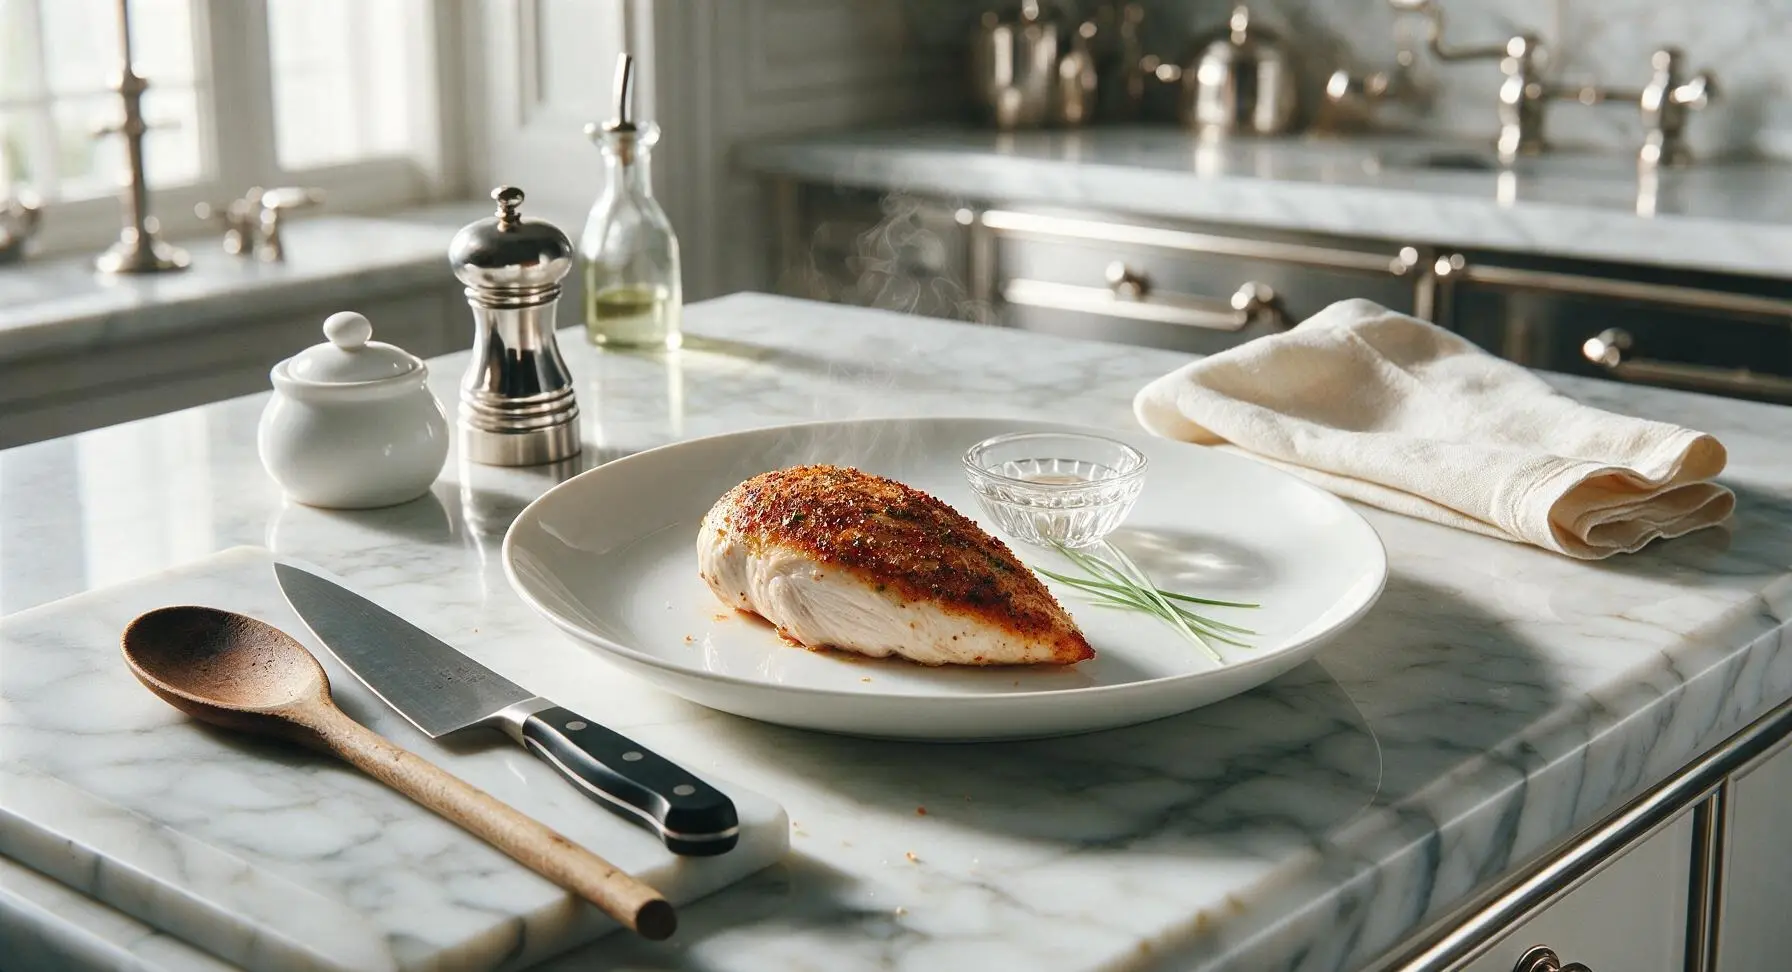
Perfectly juicy, never-rubbery skinless chicken breast made fast in the air fryer, with a crisp seasoned crust and tender, moist interior—ideal for quick, healthy meals.
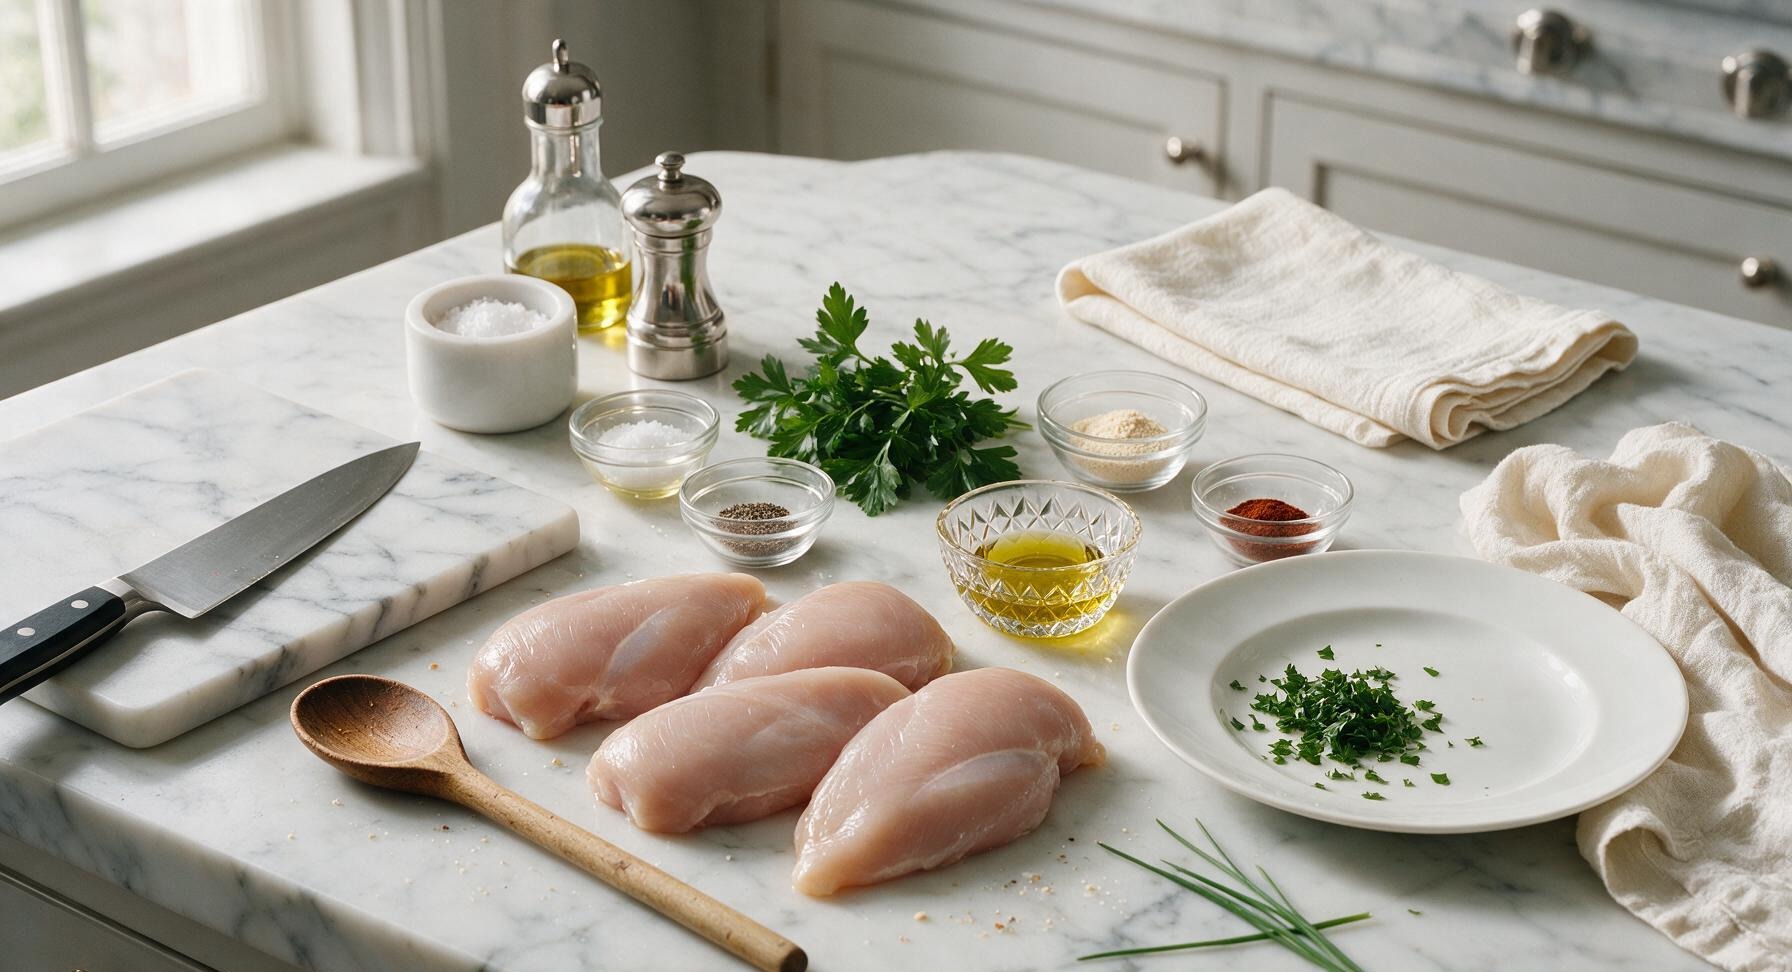
Ingredients
Steps
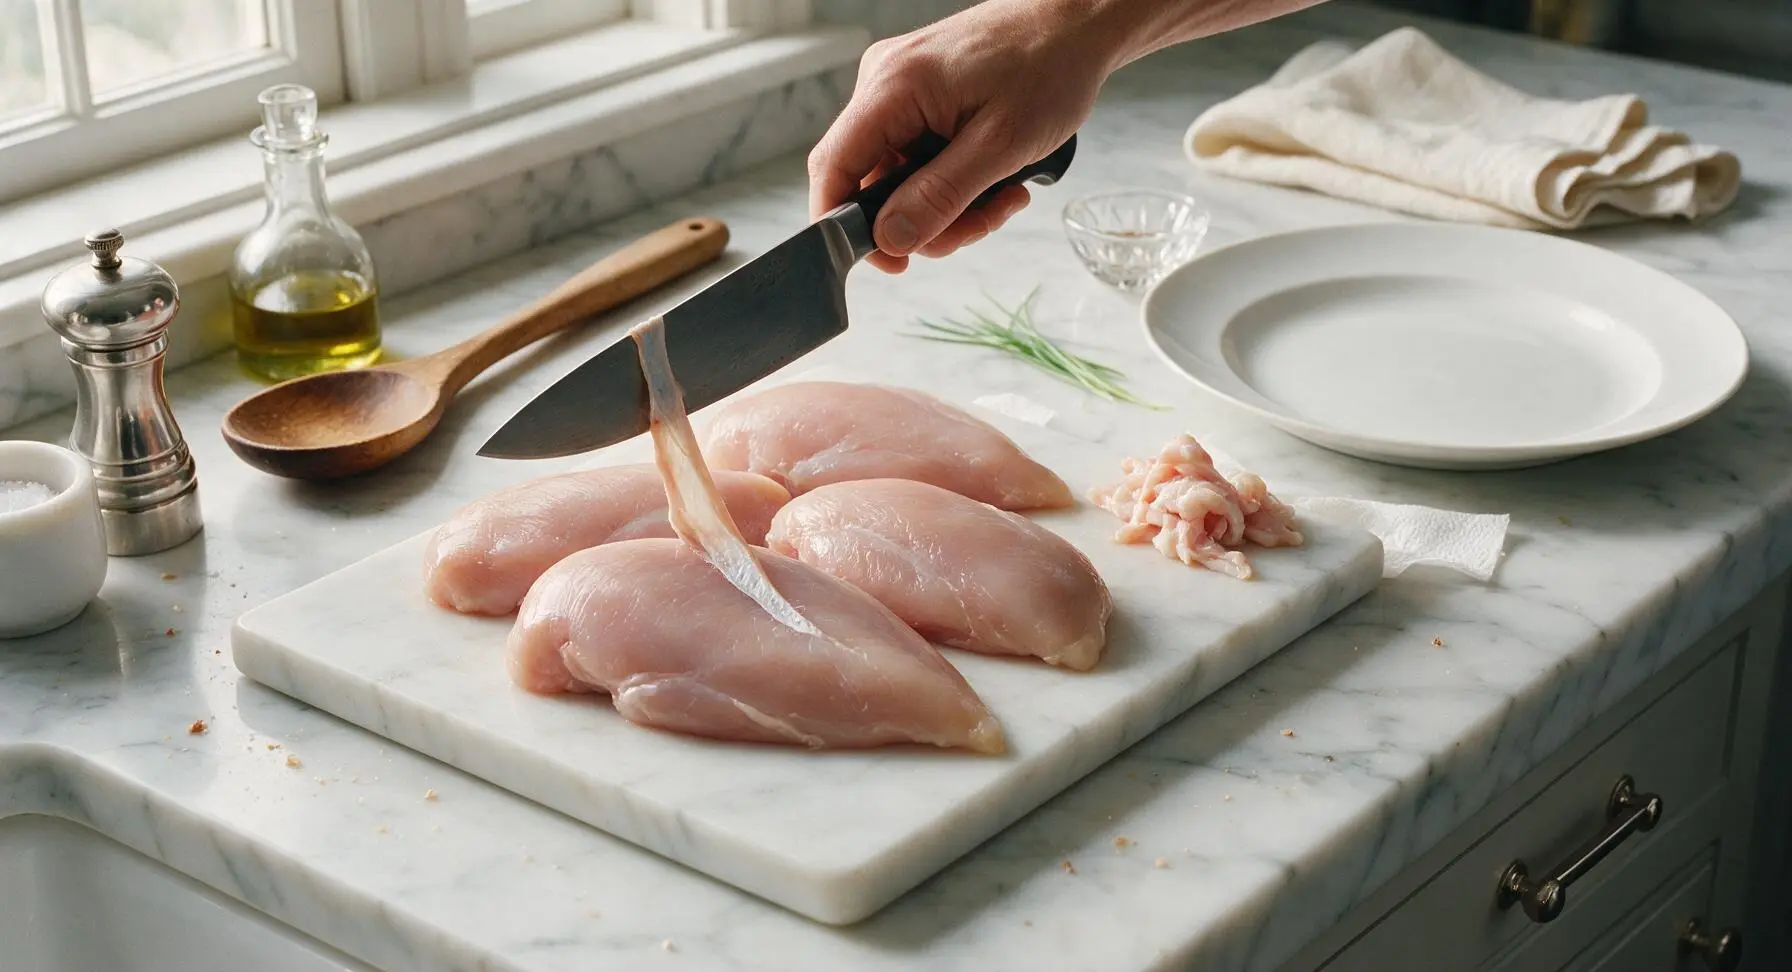
Trim Chicken Breasts
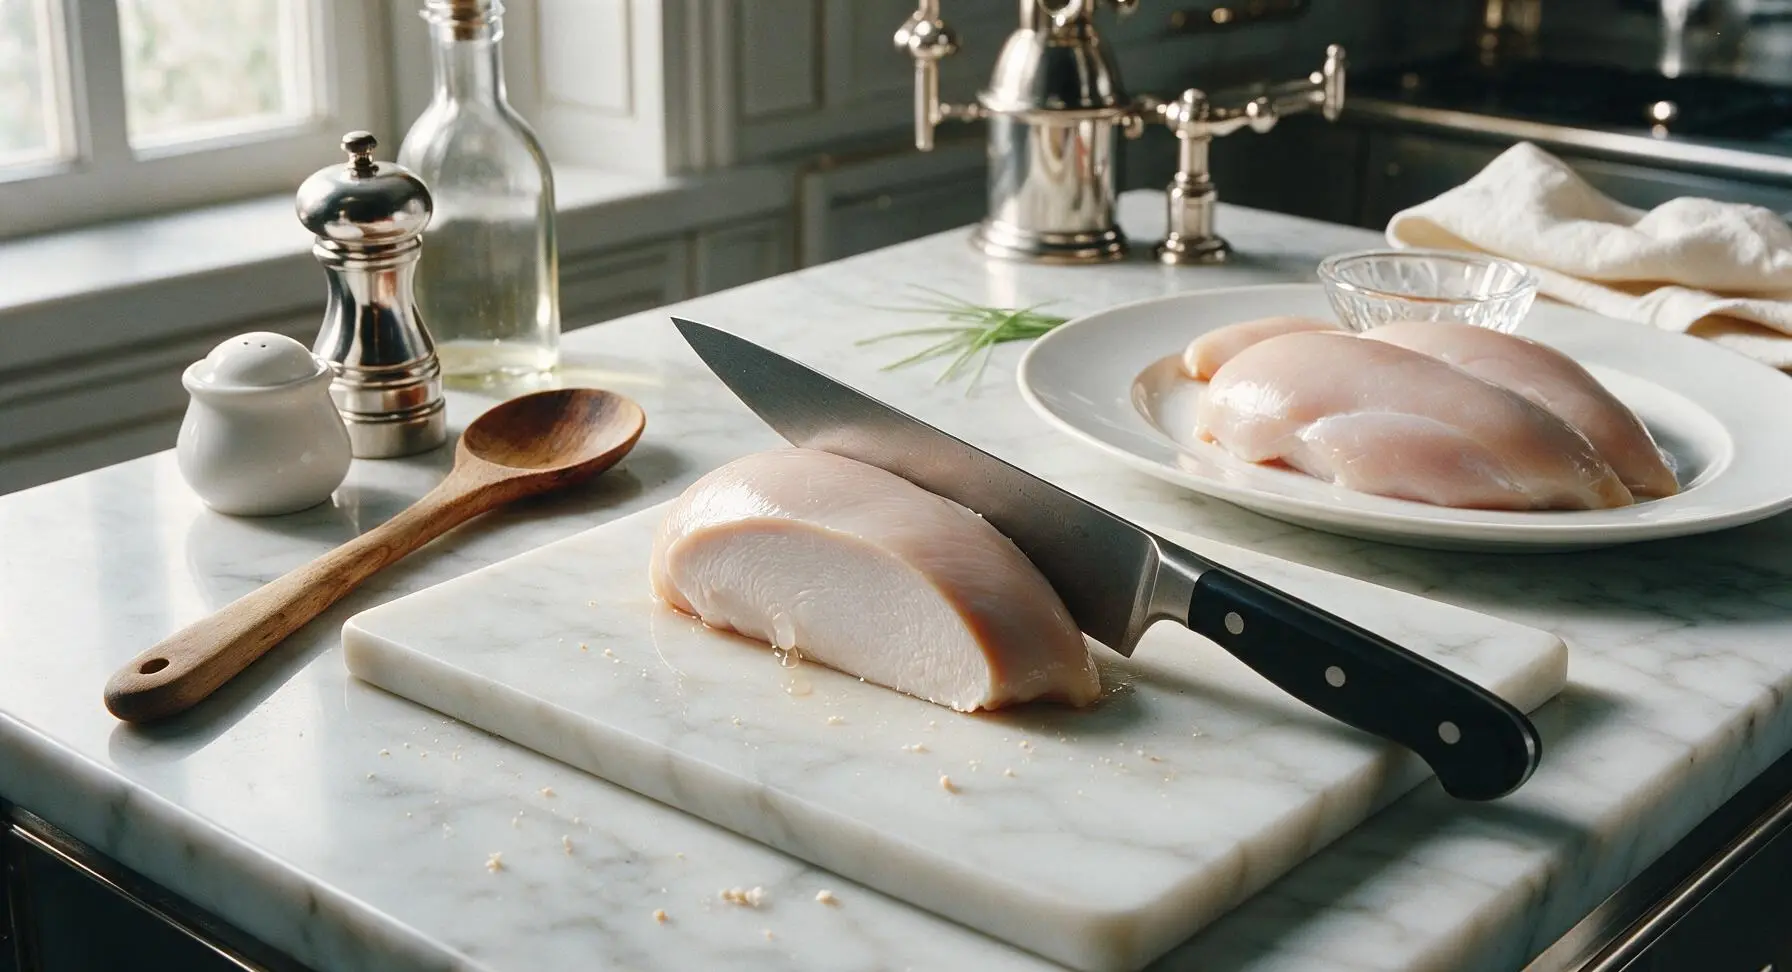
Place the four raw chicken breasts on the light maple cutting board. Use the 8-inch chef knife to trim off any visible silver skin, excess loose fat, or uneven ragged edges from each breast. If any breast is thicker than 1.5 inches at its thickest point, butterfly it slightly to create a more even thickness so all pieces cook at the same rate. Pat all surfaces completely dry with paper towels, then discard used towels.
Preheat the Air Fryer
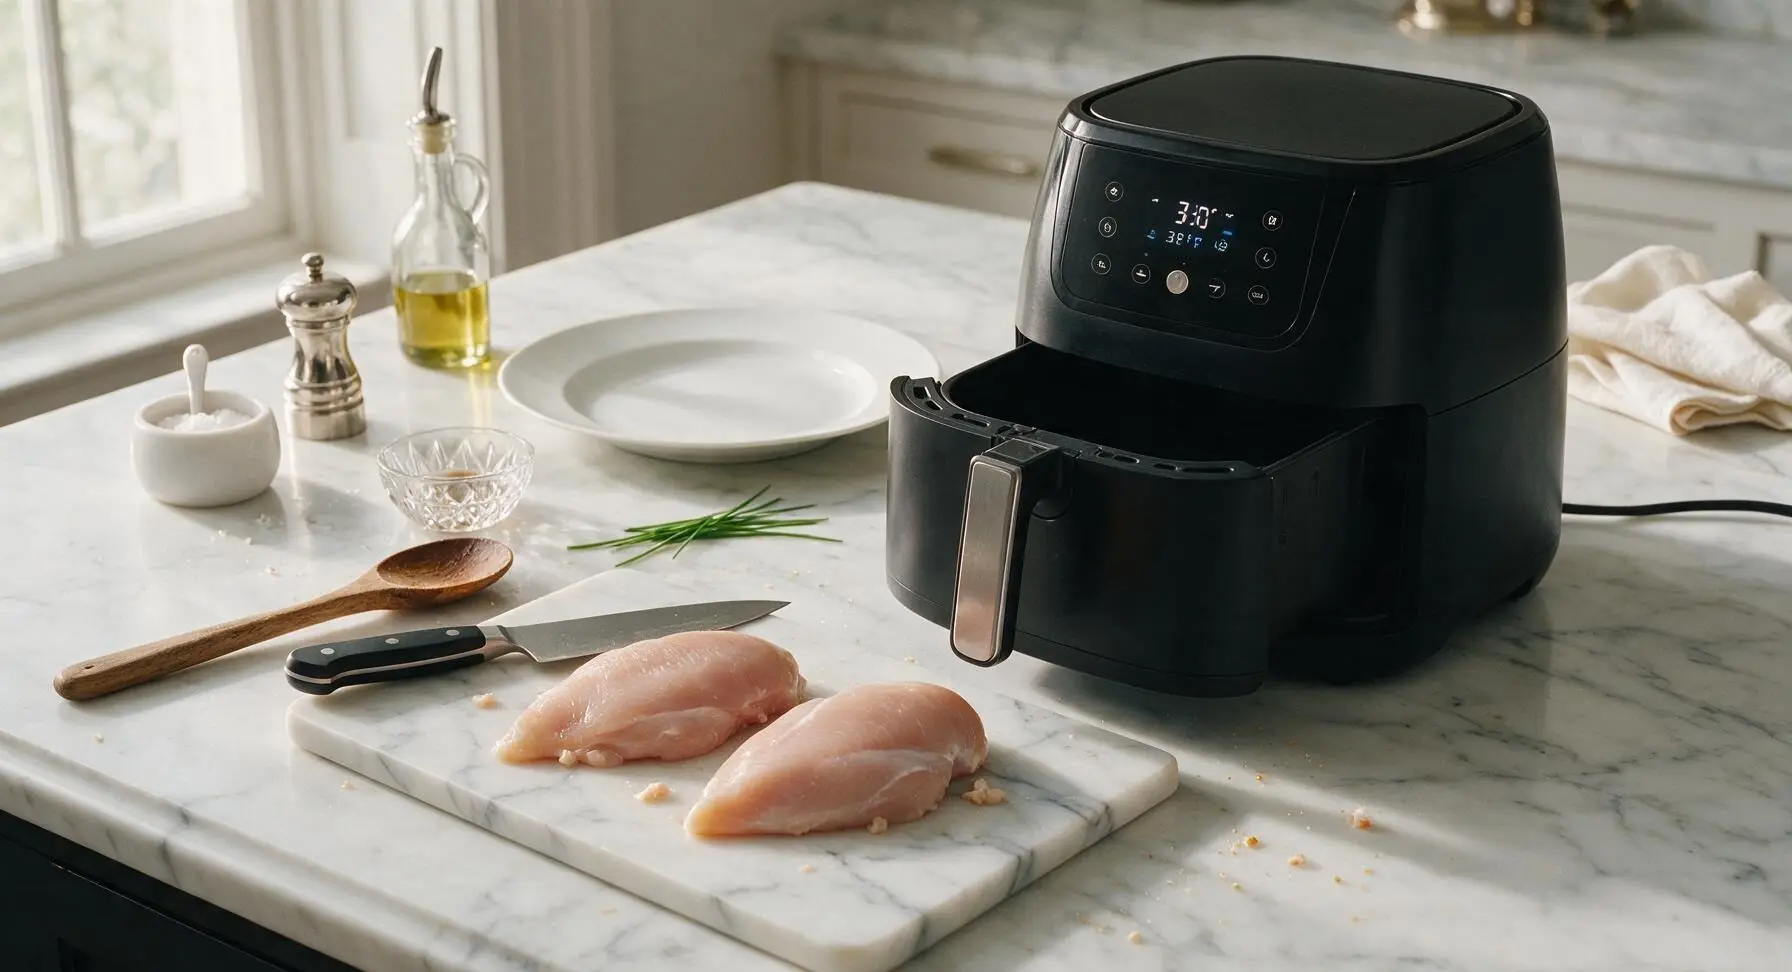
Preheat the air fryer to 380°F (193°C) for 3 minutes while you season the chicken to save time. There is no need to add oil or cooking spray to the basket before preheating; the light oil coating on the chicken will prevent sticking.
Coat with Seasoning
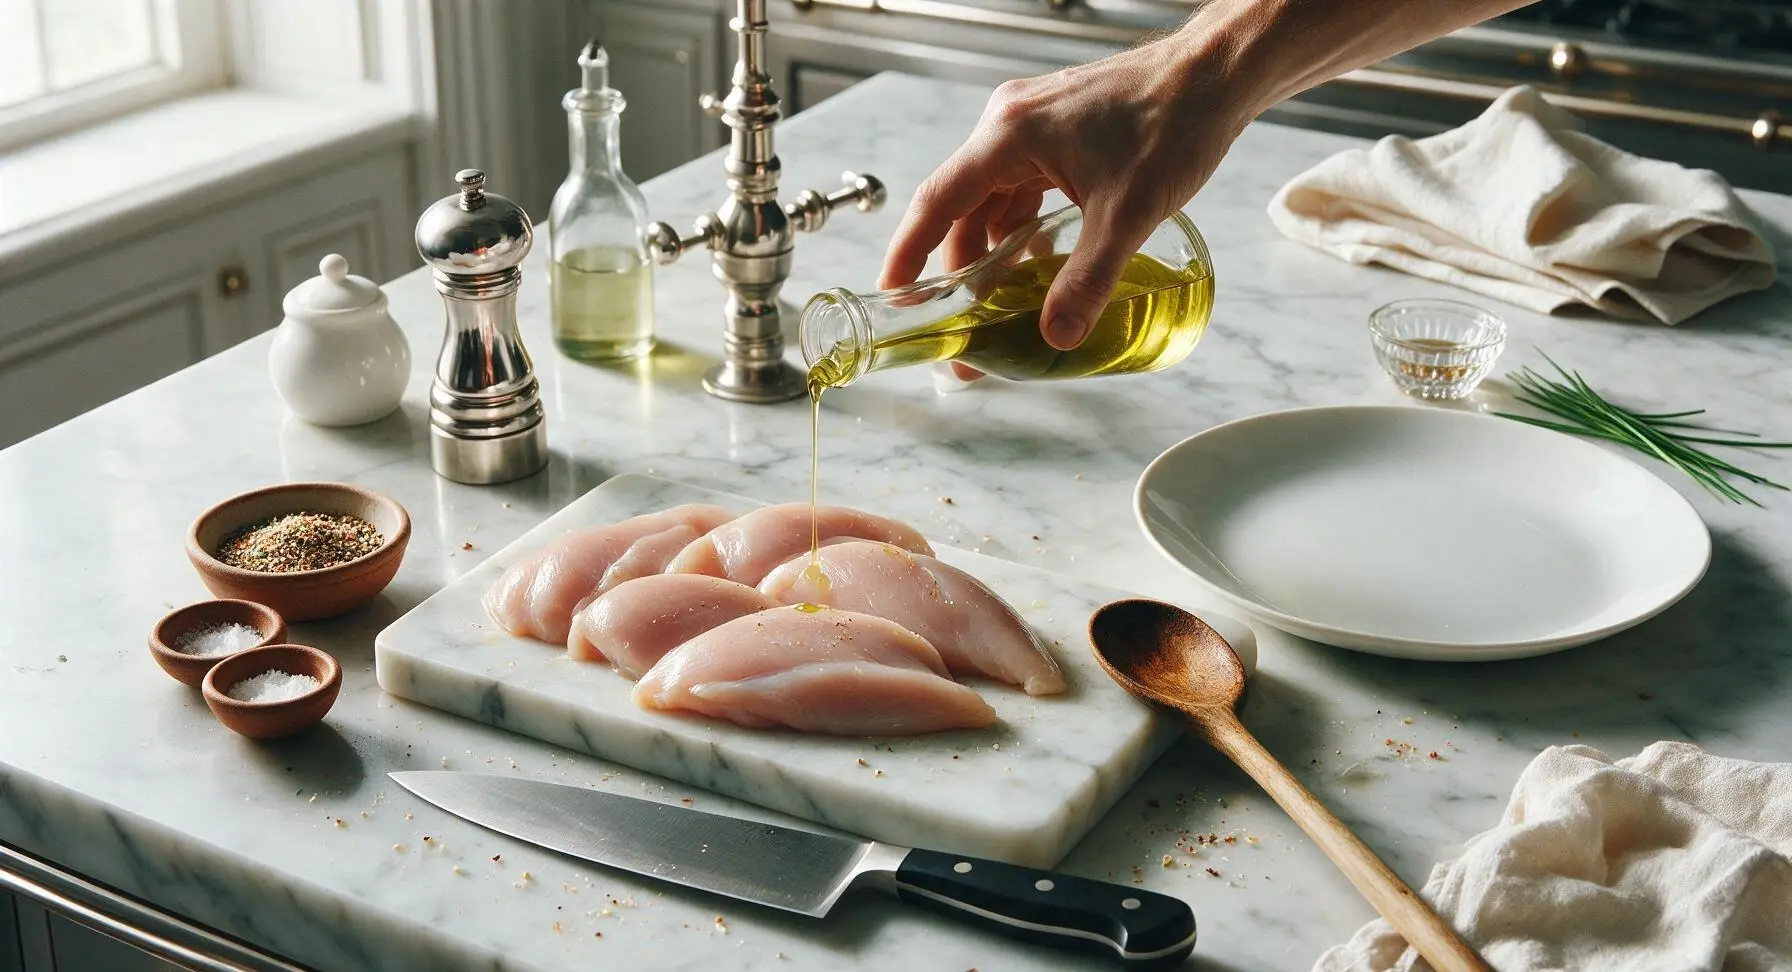
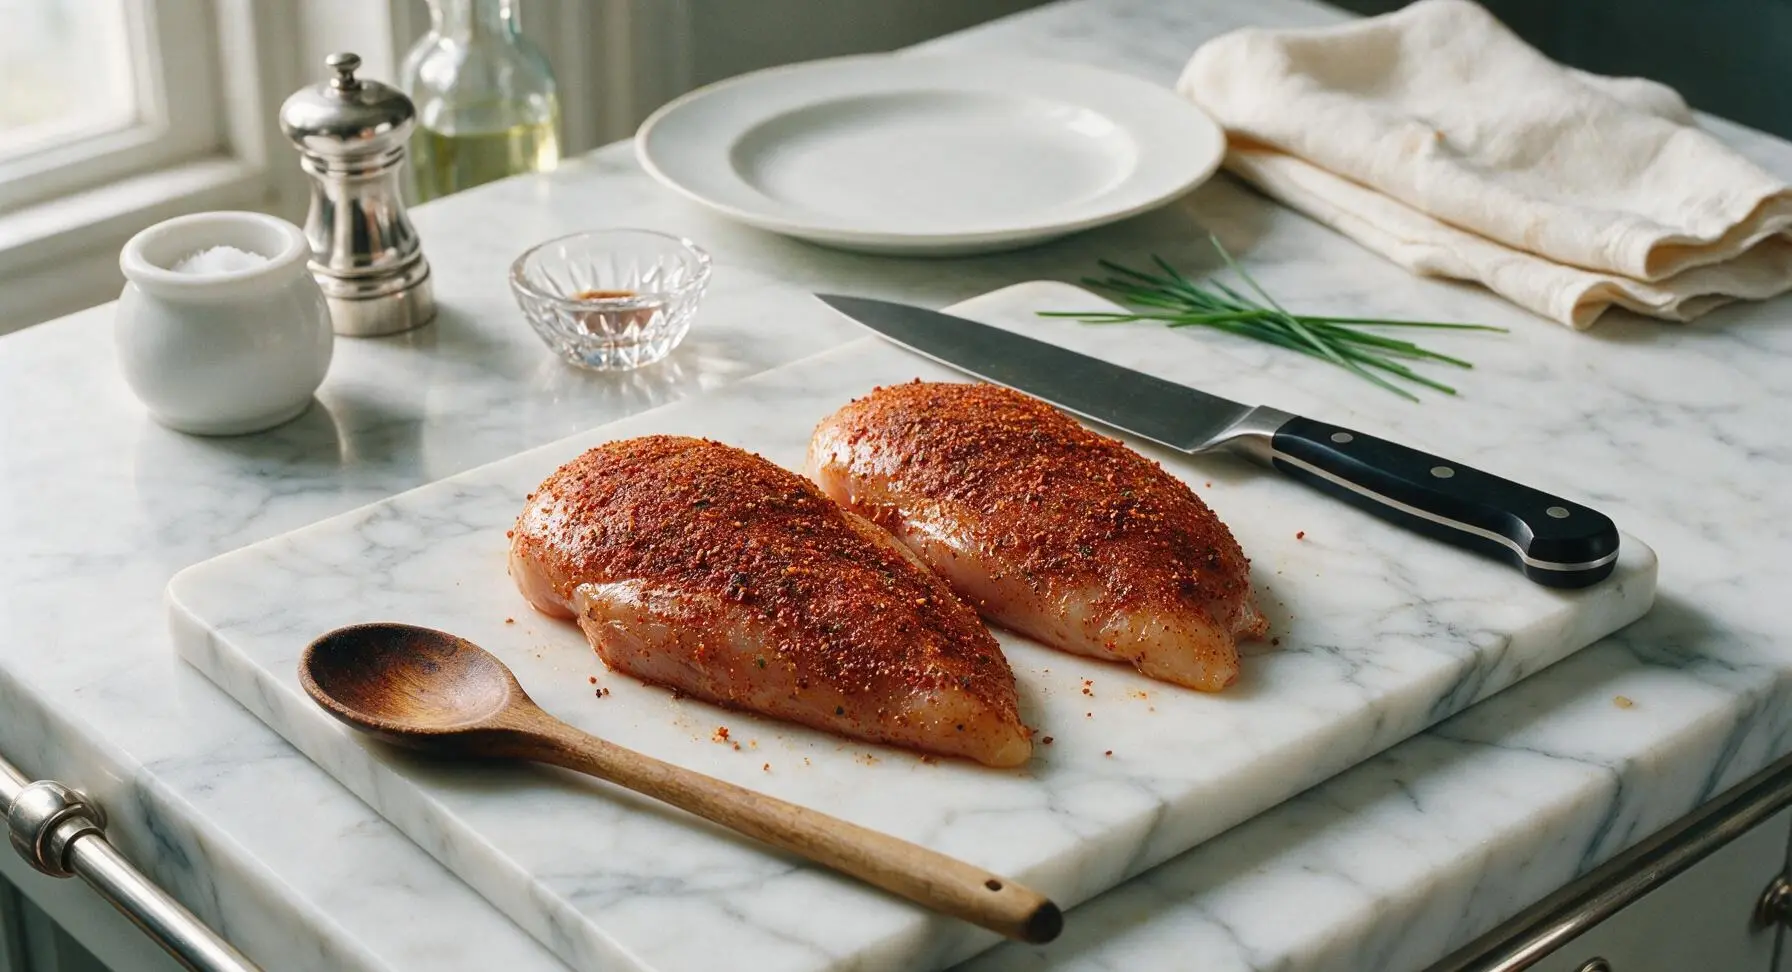
Drizzle 1 teaspoon of extra-virgin olive oil over the fully dried chicken breasts, using clean hands to rub the oil into every surface to create a thin, even coating. Combine the kosher salt, black pepper, garlic powder, smoked paprika, and onion powder in one of the terracotta pinch bowls, stirring with the smallest measuring spoon to blend evenly. Sprinkle the spice mixture over all sides of the oiled chicken, pressing gently to help the spices adhere; ensure no bare patches of raw chicken remain for even flavor.
Load Air Fryer Basket
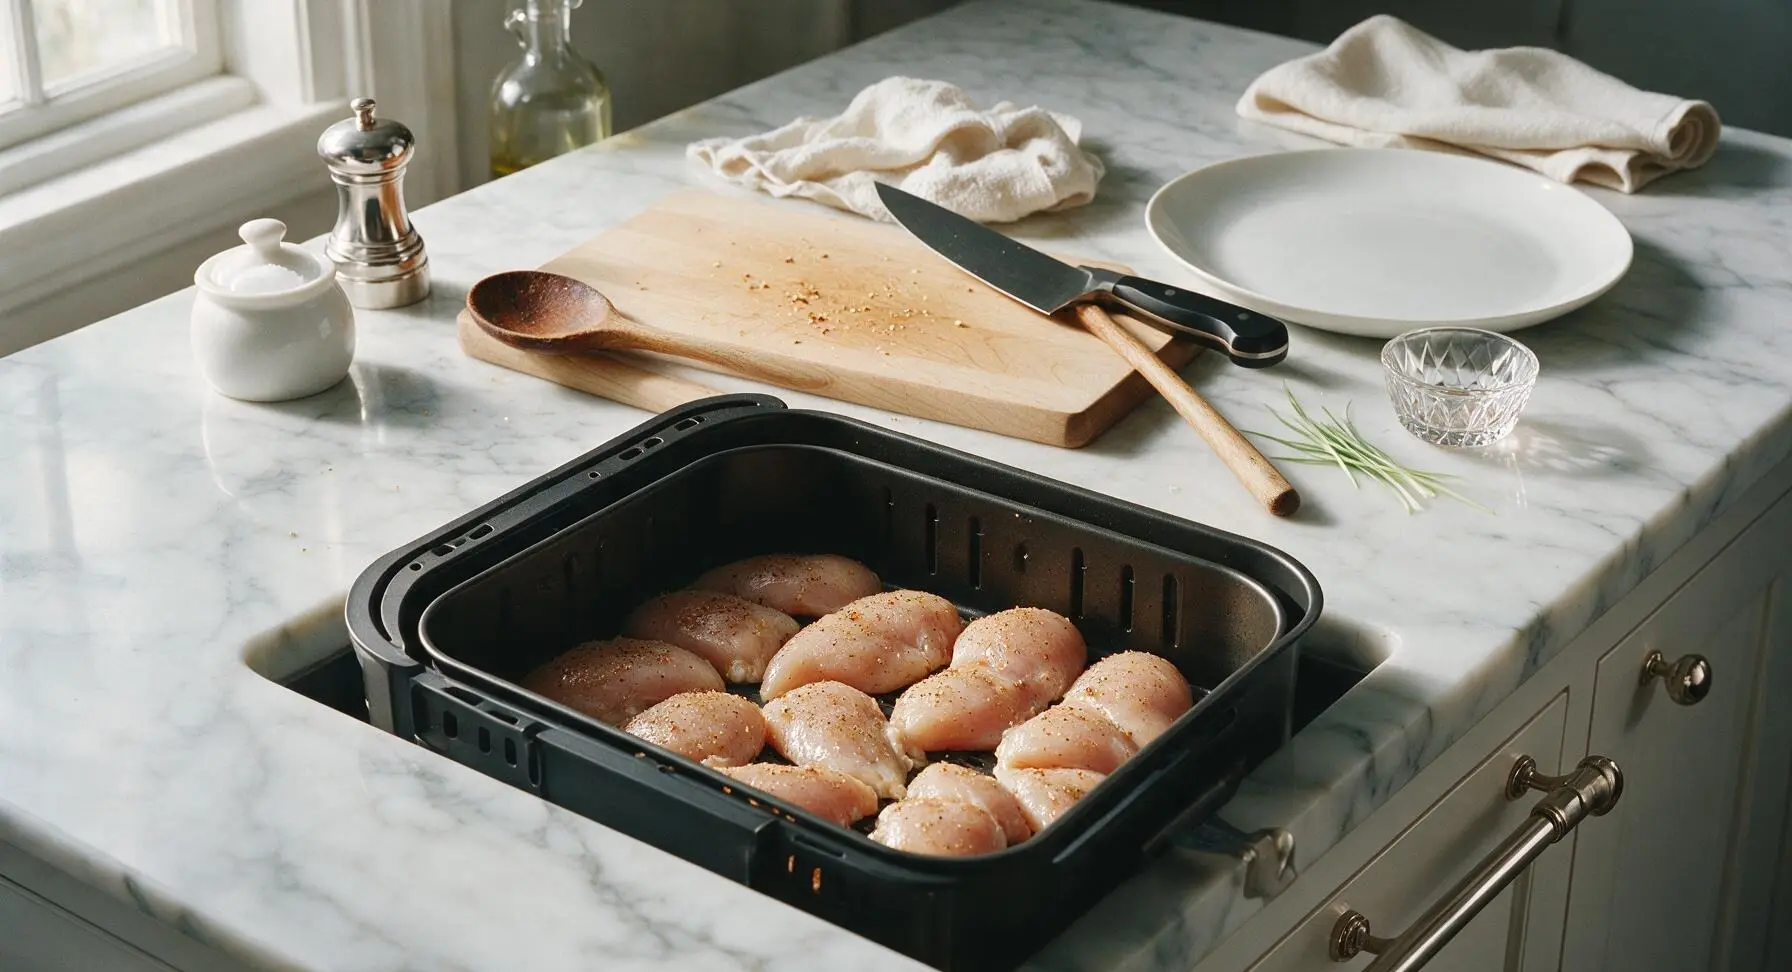
Once the air fryer is preheated, pull the basket out using the handle. Arrange the seasoned chicken breasts in a single, evenly spaced layer in the basket, leaving at least 1/4 inch of space between each piece to allow hot air to circulate. Do not line the basket with parchment paper or stack the chicken, as this will block airflow and cause steaming instead of searing.
Air Fry Chicken
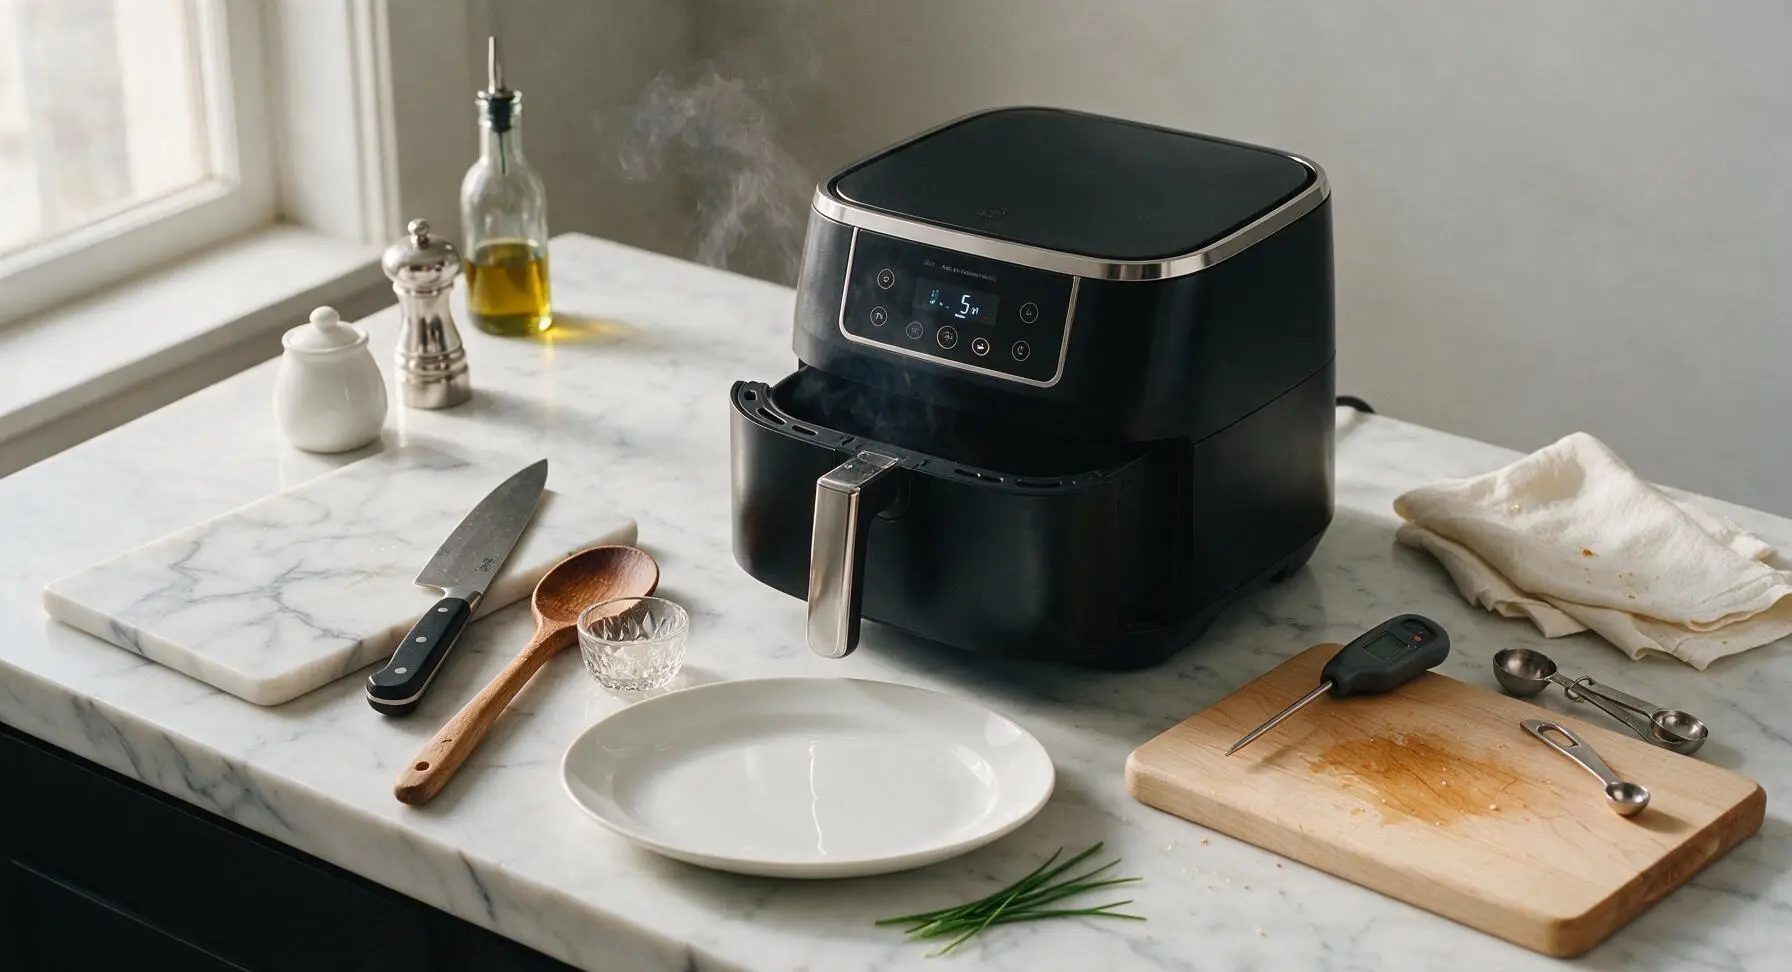
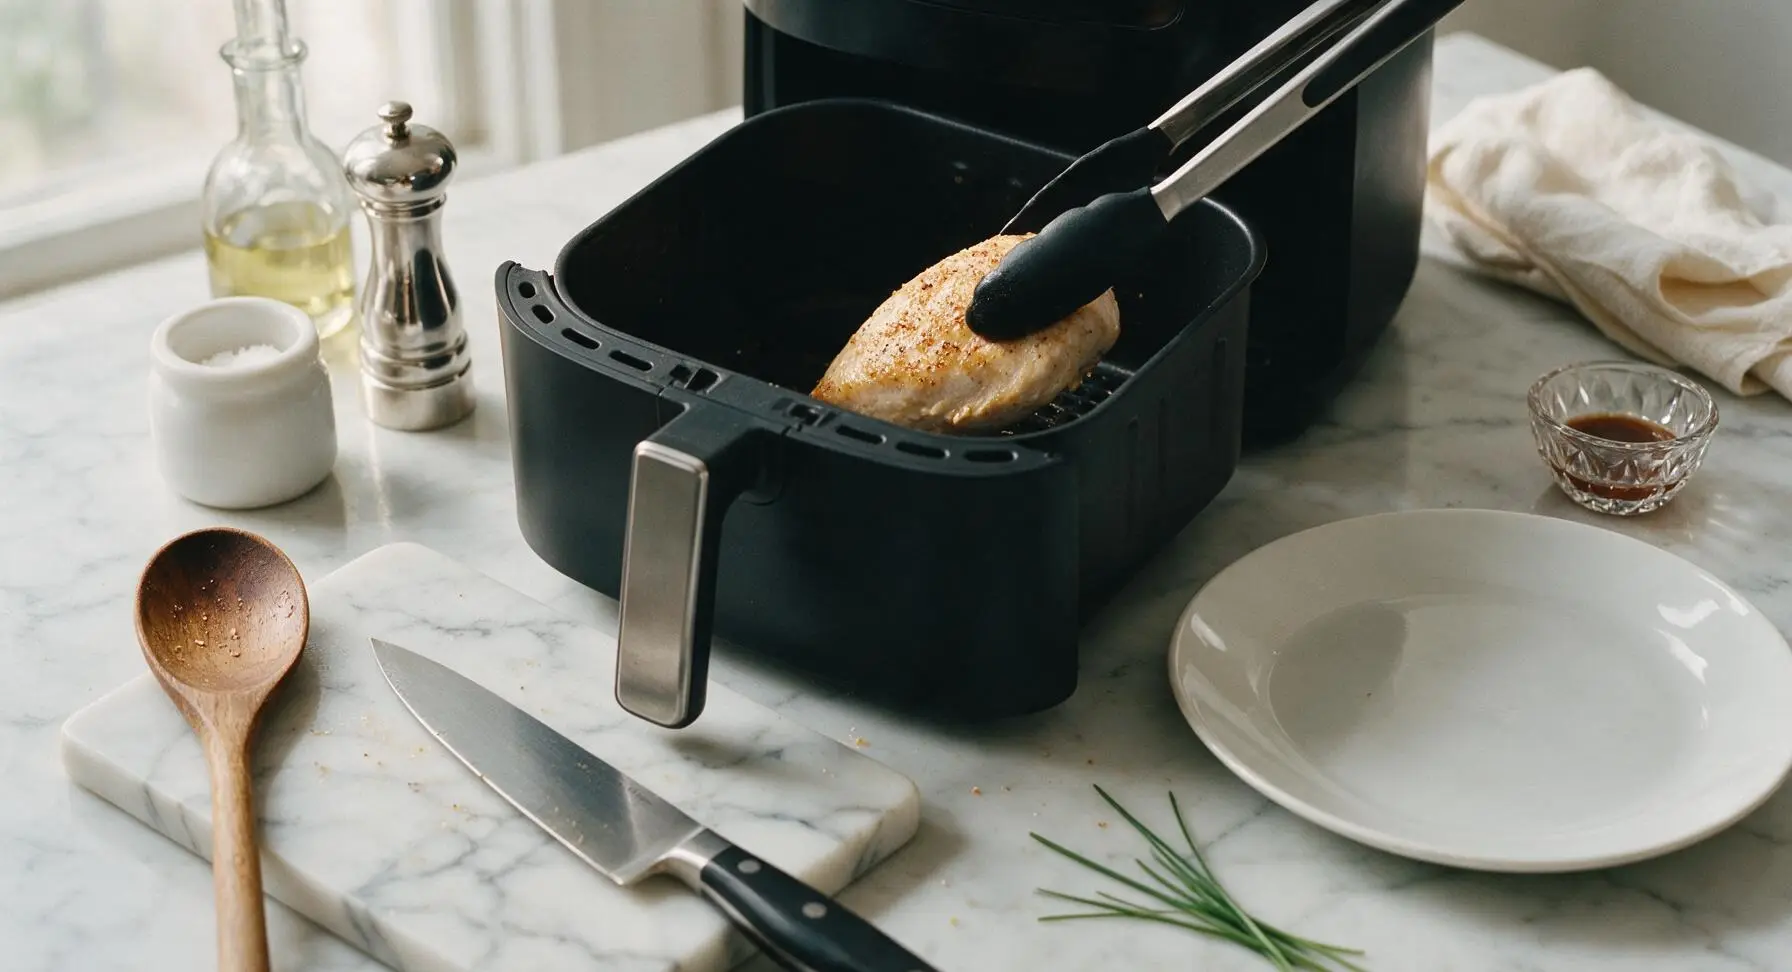
Slide the basket back into the air fryer and cook at 380°F (193°C) for 5 minutes, then pull the basket out and use the silicone-tipped tongs to flip each breast. Return the basket to the air fryer and cook for an additional 5 minutes, for a total cook time of 10 minutes. The chicken is fully cooked when the instant-read thermometer inserted into the thickest part reads 165°F (74°C), and the exterior is light golden brown with slightly crisp edges.
Rest Before Slicing
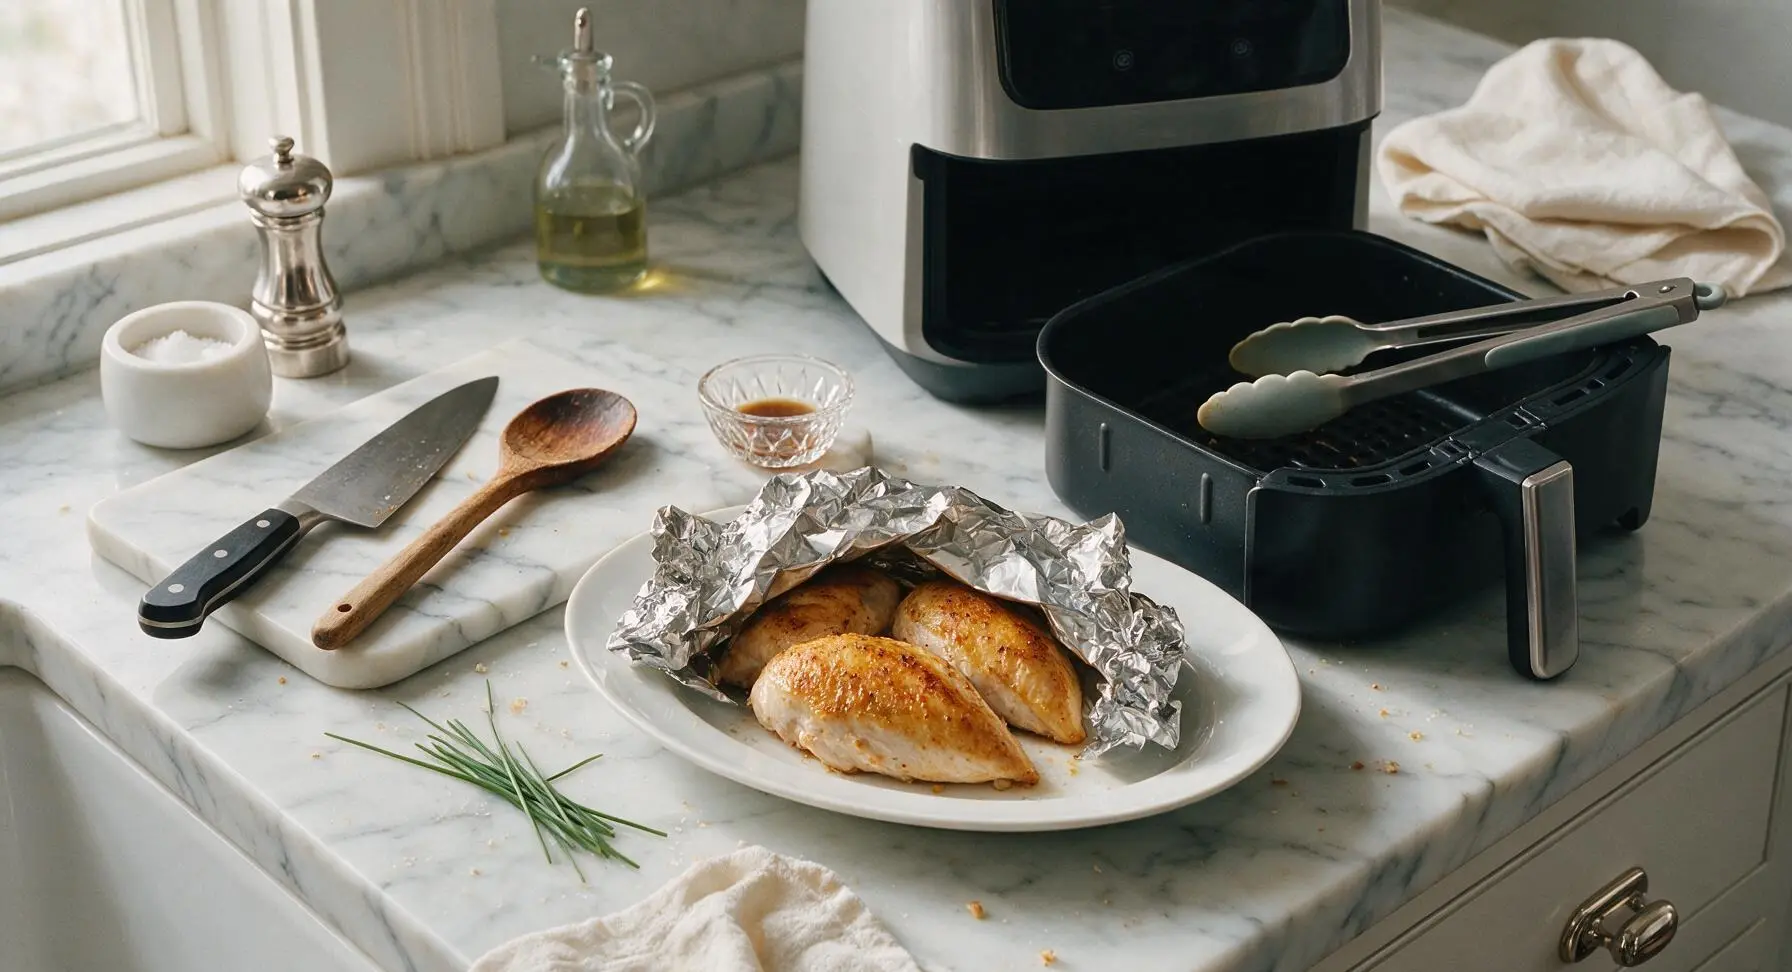
Use the silicone-tipped tongs to transfer the cooked chicken breasts from the air fryer basket to the matte off-white ceramic dinner plate. Tent the plate loosely with a small sheet of aluminum foil, and let the chicken rest for 5 full minutes. Resting allows the muscle fibers to relax and reabsorb juices, preventing all the moisture from running out when the chicken is sliced.
Slice and Garnish
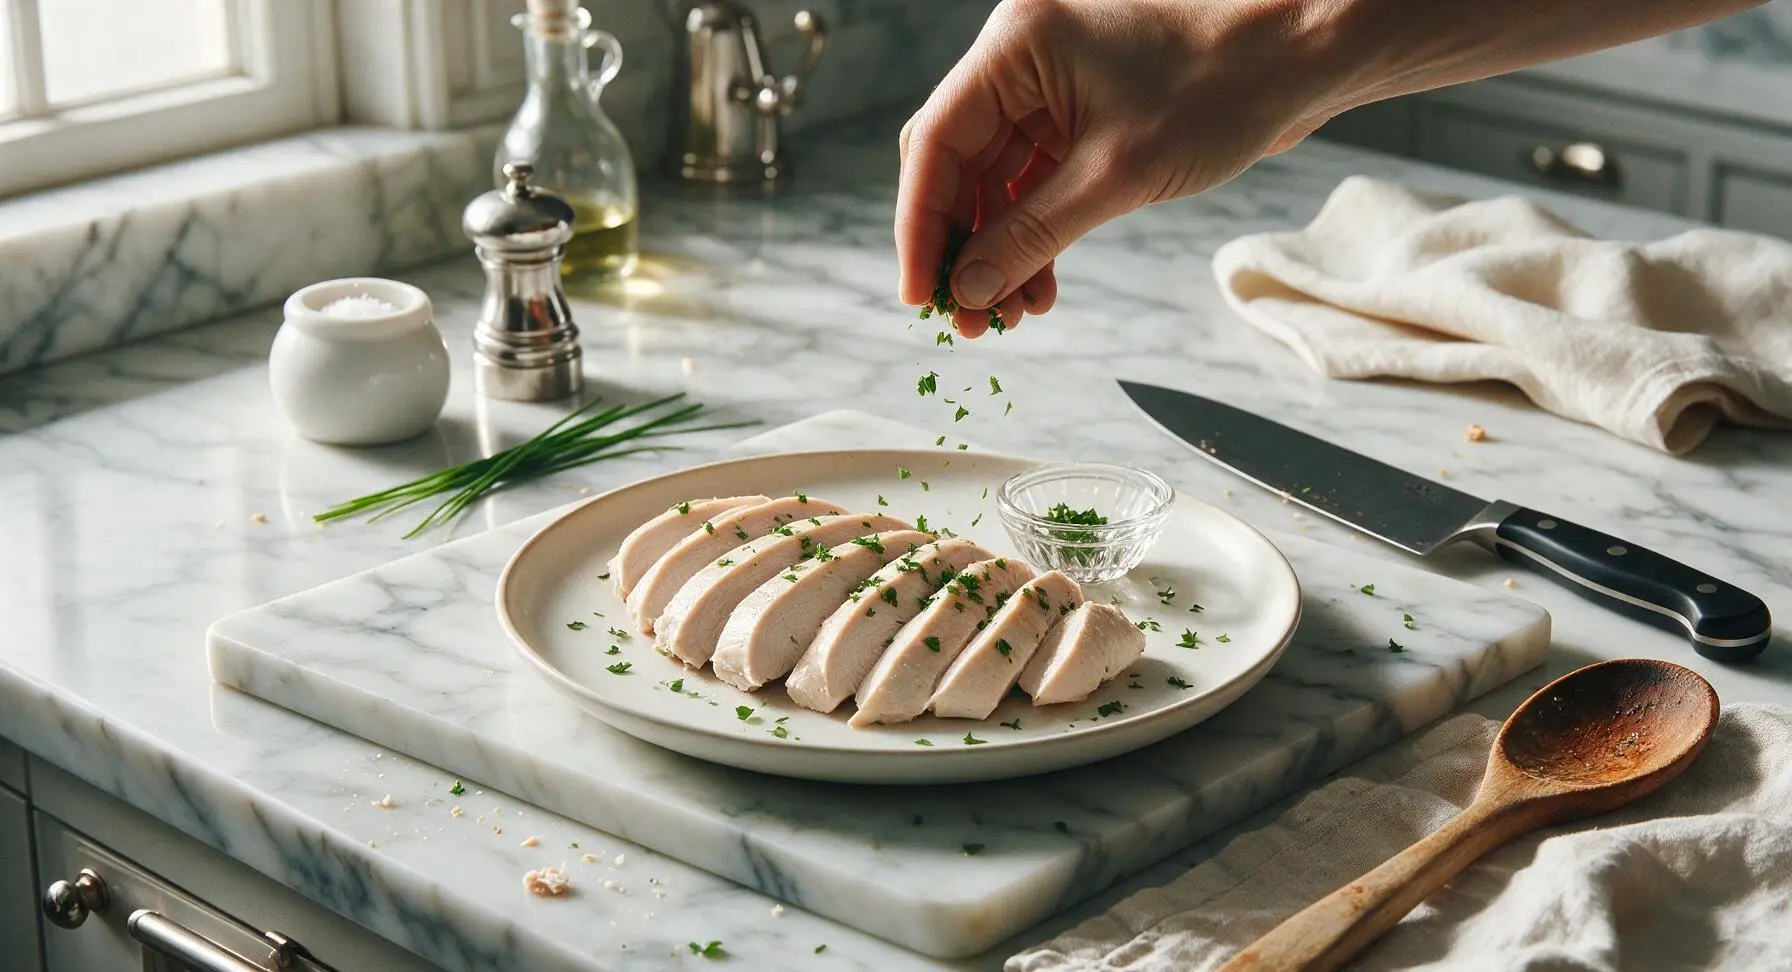
After resting, transfer the chicken breasts back to the light maple cutting board. Use the 8-inch chef knife to slice each breast against the grain (perpendicular to the visible muscle fibers) into uniform 1/2-inch thick slices for maximum tenderness. Arrange the sliced chicken in a gentle fan on the off-white ceramic plate, then sprinkle with chopped fresh flat-leaf parsley to garnish before serving.
Tips
2.Avoid overcooking by checking temperature early: chicken is safe to eat at 165°F, and carryover cooking will raise the internal temperature by 3-5°F while resting. Cooking past 170°F will cause the lean breast meat to become tough, dry, and rubbery. For smaller 4oz breasts, reduce total cook time to 8 minutes to avoid overcooking.
3.Never overcrowd the air fryer basket: hot air must circulate freely around every surface of the chicken to create even browning and consistent cooking. If cooking for more than 4 people, cook the chicken in batches rather than stacking pieces, as stacked chicken will steam instead of searing.






OMG this is a total game changer for my weekly Sunday meal prep! I’ve tried so many air fryer chicken breast recipes that come out dry and rubbery, but this one was perfectly juicy even after I reheated a piece for lunch today. The 10 minute cook time? Are you kidding? That’s faster than waiting for my takeout to get delivered. Will be making this every single week from now on!
Made this for my neighborhood potluck last night and everyone was asking me for the recipe! It was so juicy even the people who say they hate dry chicken went back for seconds. I added a little paprika and garlic powder to the seasoning like the tip suggested and it was *chef’s kiss*. SO good, can’t believe how easy it was, and the 10 minute cook time meant I didn’t have to stress about getting it done before the potluck started.
Just got my first air fryer last week and this is the first recipe I tried! It came out great but I was wondering if I’m supposed to flip the chicken halfway through cooking? I didn’t and it was still juicy, but want to make sure I’m doing it right for next time.
My kids LOVED this! I usually have to fight with them to eat chicken breast because they say it’s too dry and bland, but they cleaned their plates tonight and even asked if we can have it again tomorrow for dinner. Served it with roasted broccoli and boxed mac and cheese for a super easy weeknight family dinner, 10/10 would recommend to all the busy parents out there who don’t have time to mess around with complicated recipes.
Total game changer for my post-workout meals! I eat chicken breast almost every day for protein and was so sick of pan frying it that took forever and left my stove a mess. This came out perfect the first time, though I will say I cooked two extra large breasts and had to add 2 extra minutes because they were way thicker than expected. Still juicy all the way through, no dry spots at all!
This is so much better than the sad, rubbery dining hall chicken! I made this in my tiny 2-quart dorm air fryer and it turned out perfect on the first try. I didn’t even have fancy seasonings on hand, just salt, pepper, and a little garlic powder I stole from the dorm kitchen, and it was still so juicy. The 10 minute cook time is perfect for when I’m cramming for midterms and don’t have time to make a whole elaborate meal.