
Sloppy Joe Casserole

title 1
Sloppy Joe Casserole
⏱️ cook time 35 minutes
🍽️ servings 6
⚡ Difficulty easy

intro

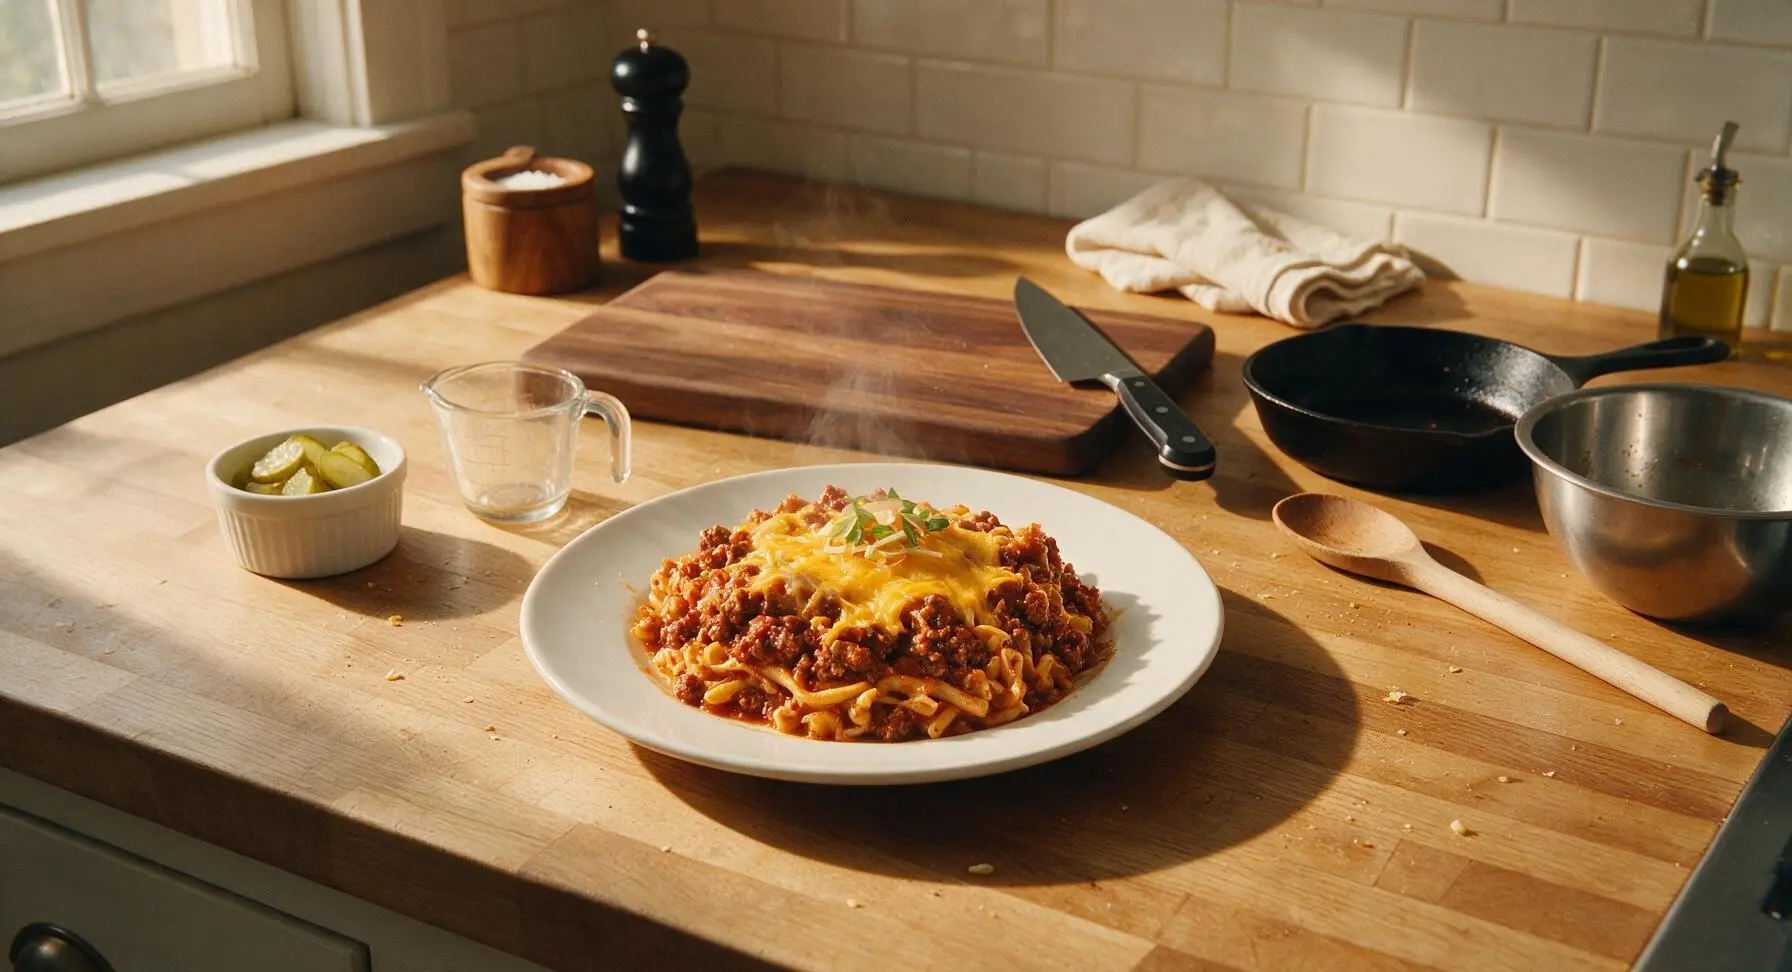
This nostalgic, cozy casserole layers tangy, saucy ground beef, tender pasta, and melted sharp cheddar for a hands-off, family-pleasing meal with all the classic sloppy Joe flavor, no messy buns required.

Ingredients
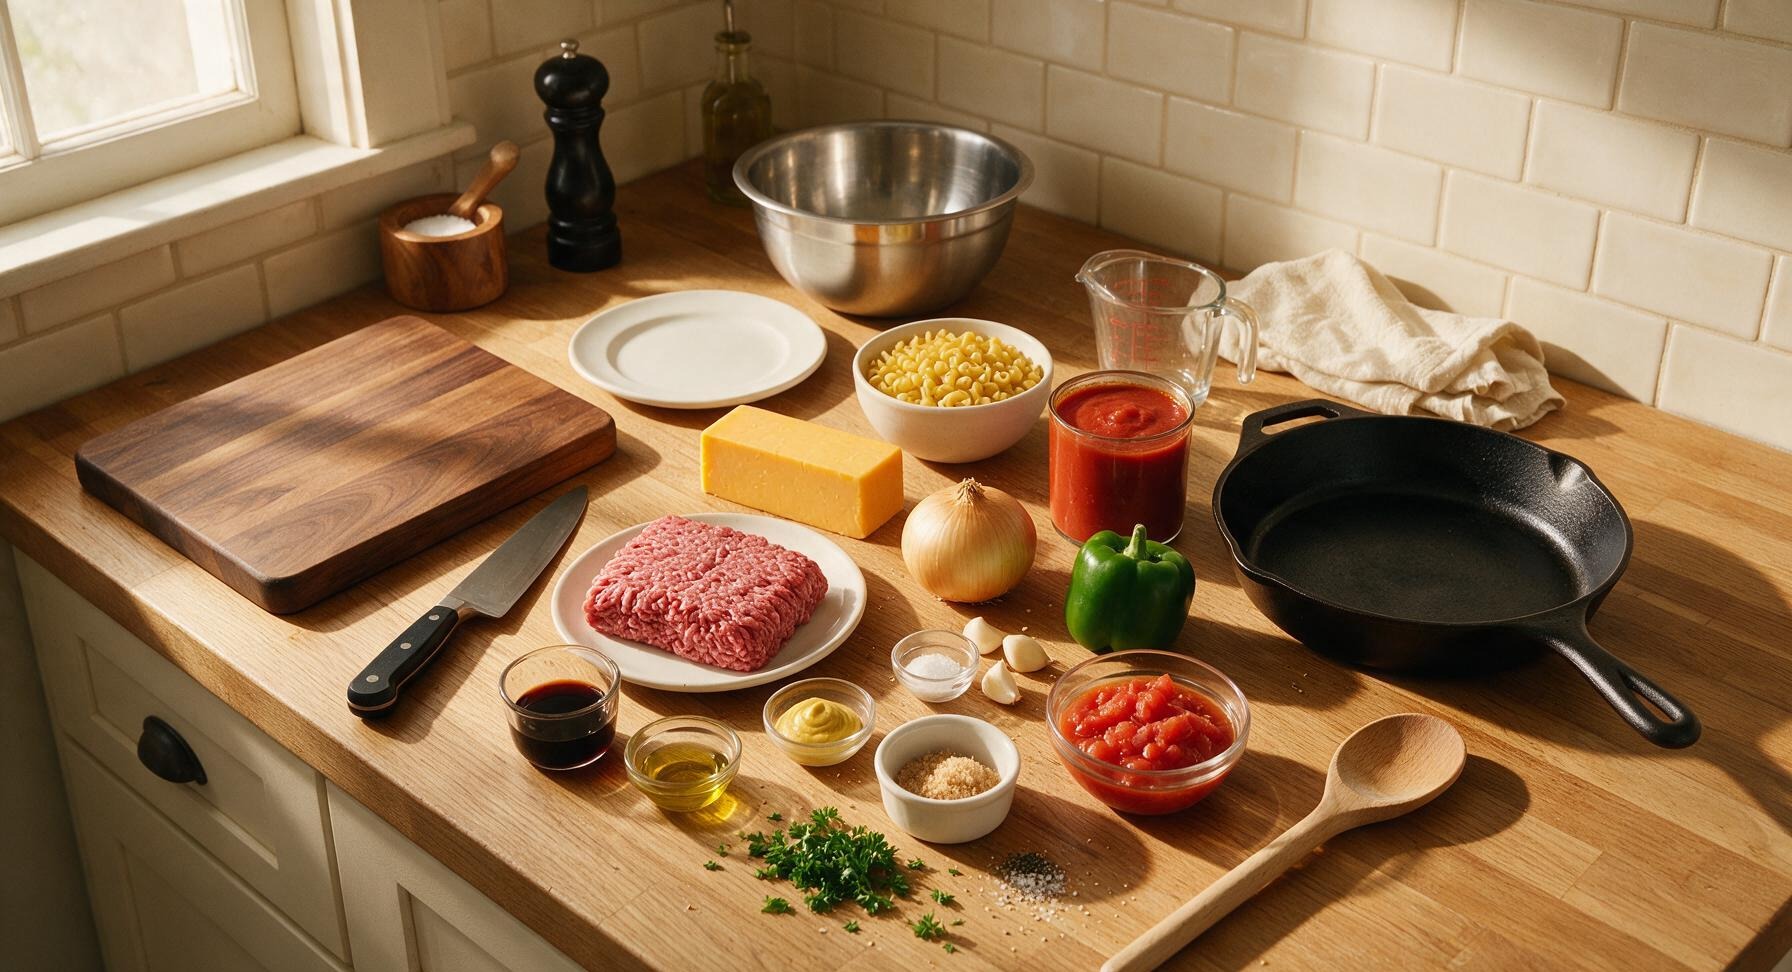
80/20 ground beef 1 lb (450g)
elbow macaroni 8 oz (225g)
block sharp cheddar cheese 8 oz (225g)
canned tomato sauce 15 oz (425g)
yellow onion 1 medium (150g)
green bell pepper 1 small (100g)
garlic cloves 3 each (10g)
canned diced tomatoes (undrained) 14.5 oz (410g)
Worcestershire sauce 2 tbsp
yellow mustard 1 tbsp
light brown sugar 1 tbsp
kosher salt 1 tsp
ground black pepper 1/2 tsp
olive oil 1 tbsp
fresh curly parsley 2 tbsp (chopped)

Steps

1

Prep and Shred Ingredients

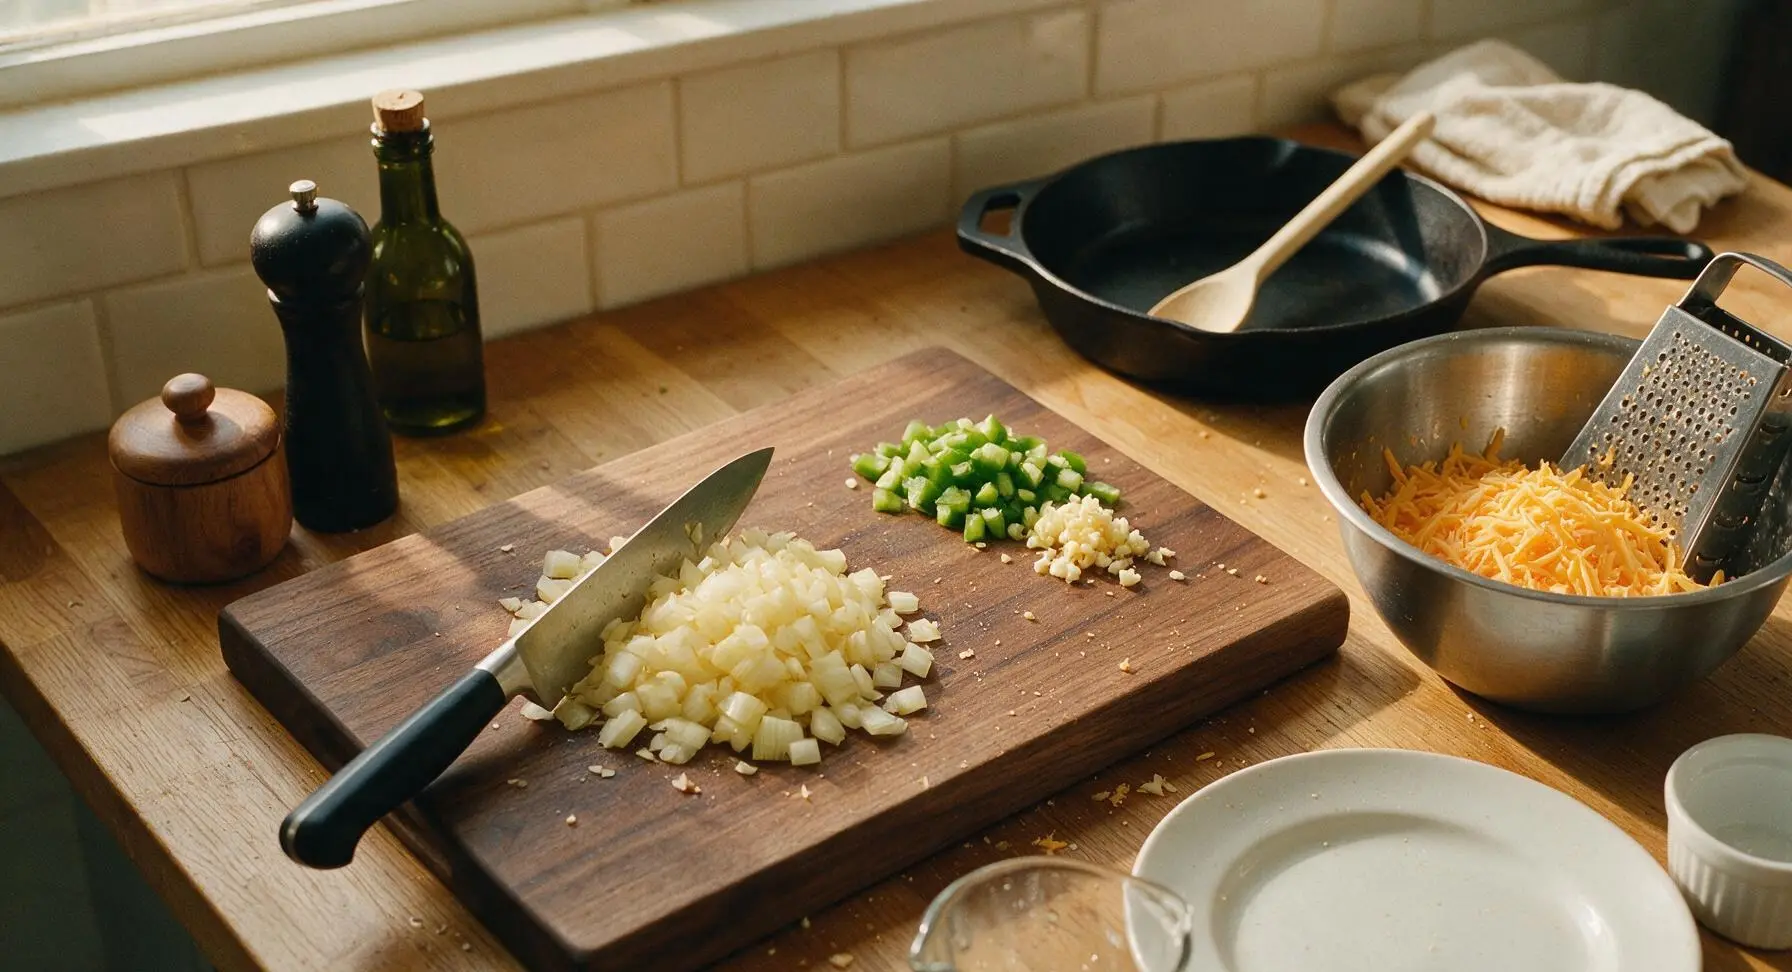
Set the large bamboo cutting board at the center of the work surface. Use the 8-inch chef knife to dice 1 medium yellow onion and 1 small green bell pepper into uniform 1/4-inch pieces, mince 3 garlic cloves, and transfer prepped veggies to a small pile on the edge of the cutting board. Use the stainless steel box grater to shred the 8oz block of sharp cheddar cheese into the medium stainless steel mixing bowl, then set the bowl aside. Preheat your oven to 375°F (190°C).
Step 1
step1:Prep and Shred Ingredients
2

Cook Pasta to Parboil

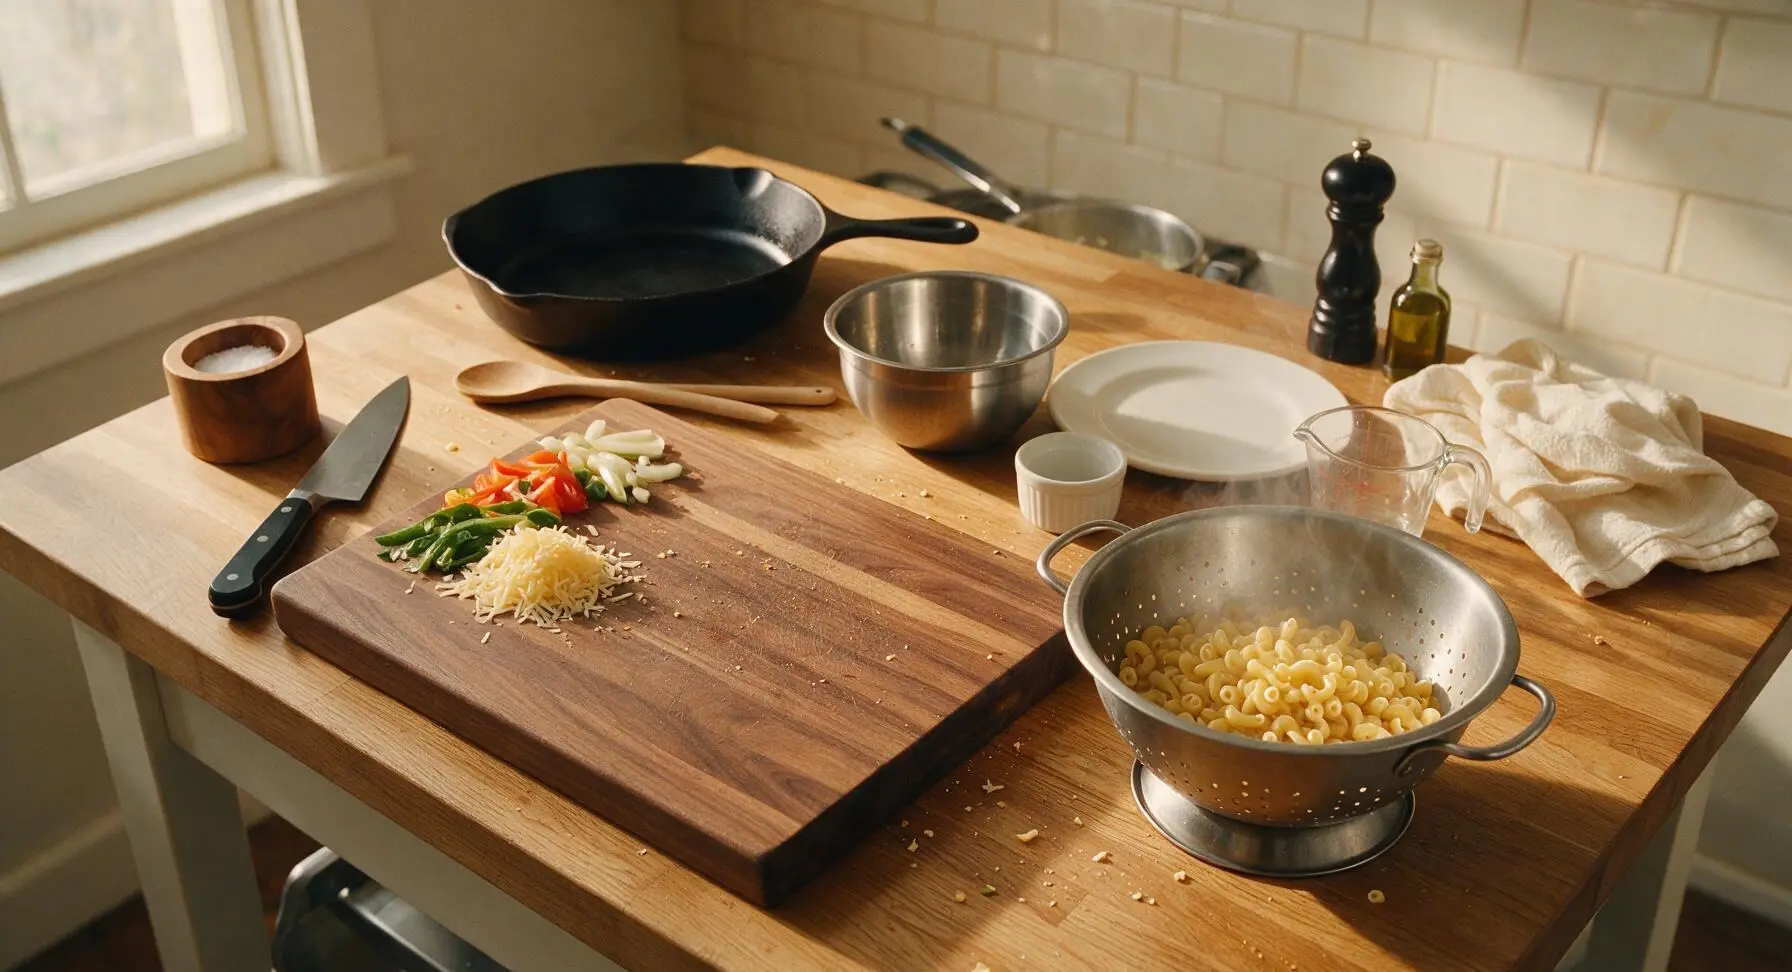
Bring a large pot of heavily salted water to a rolling boil. Add 8oz dry elbow macaroni and cook for exactly 6 minutes, until the pasta is just slightly firm in the center (it will finish cooking during baking, so do not cook to full al dente). Drain pasta completely in the stainless steel colander, and do not rinse (residual starch helps sauce adhere to noodles). Set drained pasta aside.
Step 2
step2:Cook Pasta to Parboil
3

Brown the Ground Beef

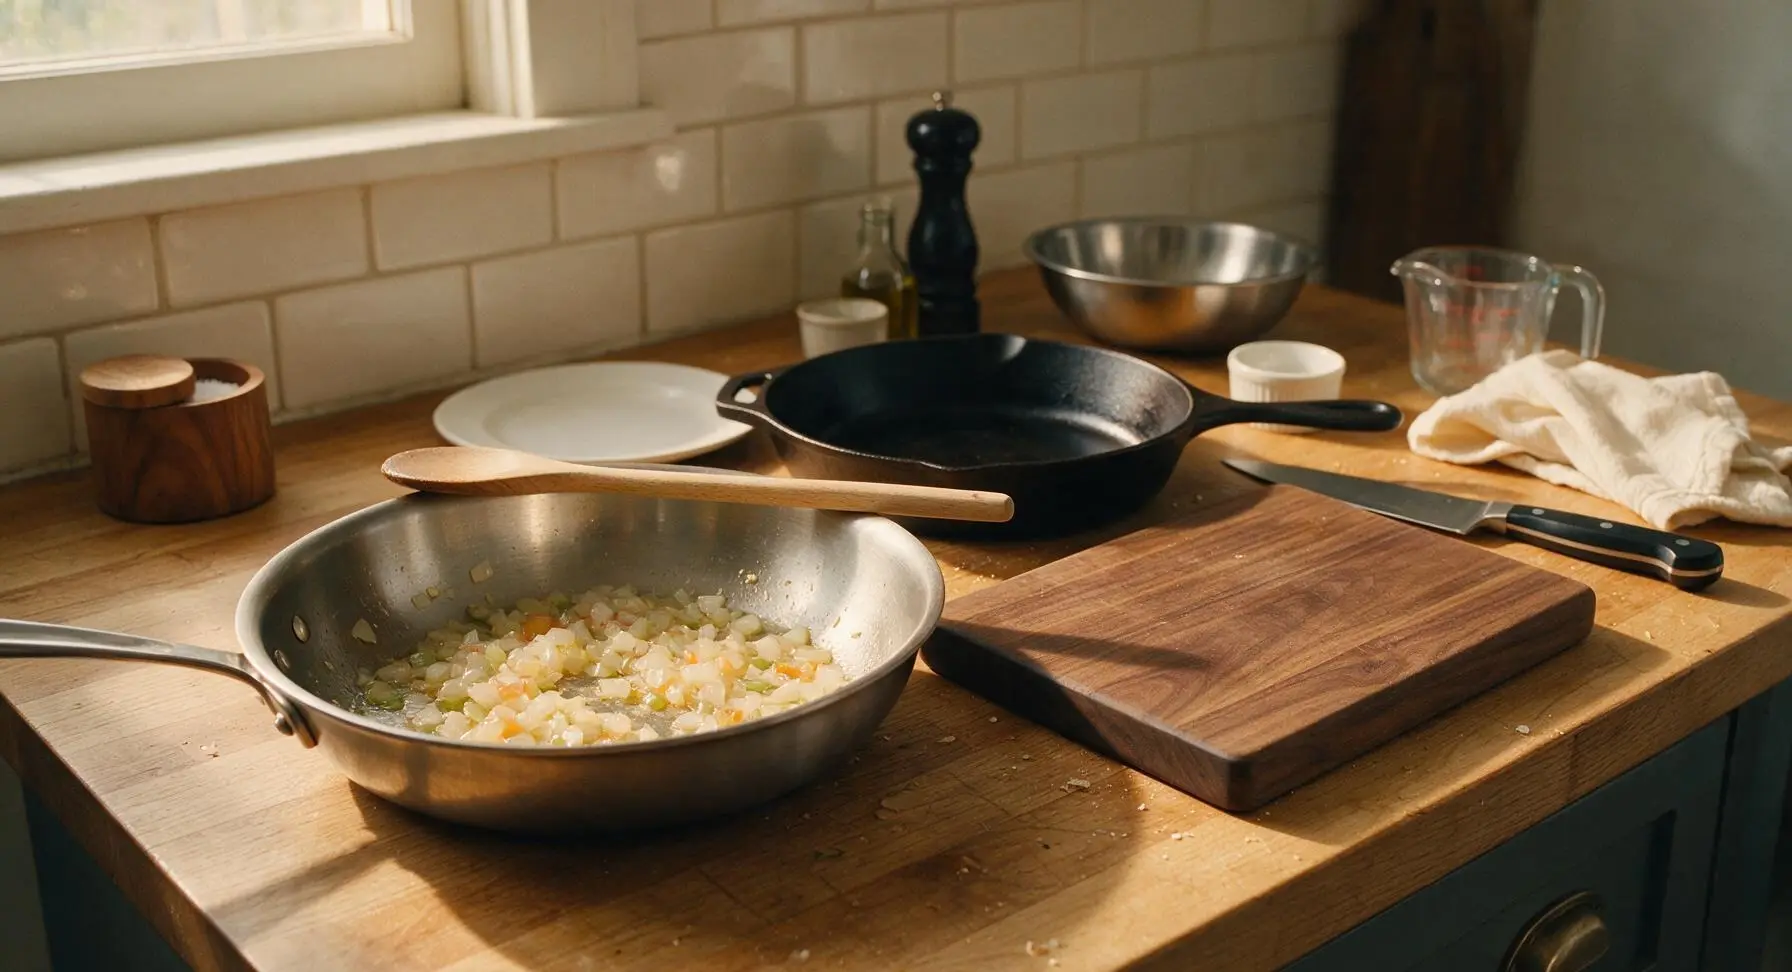
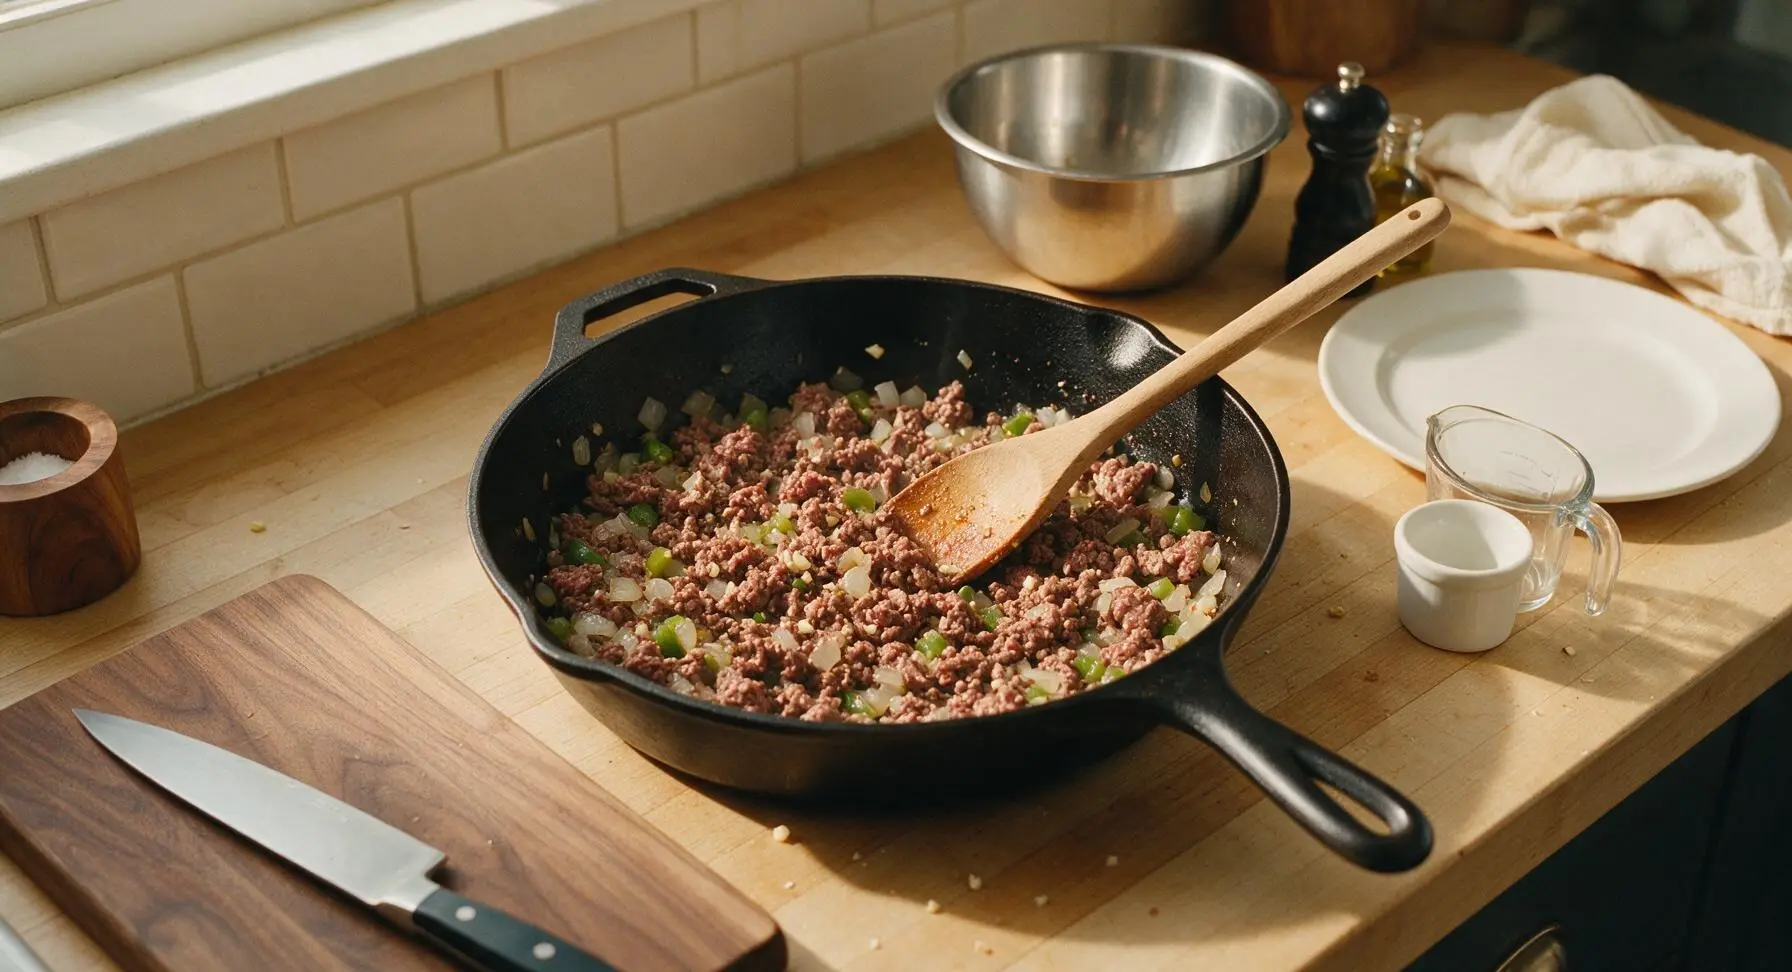
Heat 1 tbsp olive oil in the 10-inch deep stainless steel skillet over medium heat. Add the diced onion and bell pepper, sauté for 3 minutes until soft and translucent. Add the minced garlic and cook for 30 seconds until fragrant, then add 1lb 80/20 ground beef to the skillet. Use the beech wood wooden spoon to break the beef into small crumbles as it cooks, for 5-7 minutes, until no pink remains. Drain any excess grease from the skillet if needed.
Step 3
step3:Brown the Ground Beef
Step 3
step3:Brown the Ground Beef
4

Build the Sloppy Joe Sauce

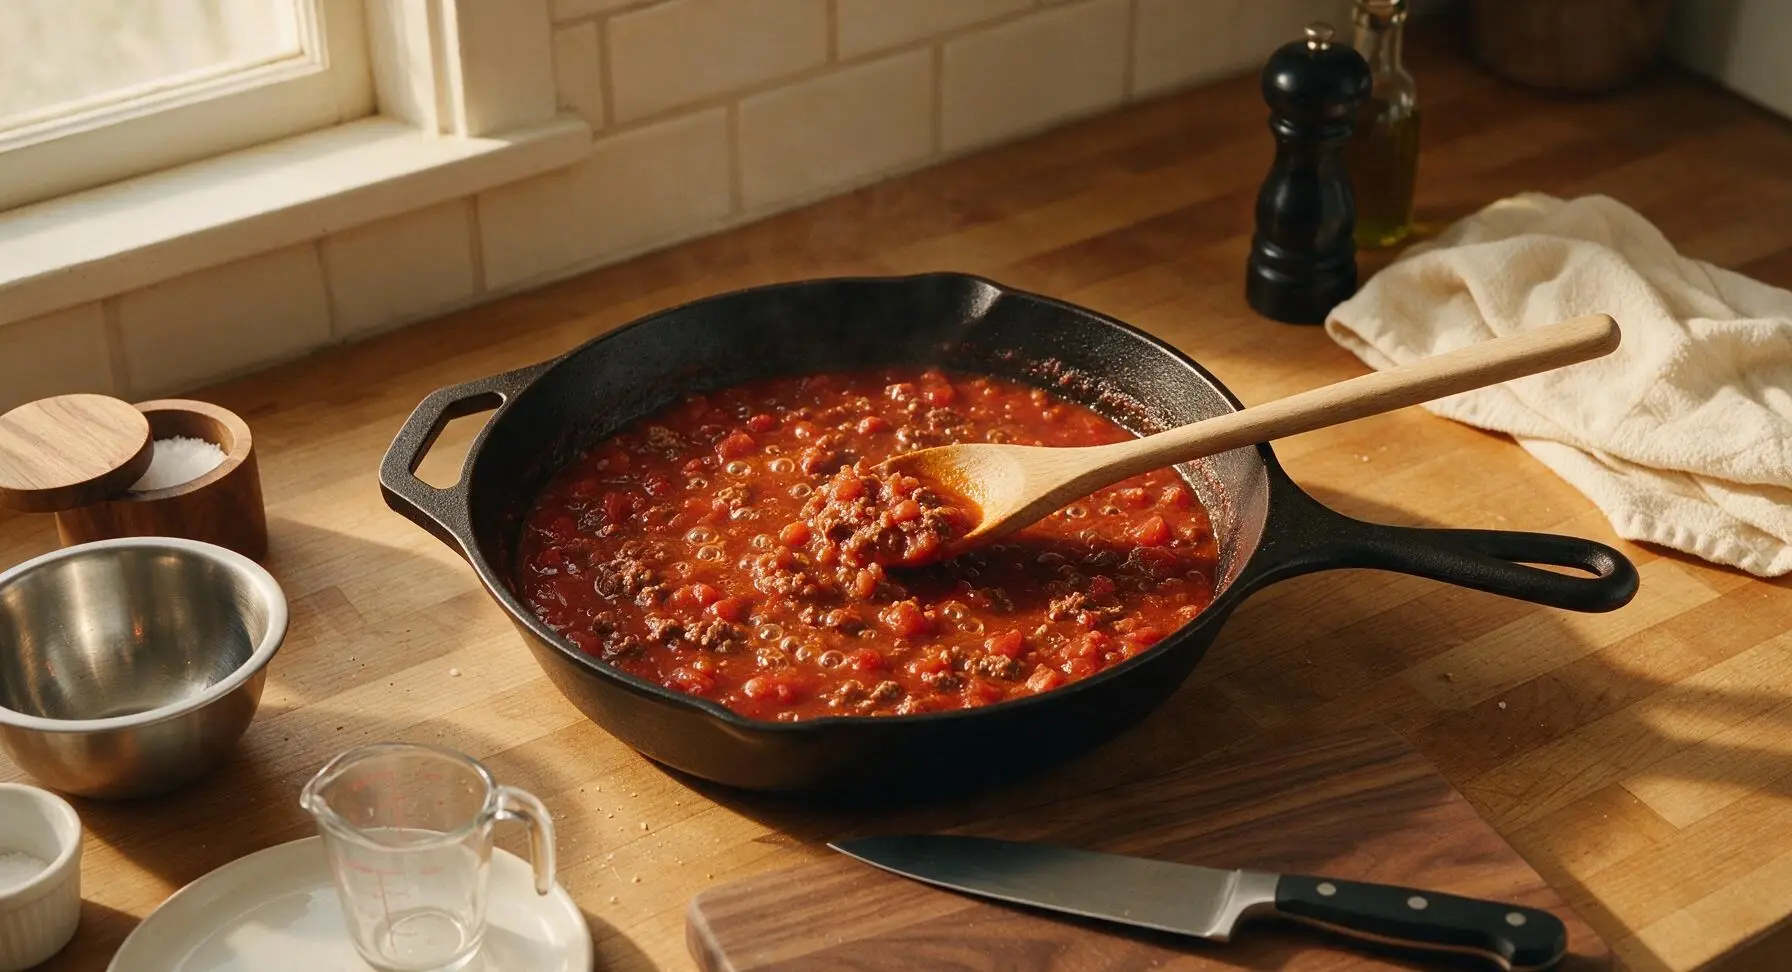
To the skillet with browned beef, add 15oz canned tomato sauce, 14.5oz undrained diced tomatoes, 2 tbsp Worcestershire sauce, 1 tbsp yellow mustard, 1 tbsp light brown sugar, 1 tsp kosher salt, and 1/2 tsp black pepper. Stir thoroughly with the wooden spoon to combine, then bring the mixture to a gentle simmer. Let cook for 5 minutes, stirring occasionally, until the sauce thickens slightly and the flavors meld.
Step 4
step4:Build the Sloppy Joe Sauce
5

Combine Pasta and Sauce

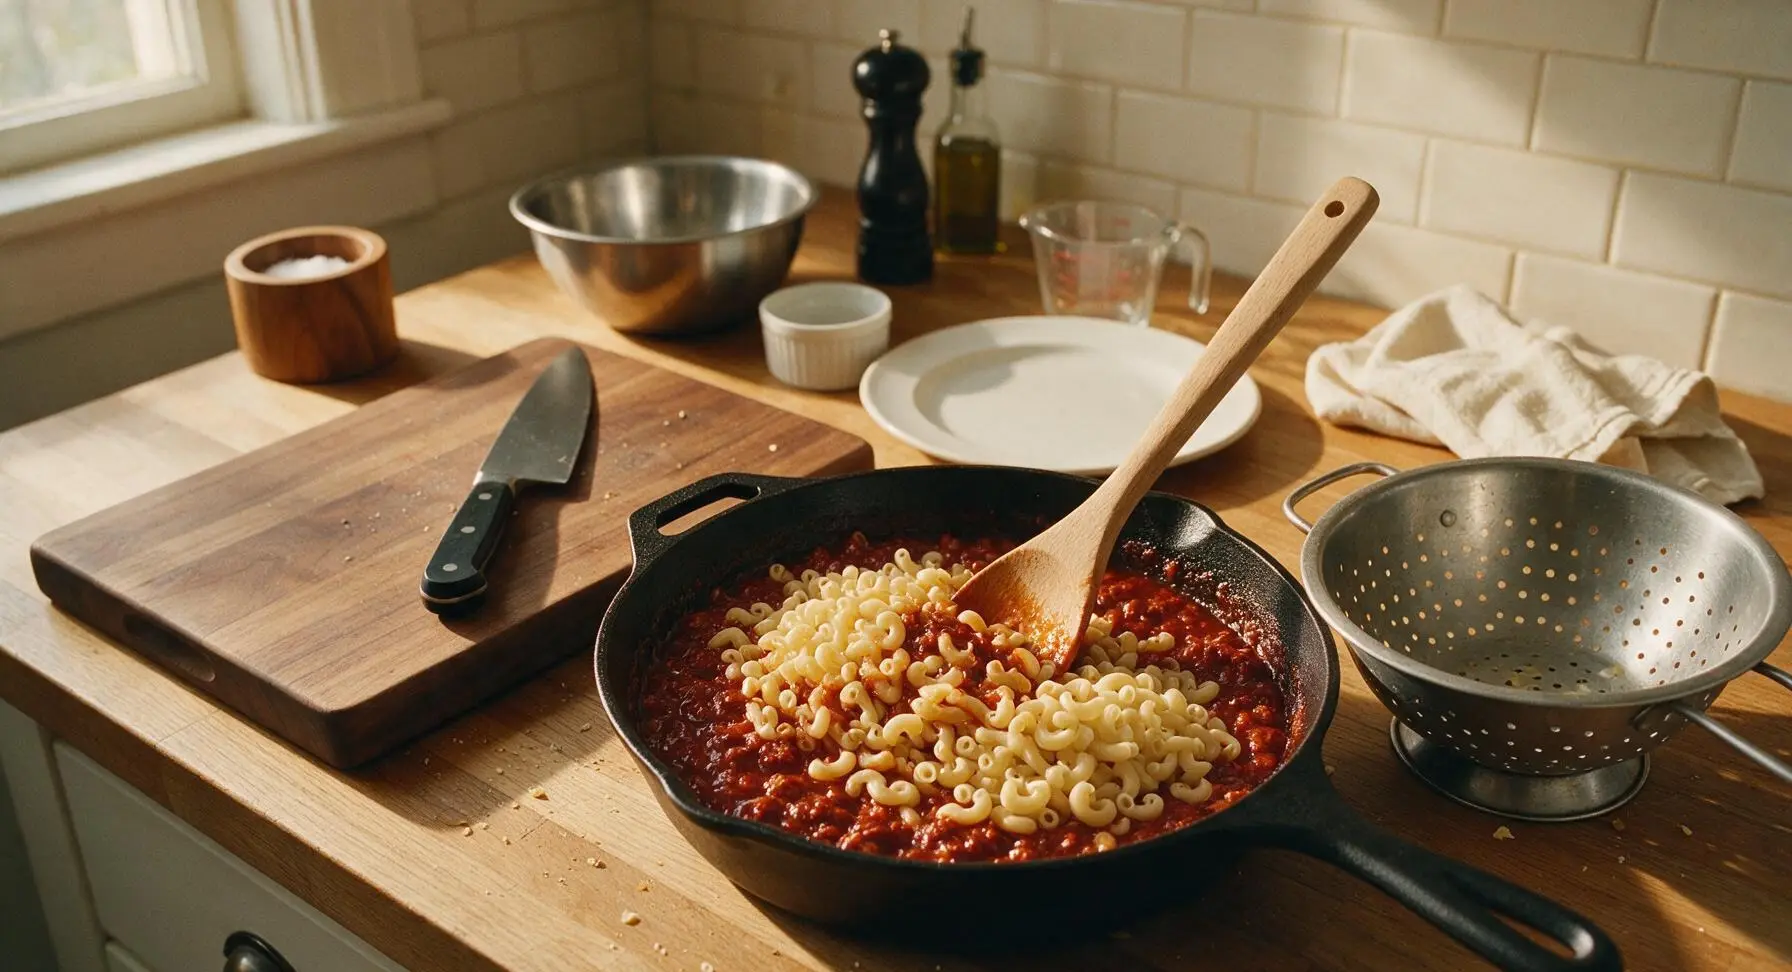
Add the drained parboiled elbow macaroni from the colander into the skillet with the sloppy Joe sauce. Stir gently with the wooden spoon until every pasta noodle is evenly coated in the thick, tangy sauce, taking care not to mash the pasta as you mix.
Step 5
step5:Combine Pasta and Sauce
6

Layer in Baking Dish

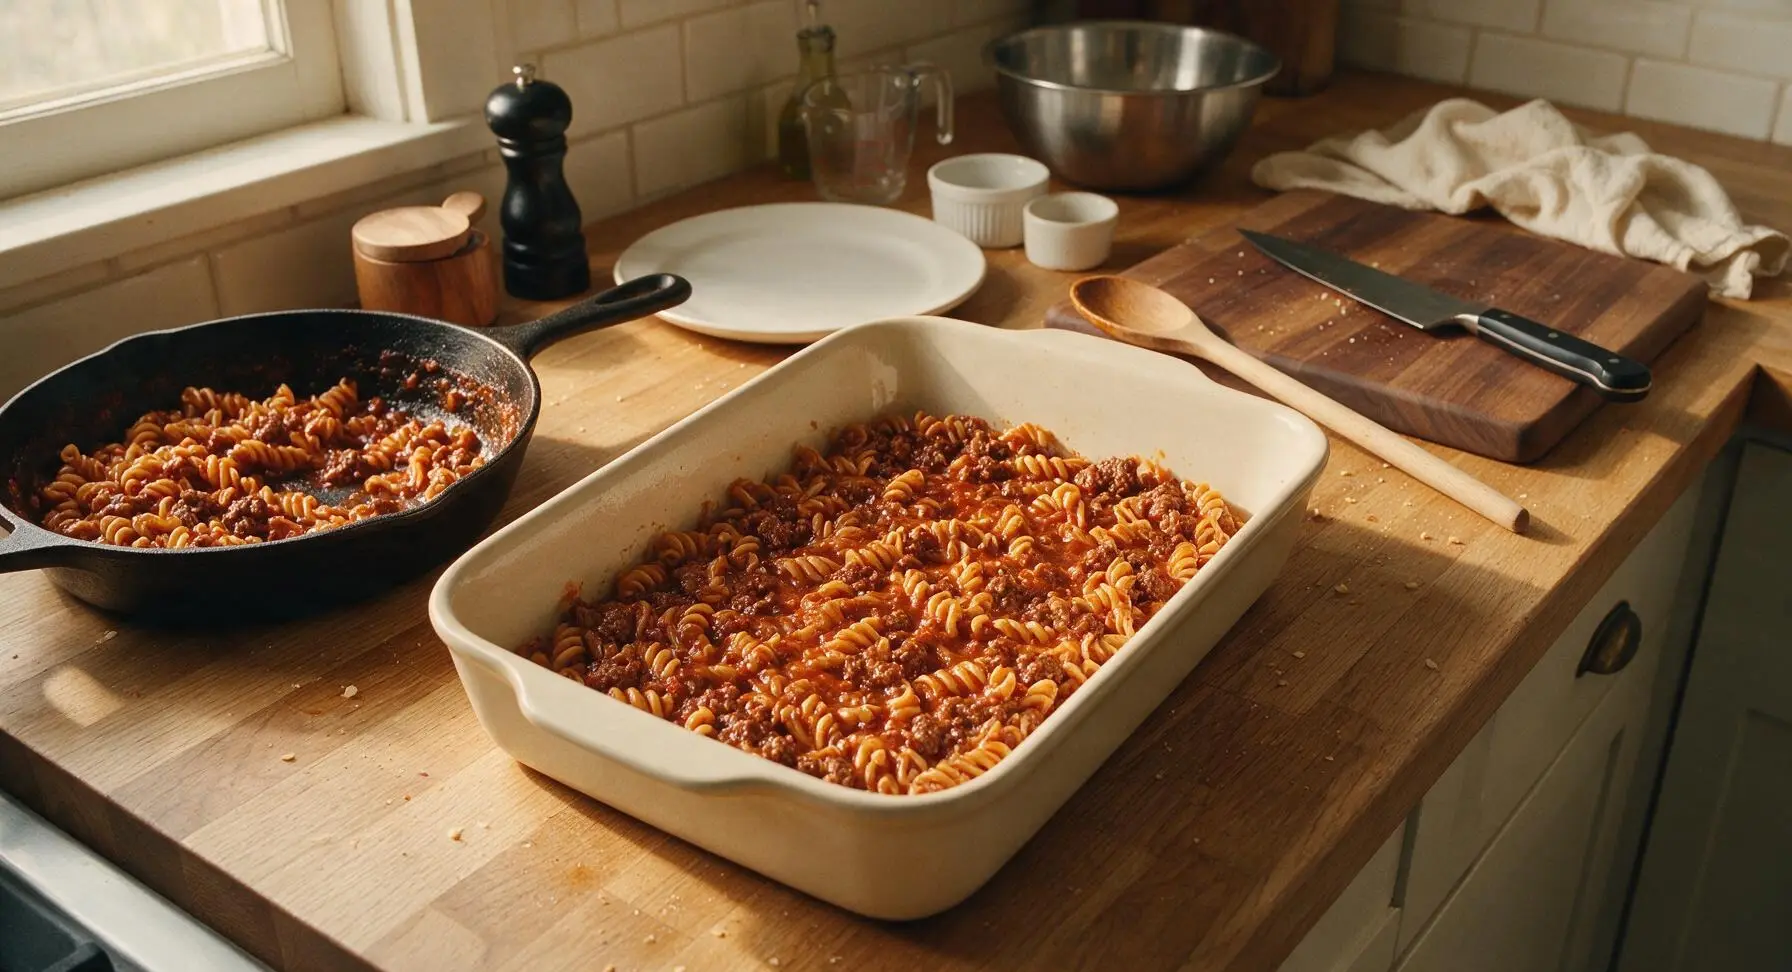
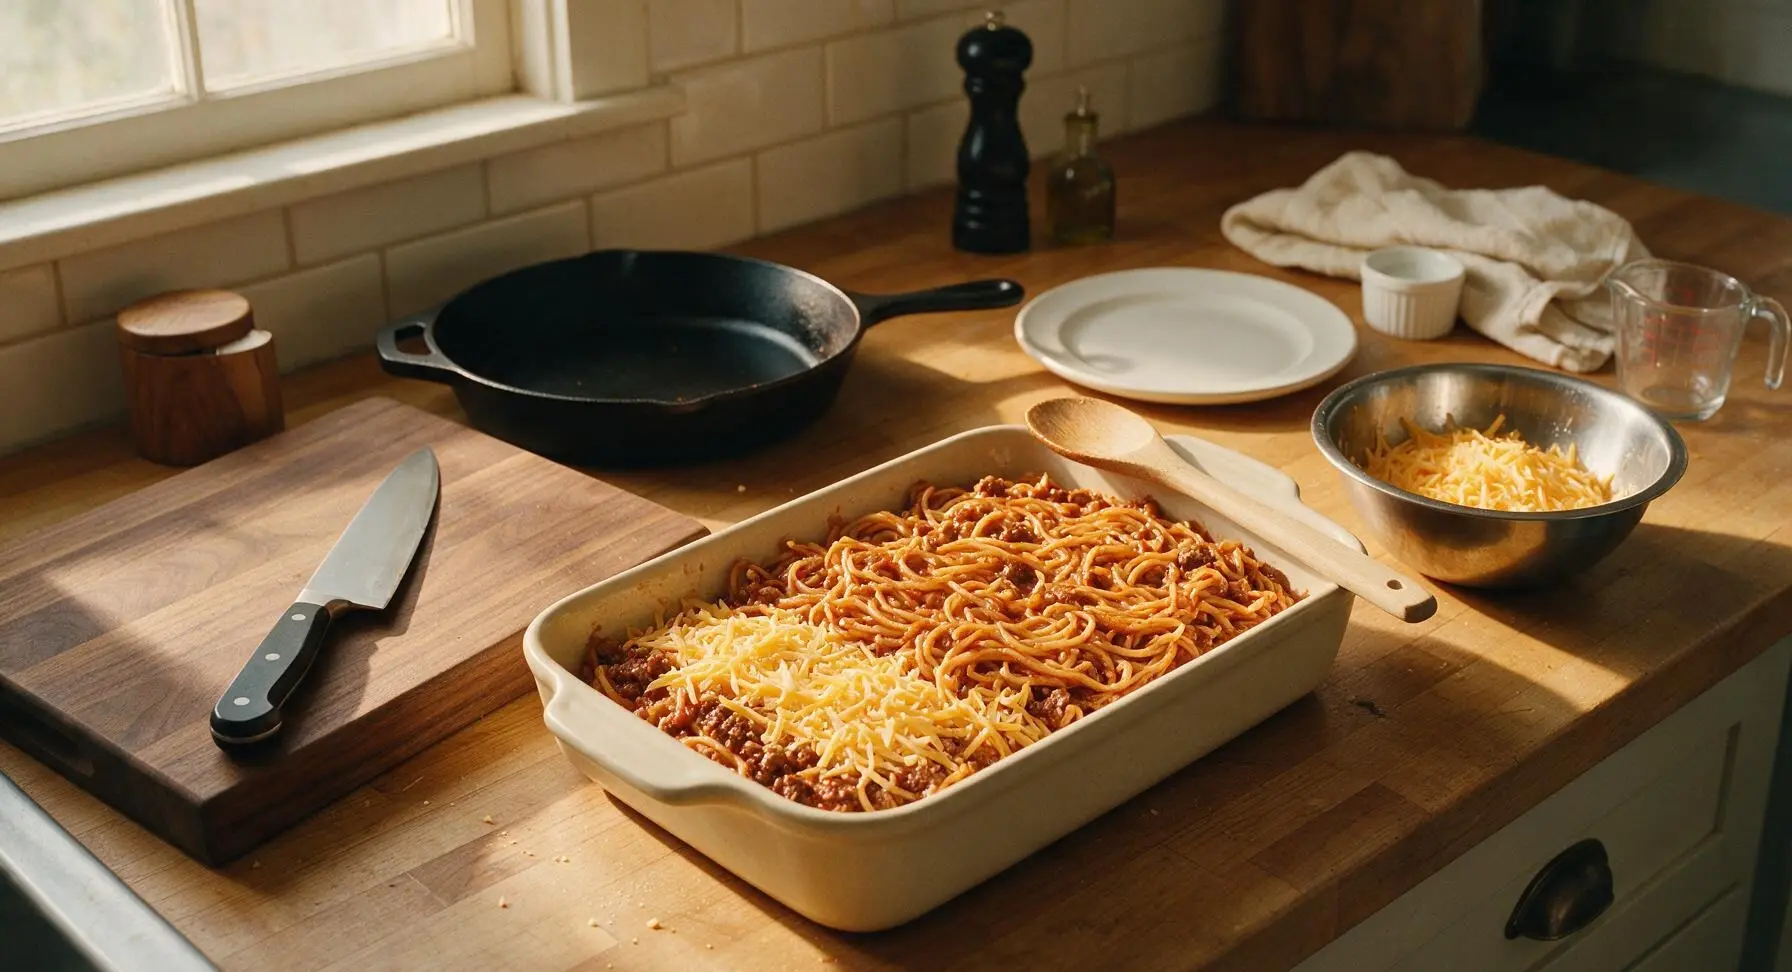
Transfer half of the sauced pasta and beef mixture into the 9x13 inch matte cream ceramic baking dish, spreading it in an even layer across the bottom. Sprinkle half of the shredded cheddar cheese over the first layer, then top with the remaining pasta mixture, spreading it smooth to create an even top layer.
Step 6
step6:Layer in Baking Dish
Step 6
step6:Layer in Baking Dish
7

Bake Until Bubbly

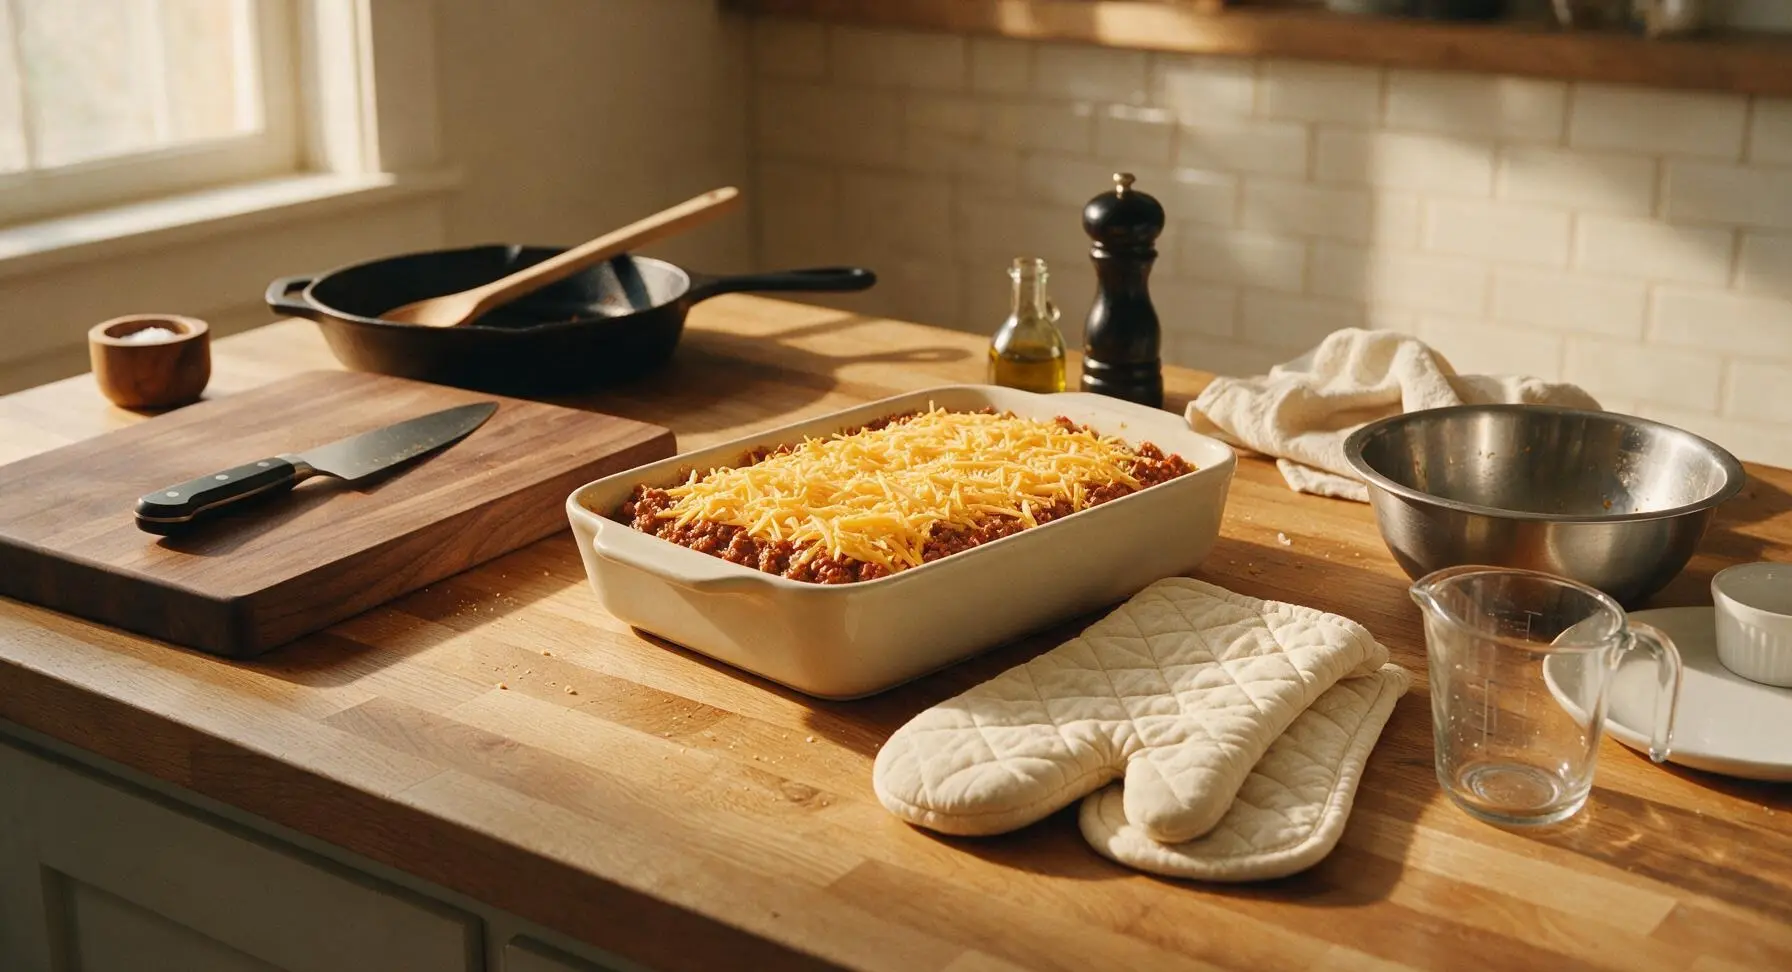
Sprinkle the remaining shredded cheddar cheese evenly over the top of the assembled casserole, covering the entire surface. Place the baking dish in the preheated 375°F (190°C) oven and bake for 25 minutes, until the cheese is fully melted, sauce is bubbling around the edges of the dish, and small golden-brown crispy spots appear across the cheese surface.
Step 7
step7:Bake Until Bubbly
8

Rest and Garnish

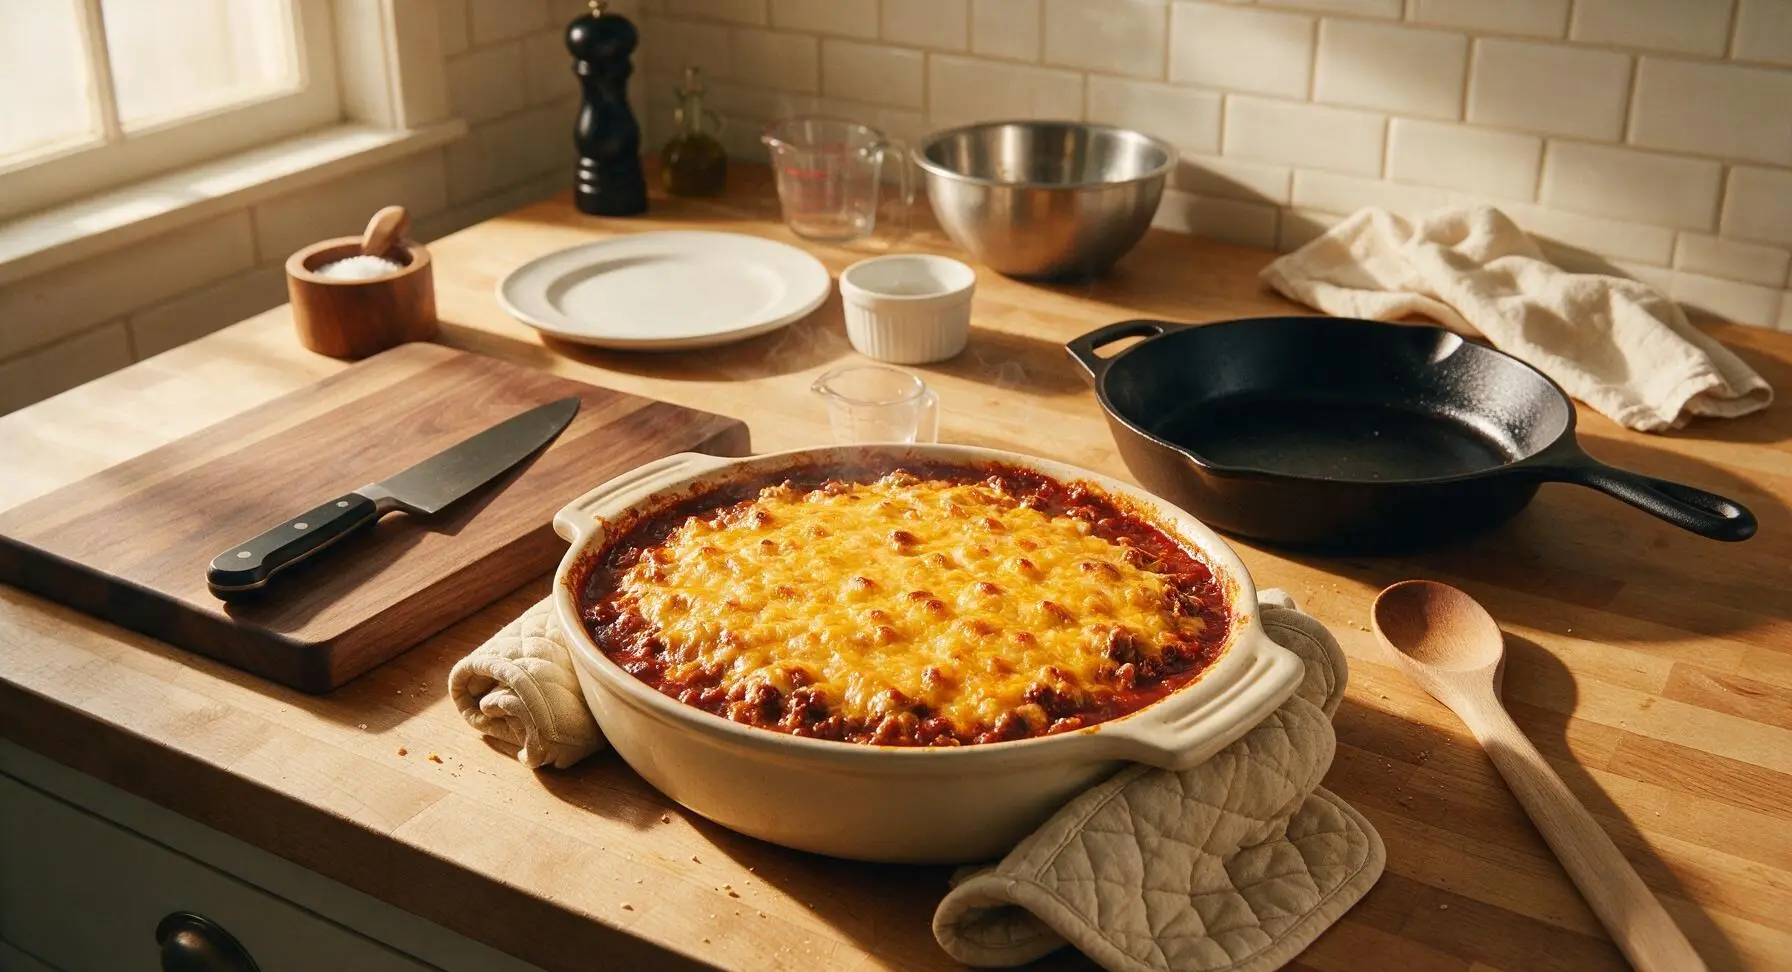
Use the quilted cotton oven mitts to carefully remove the hot baking dish from the oven, setting it back on the counter. Let the casserole rest for 5 full minutes to allow the layers to set (this prevents the casserole from being runny when served). Sprinkle the top with 2 tbsp of chopped fresh parsley for a bright, fresh garnish before serving.
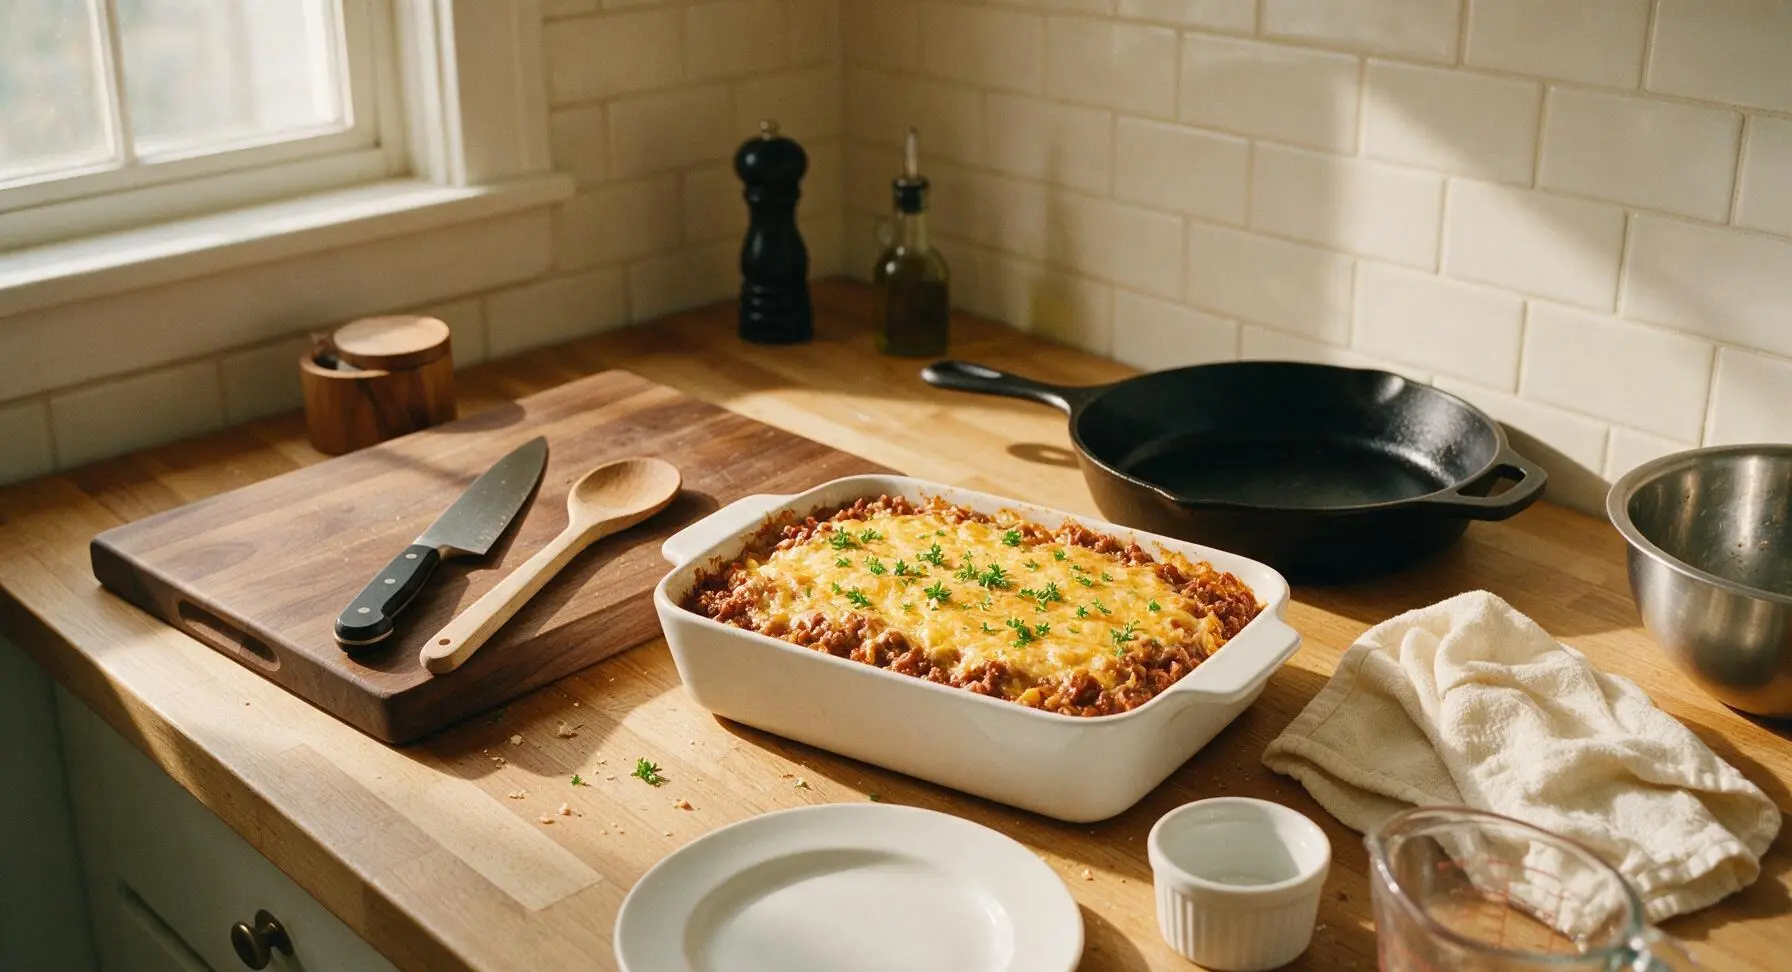
Step 8
step8:Rest and Garnish
Step 8
step8:Rest and Garnish

Tips

1.Avoid rinsing pasta after draining: The starchy coating on parboiled pasta helps the sloppy Joe sauce cling tightly to noodles, preventing the casserole from having a watery, separated texture as it bakes.
2.Shred cheddar cheese fresh from a block instead of using pre-shredded bagged cheese: Pre-shredded cheese is coated in potato starch and anti-caking agents that prevent smooth melting, leading to a grainy, less cohesive cheese top.
3.Don’t skip the 5-minute rest after baking: Scooping the casserole immediately will cause the hot sauce to run and make servings fall apart; the short rest lets the sauce thicken and bind to the pasta and beef for neat, scoopable portions.


✨ You May Also Like

Main Course
🍜 United Kingdom

A showstopping classic of tender seared beef, savory mushroom duxelles, and crisp prosciutto wrapped in flaky golden puff pastry, baked to juicy perfection.

⏱️ 2 hours 1Main Course ★ 4.7
Main Course
🍜 India

Tender charred marinated chicken simmered in a rich, spiced creamy tomato sauce, this iconic Anglo-Indian curry pairs perfectly with basmati rice or warm naan.

⏱️ 50 minuteMain Course ★ 4.6
Main Course
🍜 Thailand

Classic tangy, sweet, and savory Thai stir-fried rice noodles with shrimp, tofu, and crunchy garnishes, balancing all five core Thai flavor profiles.

⏱️ 30 minuteMain Course ★ 4.5
Main Course
🍜 United Kingdom

Crispy golden beer-battered cod and fluffy double-fried chips, served with tangy tartar sauce and malt vinegar: the timeless, beloved British pub comfort classic.

⏱️ 45 minuteMain Course ★ 4.7
Main Course
🍜 Mexico

Smoky, chile-marinated pork tacos with caramelized pineapple, fresh cilantro, and lime: a beloved classic Mexican street food perfect for casual summer gatherings.

⏱️ 1 hour 45Main Course ★ 4.8
Main Course
🍜 United States

Crunchy Fritos corn chips layered with savory beef chili and melted cheddar, topped with cool, zesty fixings for a beloved, cozy Tex-Mex comfort food.

⏱️ 35 minuteMain Course ★ 4.8

Sloppy Joe Casserole:Frequently Asked Questions

1.Can I prep this Sloppy Joe Casserole ahead for busy weeknight meals? ▾
Absolutely! You can brown the 80/20 ground beef and yellow onion, cook the pasta, and mix the tangy tomato sauce filling up to 2 days in advance, stored airtight in the fridge. Hold off on adding the shredded cheddar top until right before baking to avoid sogginess, then bake covered at 375°F for 25 minutes, uncovered for the last 10 for bubbly, perfectly melted cheese.
2.Why do you recommend block sharp cheddar instead of pre-shredded cheese? ▾
Great question! Pre-shredded cheese is coated in anti-caking agents like potato starch that prevent smooth melting, leading to a grainy, less gooey topping. Freshly grated block sharp cheddar melts into that perfect stretchy, tangy layer that pairs perfectly with the rich, saucy sloppy Joe filling, with no odd textural off-notes.
3.Can I use a leaner ground beef instead of the recommended 80/20 blend? ▾
You can, but 80/20 ground beef strikes the ideal flavor and texture balance for this casserole. Leaner blends like 90/10 will produce a drier filling, since the small amount of rendered fat from 80/20 helps carry the tangy tomato sauce flavor. If you use leaner beef, add 1 tablespoon of olive oil when sautéing the onion to replace that missing richness.
4.How do I keep the elbow macaroni from getting mushy in the casserole? ▾
It’s a simple fix! Cook your elbow macaroni 2 minutes shorter than the package’s al dente direction, since the noodles will keep cooking as they bake in the saucy filling. Skip rinsing the pasta after draining too—its starchy coating helps the sauce cling better, rather than sliding off and leaving you with waterlogged, mushy noodles.
5.What easy sides pair well with this Sloppy Joe Casserole? ▾
This rich, cozy casserole pairs best with bright, simple sides to cut through its hearty, savory flavor. Try serving it with a crisp green salad tossed in vinaigrette, buttered steamed green beans, or crunchy dill pickle slices for that classic sloppy Joe tang contrast. A small dollop of sour cream on individual servings adds a nice creamy kick too.

Comments (5)

2 days ago

OMG this Sloppy Joe Casserole was an absolute game changer for our weeknight family dinner! My two super picky kids gobbled up two servings each and didn’t even complain when I tossed in a handful of diced bell peppers I had leftover in the fridge. It’s SO easy to throw together after a long work day too — 35 minutes total cook time? Sign me up. I already added this to our regular meal prep rotation, and I’m definitely bringing a pan to our next neighborhood potluck. Can’t recommend enough!

1 week ago

Took this to my buddy’s game night last weekend and literally everyone was hounding me for the recipe! It’s super straightforward to make, no weird fancy ingredients required — I just used the ground beef I already had stashed in the freezer and a can of my go-to Manwich sauce like I use for regular sloppy joes, and the baked casserole twist made it feel totally new and special. Only knock is I wish there was a little more cheese layered in, but that’s such an easy fix for next time so I can’t even be mad about it.

5 days ago

So stoked this was a hit at game night, Jake! We love that you made it work with what you already had on hand — pro tip, feel free to pile on an extra half cup of shredded cheddar (or even pepper jack for a little spicy kick!) during the last 5 minutes of baking. It gets perfectly melty and adds that extra cheesy punch you’re craving!

3 days ago

Quick question for folks who’ve made this already — has anyone tried prepping it ahead and freezing individual portions? I do big Sunday meal prep batches for my work lunches and this looks like it would hold up great, but I’m worried the bottom layer might get all soggy if I freeze it for a week or two before eating.

2 days ago

I froze half of my pan last month and it turned out totally fine! Just make sure you let it cool all the way down before wrapping it tight in plastic wrap and foil, and there was zero sogginess when I reheated it. I popped a portion in the oven at 350 for 20 minutes and it tasted exactly as good as it did the night I first made it.

5 days ago

Made this for my three grandkids when they were visiting over the weekend and they had the nerve to say it’s better than my classic stovetop sloppy joes! Can you believe that? It was so simple to put together even with my bad arthritis — no tricky steps, no fancy equipment, just mix, dump, and bake. I added a little extra diced onion and green pepper like I always do, and it came out perfect every single bite.

3 days ago

Aww this is the sweetest review! My grandma has bad arthritis too and is always hunting for easy recipes that don’t require standing over the stove forever — I’m sending this recipe straight to her right now, I know she’ll love it.

2 days ago

This makes our whole team so happy to hear! We designed this recipe to be accessible for cooks of all ages and ability levels, and those extra veggies you added sound absolutely delicious. Hope you get to make it for the grandkids again real soon!

2 hours ago

Y’all, I’m a broke college student with basically zero cooking skills and I pulled this off on my first try? My roommates are fully convinced I’m a secret culinary school dropout now. I used cheap ground turkey instead of beef because it was on sale at the campus grocery store, and when I realized I didn’t have the crispy fried onion topping the recipe called for I crushed up sour cream and onion potato chips on top for crunch. It SLAPPED. 10/10, cheap, fast, feeds four people for like eight bucks total.

30 minutes ago

That potato chip topping hack is pure genius! I’m 100% stealing that next time I make this — I always have a half-eaten bag of chips laying around that goes stale before I can finish it anyway, so this is the perfect use for them.

5 minutes ago

We love the budget-friendly swaps! Ground turkey works perfectly as a swap for ground beef here, and that sour cream and onion potato chip crunch sounds absolutely chef’s kiss — we might even have to test that version for the site soon. Great job pulling this off as a new cook, that’s exactly what these easy, no-fuss recipes are for!



