
slow cooker roast beef

title 1
slow cooker roast beef
⏱️ cook time 8 hours 10 minutes
🍽️ servings 6
⚡ Difficulty easy

intro

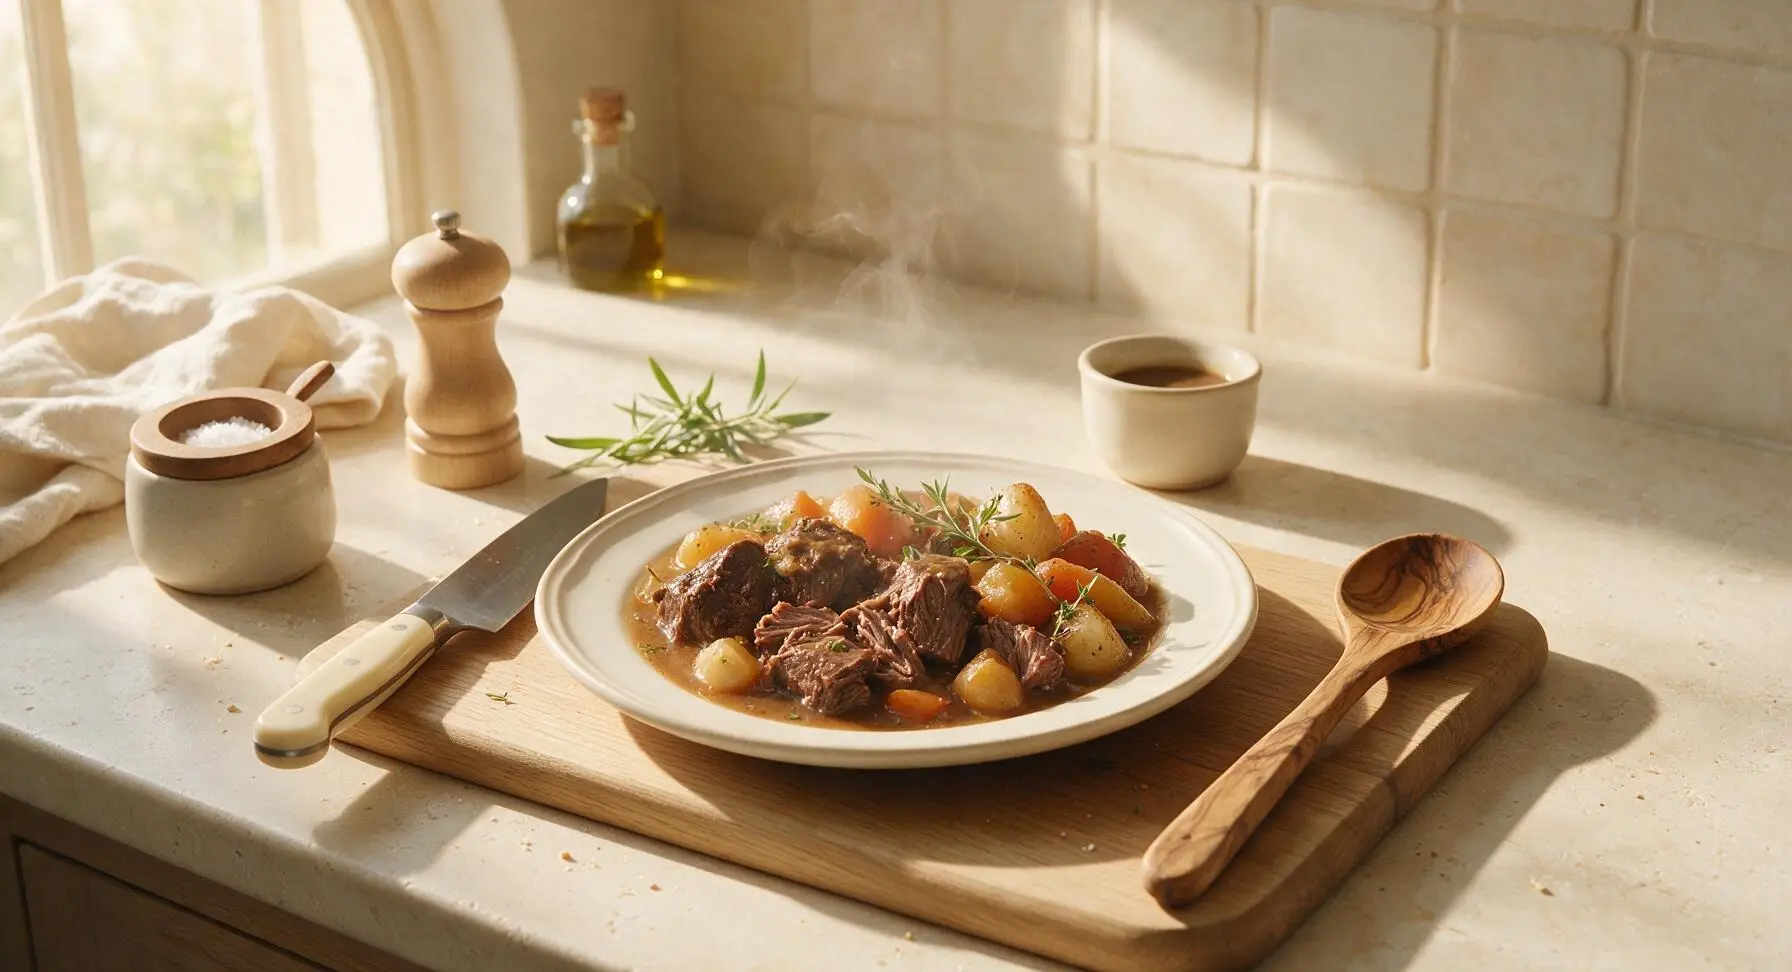
Tender, fall-apart slow cooker roast beef with rich savory gravy, melt-in-your-mouth root vegetables, and deep slow-simmered flavor perfect for cozy family meals.

Ingredients
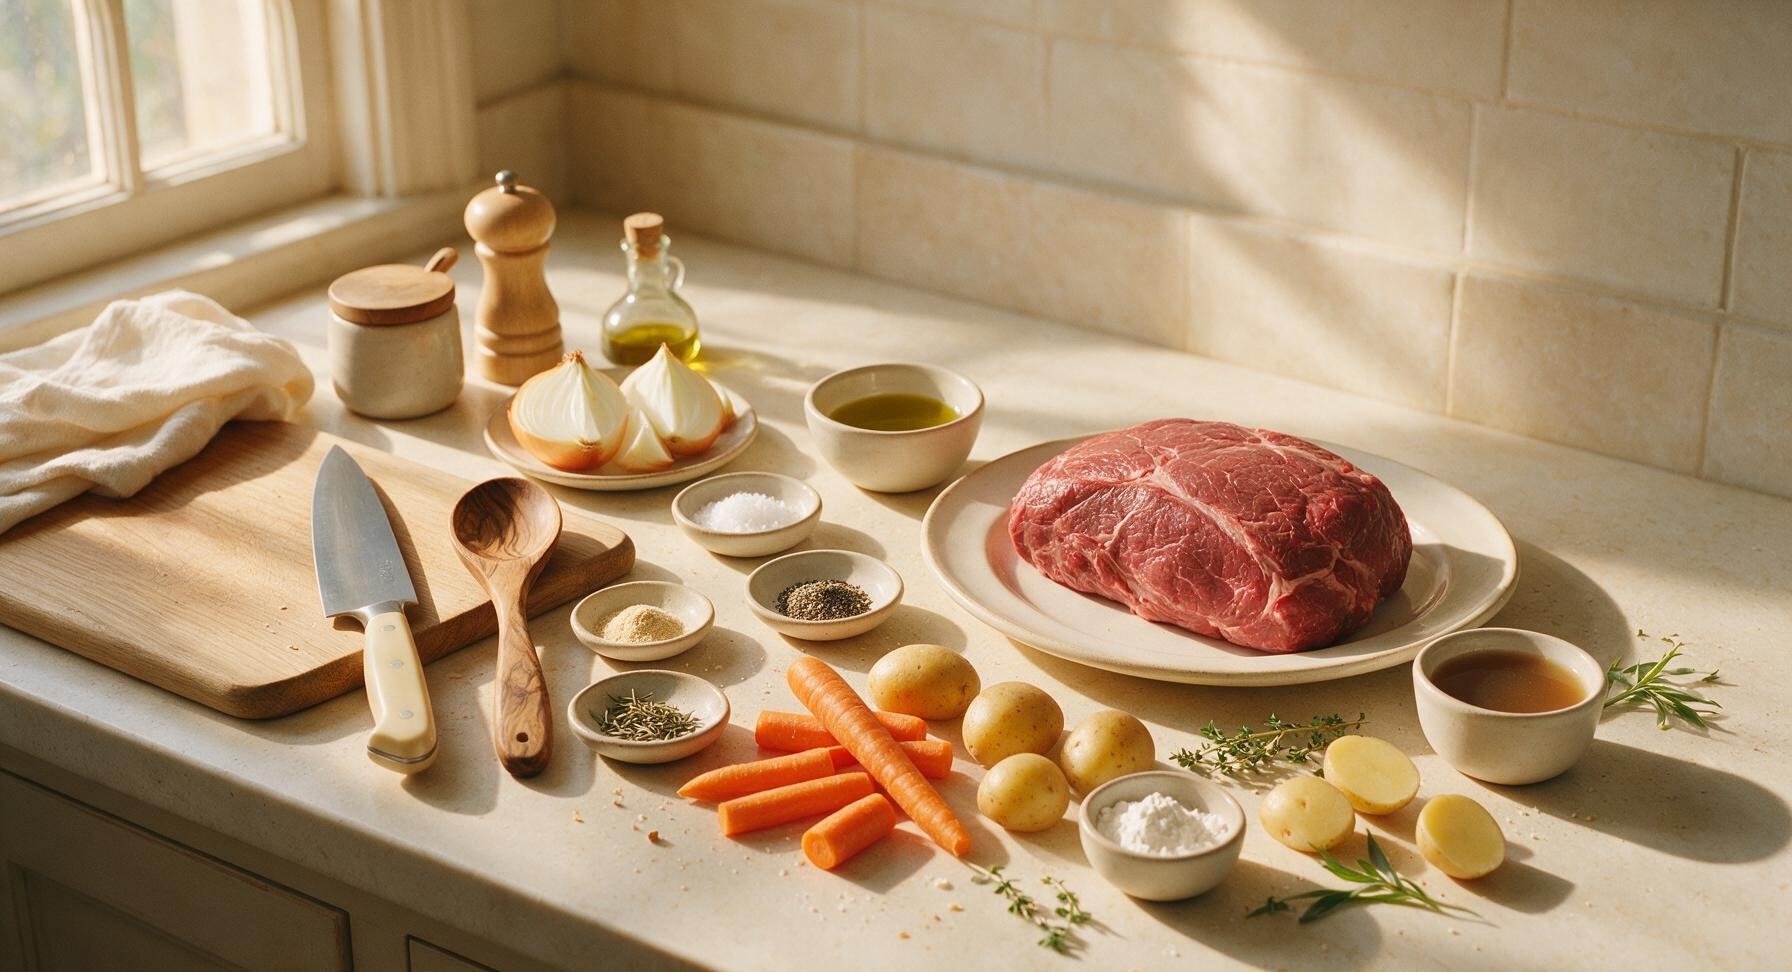
Boneless beef chuck roast 1.5kg (3.3lb)
Extra virgin olive oil 2 tablespoons
Kosher salt 1.5 tablespoons
Freshly ground black pepper 1 teaspoon
Garlic powder 1 teaspoon
Dried rosemary 1 teaspoon
Yellow onion 1 large, cut into 6 wedges
Medium carrots 4, peeled, cut into 5cm chunks
Yukon gold potatoes 6 small, halved
Low-sodium beef broth 250ml (1 cup)
Cornstarch 2 tablespoons
Fresh thyme sprigs 3

Steps

1

Season the Chuck Roast

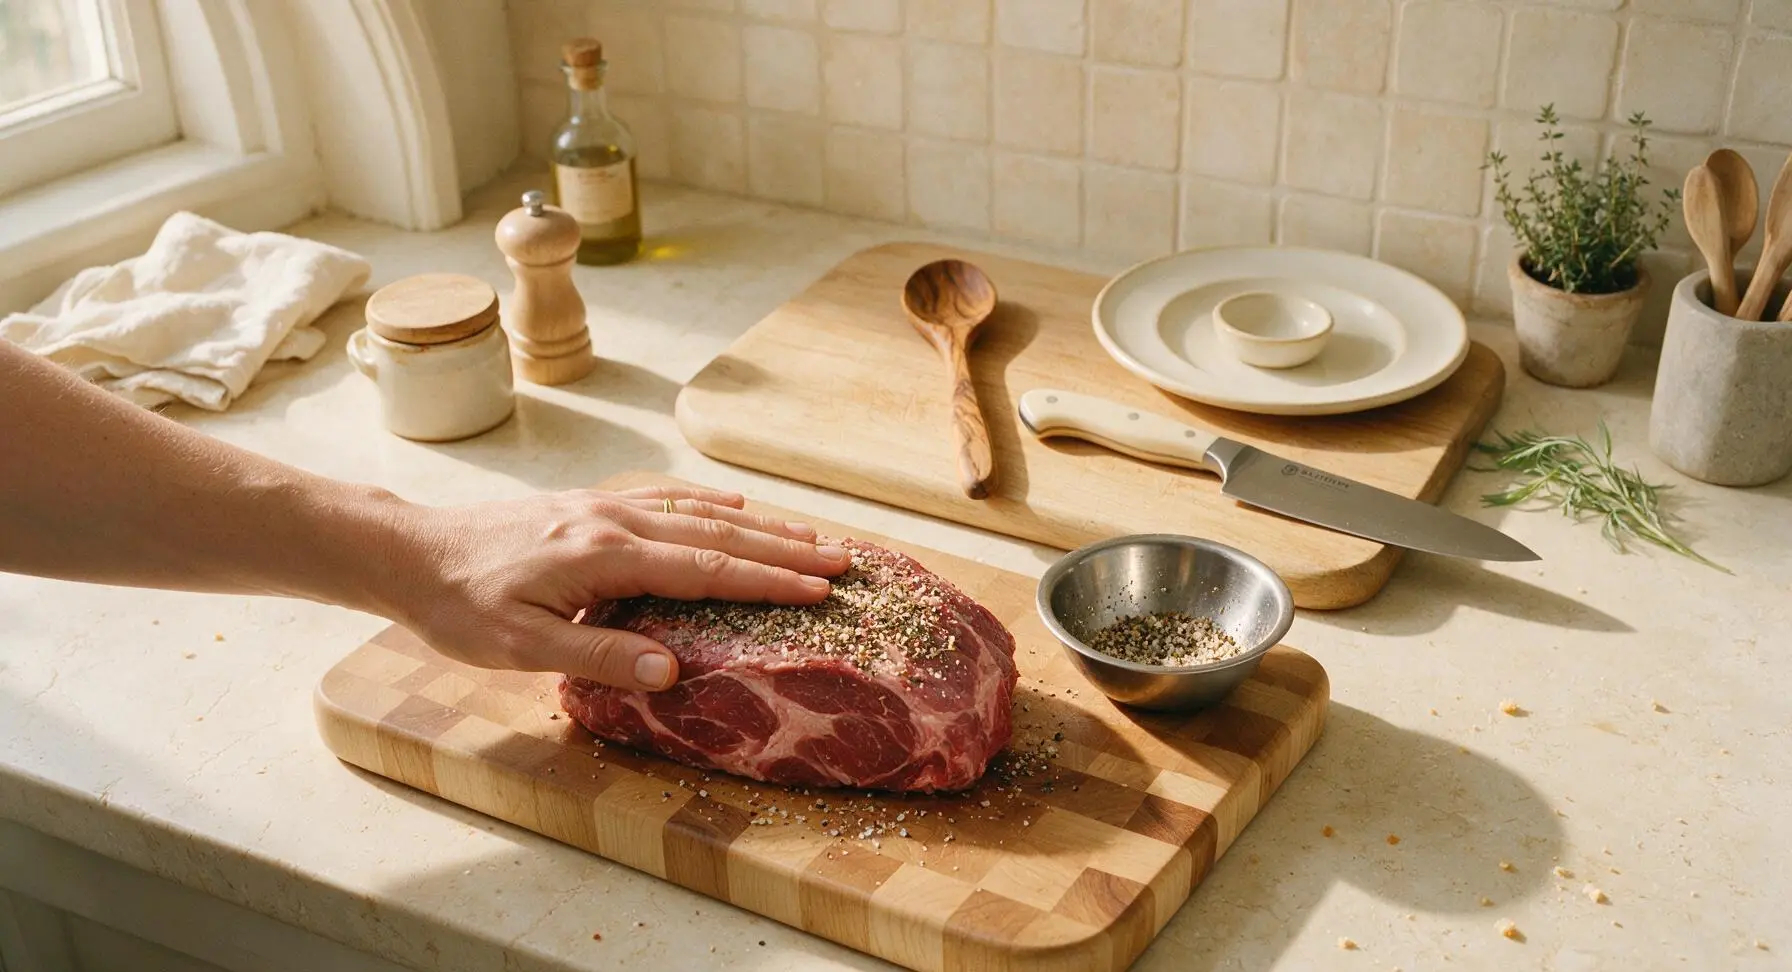
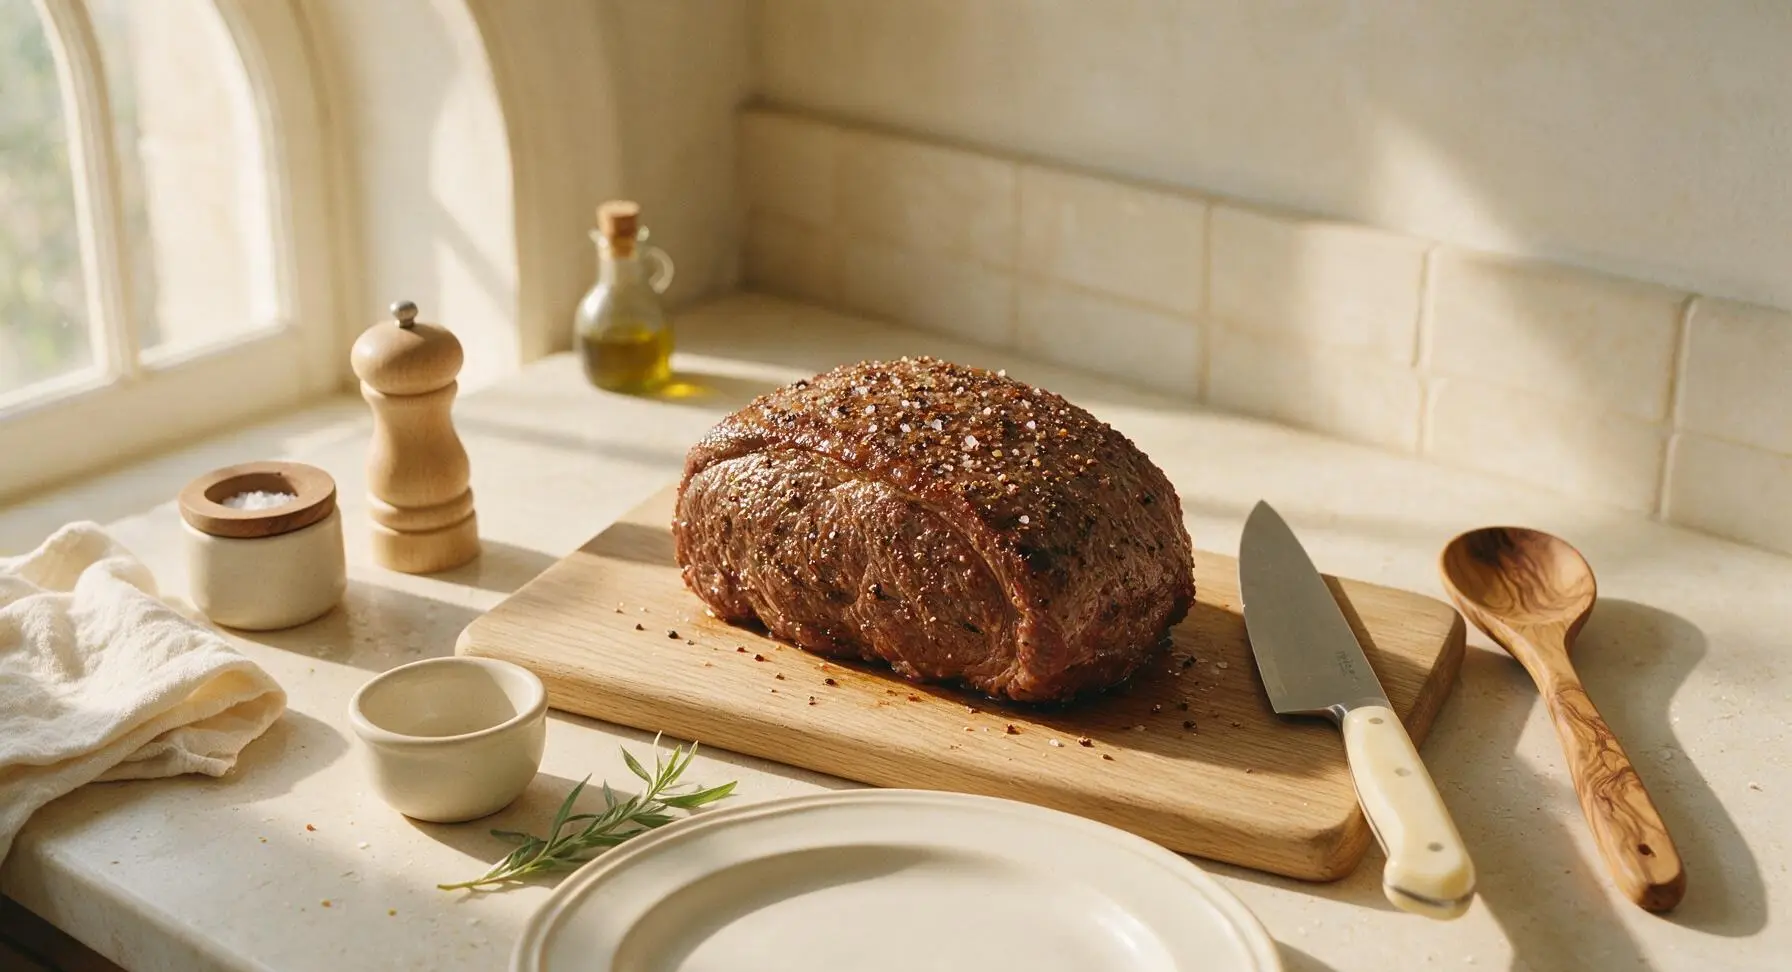
Pat the beef chuck roast completely dry with paper towels, then rub all surfaces evenly with 1 tablespoon of the olive oil. Mix the kosher salt, black pepper, garlic powder, and dried rosemary in the small stainless steel mixing bowl, then press the seasoning blend firmly into every side of the roast, ensuring full, even coverage. Let the seasoned roast rest at room temperature for 10 minutes while you prep the vegetables.
Step 1
step1:Season the Chuck Roast
Step 1
step1:Season the Chuck Roast
2

Sear All Roast Sides

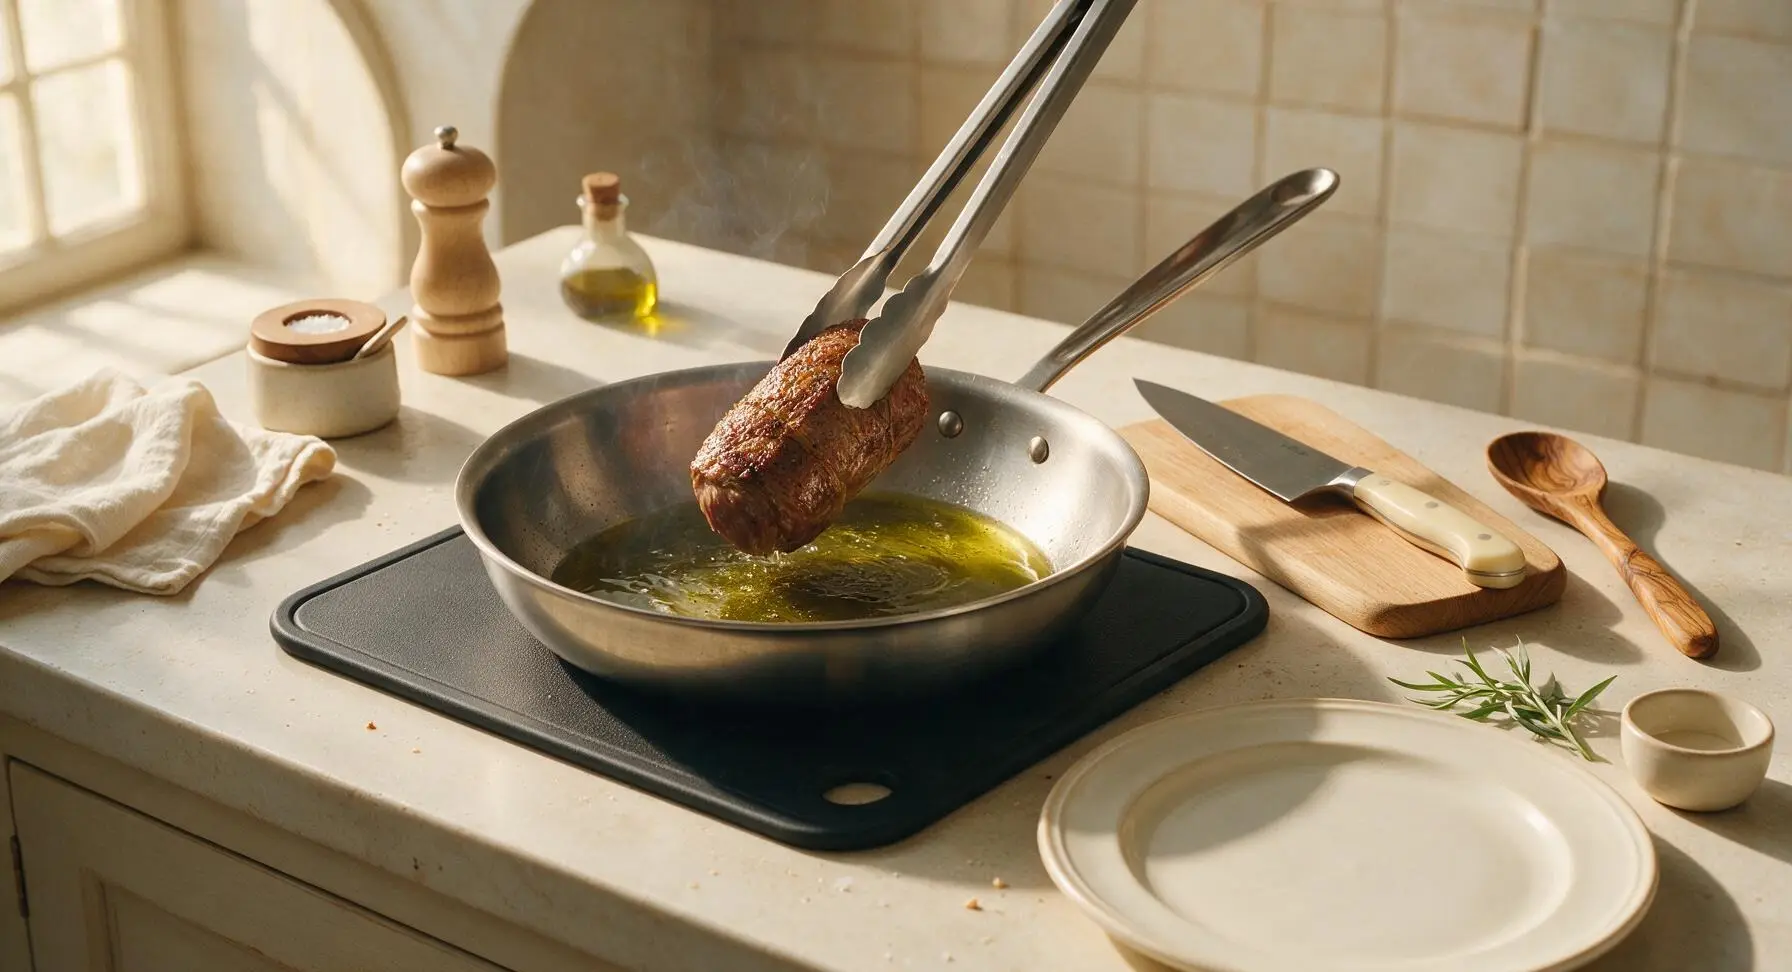
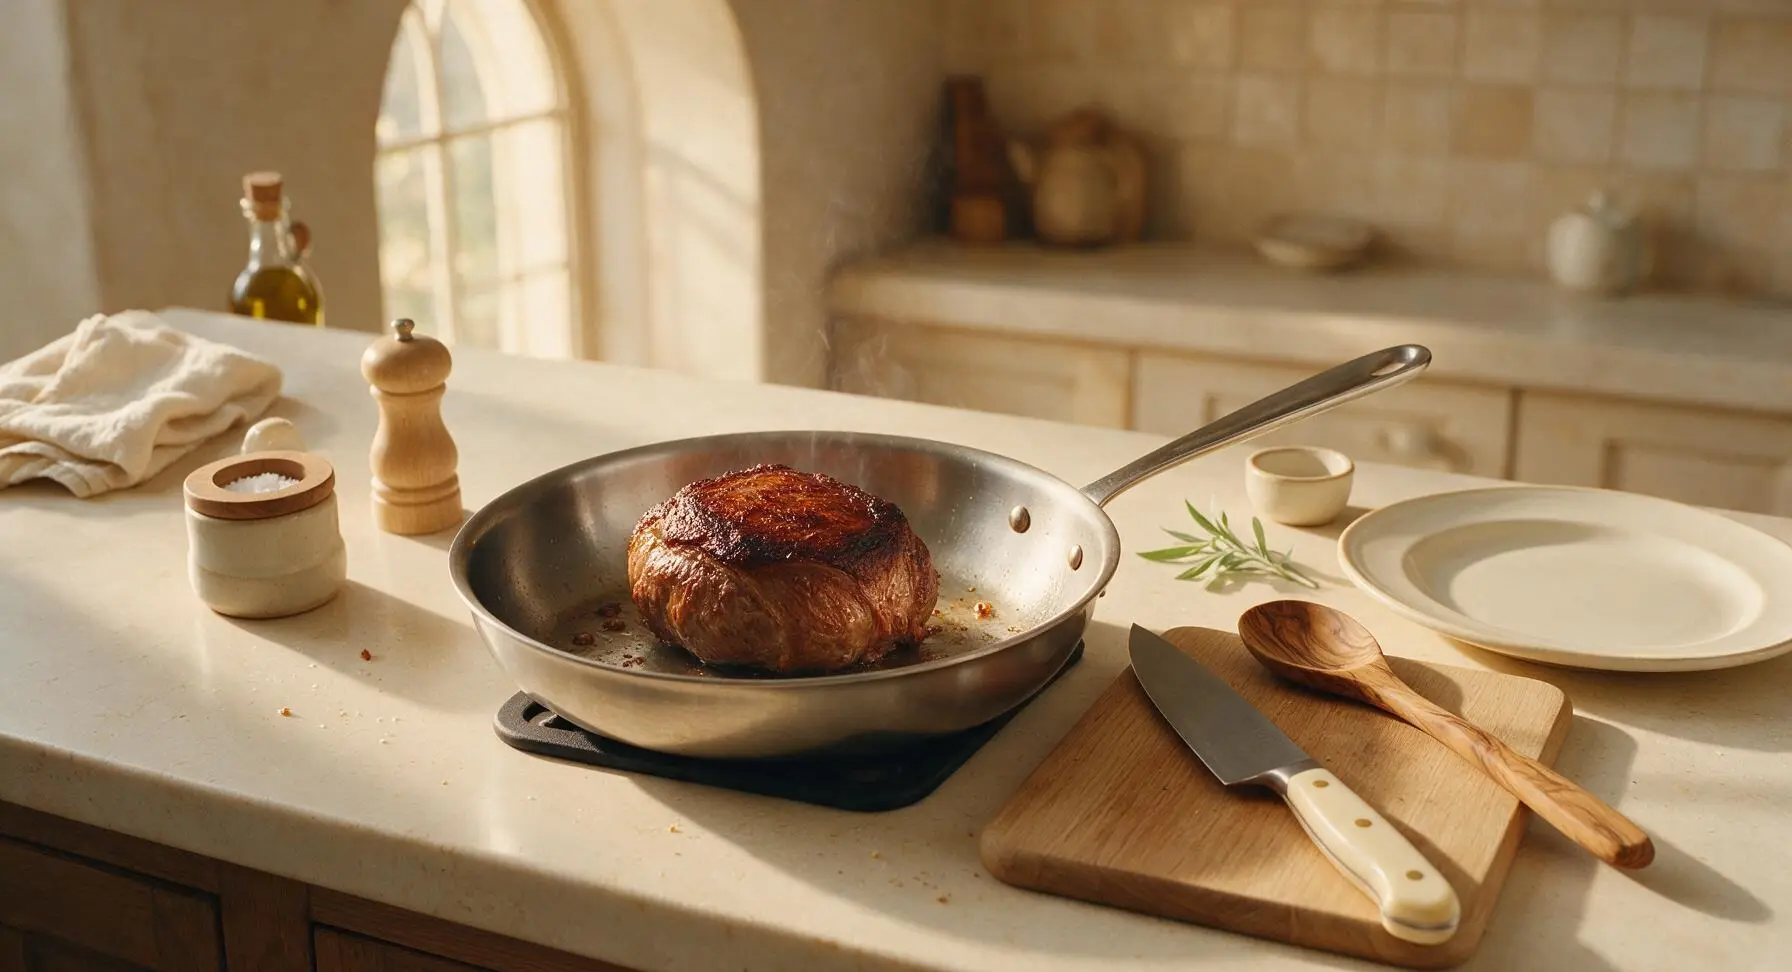
Heat the remaining 1 tablespoon olive oil in the 12-inch stainless steel skillet over medium-high heat, set on the black silicone trivet pulled out to center of the counter. Once the oil is shimmering (but not smoking, approximately 190C/375F), use the stainless steel tongs to place the seasoned roast in the skillet. Sear for 2-3 minutes per side, until a deep, rich golden-brown crust forms on every surface, including the narrow end edges. Avoid moving the roast while searing each side to build a thick, flavor-packed crust.
Step 2
step2:Sear All Roast Sides
Step 2
step2:Sear All Roast Sides
3

Layer Vegetable Base

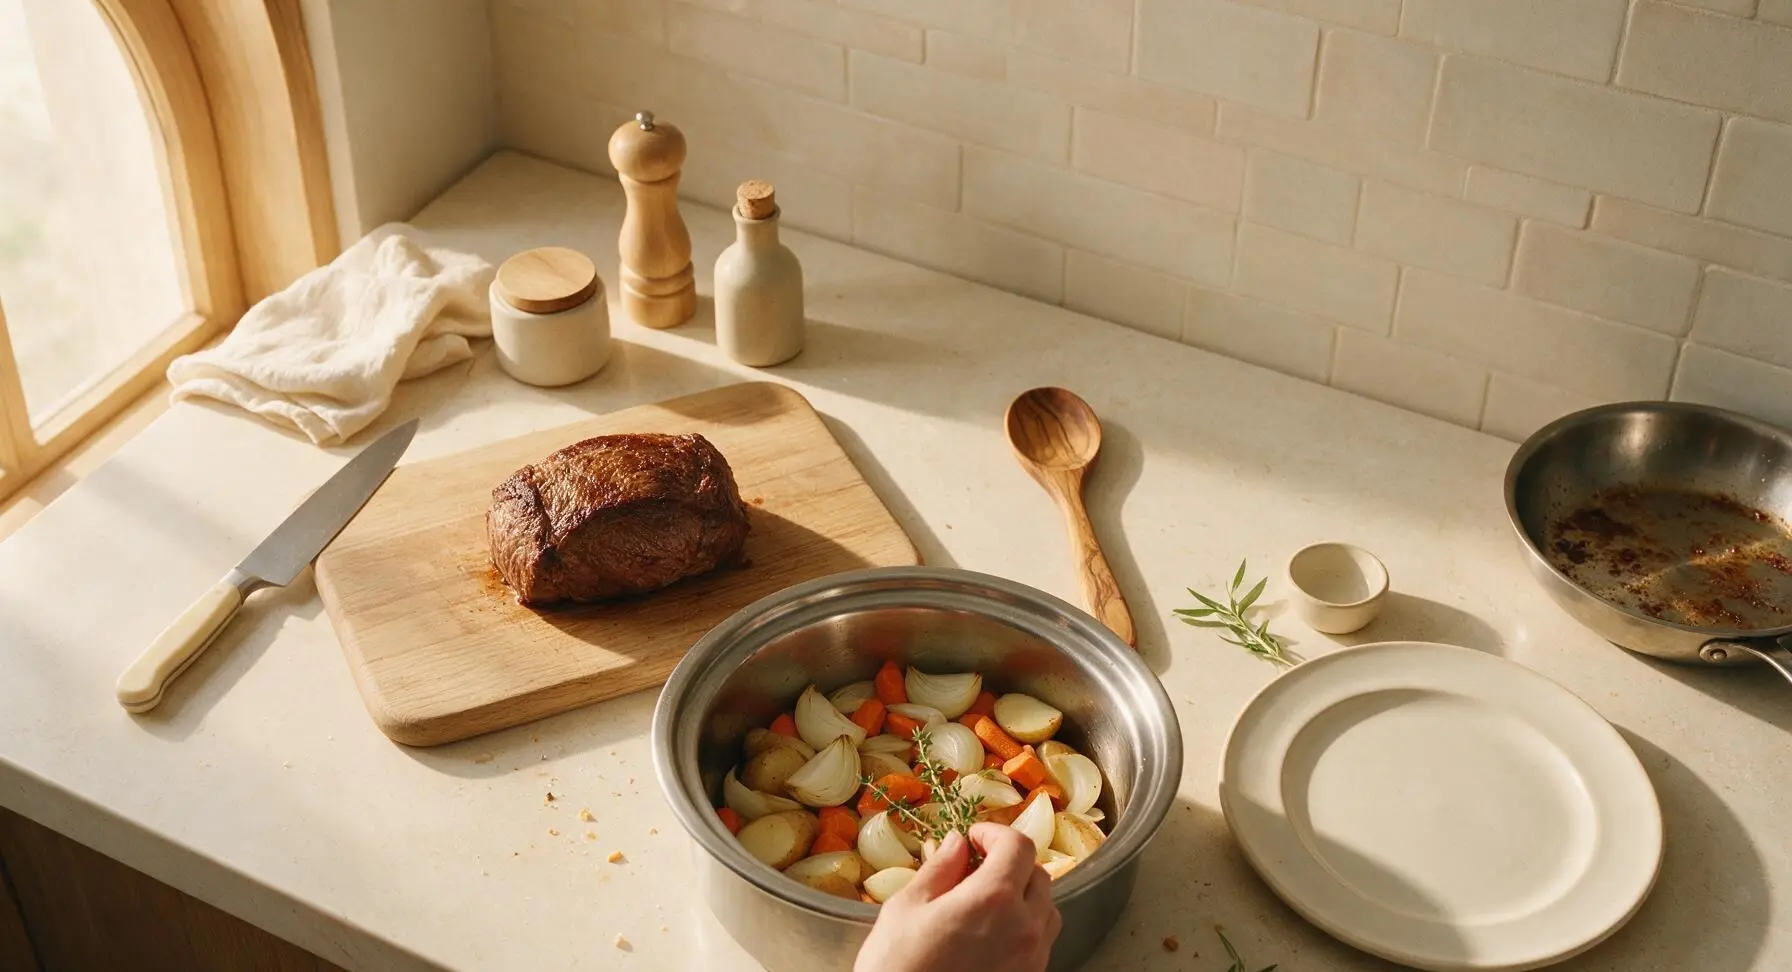
While the seared roast rests on the cutting board for 5 minutes, place the cut onion wedges, carrot chunks, and potato halves in the bottom of the stainless steel slow cooker insert, spreading them in an even layer. Tuck 2 of the fresh thyme sprigs among the vegetables, then pour half of the beef broth over the vegetables to create a moist, flavorful cooking base.
Step 3
step3:Layer Vegetable Base
4

Add Roast and Broth

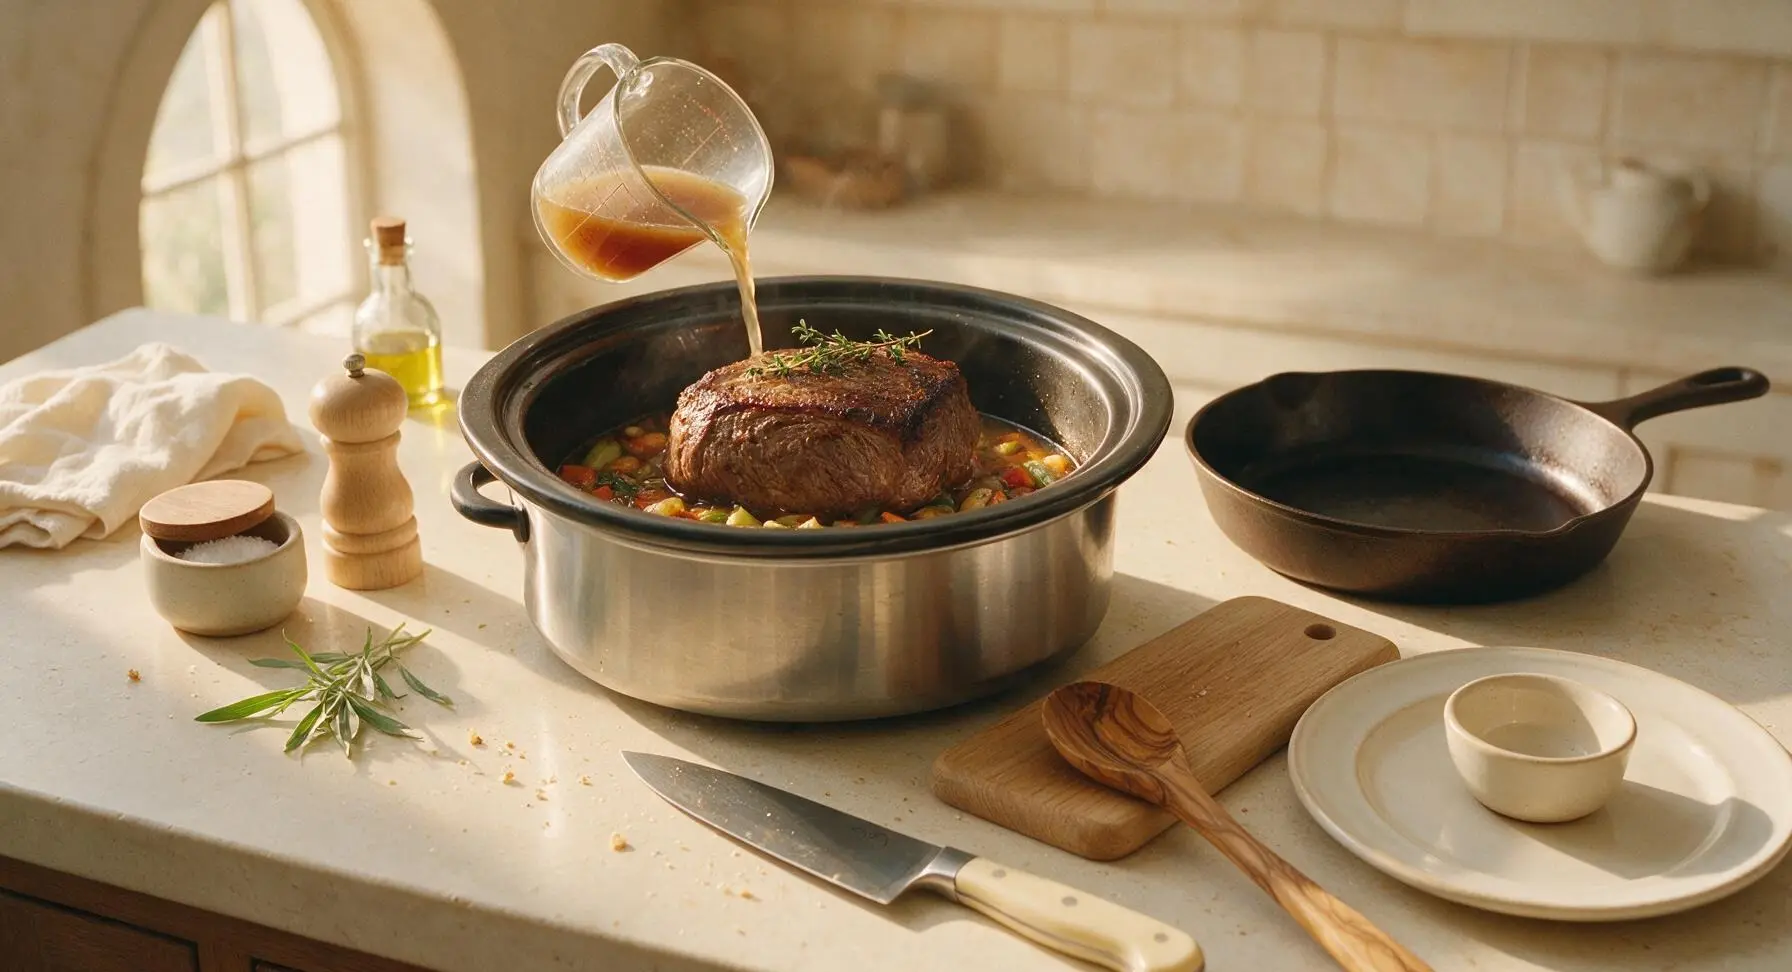
Use the stainless steel tongs to transfer the seared roast on top of the layered vegetables, so it sits elevated above the broth rather than fully submerged. Pour the remaining beef broth into the slow cooker, pouring it around the edges of the roast rather than directly over the top to avoid washing off the seasoned crust. Set the last thyme sprig on top of the roast.
Step 4
step4:Add Roast and Broth
5

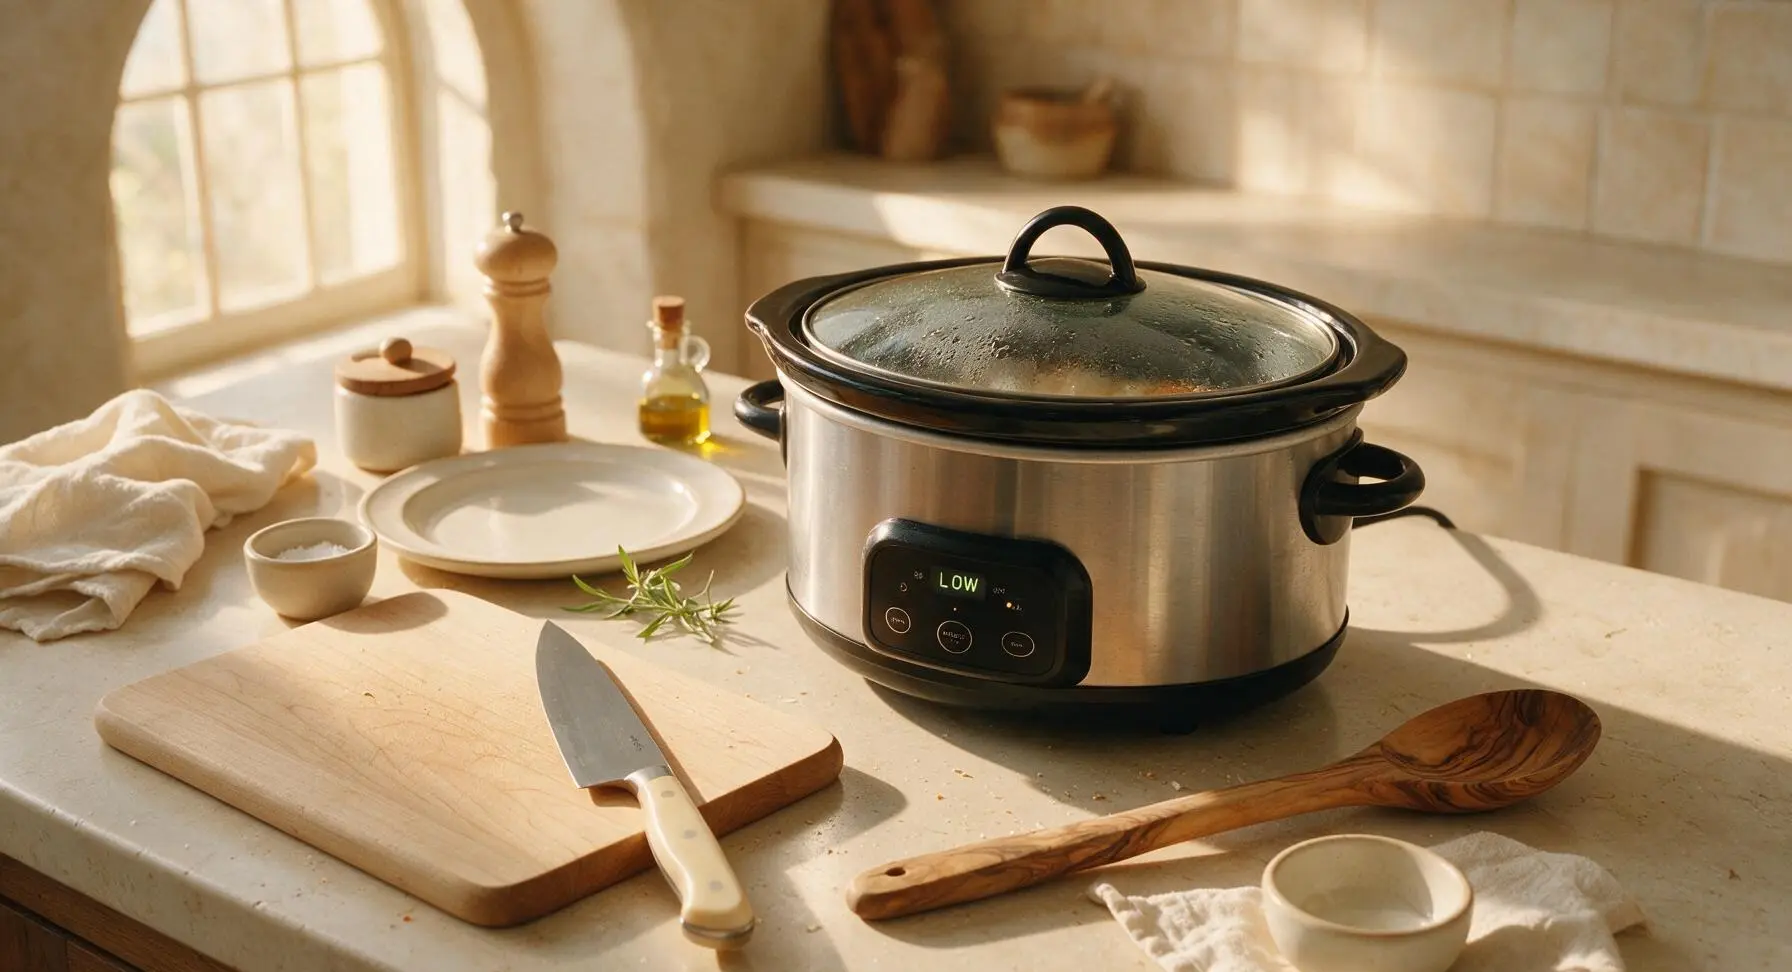
Slow Cook on Low

Place the clear glass lid securely on the slow cooker, set the temperature to LOW (93C/200F), and cook for 8 hours without lifting the lid for the first 6 hours. The roast is done when a fork inserted into the thickest part twists easily and pulls tender shreds of meat away without resistance, and the vegetables are fork-tender.
Step 5
step5:Slow Cook on Low
6

Thicken Pan Gravy

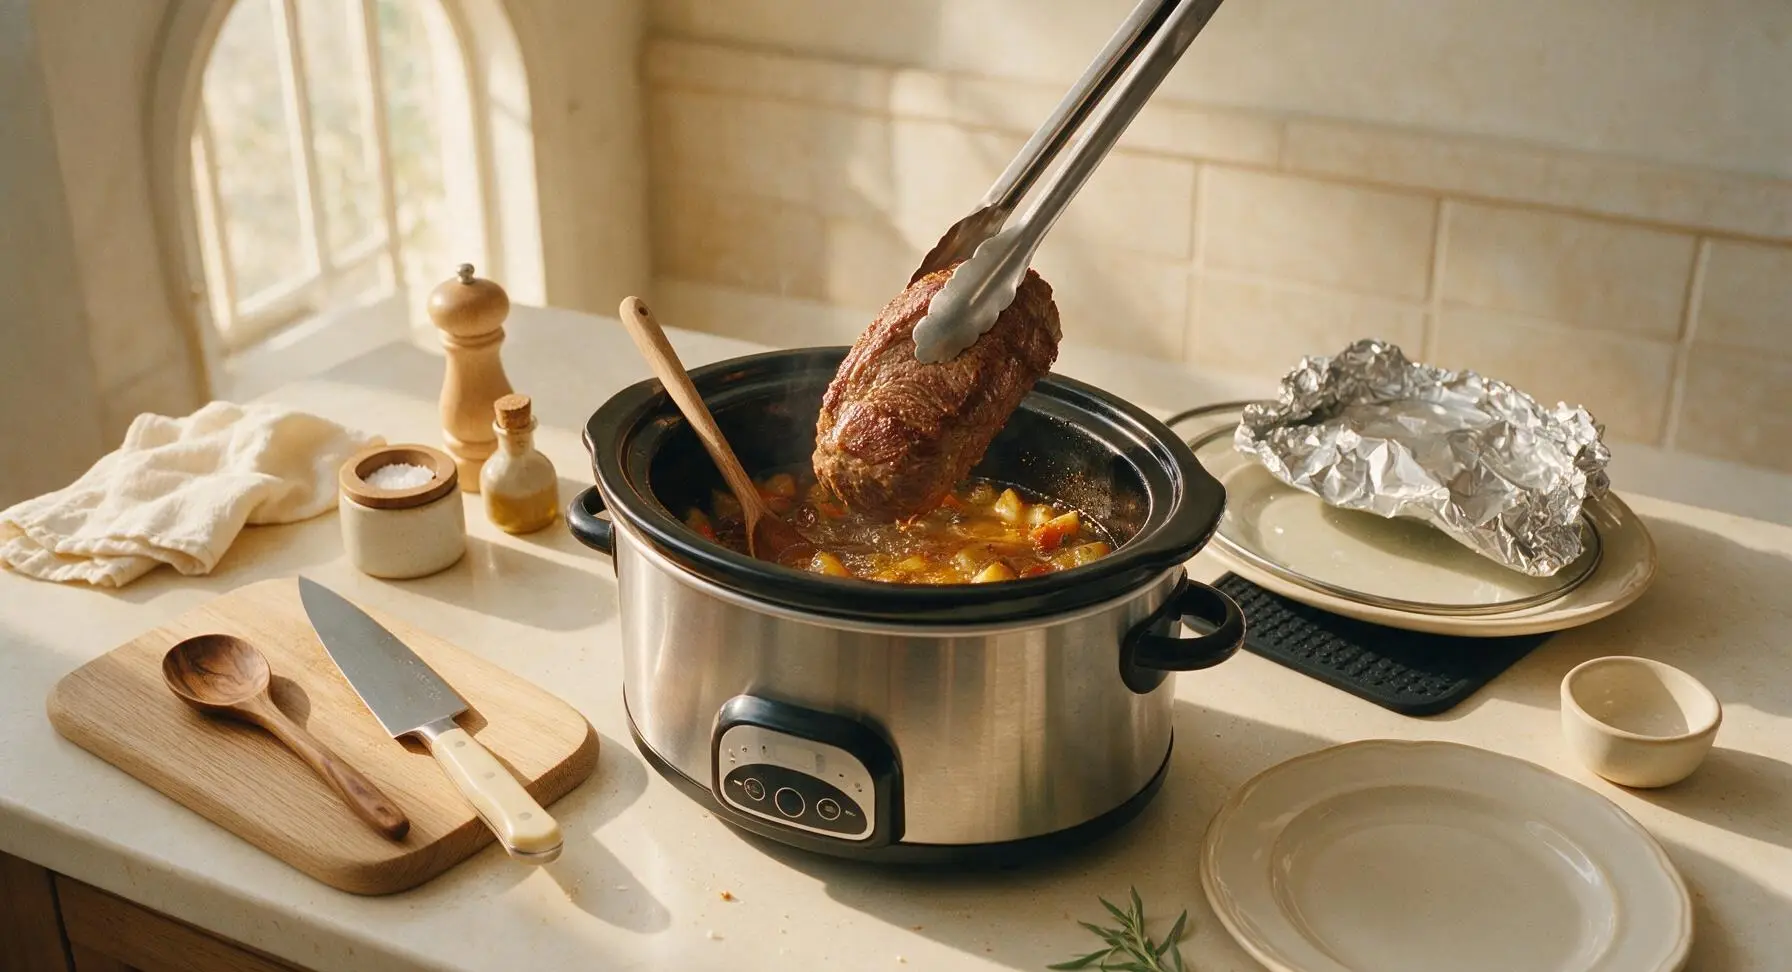
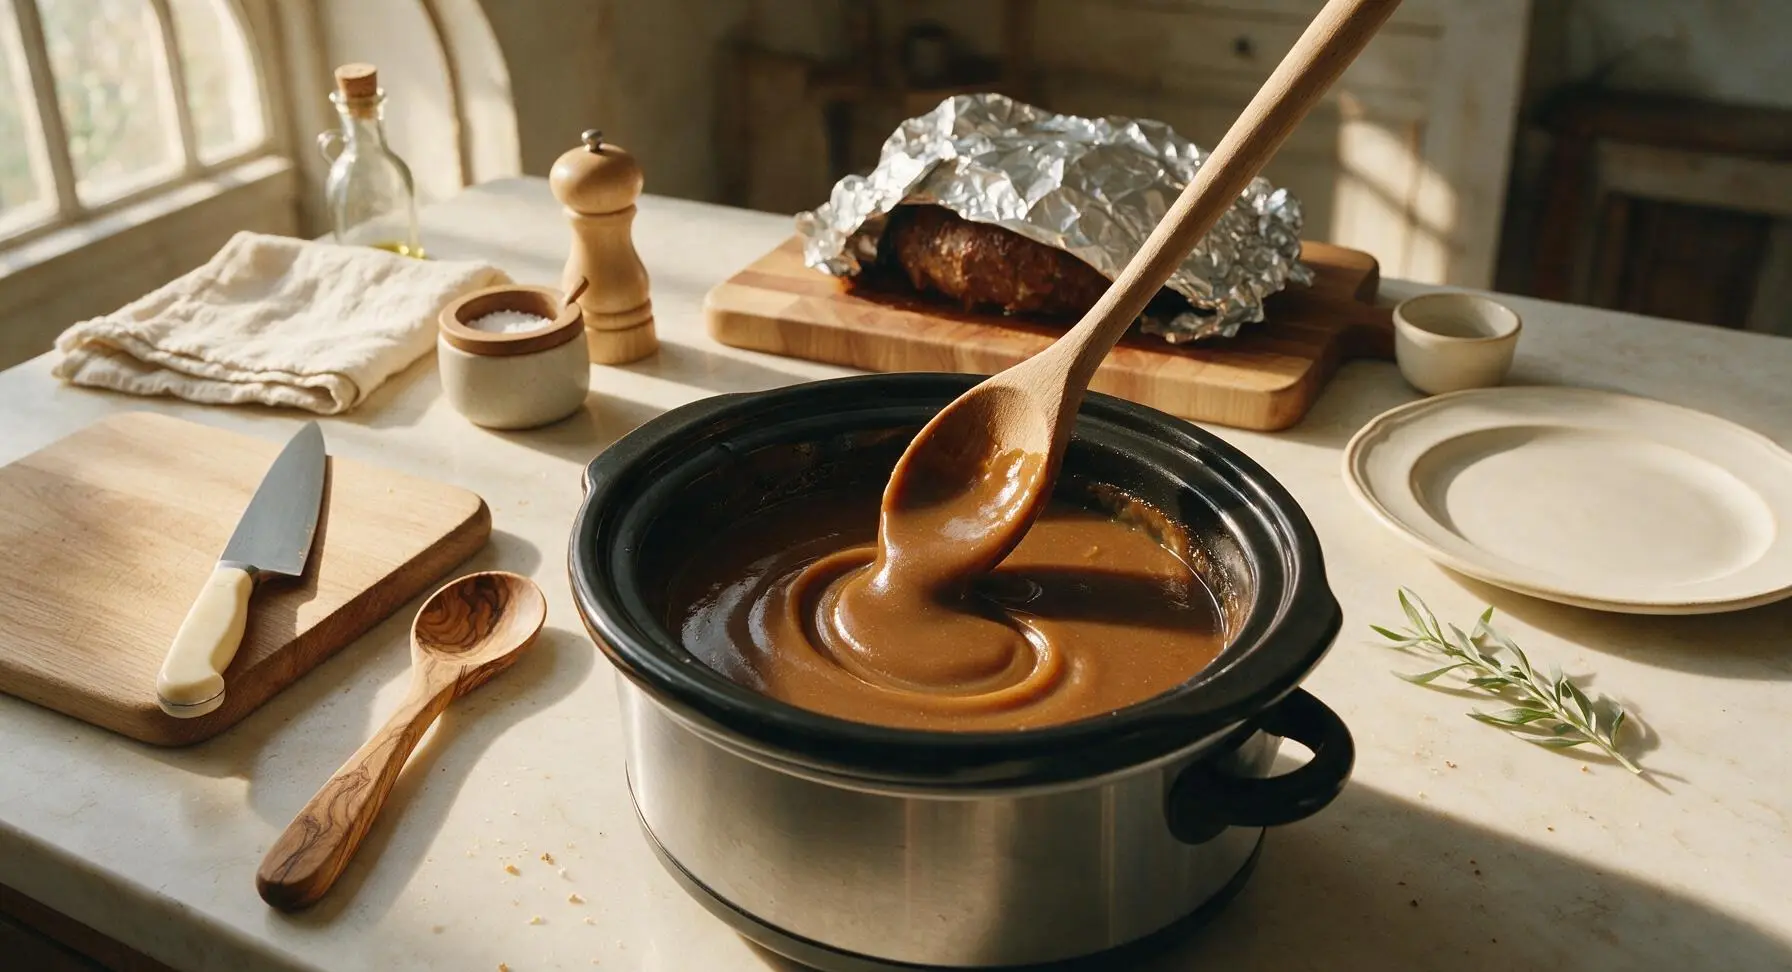
Once the roast and vegetables are fully tender, use tongs to carefully transfer the roast and vegetables to a clean platter, tent loosely with aluminum foil to rest for 15 minutes. Ladle 250ml (1 cup) of the hot cooking liquid from the slow cooker into a small bowl, whisk in the 2 tablespoons cornstarch until completely smooth with no lumps, then pour the slurry back into the remaining cooking liquid in the slow cooker. Stir with the beech wood spoon, set the slow cooker to HIGH, and cook for 10 minutes until the gravy thickens to a glossy, coat-the-back-of-a-spoon consistency.
Step 6
step6:Thicken Pan Gravy
Step 6
step6:Thicken Pan Gravy
7

Slice and Plate

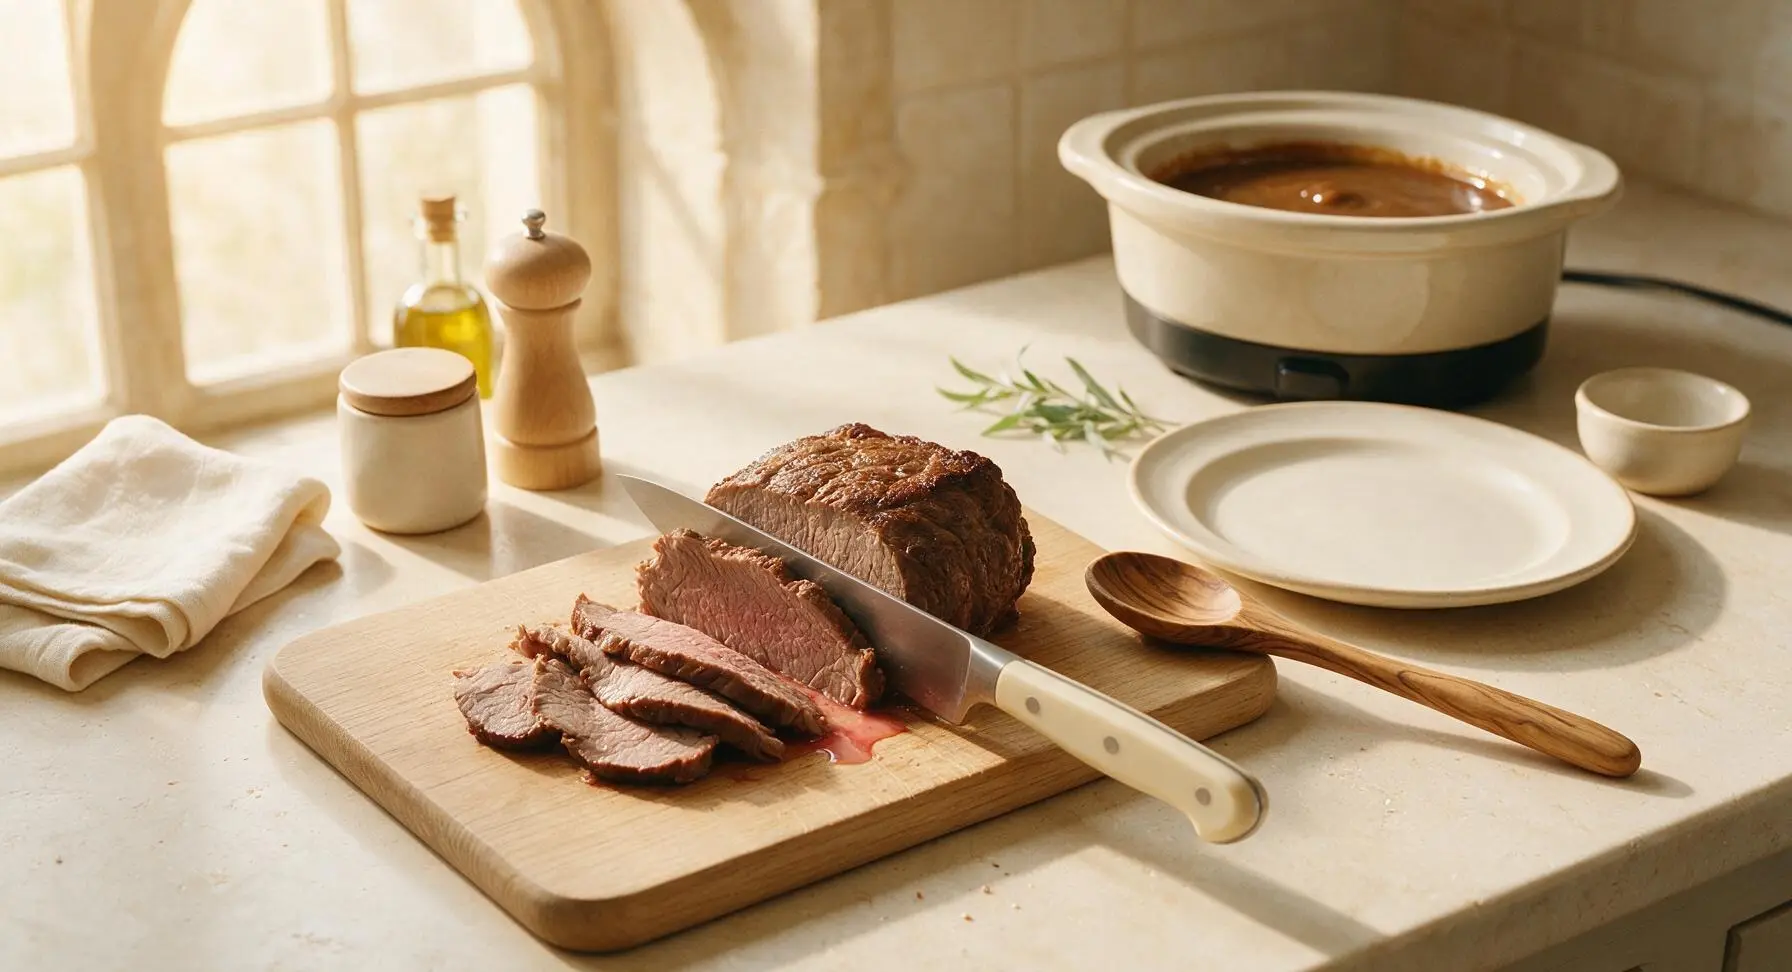
After resting, transfer the roast back to the maple cutting board, use the chef knife to slice the beef against the grain into 1cm thick slices. Arrange slices on the off-white stoneware dinner plate alongside the cooked vegetables, drizzle with the thickened gravy, and garnish with a fresh sprig of thyme plucked from the countertop potted plant.
Step 7
step7:Slice and Plate

Tips

1.Always pat the roast completely dry with paper towels before seasoning and searing: surface moisture will cause the meat to steam rather than sear, preventing the deep, flavorful brown crust that adds richness to the final gravy.
2.Avoid lifting the slow cooker lid for the first 6 hours of cooking: every lid lift releases 15-20 minutes of trapped, moist heat, which extends total cook time and can lead to unevenly tough meat.
3.Slice the fully rested roast against the grain into 1cm thick slices: cutting perpendicular to the long muscle fibers shortens tough connective strands, making even slow-cooked beef feel melt-in-your-mouth tender rather than stringy.


✨ You May Also Like

Main Course
🍜 United Kingdom

A showstopping classic of tender seared beef, savory mushroom duxelles, and crisp prosciutto wrapped in flaky golden puff pastry, baked to juicy perfection.

⏱️ 2 hours 1Main Course ★ 4.7
Main Course
🍜 India

Tender charred marinated chicken simmered in a rich, spiced creamy tomato sauce, this iconic Anglo-Indian curry pairs perfectly with basmati rice or warm naan.

⏱️ 50 minuteMain Course ★ 4.6
Main Course
🍜 Thailand

Classic tangy, sweet, and savory Thai stir-fried rice noodles with shrimp, tofu, and crunchy garnishes, balancing all five core Thai flavor profiles.

⏱️ 30 minuteMain Course ★ 4.5
Main Course
🍜 United Kingdom

Crispy golden beer-battered cod and fluffy double-fried chips, served with tangy tartar sauce and malt vinegar: the timeless, beloved British pub comfort classic.

⏱️ 45 minuteMain Course ★ 4.7
Main Course
🍜 Mexico

Smoky, chile-marinated pork tacos with caramelized pineapple, fresh cilantro, and lime: a beloved classic Mexican street food perfect for casual summer gatherings.

⏱️ 1 hour 45Main Course ★ 4.8
Main Course
🍜 United States

Crunchy Fritos corn chips layered with savory beef chili and melted cheddar, topped with cool, zesty fixings for a beloved, cozy Tex-Mex comfort food.

⏱️ 35 minuteMain Course ★ 4.8

slow cooker roast beef:Frequently Asked Questions

1.Why is boneless beef chuck roast the best cut for this slow cooker recipe? ▾
Boneless beef chuck roast is ideal because it has even marbling and tough connective tissue that breaks down completely over low, slow heat, creating that signature fall-apart tender, juicy texture. Leaner cuts like eye of round dry out easily in the slow cooker, and chuck’s deep, natural beefy flavor pairs perfectly with the simple salt, pepper, and garlic powder seasoning.
2.Do I need to sear the roast before putting it in the slow cooker? ▾
It’s not strictly required, but I highly recommend it! Heat extra virgin olive oil in a heavy skillet over medium-high heat, rub the roast all over with seasoning first, then sear every side for 2-3 minutes until deep golden brown. That seared crust adds rich, savory depth you can’t get from slow cooking alone, and it makes the final gravy taste far more complex.
3.How much salt, pepper, and garlic powder should I use to season the roast? ▾
For a standard 3 to 4 pound boneless chuck roast, use 1 teaspoon of kosher salt per pound of beef, plus ½ teaspoon of freshly ground black pepper and 1 teaspoon of garlic powder total, rubbed evenly across every surface of the roast. If you swap kosher salt for table salt, cut the amount in half to avoid over-salting your final dish.
4.Can I add root vegetables to this recipe, and when should I put them in? ▾
Absolutely—hearty root veggies like carrots, Yukon gold potatoes, parsnips, and turnips are a classic pairing for this roast. Cut them into 2-inch uniform chunks so they cook evenly, and place them in the bottom of the slow cooker under the roast, where they’ll soak up all the delicious beef drippings as it cooks for melt-in-your-mouth results.
5.What slow cooker setting should I use, and how long does the roast take to cook? ▾
For the most tender, non-stringy result, cook a 3 to 4 pound chuck roast on the LOW setting for 8 to 10 hours. Cooking on HIGH for 4 to 5 hours works if you’re short on time, but the lower, slower cook time lets connective tissue break down gently for that perfect fall-apart texture without making the beef tough or dry.
6.How do I make the rich savory gravy mentioned with this roast? ▾
It’s incredibly easy using the drippings left in the slow cooker! Once you remove the roast and veggies, pour the drippings into a small saucepan, bring to a gentle simmer, and whisk in a slurry of 2 tablespoons cornstarch mixed with 2 tablespoons cold water. Simmer 2 to 3 minutes until thickened, then adjust salt and pepper to taste.
7.My roast came out tough and chewy—what did I do wrong? ▾
Tough roast almost always traces back to two common issues: either you used too lean a cut of beef, or you didn’t cook it long enough. Chuck roast needs time for its tough connective tissue to dissolve into tender, juicy gelatin. If your roast is chewy, pop it back on LOW for 60 to 90 minutes, and it will soften right up.
8.Is garlic powder really better than fresh garlic for this recipe? ▾
Garlic powder is actually ideal here because it distributes evenly across the seared roast surface, infusing every bite with mellow garlic flavor without the harsh, burnt bite fresh garlic can develop when seared at high heat or slow cooked for hours. If you love fresh garlic, toss 3 to 4 crushed cloves in during the last hour of cook time.
9.How should I store leftover roast beef, veggies, and gravy? ▾
Let all components cool completely within 2 hours of cooking, then store them in sealed airtight containers in the fridge for up to 4 days. The flavors actually meld and get better as it sits! You can also freeze leftovers for up to 3 months; thaw overnight in the fridge before reheating gently, adding a splash of broth if gravy thickens too much.
10.Do I need to add a lot of liquid to the slow cooker for this roast? ▾
You only need about ½ cup of low-sodium beef broth or water if you want extra drippings for gravy. As the roast cooks low and slow, it releases a significant amount of its own juicy, flavorful drippings, so adding too much liquid will dilute the rich beef flavor and wash off the simple seasoning rubbed on the roast’s exterior.

Comments (13)

2 days ago

OMG this slow cooker roast beef was a total game changer for our Sunday family dinner! I threw it in before my kids’ soccer games and came home to the most tender, juicy meat that literally fell apart. My kids loved it — my picky middle son asked for seconds before anyone else even got their first serving! SO good.

1 day ago

So glad this worked out for your busy soccer Sunday! There’s nothing better than coming home to a ready, family-pleasing meal after a long day of activities. Thanks for the lovely review!

1 week ago

Made this for my weekly meal prep and it held up perfectly all week! I shredded half for roast beef sliders for my husband’s work lunches and sliced the rest for quick weeknight dinners with roasted veggies. Only question — can I use a chuck roast instead of the round roast the recipe calls for?

6 days ago

I used a chuck roast last week when I made this and it turned out even more tender! Just trimmed a little extra fat off first and it was chef’s kiss

5 days ago

Great question! Chuck roast works beautifully here — it has a little more marbling which makes for extra juicy results, just like @MidwestCooker mentioned. No other adjustments needed!

3 days ago

Brought this to our neighborhood block party potluck last weekend and people were begging for the recipe before I even set the platter down! I served it with little slider buns and horseradish sauce on the side, zero leftovers. 10/10 would make again for any group gathering.

yesterday

I’m literally brand new to cooking and was so nervous to make roast beef for my in-laws visiting this weekend, but this recipe was SO easy! I followed the directions exactly and it came out perfect? Wait, is that normal? My father-in-law said it was better than the roast his mom used to make. Wild.

12 hours ago

Honey, that’s the magic of a good slow cooker recipe! No fancy skills needed, just let that machine do all the work for you. So happy it wowed your in-laws!

5 days ago

Wait, has anyone tried cooking this on low for 10 hours instead of 8? I leave for super early day hikes on Saturdays and won’t be home until 8 hours is up, worried it’ll get overcooked if I leave it longer?

4 days ago

I do 10 hours on low all the time for this! Just add an extra quarter cup of beef broth so it doesn’t dry out, turns out perfect every time for me

3 days ago

Great tip from @SlowCookerStan! Cooking on low for 10 hours works totally fine as long as you add that splash of extra broth to keep the meat moist. Just avoid cranking it to high to cut time, that’s what makes it tough!

30 minutes ago

Made this last night and it was a hit! My only tiny note is that I wish the seasoning blend was a little more garlicky for my taste, but that’s just personal preference. The texture was unreal, I couldn’t believe how easy it was for how fancy it felt.

10 minutes ago

Thanks for the feedback! Feel free to toss in an extra 2-3 cloves of minced garlic (or a teaspoon of garlic powder) next time to bump up that flavor — recipes are just a starting point, after all! So glad you loved the texture.

2 weeks ago

This is such an affordable meal to feed a whole family! I grabbed a cheap roast on sale at the grocery store, used pantry staple seasonings, and fed 4 people with enough leftovers for lunch the next day for under $12 total. Absolute staple for my grocery rotation now.

2 hours ago

Is this recipe gluten free? I saw the seasoning list looks fine but wanted to double check if there’s any hidden soy sauce or wheat-based additives I should swap out before I make it for my sister who has celiac.

1 hour ago

I made this for my celiac kid last month! Just make sure the beef broth you use is labeled gluten free (some have hidden wheat) and you’re totally good to go, no other swaps needed!

45 minutes ago

Second that! I use low-sodium gluten free broth every time and it tastes exactly the same, no one in my family can tell the difference

5 minutes ago

What do y’all do with the leftovers? I have a ton left from making this Sunday and I’m tired of just eating it plain with mashed potatoes. Need fun ideas!

just now

Make French dip sandwiches! Toast some hoagie rolls, melt provolone on top, dip in the leftover au jus from the slow cooker. Game. Changer. Also works great chopped up in hash for breakfast!

1 week ago

I know this is marketed as a family meal but I made this for my at-home date night with my girlfriend and it was so romantic? We had it with red wine, roasted garlic mashed potatoes, and roasted green beans, and she said it was the best meal I’ve ever made for her. Win for the slow cooker!

2 weeks ago

This was great but I wanted a little kick! I added a teaspoon of cayenne and some smoked paprika and it was chef’s kiss, but next time I want to add even more heat. Any suggestions from the group?

12 days ago

Try tossing in a couple sliced jalapeños (seeds and all if you want real heat) with the veggies at the start! I did that last time and it gave the whole roast a nice slow, warm heat without being overpowering

10 days ago

Love your spicy twist! A tablespoon of chopped chipotle peppers in adobo is another amazing add if you want that smoky, spicy kick that seeps right into the meat as it cooks. So glad you’re making the recipe your own!

3 days ago

As a college student with a tiny slow cooker in my dorm, this was perfect! Minimal cleanup, minimal effort, way better than the dining hall roast beef. I split it with my roommates and we all ate like kings for two days for way cheaper than takeout. 10/10

yesterday

The roast came out so tender but my carrots and potatoes that I put in at the start were totally mushy by the time the 8 hour cook time was up! Did I do something wrong? I cut them into big chunks like the recipe said.

20 hours ago

Oh no, sorry to hear your veggies got mushy! Every slow cooker runs a little different — if yours runs hot, try adding the root veggies in the last 2-3 hours of cook time instead of the start, that way they’ll be tender but not overcooked. Hope that helps for next time!



