
smitten kitchen mac and cheese

title 1
smitten kitchen mac and cheese
⏱️ cook time 30 minutes
🍽️ servings 4
⚡ Difficulty easy

intro

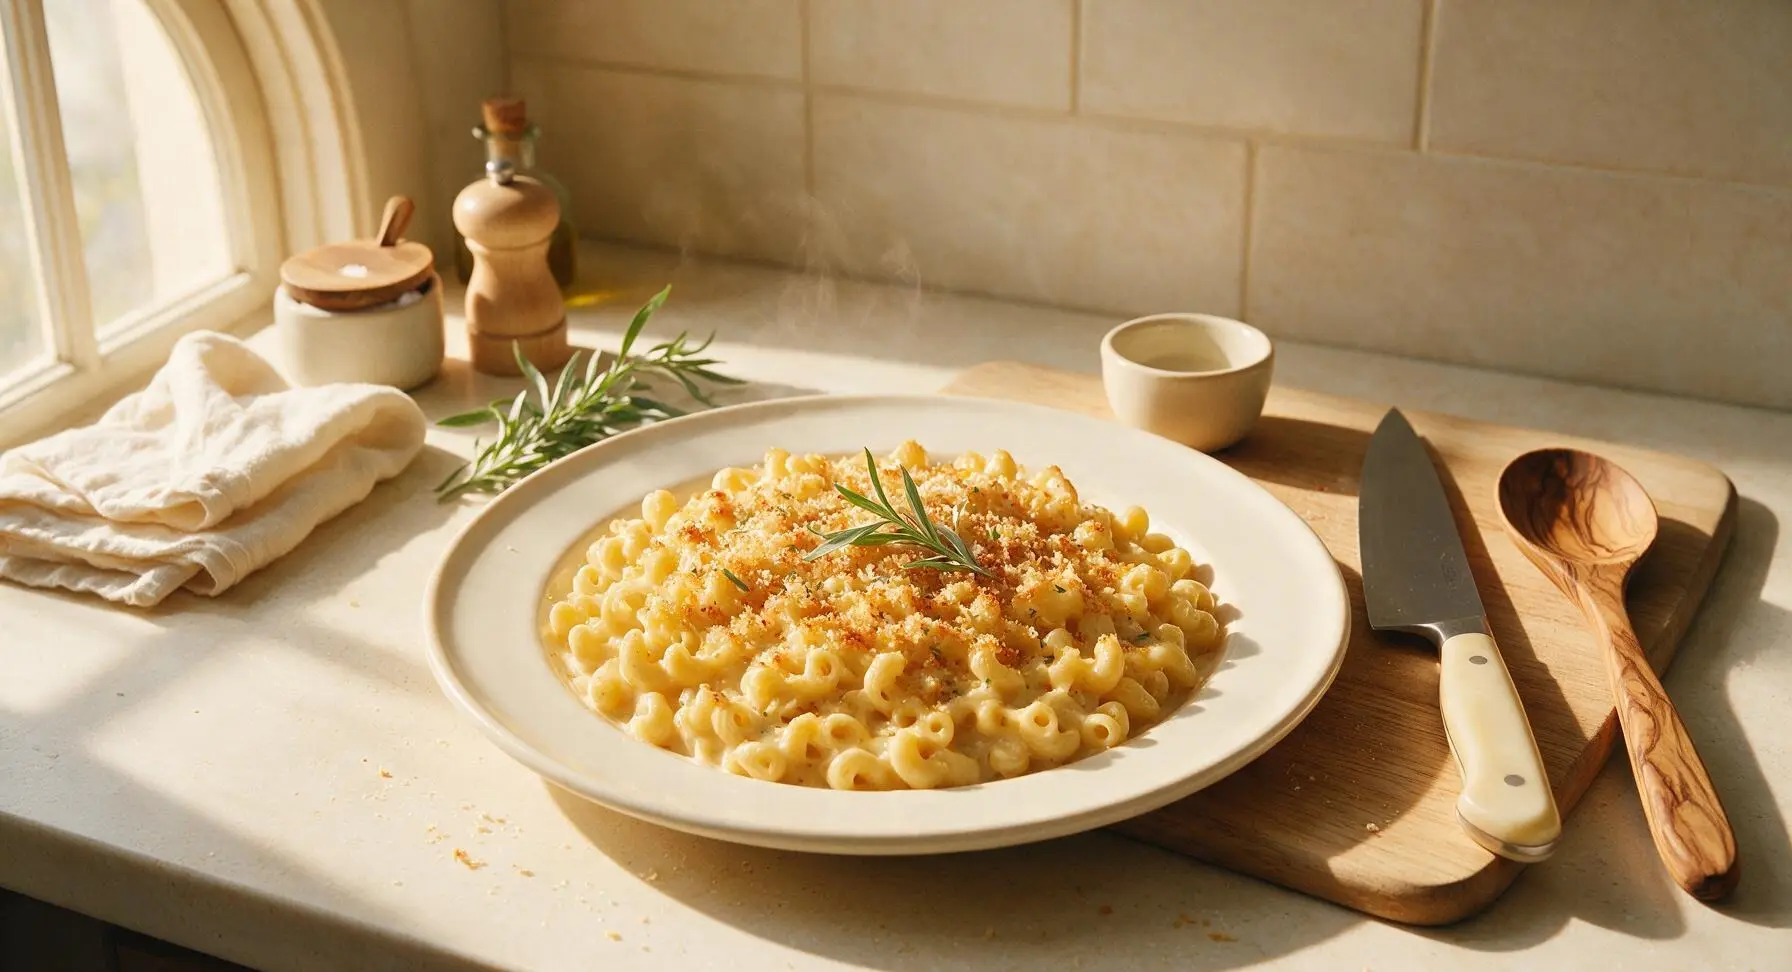
Creamy, sharp cheese sauce coats tender elbow pasta, topped with crisp buttered panko and baked to bubbly golden perfection: the beloved, iconic Smitten Kitchen take on classic mac and cheese.

Ingredients
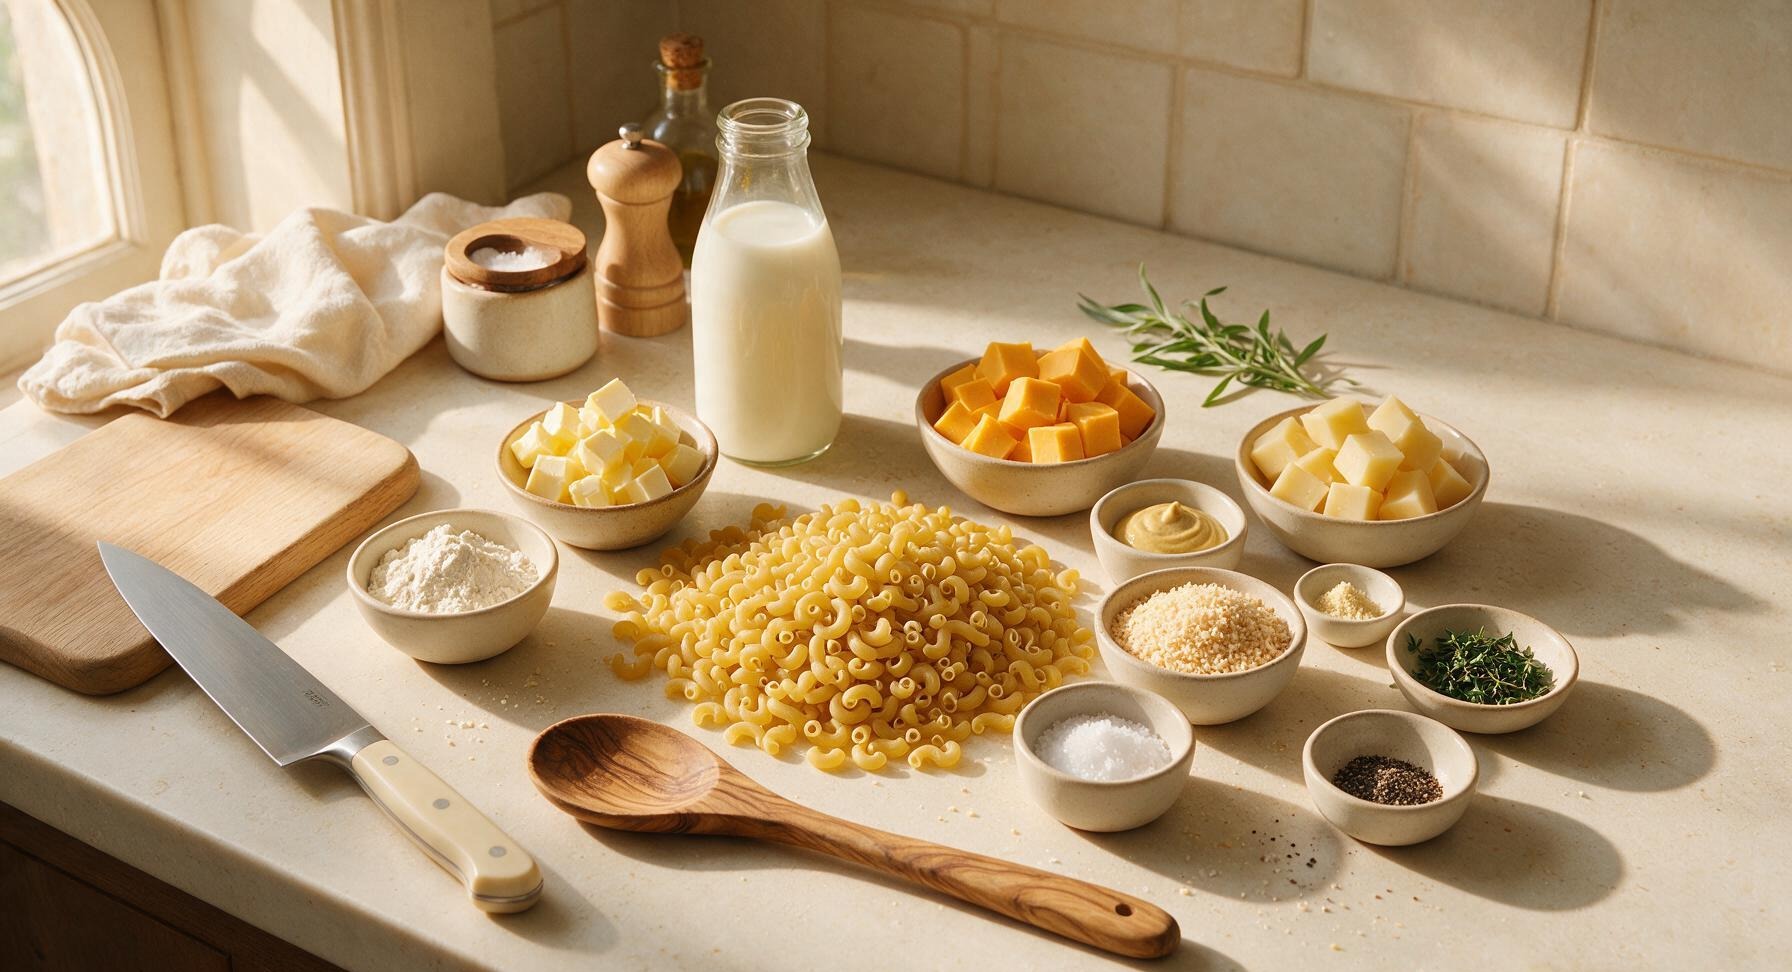
Dry elbow macaroni 225g (8oz, ~2 cups dry)
Unsalted butter 55g (4 tbsp, divided)
All-purpose flour 25g (3 tbsp)
Whole milk 480ml (2 cups)
Sharp yellow cheddar cheese 180g (6oz)
Gruyère cheese 60g (2oz)
Dijon mustard 5g (1 tsp)
Kosher salt 20g (1 tbsp for pasta water, plus ½ tsp for sauce)
Freshly ground black pepper 1g (¼ tsp)
Freshly grated nutmeg 0.5g (pinch, ~1/8 tsp)
Panko breadcrumbs 30g (½ cup)
Fresh thyme leaves 1g (1 tsp, chopped)

Steps

1

Preheat Oven, Boil Water

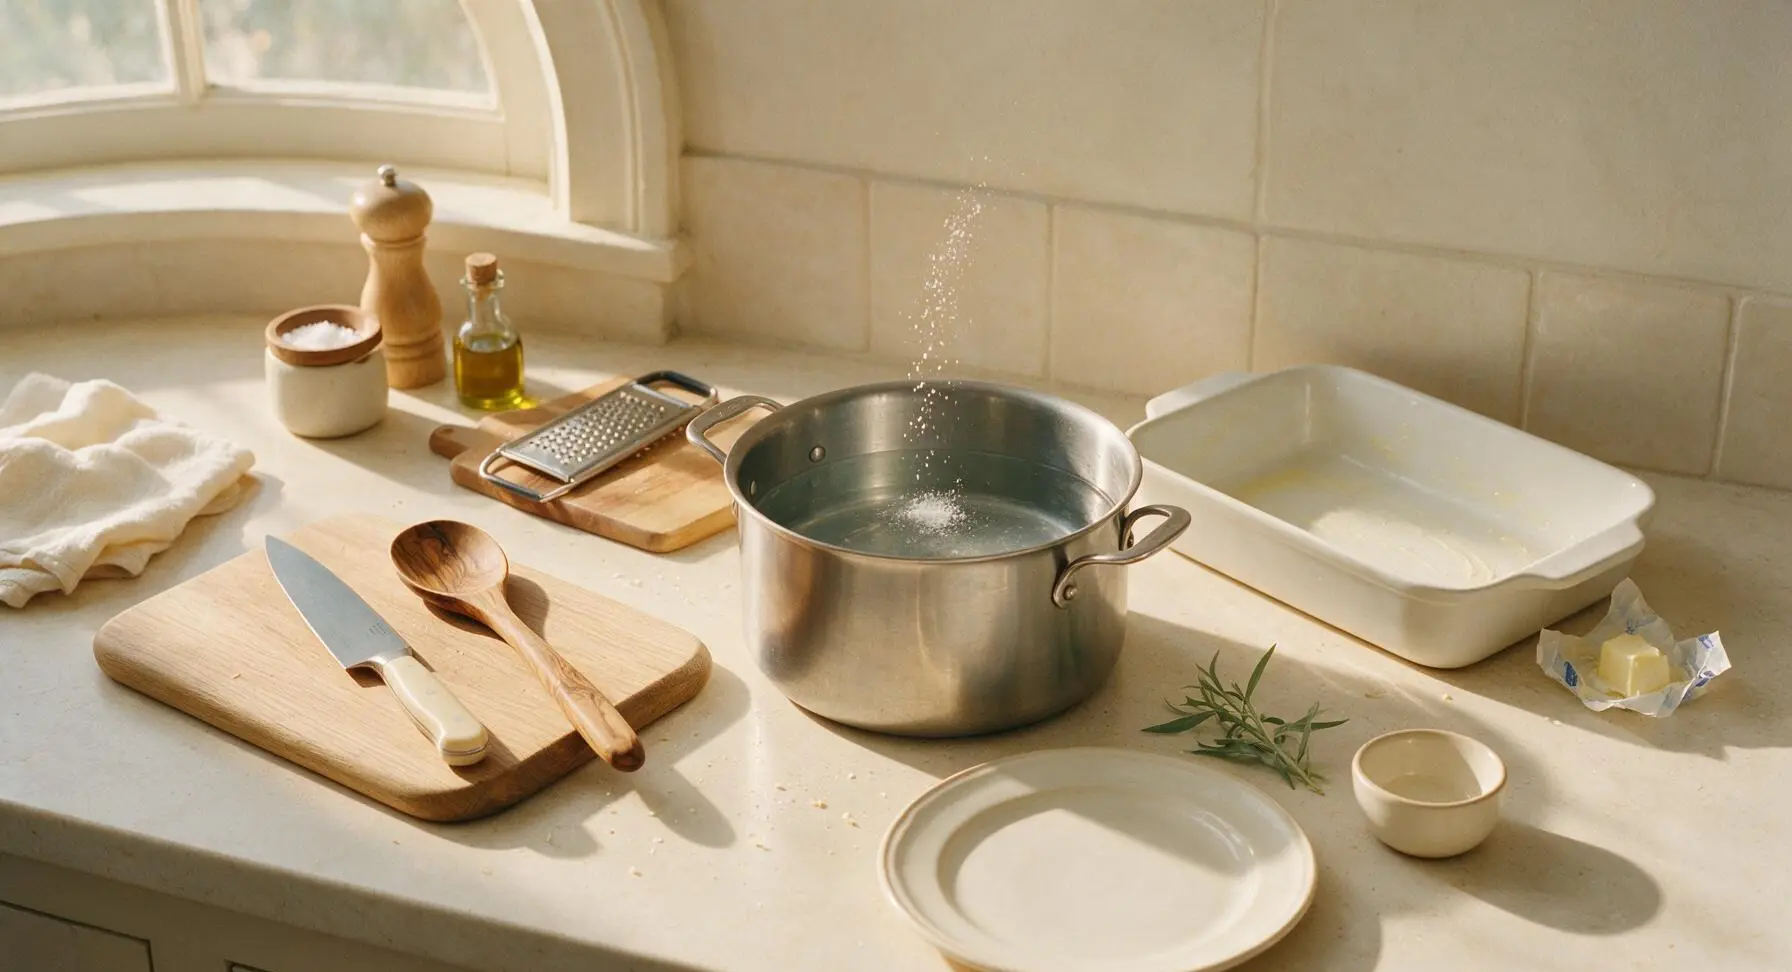
Preheat oven to 400°F (200°C). Fill the 4-quart stainless steel stock pot with 3 quarts of cold water, add 1 tablespoon of kosher salt (water should taste as salty as seawater), and set over high heat to bring to a rolling boil. Grease the 9x13 inch matte white ceramic baking dish lightly with ½ tablespoon of butter, and set it to the right of the stovetop area on the counter.
Step 1
step1:Preheat Oven, Boil Water
2

Shred Cheese, Cook Pasta

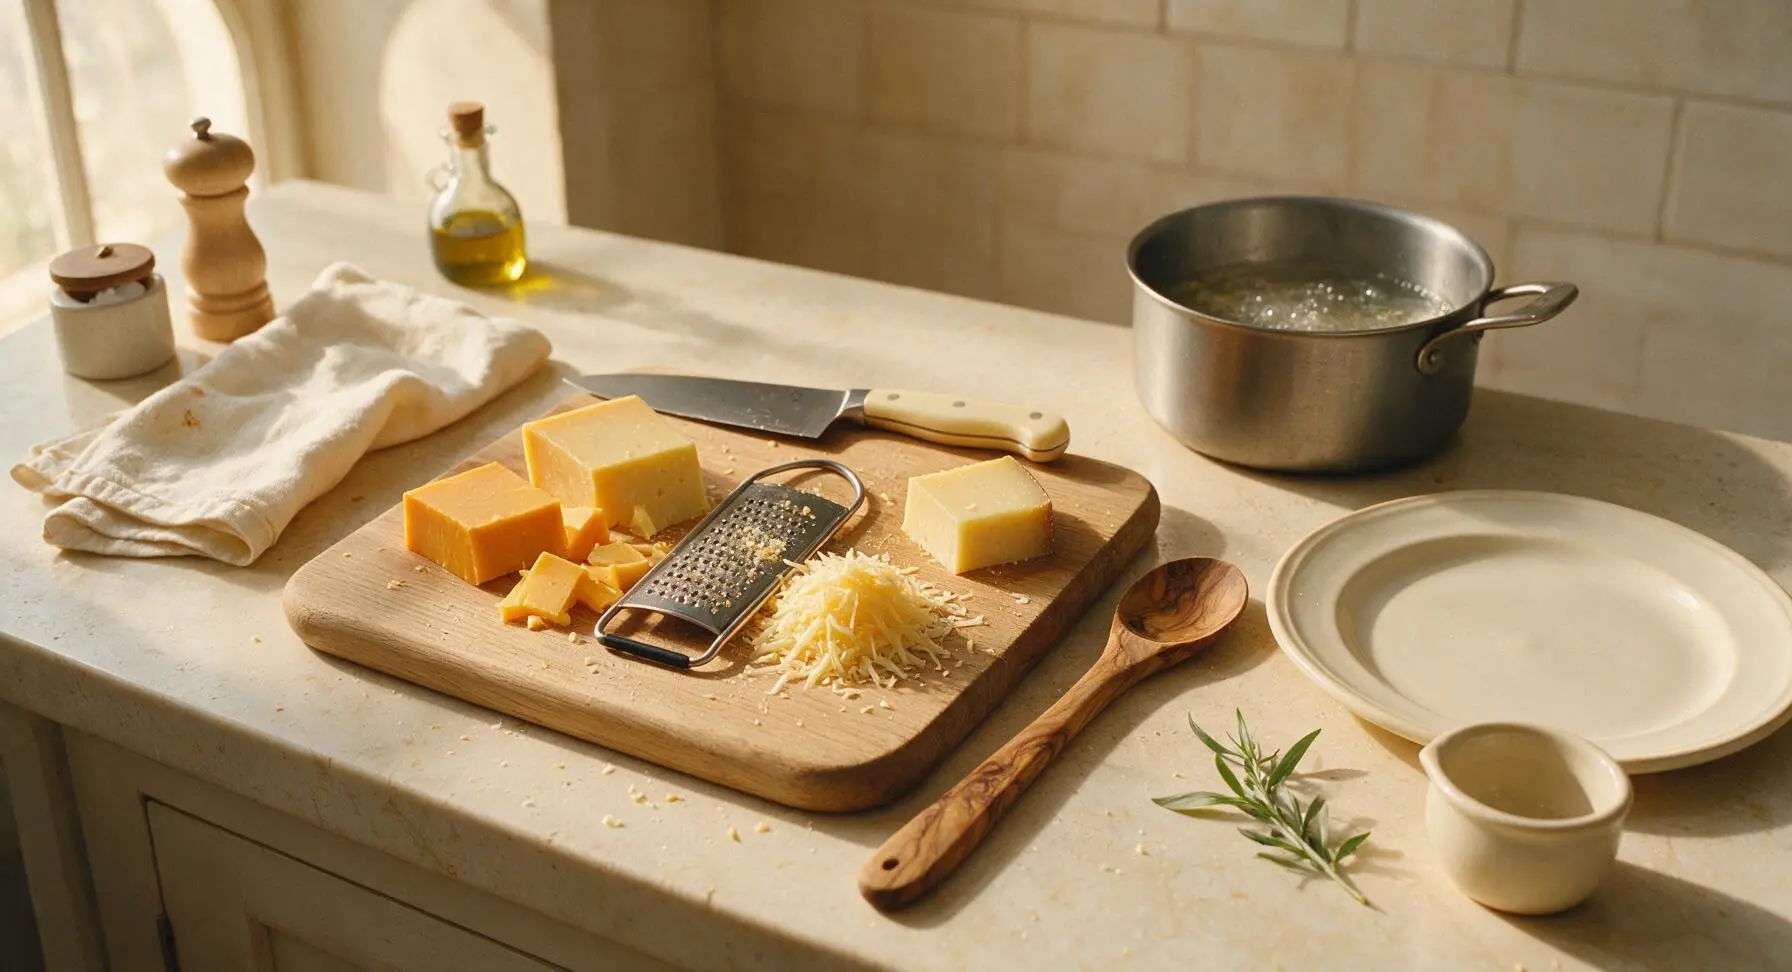
While waiting for water to boil, use the box grater on the maple cutting board to shred the sharp cheddar and gruyère, combining them in a loose pile on the board. Once water reaches a rolling boil, add the dry elbow macaroni, stirring immediately with the beechwood spoon to prevent sticking. Cook pasta for 1 minute less than the package directions for al dente (approximately 7 minutes total), as it will continue cooking in the oven.
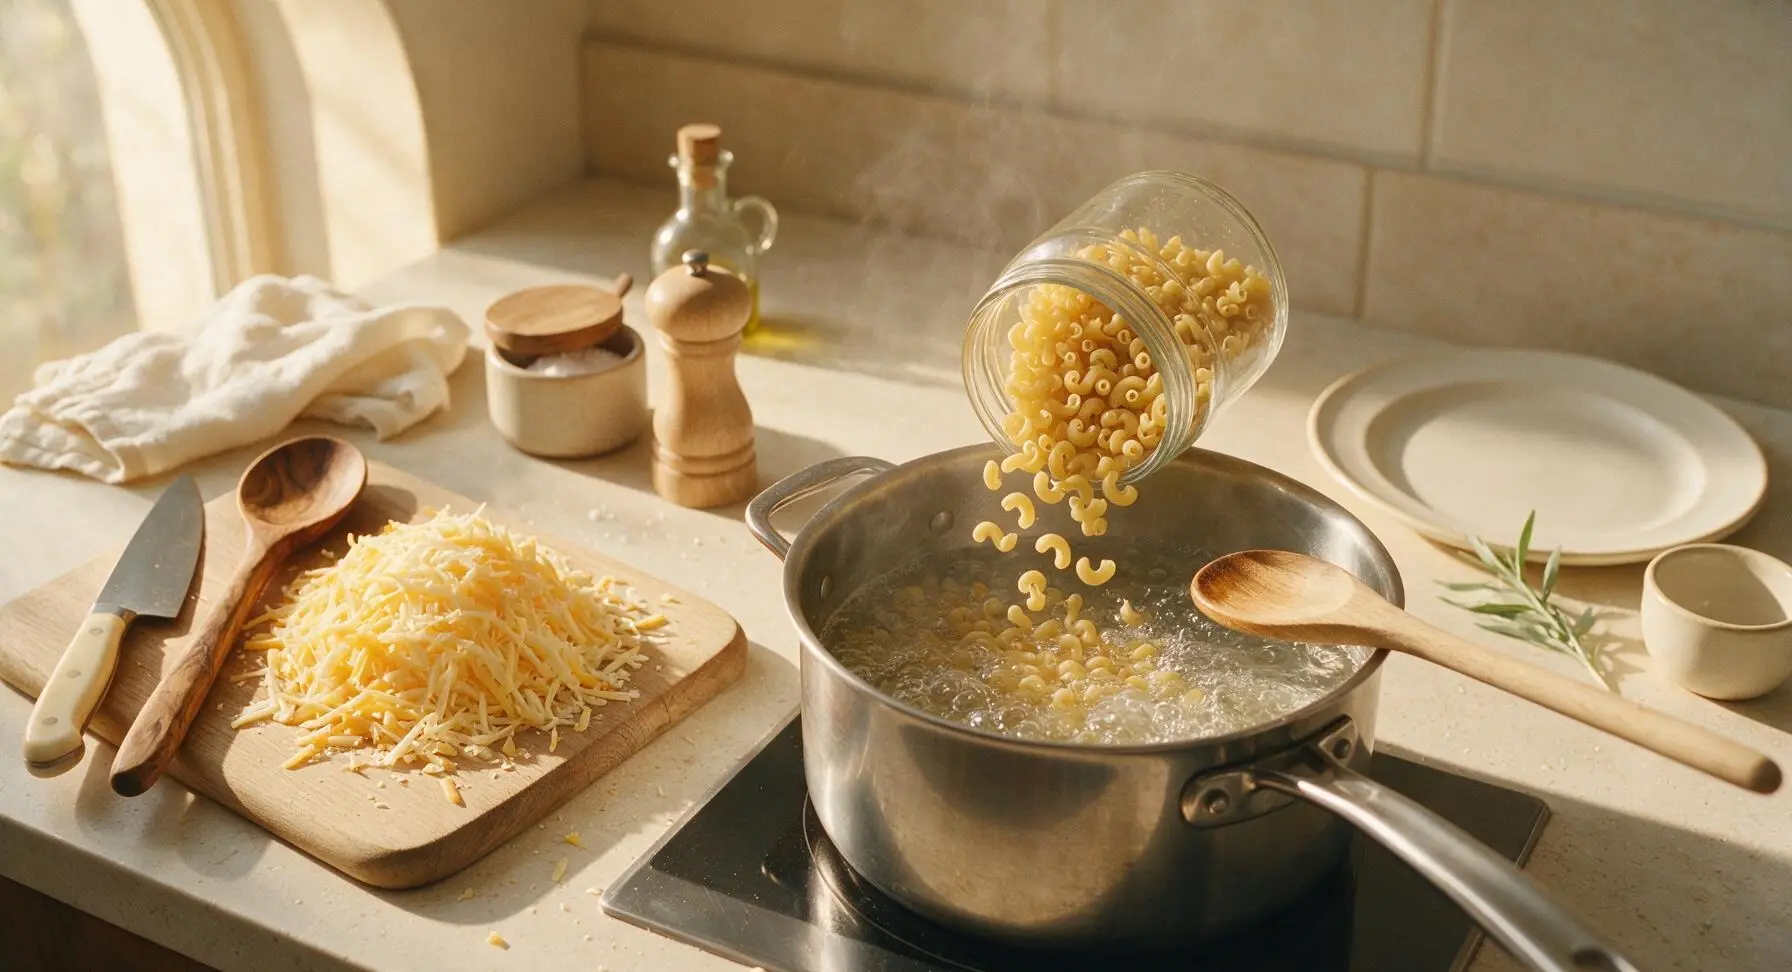
Step 2
step2:Shred Cheese, Cook Pasta
Step 2
step2:Shred Cheese, Cook Pasta
3

Drain Pasta, Start Roux

Once pasta is cooked to very al dente (firm to the bite, no white core in the center), pour it into the white enamel colander to drain fully, and set aside. Place the 3-quart stainless steel saucepan on the center of the counter over medium-low heat, add the remaining 3.5 tablespoons of butter, and melt completely. Whisk in the all-purpose flour to form a smooth, pale golden roux, cooking for 2 full minutes while whisking constantly to remove the raw flour taste.
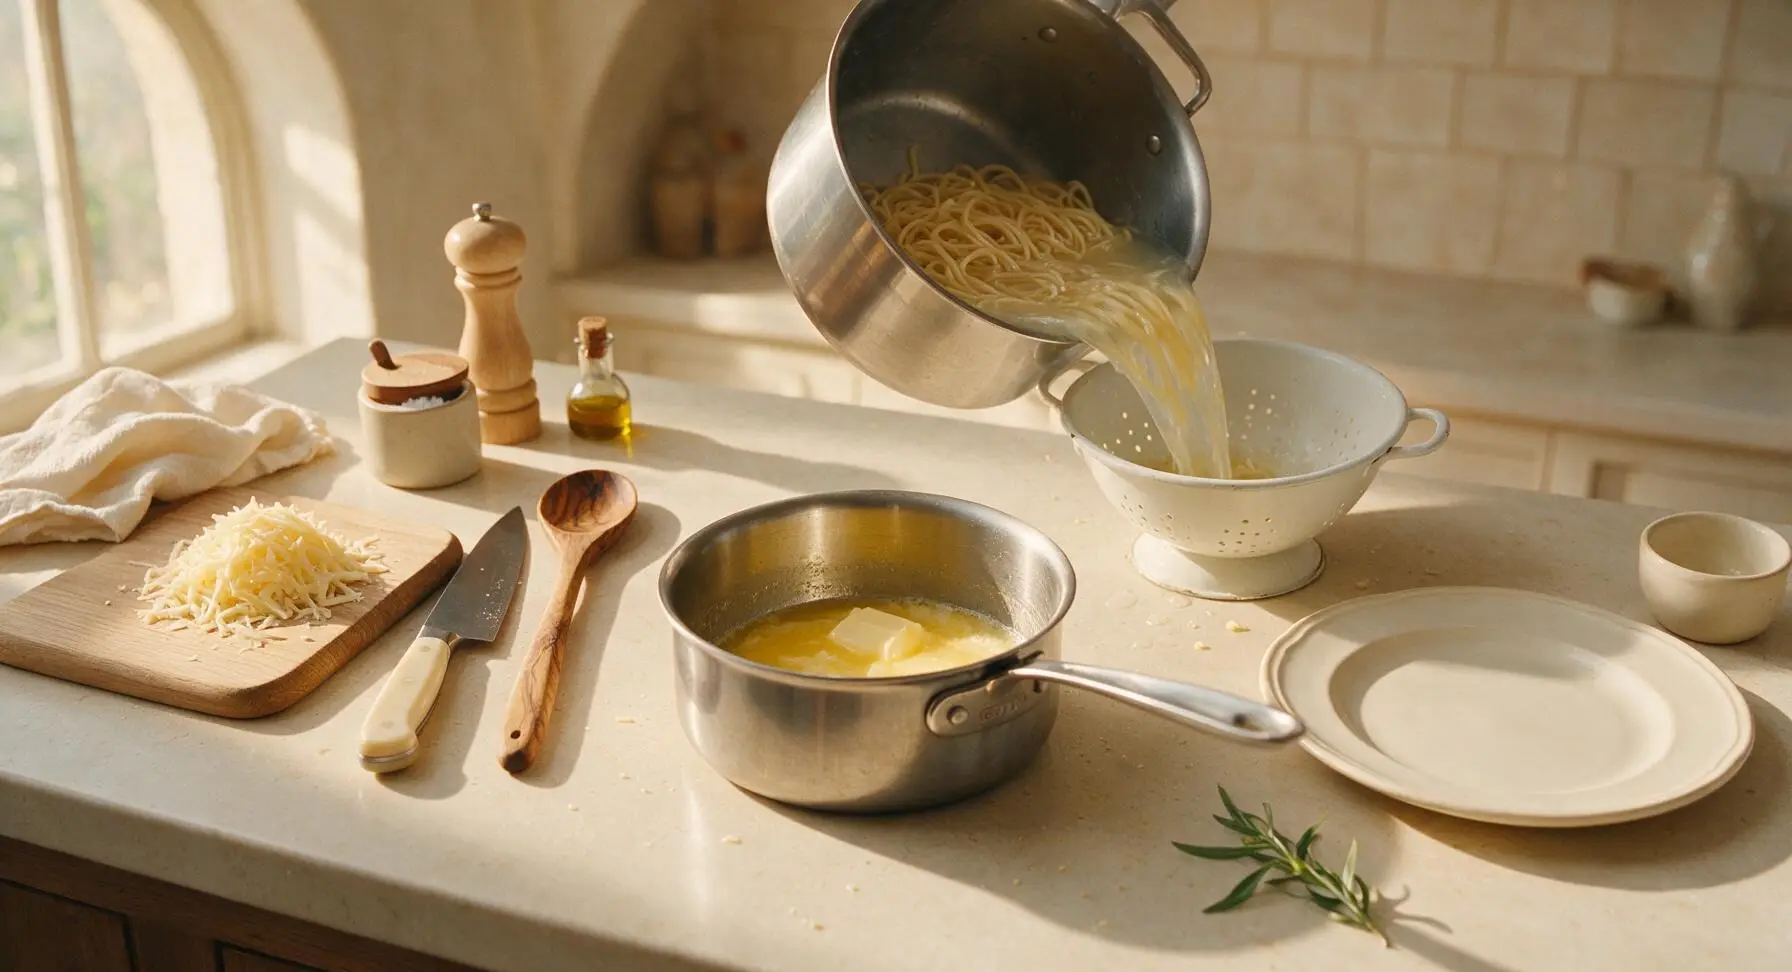
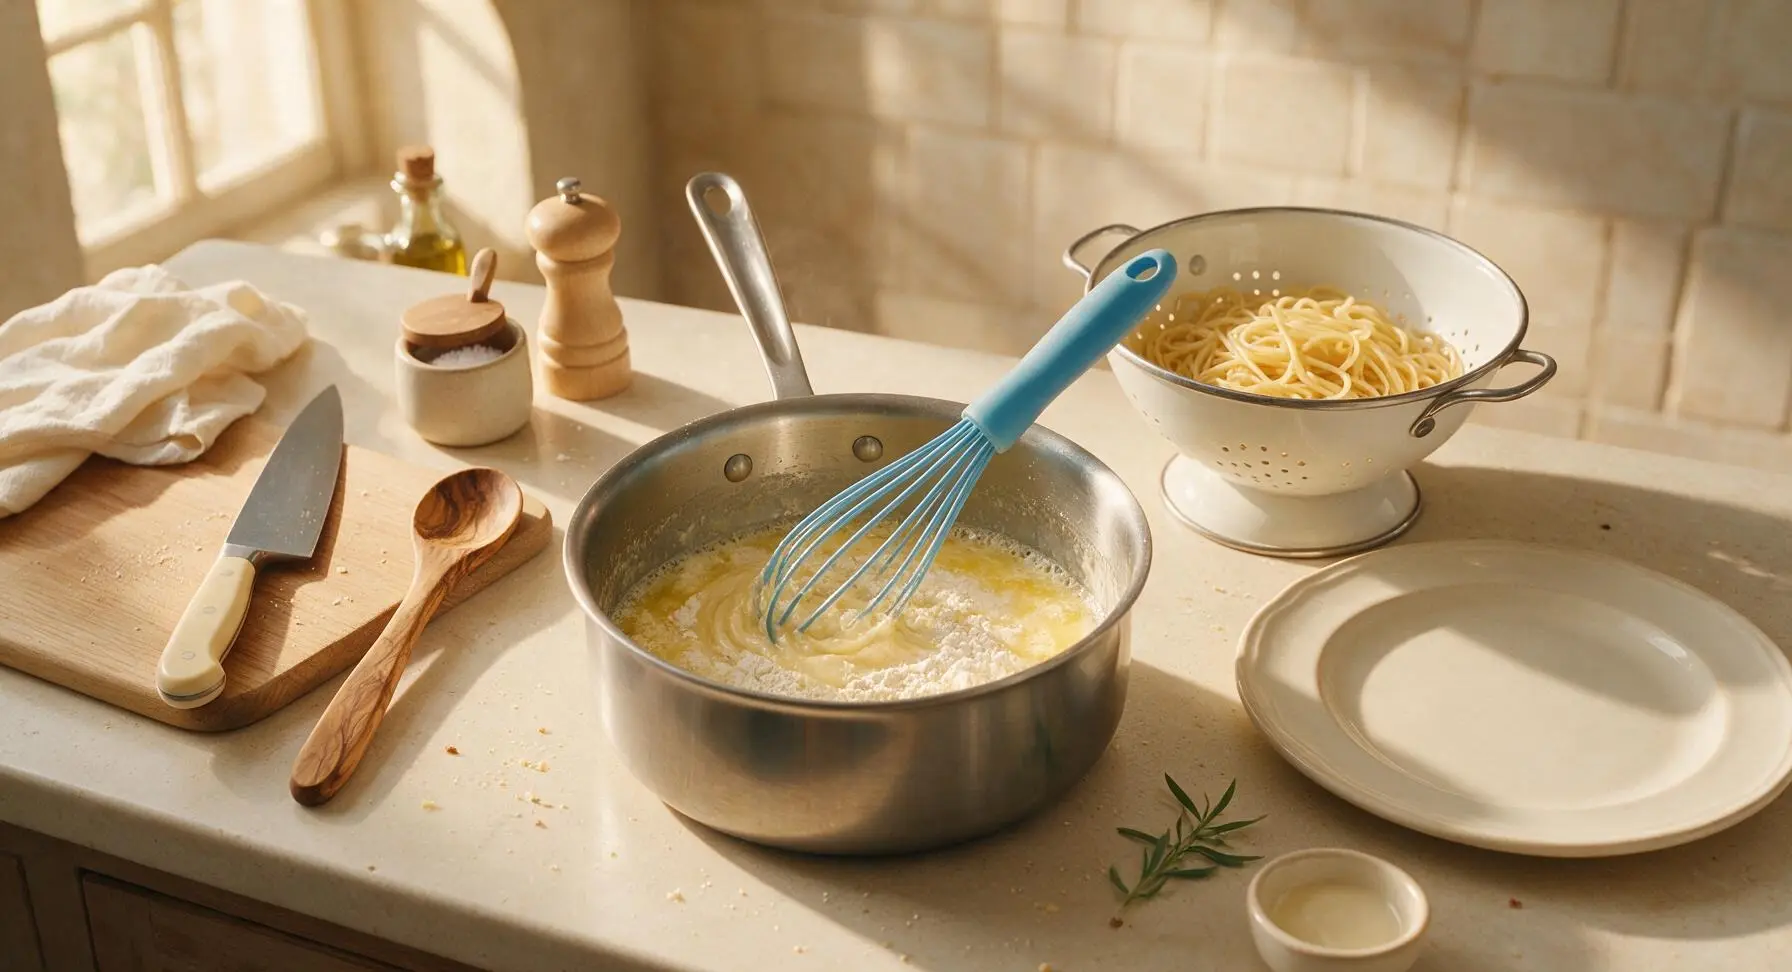
Step 3
step3:Drain Pasta, Start Roux
Step 3
step3:Drain Pasta, Start Roux
4

Whisk Cheese Sauce

Slowly pour the whole milk into the roux, whisking constantly to prevent lumps, until the sauce is smooth and thick enough to coat the back of a spoon (3-4 minutes total; a clear line will remain when you run your finger across the coated spoon). Remove the pot from heat, stir in Dijon mustard, kosher salt, black pepper, and pinch of nutmeg, then stir in ¾ of the shredded cheese, whisking until fully melted and smooth.
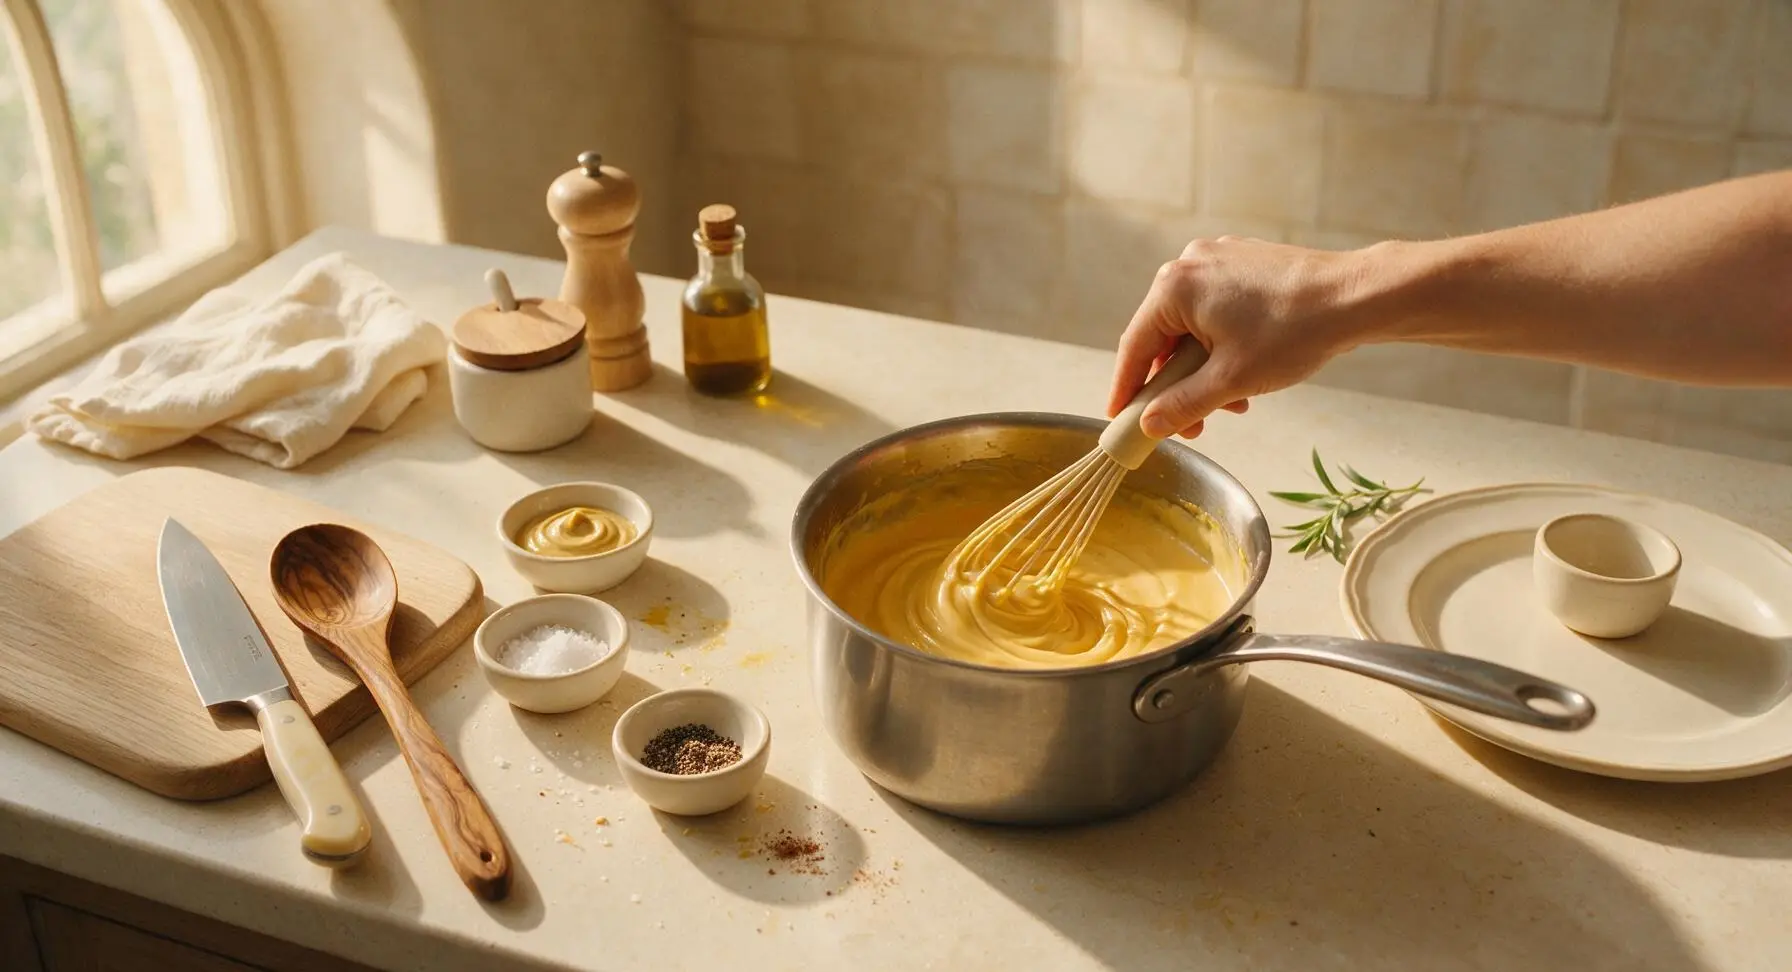
Step 4
step4:Whisk Cheese Sauce
5

Mix Pasta and Sauce

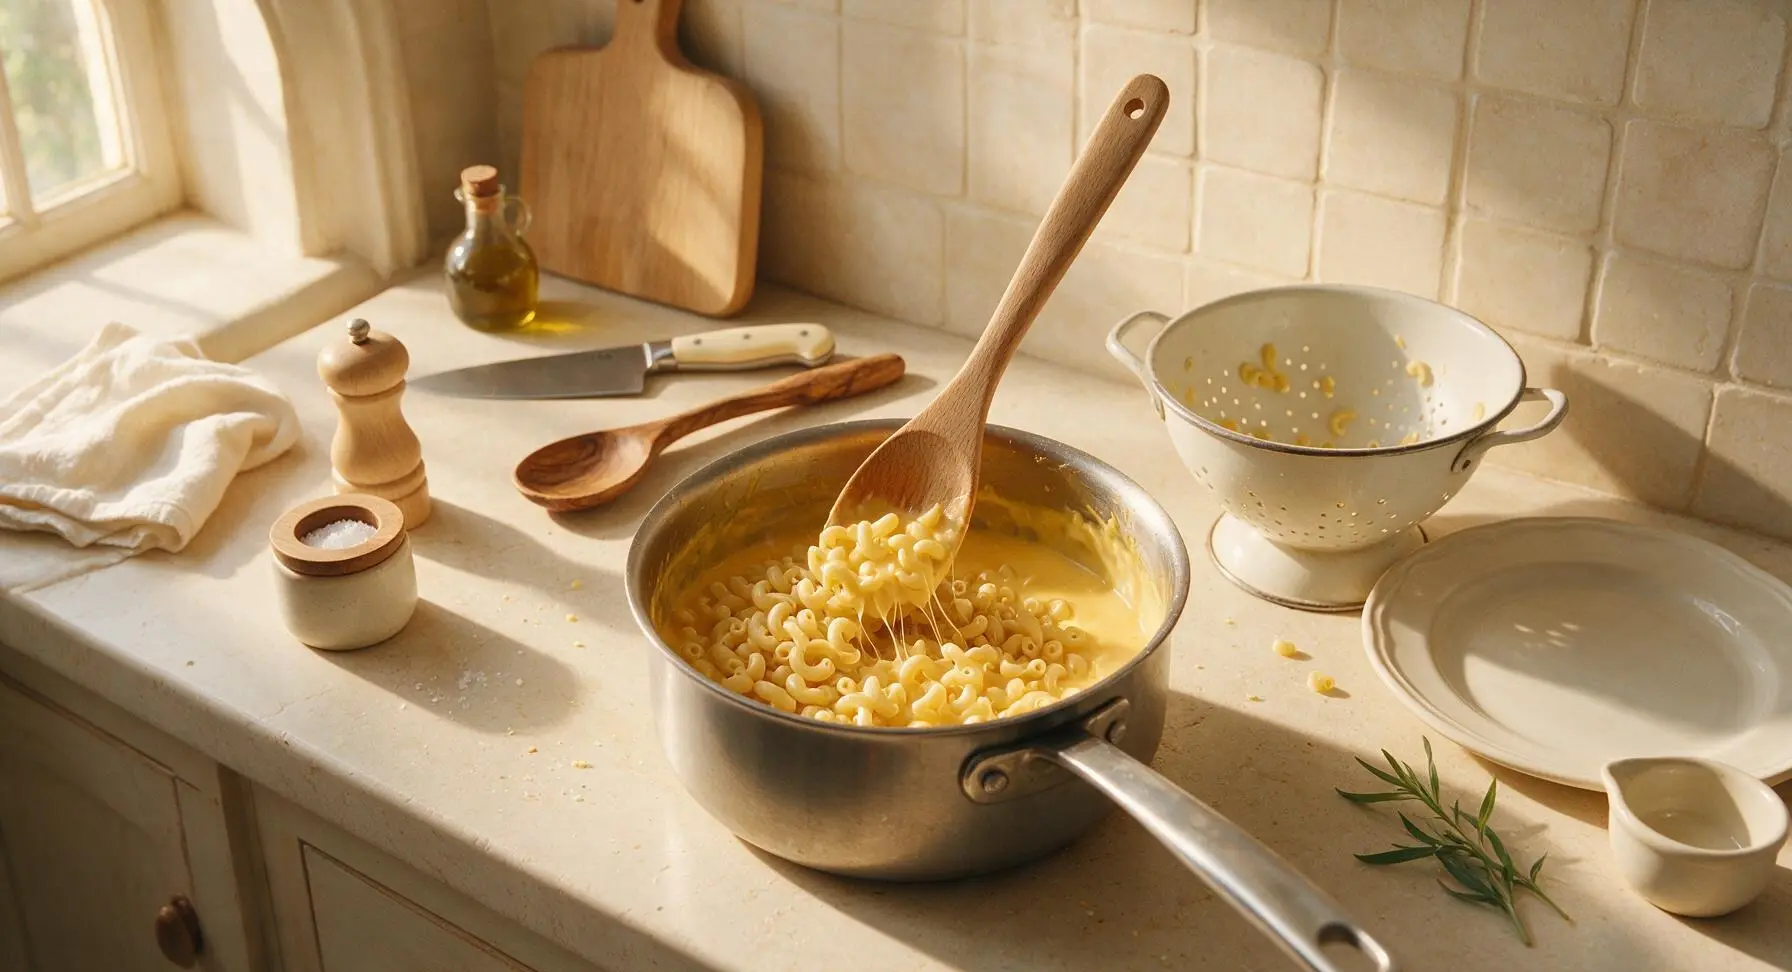
Add the fully drained elbow macaroni to the pot with the cheese sauce, stirring gently with the beechwood spoon until every pasta noodle is evenly coated in the thick, golden cheese sauce. Taste a small bite and adjust seasoning with extra salt or pepper if needed, being careful not to over-stir and break the tender pasta noodles.
Step 5
step5:Mix Pasta and Sauce
6

Assemble Baking Dish

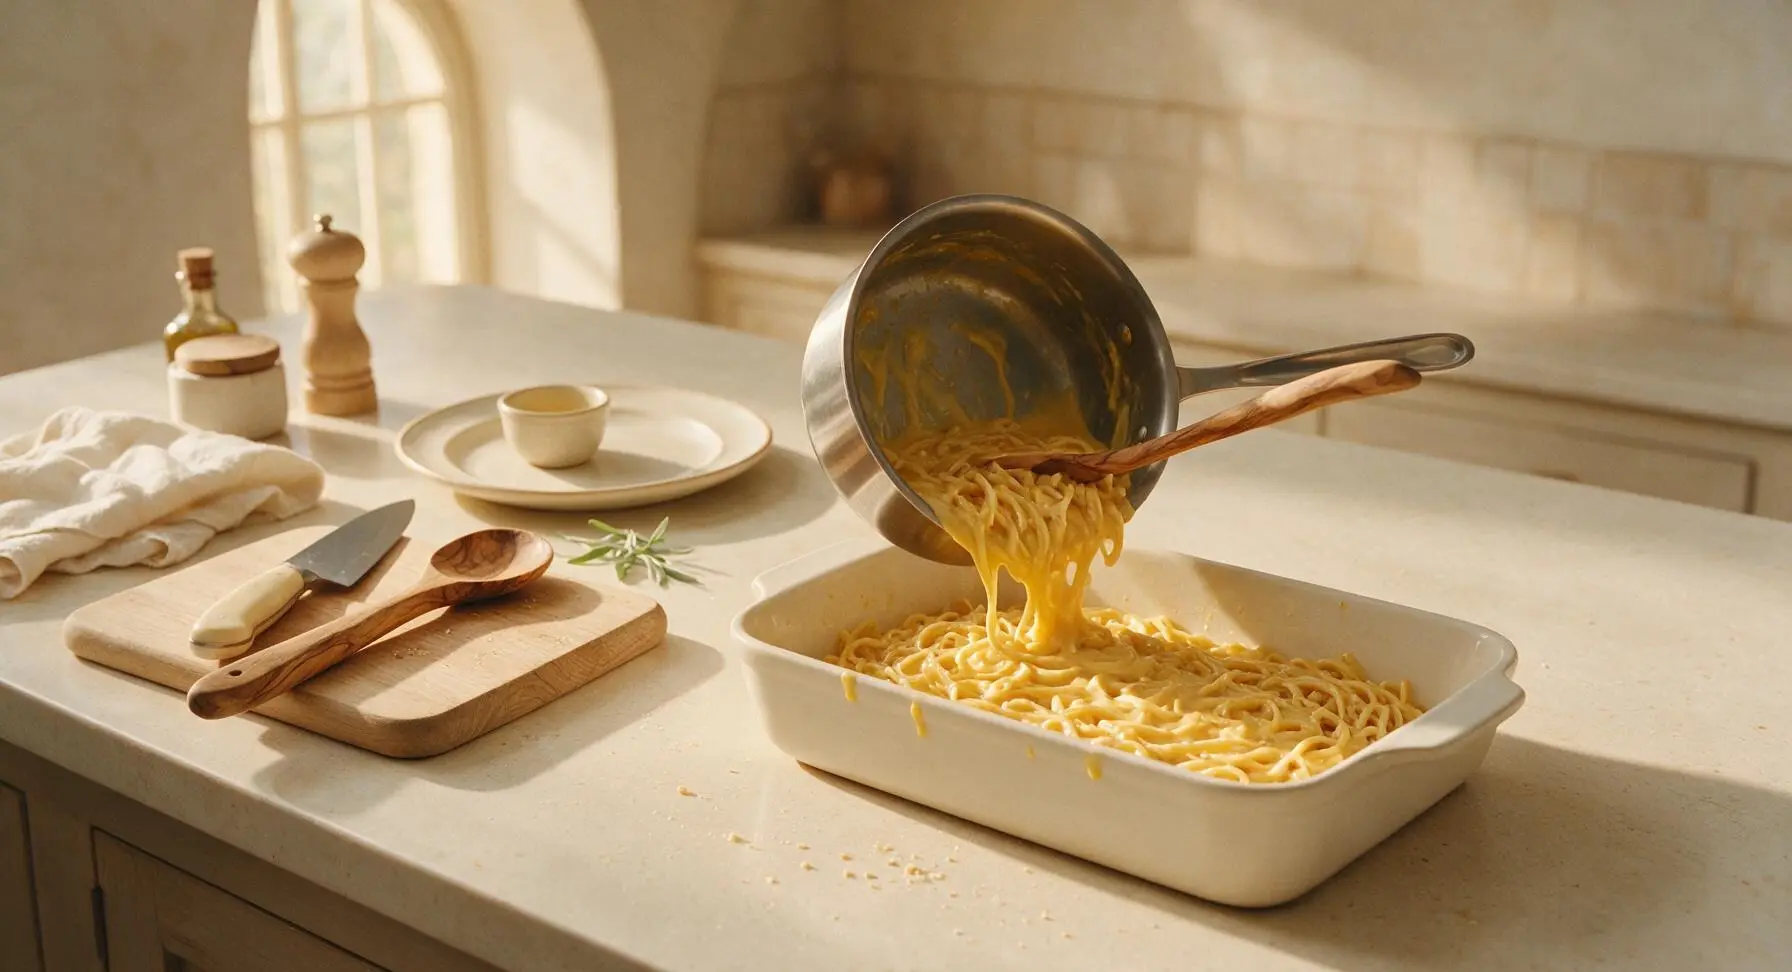
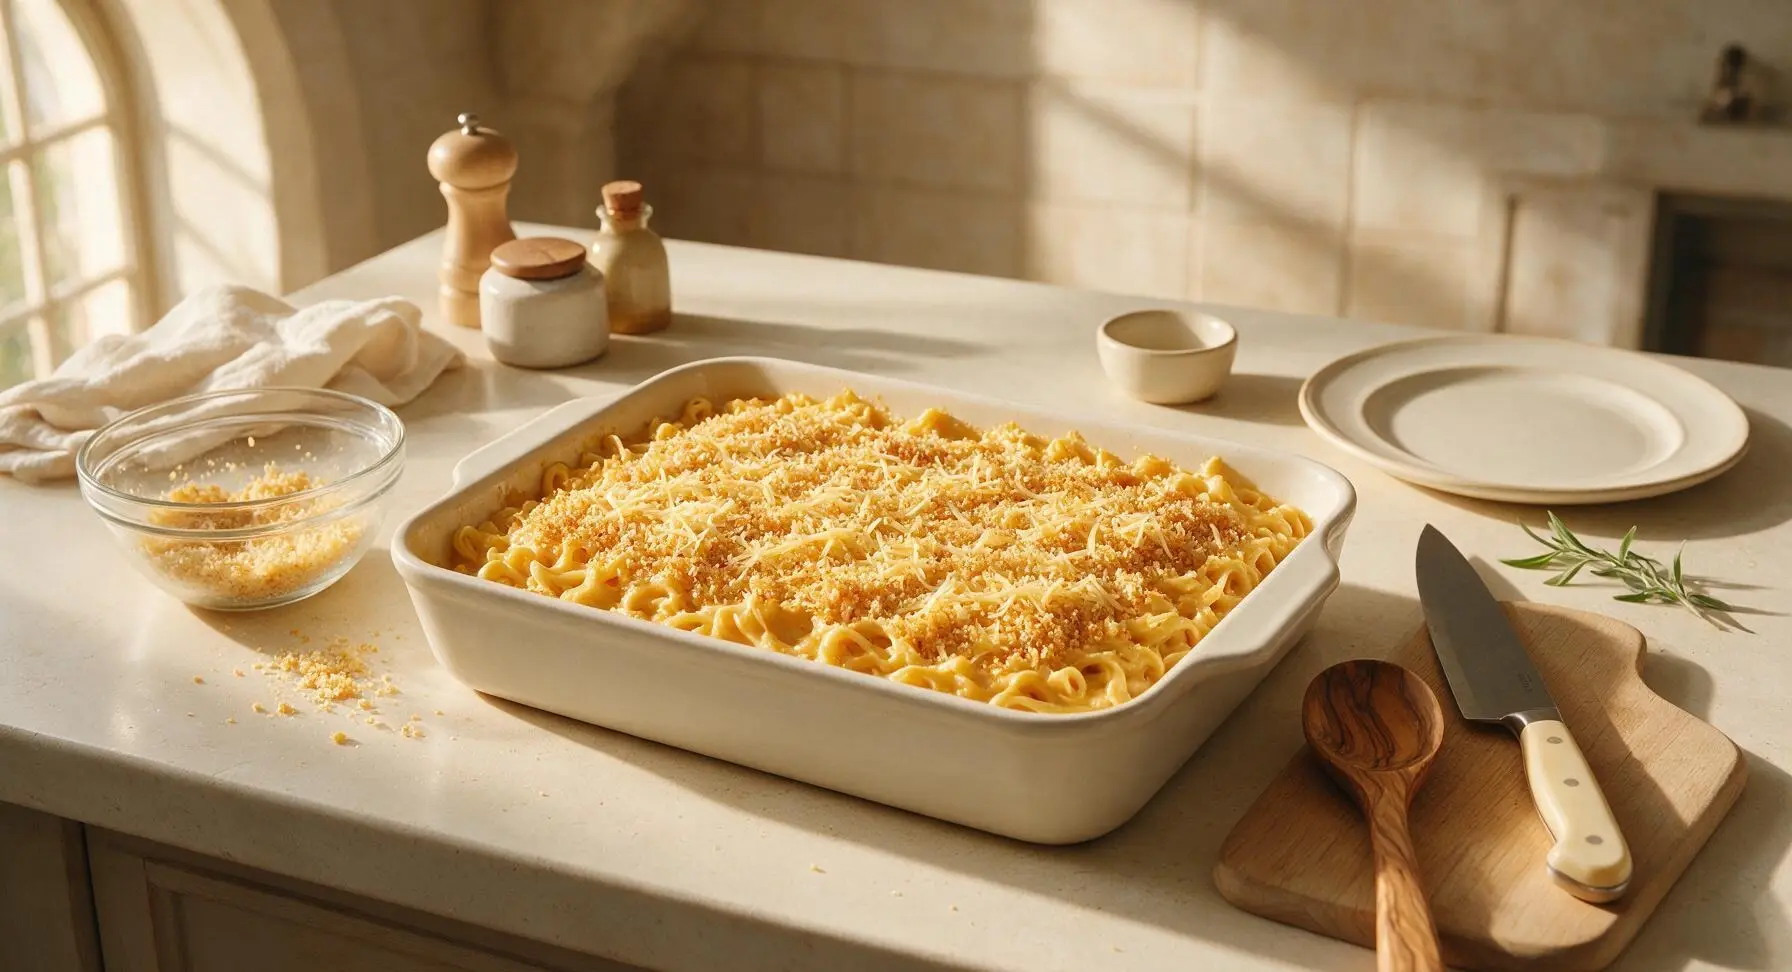
Pour the cheese-coated pasta mixture into the prepared 9x13 inch ceramic baking dish, spreading it into an even layer with the back of the wooden spoon. In the small clear glass mixing bowl, toss the panko breadcrumbs, chopped fresh thyme, and remaining ½ tablespoon of melted butter until the crumbs are evenly coated, then sprinkle the crumb mixture evenly over the top of the mac and cheese, followed by the remaining ¼ of the shredded cheese.
Step 6
step6:Assemble Baking Dish
Step 6
step6:Assemble Baking Dish
7

Bake Until Bubbly

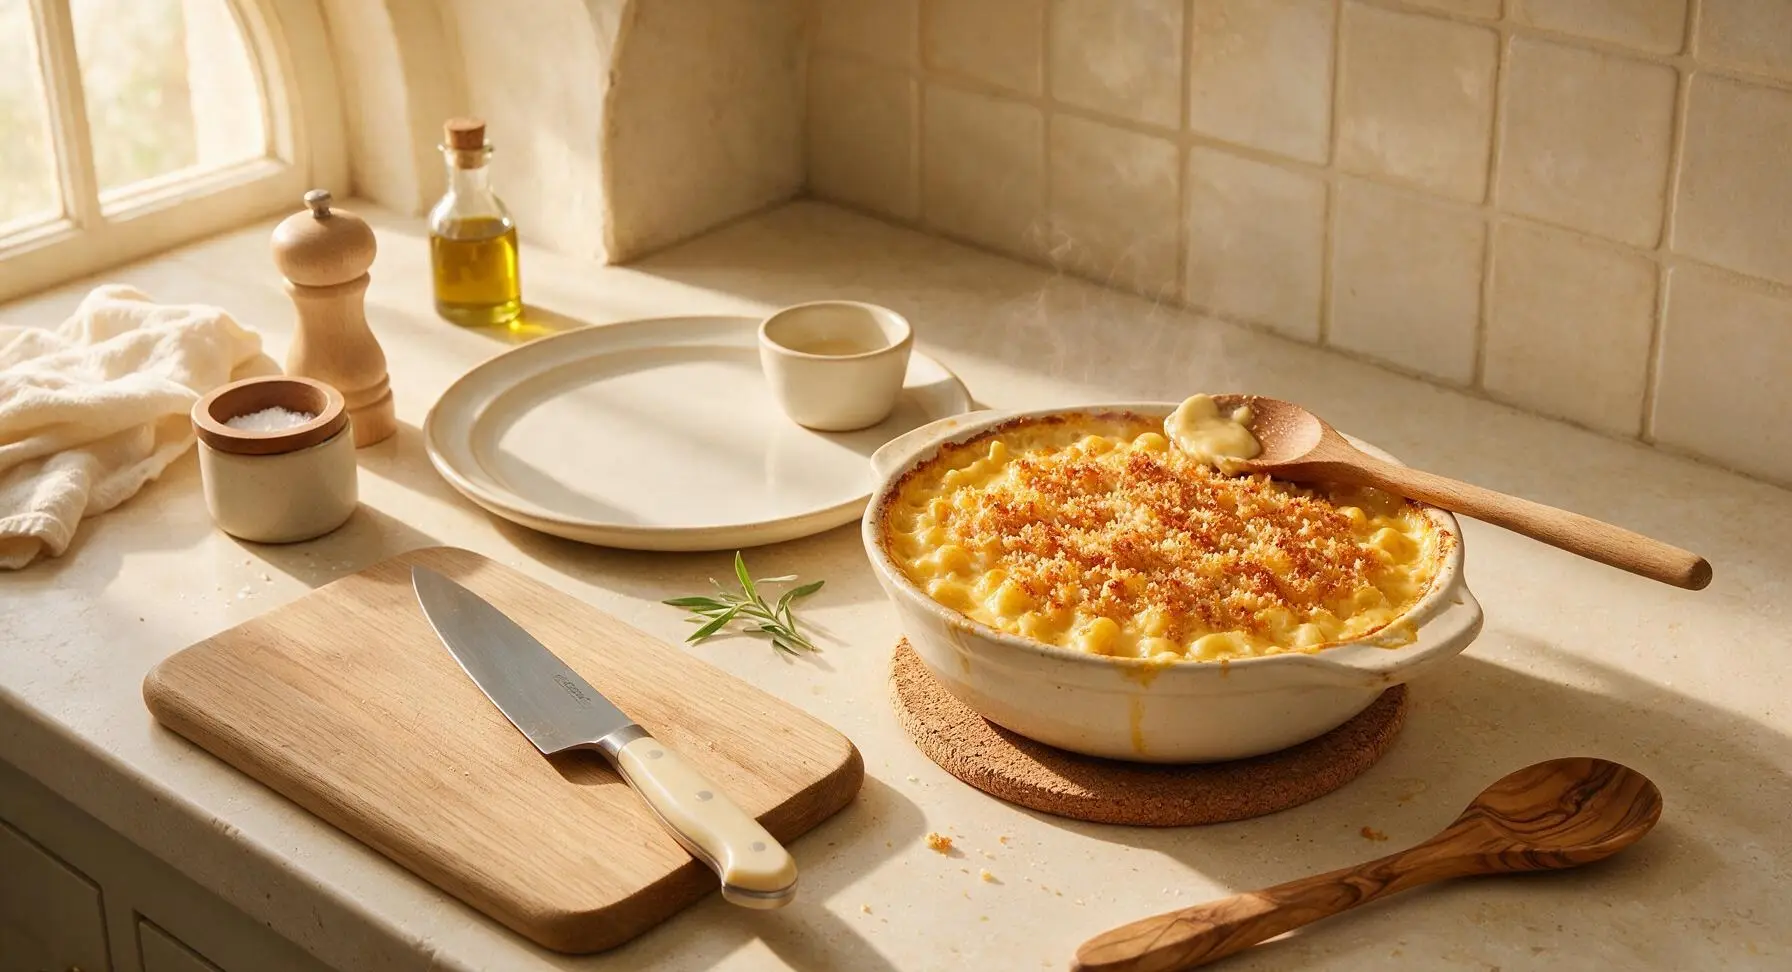
Place the assembled baking dish on the middle rack of the preheated 400°F (200°C) oven, and bake for 15-18 minutes, until the cheese sauce is bubbling vigorously around the edges of the dish, and the panko topping is deep golden brown and crisp. Remove from the oven and set on the cork trivet to rest for 5 minutes before serving, to allow the sauce to set slightly.
Step 7
step7:Bake Until Bubbly

Tips

1.Grate your own cheese instead of using pre-shredded bagged cheese: pre-shredded cheese is coated in potato starch or natamycin to prevent caking, which prevents the cheese from melting smoothly and can leave your sauce grainy instead of silky.
2.Salt your pasta water until it tastes as salty as seawater: pasta absorbs salt as it cooks, which seasons the noodles from the inside out, rather than relying only on the cheese sauce for flavor.
3.Don’t skip the 5-minute rest after baking: cutting into mac and cheese straight from the oven will result in runny, loose sauce; the short rest allows the cheese to thicken and cling to the pasta for perfect, cohesive bites.


✨ You May Also Like

Main Course
🍜 United Kingdom

A showstopping classic of tender seared beef, savory mushroom duxelles, and crisp prosciutto wrapped in flaky golden puff pastry, baked to juicy perfection.

⏱️ 2 hours 1Main Course ★ 4.7
Main Course
🍜 India

Tender charred marinated chicken simmered in a rich, spiced creamy tomato sauce, this iconic Anglo-Indian curry pairs perfectly with basmati rice or warm naan.

⏱️ 50 minuteMain Course ★ 4.6
Main Course
🍜 Thailand

Classic tangy, sweet, and savory Thai stir-fried rice noodles with shrimp, tofu, and crunchy garnishes, balancing all five core Thai flavor profiles.

⏱️ 30 minuteMain Course ★ 4.5
Main Course
🍜 United Kingdom

Crispy golden beer-battered cod and fluffy double-fried chips, served with tangy tartar sauce and malt vinegar: the timeless, beloved British pub comfort classic.

⏱️ 45 minuteMain Course ★ 4.7
Main Course
🍜 Mexico

Smoky, chile-marinated pork tacos with caramelized pineapple, fresh cilantro, and lime: a beloved classic Mexican street food perfect for casual summer gatherings.

⏱️ 1 hour 45Main Course ★ 4.8
Main Course
🍜 United States

Crunchy Fritos corn chips layered with savory beef chili and melted cheddar, topped with cool, zesty fixings for a beloved, cozy Tex-Mex comfort food.

⏱️ 35 minuteMain Course ★ 4.8

smitten kitchen mac and cheese:Frequently Asked Questions

1.Can I use pre-shredded cheddar instead of grating my own for this recipe? ▾
Pre-shredded cheddar is coated in anti-caking potato starch or cellulose that makes the cheese sauce grainy instead of silky, so fresh-grated sharp yellow cheddar is always best for that iconic smooth Smitten Kitchen texture. If you’re in a total pinch, you can use pre-shredded, but toss it with a tiny pinch of cornstarch first to help it melt more evenly, though the final sauce won’t be quite as luxe.
2.My cheese sauce turned out lumpy—what went wrong, and can I fix it? ▾
Lumps almost always form when you add milk too quickly to the butter-flour roux, or skip consistent whisking as the liquid incorporates. To fix it, take the pan off heat, pour the sauce through a fine-mesh sieve to strain out lumps, then return it to low heat and stir in your cheese a handful at a time. Never boil the sauce once cheese is added, as that will cause curdling.
3.Can I make this baked mac and cheese ahead of time for meal prep or a potluck? ▾
Absolutely! Assemble the full dish, including the buttered panko topping, then cover tightly and refrigerate for up to 2 days before baking. When you’re ready to cook, add 5 to 10 minutes to the total bake time to account for the cold dish, and cover with foil for the first 20 minutes to keep the topping from burning before the center is bubbly.
4.Do I have to use whole milk, or can I swap in lower-fat or non-dairy milk? ▾
Whole milk creates the perfectly rich, creamy sauce base that makes this recipe feel indulgent without being heavy, so it’s the top pick for the original version. 2% milk will work in a pinch but makes a slightly thinner sauce; avoid skim milk entirely, as it leads to a watery, bland result. For non-dairy, use unsweetened barista-blend oat milk for the closest texture match.
5.Why does my panko topping turn out soggy instead of crisp and golden? ▾
Soggy panko usually happens if you don’t coat the crumbs fully in melted butter first, or add the topping too far in advance of baking. For perfect crunch, toss panko with melted unsalted butter until every crumb is lightly coated, then sprinkle it evenly over the pasta right before baking. If your top isn’t browning, bake uncovered for the final 15 minutes to crisp it up.

Comments (9)

3 days ago

OMG this baked mac and cheese is a total game changer! My two super picky kids ate SECONDS last night at our family dinner, no complaints at all. I used sharp cheddar like the recipe said and it was so creamy, no grainy texture at all. 10/10 will be making this for every potluck from now on!

2 days ago

Wait did you add the breadcrumb topping? I’m making this for my work potluck Friday and debating if it’s worth the extra step!

2 days ago

The panko breadcrumb topping adds such a great crispy contrast to the creamy pasta, but it’s totally optional if you’re short on time! Either way it’ll be a hit at the potluck :)

1 week ago

As a broke college student with barely any cooking skills, this was SO easy to throw together! 30 minutes total? No fancy ingredients? I made it for my roommates and we all ate half the pan in one sitting. Only thing I messed up was over-salting the pasta water a little, oops. Still slapped though.

5 days ago

Pro tip: taste the pasta water before you boil, it should be about as salty as seawater! I used to over-salt mine all the time too, this recipe is foolproof once you get that down.

5 days ago

So glad it worked out even with the extra salt! If you want to mix it up next time, try adding a handful of cooked bacon bits or a dash of hot sauce for extra flavor, no fancy skills needed.

2 weeks ago

Has anyone tried making this ahead for meal prep? I’m always looking for lunches that hold up all week in the fridge and reheat well without getting gummy. This looks so good I want to add it to my Sunday prep rotation!

1 week ago

I made a big batch last Sunday and ate it for lunch all week! It reheats perfectly in the microwave with a tiny splash of milk stirred in, no gumminess at all. 10/10 for meal prep.

5 days ago

Made this for our family cookout last weekend and everyone was asking for the recipe! I added a little smoked paprika to the cheese sauce to give it a tiny smoky kick, paired so good with the ribs we grilled. Will absolutely be making this again.

4 days ago

Love the smoked paprika addition! That sounds like the perfect cookout side, so glad it was a hit with your crew.

2 days ago

Wait, is this easy to make gluten free? I have celiac and have been searching for a good GF baked mac that doesn’t taste like cardboard. Would swapping the flour for GF all purpose work here?

1 day ago

I swapped regular flour for Cup4Cup GF flour last time I made this and used GF pasta, it turned out exactly the same! No weird aftertaste at all, my kid who doesn’t need GF didn’t even notice a difference.

yesterday

This is way better than the boxed stuff I’ve been living off of since I moved to the city! The cheese sauce is so smooth, I didn’t think I could make something that tasted like restaurant quality in my tiny apartment oven. 10/10, no notes.

30 minutes ago

So happy to hear it! It’s wild how much better homemade is with just a handful of simple ingredients, no fancy kitchen required.

2 hours ago

Added a whole diced jalapeño and a handful of pepper jack cheese to the sauce and WHEW, that’s the perfect spicy mac. My roommate said it’s the best thing I’ve ever cooked, lmao. So easy too, I’ll be making this every other week for sure.

5 minutes ago

Made this for my grandkids when they came over Sunday and even my oldest grandson, who only eats chicken nuggets, cleaned his plate. It’s creamy, not too rich, just perfect. Bringing it to my church potluck next month, I know everyone will love it.

just now

This is so much more satisfying than the sad protein pasta I usually make after the gym. I added a little grilled chicken on top and it made the perfect post-gym dinner, super filling and not loaded with weird additives. SO good.



