
smoky mountain burritos

title 1
smoky mountain burritos
⏱️ cook time 20 minutes
🍽️ servings 4
⚡ Difficulty easy

intro

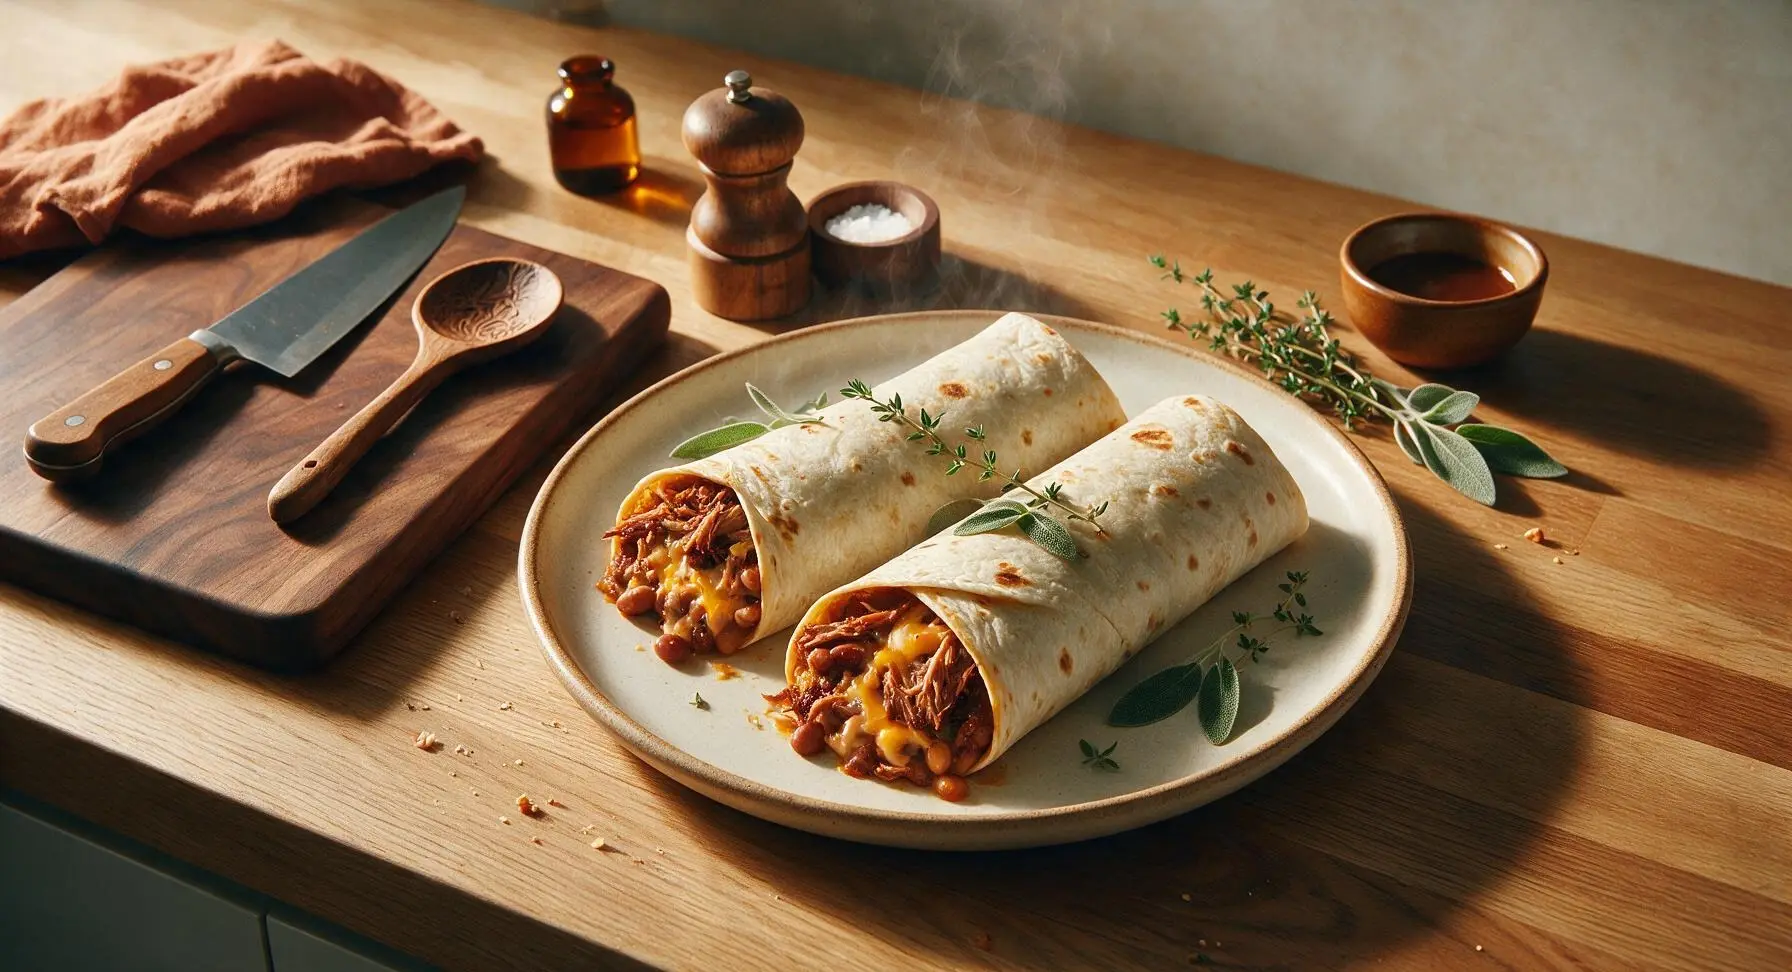
Hearty, smoke-kissed burritos stuffed with spiced pulled pork, creamy beans, and melted cheddar, evoking cozy campfire meals in the Great Smoky Mountains.

Ingredients
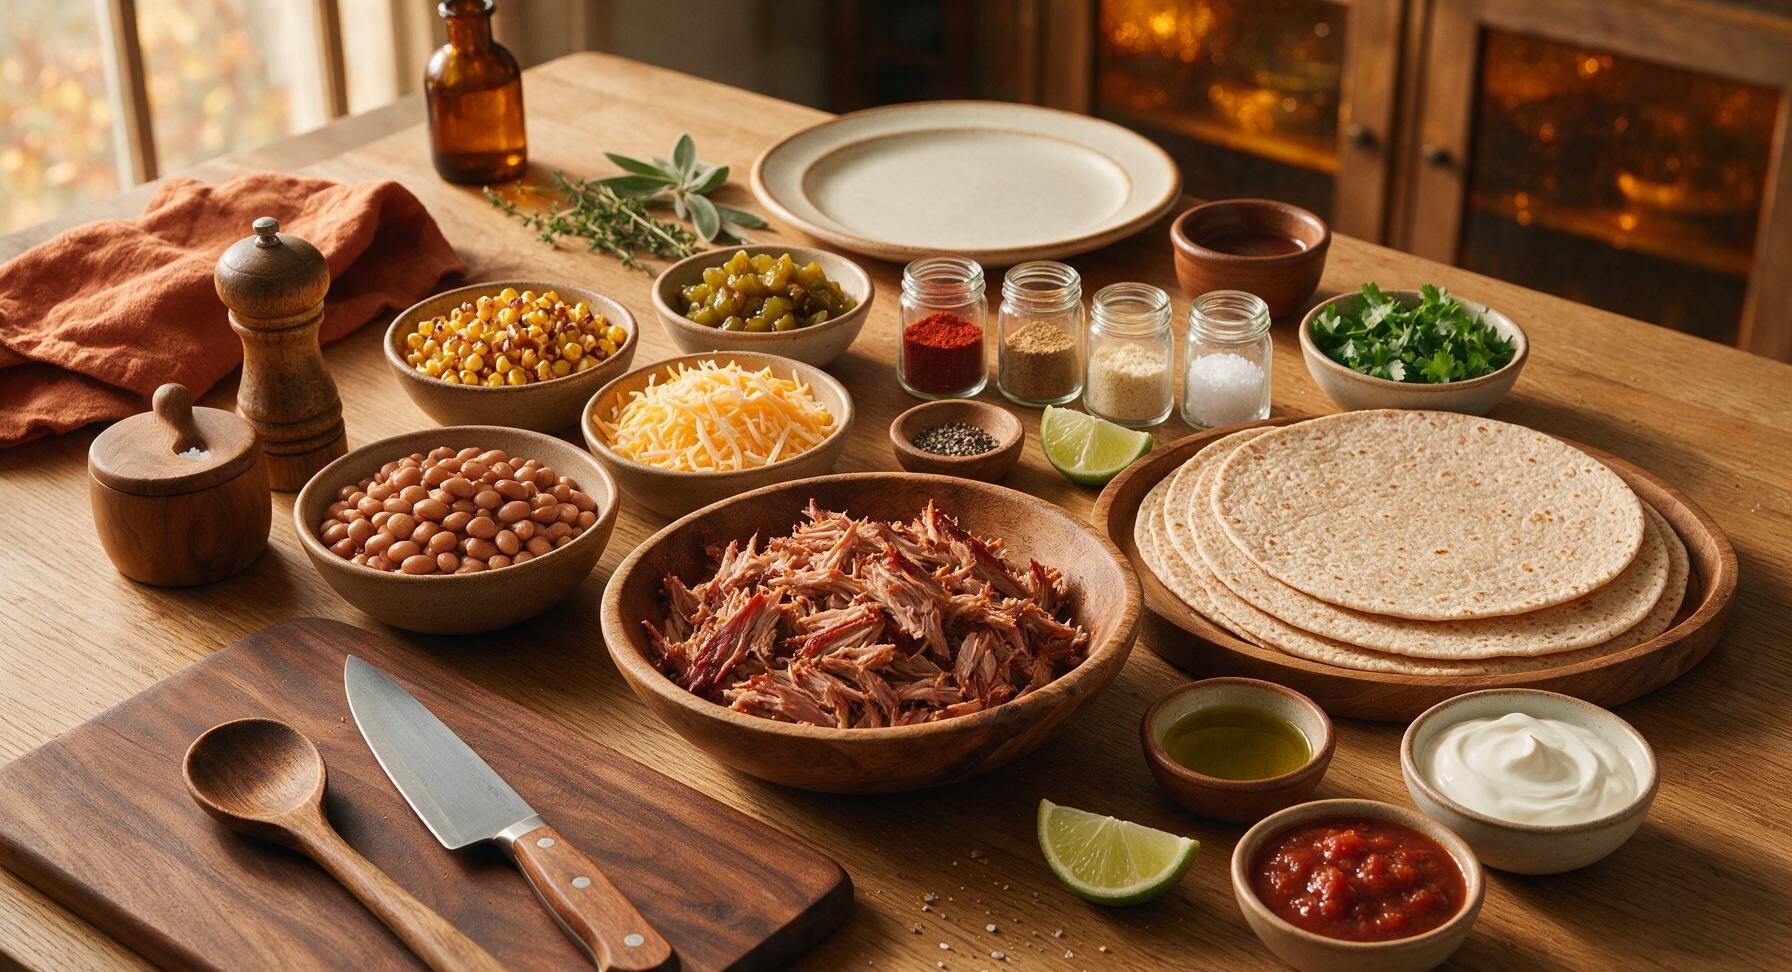
Hickory-smoked pulled pork 2 cups (300g)
10-inch whole wheat flour tortillas 4 each
Pinto beans, drained and rinsed 1 can (15oz/425g)
Shredded sharp cheddar cheese 1 cup (110g)
Roasted corn kernels 1 cup (150g)
Diced fire-roasted green chiles 1/2 cup (75g)
Smoked paprika 1 tbsp
Ground cumin 1 tsp
Garlic powder 1 tsp
Kosher salt 1 tsp
Freshly ground black pepper 1/2 tsp
Fresh cilantro, chopped 1/4 cup (10g)
Medium lime 1 each, cut into wedges
Extra-virgin olive oil 2 tbsp
Sour cream 1/2 cup (120g)
Smoky red salsa 1/2 cup (120g)

Steps

1

Toast Spices in Skillet

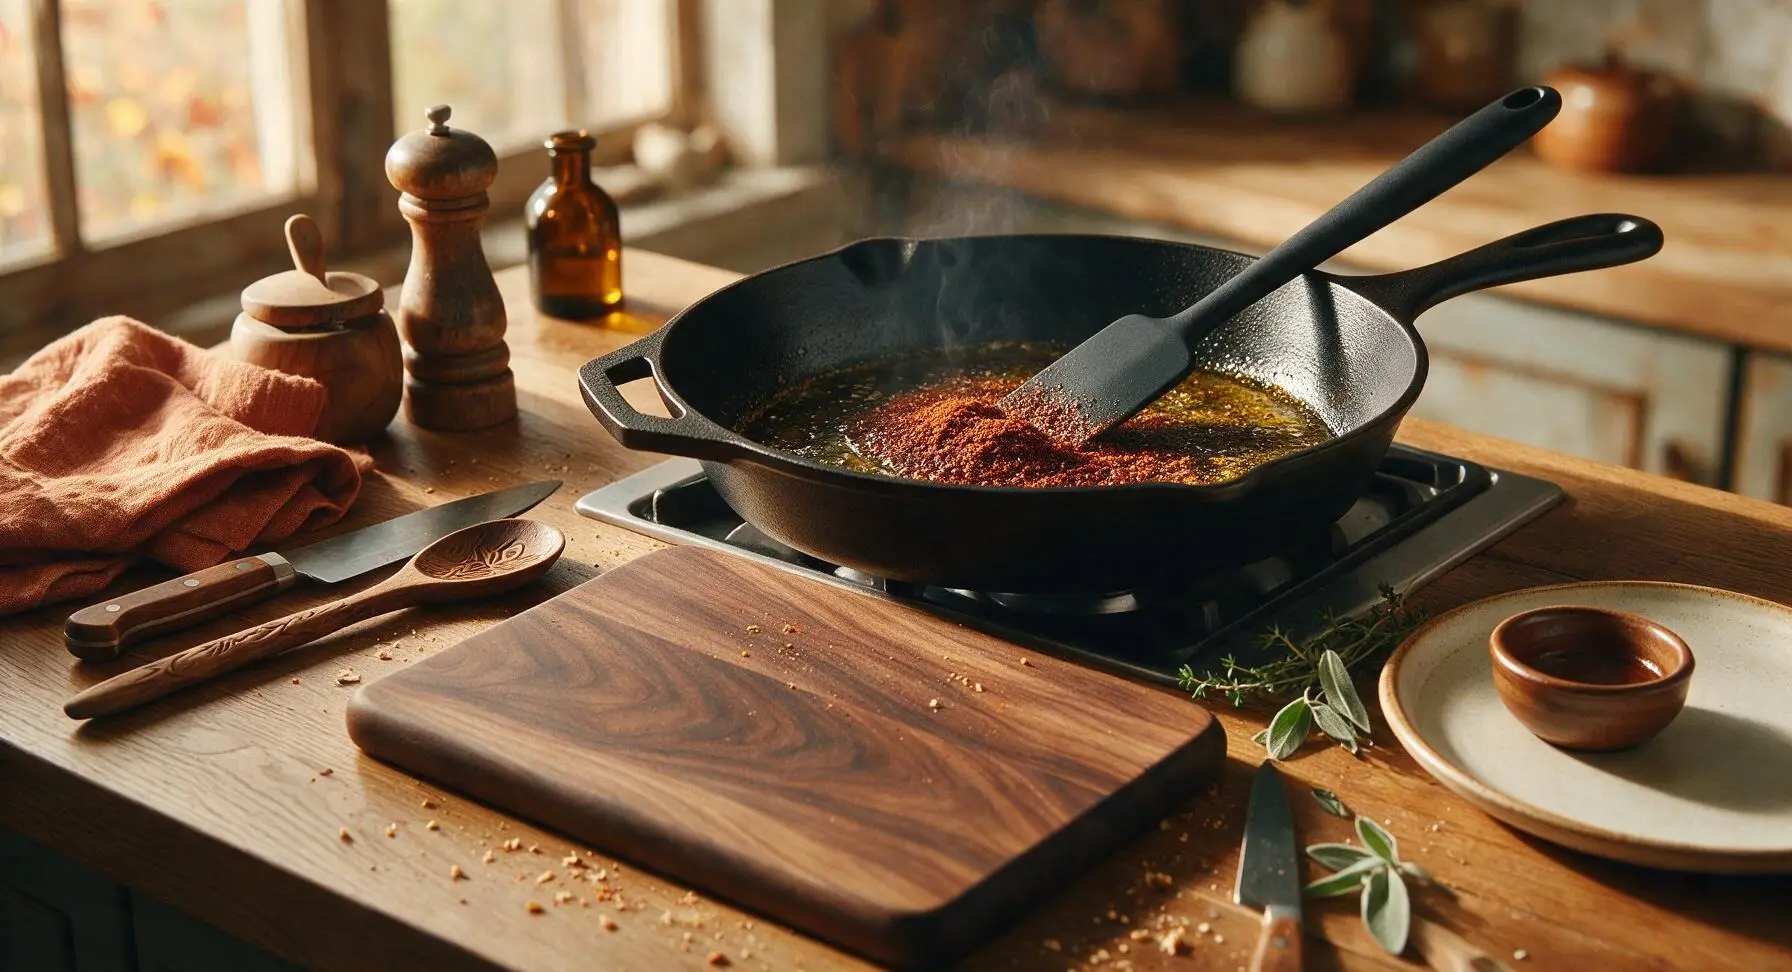
Place the 12-inch matte black cast iron skillet on the stovetop over medium heat (350°F/175°C). Add 1 tablespoon of olive oil, then stir in smoked paprika, cumin, garlic powder, and black pepper with the black silicone spatula. Toast for 30-45 seconds, until the spices become deeply fragrant and darken slightly, stirring constantly to avoid burning—burnt spices will add a bitter, unpleasant flavor to the filling.
Step 1
step1:Toast Spices in Skillet
2

Warm Pork and Beans

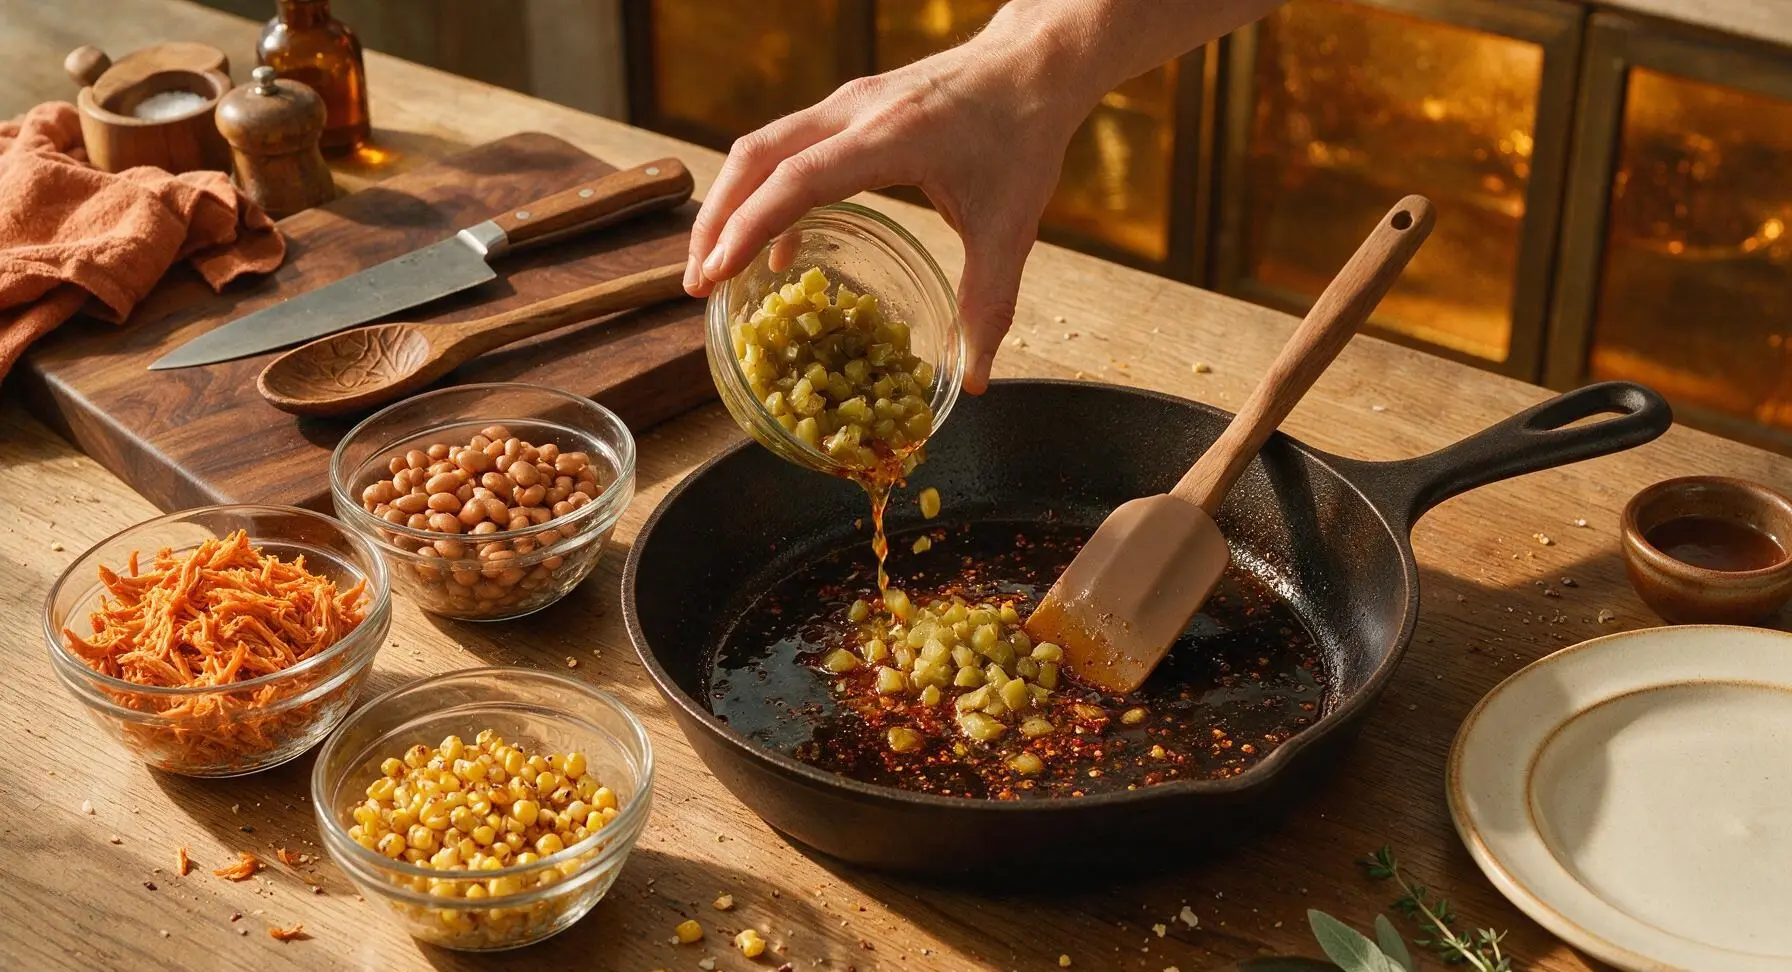
Add the hickory-smoked pulled pork, drained pinto beans, roasted corn, and diced fire-roasted green chiles to the skillet with the toasted spices. Stir thoroughly with the silicone spatula to coat every ingredient evenly in the spice mixture. Cook for 5-6 minutes, stirring occasionally, until the entire mixture reaches 165°F/74°C and small bubbles form around the pan edges. Turn off the heat, then stir in 2 tablespoons of chopped cilantro and a squeeze of juice from half the lime.
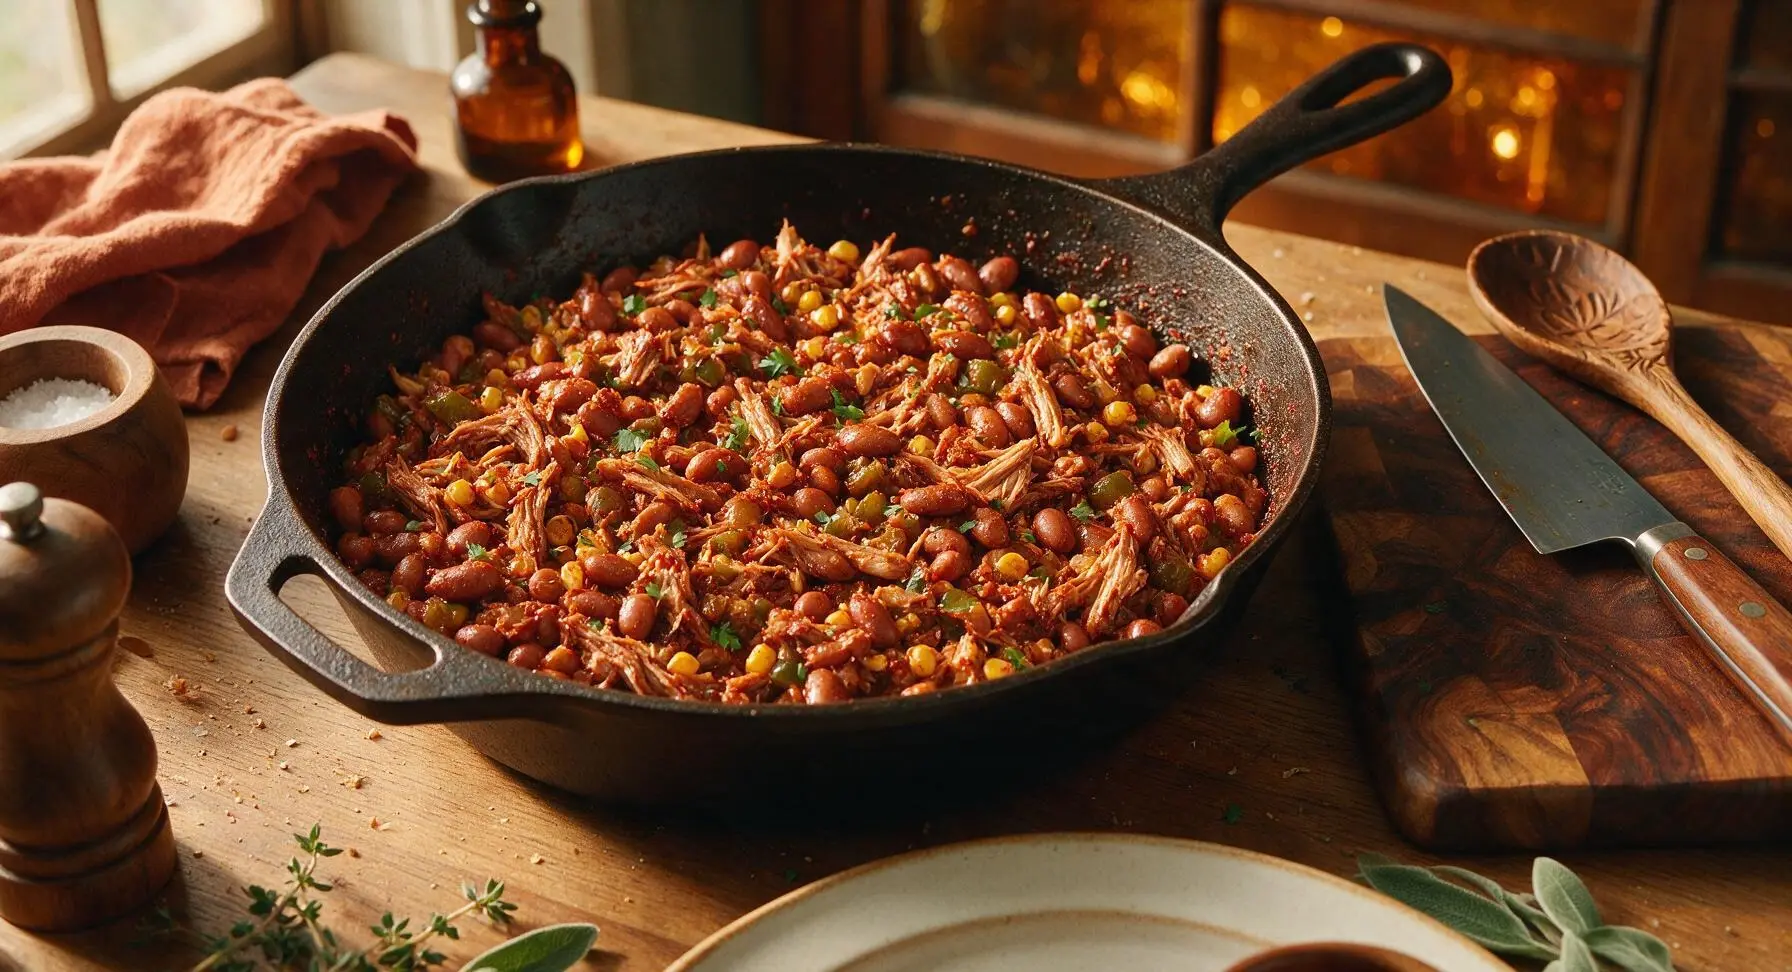
Step 2
step2:Warm Pork and Beans
Step 2
step2:Warm Pork and Beans
3

Warm Tortillas Gently

Stack the four flour tortillas on a microwave-safe plate, cover with a slightly damp paper towel, and microwave on high for 30 seconds until soft and pliable. For extra char, warm each tortilla directly over a low stovetop flame for 10 seconds per side, until small air bubbles form across the surface. Warm tortillas will not crack when folded, which is critical for creating tight, leak-proof burrito wraps.
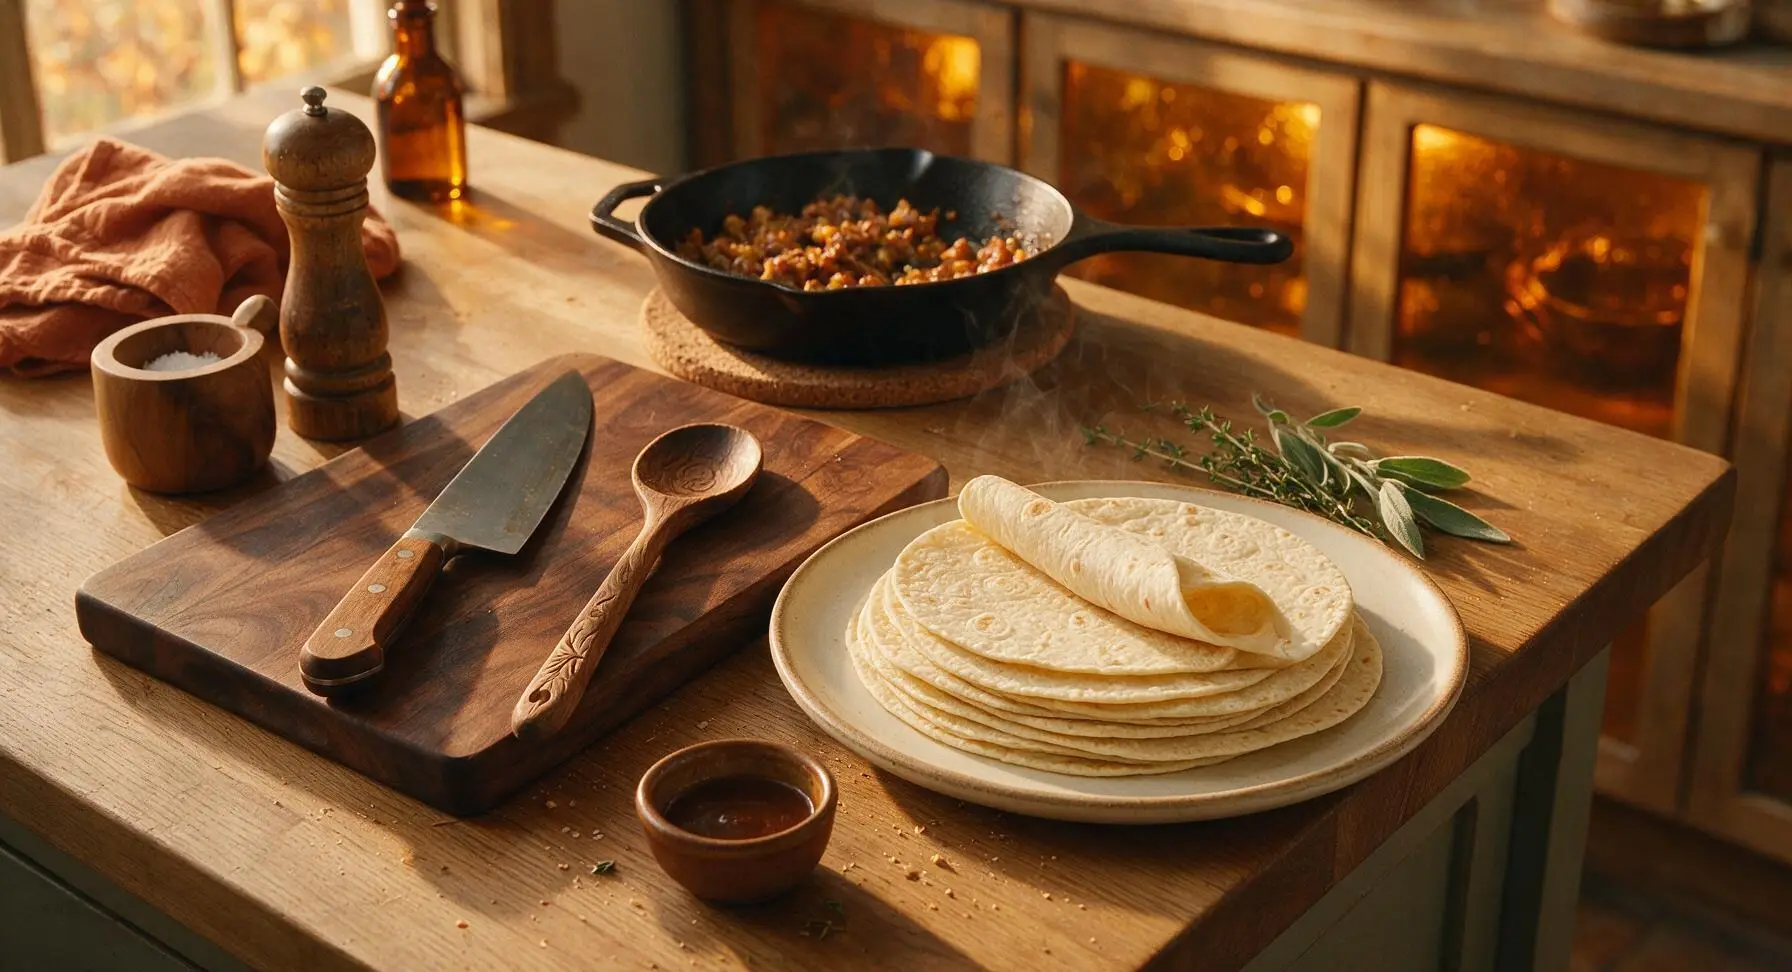
Step 3
step3:Warm Tortillas Gently
4

Layer Fillings Evenly

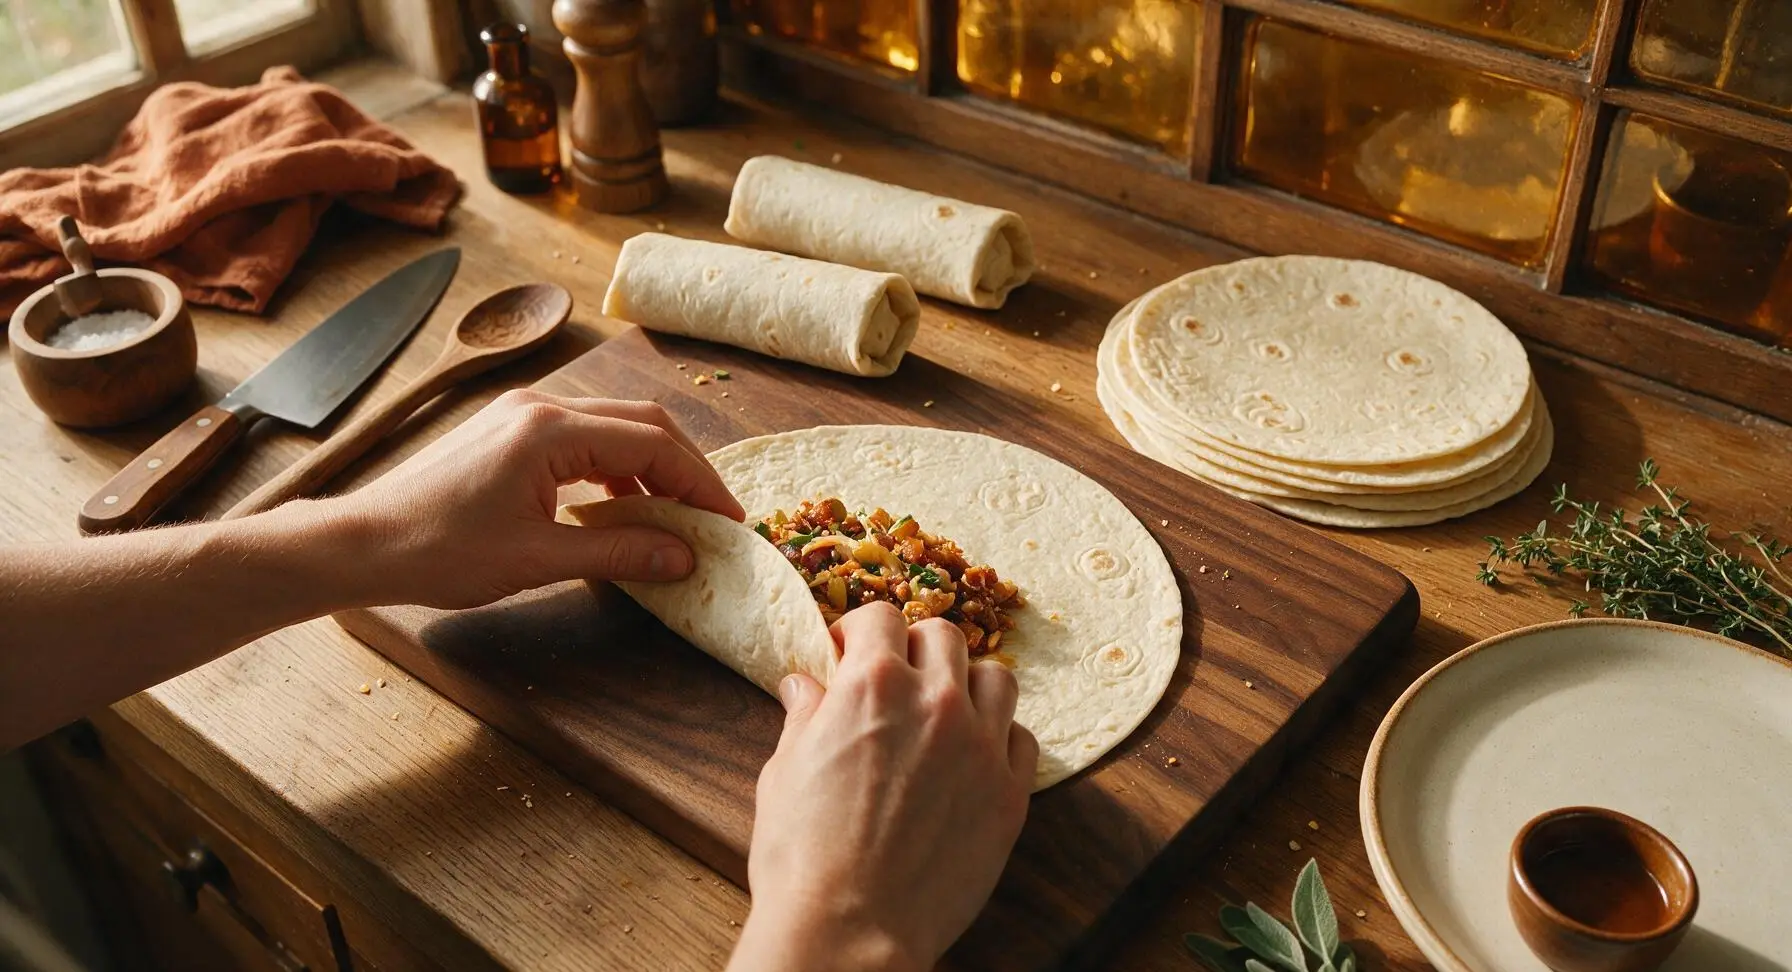
Lay one warm tortilla flat on the centered maple cutting board. Sprinkle 2 tablespoons of shredded cheddar down the center third of the tortilla, leaving a clear 2-inch border at the top and bottom edges. Top the cheese with 1/4 of the warm pork and bean mixture, then add another 2 tablespoons of cheddar on top of the filling to help seal the burrito as it melts. Avoid overstuffing: too much filling will cause the burrito to burst during rolling and searing.
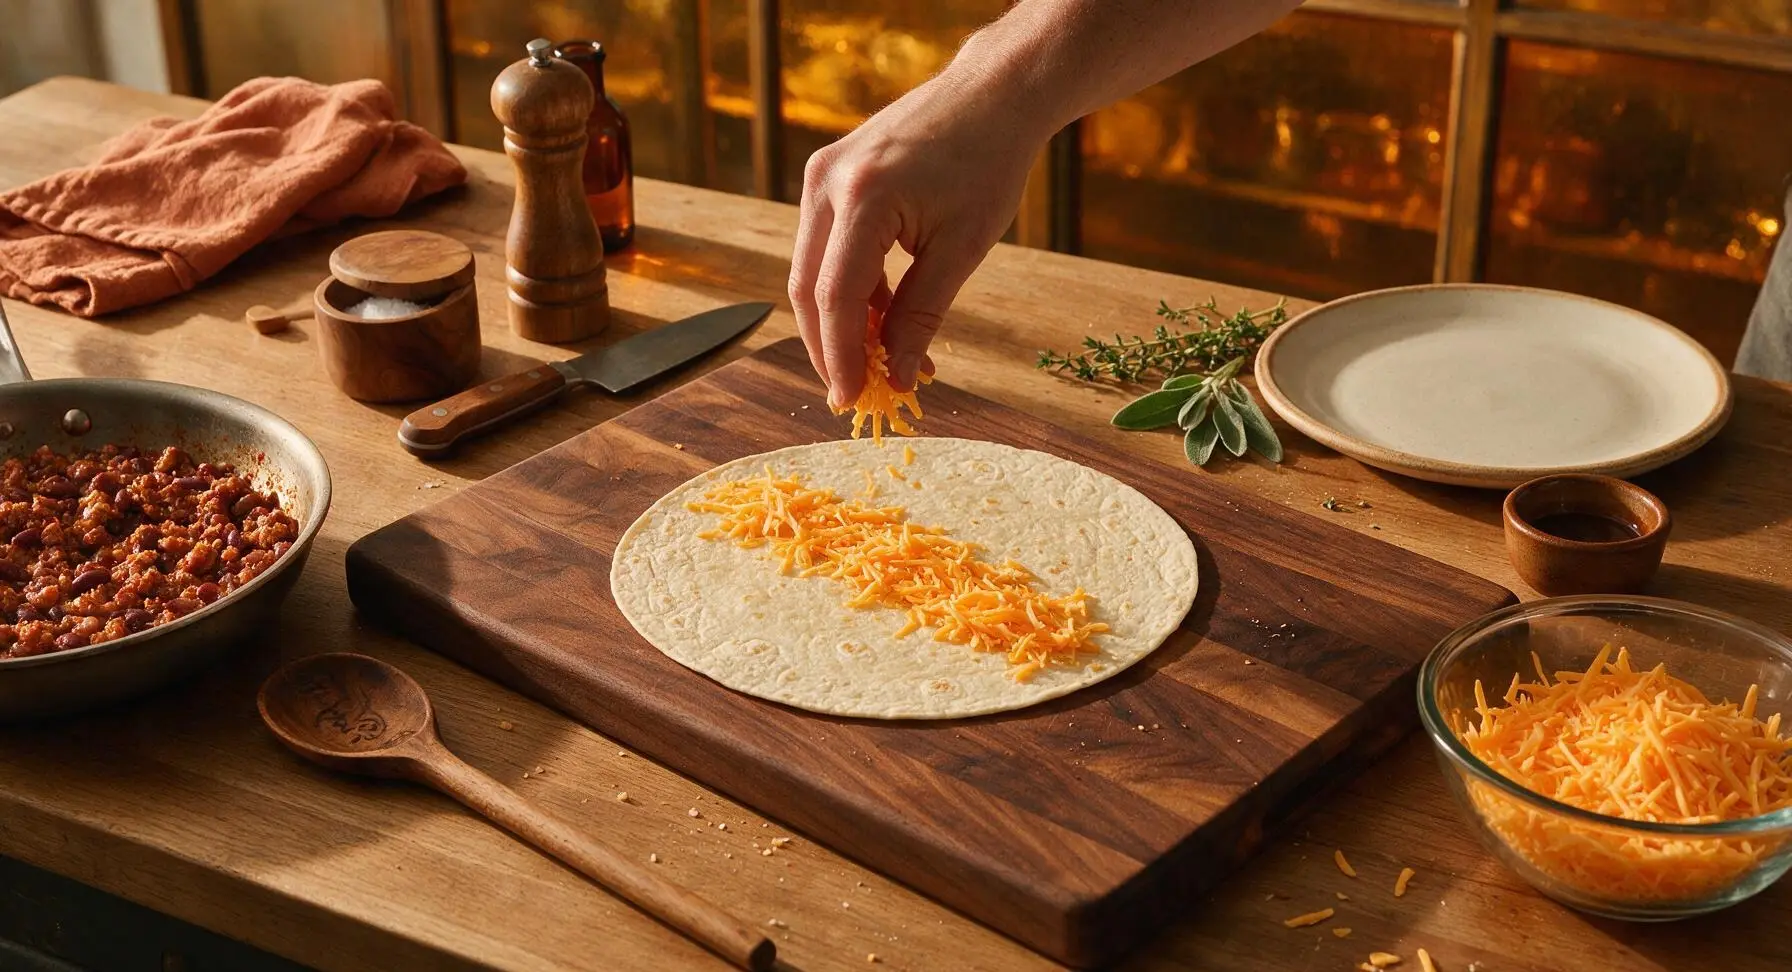
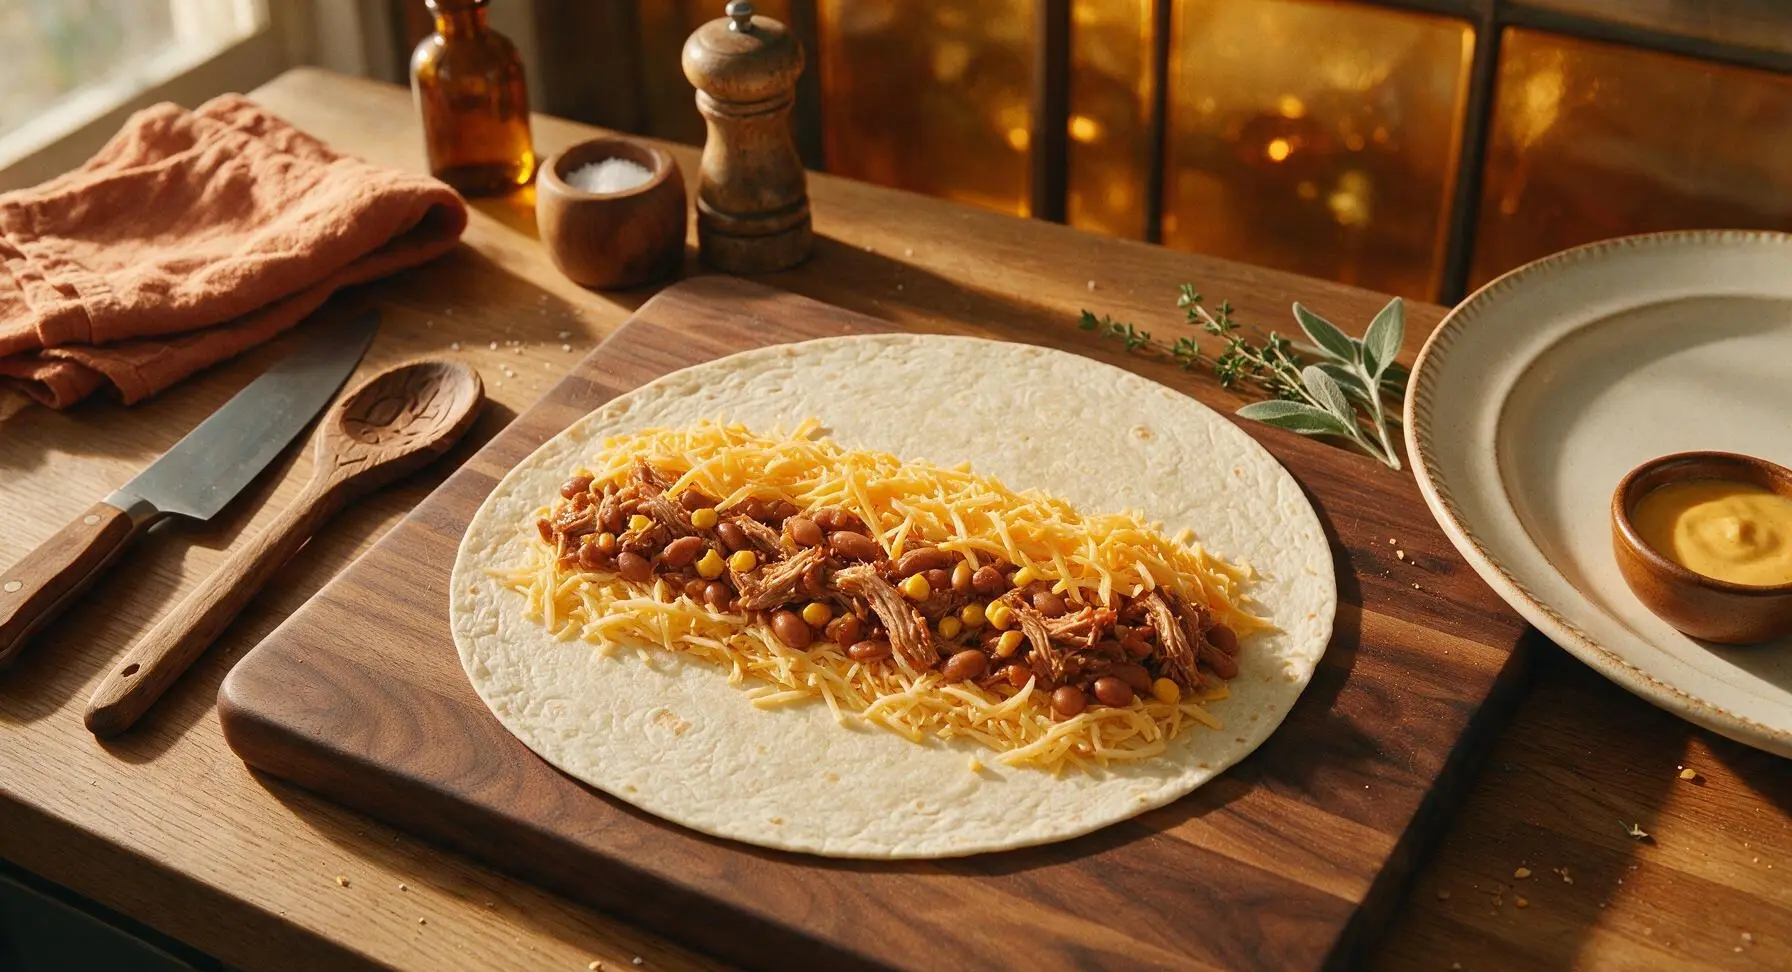
Step 4
step4:Layer Fillings Evenly
Step 4
step4:Layer Fillings Evenly
5

Roll Tight Sealed Burritos

Fold the top and bottom 2-inch borders of the tortilla in over the filling. Next, fold the left side of the tortilla tightly over the filling, tucking it under the ingredients to eliminate trapped air gaps, then roll firmly from left to right to create a tight, sealed cylinder. Set each rolled burrito seam-side down on the cutting board, and repeat the process with the remaining three tortillas.
Step 5
step5:Roll Tight Sealed Burritos
6

Sear Burritos Golden

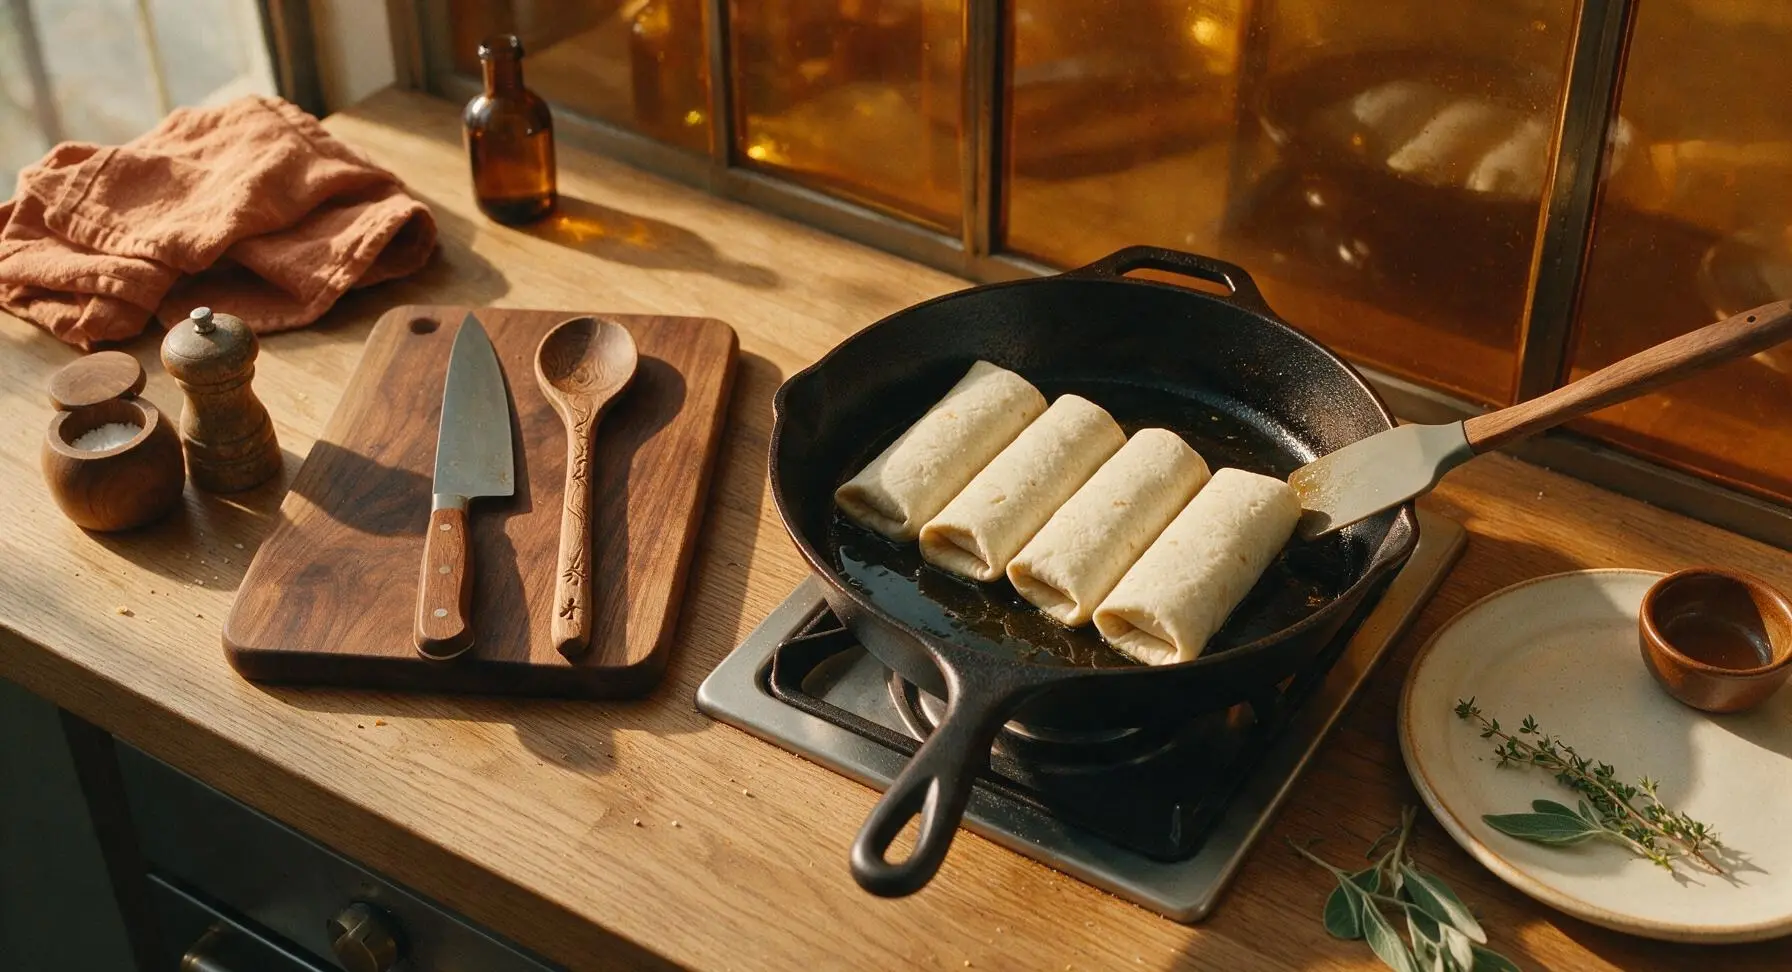
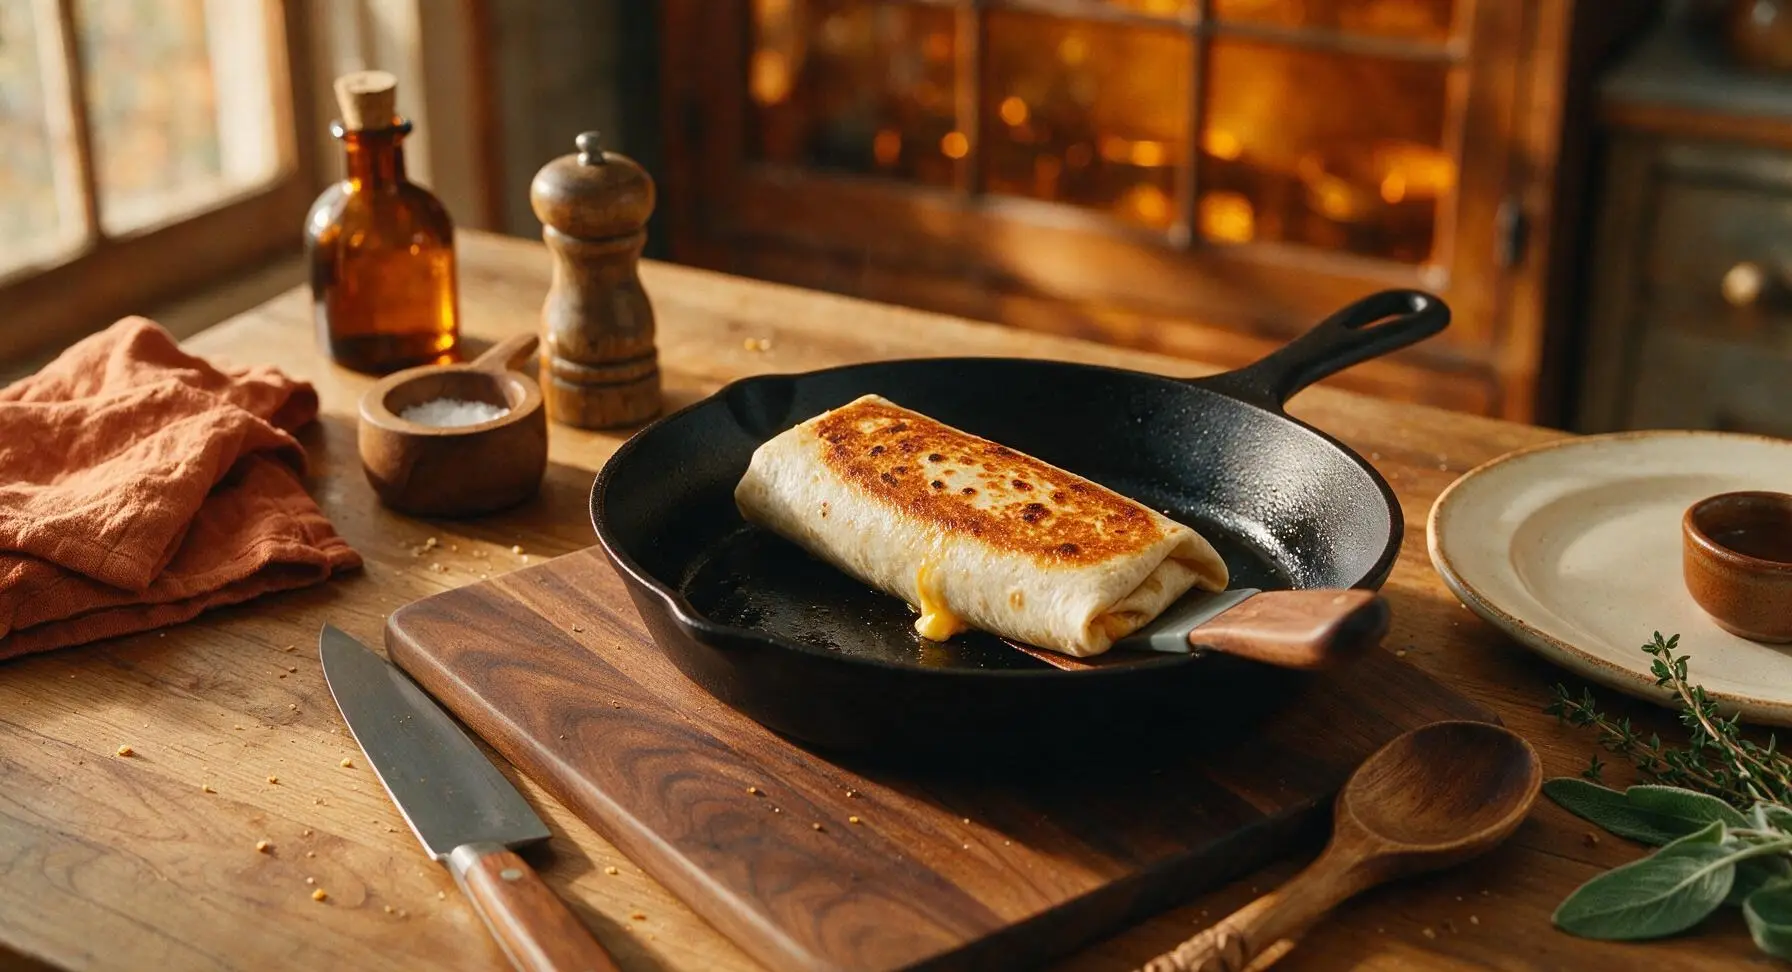
Return the cast iron skillet to medium heat (350°F/175°C), add the remaining 1 tablespoon of olive oil. Place the burritos seam-side down in the skillet, working in two batches if needed to avoid crowding the pan (crowding causes steaming instead of crisping). Sear for 1.5-2 minutes per side, turning carefully with the silicone spatula, until the tortilla is deep golden brown with faint dark char spots, and the cheese inside is fully melted.
Step 6
step6:Sear Burritos Golden
Step 6
step6:Sear Burritos Golden
7

Rest Before Serving

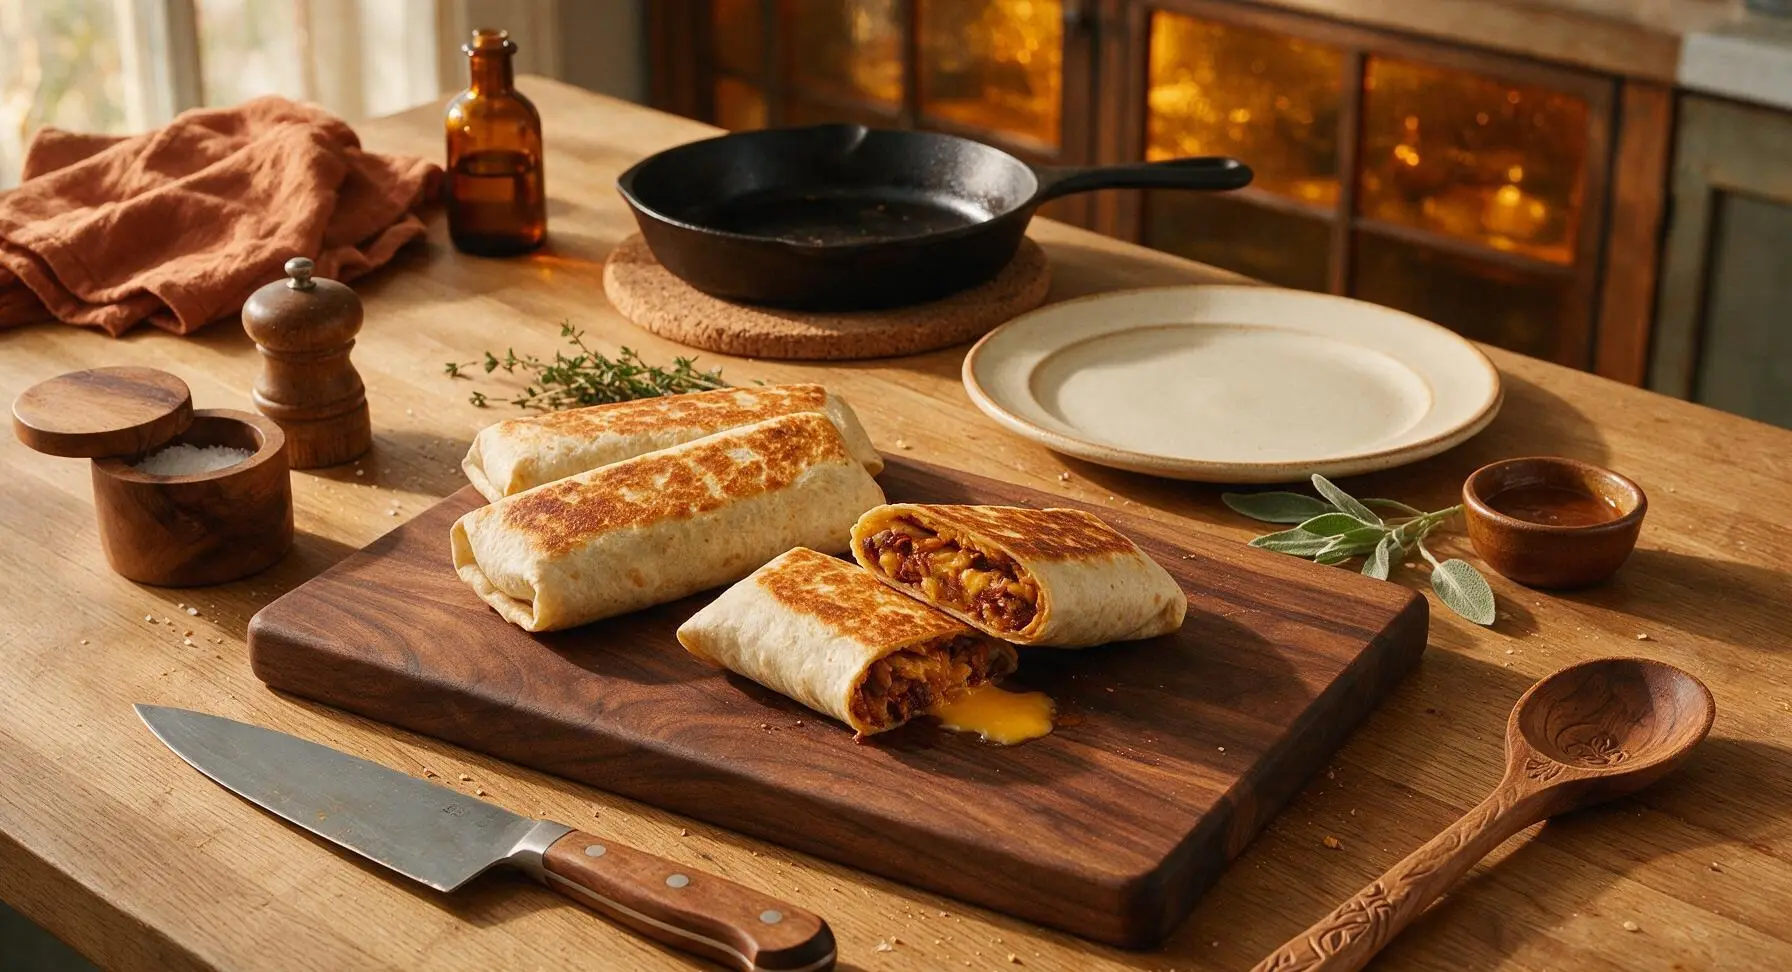
Transfer the seared burritos back to the maple cutting board to rest for 2 minutes. Resting allows the cheese to set and the filling to cool slightly, so it does not run out when the burrito is cut. Slice one burrito in half on a diagonal to showcase the layered filling, if desired.
Step 7
step7:Rest Before Serving

Tips

1.Warm tortillas before rolling: Cold tortillas crack and split when folded, leading to filling leakage during searing and eating; the 30-second steam from a damp paper towel makes them pliable enough for a tight, smooth roll.
2.Layer cheese both under and over the hot filling: The heat from the pork and bean mixture melts the cheese on both sides, creating a moisture barrier that keeps the tortilla from getting soggy while helping the burrito hold its shape when cut.
3.Sear burritos seam-side first: Cooking the seam first melts the tortilla edges together to create a natural seal, preventing the burrito from unrolling while you sear the remaining sides and locking all filling inside.


✨ You May Also Like

Main Course
🍜 United Kingdom

A showstopping classic of tender seared beef, savory mushroom duxelles, and crisp prosciutto wrapped in flaky golden puff pastry, baked to juicy perfection.

⏱️ 2 hours 1Main Course ★ 4.7
Main Course
🍜 India

Tender charred marinated chicken simmered in a rich, spiced creamy tomato sauce, this iconic Anglo-Indian curry pairs perfectly with basmati rice or warm naan.

⏱️ 50 minuteMain Course ★ 4.6
Main Course
🍜 Thailand

Classic tangy, sweet, and savory Thai stir-fried rice noodles with shrimp, tofu, and crunchy garnishes, balancing all five core Thai flavor profiles.

⏱️ 30 minuteMain Course ★ 4.5
Main Course
🍜 United Kingdom

Crispy golden beer-battered cod and fluffy double-fried chips, served with tangy tartar sauce and malt vinegar: the timeless, beloved British pub comfort classic.

⏱️ 45 minuteMain Course ★ 4.7
Main Course
🍜 Mexico

Smoky, chile-marinated pork tacos with caramelized pineapple, fresh cilantro, and lime: a beloved classic Mexican street food perfect for casual summer gatherings.

⏱️ 1 hour 45Main Course ★ 4.8
Main Course
🍜 United States

Crunchy Fritos corn chips layered with savory beef chili and melted cheddar, topped with cool, zesty fixings for a beloved, cozy Tex-Mex comfort food.

⏱️ 35 minuteMain Course ★ 4.8

smoky mountain burritos:Frequently Asked Questions

1.Can I use store-bought pulled pork instead of smoking my own hickory pork for these burritos? ▾
Absolutely! Store-bought hickory-smoked pulled pork works perfectly to cut down prep time. Just pick a version without overly sweet, heavy barbecue sauce, drain any excess liquid to avoid soggy burritos, and toss in a pinch of smoked paprika and ground cumin if the smoke flavor feels mild to match that classic Smoky Mountain profile.
2.How do I keep my Smoky Mountain Burritos from getting soggy during assembly? ▾
Start by warming 10-inch whole wheat tortillas for 10 seconds per side on a dry skillet to make them pliable and less moisture-absorbent. Layer shredded sharp cheddar directly against the tortilla first to create a moisture barrier, then add fully drained pinto beans, patted-dry roasted corn, and pulled pork, taking care not to overstuff.
3.Can I make these burritos ahead of time for meal prep or camping trips? ▾
Definitely! Assemble burritos with fully cooled fillings, wrap each tightly in parchment then aluminum foil, and store in the fridge for up to 4 days or freeze for up to 3 months. Reheat in a 375°F oven for 15 to 20 minutes (25 to 30 if frozen) to crisp the tortilla slightly and melt cheese evenly.
4.How do I get that signature smoky campfire flavor if I don’t own a smoker? ▾
You don’t need a full backyard smoker to nail that cozy mountain campfire note! Toss slow-cooker or store-bought pulled pork with 1/4 teaspoon of food-grade hickory liquid smoke per pound of pork, plus a pinch of smoked paprika. Roast corn over a gas burner or grill pan for extra charred, smoky depth that hits the exact flavor profile.
5.Can I swap the whole wheat flour tortillas for a different type of wrap? ▾
You can absolutely swap tortillas to fit dietary needs, just stick to 10-inch wraps to avoid overstuffing messes. Regular all-purpose flour tortillas make a softer, milder base, and sturdy gluten-free whole grain wraps hold up well if warmed first. Skip thin corn tortillas, as they tear easily when loaded with the hearty pork and bean filling.
6.Do I need to season the canned pinto beans, or can I use them straight from the can? ▾
While drained, rinsed plain canned pinto beans work just fine, a quick 2-minute seasoning bump makes them taste far more cohesive with the other fillings. Toss rinsed beans with a pinch of garlic powder, black pepper, and a tiny splash of apple cider vinegar, and shake off all excess water to avoid soggy burritos.
7.What are the best on-theme sides to serve with these burritos? ▾
Lean into that cozy Great Smoky Mountain campfire vibe with simple, hearty sides. Tangy apple cider coleslaw cuts through the rich pork and melted cheese perfectly, as do crisp dill pickle spears, crinkle-cut potato chips, or a small scoop of sweet baked beans. A dollop of sour cream or mild roasted salsa on the side works great for dipping.
8.How do I get a perfectly crispy, melty finish on assembled burritos? ▾
After folding burritos tightly (tuck the ends in first to lock in fillings!), cook them seam-side down in a dry cast iron skillet over medium heat for 2 to 3 minutes per side, until the tortilla is golden and slightly crisp, and the sharp cheddar inside is fully melted. This mimics the perfect slight char of a burrito warmed over campfire coals.
9.Can I add extra fillings without ruining the classic Smoky Mountain flavor? ▾
You can add small amounts of complementary fillings without throwing off that cozy, smoke-forward profile! A spoonful of caramelized onions, a dash of hot sauce, or a few pickled jalapeño slices work beautifully. Skip heavy, wet add-ons like large scoops of guacamole or watery salsa inside the burrito, as they’ll make the tortilla soggy and mellow the signature hickory smoke note.

Comments (6)

2 days ago

OMG these Smoky Mountain Burritos are a total game changer for our weeknight family dinners! 20 minute cook time is no joke, I threw them together last night after soccer practice and even my super picky 8 year old asked for seconds. The smoky seasoning is perfect, not too spicy for the kids but has enough depth that my husband and I loved them too. Already added the ingredients to my weekly grocery list for meal prep this Sunday!

2 days ago

Love to hear these are a hit with the whole family, BBQMom1987! Pro tip: if you make a big batch for meal prep, they freeze really well for up to 3 months, just wrap them tight in foil before popping in the freezer.

yesterday

So glad I’m not the only one who thought the cook time was accurate! I made these for a potluck last weekend and they were gone in 10 minutes flat, people kept asking for the recipe.

3 days ago

SO good! I was a little worried the smoky flavor would be too overpowering since I’m not a huge fan of super smoky food, but it’s perfectly balanced. I added a little extra pickled jalapeño on top for a kick and it was chef’s kiss. Super easy too, I’m a total beginner cook and I didn’t mess these up at all, total win!

2 days ago

Oh thank goodness another beginner made these without messing up! I’ve been nervous to try new recipes after burning rice three times last week, this makes me feel way more confident to give these a shot tonight.

1 week ago

Absolute staple for my dorm meal prep! I don’t have a ton of fancy equipment or time between classes, so 20 minutes, easy difficulty? Sign me up. I make a batch on Sundays and eat them for lunch all week, they reheat so much better than the sad cafeteria burritos. Only swap I made was using black beans instead of pinto because that’s what I had in my pantry, worked perfectly.

5 days ago

Made these before a day hike last weekend and they were the perfect trail lunch! Filling, not messy to eat wrapped up tight, and that smoky flavor hit so good after a few miles of hiking. My hiking partner already asked me to make them again for our next trip next month. 10/10, will be in my regular camping/hiking meal rotation forever.

3 days ago

How did they hold up in a cooler? I’m prepping for a 3 day backpacking trip and was looking for no-fuss meals that don’t need to be kept super cold.

2 days ago

What a perfect use for these burritos, MountainHikerGal! If you’re taking them on the trail, they stay good in a sealed cooler for up to 2 days, no problem. For longer trips, you can even pre-make the filling and assemble on site to save space!

yesterday

Tried these for our weekly Taco Tuesday (we do burritos sometimes, don’t @ me) and they were a massive hit. The whole family was raving, even my teen who turns his nose up at everything I cook lately asked if we could have them again next week. Super straightforward recipe, no weird hard to find ingredients, which I appreciate. Only note: I’d add a tiny pinch more salt next time for my taste, but otherwise perfect. Only regret is I didn’t make a double batch, we had zero leftovers!

yesterday

Haha, burritos are absolutely welcome on Taco Tuesday in my book! So glad your teen enjoyed them—that’s the real win if you ask me. A little extra pinch of salt is a great call, especially if you’re using low-sodium beans. I also recommend making a double batch next time, they go way faster than you expect!

30 minutes ago

Wow, can’t believe how quick and easy these were! I work late most nights so fast, no-fuss dinners are non-negotiable for me, and these came together in literally 18 minutes by my count, faster than waiting in the drive thru line down the street. My kids loved loading theirs up with sour cream and guac, I added a dash of hot sauce to mine for a little extra heat. Will absolutely be making these on repeat on busy school nights.



