1.Can I use light coconut milk instead of full-fat for this smoothie?
▾
Full-fat chilled coconut milk creates the rich, creamy balance that keeps this smoothie from tasting like watery shaved ice. Light coconut milk has much higher water content, so it will produce a thinner, less luscious final texture. If you only have light on hand, stir in 2 tablespoons of thick coconut cream to mimic the ideal mouthfeel that pairs perfectly with the fluffy ice and bright berry flavors.
2.Do I have to use store-bought snow cone syrup, or can I make a homemade version?
▾
Homemade syrup works perfectly and is incredibly easy to whip up! Simmer 1 cup granulated sugar with 1 cup water until fully dissolved, stir in 1 teaspoon of your preferred extract (strawberry, blue raspberry) and a drop of matching food coloring for that classic bright hue, then chill completely before use. It tastes just as nostalgic as store-bought, with no unnecessary preservatives.
3.My smoothie turned out watery instead of having that fluffy snow-like texture—what went wrong?
▾
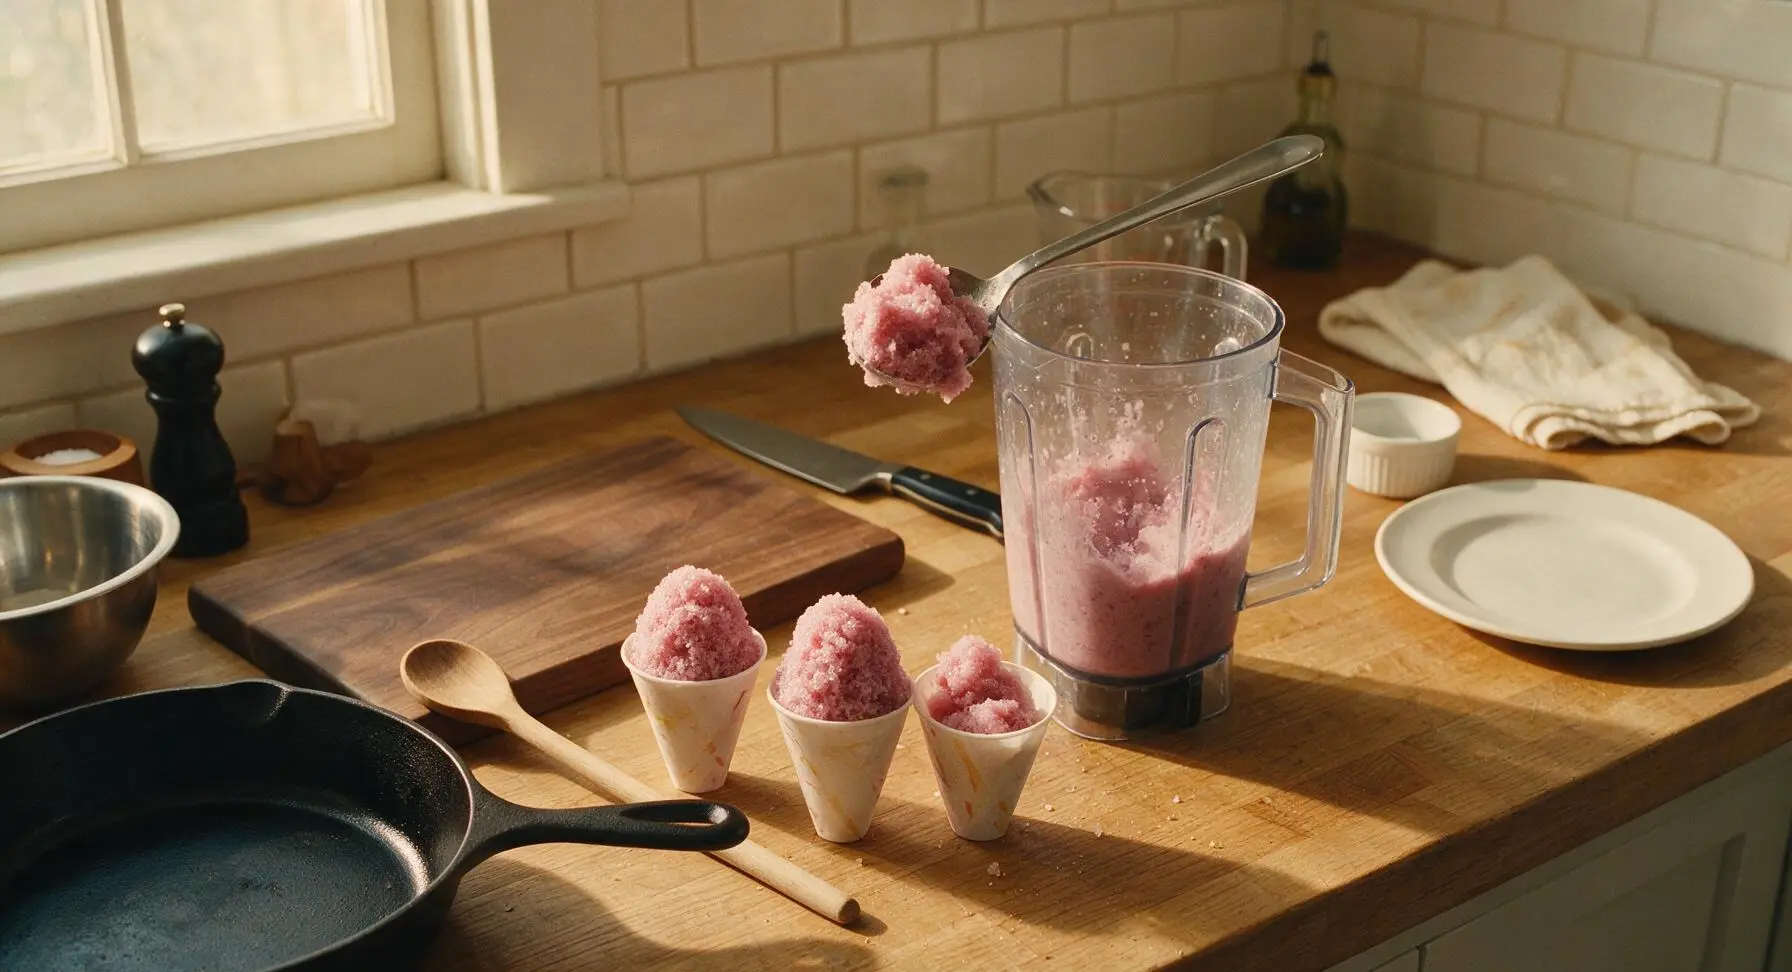
The most common culprits are not using enough crushed ice, using room-temperature coconut milk, or over-blending on high for too long. Start with ice straight from the freezer, keep coconut milk fully chilled, and pulse in short 1-second bursts instead of running the blender nonstop. This prevents ice from melting into a thin slush, so you keep that light, shaved-snow consistency.
4.Can I add protein powder to this to make it a more filling snack?
▾
Absolutely! Stick to unflavored or vanilla plant-based protein powder to avoid clashing with the bright berry and coconut flavors. Add 1 scoop maximum—any more will make the smoothie thick and chalky, taking away from that light, fluffy snow cone texture. Blend it with the coconut milk first before adding ice and syrup to prevent powdery clumps from forming.
5.How long can I store leftover Snow Cone Smoothie in the freezer?
▾
This smoothie is best enjoyed right after blending for that ideal fluffy, snow-like texture, but leftovers will keep in an airtight container in the freezer for up to 2 weeks. When you’re ready to eat it, let it sit at room temperature for 5 to 7 minutes, then scrape it with a fork to fluff it back up, and add a tiny extra drizzle of syrup to refresh the flavor.
6.Can I use fresh berries instead of frozen mixed berries for this recipe?
▾
Fresh berries will work, but you’ll need to add an extra 1 ½ cups of crushed ice to compensate for the lack of frozen fruit, otherwise your smoothie will be too runny. Frozen berries help keep the texture thick and icy without diluting berry flavor the way extra ice would, so they’re my top pick, but fresh is a totally fine swap if that’s what you have on hand.
7.Is there a way to make this recipe without added syrups for less sugar?
▾
Definitely! Skip the snow cone syrups and swap them for 2 tablespoons of unsweetened frozen berry concentrate, 1 teaspoon of vanilla extract, and a tiny drizzle of maple syrup or honey to taste if you want extra sweetness. You won’t get that classic neon snow cone hue, but you’ll still get bright berry flavor and fluffy texture with far less added sugar.
8.What blender setting works best to get that shaved ice texture instead of a regular slush?
▾
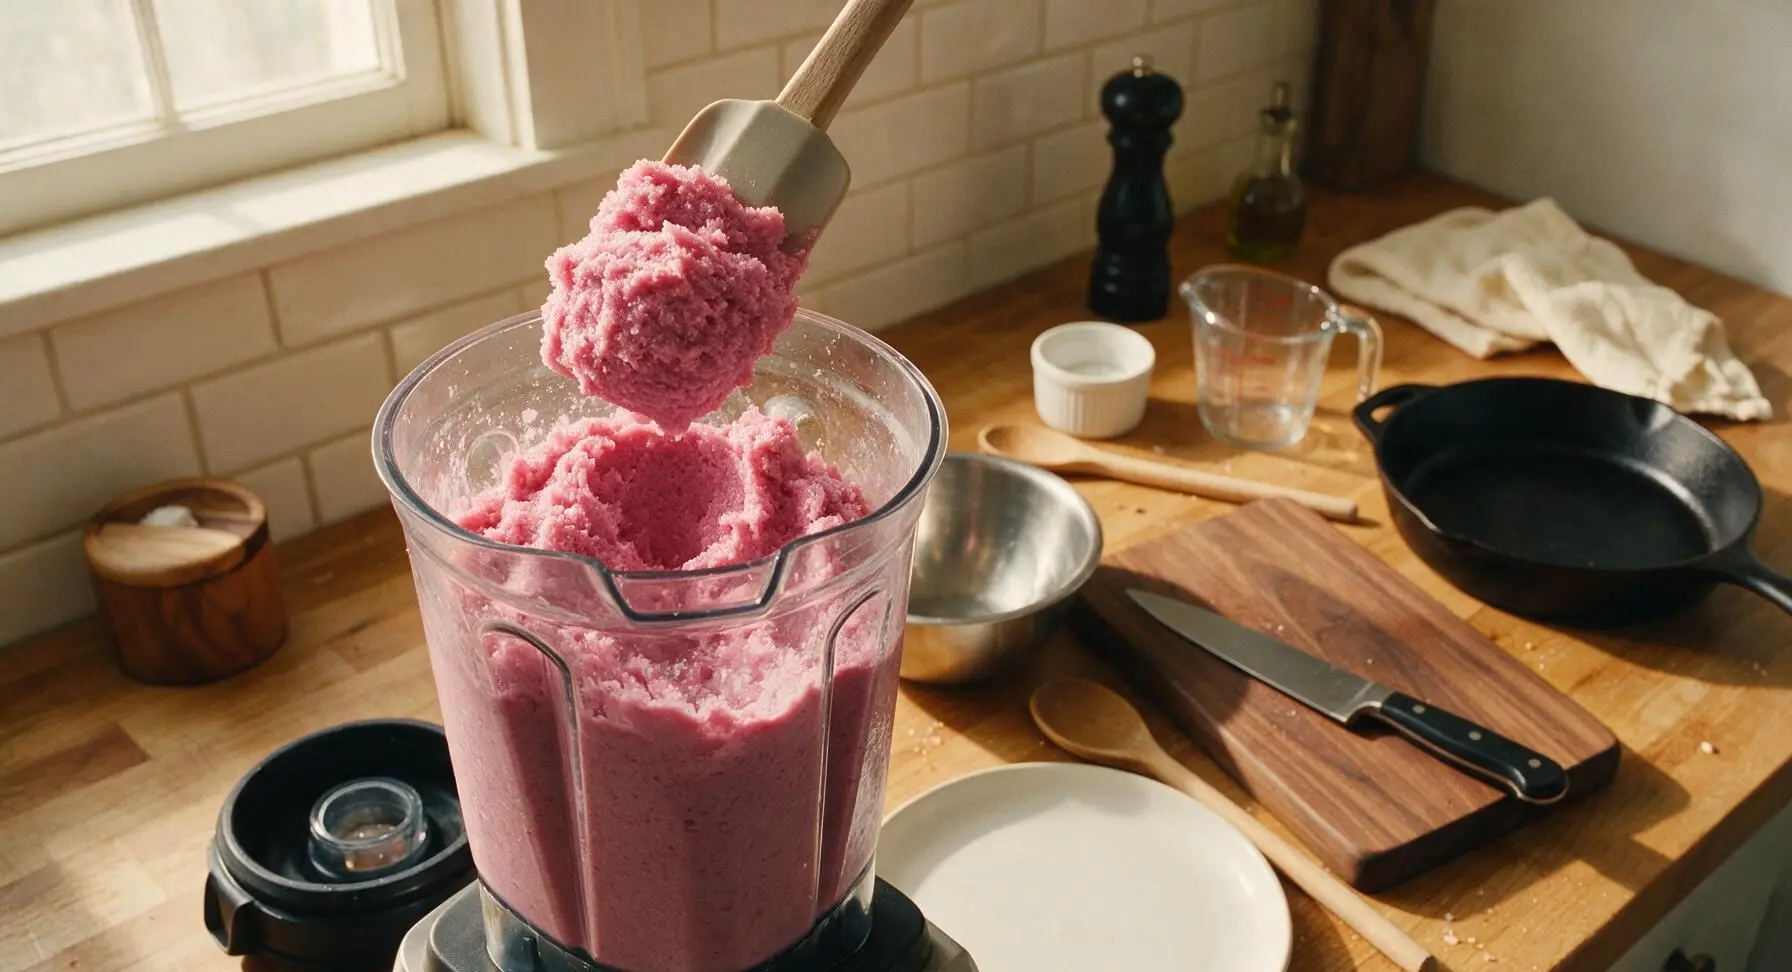
Skip the puree or dedicated smoothie setting, which runs on high continuously and melts ice too fast. Use the pulse function on your blender, pressing it in 1 to 2 second bursts, and stop to scrape down the sides of the pitcher every 3 to 4 pulses. Stop blending as soon as the mixture looks like light, fluffy packed snow with no large ice chunks left.
9.Can I make this recipe allergy-friendly for a kids’ party?
▾
This base recipe is already naturally nut-free, soy-free, and gluten-free as written, as long as you double-check that your snow cone syrups don’t have cross-contamination warnings if serving guests with severe allergies. For an extra kid-friendly touch, serve it in disposable paper snow cone cups instead of regular glasses for that full nostalgic carnival vibe.
10.Why do I need to chill the coconut milk ahead of time?
▾
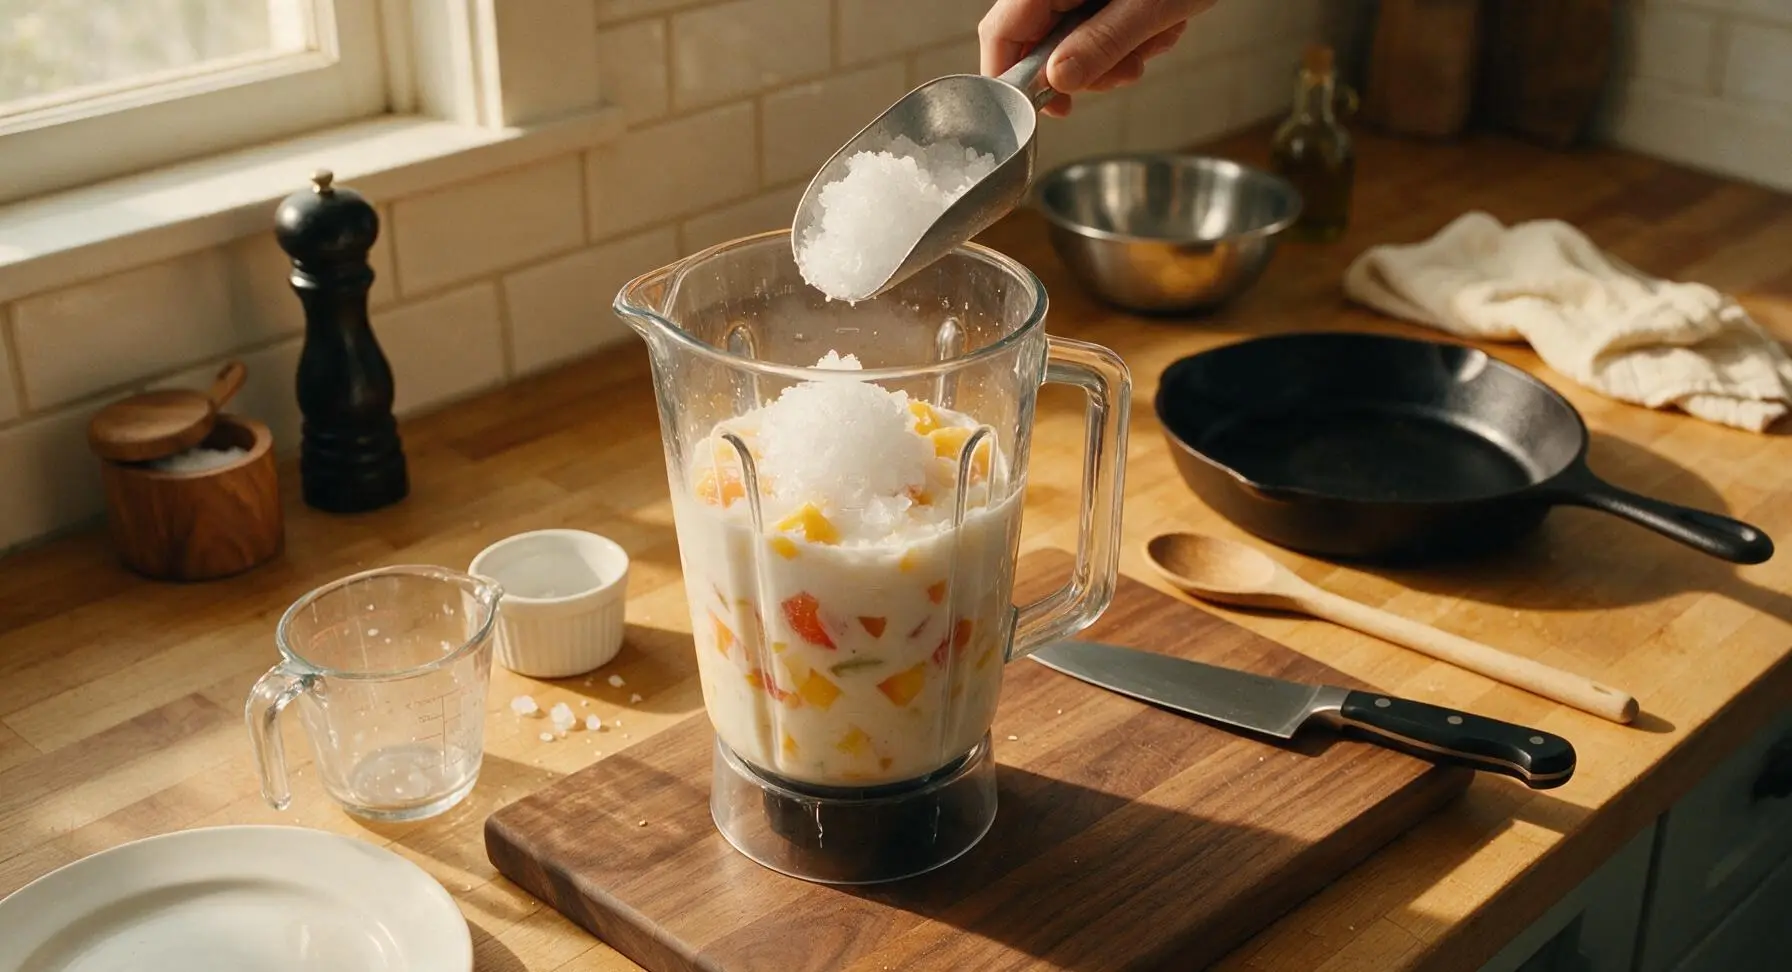
Chilling full-fat coconut milk overnight in the fridge lets the thick coconut cream separate from the watery liquid, so you get that rich, creamy texture without watering down the icy base. If you use room temperature or warm coconut milk, it will melt the crushed ice immediately as you blend, leading to a thin, watery drink instead of the fluffy, snow-like consistency we want.
11.Can I swap the mixed berries for other frozen fruits, like mango or pineapple?
▾
You absolutely can! Swap the mixed berries for any frozen fruit you love, just pair your syrups to match—for tropical mango-pineapple, use coconut or pineapple snow cone syrup instead of strawberry and blue raspberry. Keep the ratio of frozen fruit to ice the same to maintain that fluffy texture, and you’ll have a custom snow cone smoothie in any flavor you crave.
12.The coconut milk flavor is too strong for my taste—what can I use instead?
▾
If you don’t love coconut, swap the full-fat chilled coconut milk for equal parts chilled vanilla oat milk creamer or whole milk Greek yogurt thinned with a splash of regular whole milk. Both options add that same rich, creamy balance without the coconut flavor, and they’re thick enough when chilled to keep the fluffy snow texture from turning watery as you blend.
13.Do I need a high-powered blender to make this, or will a regular budget blender work?
▾
A regular budget blender works totally fine as long as you use the pulse function and don’t overload the pitcher with ice all at once. Add ice in 1-cup batches, pulsing between additions, to avoid jamming the blades. You don’t need a fancy high-end blender for this—we’re making a fluffy, shaved-ice style texture any standard blender can handle.
14.How do I get that fun layered, swirled color look like the snow cones from the county fair?
▾
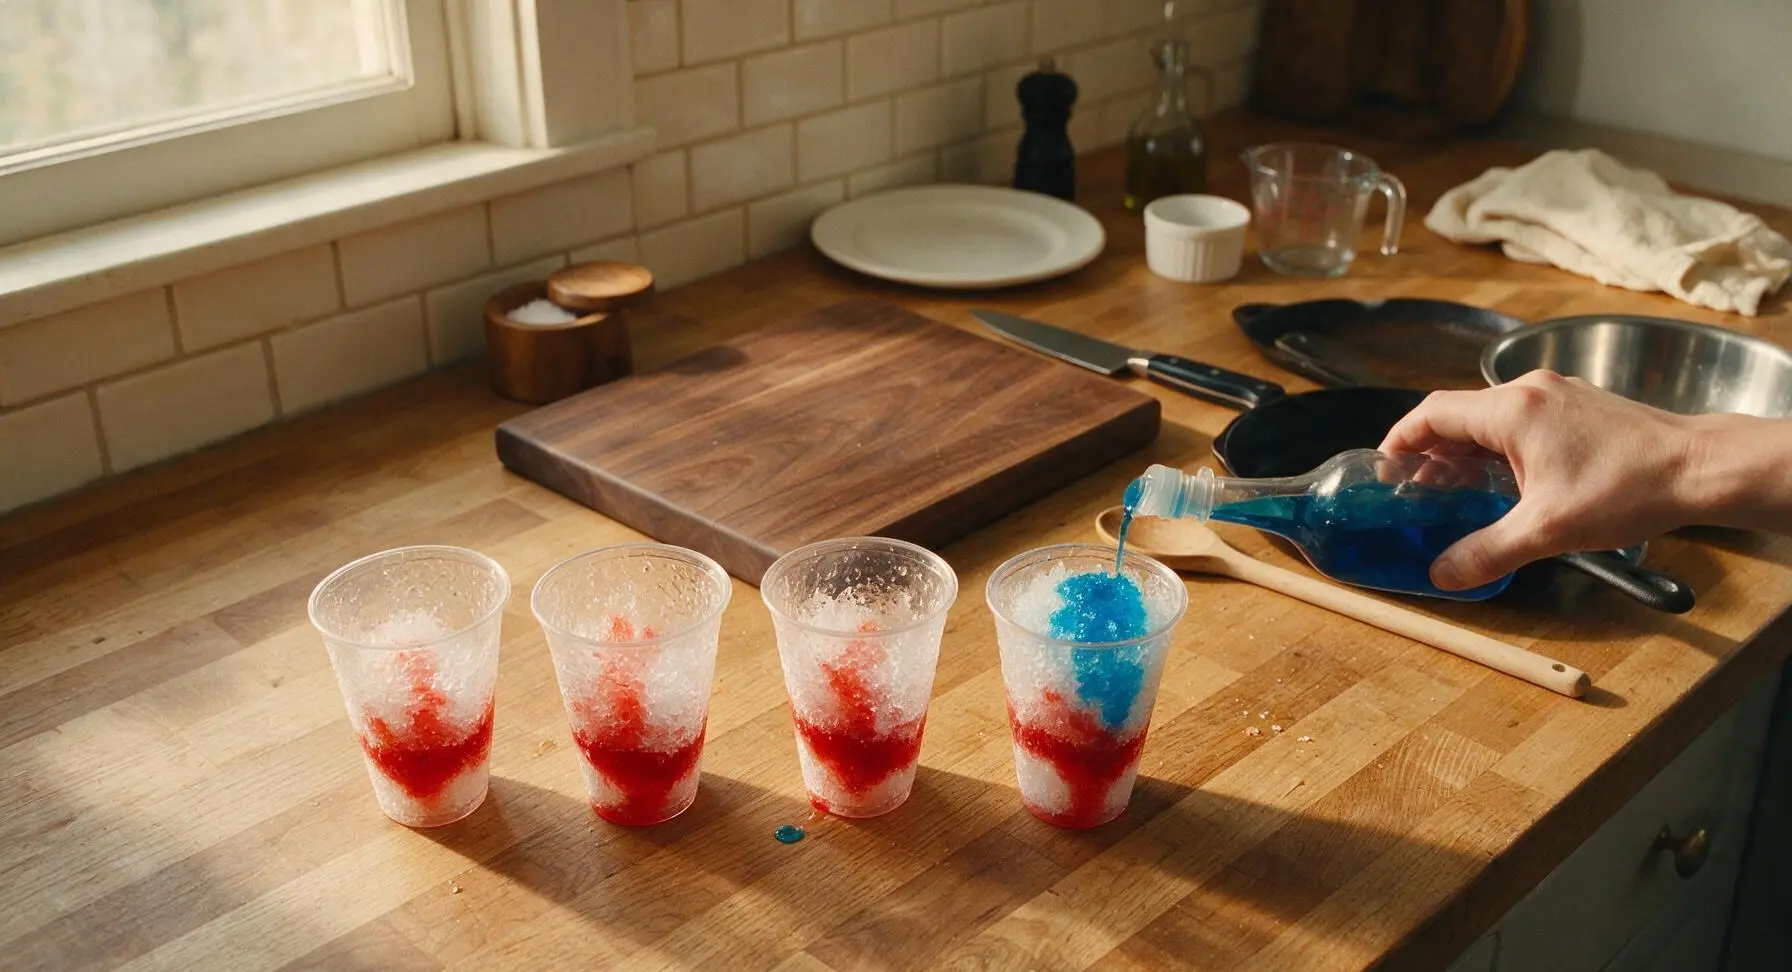
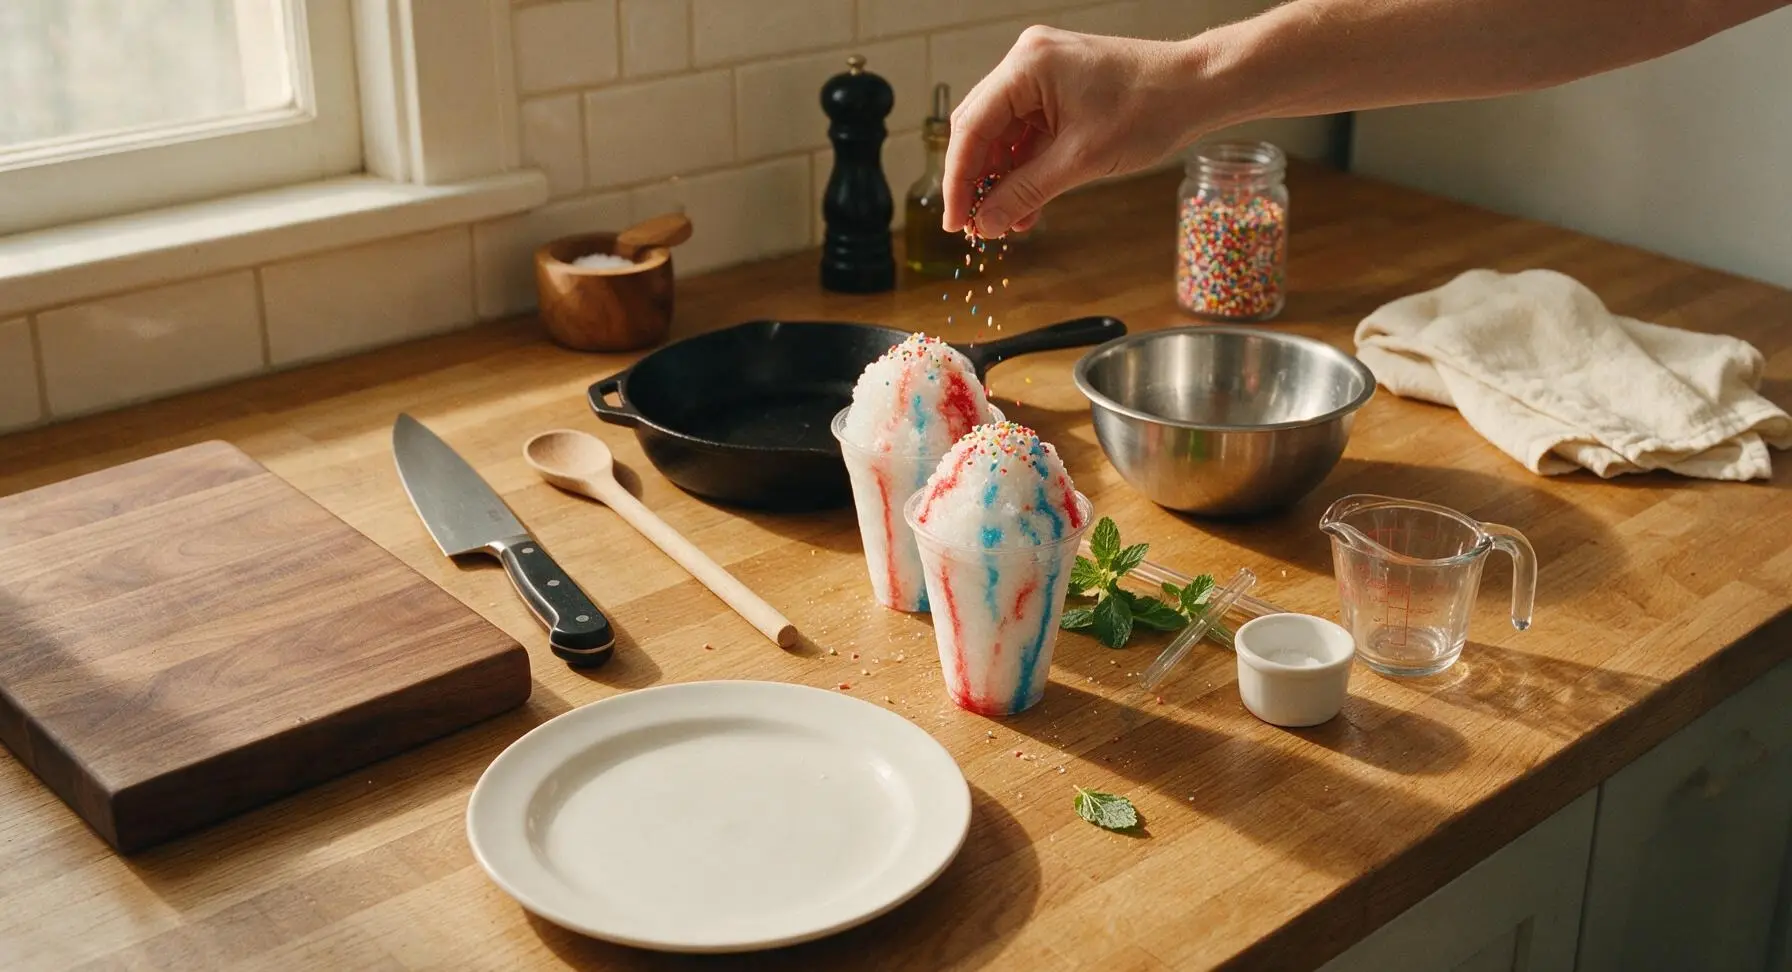
After you blend the base of ice, coconut milk, and frozen berries, split the mixture evenly between two bowls. Stir strawberry syrup into one bowl and blue raspberry syrup into the other, then layer the two colors in your cup in alternating scoops. Drizzle a little extra syrup on top, and don’t over-stir to keep those bright, distinct color swirls.
15.Can I make this into an adult version for a summer cookout?
▾
For a boozy adult twist, add 1 to 2 ounces of white rum, vodka, or coconut rum per serving, but be careful not to add too much—alcohol doesn’t freeze, so extra will make your smoothie runny. Blend the alcohol with the coconut milk before adding ice and fruit, and serve with a tiny paper umbrella for a fun, nostalgic summer cocktail.
16.My blender keeps getting jammed with large ice chunks when I make this—how do I fix that?
▾
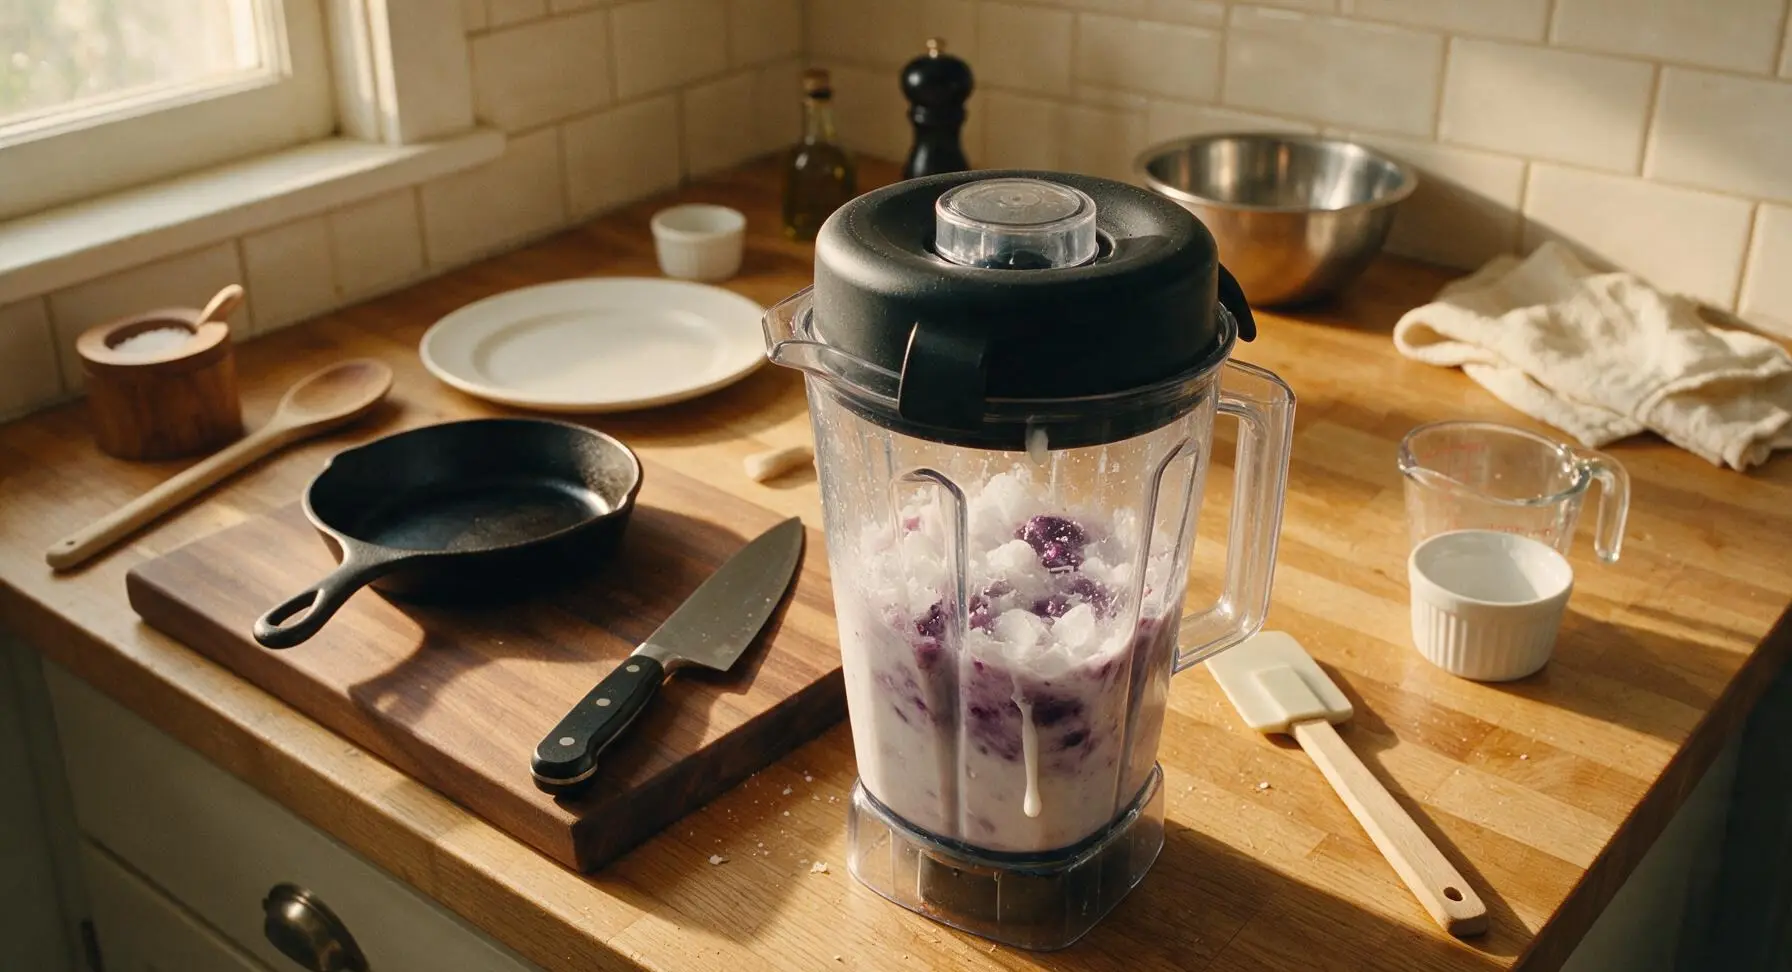
Stop blending immediately if the blades get jammed, because keeping the motor running can burn it out. Take the pitcher off the base, give it a good shake to dislodge ice chunks, stir in 1 tablespoon more cold coconut milk to loosen things up, then resume pulsing. Adding ice in smaller batches instead of dumping it all in at once prevents this issue entirely.
17.What are good toppings to add to this Snow Cone Smoothie?
▾
Stick to light, fun toppings that match the nostalgic vibe! Try a dollop of whipped coconut cream, a sprinkle of popping candy, fresh berry skewers, a drizzle of sweetened condensed milk, a maraschino cherry on top, or even a handful of mini marshmallows. Avoid heavy toppings like hot fudge that will melt the fluffy ice too fast before you can enjoy it.
18.Can I prep the ingredients ahead of time for quick weekday treats?
▾
You can definitely prep ahead! Portion frozen mixed berries and pre-crushed ice into freezer-safe bags, and keep your coconut milk and syrups chilled in the fridge. When you’re ready to make a smoothie, just dump one pre-portioned bag into the blender with the coconut milk and syrup, pulse, and you’ll have a fluffy treat ready in 60 seconds with minimal cleanup.
19.Is this recipe suitable for vegan diets?
▾
As written, this recipe is 100% vegan as long as you pick snow cone syrups that don’t contain honey or animal-derived food coloring—most standard store-bought snow cone syrups are accidentally vegan, but it’s always good to double-check the label. Skip dairy-based toppings, and use coconut whipped cream on top to keep it fully plant-based for vegan friends and family.
20.Why is my smoothie coming out dense like a regular smoothie instead of light, shaved snow?
▾
If you’re getting a thick, dense regular smoothie texture instead of light fluffy snow, you’re probably using too much frozen fruit and not enough crushed ice, or blending for too long. Dial back the frozen berries by ½ cup, add an extra ½ cup of crushed ice, and stick to short pulse bursts instead of continuous blending for that perfect melt-in-your-mouth snow texture.

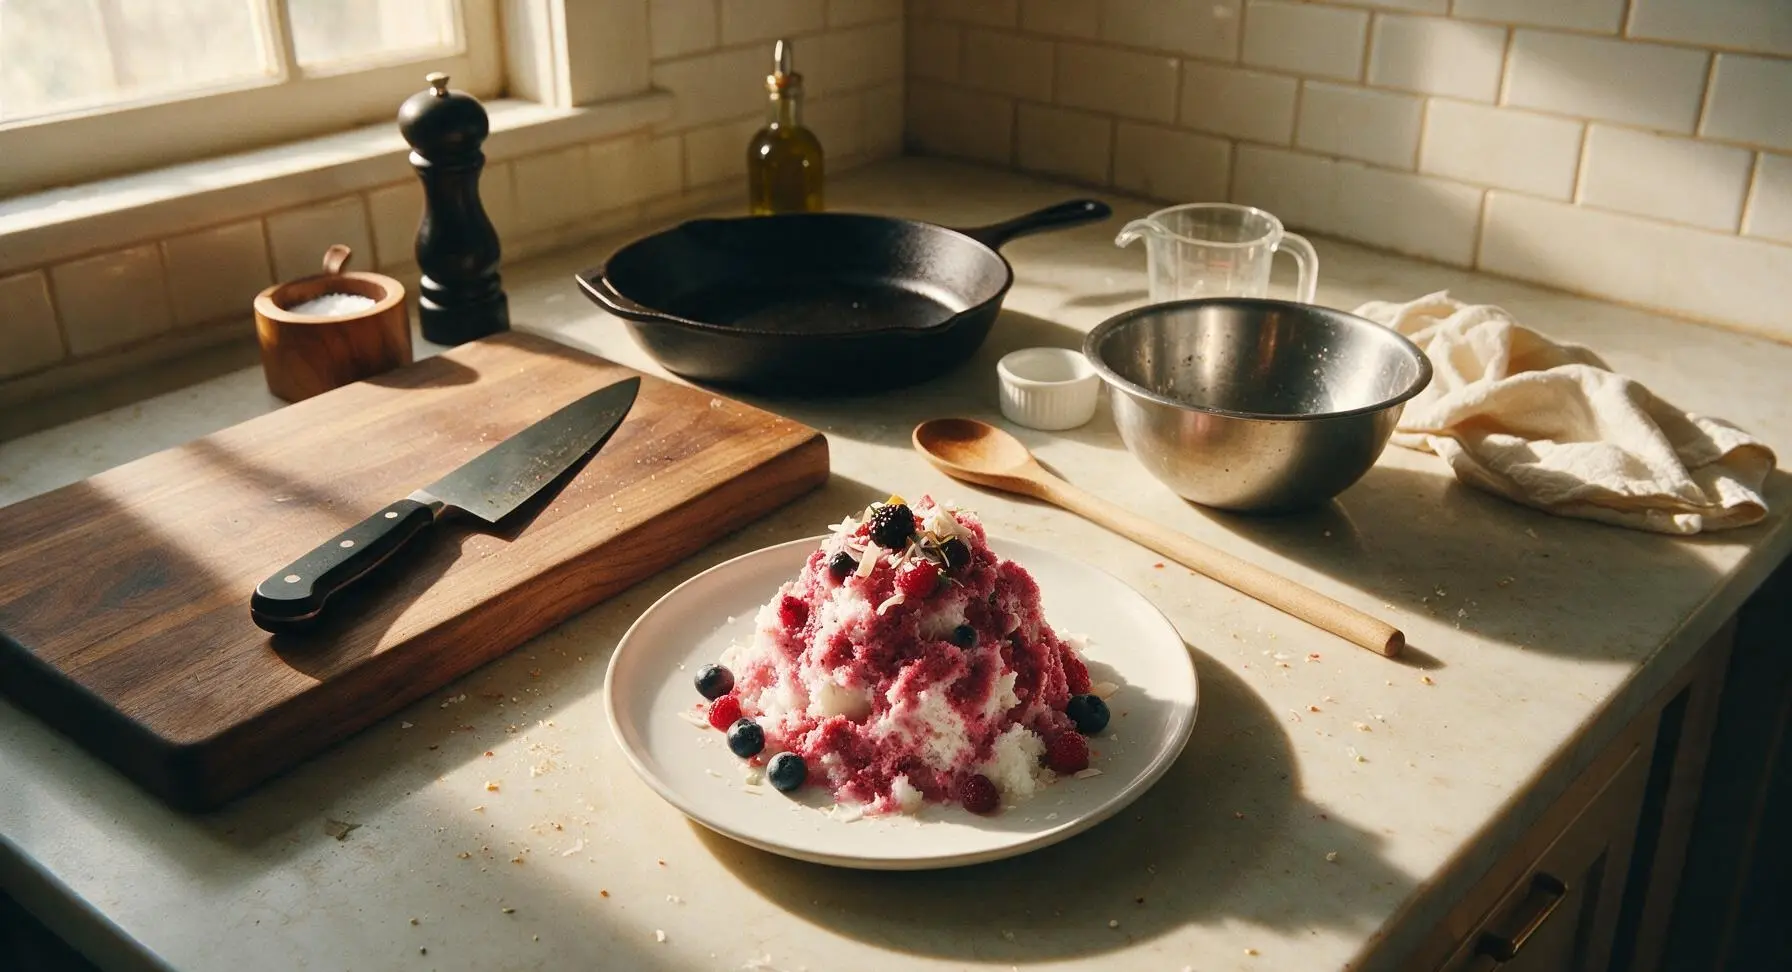
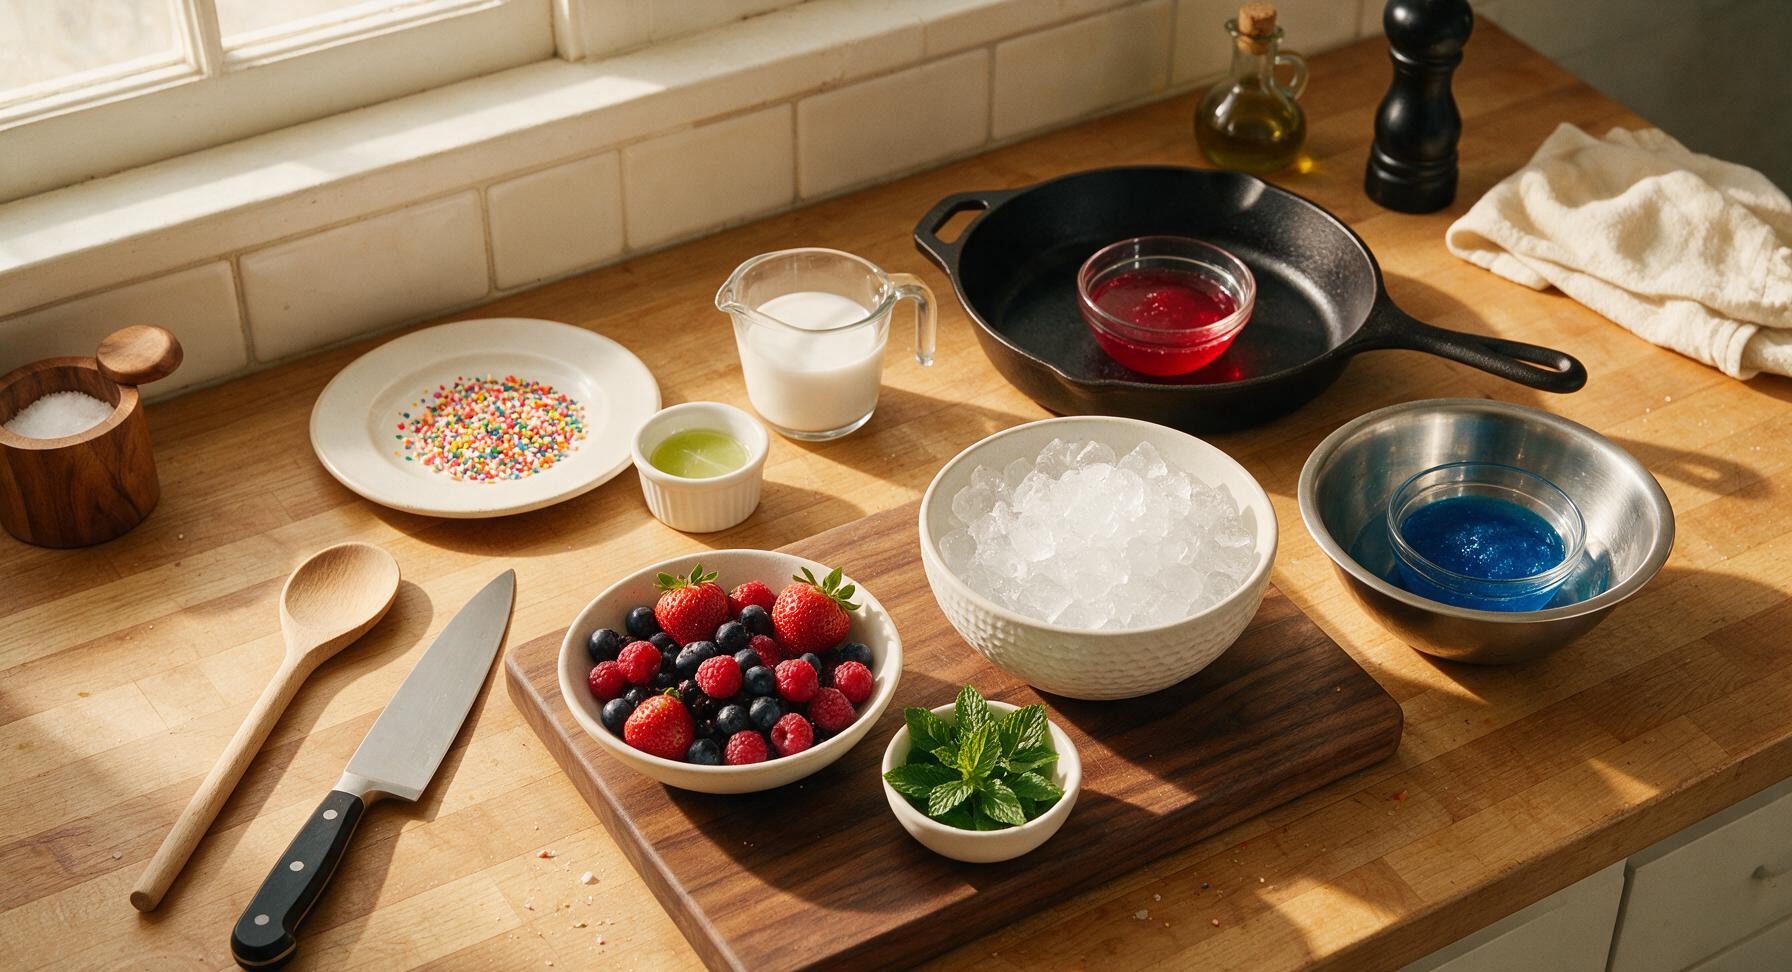
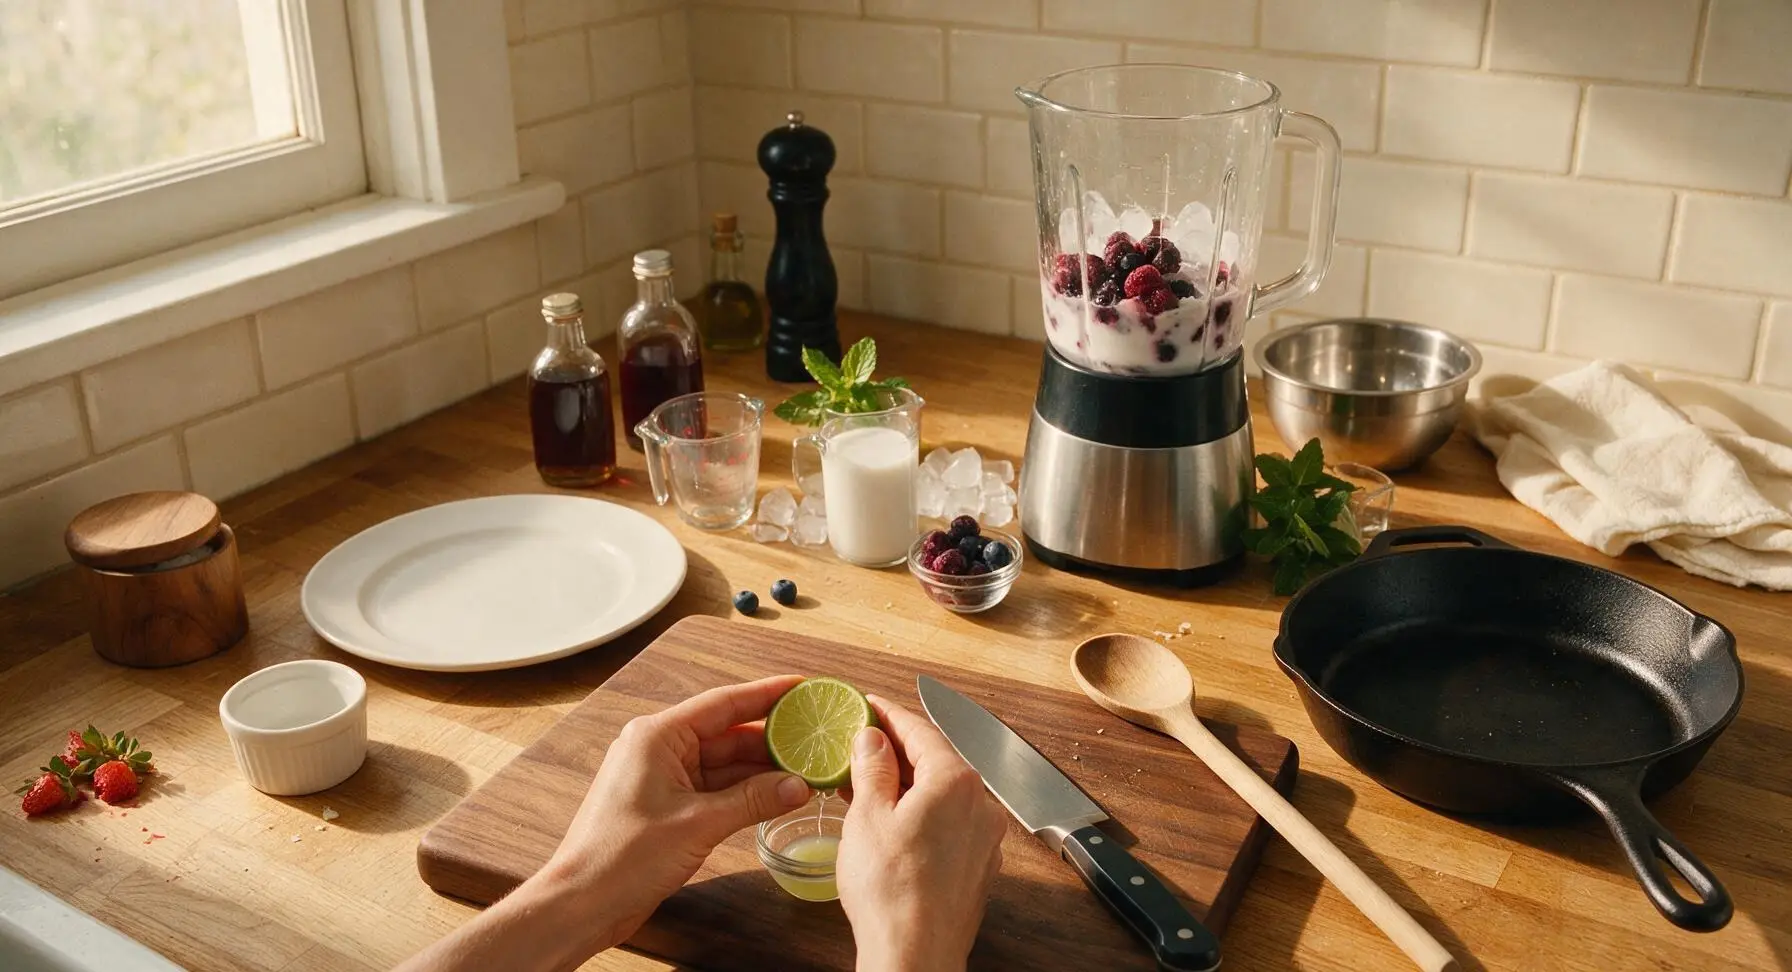
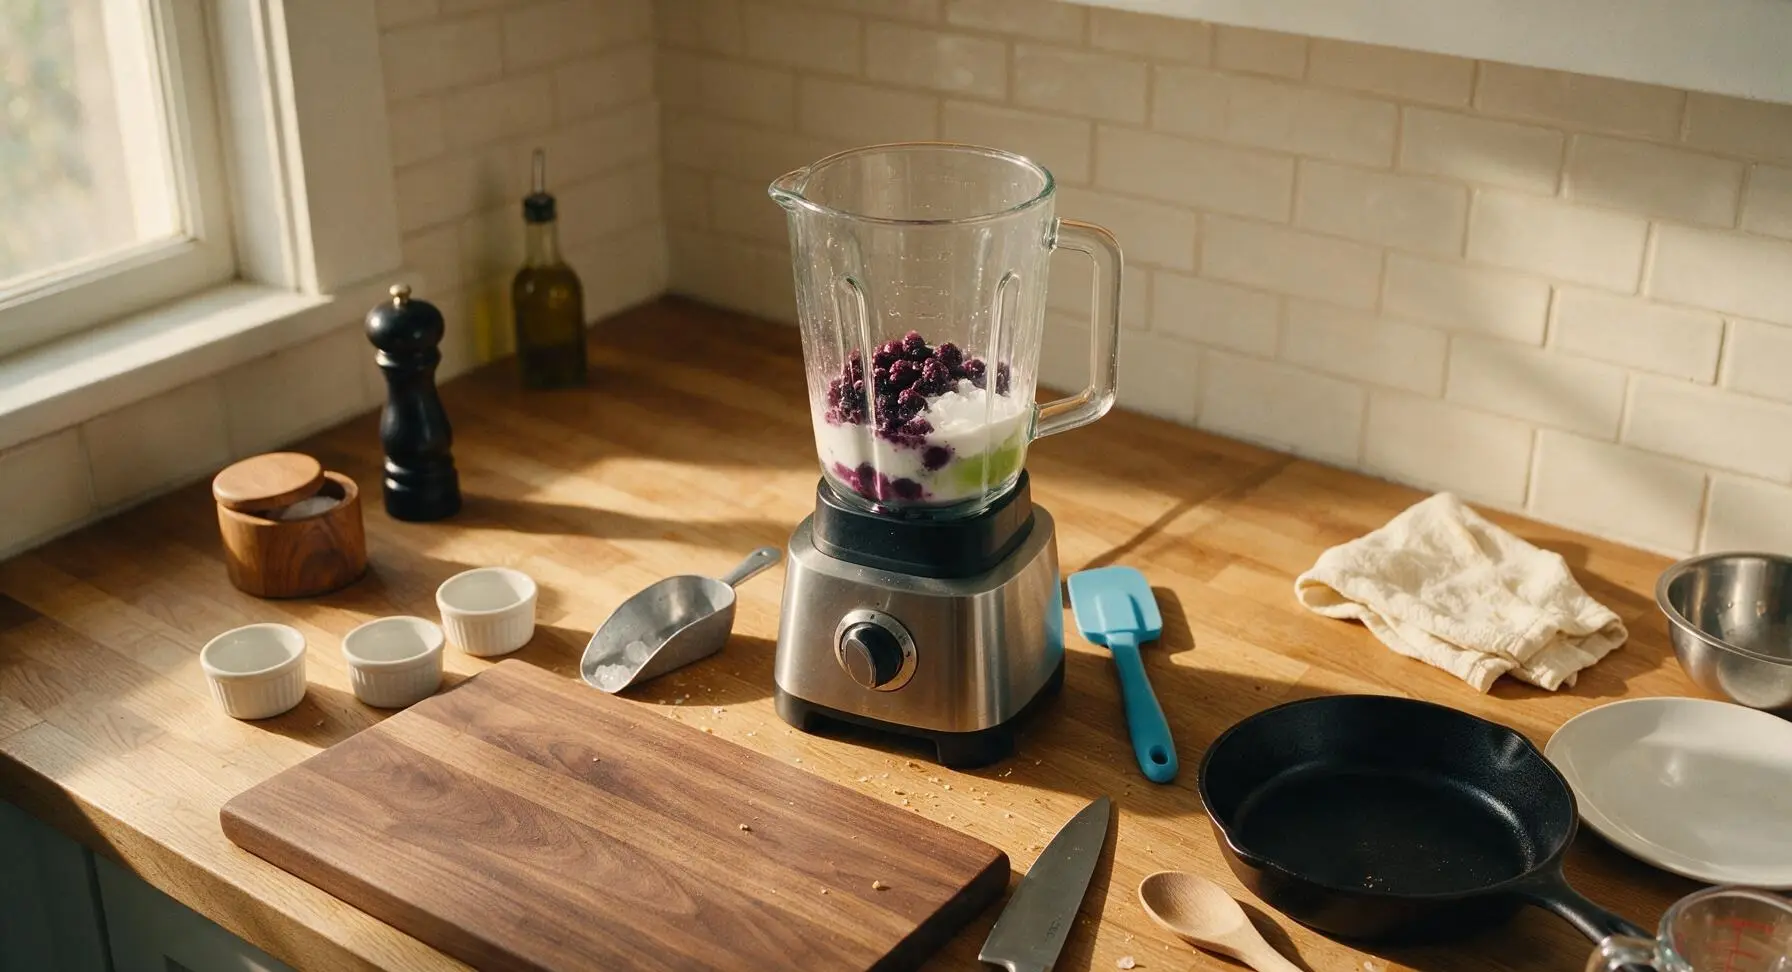






OMG this snow cone smoothie is such a game changer for summer afternoons! My three kids beg for it every time they get home from soccer practice, and I don’t even feel guilty giving it to them because it’s way less sugary than regular snow cones. SO good, I’ve already made it three times this week.
Wait, zero cook time? Perfect for my tiny dorm room that doesn’t have a kitchen! I threw this together between study sessions yesterday and it hit so hard on that 90 degree day. Only thing is I added a little extra cherry syrup on top, chef’s kiss.
Has anyone tried making this with coconut cream instead of the regular dairy base? I’m dairy free and wondering if it’ll still have that light, fluffy snow cone texture or if it’ll be too thick.
Made this for our backyard Fourth of July potluck and it was a total hit with both the kids and the adults. I set out little toppings stations with gummy bears, sprinkles, and different flavored syrups so people could make their own. Will definitely be a staple at all our summer cookouts from now on.
I was skeptical a smoothie could actually taste like a snow cone, but y’all were right! It’s got that perfect icy, sweet vibe without being heavy. I made the blue raspberry version and it turned my tongue bright blue, just like when I was a kid at the fair.
Wait, how is this so easy? I am literally the worst at making anything in the blender, I always burn toast somehow, but this came out perfect first try. No fancy ingredients, no weird steps, just icy deliciousness. 10/10 for people who can’t cook.
My granddaughter came over and asked for ‘that icy rainbow drink’ she saw on TikTok, so I found this recipe and we made it together. She loved adding all the sprinkles and helped me pour the fruit into the blender. It’s so easy even this old grandma could follow the steps, and it made for such a fun afternoon activity.
Tried this yesterday and it was great, but my blender kept getting stuck because the ice was too chunky? Did I do something wrong? I had to keep stopping and stirring it every 10 seconds, it was kind of a hassle.
Meal prepped a big batch of the base for this on Sunday and it’s been the perfect quick breakfast and after school snack all week. I portion it out into mason jars and just give it a quick blend when we’re ready to eat, total time saver on busy weekdays.
I made this for my pool party over the weekend and people were asking for the recipe before they even finished their first cup! I did three different flavors: strawberry, mango, and blue raspberry, and they were all gone in 20 minutes. Next time I’m making a double batch for sure.
I’ve made a million smoothies in my time and this one easily cracks the top 5 for summer. It’s light, not overly sweet, and the texture is exactly like shaved ice from the snow cone stand down the street. I added a little Tajin on top of the mango version and it was *chef’s kiss* sweet, salty, tangy perfection.
Is there a way to make this without added sugar? I’m trying to cut back on processed sugars but I’m really craving that classic snow cone taste without the syrup.
Took this on our camping trip last weekend and it was the perfect treat after a long hike. We used a portable blender and packed pre-crushed ice in the cooler, and it worked like a charm. Tasted way better than the sad trail mix we brought for snacks, lmao.
My kids are so picky when it comes to cold treats, they usually turn down smoothies because they’re ‘too thick’ but they go crazy for this. It’s the perfect icy consistency, not milky like a regular smoothie, exactly like a snow cone you can drink. I don’t know how I didn’t think of this recipe sooner!