
Sourdough Bagel
intro
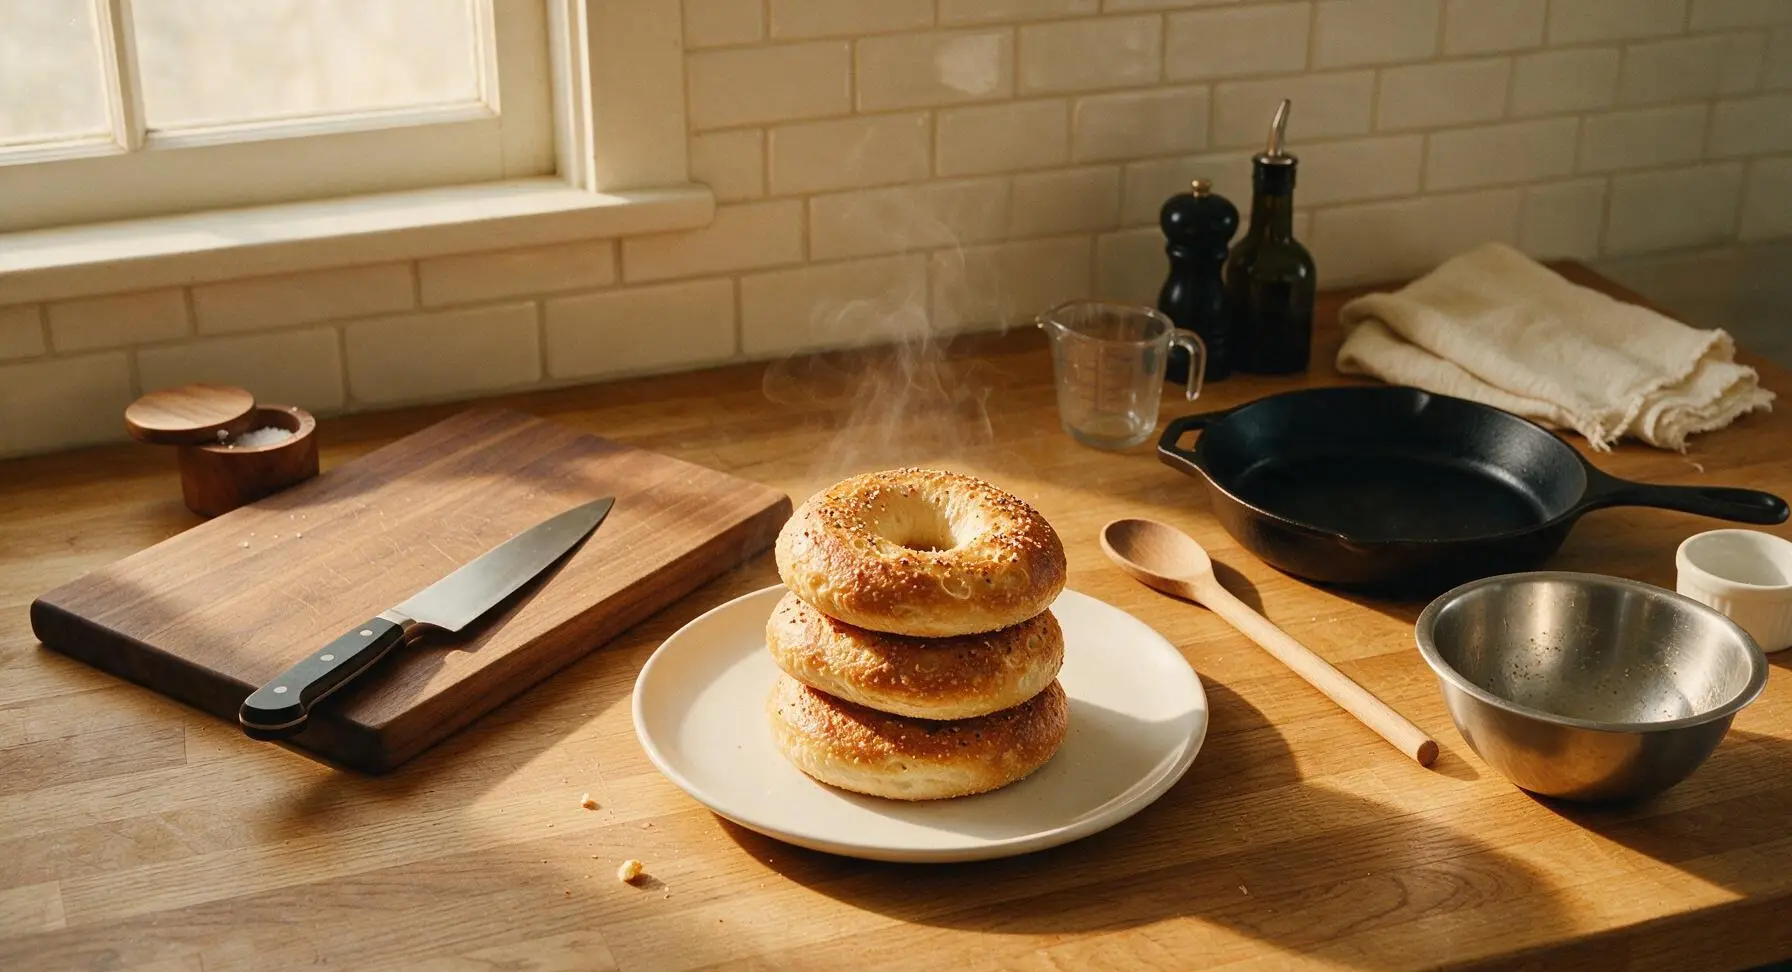
Chewy, crusty sourdough bagels with bright tangy flavor, perfect for toasting and slathering with cream cheese. Long-fermented for ideal texture and that classic artisan bagel bite.
Ingredients
Steps
Mix Dough Ingredients
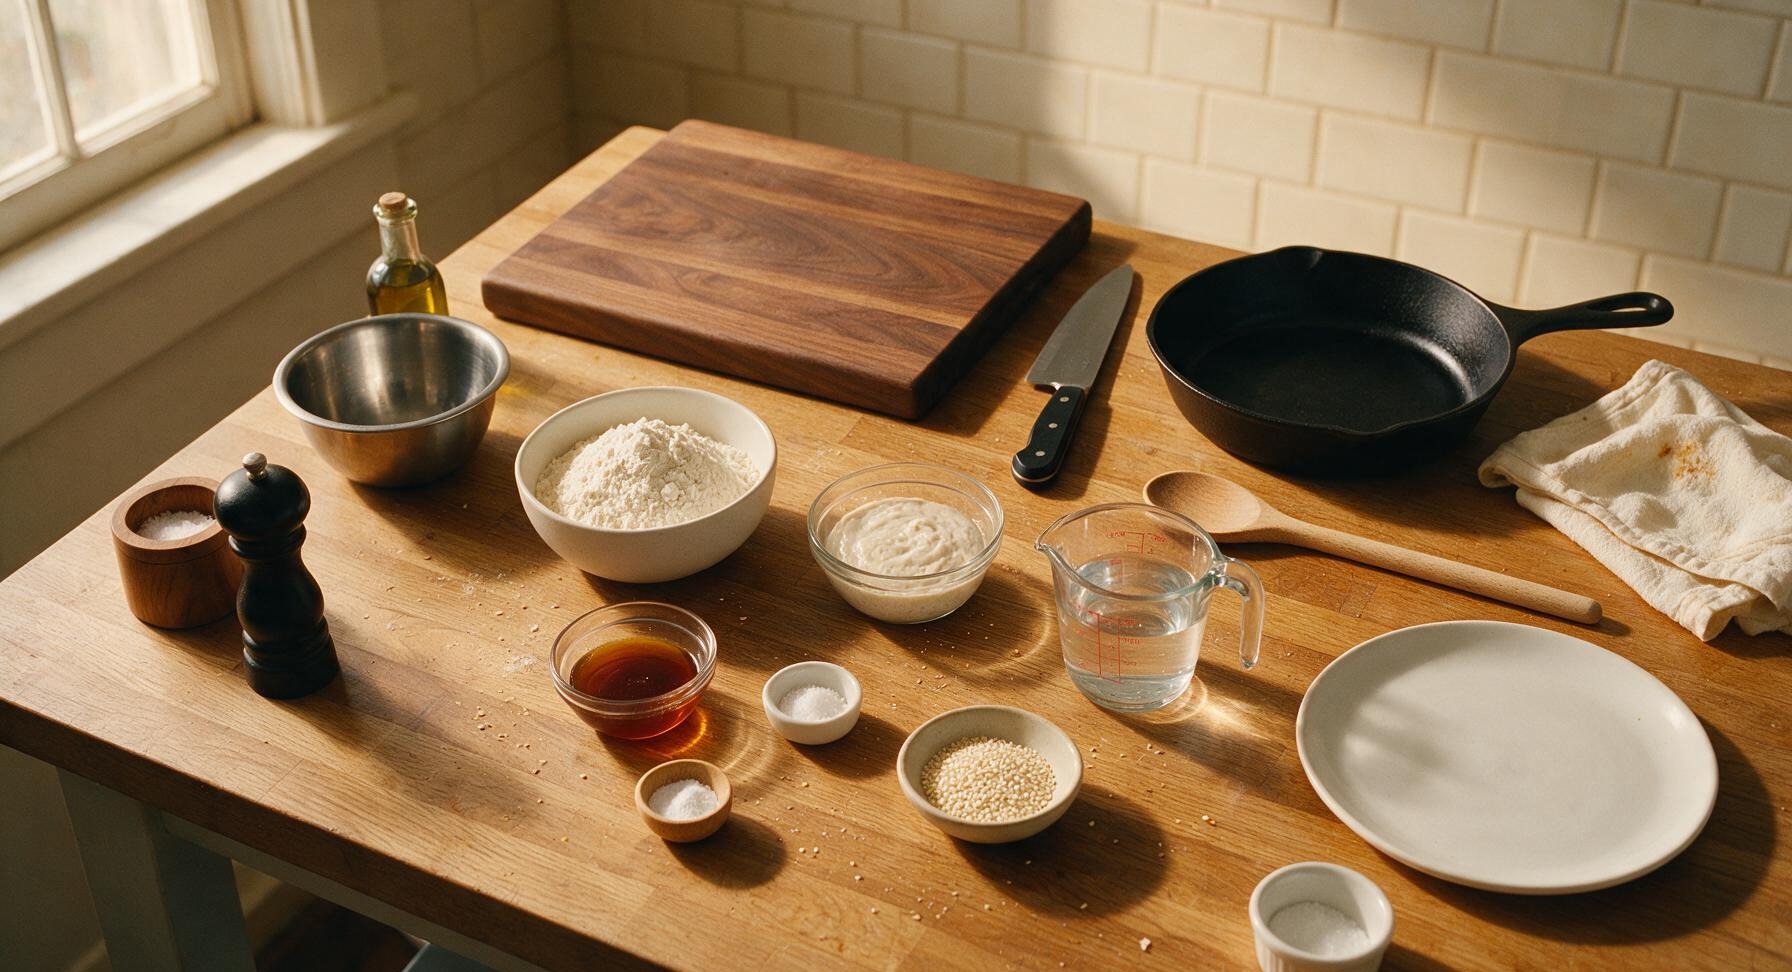
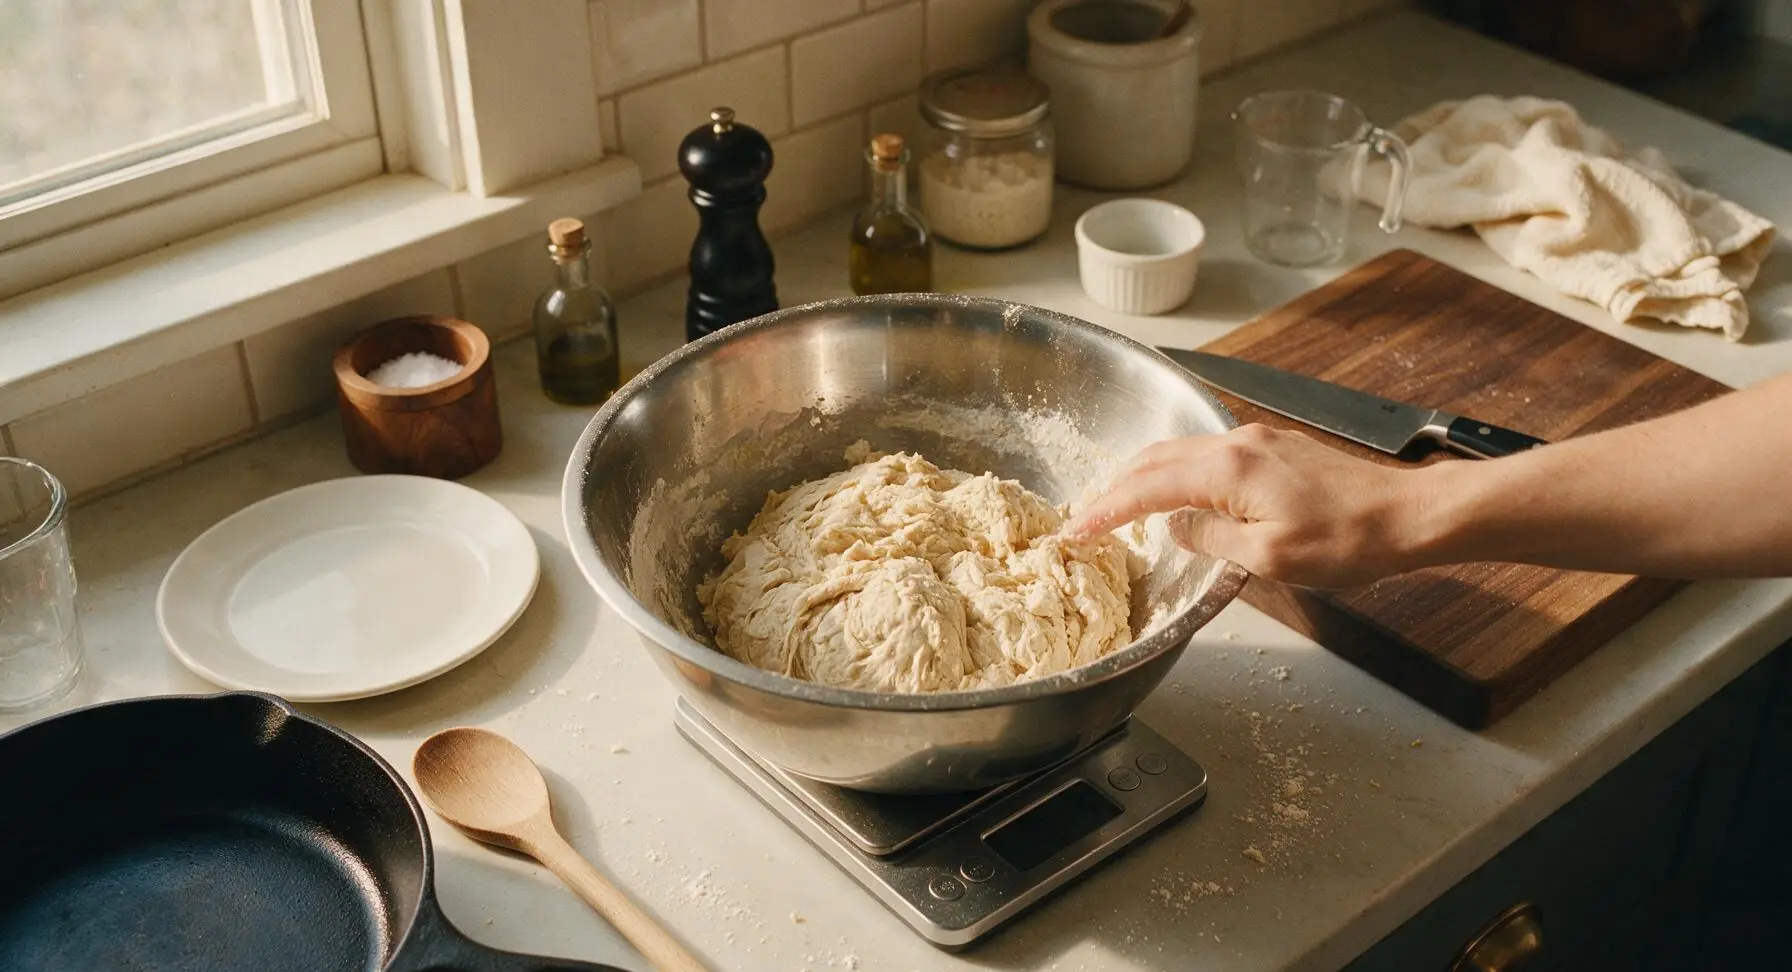
Set the large stainless steel mixing bowl on the digital kitchen scale, tare to zero. Weigh in 500g high-protein bread flour, 100g active bubbly 100% hydration sourdough starter, 280g lukewarm (32C/90F) filtered water, 10g fine sea salt, and 10g barley malt syrup (reserve 5g for the boiling water). Use a clean hand to mix until no dry flour pockets remain, forming a stiff, shaggy, rough dough. Drape the indigo linen towel over the bowl and let rest 30 minutes at room temperature (21C/70F).
Knead and Bulk Ferment
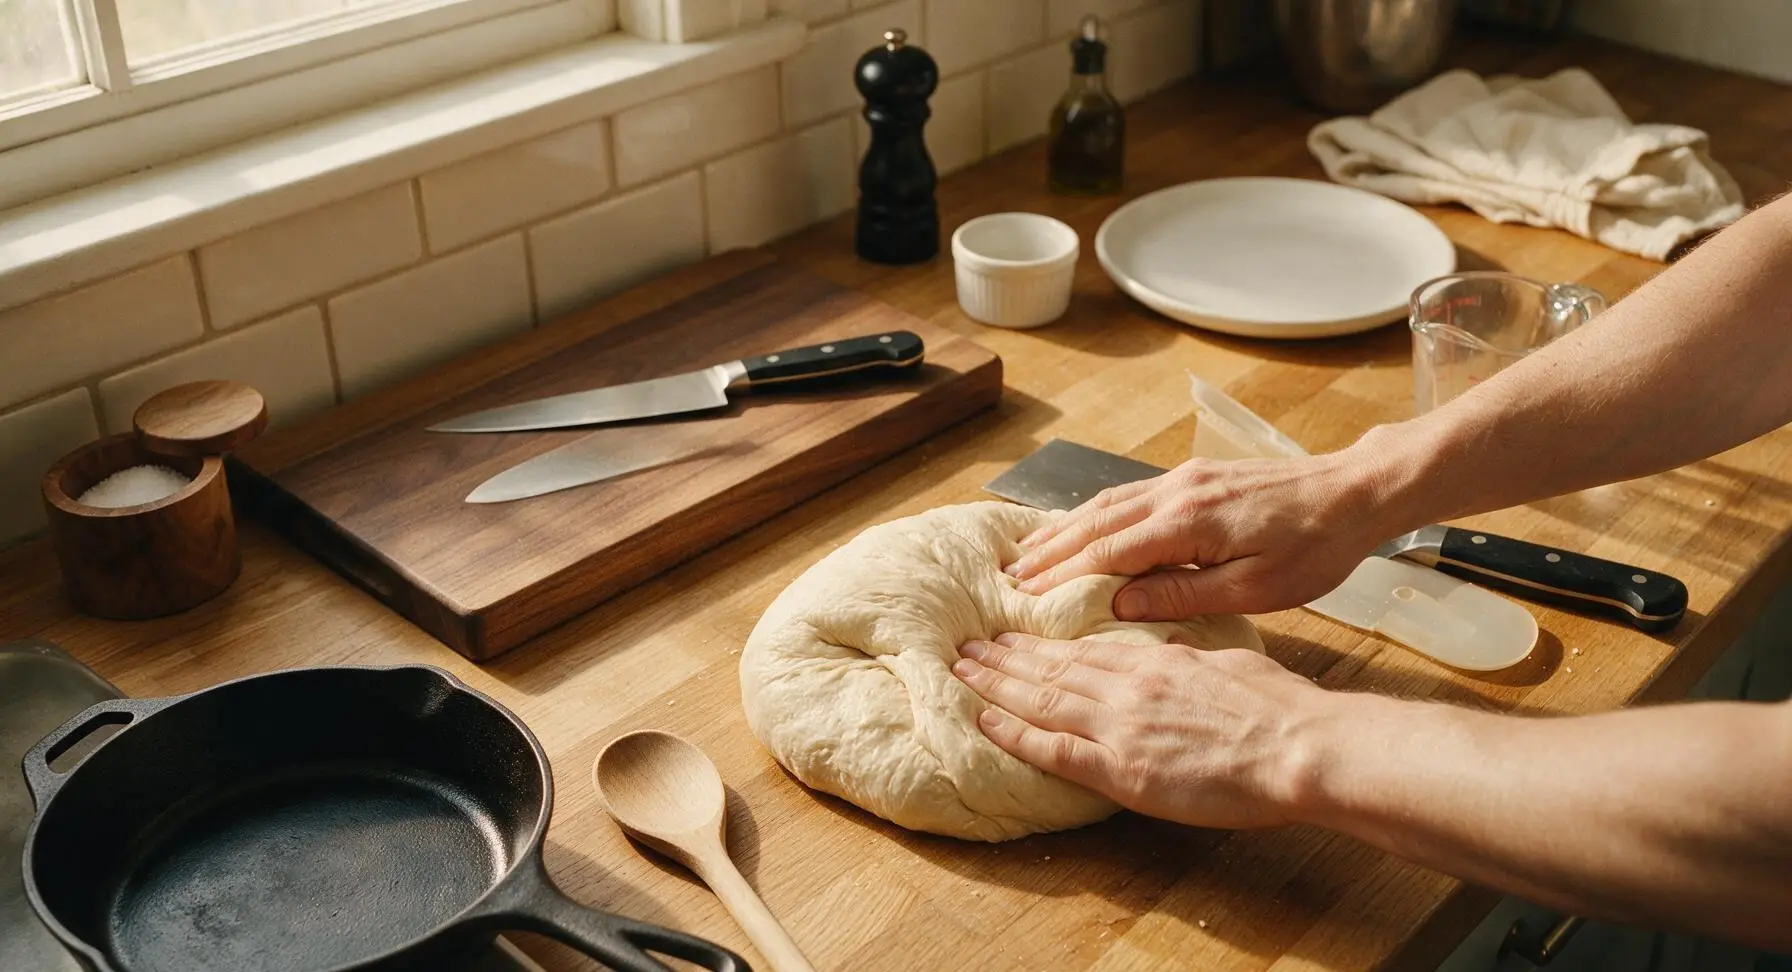
After the 30-minute rest, use the flexible plastic dough scraper to turn the shaggy dough out onto the clean, unfloured maple countertop. Use the bench knife to assist with folding and kneading the dough for 5 minutes, until it becomes smooth, elastic, and only slightly tacky to the touch. Form the dough into a tight, smooth ball, return it to the mixing bowl, cover again with the linen towel, and let bulk ferment at room temperature for 4-6 hours, until the dough has expanded by 50% and feels light and pillowy when pressed gently.
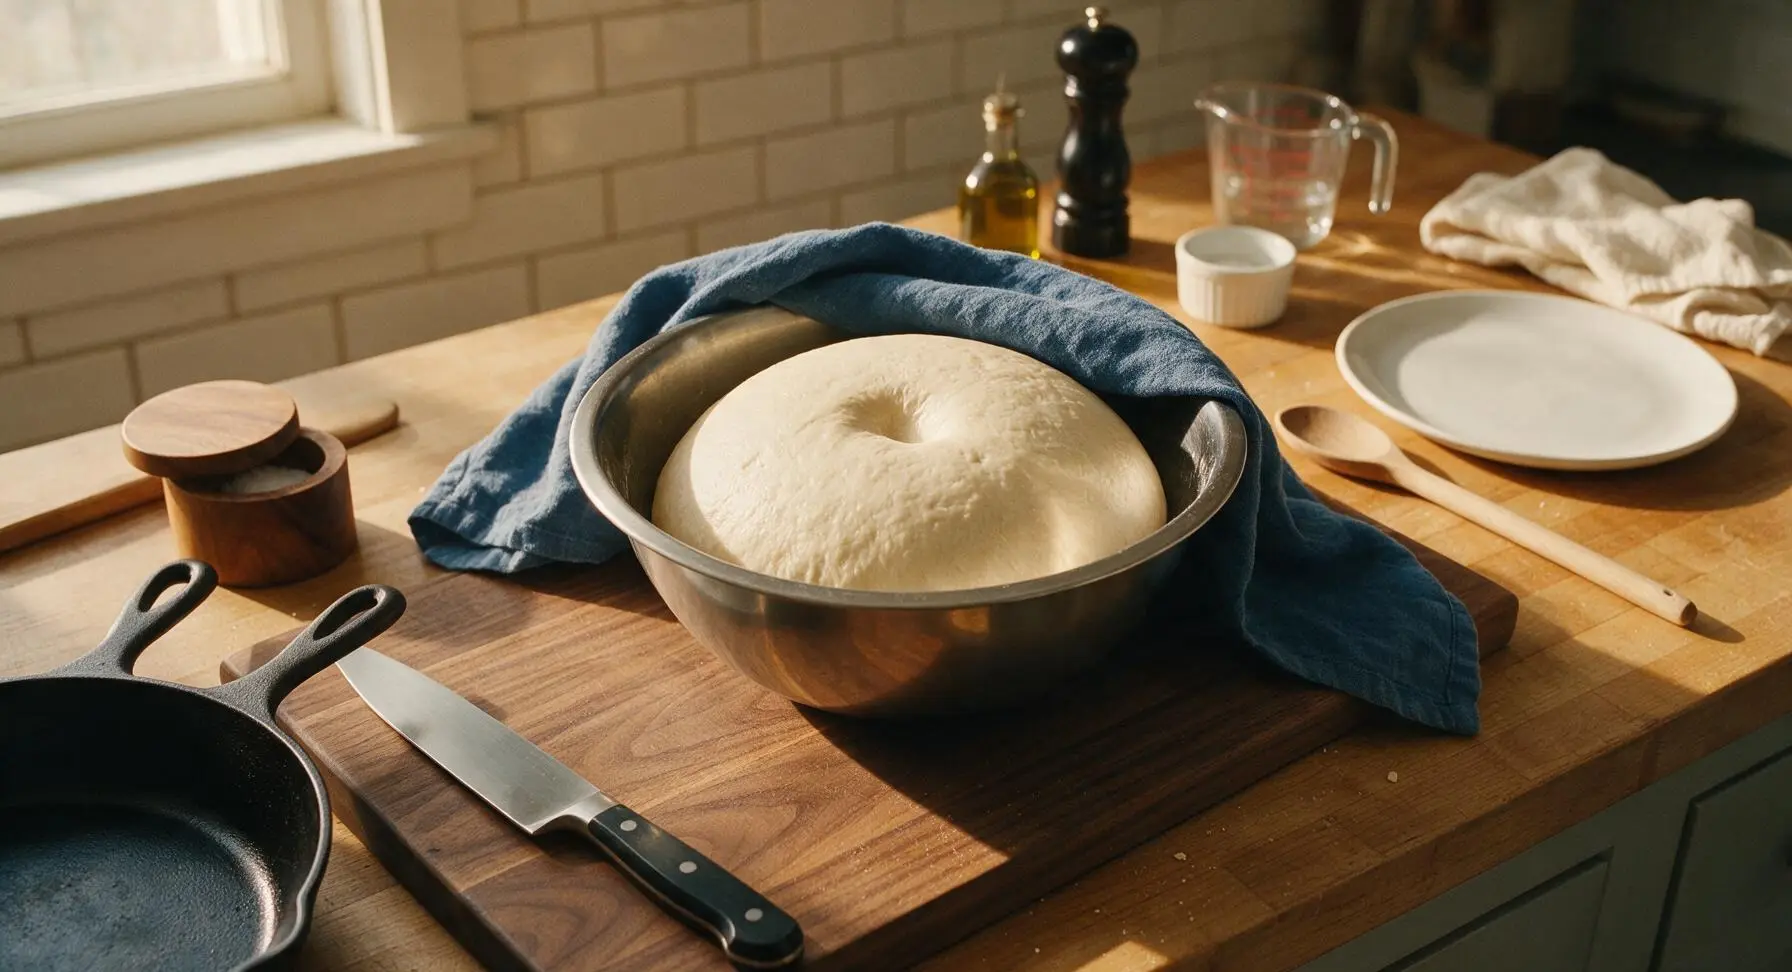
Divide and Shape Bagels
Once bulk fermentation is complete, turn the puffy dough out onto a lightly floured section of counter. Use the bench knife to cut the dough into 8 equal pieces, each weighing approximately 110g. Roll each piece into a tight, smooth round ball, cover with the linen towel, and let rest 15 minutes to relax the gluten. To shape, poke a floured index finger through the center of each dough ball, then gently stretch the center hole to 5cm (2 inches) wide, ensuring the dough ring is even thickness all around. Place shaped bagels 5cm apart on the parchment-lined half-sheet baking pan.
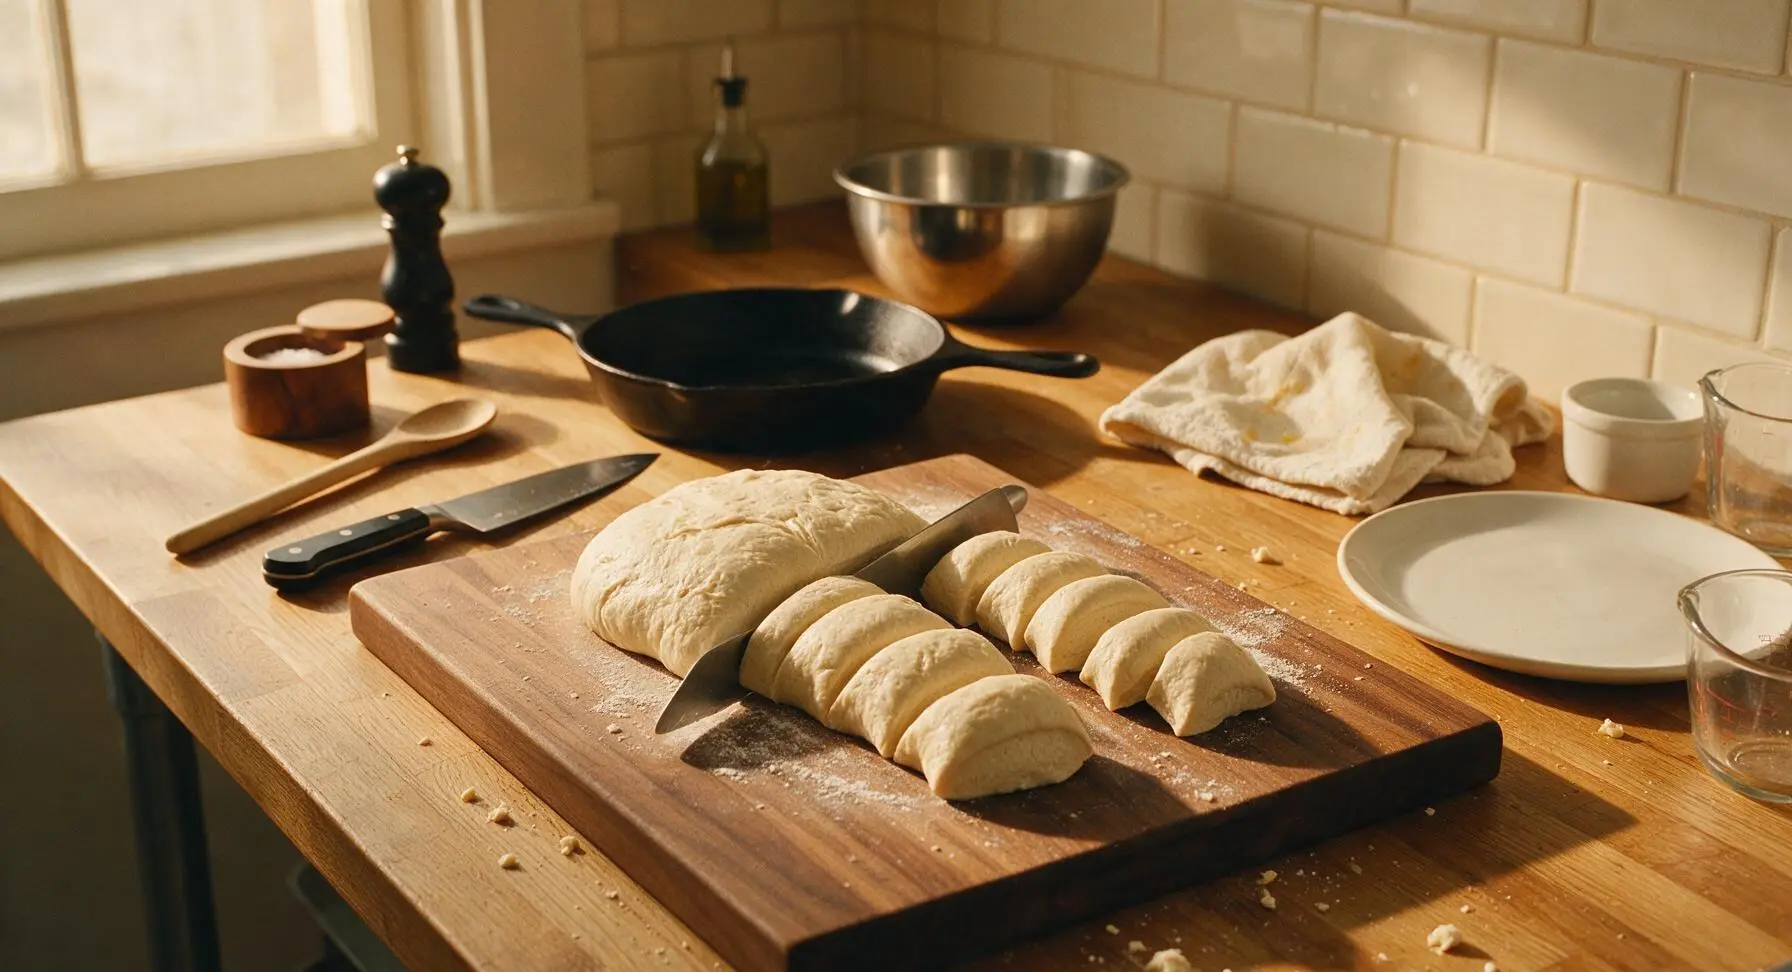
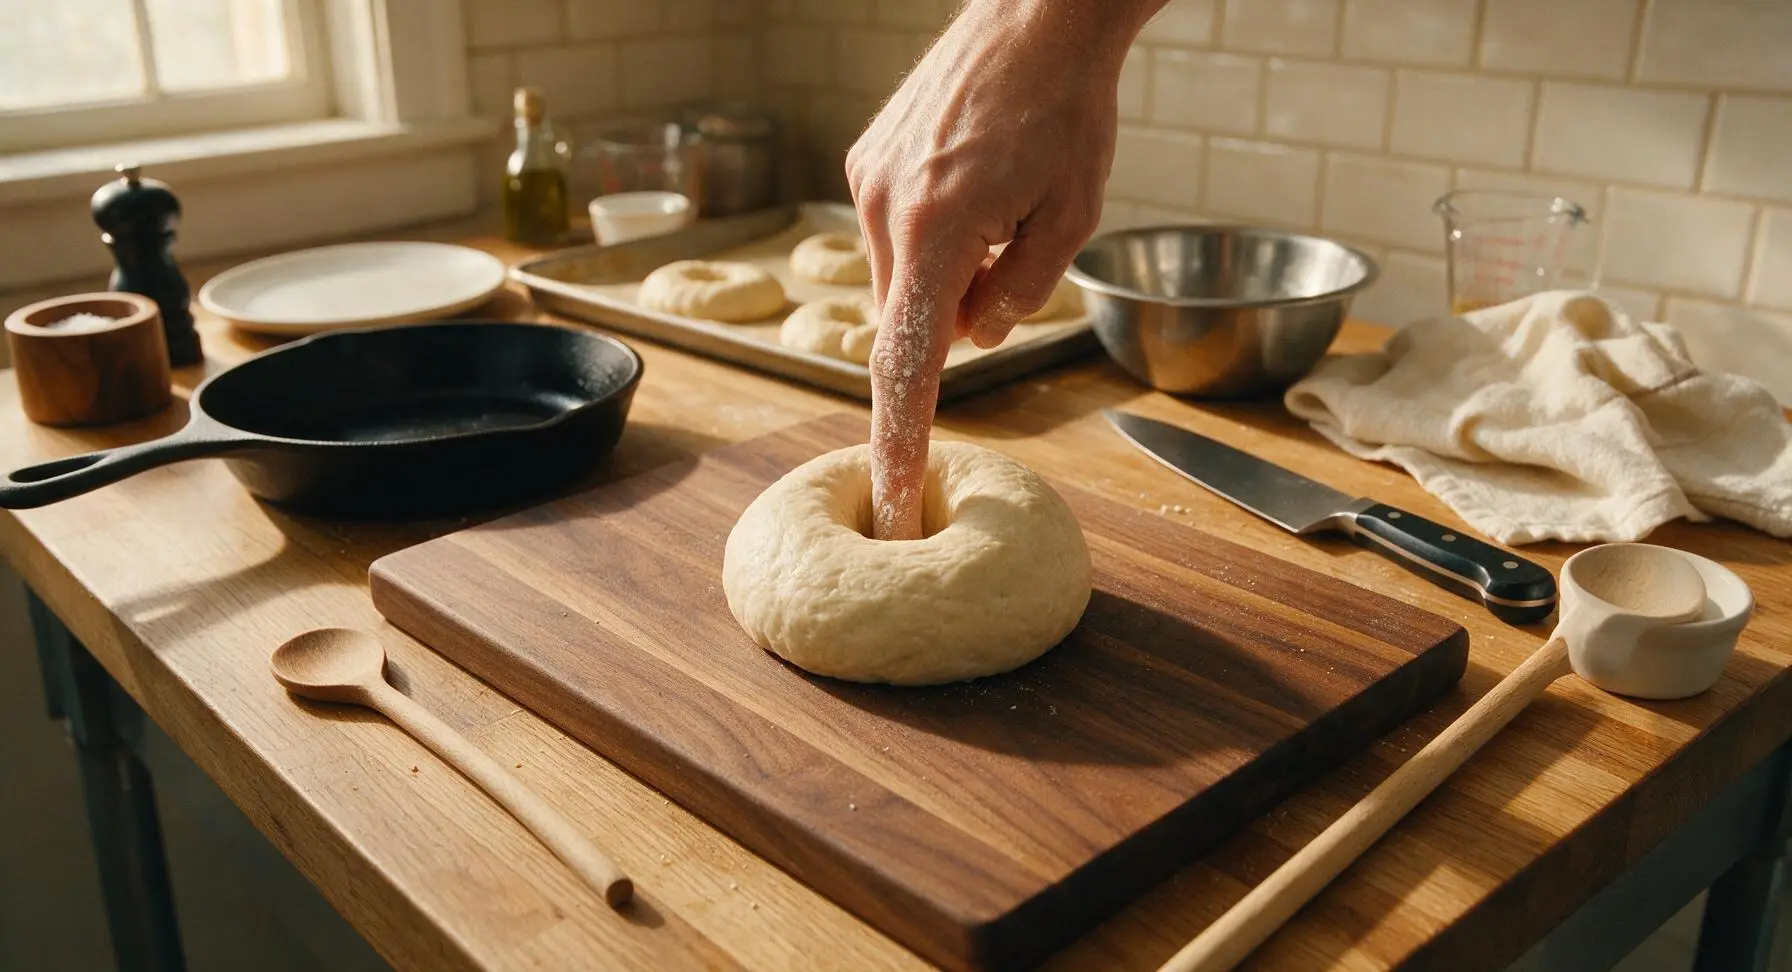
Cold Ferment Overnight
Cover the half-sheet pan of shaped bagels tightly with food-safe plastic wrap, then transfer to the refrigerator for a 12-16 hour cold ferment. This slow, cool rest develops the signature tangy sourdough flavor and chewy texture; bagels are ready to cook when they are slightly puffy and hold a slow-rebounding indent when poked gently.
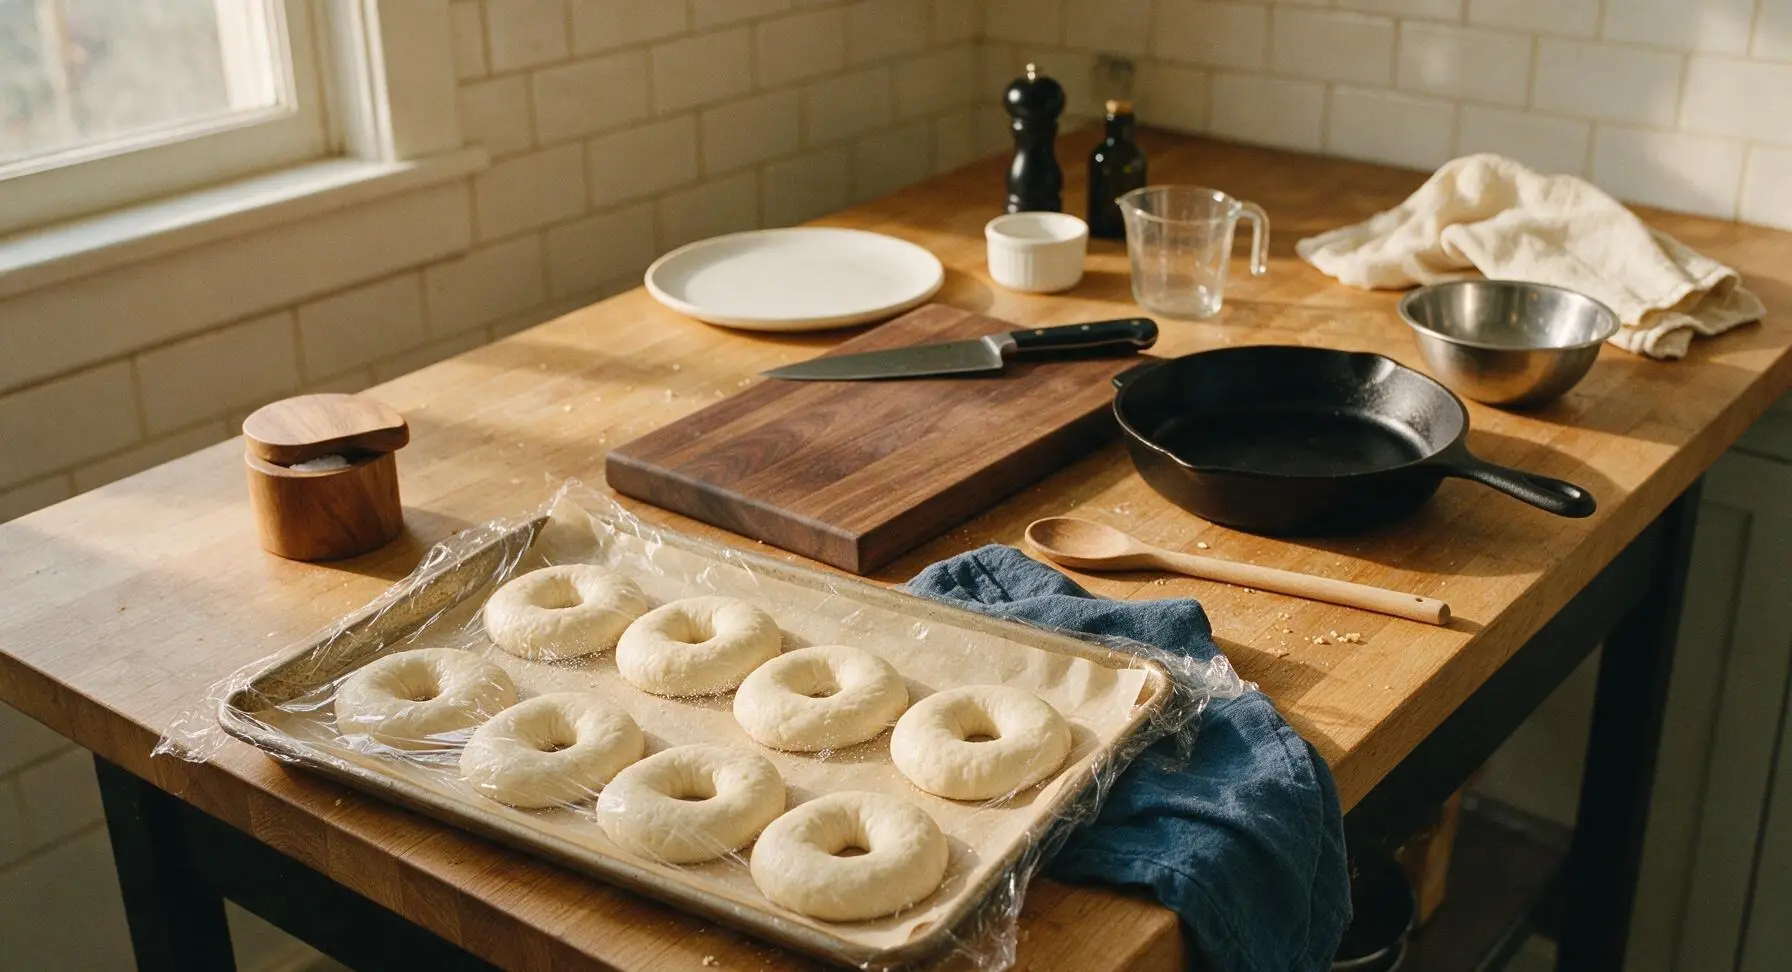
Boil Bagels in Malt Water
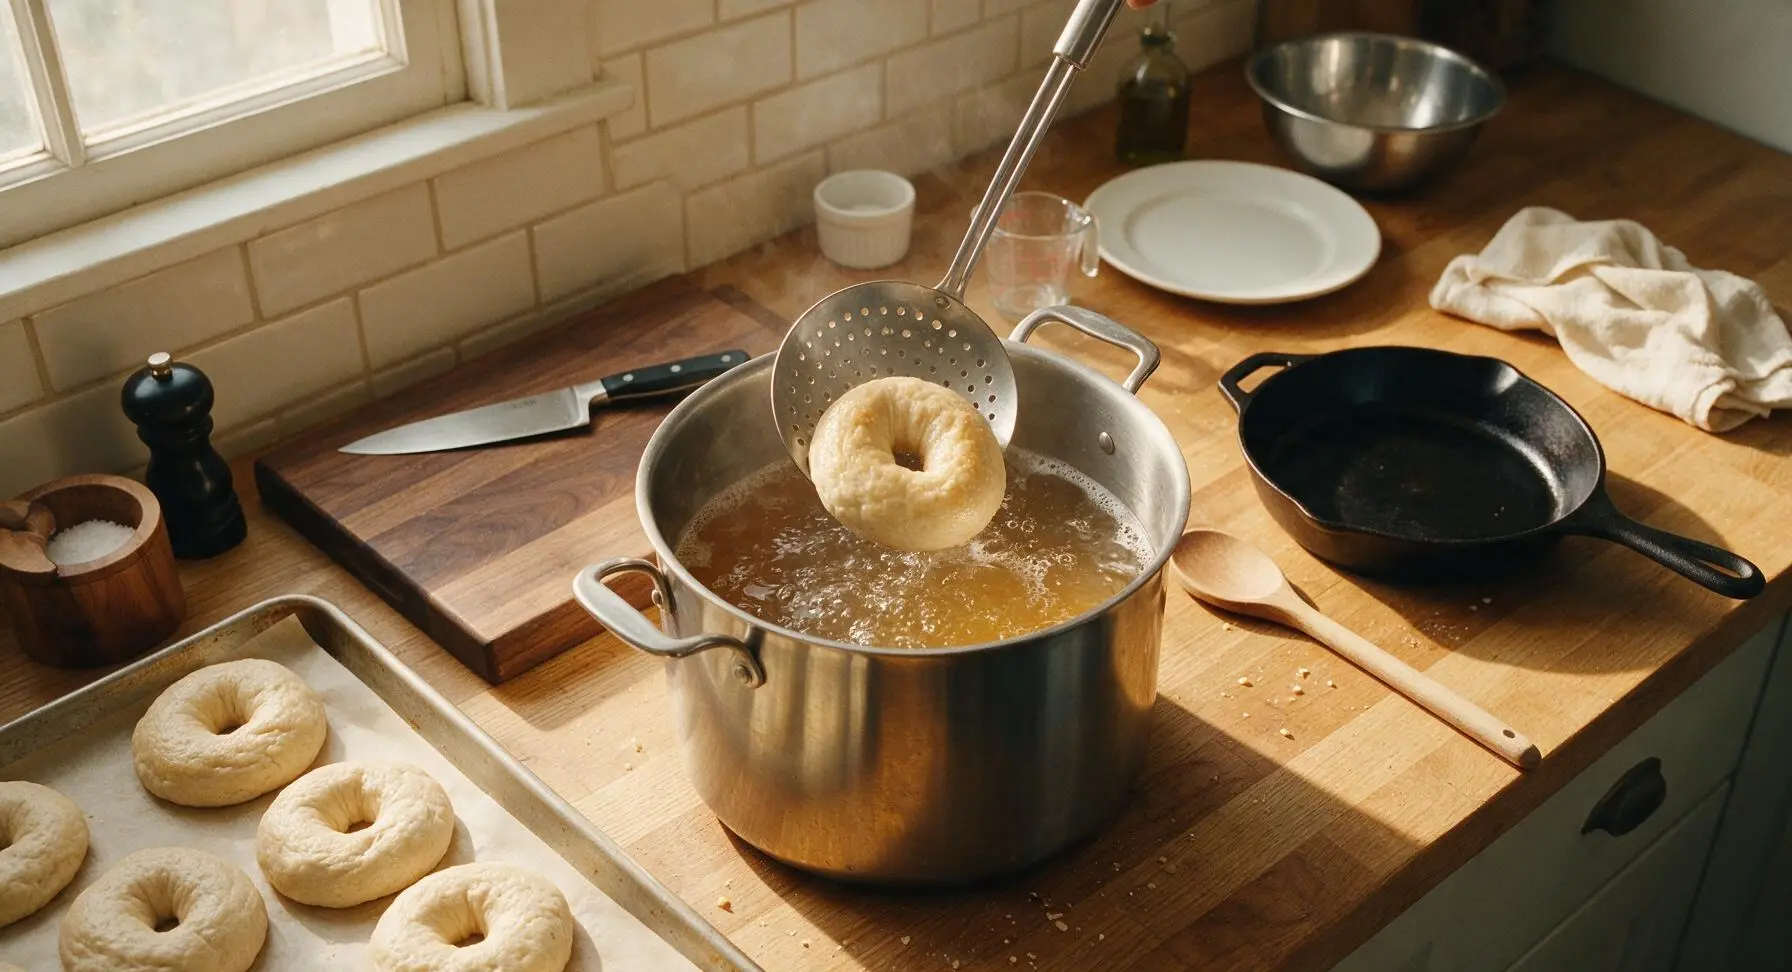
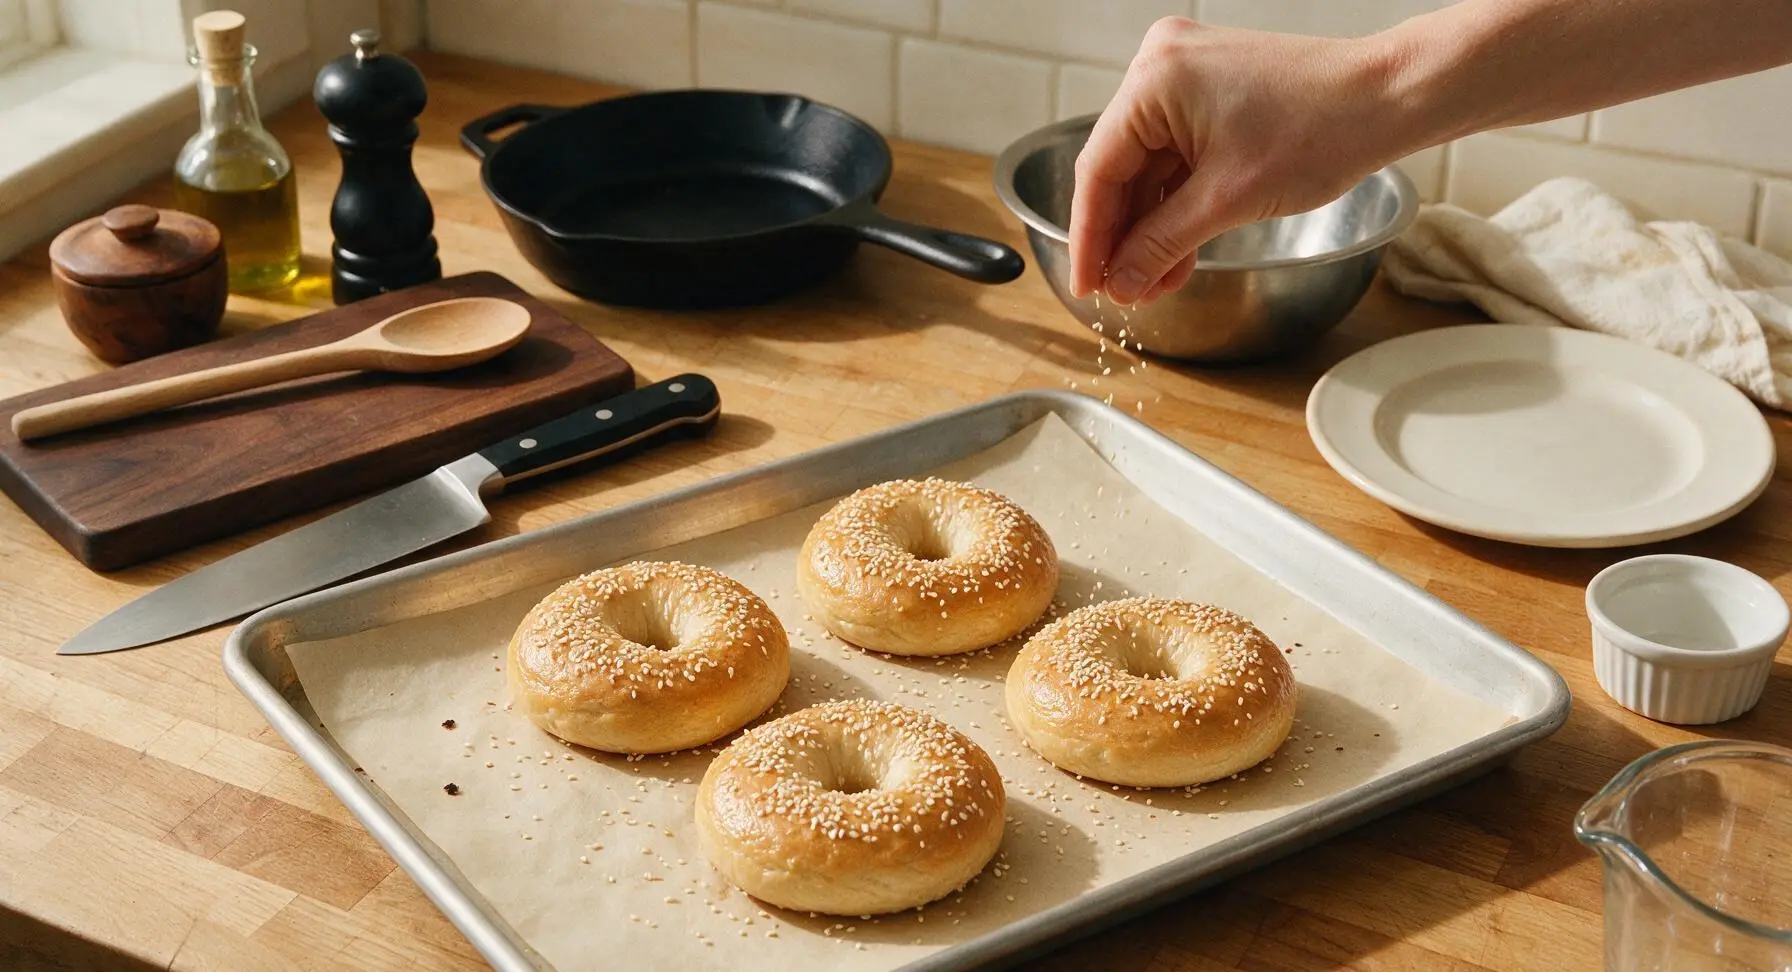
When ready to cook, preheat oven to 220C/425F. Fill the 8L stainless steel stock pot with 4L of water, bring to a rolling boil, then stir in the reserved 5g barley malt syrup and 5g baking soda until fully dissolved. Working in batches of 2-3 bagels (do not crowd the pot), boil each bagel for 30 seconds per side, flipping gently with the slotted spider strainer. Lift boiled bagels from the water, let excess water drain for 2 seconds, then return them to the parchment-lined sheet pan. Sprinkle tops with white sesame seeds immediately while the surface is still sticky.
Bake Until Golden Crusted
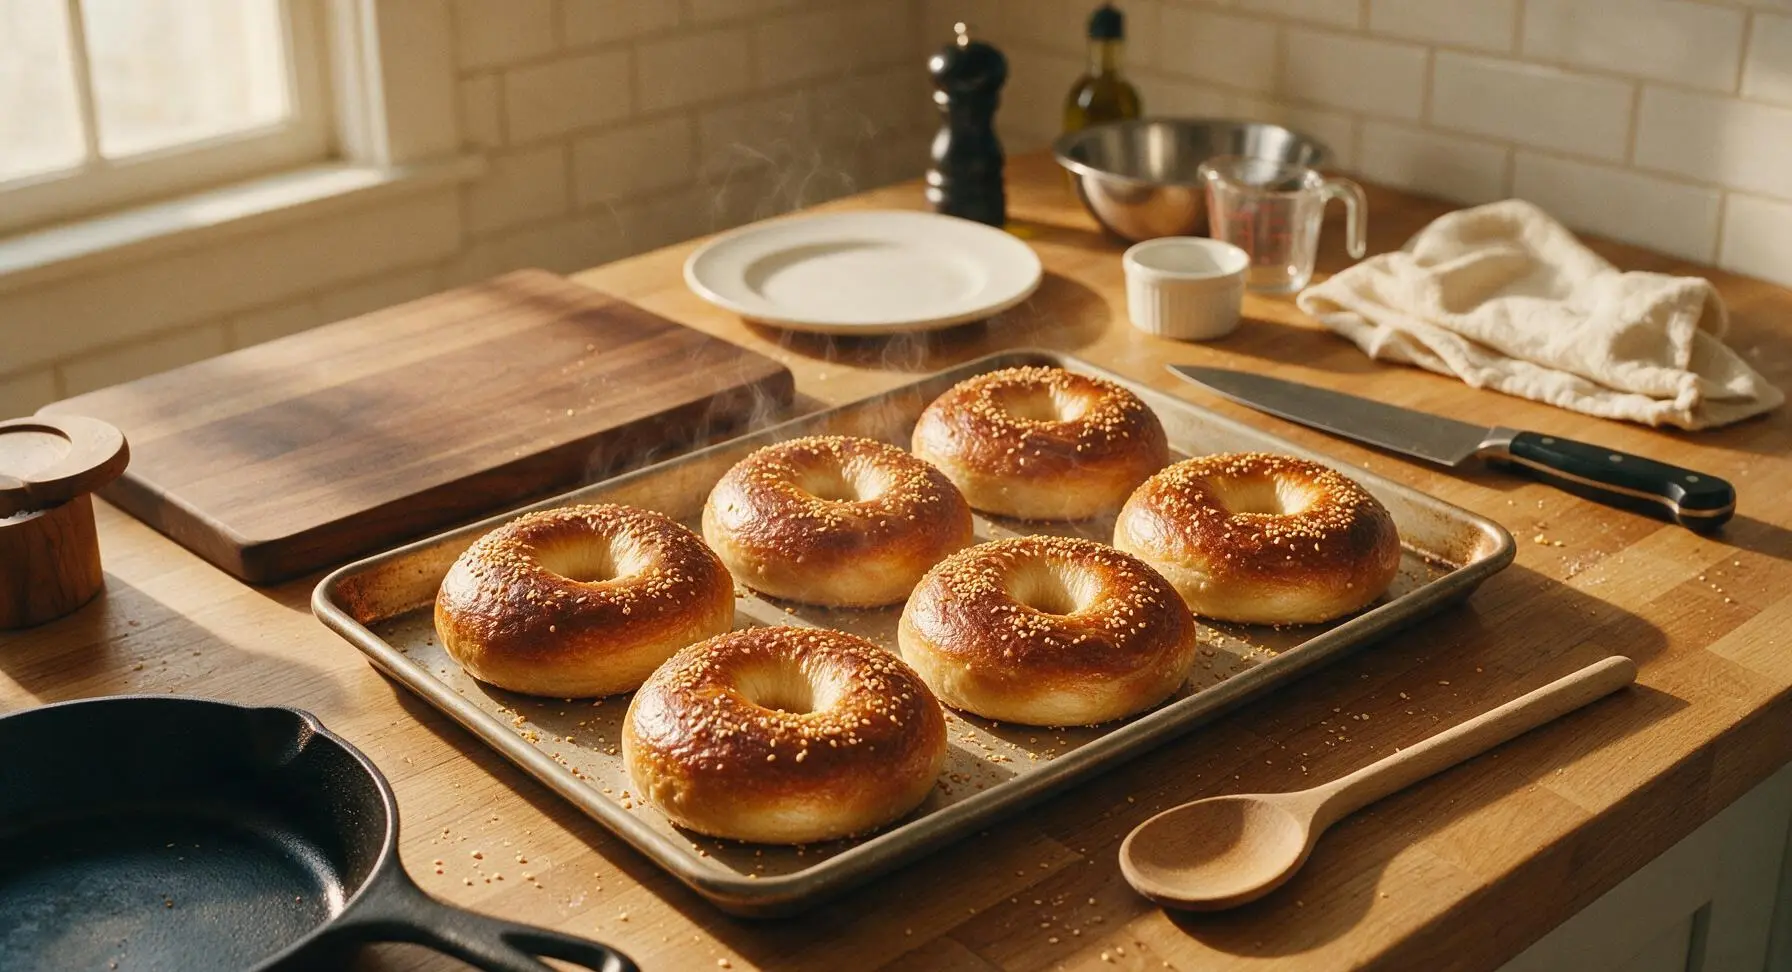
Once all bagels are boiled and topped, place the half-sheet pan in the preheated 220C/425F oven. Bake for 20-25 minutes, rotating the pan 180 degrees at the 12 minute mark to ensure even browning, until bagels are a deep glossy golden brown with darker amber edges around the center hole. Bagels are fully baked when their internal temperature reaches 93C/200F.
Cool and Serve Bagels
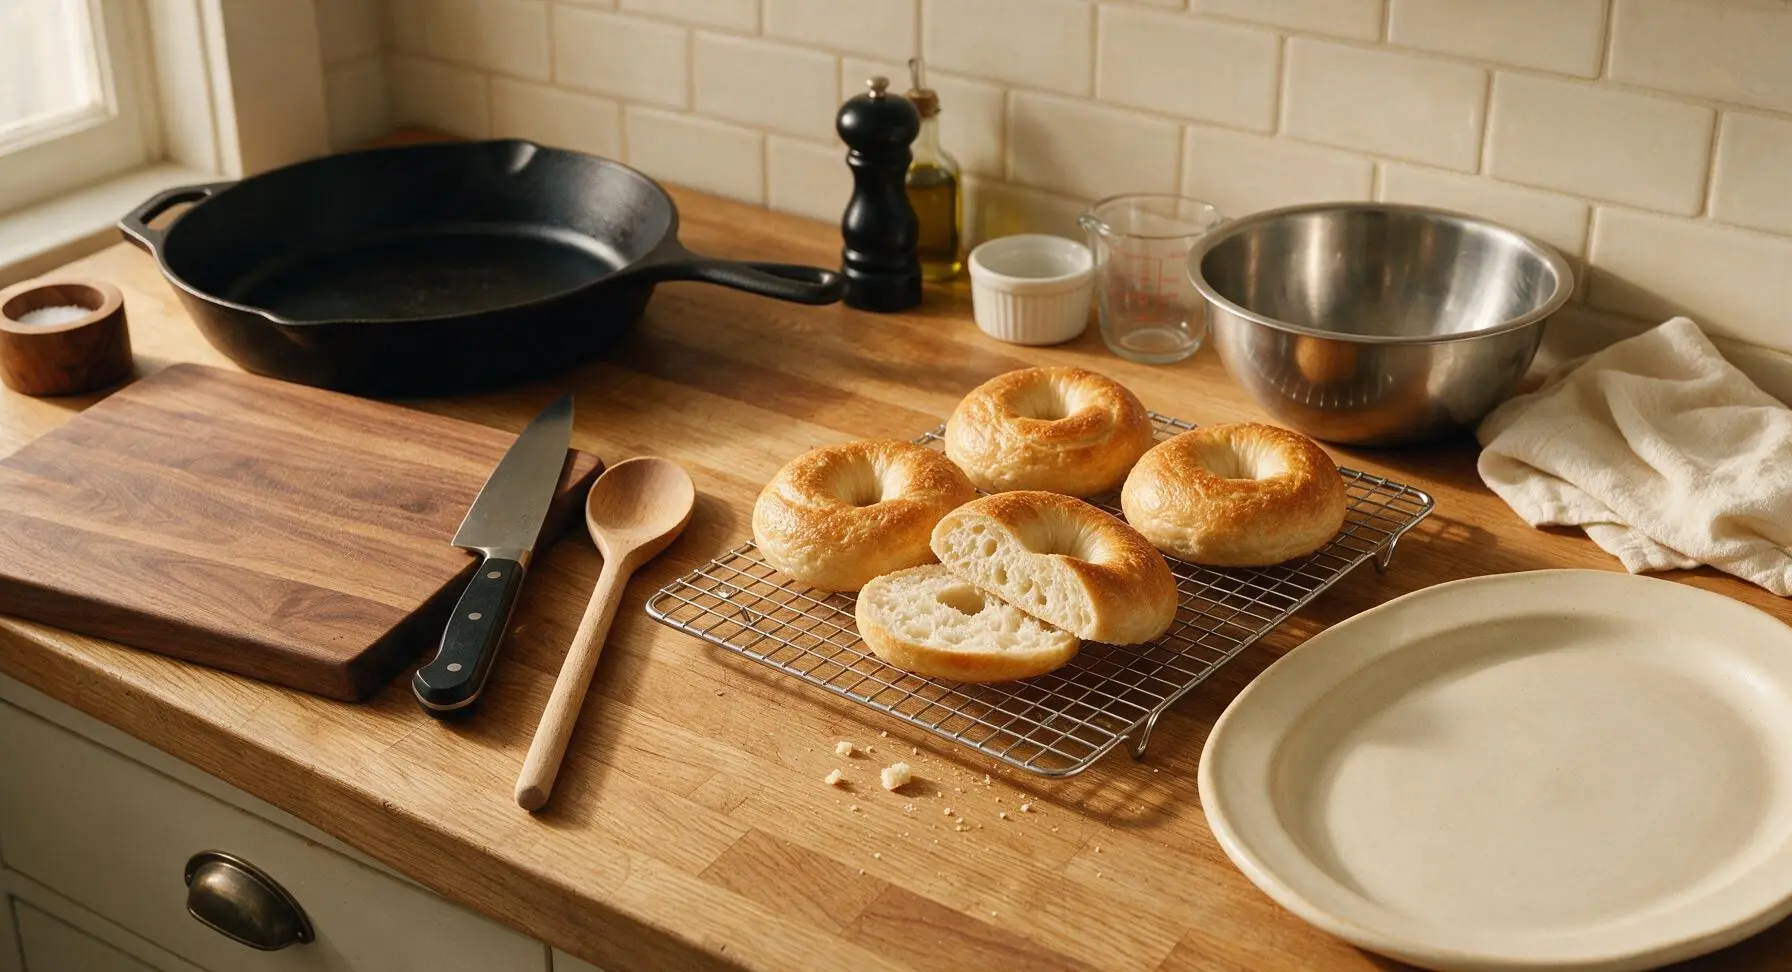
Remove baked bagels from the oven, use the bench knife to lift them from the parchment paper and transfer to the chrome wire cooling rack. Let cool for a minimum of 15 minutes before slicing to allow the crumb to set fully. Serve toasted with cream cheese, smoked salmon, or your favorite bagel toppings.
Tips
2.Do not skip the 12-16 hour cold ferment: Beyond building tangy sourdough flavor, the cold rest firms up the dough so it holds its shape during boiling, prevents flat, spread-out bagels, and creates a shiny, crisp crust that doesn’t turn soggy after storage.
3.Don’t overcrowd the pot when boiling: Adding too many bagels at once drops the water temperature too quickly, which prevents the crust from setting properly and leads to wrinkled, misshapen bagels; stick to 2-3 bagels per batch to keep the water at a constant rolling boil.






OMG these sourdough bagels are a total game changer! I’ve been scared to try sourdough baking for years because I thought it was too fussy, but the step-by-step instructions were so clear. My kids devoured the everything bagel version before I even got a chance to pack leftovers for school lunches this week. Chewy on the outside, perfect soft crumb inside—SO good!
Solid sourdough bagel recipe! Cook time was spot on at 35 mins for my oven, though I did add an extra minute of boil time because I like mine extra chewy. Brought a batch to my office potluck last week and people were asking for the recipe left and right. Only knock is I wish the instructions mentioned how much starter to feed ahead of time a little more clearly, but I figured it out quick.
As someone who grew up eating NYC deli bagels, I’m super picky about homemade versions. This recipe is the real deal! I did the sea salt and poppy seed topping, and the chew is exactly what I’ve been missing since I started baking all my own bread during the pandemic. 10/10, will be making these for my weekly meal prep every Sunday from now on.
Just pulled my second batch out of the oven and I’m literally eating one warm with scallion cream cheese as I type this. GAME. CHANGER. I never thought I could make bagels better than the ones from my local shop, but these hit different. The sourdough tang is *chef’s kiss* not too overpowering, just enough depth.
Really tasty bagels! My whole family ate them for Saturday morning breakfast, even my super picky 7 year old who only eats plain frozen waffles asked for seconds. I made the cinnamon raisin variation and it was perfect, though I think next time I’ll add a little more cinnamon to the dough. Great recipe overall, not too hard even for a medium skill level!
These are perfect for trail snacks! I made a batch of plain ones to take on my backpacking trip next weekend, they’re sturdy enough to pack with peanut butter and don’t get squished easy. The sourdough means they stay fresh longer than regular homemade bagels too, which is a huge win for multi-day trips.
Made these for my book club brunch last weekend and everyone raved! I did a mix of everything, asiago cheese, and cinnamon sugar toppings so there was something for everyone. The 35 minute cook time was perfect, none of them burnt on the bottom even in my old finicky oven. Already shared the link to three of my friends!
Really good recipe! I’m still pretty new to sourdough so I was nervous about the medium difficulty rating, but it was way more straightforward than I expected. My only issue is my bagels came out a little denser than I wanted – I think I might have underproofed them because my kitchen is pretty cold this time of year.
Obsessed!!! I’ve been going through a sourdough phase lately and this is hands down the best recipe I’ve tried all month. I didn’t even need to adjust cook time for my high altitude oven, which never happens. Made the everything version and had one with lox and capers for lunch, felt like I was at a fancy brunch spot. SO good.
Meal prep win for the week! I made a dozen of these on Sunday, sliced them up, and froze half for quick breakfasts during the work week. They toast up perfectly straight from the freezer, no thawing needed. My partner said these are better than the bagels we got on our trip to Montreal last year, which is high praise.
Tasty bagels! I used whole wheat flour for 25% of the total flour to make them a little heartier, and it worked great. The sourdough flavor comes through really nicely, not too sour. Only reason I’m not giving 5 stars is I wish the recipe included notes for high altitude baking, since I’m up in the Sierras and had to tweak the baking time a little.
OMG my kids went crazy for these! I made mini bagels for their after school snacks and they kept asking for more. I topped half with cinnamon sugar for the kids and half with jalapeño cheddar for me and my husband, and both versions came out chef’s kiss. Will be making these on repeat for sure.
I’ve been making sourdough for 6 years and this is my go-to bagel recipe now. I’ve tried probably a dozen different recipes over the years and this one gets the chew exactly right, no weird gummy crumb in the middle like so many others. The 35 minute cook time is accurate too, no guessing if they’re done in the middle. Top tier recipe.
These were okay! The flavor was really good when they finally came out right, but I messed up two batches before I got one that worked. First batch I overboiled them and they got all wrinkly, second batch I forgot the egg wash so all my toppings fell off. Third time was the charm, but I think this is a little harder than medium difficulty for total beginners.
Just made these for the first time and I’m blown away. I brought home some everything bagel seasoning from my trip to NYC last month and this was the perfect use for it. The crust is crispy, the inside is soft and chewy, the sourdough tang is perfect. I’m never buying grocery store bagels again.
Great base recipe! I swapped the honey for maple syrup to make these vegan, and they came out amazing. I topped mine with sesame seeds, dried onion, and garlic for a vegan everything bagel, and they were a hit at my neighborhood potluck. Only thing is they stuck a little to my baking sheet even with parchment, next time I’ll use a little semolina flour underneath.
Made these for a tailgate last weekend and they were gone in 10 minutes! I sliced them and made little breakfast sliders with egg, cheese, and bacon on them, and people were coming back for thirds. The sourdough bagel holds up so much better than regular bagels for sliders, they don’t get soggy even with all the fillings. Absolute banger of a recipe.
These are the perfect weekend breakfast to pair with my morning latte. I love that the recipe uses discard starter too, so I don’t have to plan super far ahead to make them. I did a blueberry variation by folding in frozen blueberries right before shaping, and it was *so* good, just like the bagels I used to get from my college coffee shop.
I was so nervous to try bagels because I heard boiling them was a huge hassle, but it was way easier than I thought! The whole process was really approachable even for medium skill level, and the payoff is so worth it. My roommate said these are the best thing I’ve baked since I started my sourdough journey last year.
Really solid recipe! I made these with my 10 year old this weekend as a little weekend cooking project, and he had a blast shaping the bagels and adding toppings. We did a pizza flavored bagel with parmesan and oregano that was a huge hit for his school lunch this week. Only small note: I wish the recipe had a few more flavor variation ideas built in, but we had fun experimenting on our own.