
sourdough discard waffle
intro
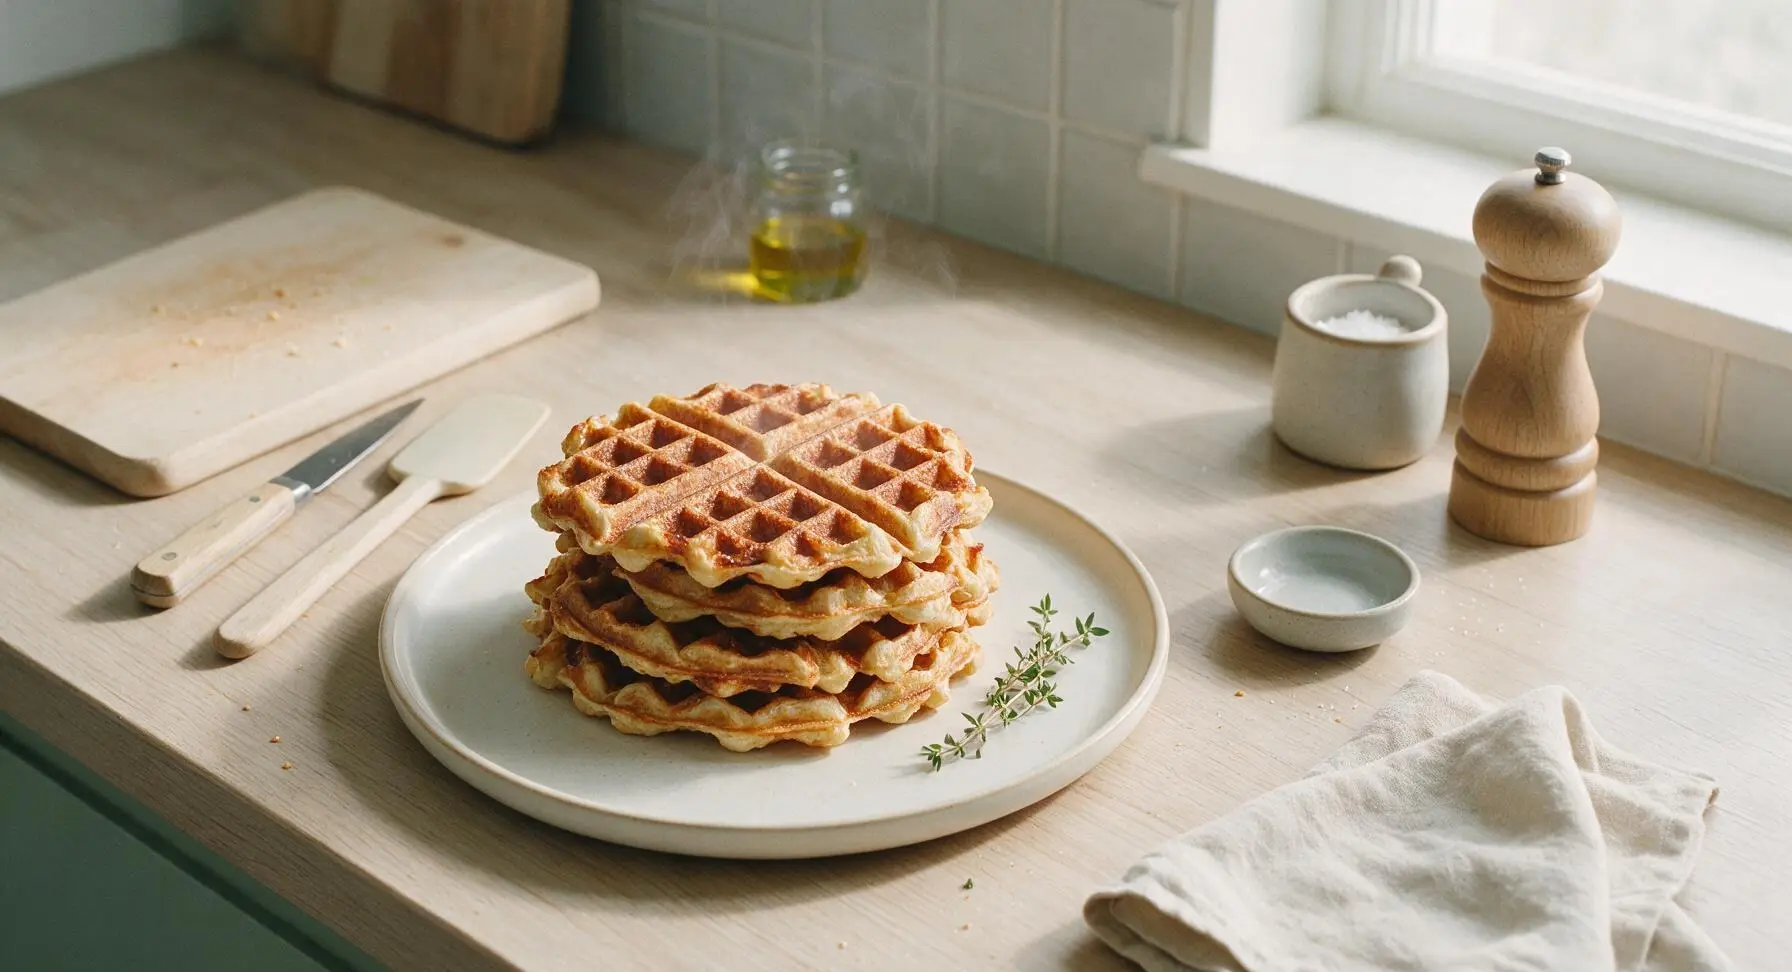
Crisp, caramelized edges, fluffy tangy centers, these zero-waste sourdough discard waffles come together in minutes for cozy, satisfying breakfast or quick weeknight brinner.
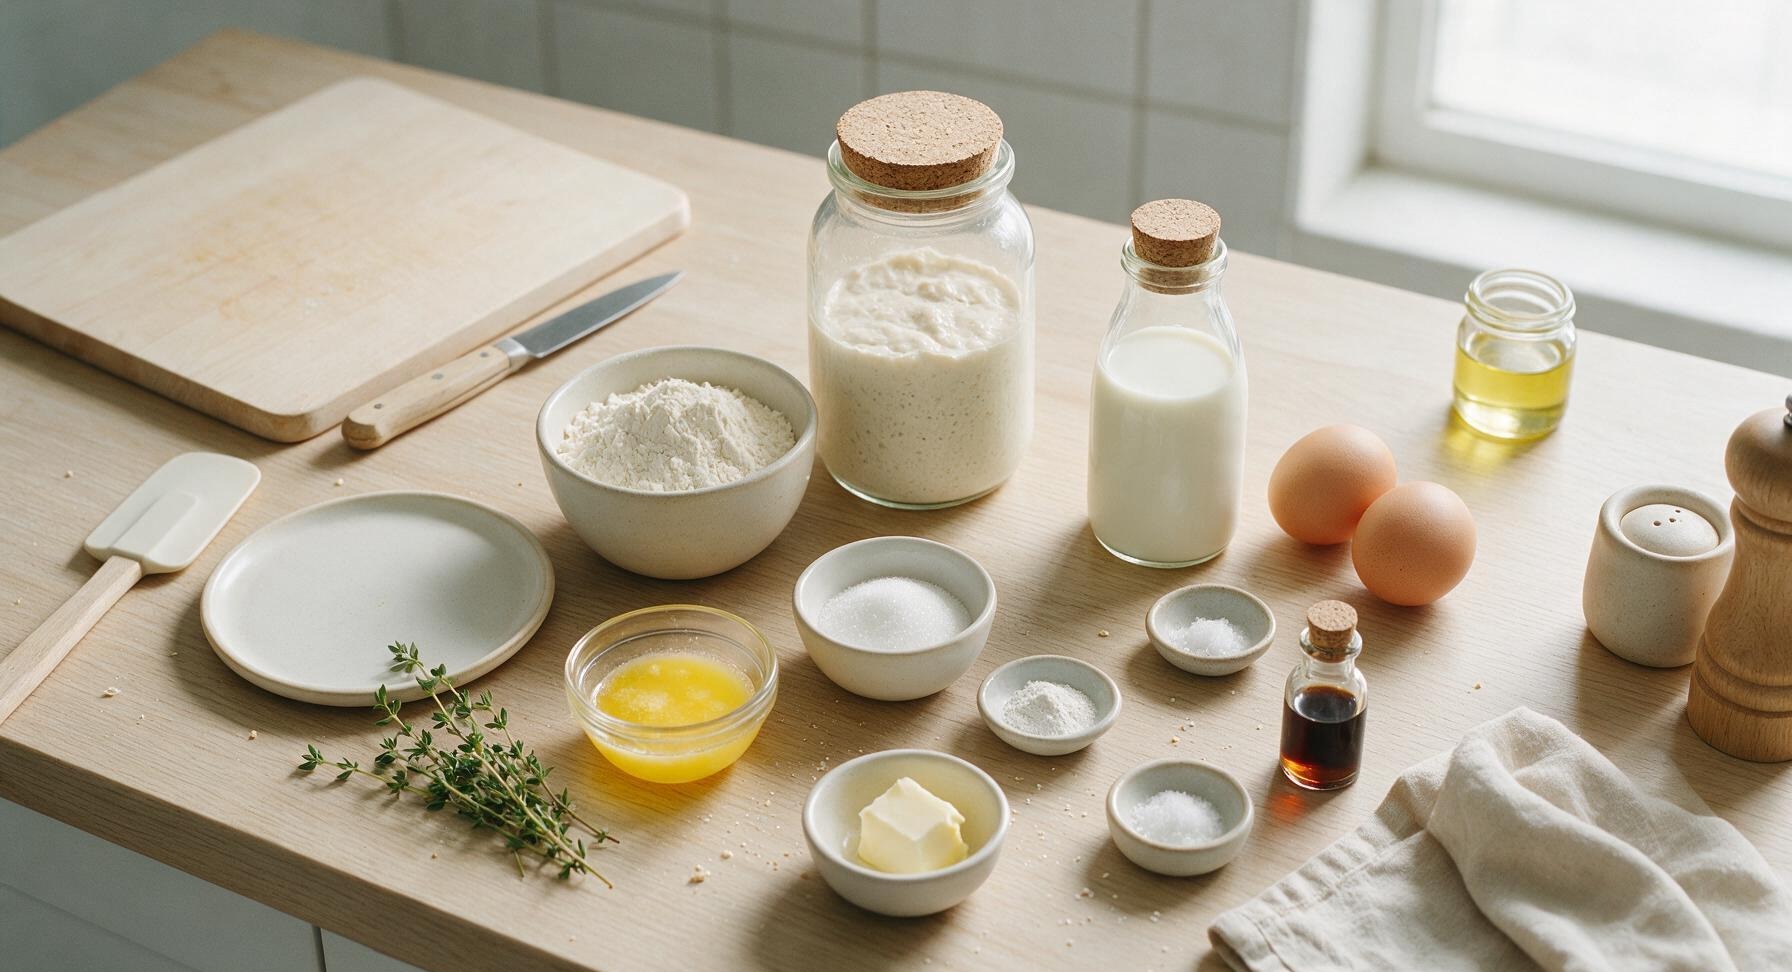
Ingredients
Steps
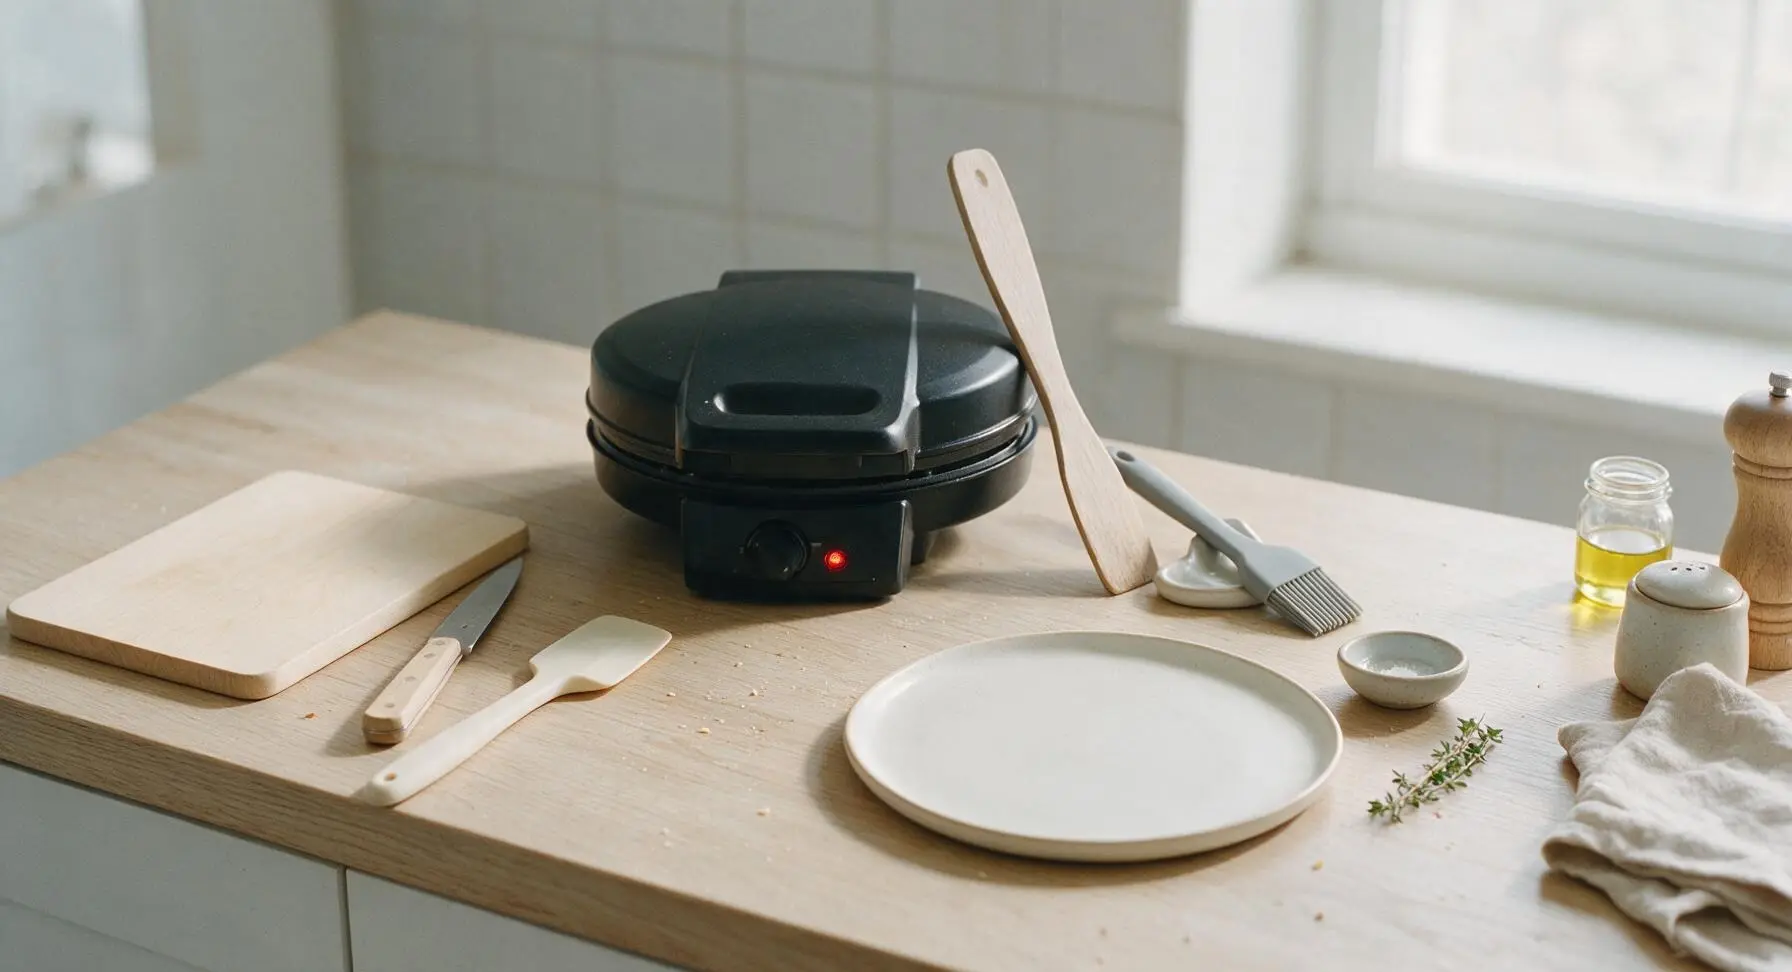
Preheat the Waffle Iron
Plug in the matte black waffle iron positioned at back center, set the browning dial to medium-high (375°F/190°C). Close the lid and allow it to preheat for 5 minutes, until the built-in indicator light shows it has reached cooking temperature. Use this preheating time to mix the batter for maximum efficiency.
Combine Wet Ingredients
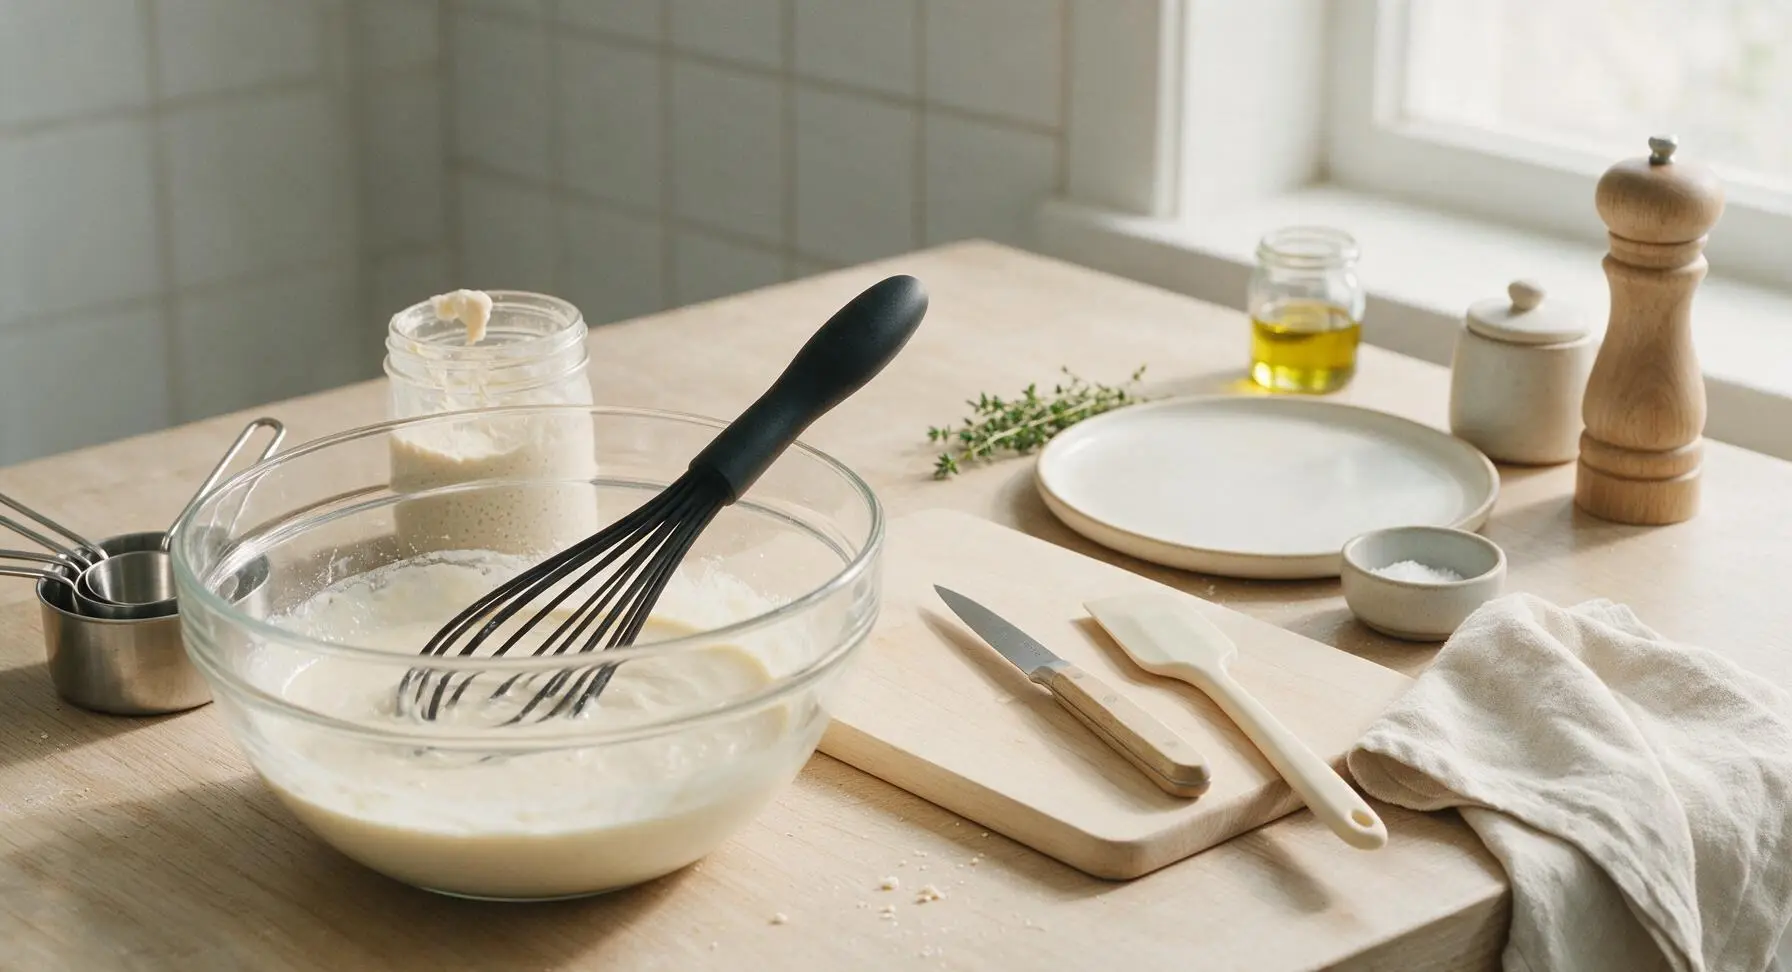
In the 2L clear glass mixing bowl at front left, add 200g of unfed sourdough discard (scooped directly from the back-left starter jar), 2 large eggs, 180ml whole milk, 57g melted and slightly cooled unsalted butter, and 1 tsp vanilla extract. Use the matte black silicone whisk to stir until completely smooth, with no stringy lumps of sourdough starter remaining, about 1 minute of steady, gentle whisking.
Fold in Dry Ingredients
To the bowl of smooth wet ingredients, add 120g all-purpose flour, 2 tbsp granulated sugar, 2 tsp baking powder, and 1/2 tsp fine sea salt. Whisk gently just until no dry flour streaks remain; do not overmix, as a few small lumps in the batter are normal and will produce tender, light waffles. The finished batter will be thick but slowly pourable, with a consistency similar to cold heavy cream.
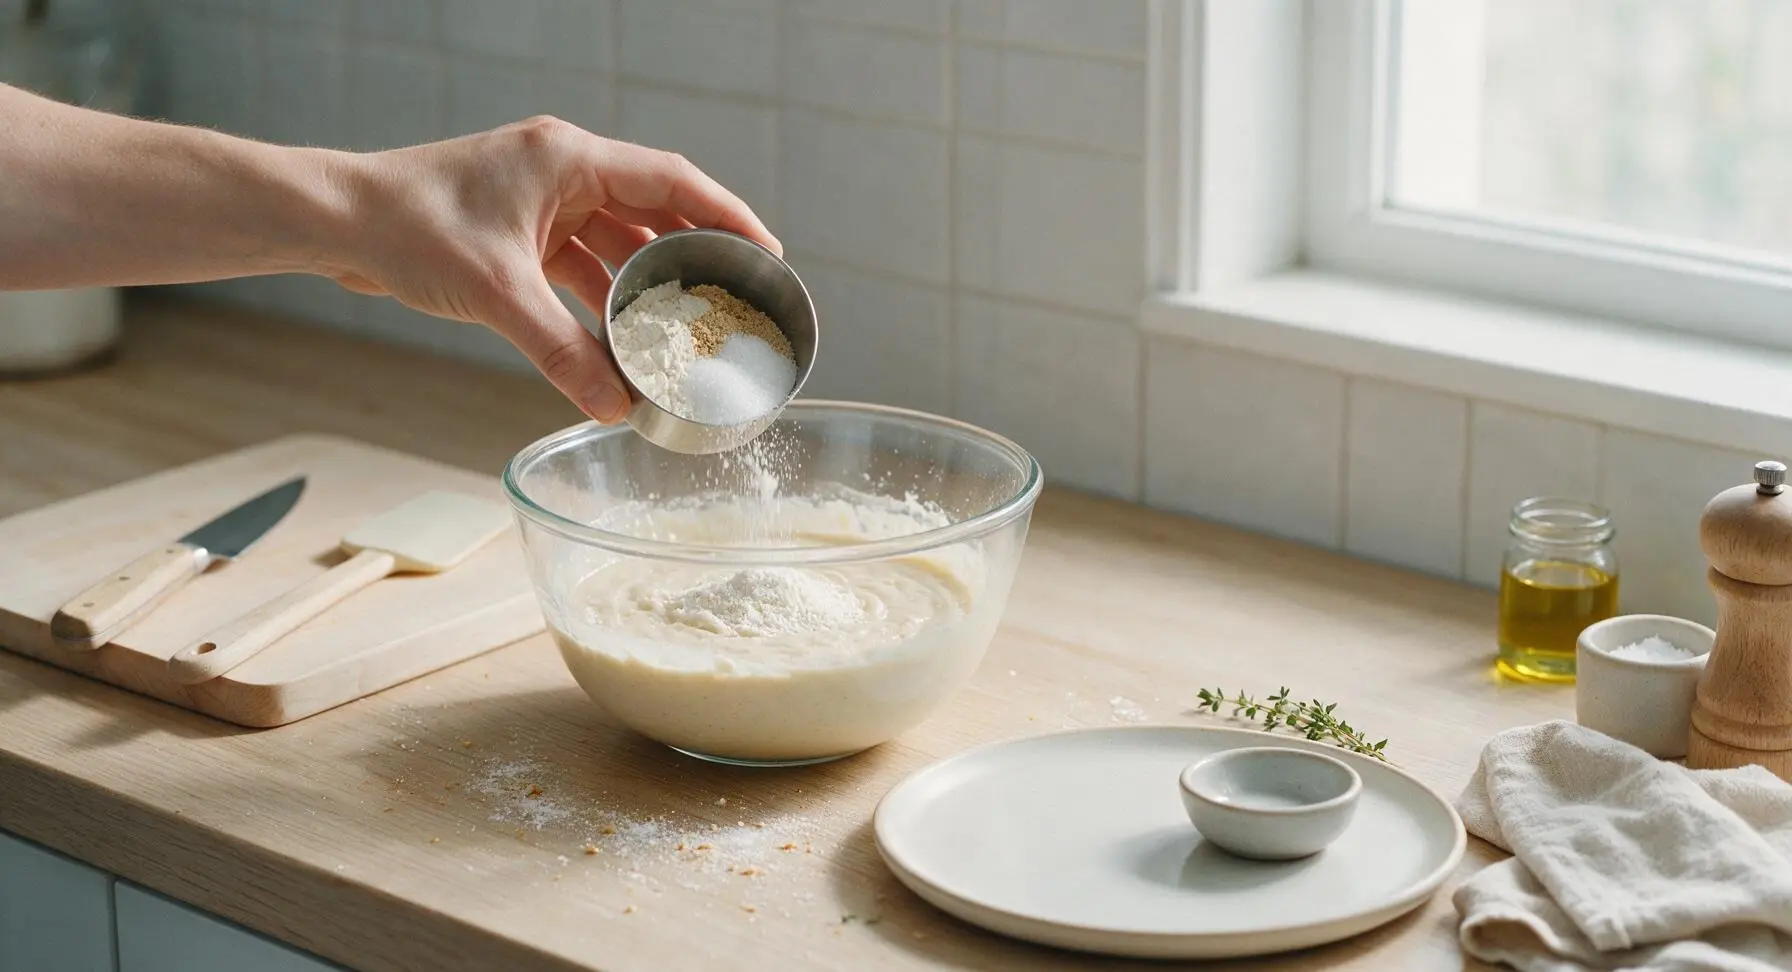
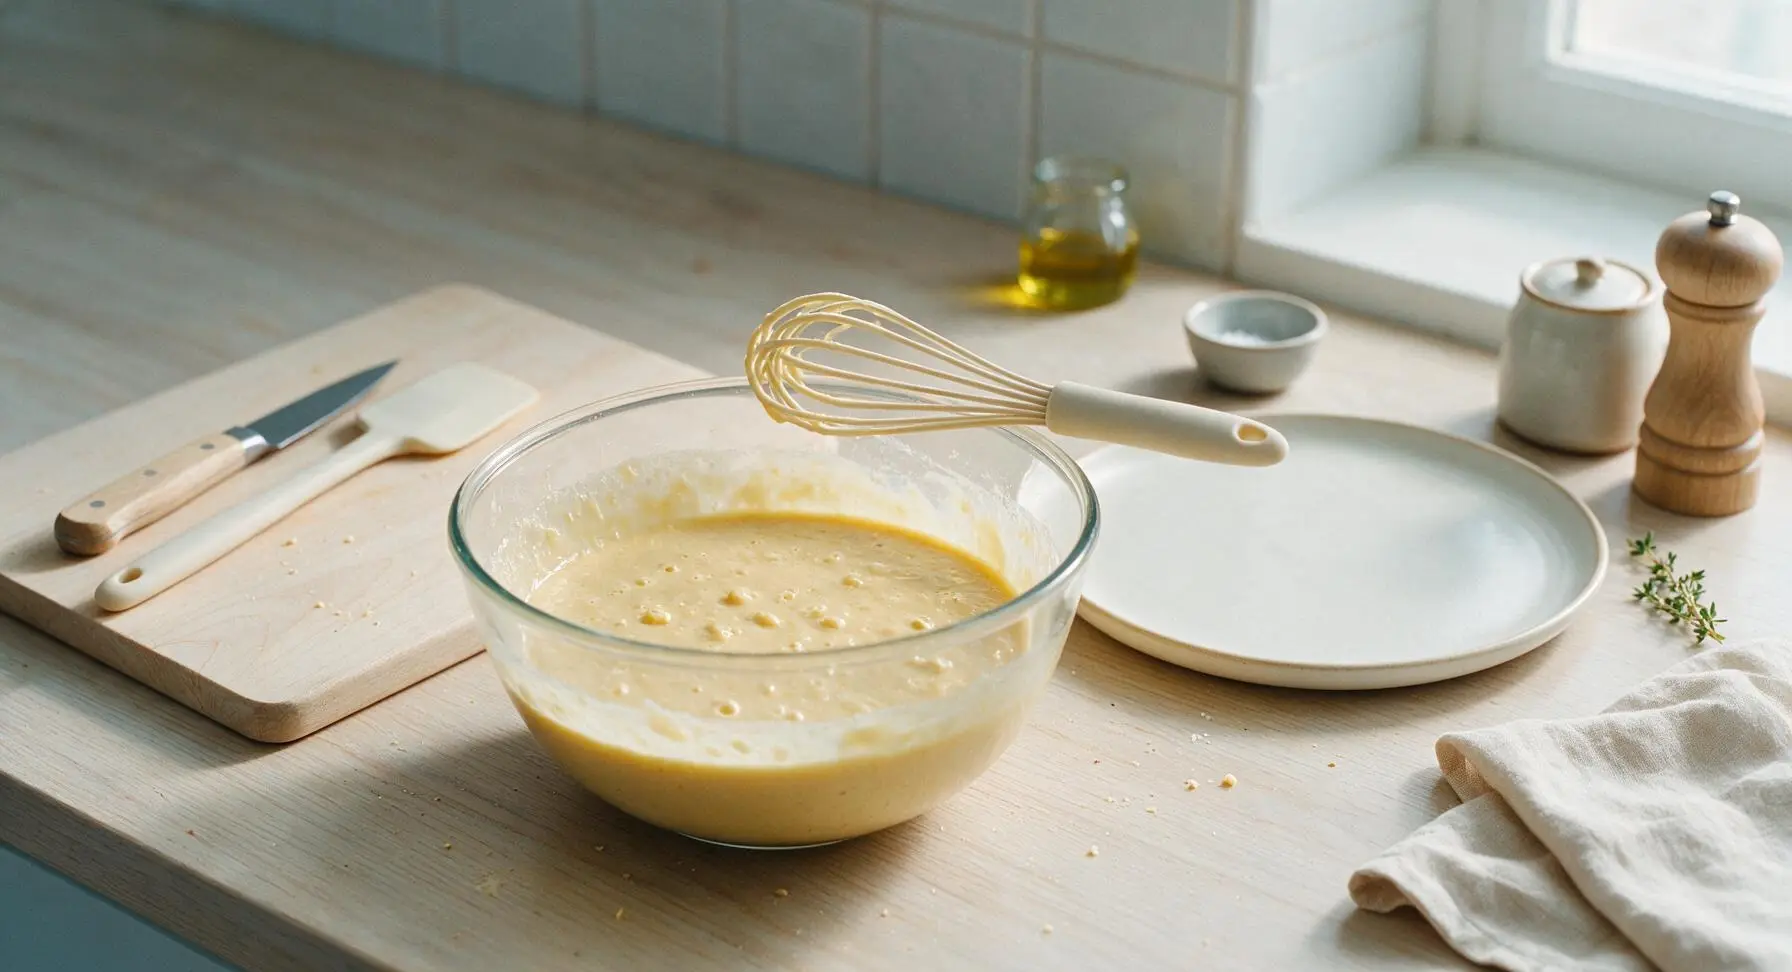
Grease Hot Waffle Grids
Once the waffle iron is fully preheated, use the light gray silicone basting brush to spread a thin layer of melted butter across both the top and bottom non-stick waffle grids. A light coating is all you need—excess grease will cause overly dark, greasy edges and may drip out of the iron during cooking.
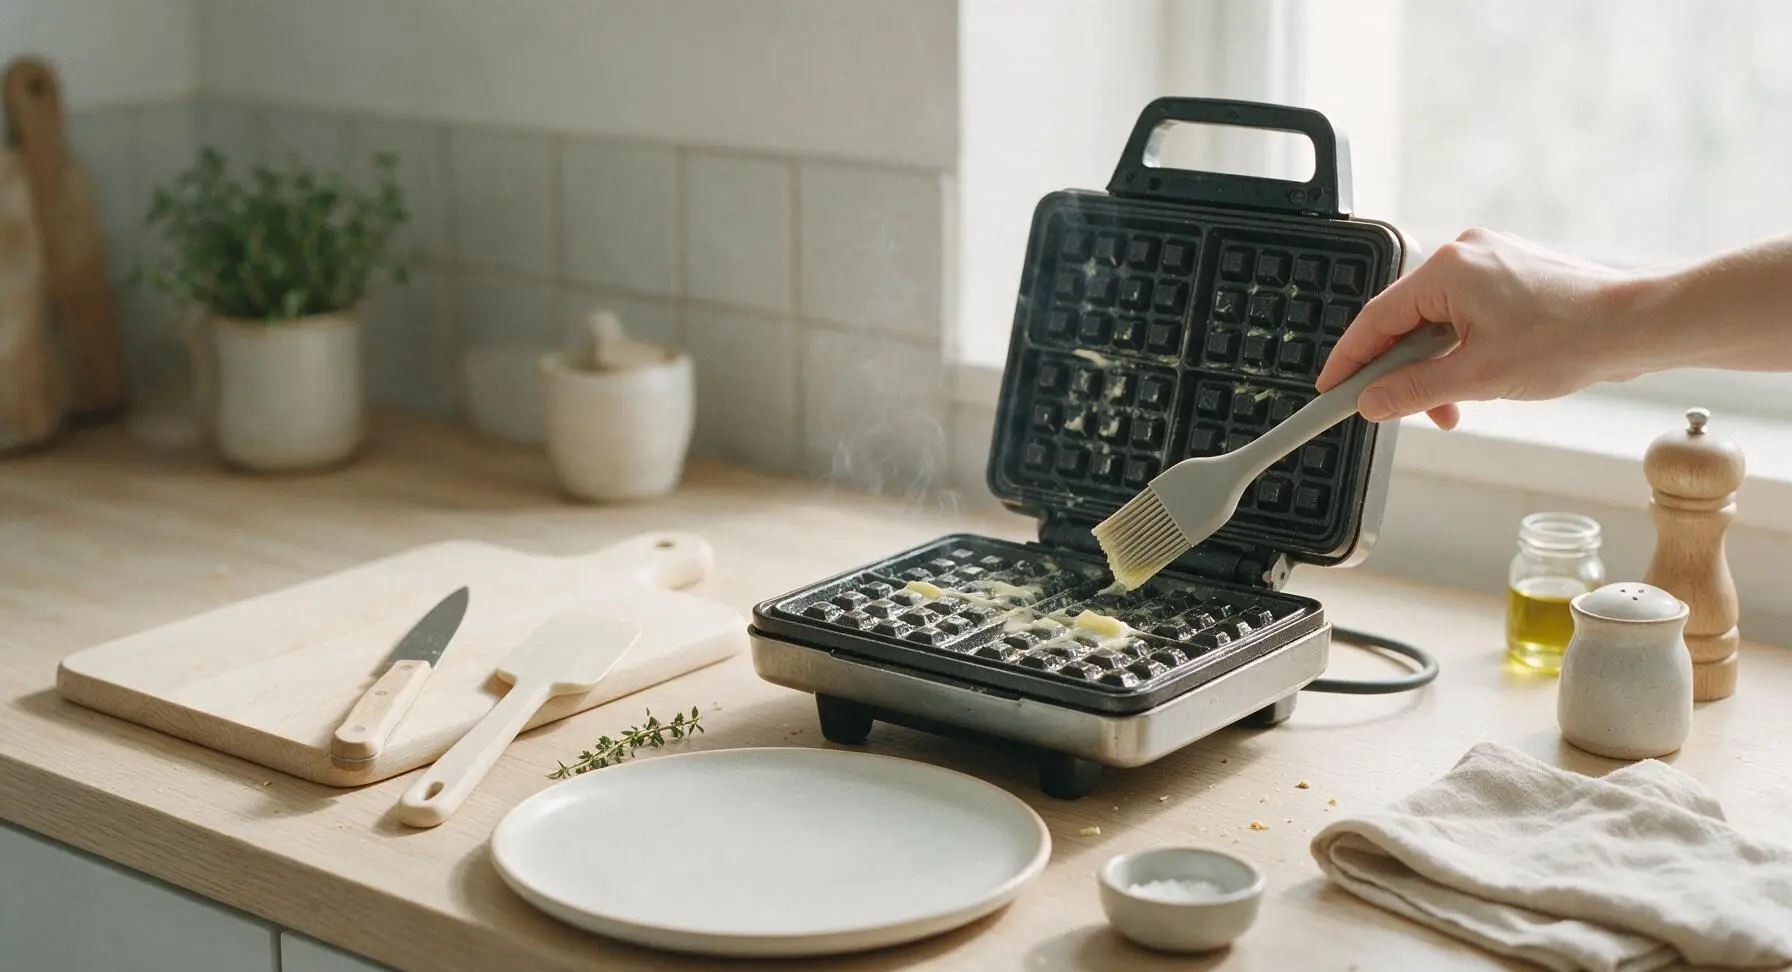
Pour and Cook Waffles
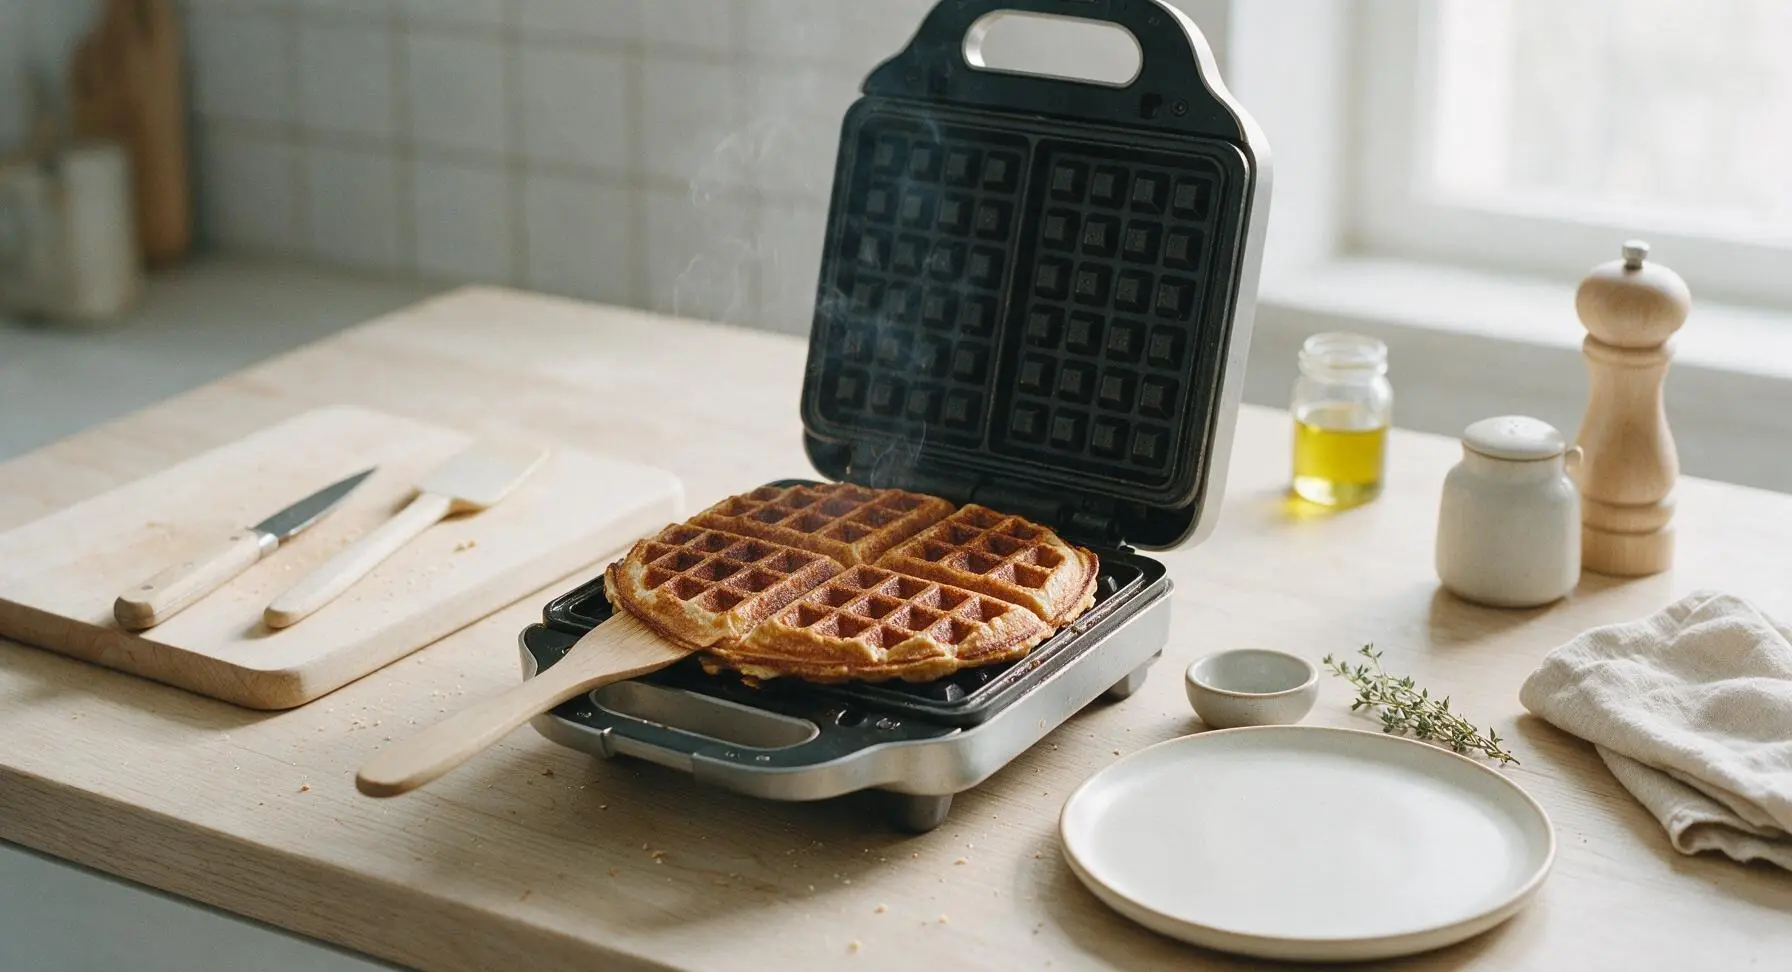
Pour 120ml (1/2 cup) of batter directly onto the center of the preheated, greased lower waffle grid. Close the lid gently without pressing down firmly—pressing will flatten the waffles and squeeze out batter, leading to thin, dense results. Cook for 3.5 to 4 minutes, until steam stops escaping from the iron edges, and the waffle is deep golden brown with crisp edges. Do not open the lid before 3 minutes, as this can cause the partially set waffle to tear and stick.
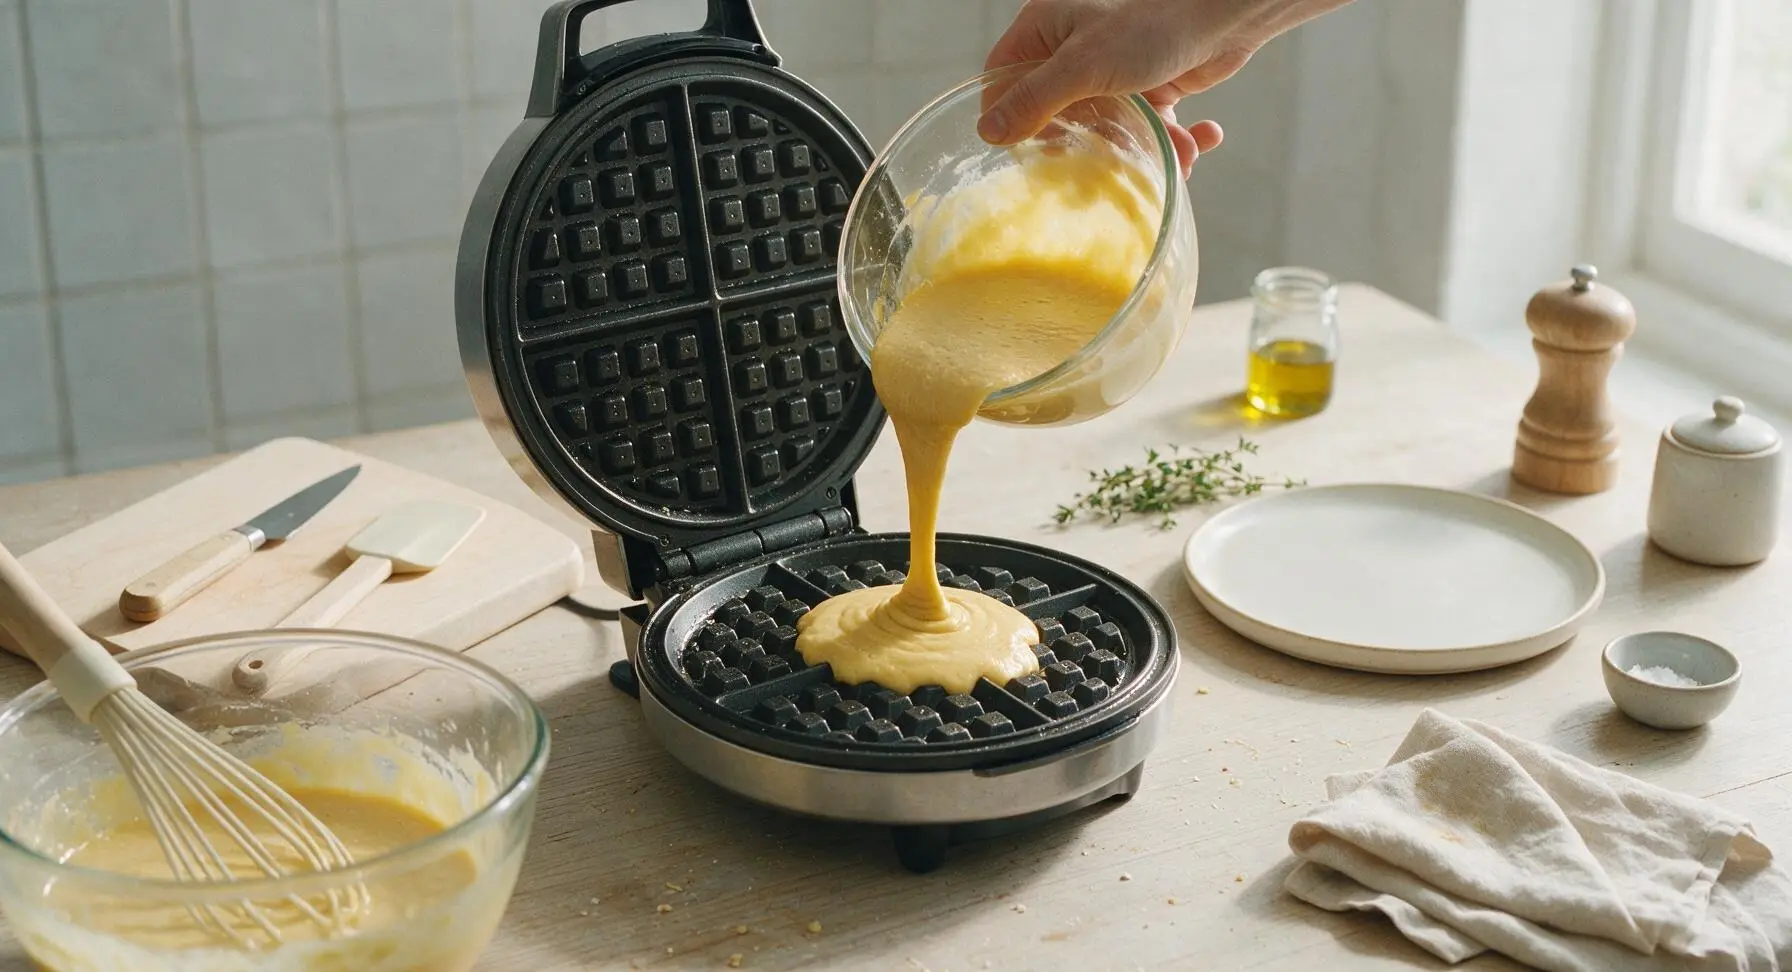
Transfer and Keep Crisp
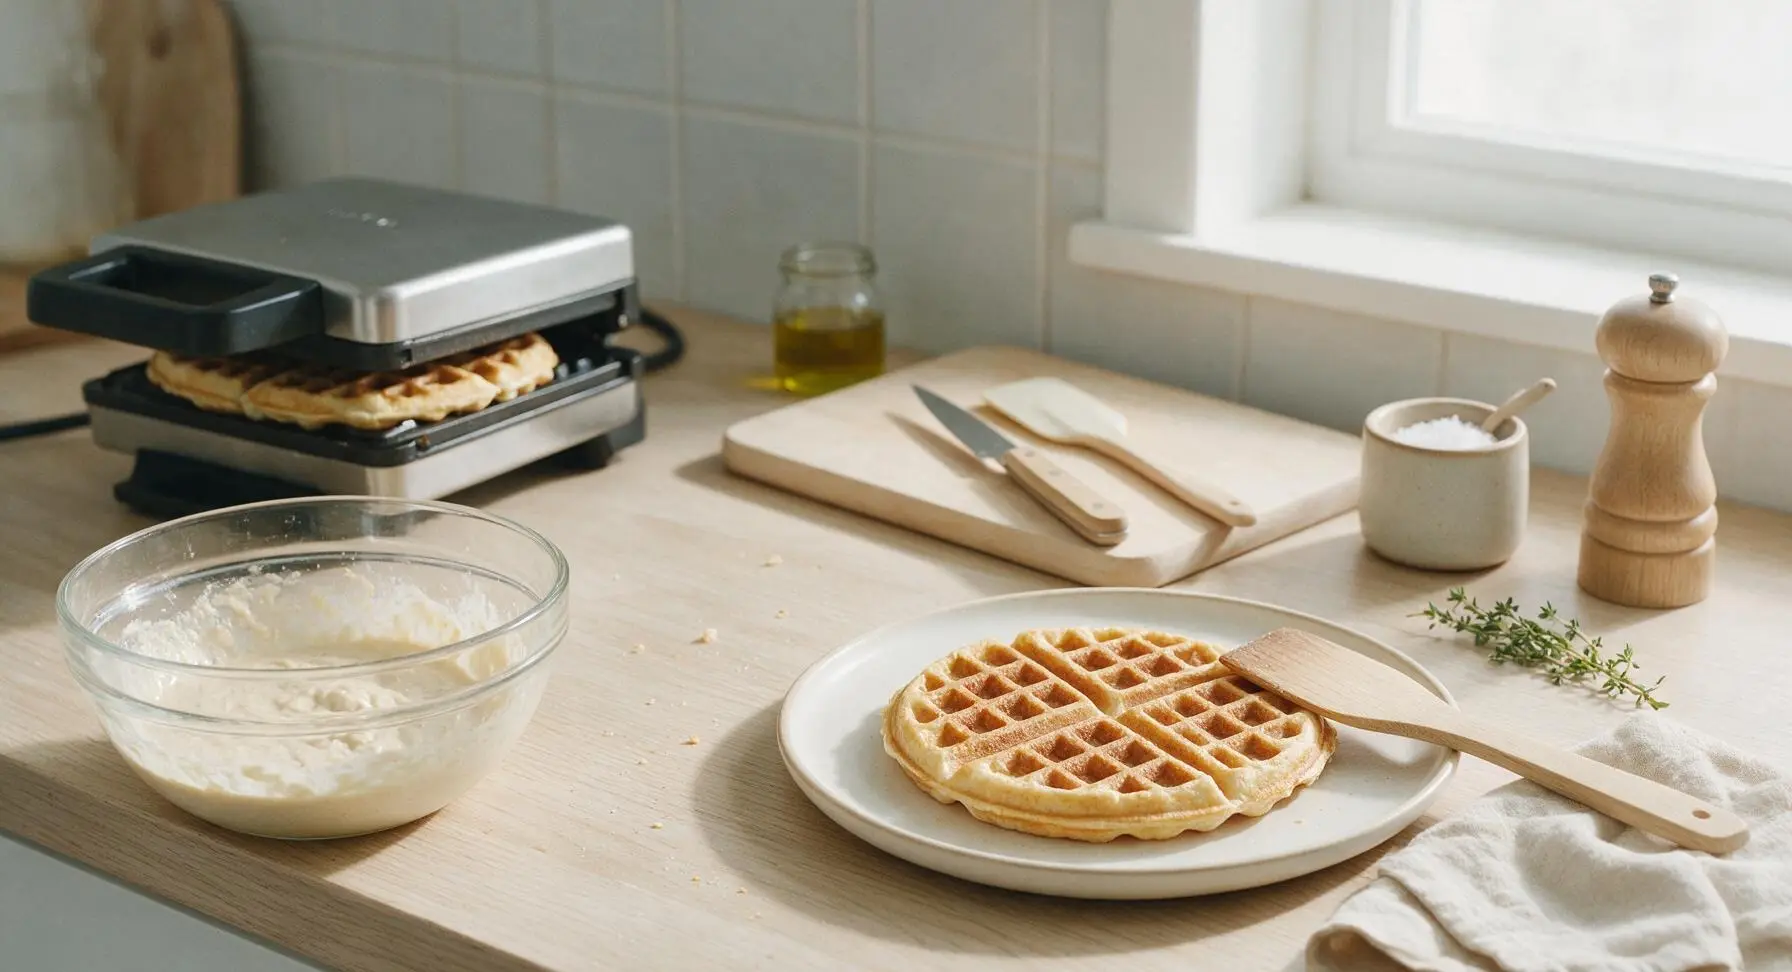
Use the light ash wood spatula to carefully lift the finished waffle from the iron, and transfer it to the matte cream ceramic dinner plate at front right. Prop waffles slightly overlapping on the plate rather than stacking them tightly while you cook remaining batches, to let steam escape and keep edges crisp. Repeat the greasing, pouring, and cooking process with remaining batter to make 4 total waffles.
Garnish and Serve Hot
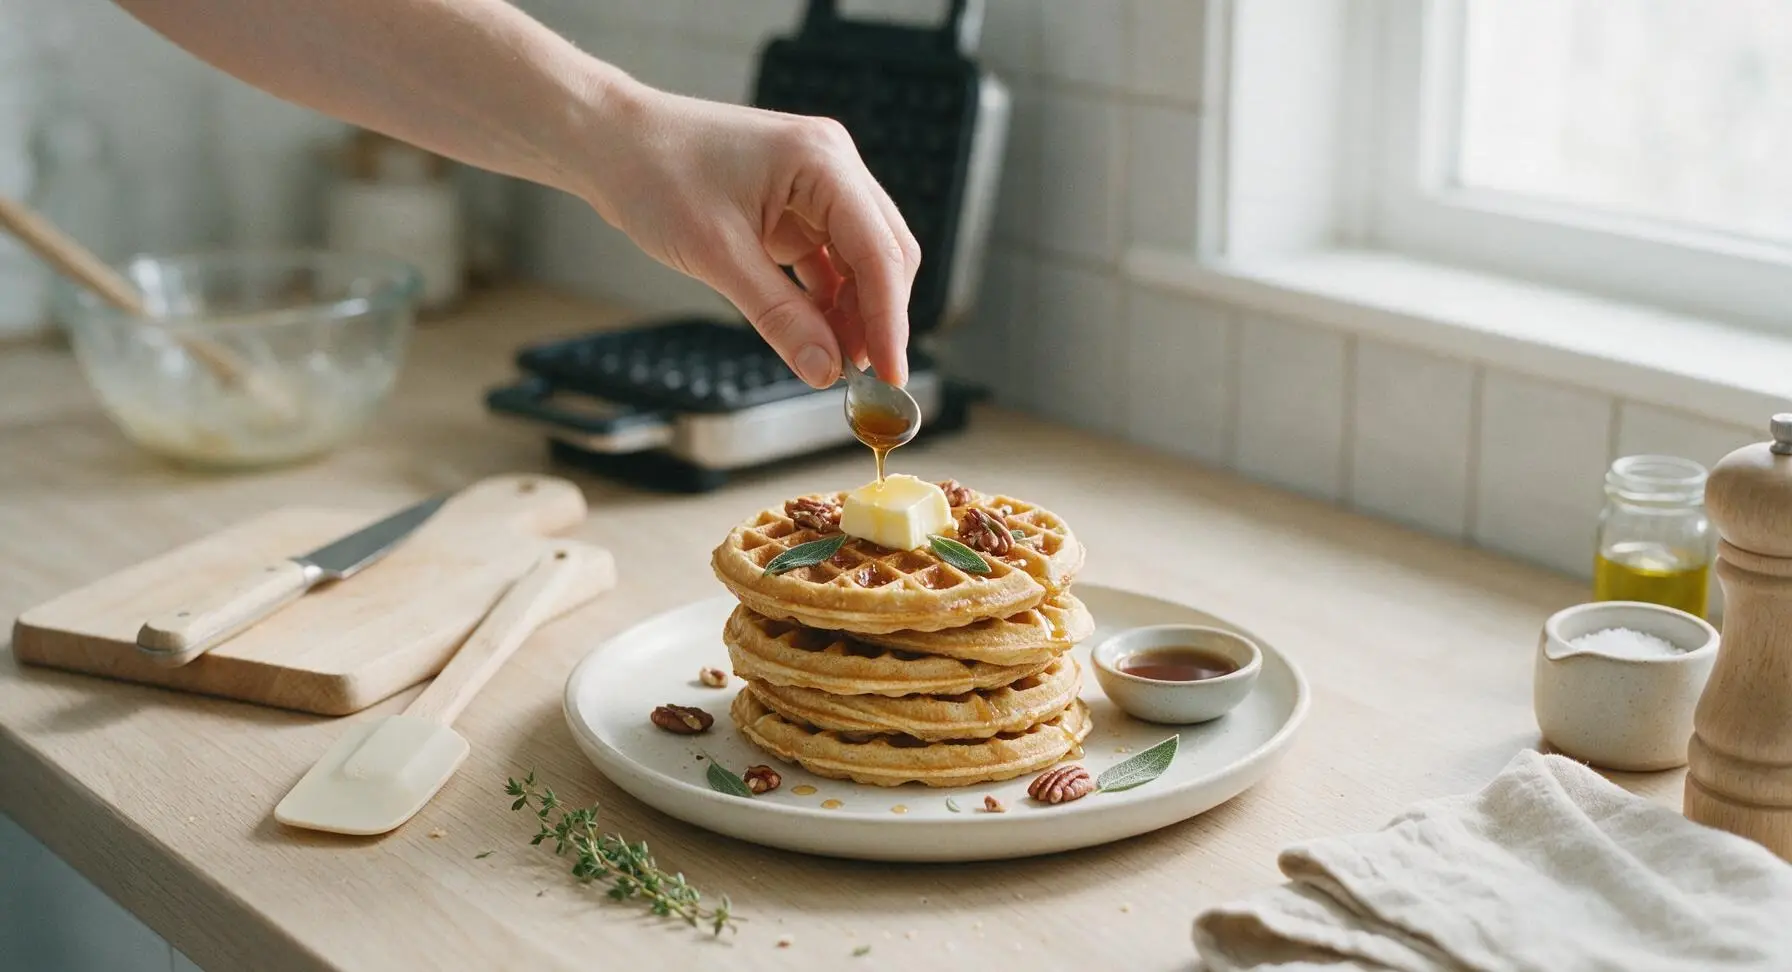
Once all waffles are cooked, stack them neatly on the matte cream ceramic plate. Top with a 1-tbsp pat of salted butter, a light drizzle of pure maple syrup, a sprinkle of toasted pecans, and a couple of fresh sage leaves for a warm, earthy autumnal garnish. Serve immediately while hot and crisp, with extra syrup on the side in the small clear glass ramekin.
Tips
2.Avoid overmixing the batter: stir only until dry flour streaks disappear, leaving small lumps intact. Overmixing develops excess gluten, which leads to tough, dense waffles instead of light, tender centers and crisp edges.
3.To keep waffles crisp between batches, set them on a wire rack over a baking sheet in a 200°F (95°C) oven instead of stacking them directly on a plate. Trapped steam from hot waffles will quickly soften crispy edges if they are stacked tightly.






OMG these are a total game changer for weekend breakfast! I’ve been dumping my sourdough discard for months because I had no clue what to do with it, and these came out crispy on the outside, fluffy on the inside. My kids loved it so much they asked for seconds before they finished their first plate! Drizzled a little maple syrup and added fresh strawberries, chef’s kiss. So easy too, I didn’t even have to let it rise forever!
15 minute cook time is no joke! I threw these together before work this morning for quick meal prep breakfasts for the week, and they freeze so well. I pop one in the toaster on busy mornings and it tastes just as fresh as the day I made it. Only thing I added was a dash of cinnamon, total win. SO good.
Brought these to our neighborhood potluck last weekend and everyone was asking for the recipe! People couldn’t believe they were made with sourdough discard, most people thought they were regular fancy restaurant waffles. Even my picky brother-in-law went back for thirds. 10/10 will make again for every brunch I host from now on.
Wait, has anyone tried making these with a gluten free sourdough starter? I’ve been searching for a discard waffle recipe that doesn’t turn gummy when I swap in GF flour, and this one looks so easy I’m tempted to test it this weekend.
These were good but my first batch stuck really bad to my waffle iron. Did I not grease it enough? I sprayed a little avocado oil spray but maybe that wasn’t sufficient? Flavor was 10/10 though, I’ll definitely mess with the method to get them to pop out easier.
As someone who’s still super new to baking and only has a tiny sourdough starter I keep in my dorm mini fridge, this recipe was foolproof! I didn’t have fancy ingredients, just the discard, flour, milk, eggs, a little sugar, and they turned out way better than the frozen Eggo waffles I’ve been living on. Super easy, minimal cleanup, will be making these every week now.
I added a handful of chocolate chips to the batter and a dollop of whipped cream on top and my partner said these are the best waffles he’s ever had, hands down. I was worried the sourdough tang would be too strong but it’s the perfect subtle tang that balances the sweet toppings. Obsessed!
Wait, how “discarded” can the discard be? I have a jar of discard in my fridge that’s like 2 weeks old, I forgot about it oops. Is it still okay to use for these waffles or should I wait until I have fresher discard this week when I feed my starter?
We made these on our camp waffle iron during our last road trip and they were perfect! We pre-measured all the dry ingredients at home so we just had to mix in the discard, egg, and milk at the campsite, no mess, no fuss. Cooked up in minutes over the camp stove, and even the campground neighbors stopped over to ask what smelled so good! 10/10 easy camp breakfast.