
Sourdough Toast

title 1
Sourdough Toast
⏱️ cook time 5 minutes
🍽️ servings 2
⚡ Difficulty easy

intro

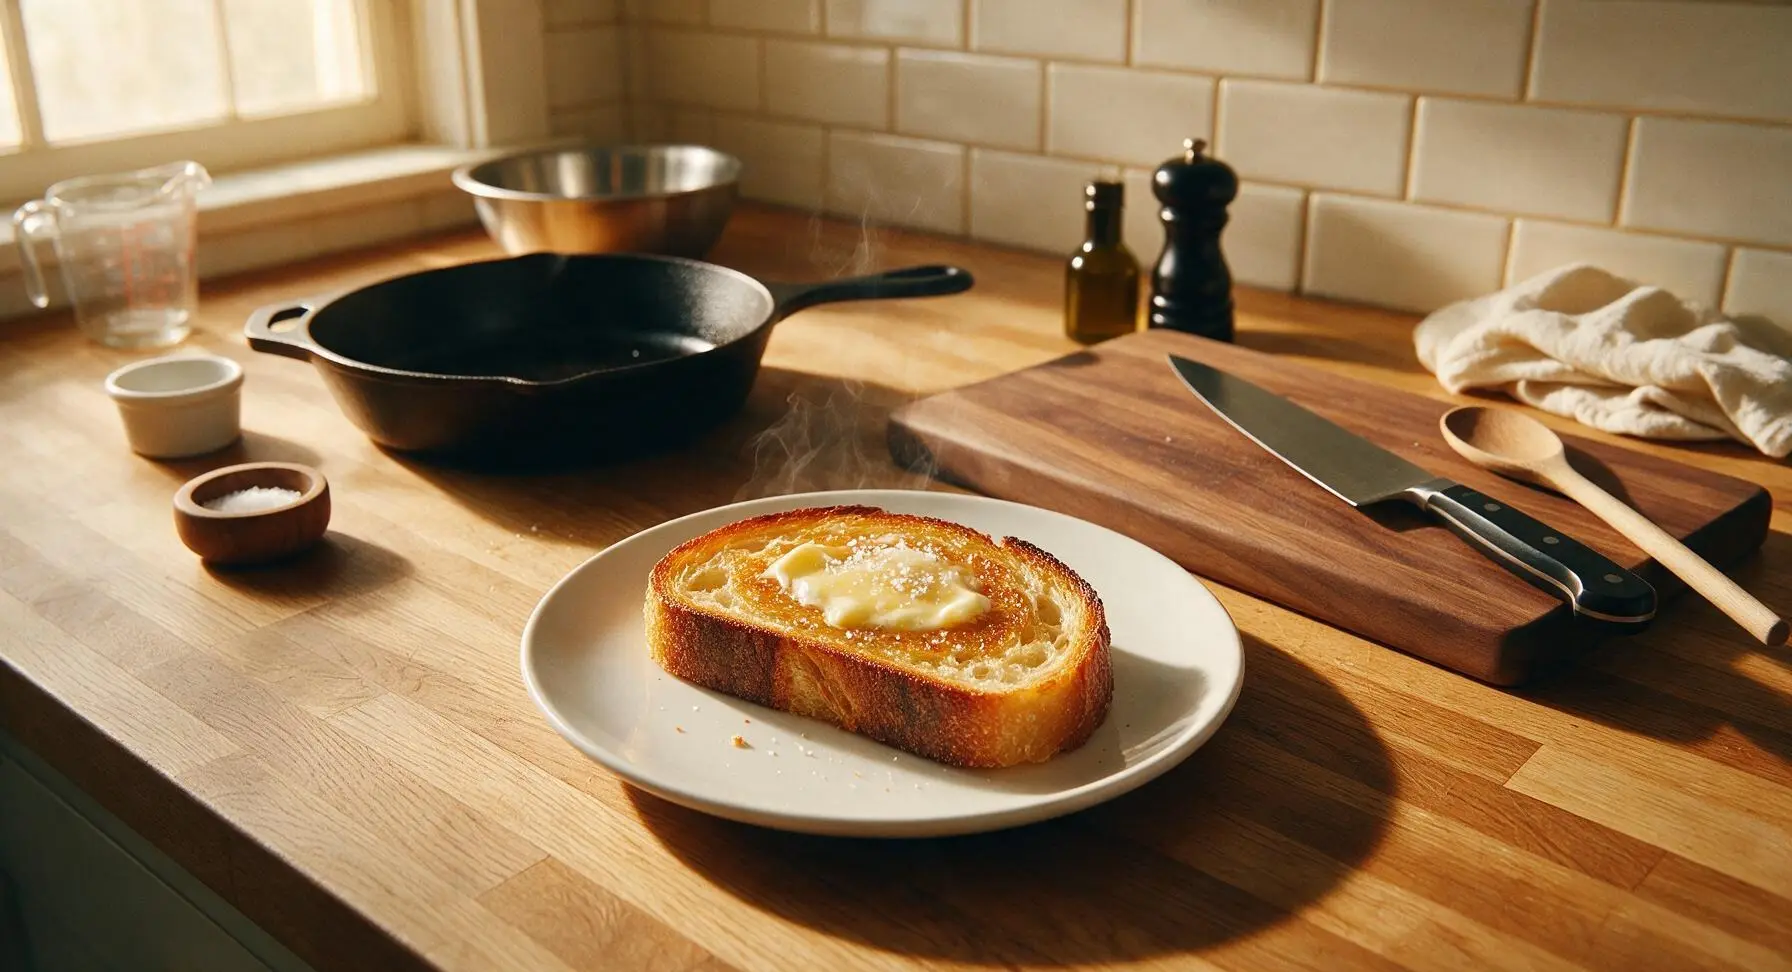
Shatteringly crisp, golden sourdough toast with a soft chewy crumb, slathered in melted cultured butter and finished with flaky salt—simple, elevated comfort ready in minutes.

Ingredients
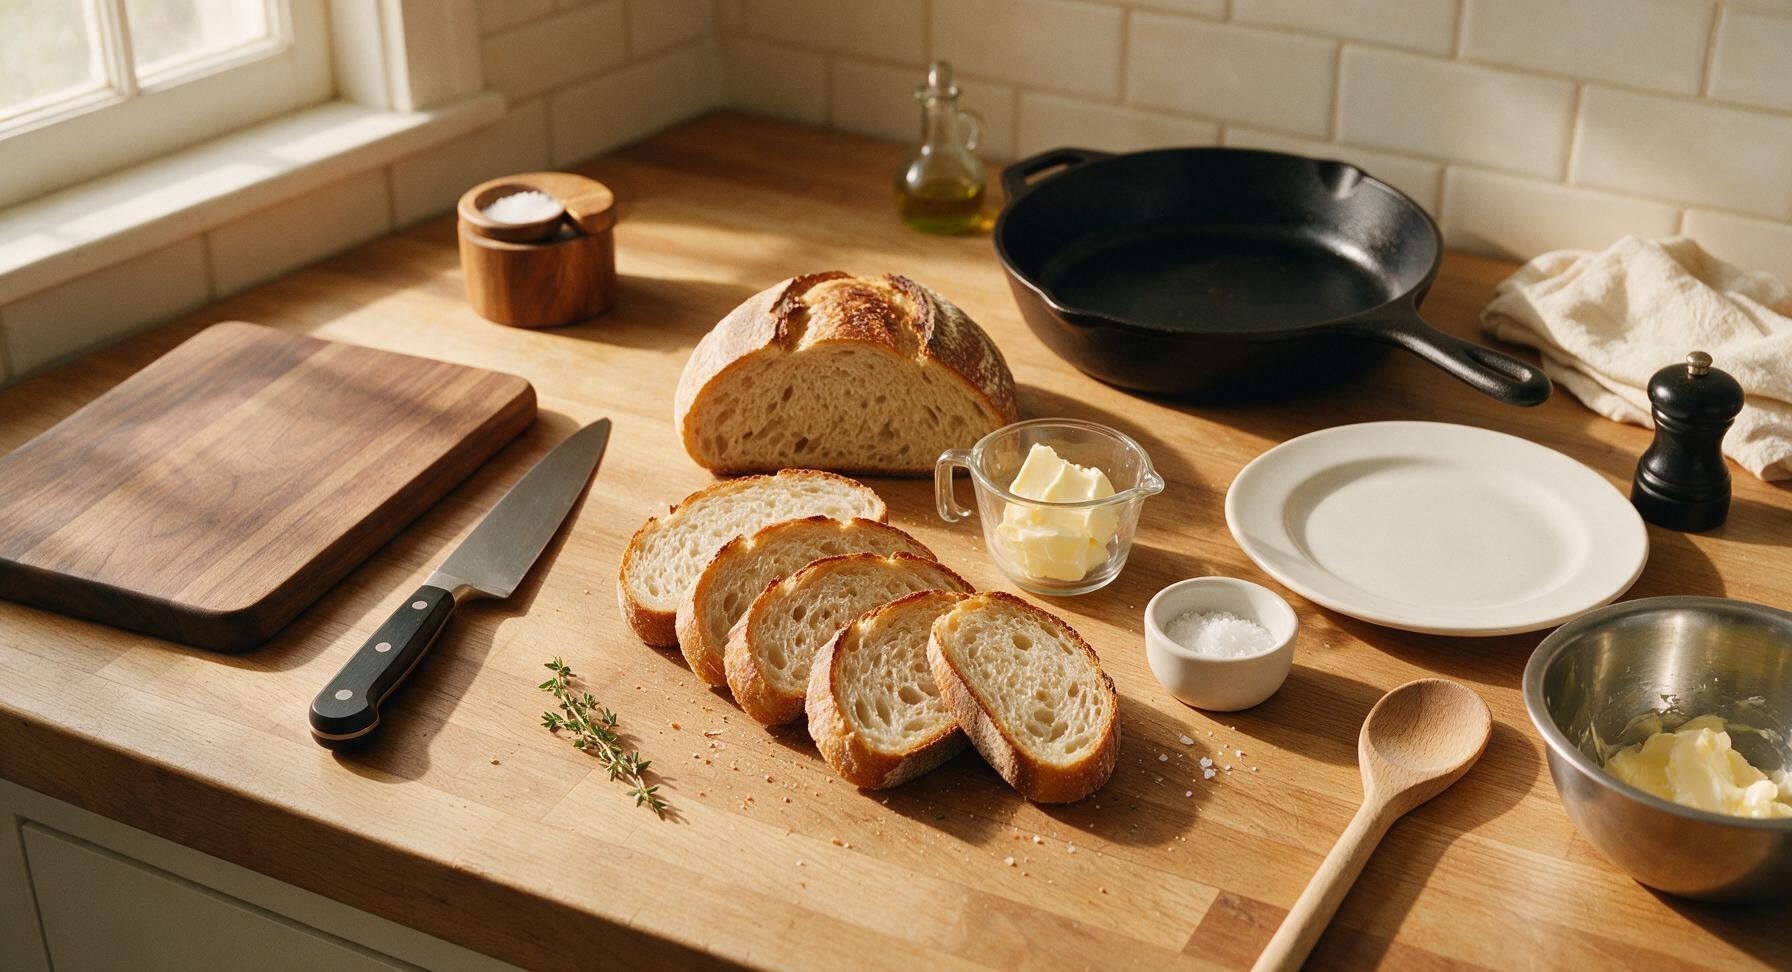
Artisan sourdough bread 200g (half crusty loaf, to yield four 2.5cm thick slices)
Unsalted cultured butter 2 tbsp (28g, slightly softened)
Flaky sea salt 1 tsp
Fresh thyme sprigs 2 small sprigs (optional garnish)

Steps

1

Slice Sourdough Evenly

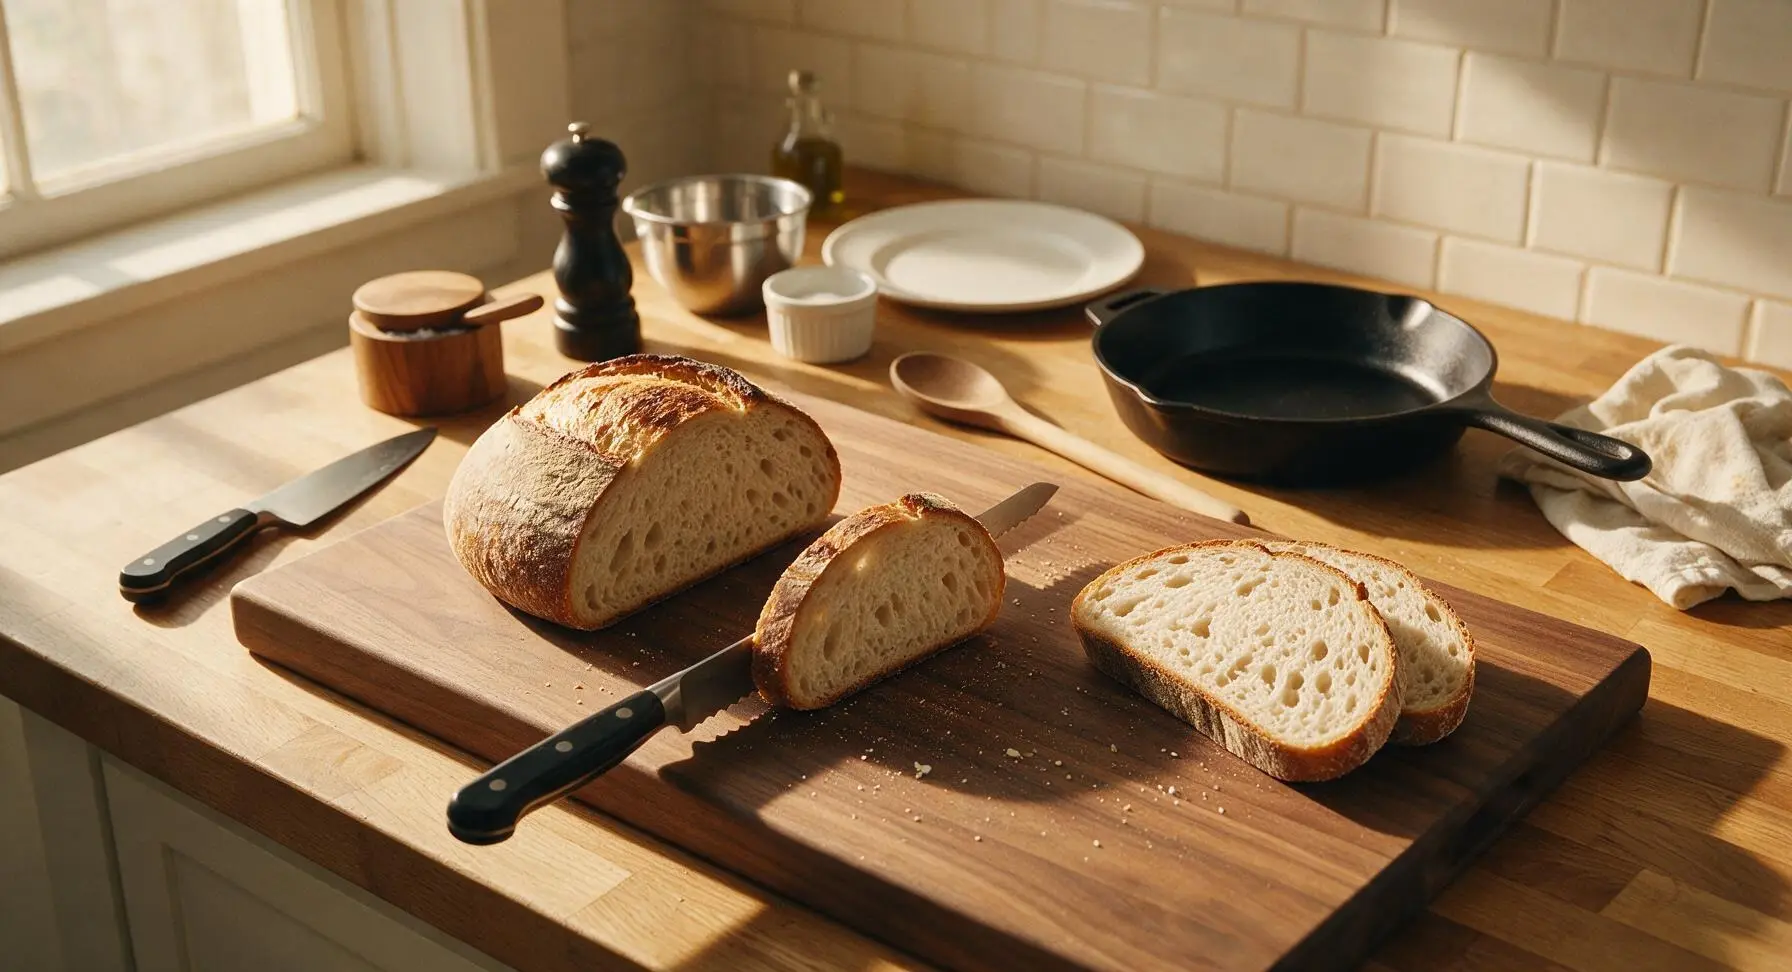
Place the half sourdough loaf cut-side down on the central maple cutting board. Hold the serrated bread knife at a 45-degree angle, and cut four even 2.5cm (1 inch) thick slices using gentle sawing motions to avoid crushing the soft, holey crumb. Set cut slices in a small stack on the right edge of the cutting board, discarding any overly dry end pieces if desired. Visual cue: Each slice should have a 5mm thick dark, crusty edge surrounding pale, air-pocketed open crumb.
Step 1
step1:Slice Sourdough Evenly
2

Preheat Dry Skillet

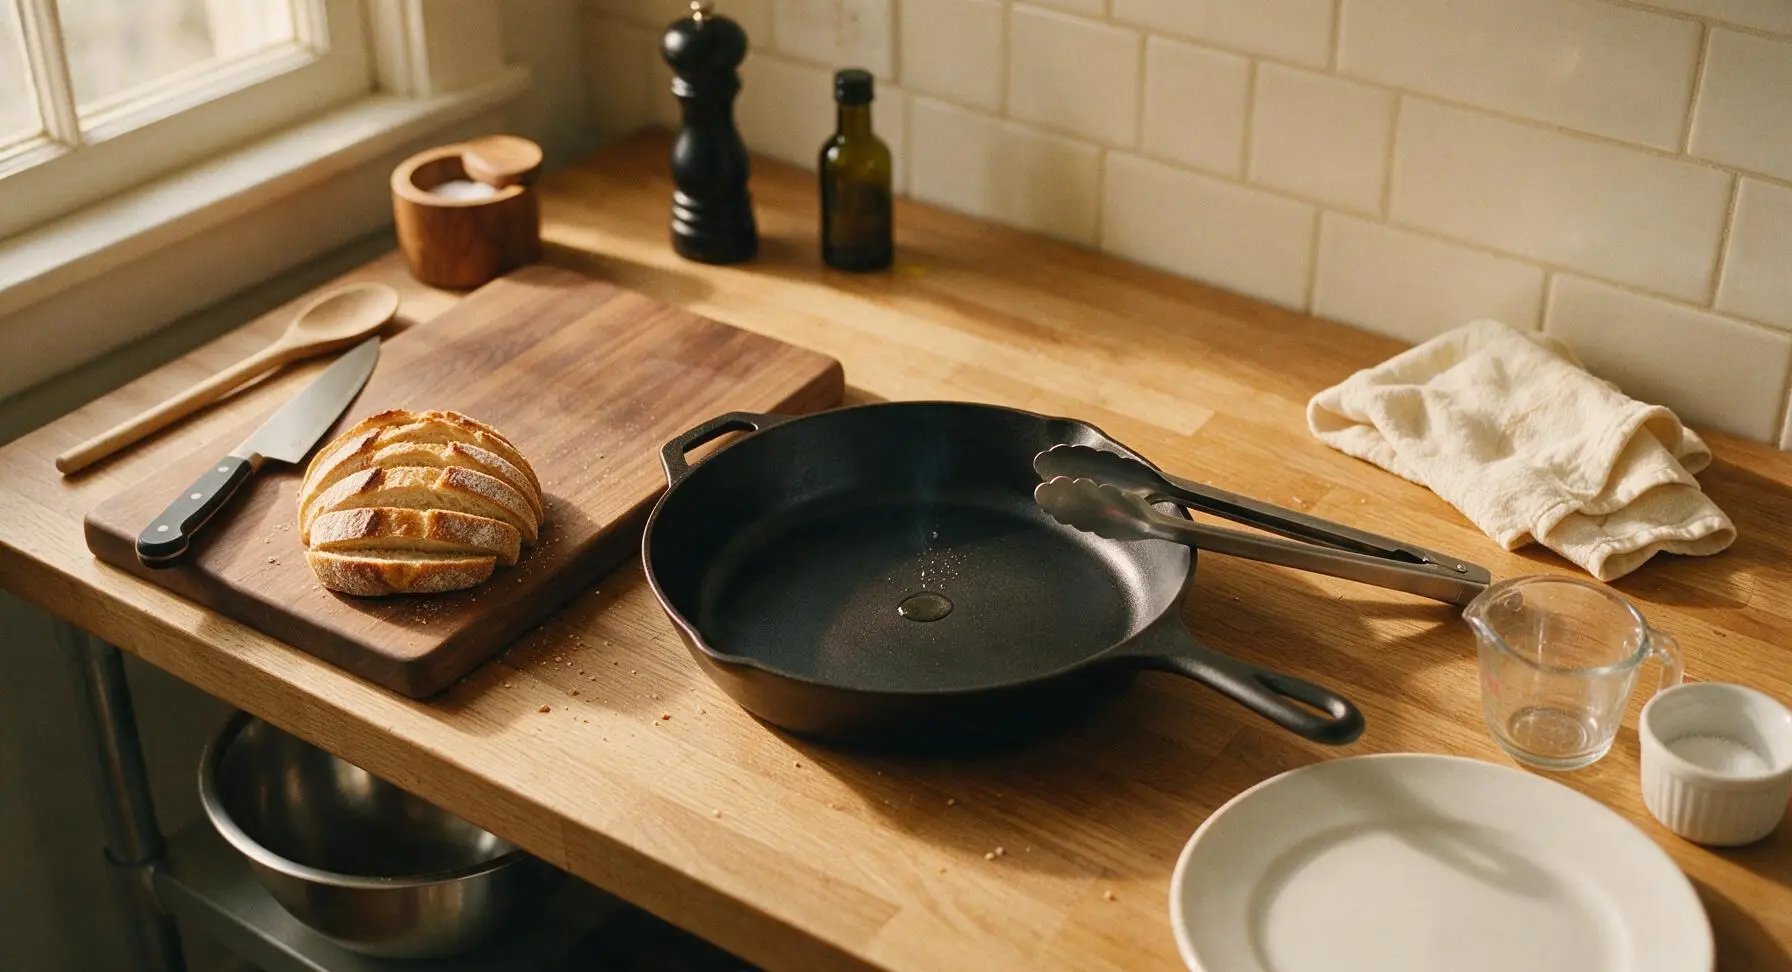
Retrieve the 10-inch matte black carbon steel skillet and place it on the counter immediately to the right of the maple cutting board, set to medium heat (175C / 350F). Preheat the completely dry skillet for 2 full minutes—do not add butter or oil at this stage. Test the temperature by flicking a single drop of water onto the pan surface; it should bead and dance across the skillet immediately when the correct temperature is reached.
Step 2
step2:Preheat Dry Skillet
3

Toast First Bread Side

Use the stainless steel tongs to lay two sourdough slices flat in the dry preheated skillet, leaving 1cm of space between them. Cook for 2 full minutes without moving or pressing down on the slices (pressing compresses the crumb and pushes out moisture needed for a soft center). The down-facing surface will turn deep golden brown with darker, crisped crust edges when ready. Visual cue: Look for faint, lacy dark brown toasting marks across the bread surface, with no pale uncooked spots remaining.
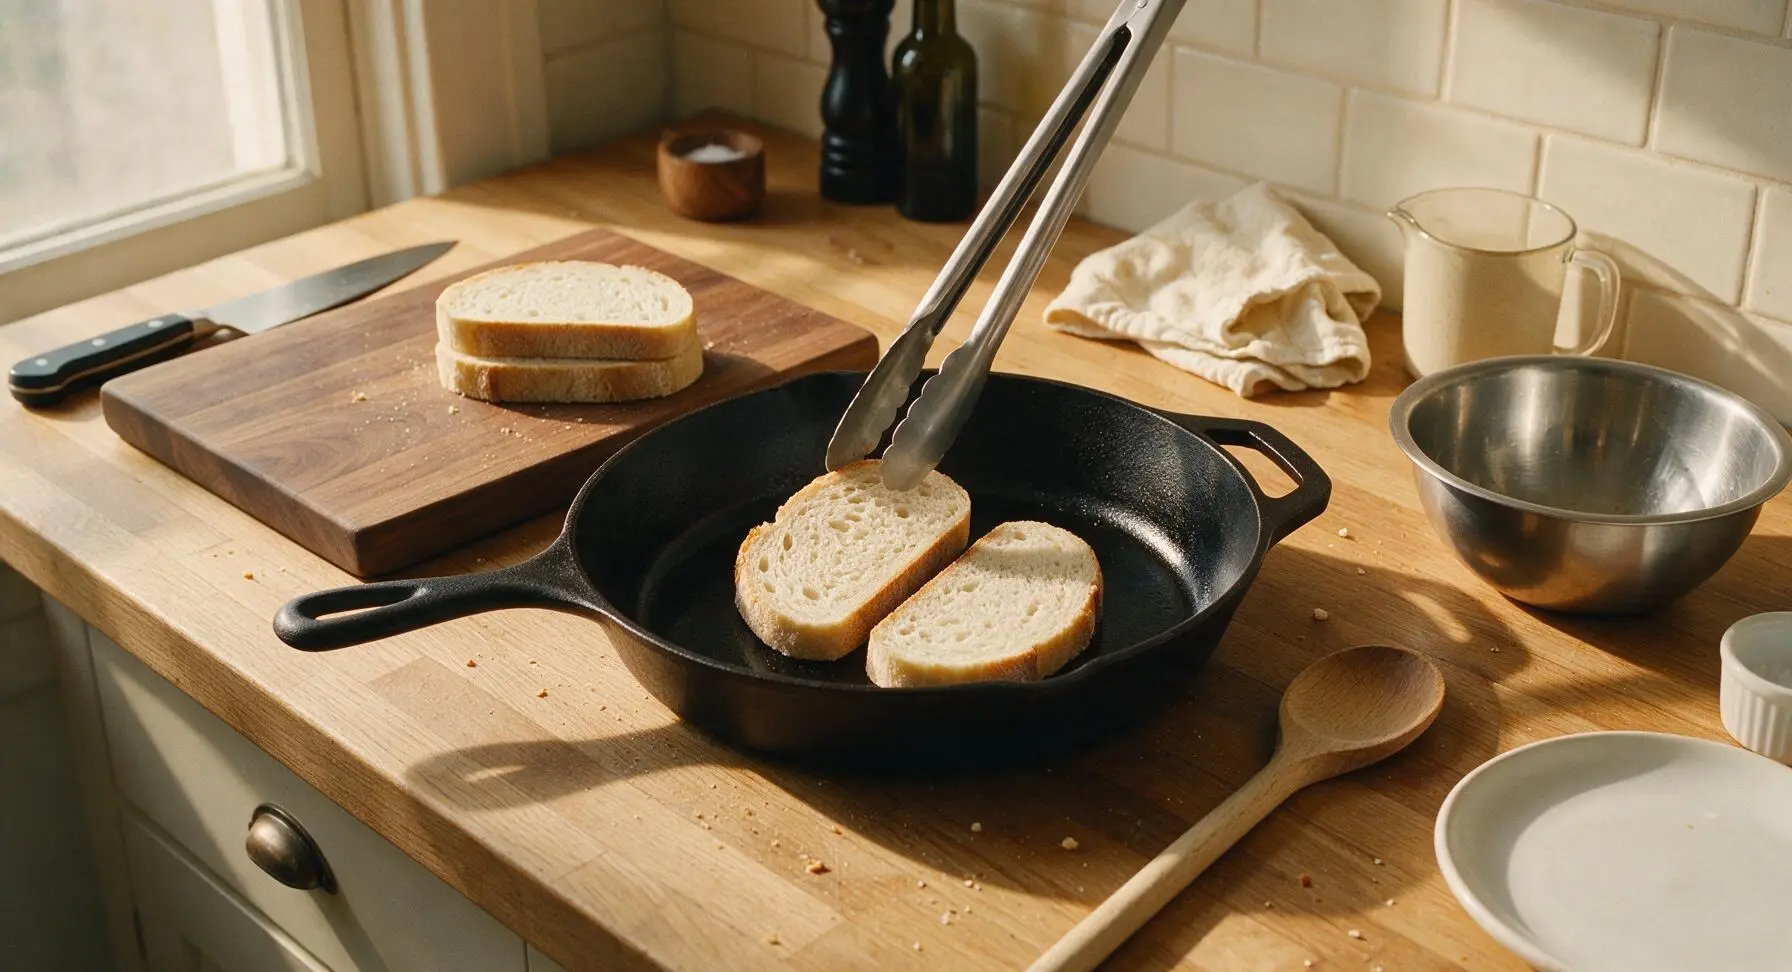
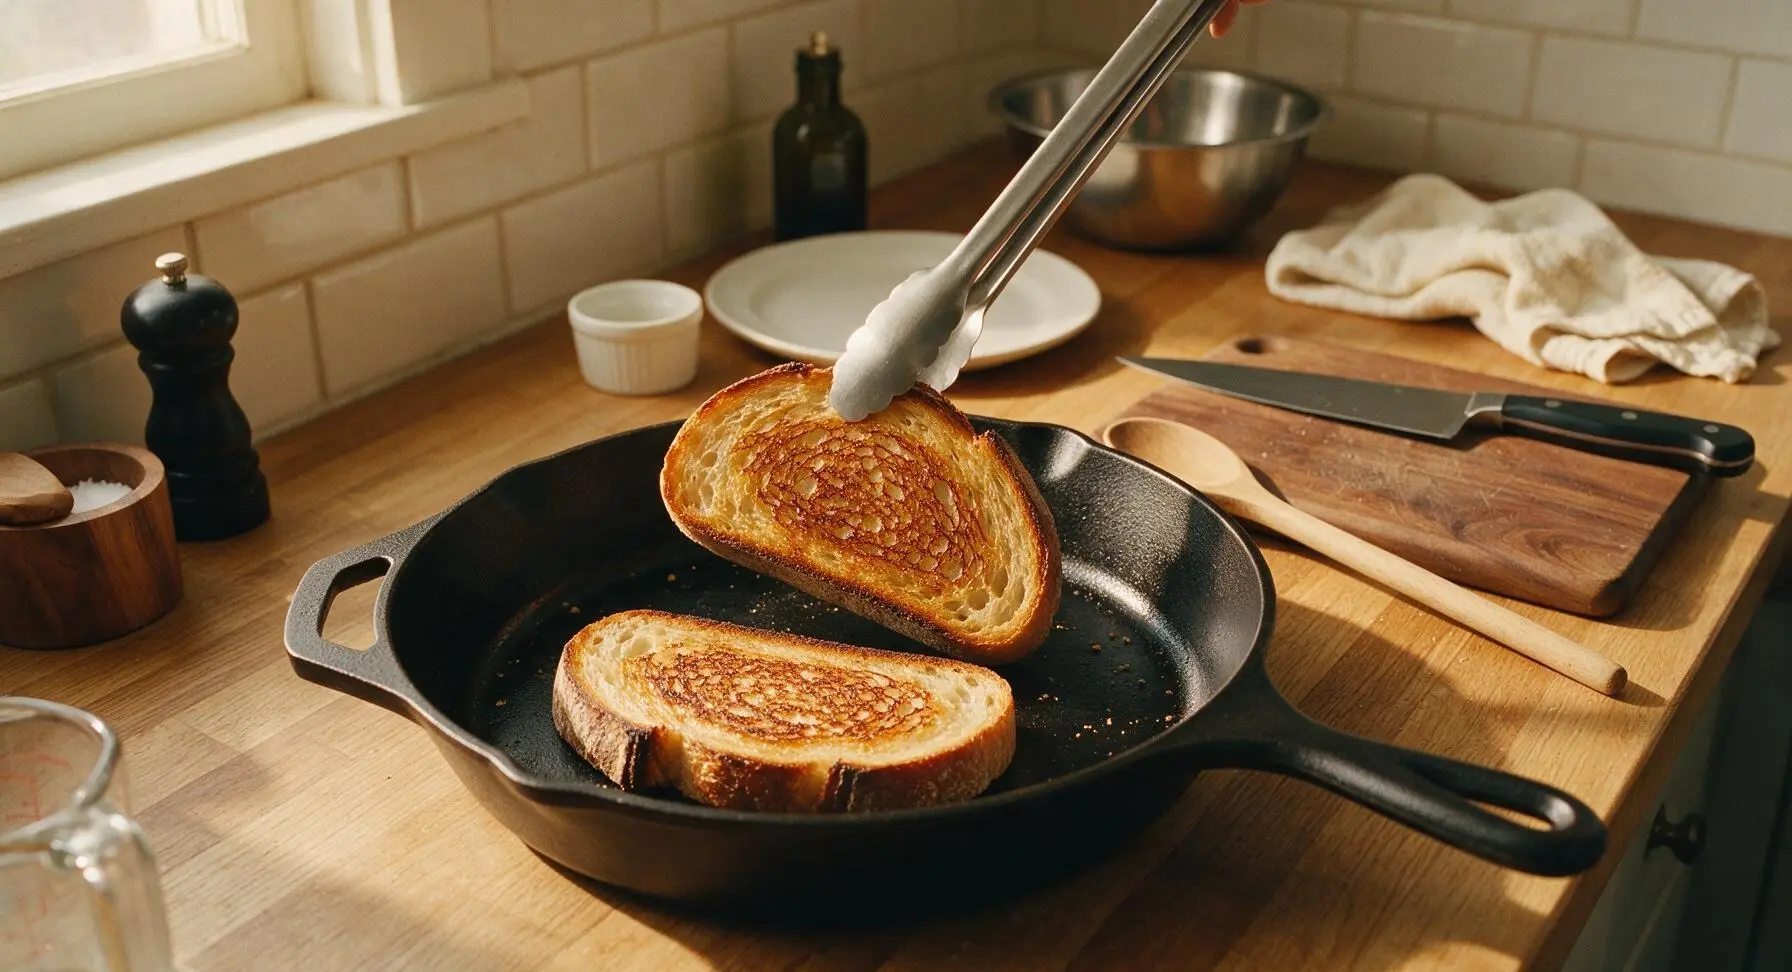
Step 3
step3:Toast First Bread Side
Step 3
step3:Toast First Bread Side
4

Flip Toast Evenly

Use the stainless steel tongs to flip each slice of bread carefully to avoid tearing the crisp crust. Toast the second side for 1.5 to 2 minutes, until it matches the deep golden brown color of the first side. Transfer the first two finished slices to a temporary spot on the edge of the cutting board, then repeat the toasting process with the remaining two sourdough slices. Visual cue: Both sides of every slice should sound crisp when tapped lightly with the tongs, with no soft pale patches remaining.
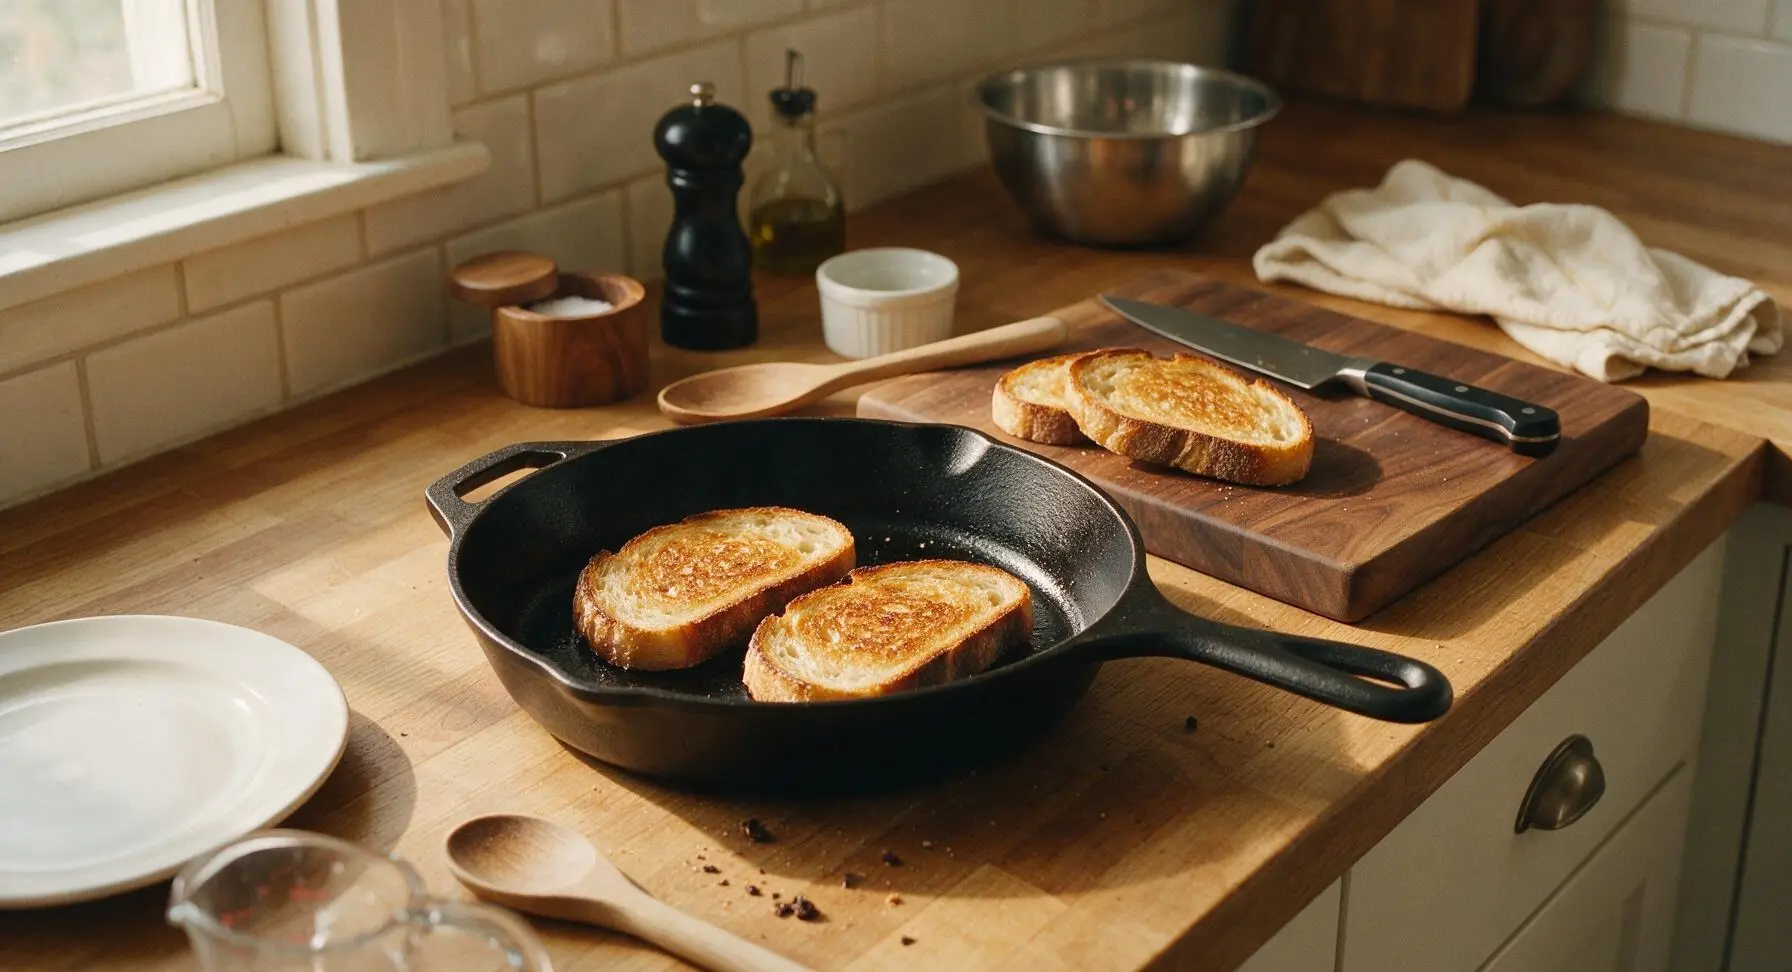
Step 4
step4:Flip Toast Evenly
5

Butter Warm Slices

Once all four slices are fully toasted, turn off the heat under the skillet. Open the glass butter jar, retrieve the silicone basting brush, and use it to spread 0.5 tablespoon of softened cultured butter evenly across the top surface of each warm toast slice. Let the butter melt fully into the crumb crevices and run slightly down the crisp crust edges, taking care not to over-butter (excess butter will make the toast soggy). Visual cue: The butter will foam slightly as it hits the warm toast, leaving a glossy, even sheen across the surface without pooling.
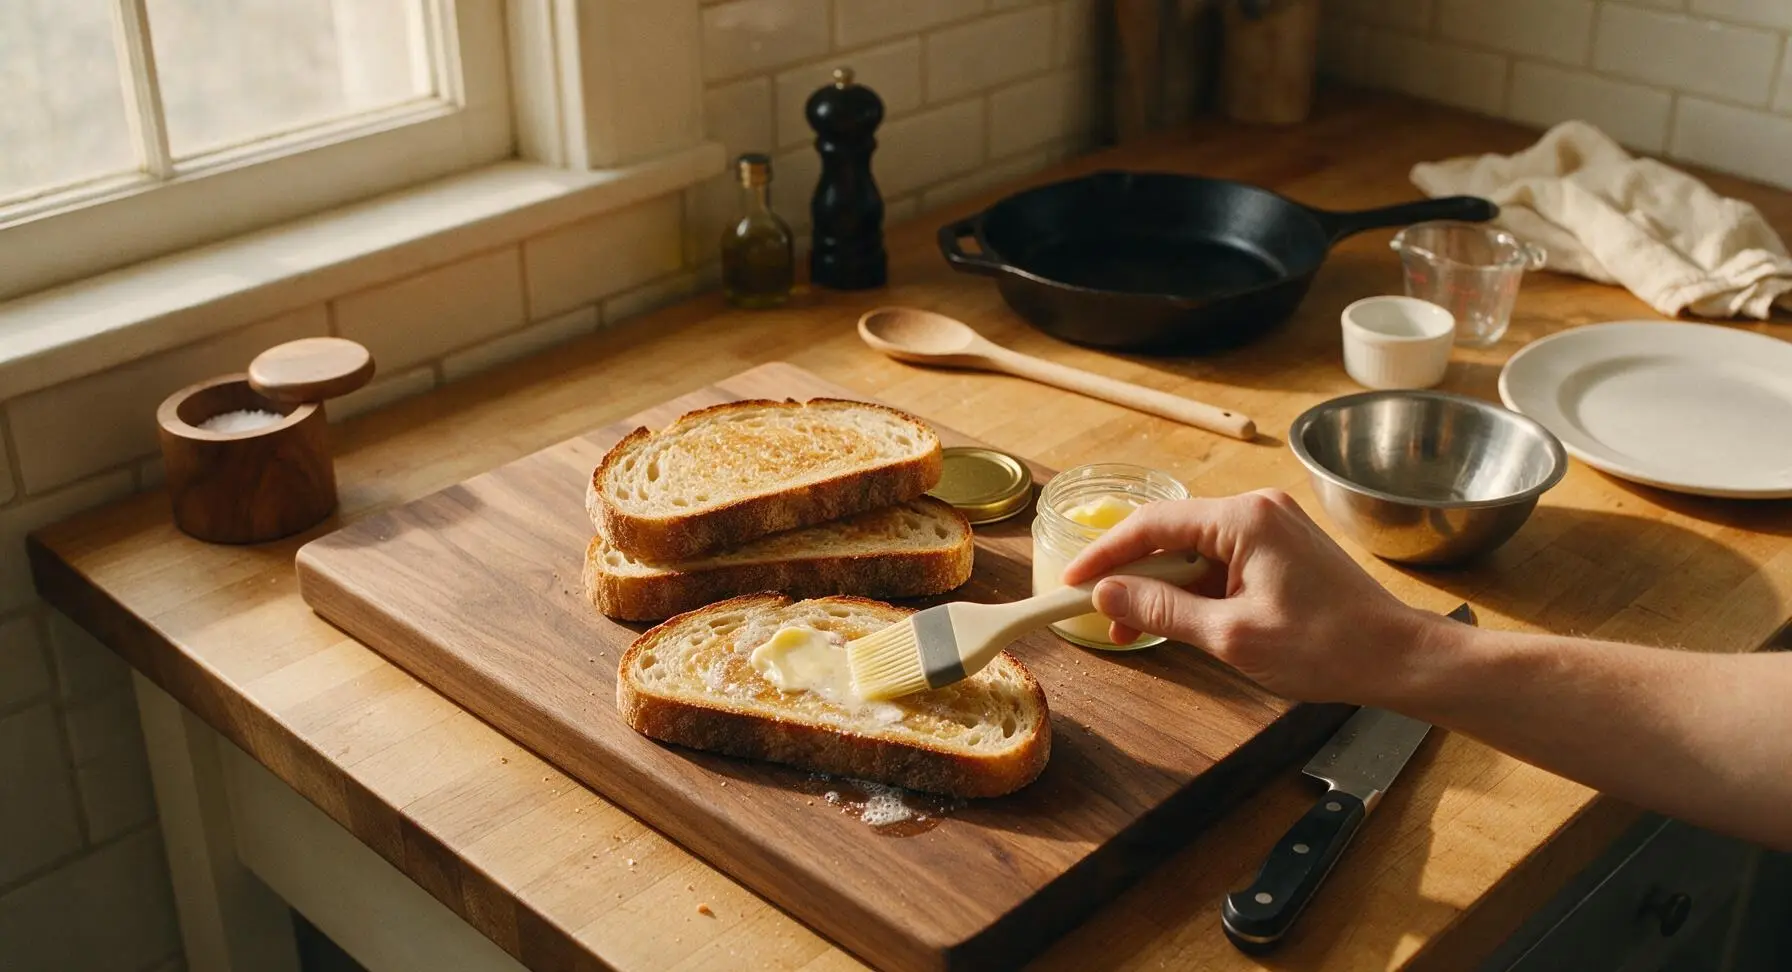
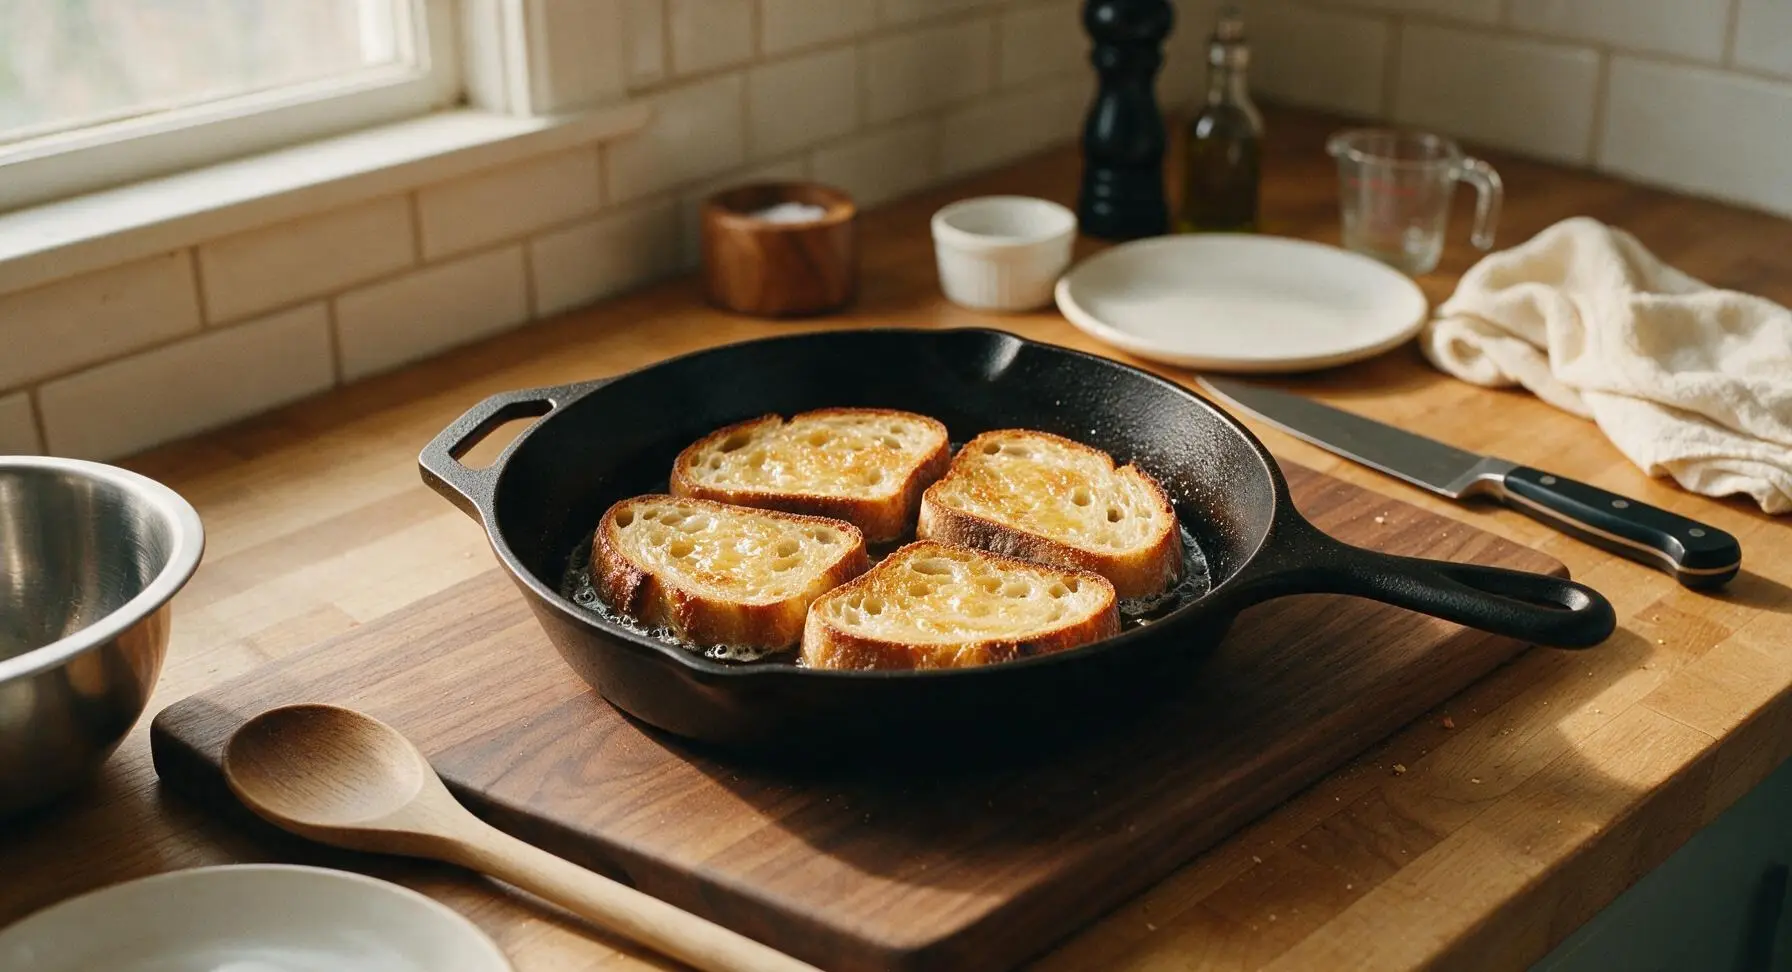
Step 5
step5:Butter Warm Slices
Step 5
step5:Butter Warm Slices
6

Season and Plate Toast

Move the two matte cream ceramic side plates from their stacked back-right position to the front center of the counter. Stack two buttered toast slices on each plate, leaning them slightly against each other for gentle height. Sprinkle a tiny pinch of flaky sea salt evenly across the top of each stack, and tuck a small fresh thyme sprig against the toast for a bright, herby garnish if desired. Let the toast rest for 30 seconds before serving so the butter sets slightly into the crumb. Visual cue: The flaky salt crystals will glisten on the buttered surface, catching the soft natural light.
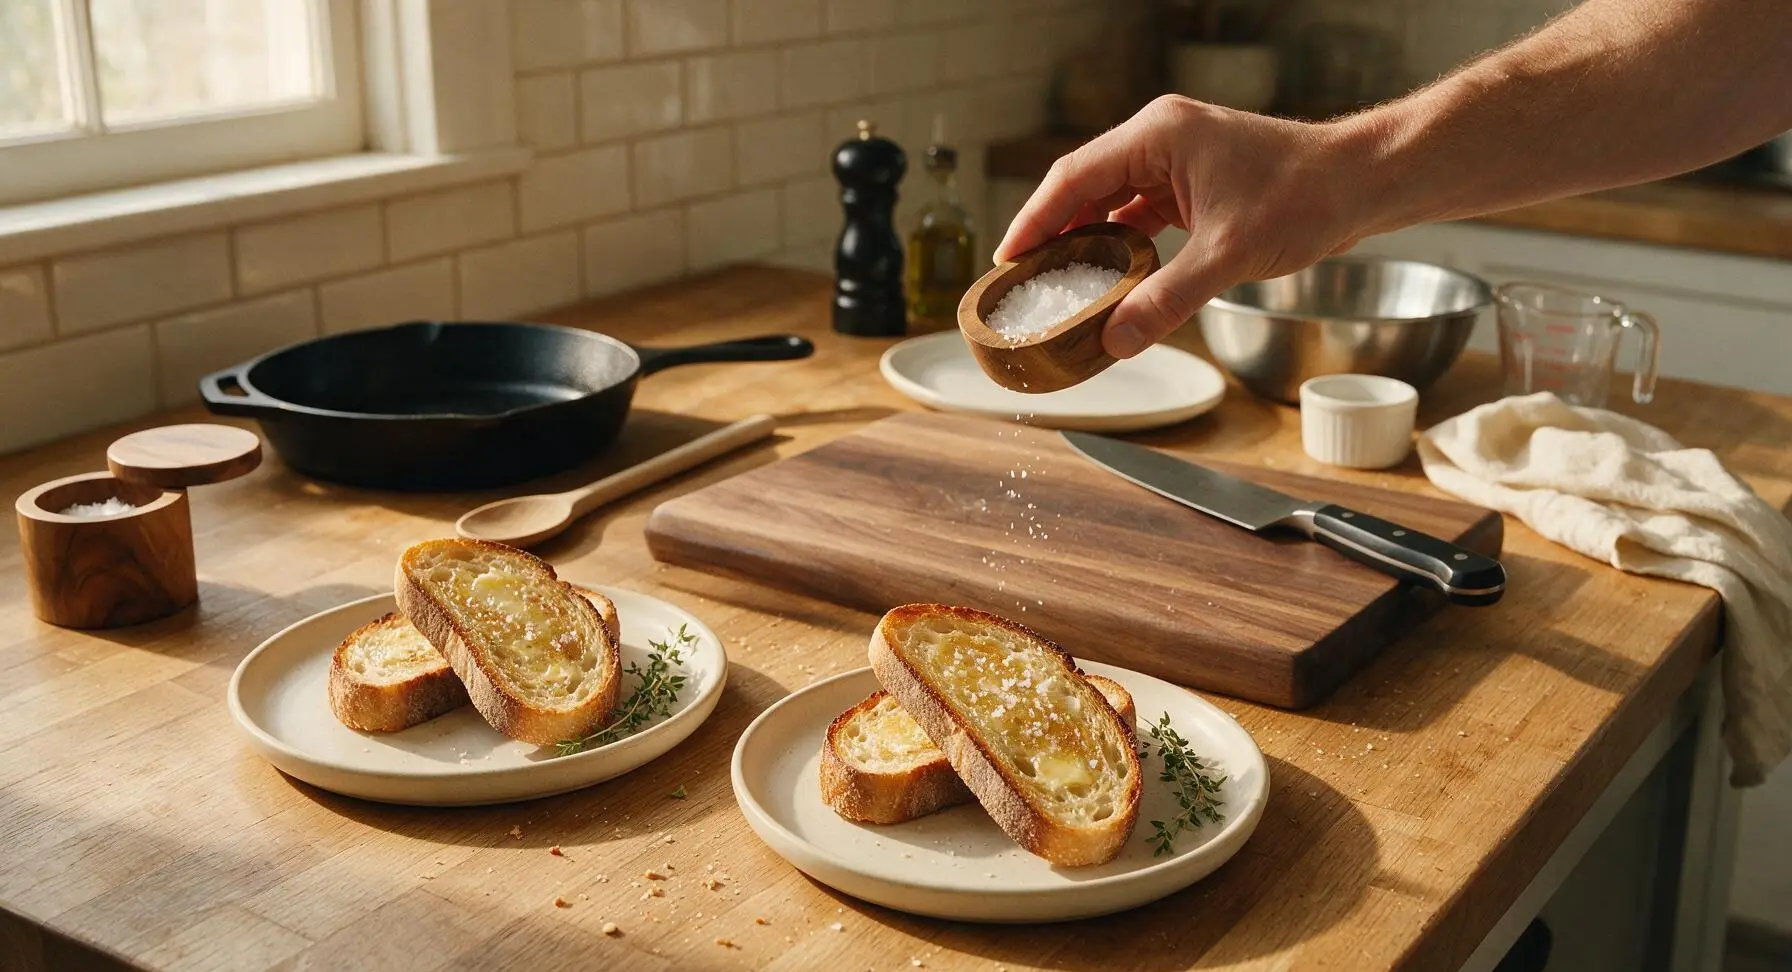
Step 6
step6:Season and Plate Toast

Tips

1.Always toast sourdough in a completely dry skillet first before adding butter: adding butter at the start causes it to burn and turn bitter at medium-high heat, and seeps into the un-toasted crumb to create soggy, rather than crisp, toast.
2.Cut sourdough slices to an exact 2.5cm (1 inch) thickness: thinner slices will turn hard and cracker-like when toasted, while this thickness creates the ideal textural contrast of shatteringly crisp outer crust and soft, chewy open crumb in the center.
3.Skip the pop-up toaster for artisan sourdough: skillet toasting delivers more even, controlled browning across the bread’s uneven crust and holey crumb, and prevents melted butter from dripping down into hard-to-clean toaster slots.


✨ You May Also Like

Breakfast
🍜 United States

Crisp-edged, fluffy lard griddle cakes are a nostalgic homestyle staple, with rich savoriness from rendered lard, perfect topped with maple syrup or savory gravy.

⏱️ 25 minuteBreakfast ★ 4.8
Breakfast
🍜 United States

Flaky, buttery homemade buttermilk biscuits smothered in creamy, peppery pork sausage gravy: a beloved, hearty Southern American comfort food classic.

⏱️ 35 minuteBreakfast ★ 4.8
Breakfast
🍜 United States

Golden, custardy brioche stuffed with sweet cream cheese and fresh berries, pan-fried to crisp perfection. An indulgent, cozy breakfast perfect for slow weekend mornings.

⏱️ 30 minuteBreakfast ★ 4.7
Breakfast
🍜 United States

Flaky, buttery Southern-style biscuits stuffed with savory salty country ham, a portable, satisfying classic perfect for casual on-the-go meals.

⏱️ 25 minuteBreakfast ★ 4.8
Breakfast
🍜 United States

Iconic puffy baked pancake popularized in Seattle, with crisp golden edges and soft custardy center, served warm with classic sweet toppings.

⏱️ 35 minuteBreakfast ★ 4.6
Breakfast
🍜 United States

Fluffy, golden pancakes studded with juicy peak-summer mixed berries, drizzled with maple syrup for a bright, comforting, crowd-pleasing family breakfast.

⏱️ 25 minuteBreakfast ★ 4.7

Sourdough Toast:Frequently Asked Questions

1.What thickness should I slice my sourdough bread for the crispiest result? ▾
Aim for uniform ¾-inch thick slices. Any thinner and you’ll get dry, brittle toast instead of that signature crisp exterior and soft, chewy crumb; any thicker and the center will stay doughy before the outside browns. Day-old sourdough works beautifully here, as its slightly drier crumb crisps up faster without getting soggy.
2.Can I use regular salted butter instead of unsalted cultured butter? ▾
You absolutely can, but cultured butter adds a subtle tangy, nutty depth that pairs perfectly with sourdough’s natural fermented flavor. If you use salted butter, skip adding extra salt to the butter as it cooks, and only finish with a light pinch of flaky sea salt at the end to avoid over-salting your toast.
3.Do I need to preheat my skillet before adding the bread? ▾
Yes, always preheat your skillet over medium-low heat for 2 to 3 minutes first. A properly preheated pan kickstarts that golden, shatteringly crisp crust the second the buttered bread hits the surface, and prevents the bread from soaking up excess butter and turning greasy instead of crisp. Heavy cast iron or carbon steel skillets work best for even heat distribution.
4.Why is my toast turning out soggy instead of crispy? ▾
Soggy toast usually stems from three common issues: your pan is too cool, you’re using too much butter, or your bread is overly fresh and high in moisture. Stick to 1 tablespoon of butter per two slices, use steady medium-low heat, and if your bread is extra fresh, let slices air dry for 5 minutes before toasting to help the surface crisp properly.
5.What’s the best way to add fresh thyme without it turning bitter? ▾
Add fresh thyme sprigs to the melted butter in the skillet right before you lay the bread slices down, and let the herb infuse the butter for 10 to 15 seconds as the bread toasts. Pull the woody sprigs out before serving, or strip the tiny leaves off to sprinkle over finished toast—cooking thyme too long over high heat causes that harsh, bitter flavor.
6.Can I make this toast in a standard pop-up toaster if I’m short on time? ▾
You can get a decent result in a pop-up toaster, but you won’t get that same buttery, evenly golden, shatteringly crisp crust the skillet method delivers. If you do use a toaster, toast sourdough on a medium setting, then immediately brush both sides with melted cultured butter, sprinkle with flaky salt and thyme, and serve right away.
7.What heat setting should I use to avoid burning the butter while toasting? ▾
Stick to steady medium-low heat the entire time. Higher heat will burn the delicate milk solids in cultured butter fast, leaving a bitter, acrid taste on your toast before the bread crumb has a chance to warm through and crisp. If butter turns dark brown too quickly, turn the heat down and add a tiny extra pat of butter to cool the pan slightly.
8.How long should I cook each side of the toast for the ideal texture? ▾
Cook the first side for 2 to 3 minutes, until it’s a deep, even golden brown and crisp to the touch, then flip and cook the second side for 1 to 2 minutes more. The second side cooks faster because the bread is already warmed through, so keep a close eye on it to avoid over-browning before it reaches that perfect crisp.
9.Do I need to butter both sides of the bread to get that crispy result? ▾
For the signature shatteringly crisp texture on every bite, yes—spread a thin, even layer of softened cultured butter on both sides of each sourdough slice before adding it to the preheated skillet. Don’t slather it on too thick, though; a light, even coat is all you need to get that golden crust without making the toast feel heavy or greasy.
10.Can I use regular table salt instead of flaky sea salt for finishing? ▾
You can, but you’ll want to use far less than the recipe calls for. Table salt has a much sharper, more concentrated saltiness than delicate flaky sea salt, and it won’t deliver that satisfying, light crunch on top of the crisp toast. If table salt is all you have, add a tiny pinch, then taste before adding more to avoid over-salting.

Comments (10)

2 days ago

OMG this is SO good! I’ve been making sourdough toast in the toaster forever and never thought to use a skillet—total game changer. Got that perfect crispy edge but the middle is still soft and chewy, exactly how I like it. My kids devoured two slices each before school this morning, will be making this on repeat!

yesterday

Same! My toaster always either burns my sourdough or leaves it soggy, this method fixed every issue. I add a tiny sprinkle of flaky salt on top when it’s done and *chef’s kiss*

yesterday

Love that the whole family is enjoying it! The flaky salt add-on sounds incredible, such a simple way to elevate it even more.

30 minutes ago

Super easy, 5 minutes exactly like the recipe says. I slathered mine with homemade peach jam and it was the perfect quick breakfast before my morning hike. Crispy enough that the jam didn’t make the bread soggy at all, 10/10.

5 minutes ago

So glad it held up to your jam! The crisp barrier really is the best part for topping-heavy toast, perfect for quick pre-hike fuel.

1 week ago

Made this for our weekend potluck brunch last week and everyone asked for the recipe! I used a little garlic butter instead of plain butter on a couple slices and people went crazy for it. So easy to scale up for a crowd too.

just now

Wait, do I need to use cast iron for this? I only have a regular nonstick skillet at my apartment and don’t want to mess it up. Has anyone tried it with nonstick?

just now

I made mine on a cheap nonstick pan last night! Just make sure your heat is on medium-low so the butter doesn’t burn, it came out just as crispy as my roommate’s cast iron version.

just now

Great question! You absolutely don’t need cast iron—any heavy-bottomed skillet works, nonstick included. Just keep the heat steady at medium so you get that even crisp without burning, you’ve got this!

3 days ago

Game changer for meal prep! I make a batch of these on Sunday, top them with avocado and a fried egg during the week, and they hold up way better than regular toaster toast. No more sad soggy work breakfasts for me.

2 days ago

Same meal prep hack over here! I keep mine in a sealed container on the counter for up to 3 days, reheat for 30 seconds in the pan when I’m ready to eat, still crispy.

yesterday

Wait, is it normal for the butter to foam a lot when I put the bread in? I was worried I burned it at first but the toast came out great, just wanted to make sure I didn’t do something wrong lol.

2 hours ago

That happens to me every time! I think it’s just the cold butter hitting the warm pan, as long as it smells nutty and not acrid you’re totally fine.

2 hours ago

Totally normal! The foaming is just the butter’s water content cooking off, which actually helps get that extra crispy crust all over the bread. If it starts to turn brown and smell nutty that’s perfect, if it smells bitter turn the heat down a touch.

5 days ago

SO good. I sprinkled a little parmesan on the bread while it was toasting in the skillet and got that perfect crispy cheese crust, paired great with tomato soup for dinner last night. Will absolutely be making this again.

2 hours ago

I was skeptical because 5 minutes felt too fast, but wow, this really does come out perfect every time. I’ve made it four times this week already—once with cinnamon sugar for a sweet treat, once with avocado, once with egg salad, once just plain butter. All chef’s kiss.

30 minutes ago

That cinnamon sugar version sounds dreamy! It’s such a versatile base, I love that you’re experimenting with both sweet and savory toppings.

2 weeks ago

My partner is obsessed with sourdough and I’ve been looking for easy ways to step up our weekend breakfasts, this did not disappoint. We served it alongside scrambled eggs and bacon and they said it was better than the toast we get at our favorite brunch spot downtown. Win for me!

5 minutes ago

Quick question—what thickness do you slice the sourdough for best results? I usually slice mine super thick but I’m worried it won’t crisp all the way through in the skillet.

just now

Great question! I recommend slicing it about 3/4 of an inch thick—thick enough to get that chewy center, but thin enough that the heat penetrates all the way through to crisp both sides evenly. If you go thicker, just cook it 30 seconds to a minute longer on each side on lower heat so it doesn’t burn before the middle warms up!



