
sourdough waffle

intro
Crisp on the edges, tender and tangy inside, these sourdough waffles turn starter into a deeply flavorful golden meal, perfect for quick weeknight breakfast-for-dinner or lazy mornings.
Ingredients
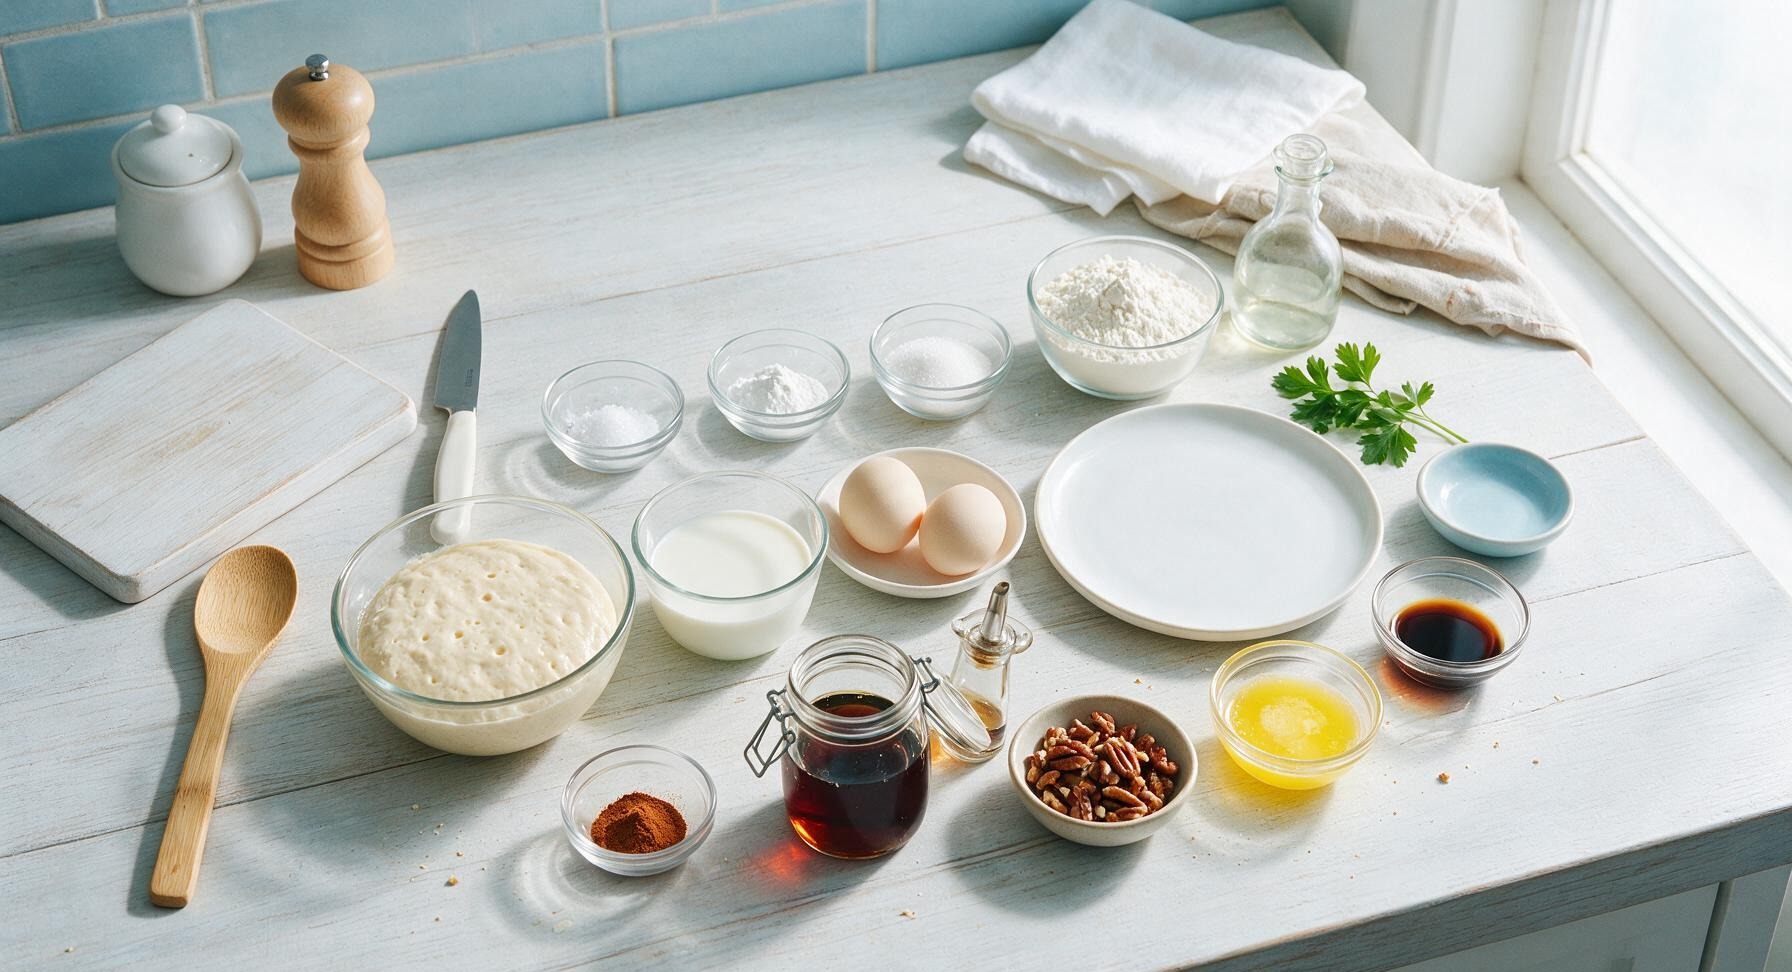
Steps
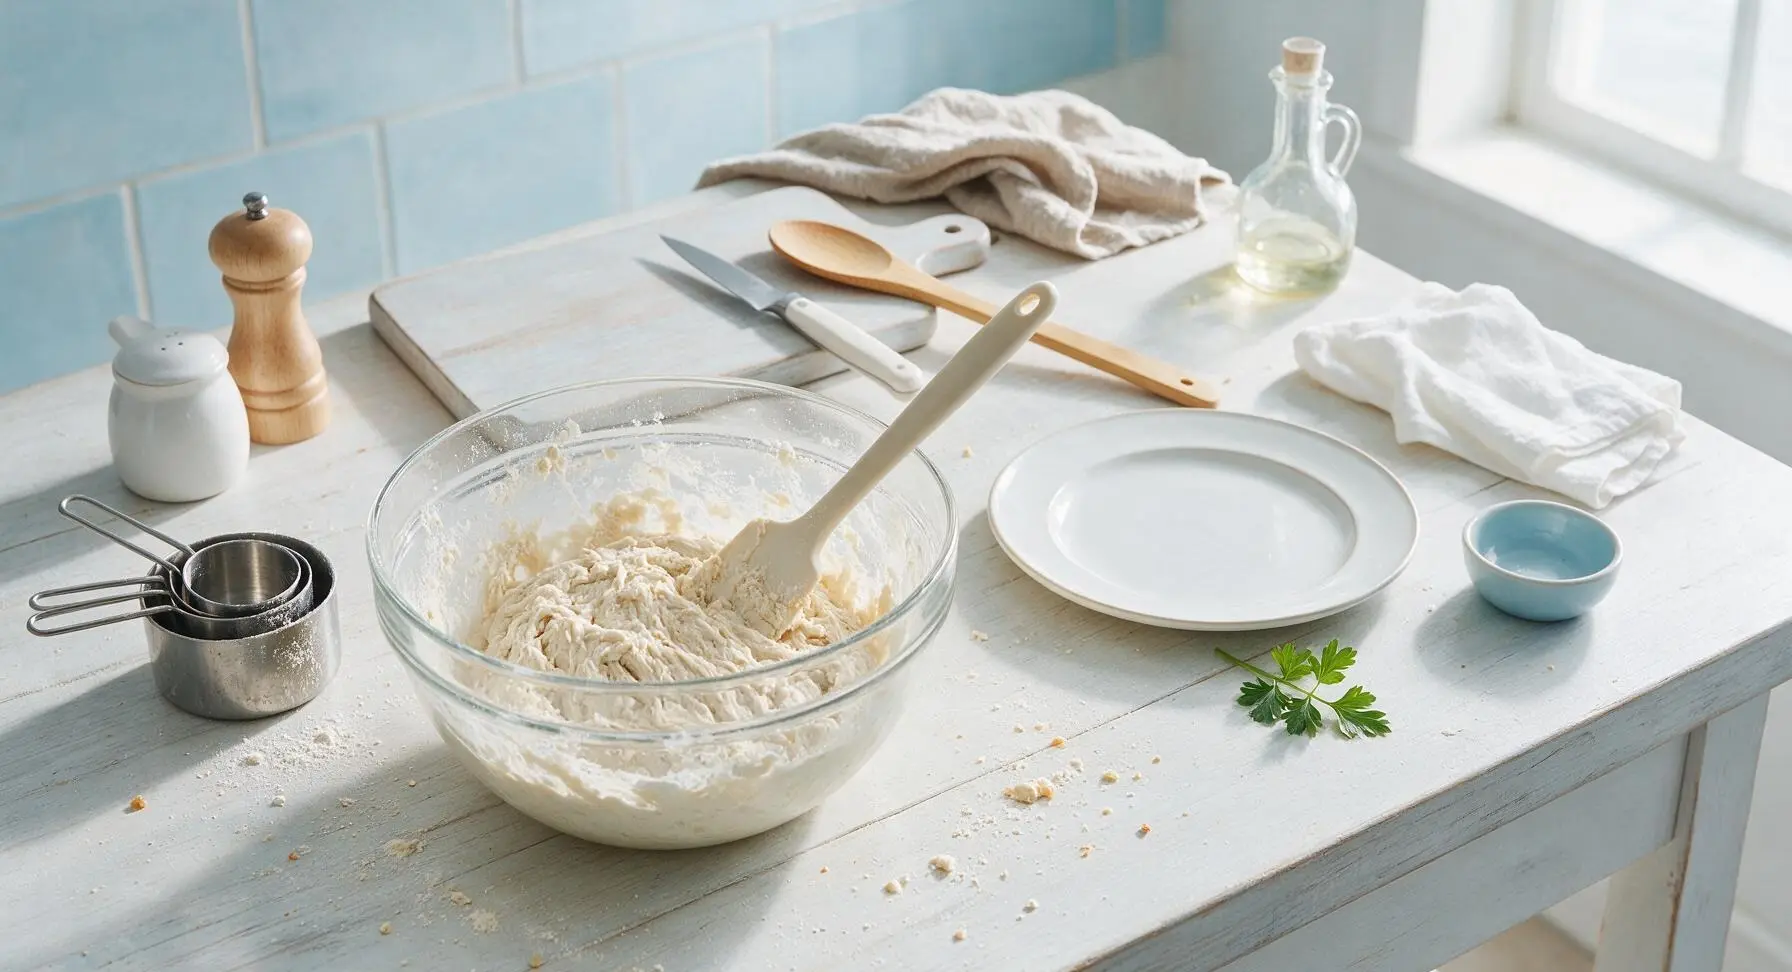
Mix Overnight Sponge
In the large 2L clear glass mixing bowl, combine 200g active sourdough starter (100% hydration, fed starter or refrigerated discard works), 180g all-purpose flour, 240ml whole milk, and 1 tablespoon granulated sugar. Stir with the off-white silicone spatula until no large dry flour lumps remain, forming a thick, shaggy batter. Cover the bowl tightly with the oat-toned cotton kitchen towel and let rest at room temperature (68-72°F/20-22°C) for 8-12 hours, or overnight. The batter will bubble, rise by nearly 50%, and smell bright, tangy, and fermented when ready for the next step.
Preheat Waffle Iron
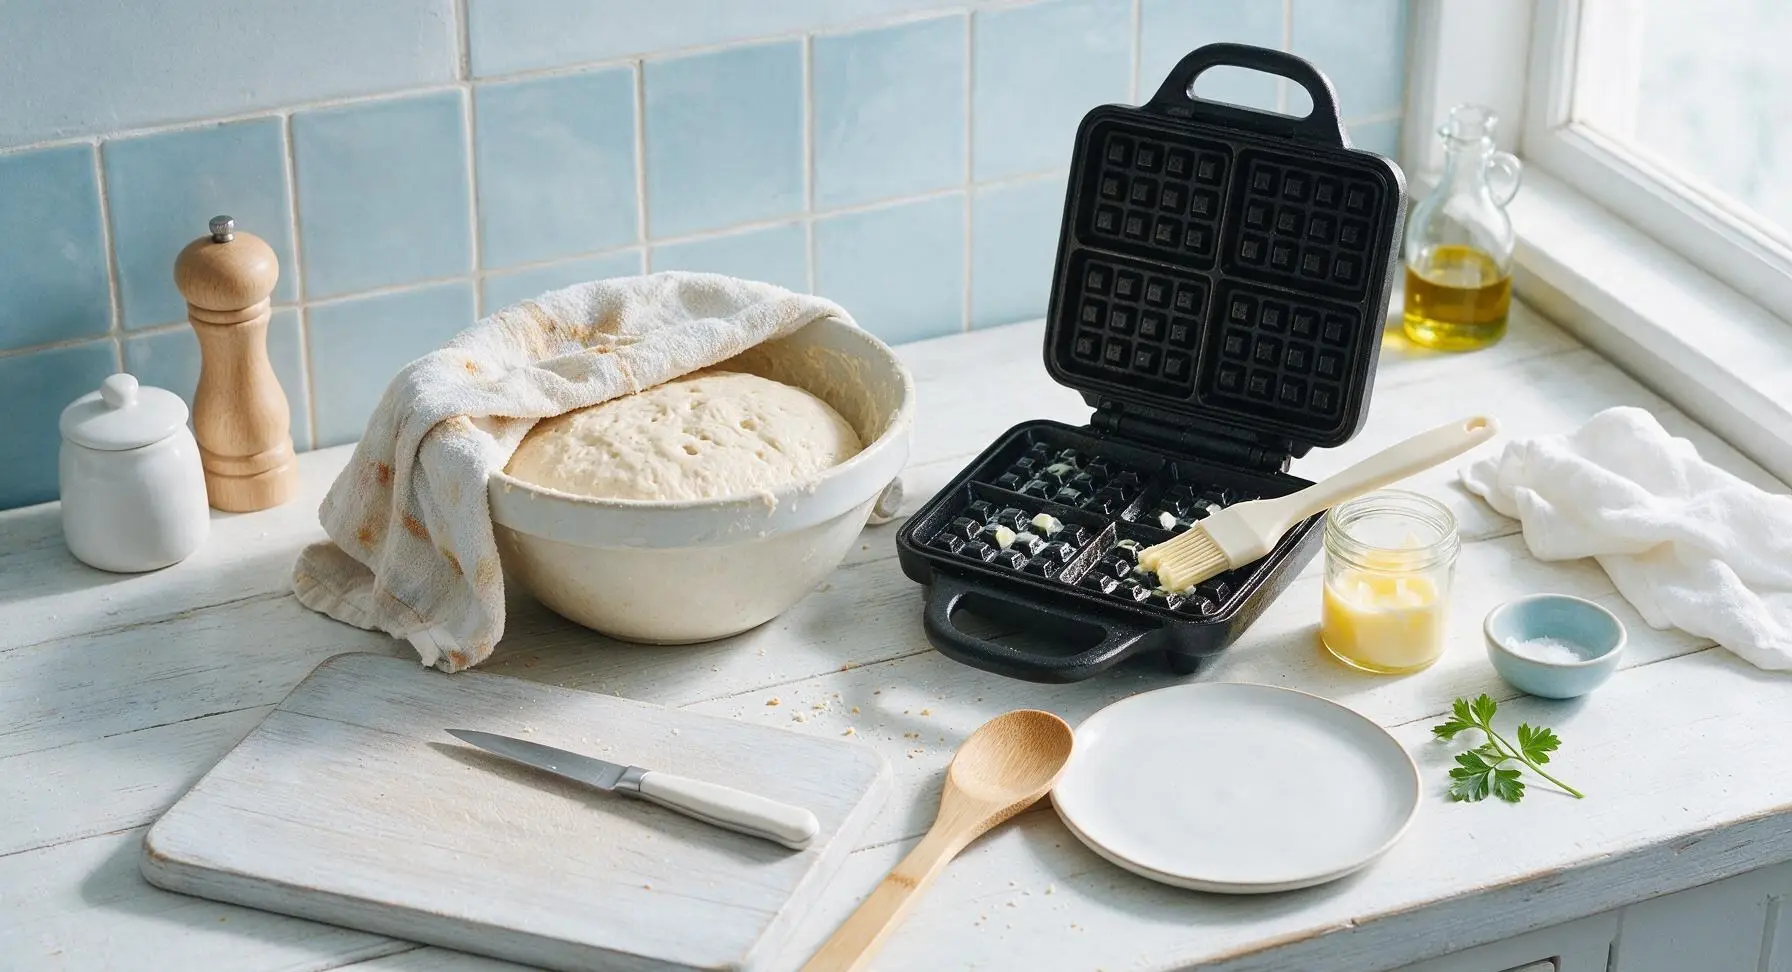
After the overnight rest, pull the towel off the risen batter. Set the matte black cast iron waffle iron on the center-right burner area of the counter over medium heat, preheating for 5 minutes until a flicked drop of water dances across the surface and evaporates in 2 seconds. Use the small off-white silicone pastry brush to lightly coat both upper and lower waffle grids with 10g of the melted butter, taking care to wipe away excess butter that will burn during cooking.
Finish Waffle Batter
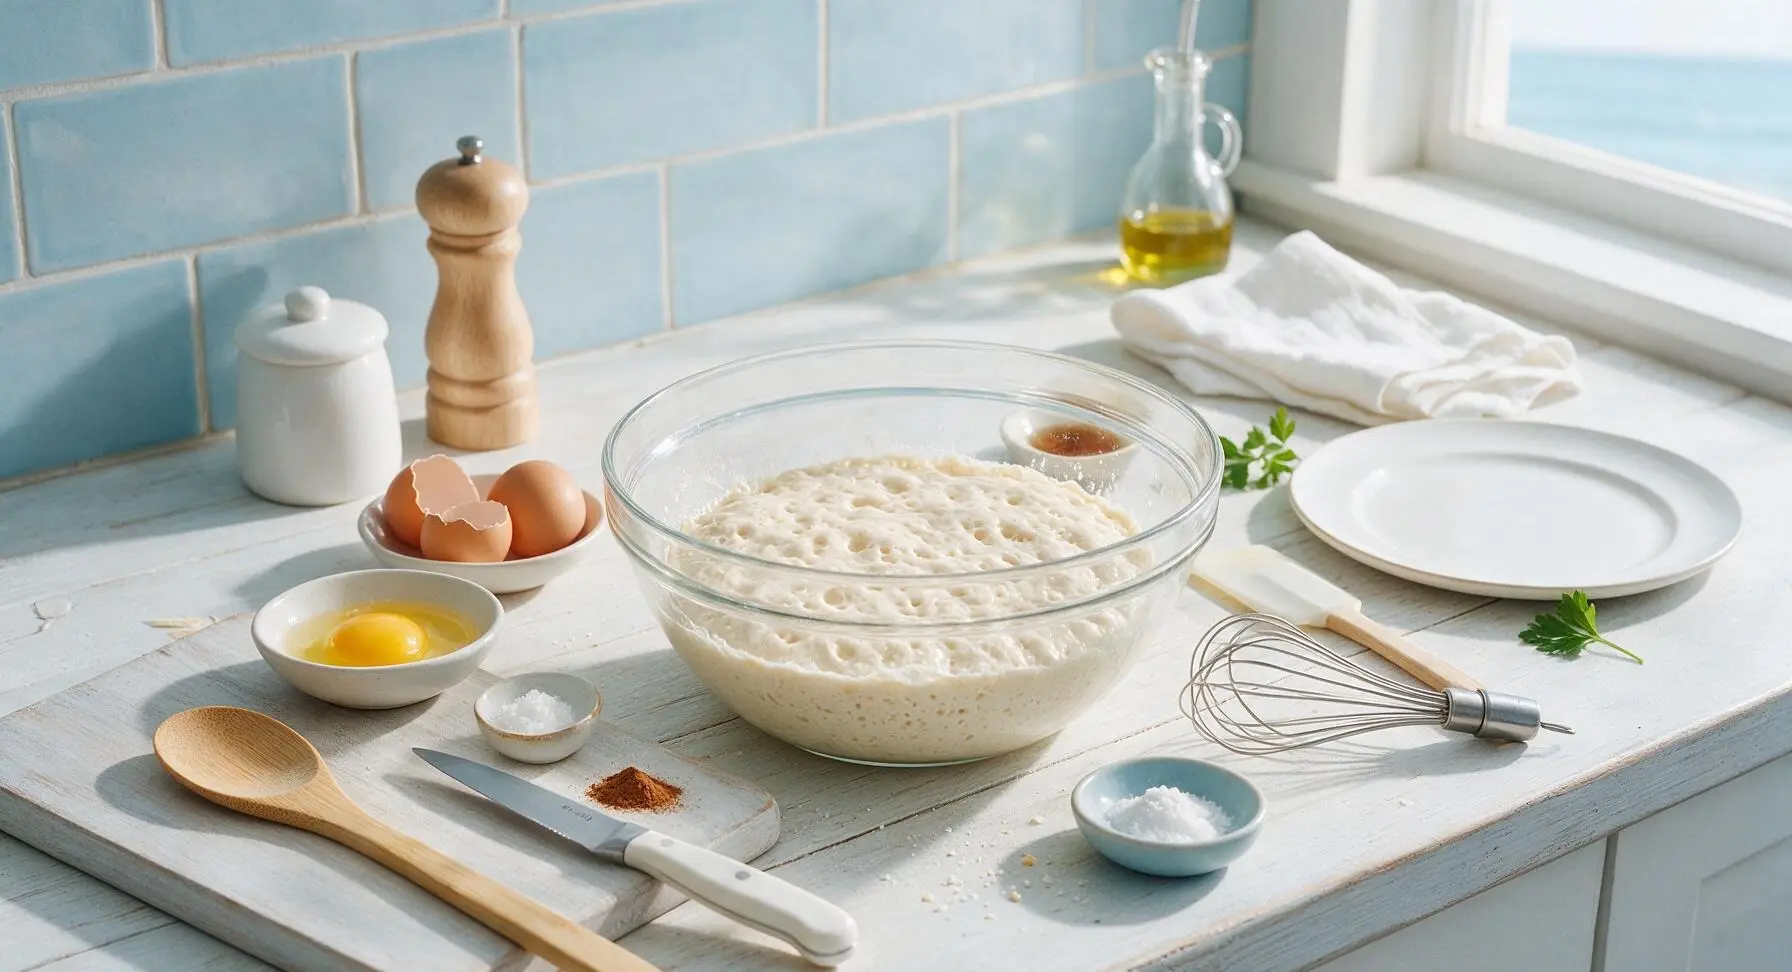
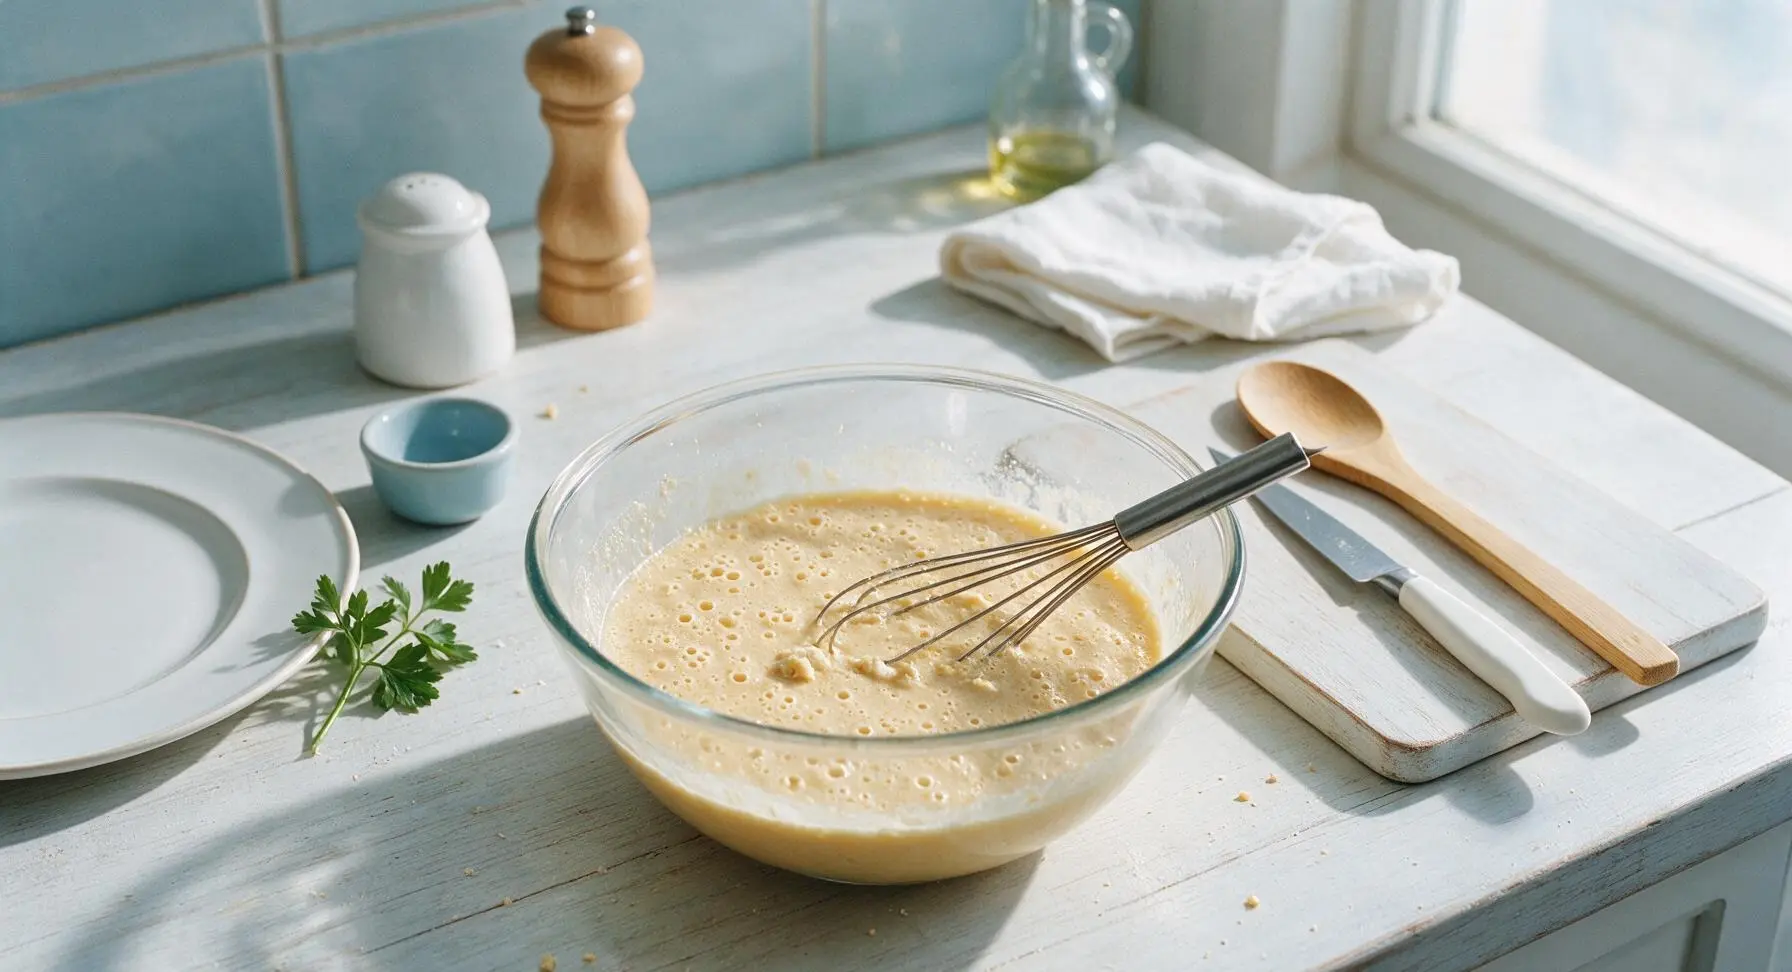
Uncover the risen, bubbly sponge. Add 2 lightly beaten large eggs, 40g melted cooled unsalted butter, 1 teaspoon vanilla extract, 1 teaspoon fine sea salt, 1/2 teaspoon baking soda, and 1/4 teaspoon ground cinnamon to the bowl. Use the stainless steel wire whisk to stir gently until just combined—do not overmix, as this will develop gluten and make tough waffles. The finished batter will be light golden, frothy with visible fermentation bubbles, and thin enough to pour slowly; a few small lumps are normal and desirable.
Pour Batter Onto Iron
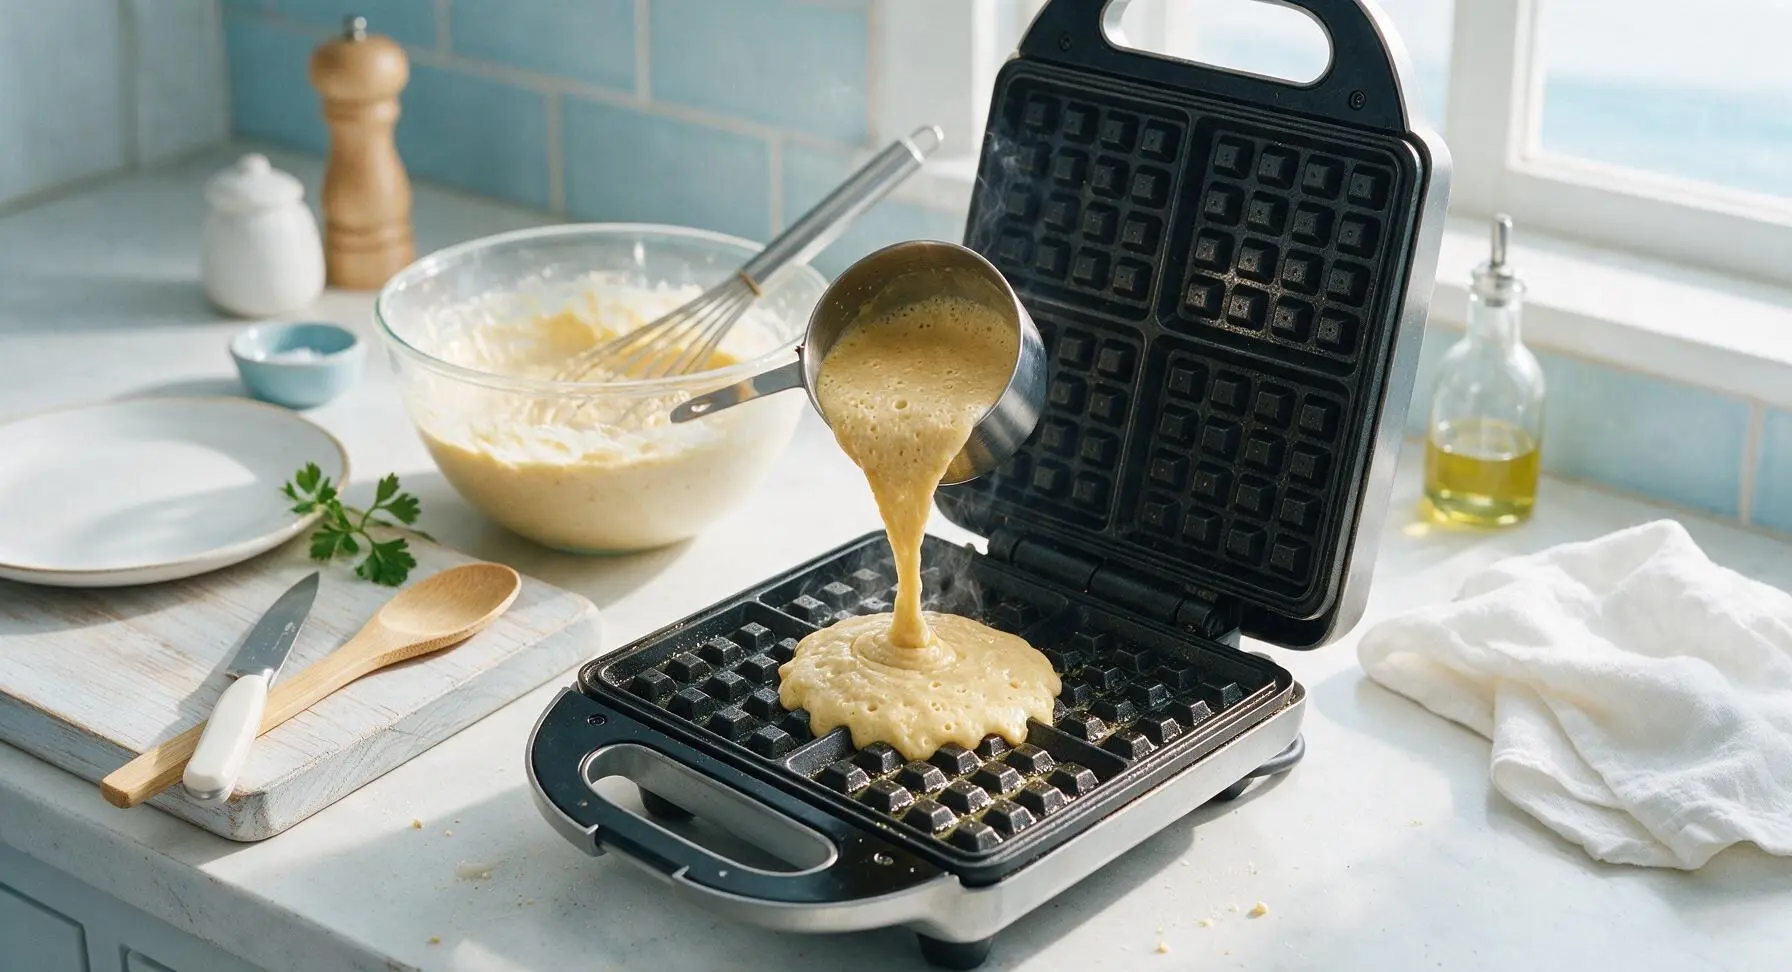
Once the waffle iron is fully preheated, use the 1/2 cup stainless steel measuring cup to scoop batter, pouring it directly onto the center of the lower waffle grid. Do not spread the batter manually—it will spread evenly across the grid as you close the lid. Close the waffle iron lid and latch it lightly; do not press down hard on the lid, as this squeezes out batter and creates dense, flat waffles.
Cook Waffles Until Crisp
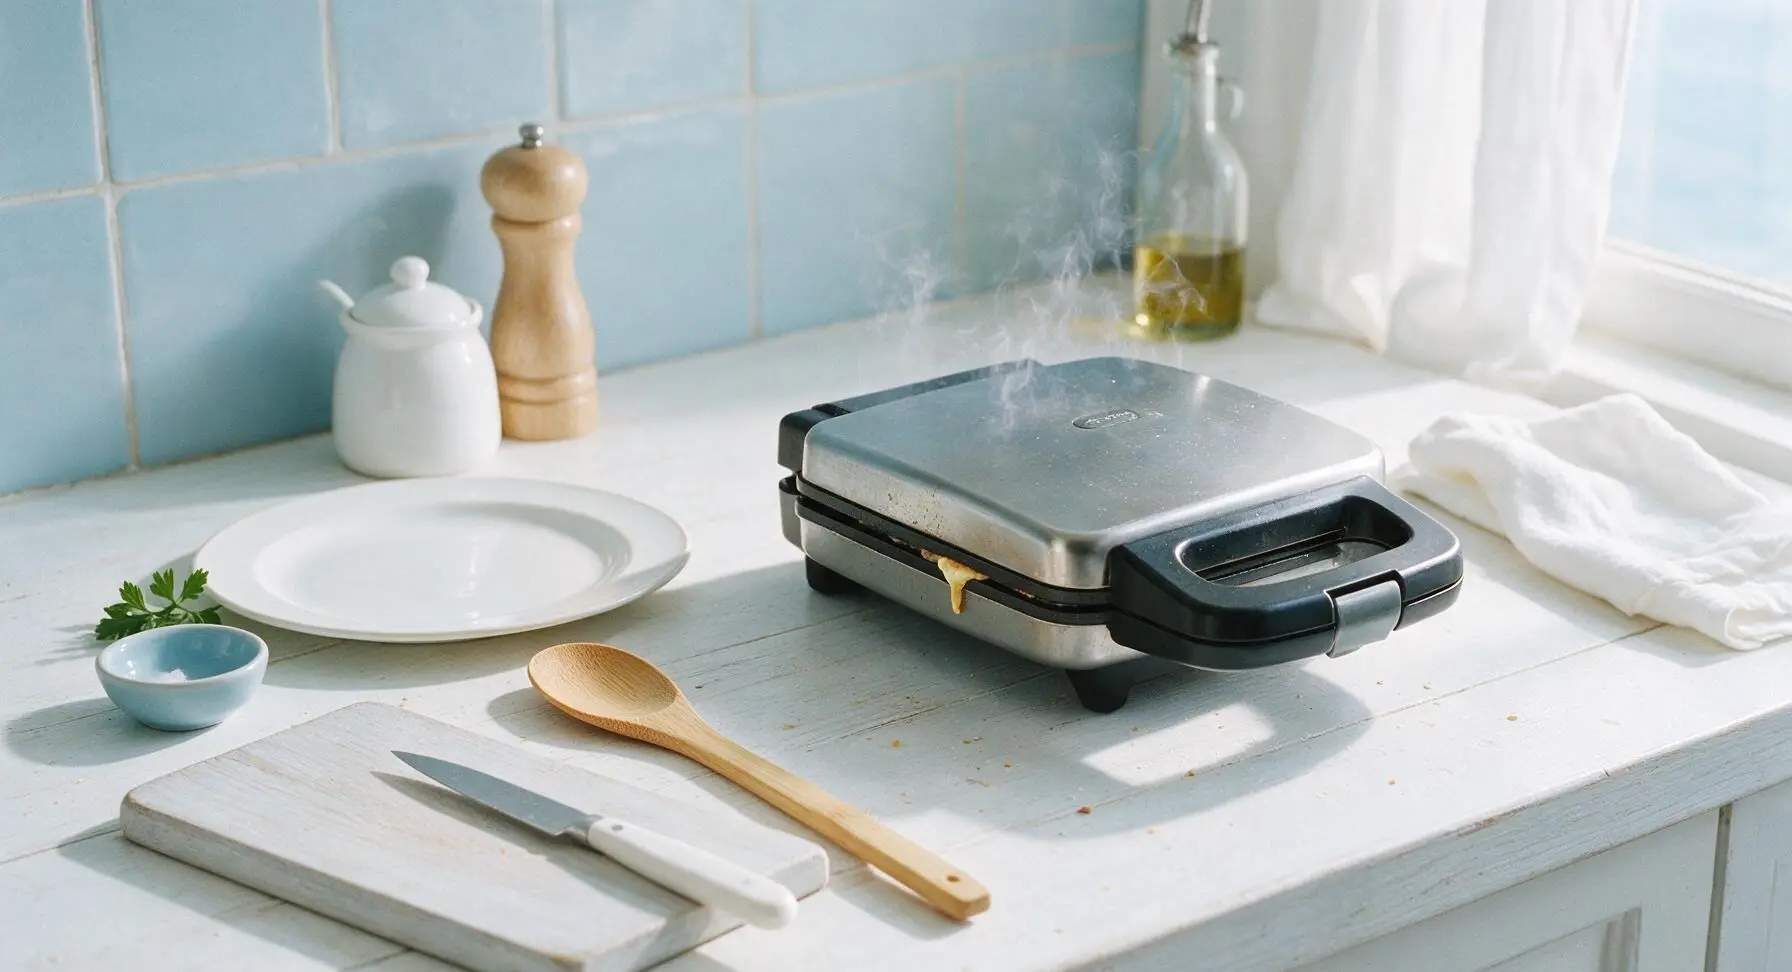
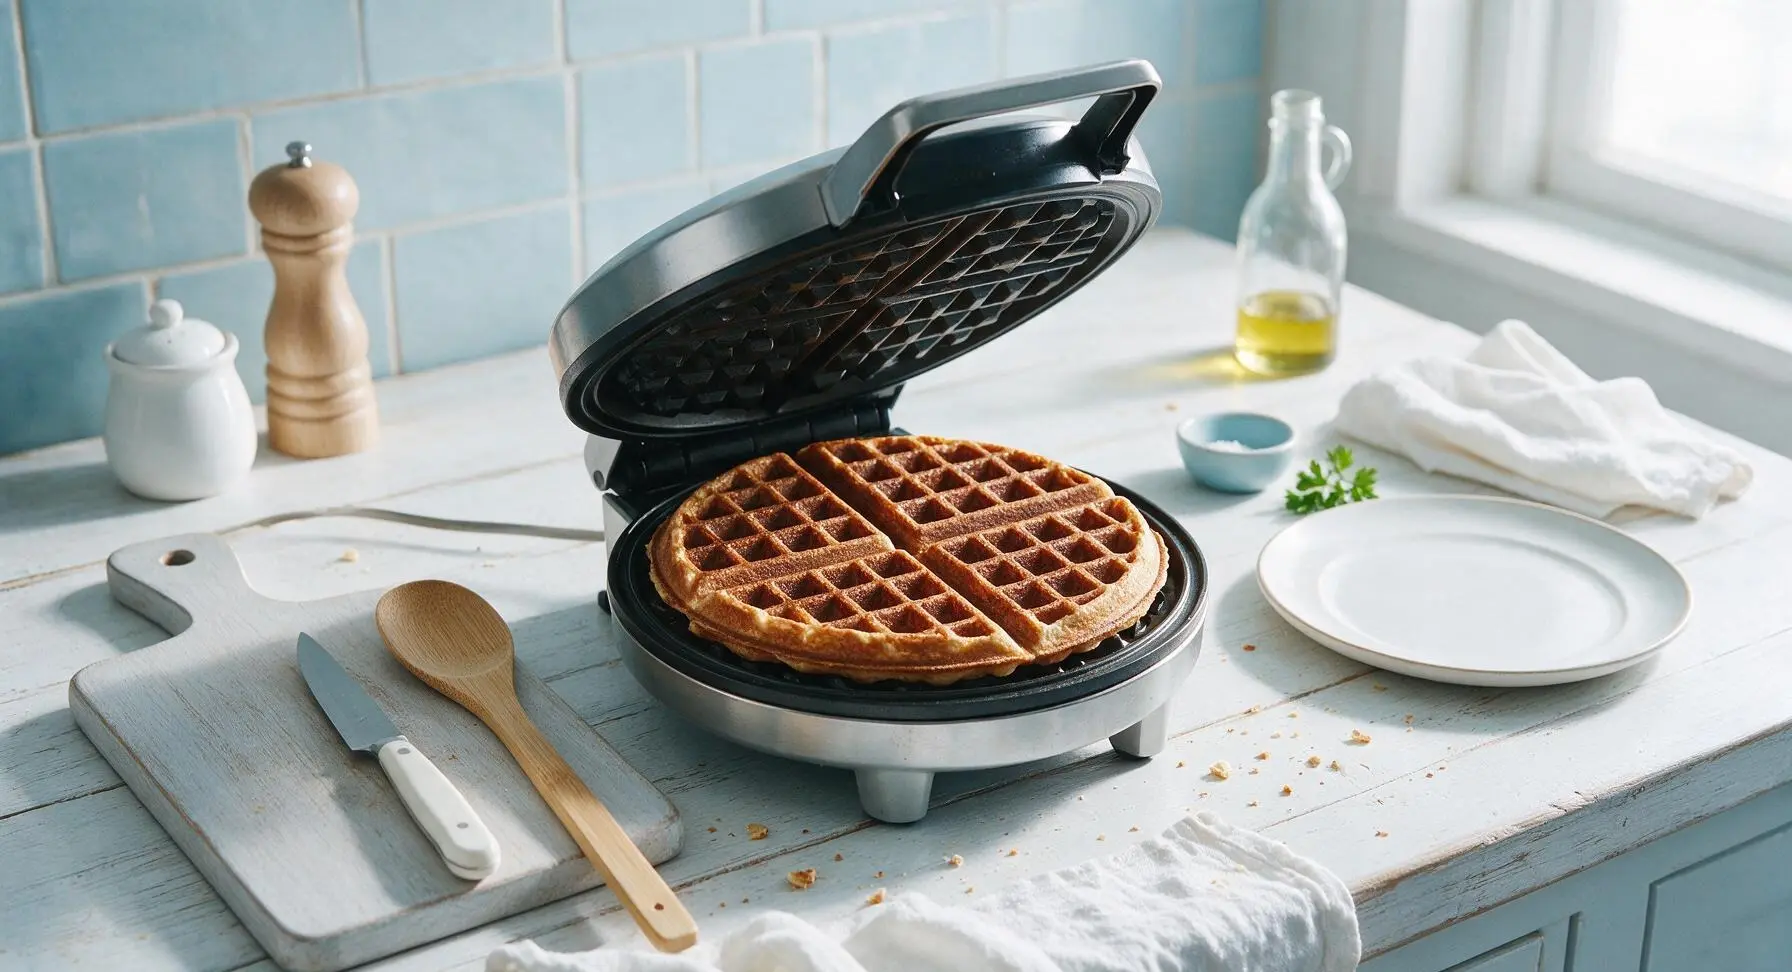
Let the waffle cook for 3 to 4 minutes, until thin streams of steam stop escaping from the sealed edges of the waffle iron. Do not open the lid early, as this breaks the developing crust and causes the waffle to tear or stick. The finished waffle will be deep golden brown, crisp on the raised grid edges, and release easily from the iron without resistance when the lid is lifted.
Keep Waffles Warm
Use the silicone spatula to gently lift the cooked waffle from the iron, transferring it to the stainless steel wire cooling rack set over the off-white dinner plate. The rack allows air to circulate under the waffles to keep crusts crisp while you cook the remaining batter, repeating the pour and cook process for 7 more waffles (3-4 minutes each). Do not stack waffles flat on the plate while waiting, as trapped steam will quickly soften crisp crusts.
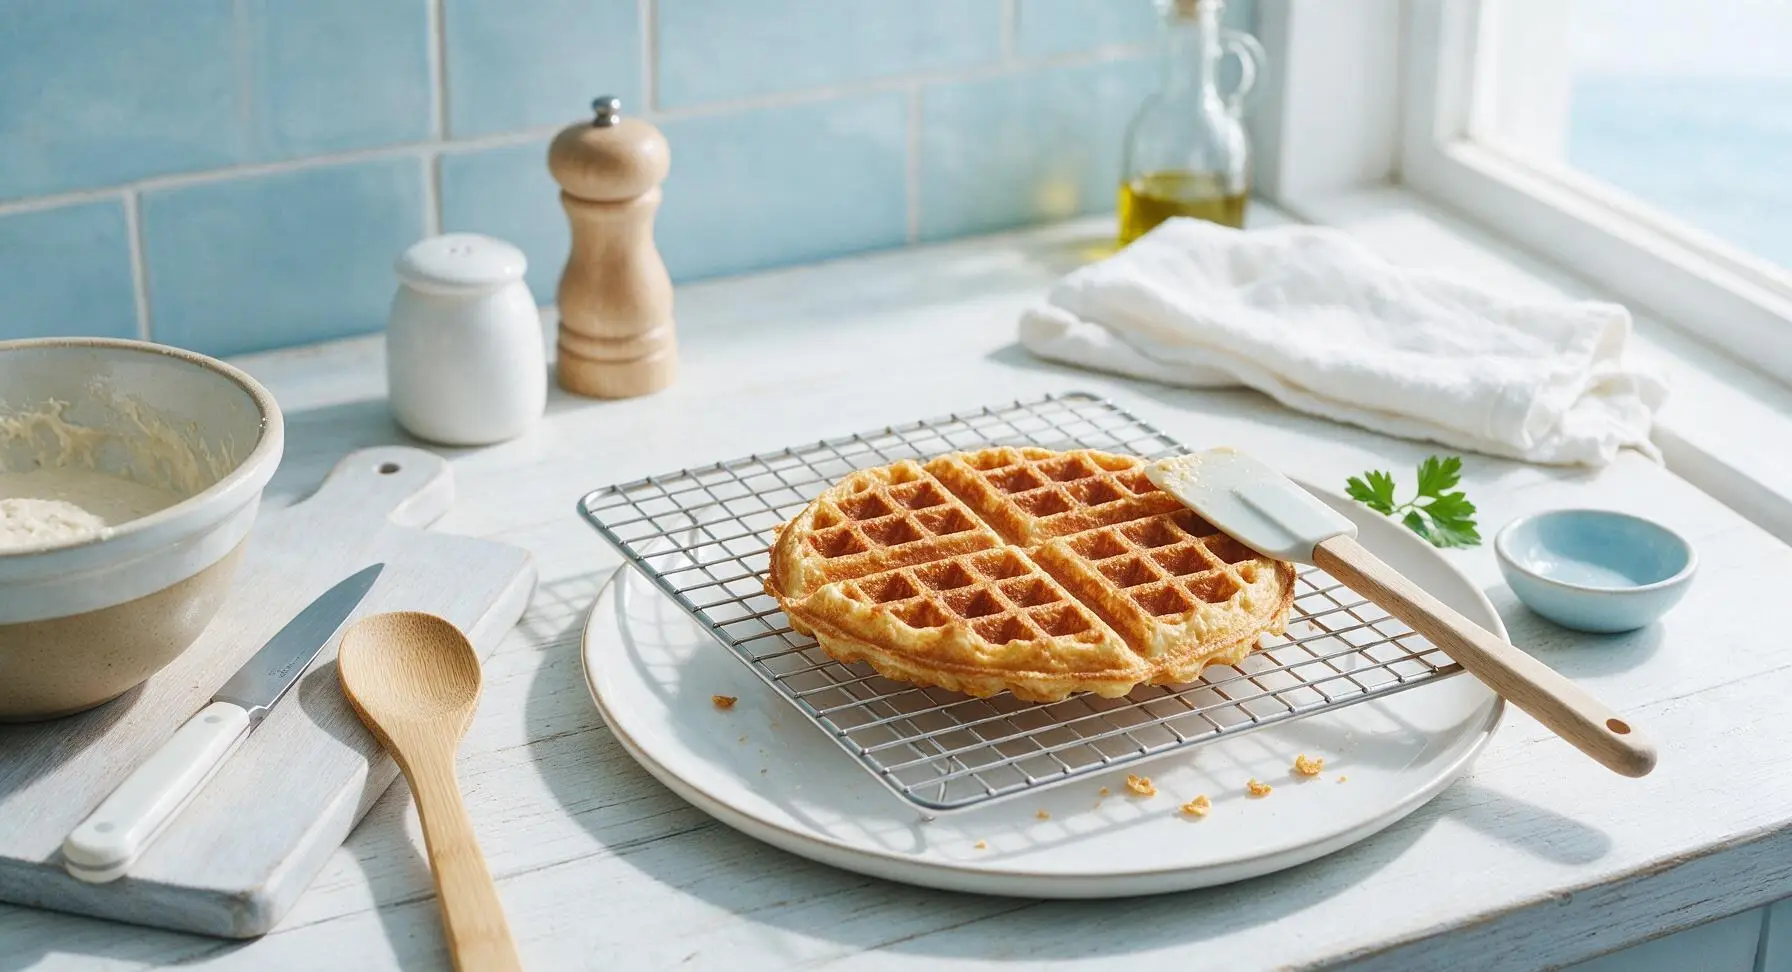
Plate And Serve
Once all waffles are cooked, stack 2 waffles per serving on the off-white ceramic dinner plate. Top with a 5g pat of salted butter, a 2 tablespoon drizzle of pure maple syrup, and optional toppings of toasted pecans, softly whipped cream, or spiced apple butter. Serve immediately while hot and crisp, before the crust softens from trapped steam.

Tips
2.Resist the urge to open the waffle iron before 3 minutes of cook time: opening early tears the developing crisp crust, causes sticking, and releases the steam needed to create light, fluffy interiors and crisp edges.
3.Always hold cooked waffles on a wire rack rather than stacking them directly on a plate while cooking batches; trapped steam from hot waffles softens crisp crusts in as little as 30 seconds, while air circulation keeps waffles crisp for up to 20 minutes.






OMG these are SO good!!! I’ve been trying to use up my extra sourdough discard for weeks and this recipe is an absolute game changer. My kids begged for seconds before they even finished their first waffle, I served them with fresh berries and a drizzle of maple syrup. Crispy on the outside, fluffy on the inside, exactly what I wanted. Difficulty was totally easy like it says, even for someone who burns toast half the time lmao.
Made these for my potluck brunch this past weekend and every single person asked for the recipe! I added a little cinnamon and a handful of mini chocolate chips to half the batch for the folks with a sweet tooth, and both versions were gone in 10 minutes flat. 20 minute cook time is so accurate, I didn’t feel rushed at all even with a house full of people.
Meal prep win!!! I made a double batch on Sunday, popped the leftover waffles in the toaster all week for quick breakfasts between classes, and they stayed just as crispy as the day I made them. No sad soggy waffles here! Way better than the frozen grocery store ones I used to buy, saved me so much money too.
Tried these this morning for my wife and two teen boys, who are super picky about waffles. Full disclosure: I forgot to separate the eggs at first and almost panicked, but I fixed it and they still turned out really good! Only note is my old waffle iron needed an extra 30 seconds per waffle to get that perfect crisp, and I wish the recipe mentioned that waffle iron cook times can vary, but that’s a tiny thing. Will be making these every Saturday from now on.
Wait, quick question before I make these this weekend! Is this recipe okay to use with sourdough discard that’s been in the fridge for a week? I have a ton I need to use up before I feed my starter again tomorrow, and I don’t want to waste it. I’ve had bad luck with other discard waffle recipes coming out too tangy or dense, so I’m really hoping this one works — all the reviews look amazing so I’m giving it 5 stars in advance lmao
I made these before an early morning hike last weekend and they kept me full for 4 hours of trail time, no mid-hike energy crash! I topped mine with peanut butter and sliced banana instead of syrup for a little extra protein, and the crispy texture held up even with the thick peanut butter. So impressed, usually waffles get soggy the second you add any spread.
I’m literally brand new to baking with sourdough and I was so intimidated, but this recipe was genuinely easy like the description says! I was convinced I’d mess it up, but my waffles came out perfectly crispy on the first try. My roommate said they’re better than the diner waffles we get downtown, which is the highest compliment possible tbh.
Game changer for busy school mornings! I mix the batter the night before, plug the waffle iron in while I pack lunches, and we have fresh crispy waffles on the table in 10 minutes total. My picky 7 year old asks for these every single morning now, no more fighting about breakfast! 10/10, no notes.