
southern chicken
intro
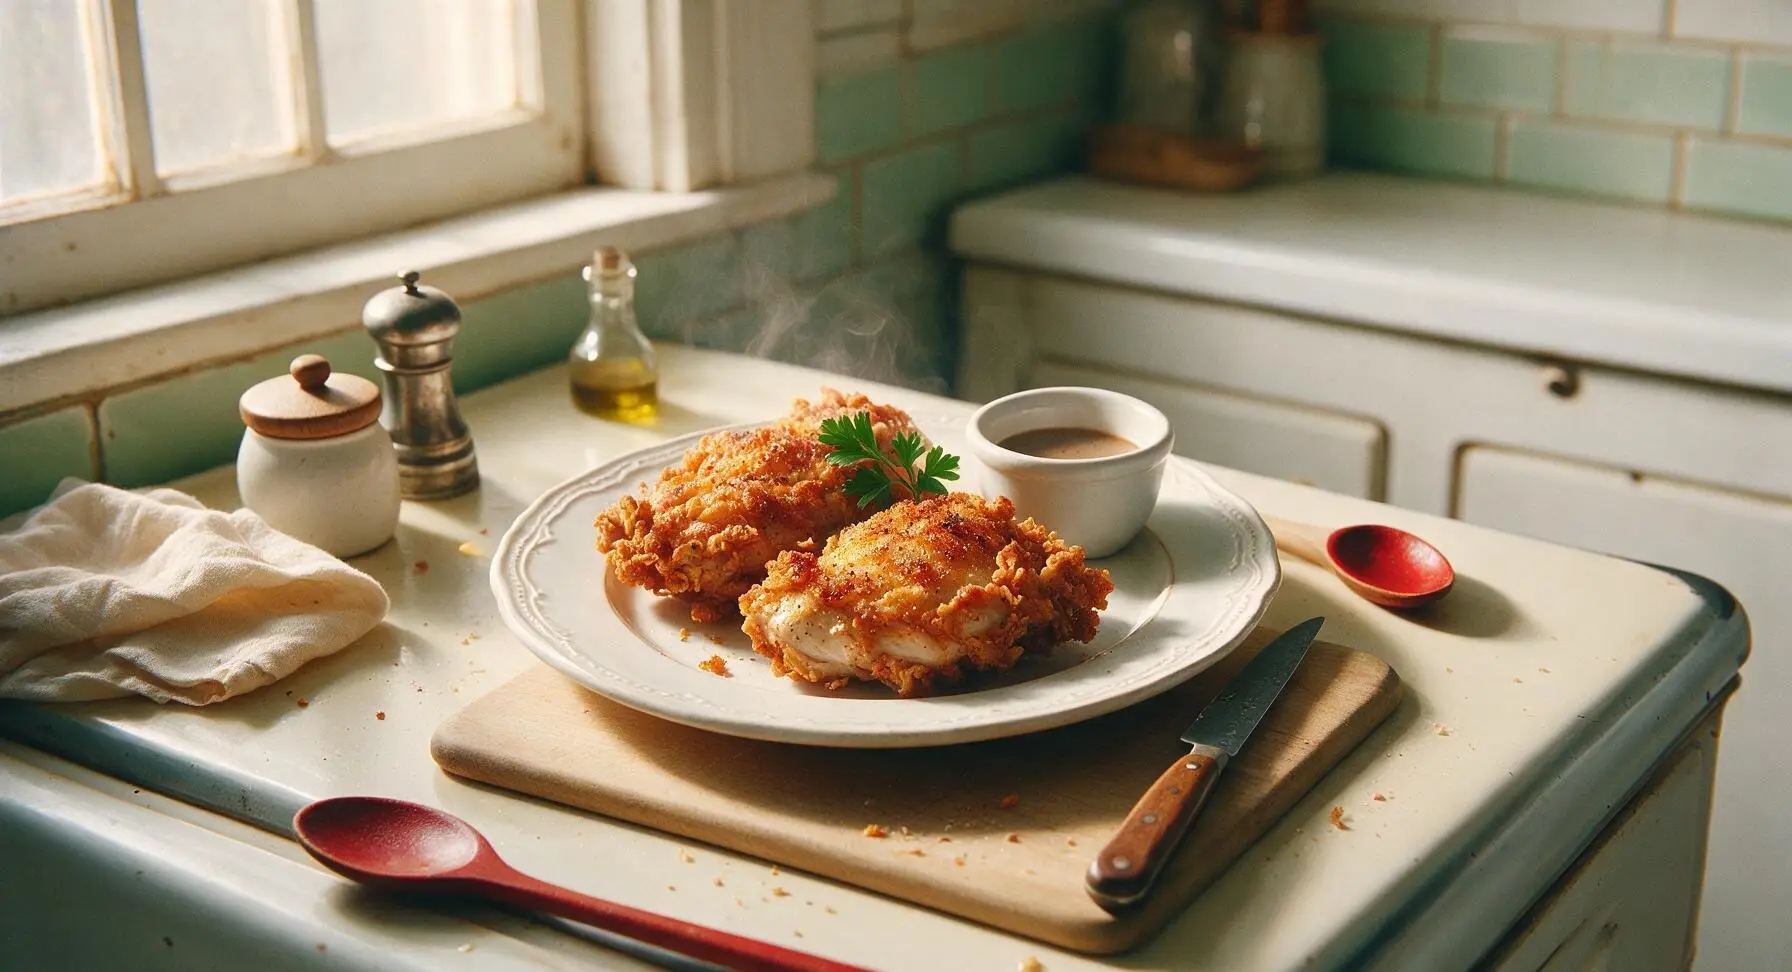
Crispy, shatteringly crusted buttermilk-brined Southern chicken, with juicy tender seasoned meat under a golden spice-kissed coating, the ultimate comforting family meal.
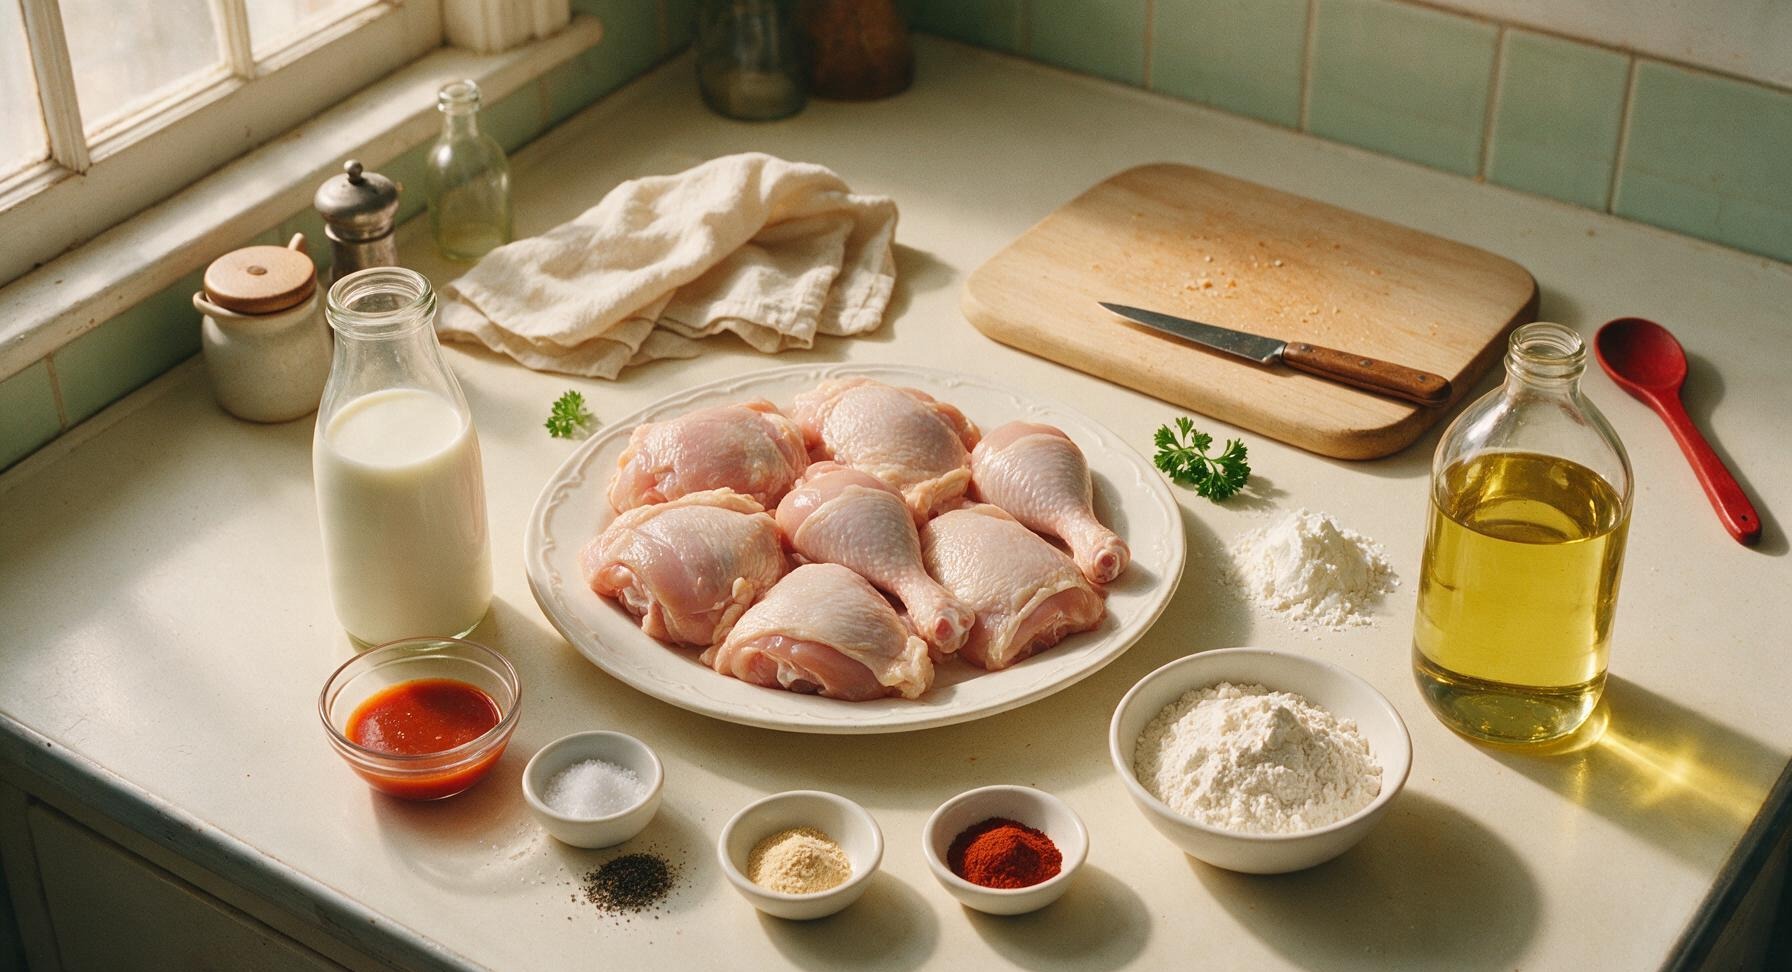
Ingredients
Steps
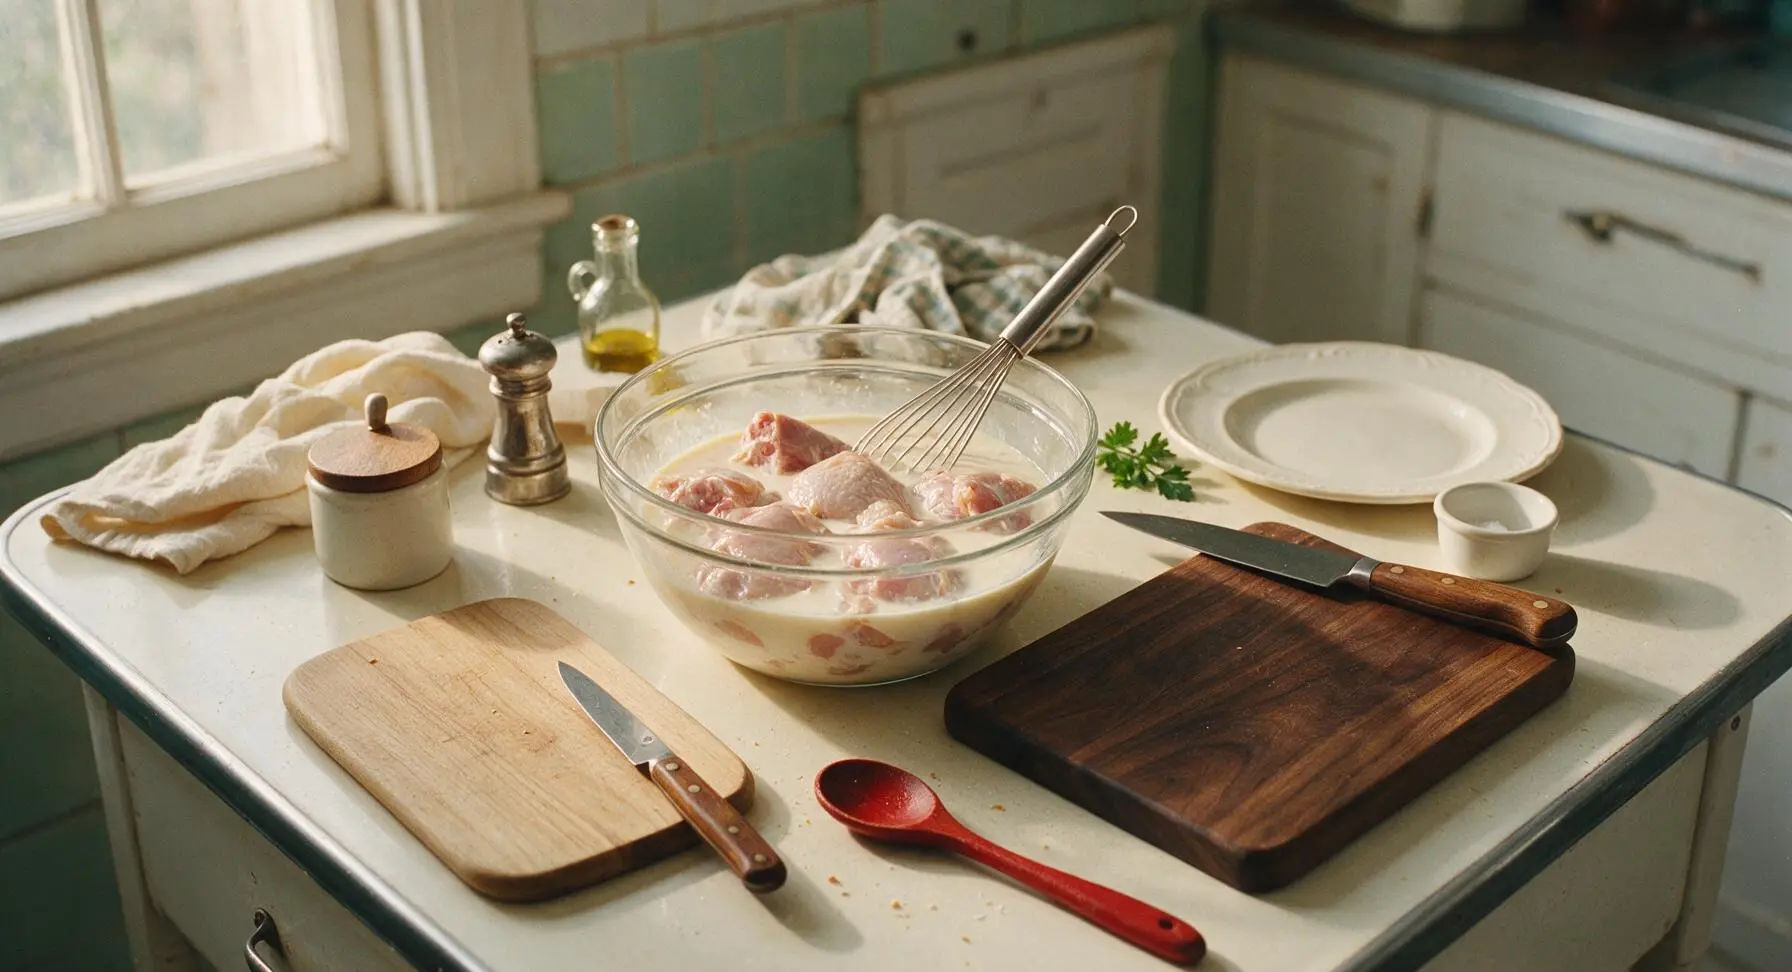
Prep Buttermilk Brine
In the 2L clear glass mixing bowl, whisk together 2 cups full-fat buttermilk, 2 tbsp Louisiana-style hot sauce, and 1 tbsp kosher salt until the salt is fully dissolved and the mixture is smooth. Add all 1.2kg of bone-in, skin-on chicken pieces to the bowl, turning each piece to coat completely in the creamy brine. Cover the bowl with plastic wrap and refrigerate for 8 hours (up to 24 hours, inactive time) to tenderize the meat and lock in moisture. Do not brine for longer than 24 hours, as the meat will become too salty.
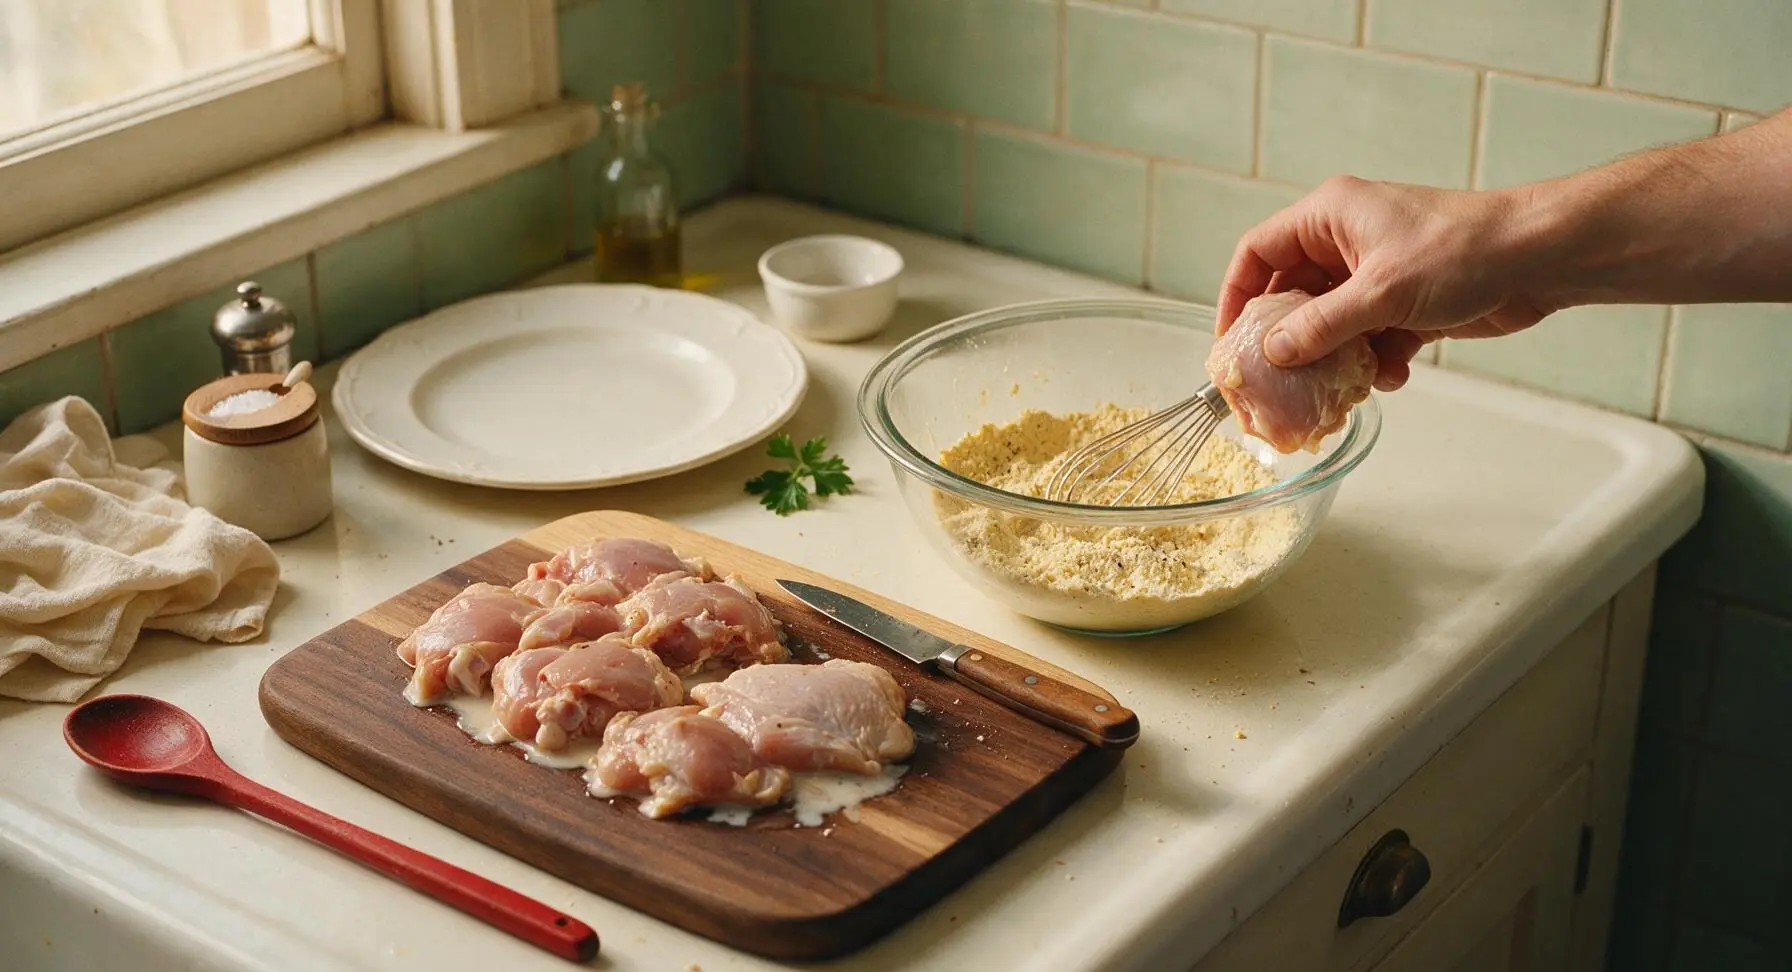
Dredge in Seasoned Flour
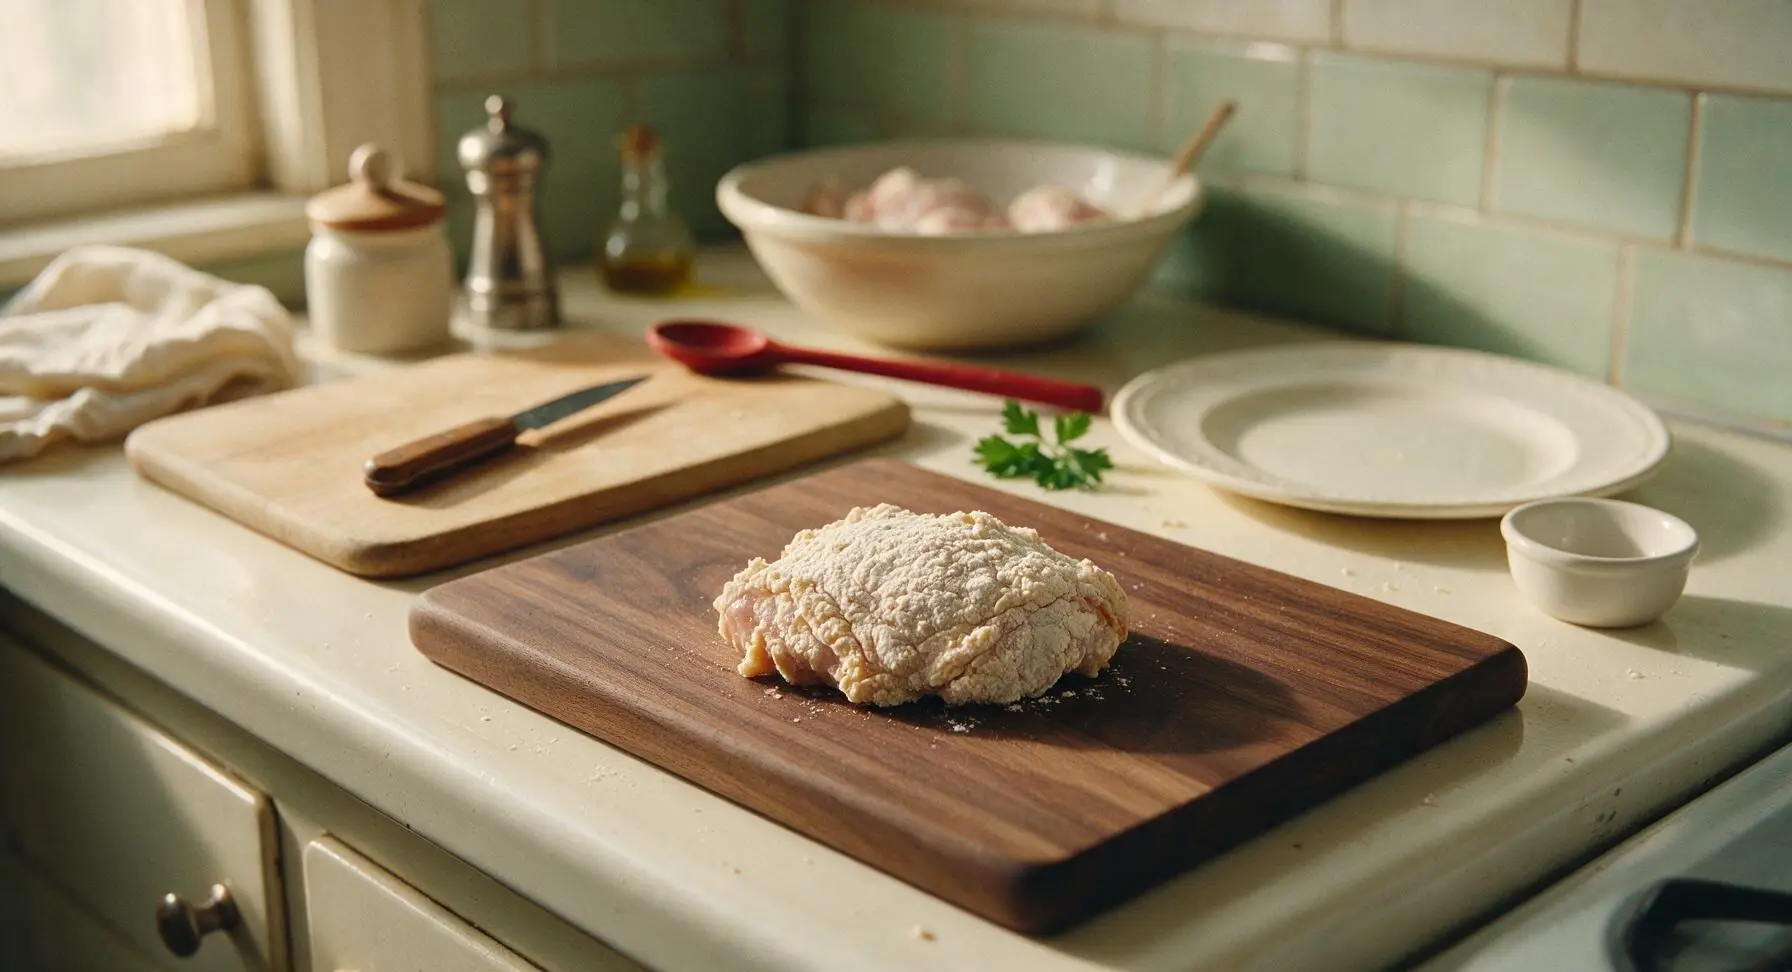
Remove the brined chicken from the refrigerator, and let excess buttermilk drip off each piece back into the mixing bowl. Transfer chicken to a clean plate temporarily, then wipe out the mixing bowl. Add 1.5 cups all-purpose flour, 1/4 cup cornstarch, 1 tsp kosher salt, 1 tsp freshly ground black pepper, 1 tsp garlic powder, and 1 tsp smoked paprika to the bowl, whisking until spices are evenly distributed through the flour. Working one piece at a time, press chicken firmly into the flour mixture, turning to coat every crevice and skin edge, shaking off excess flour. Set coated pieces on the dark walnut cutting board to rest for 10 minutes before frying—this allows the flour to hydrate and adhere to the chicken, preventing the crust from falling off during cooking. The coating will look slightly damp and craggy when ready to fry.
Heat Peanut Oil
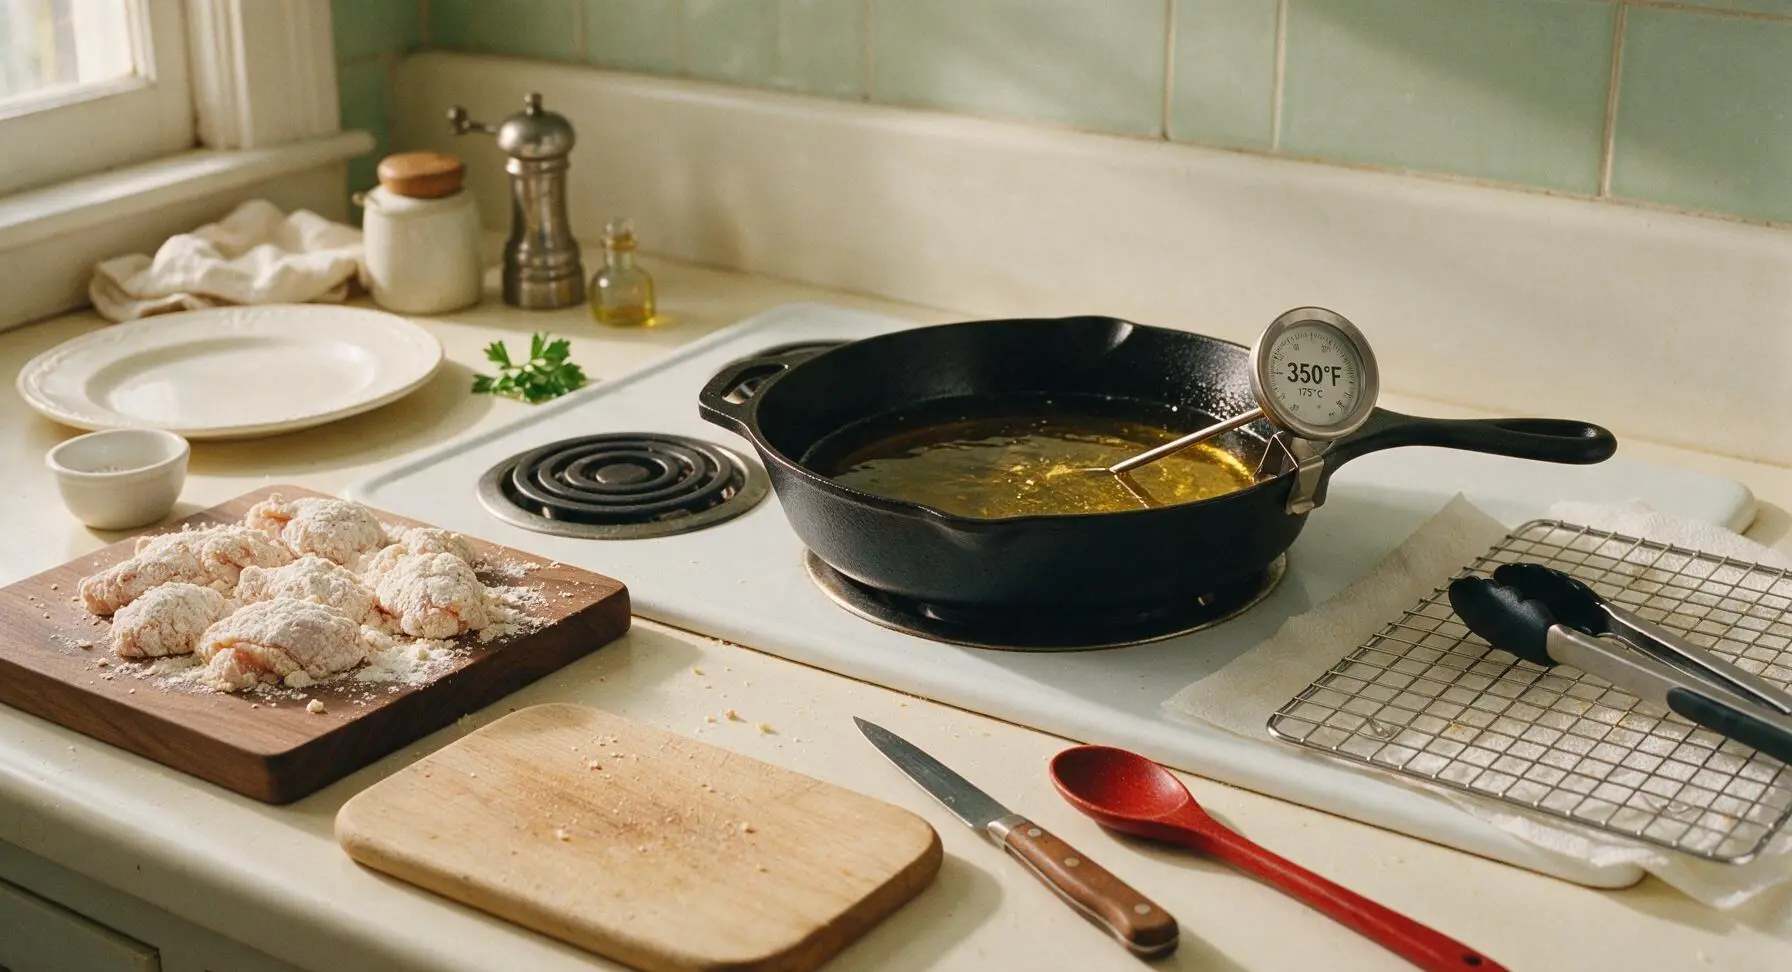
Pour 4 cups peanut oil into the 12-inch matte black cast iron skillet, until oil reaches a consistent 1-inch depth up the pan sides. Clip the stainless steel deep fry thermometer to the skillet edge, making sure the probe is submerged in oil but not touching the pan bottom. Heat oil over medium heat until it reaches a steady 350°F (175°C). Adjust stovetop heat as needed to hold this temperature throughout frying: oil hotter than 360°F will burn the crust before chicken cooks through, while oil below 330°F will produce a greasy, soggy crust.
Fry First Chicken Batch
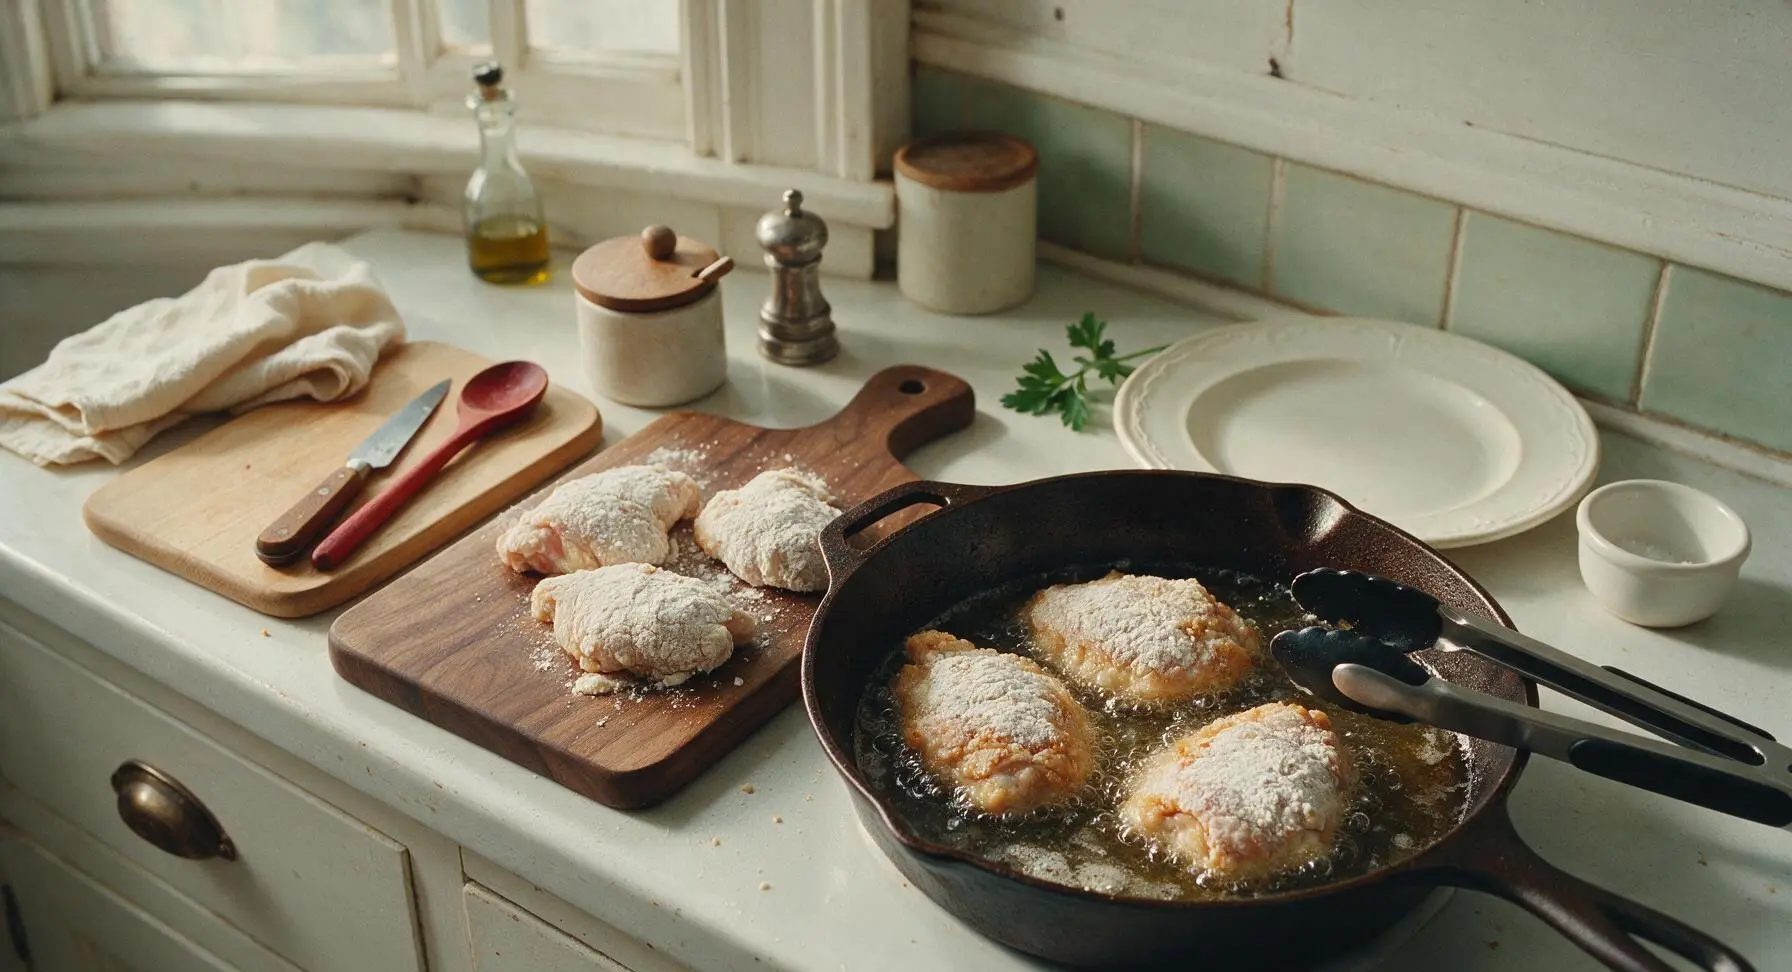
Using the black-grip stainless steel tongs, carefully lower 3 chicken pieces into the hot oil one at a time, placing them skin-side down and lowering them away from your body to avoid hot oil splatters. Do not overcrowd the pan—adding too many pieces at once will drop oil temperature by 50°F or more, causing uneven cooking. Fry undisturbed for 7 minutes on the first side, until the downward-facing crust is a deep, even golden brown. Resist the urge to move the chicken early, as this will tear the developing crust.
Flip and Finish Cooking
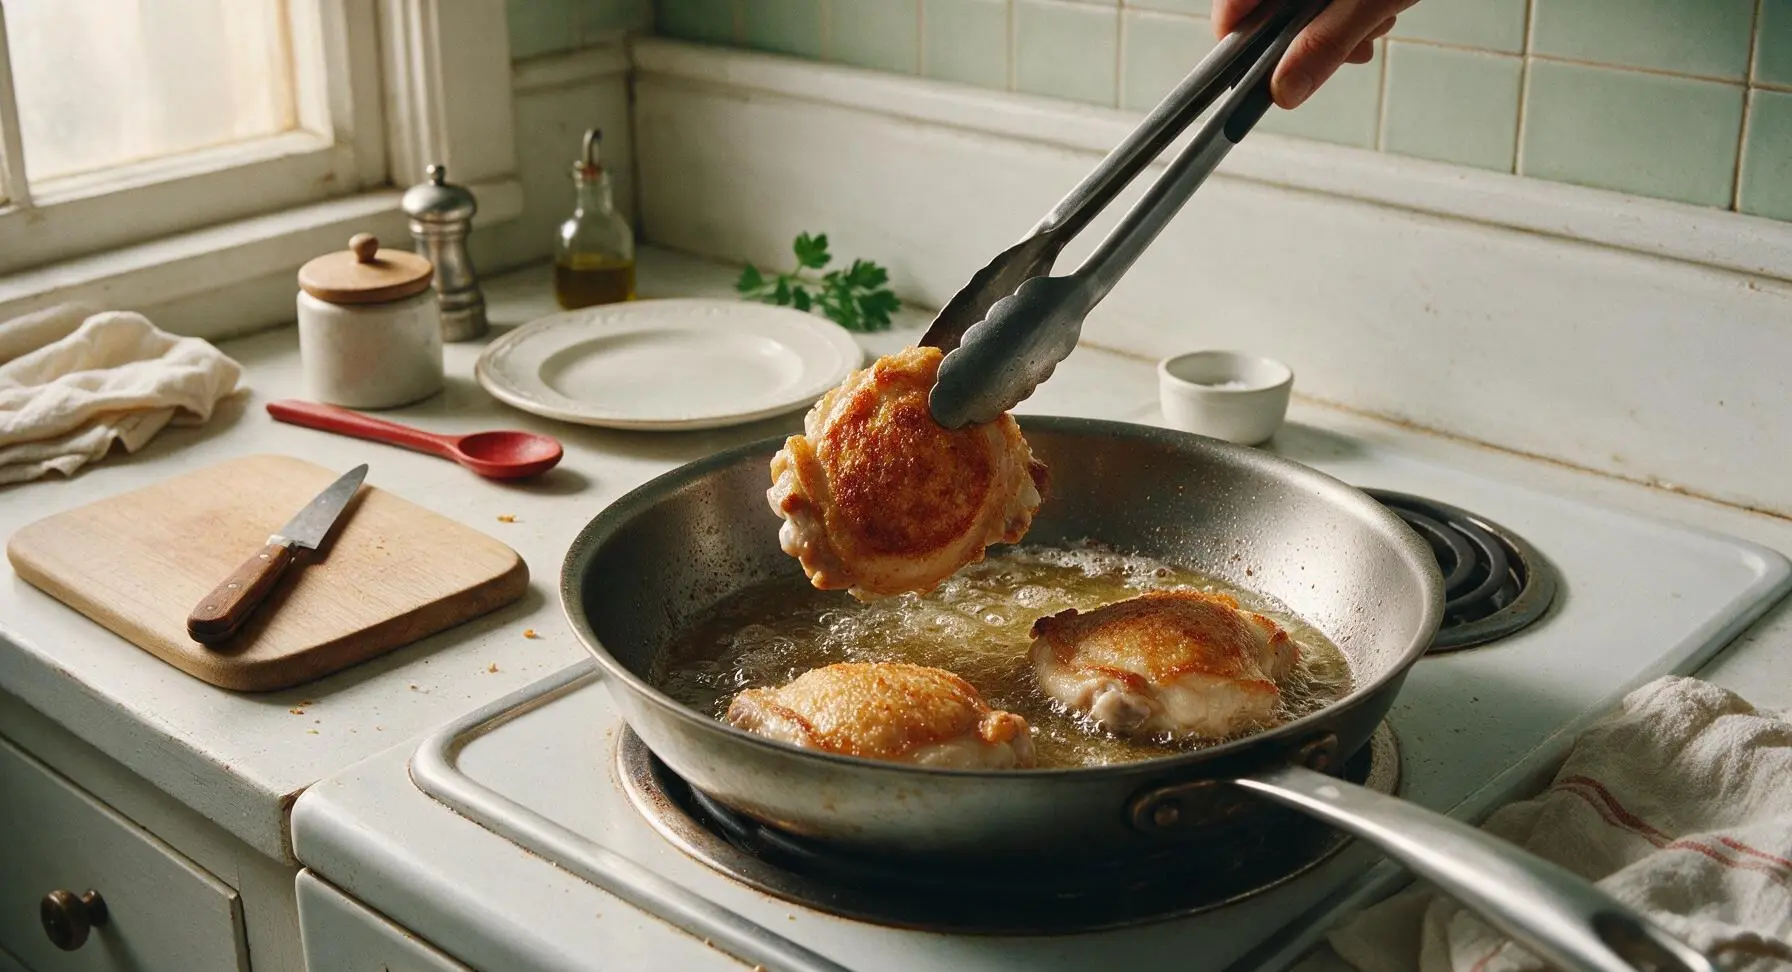
Use the tongs to gently grip each chicken piece and flip it to the second side, taking care not to tear the crisp crust. Fry for an additional 6 to 8 minutes on the second side, until the internal temperature measured at the thickest part of the meat (away from bone) reaches 165°F (74°C). The crust will be a uniform rich golden-brown across all surfaces when done, with no pale floury patches remaining.
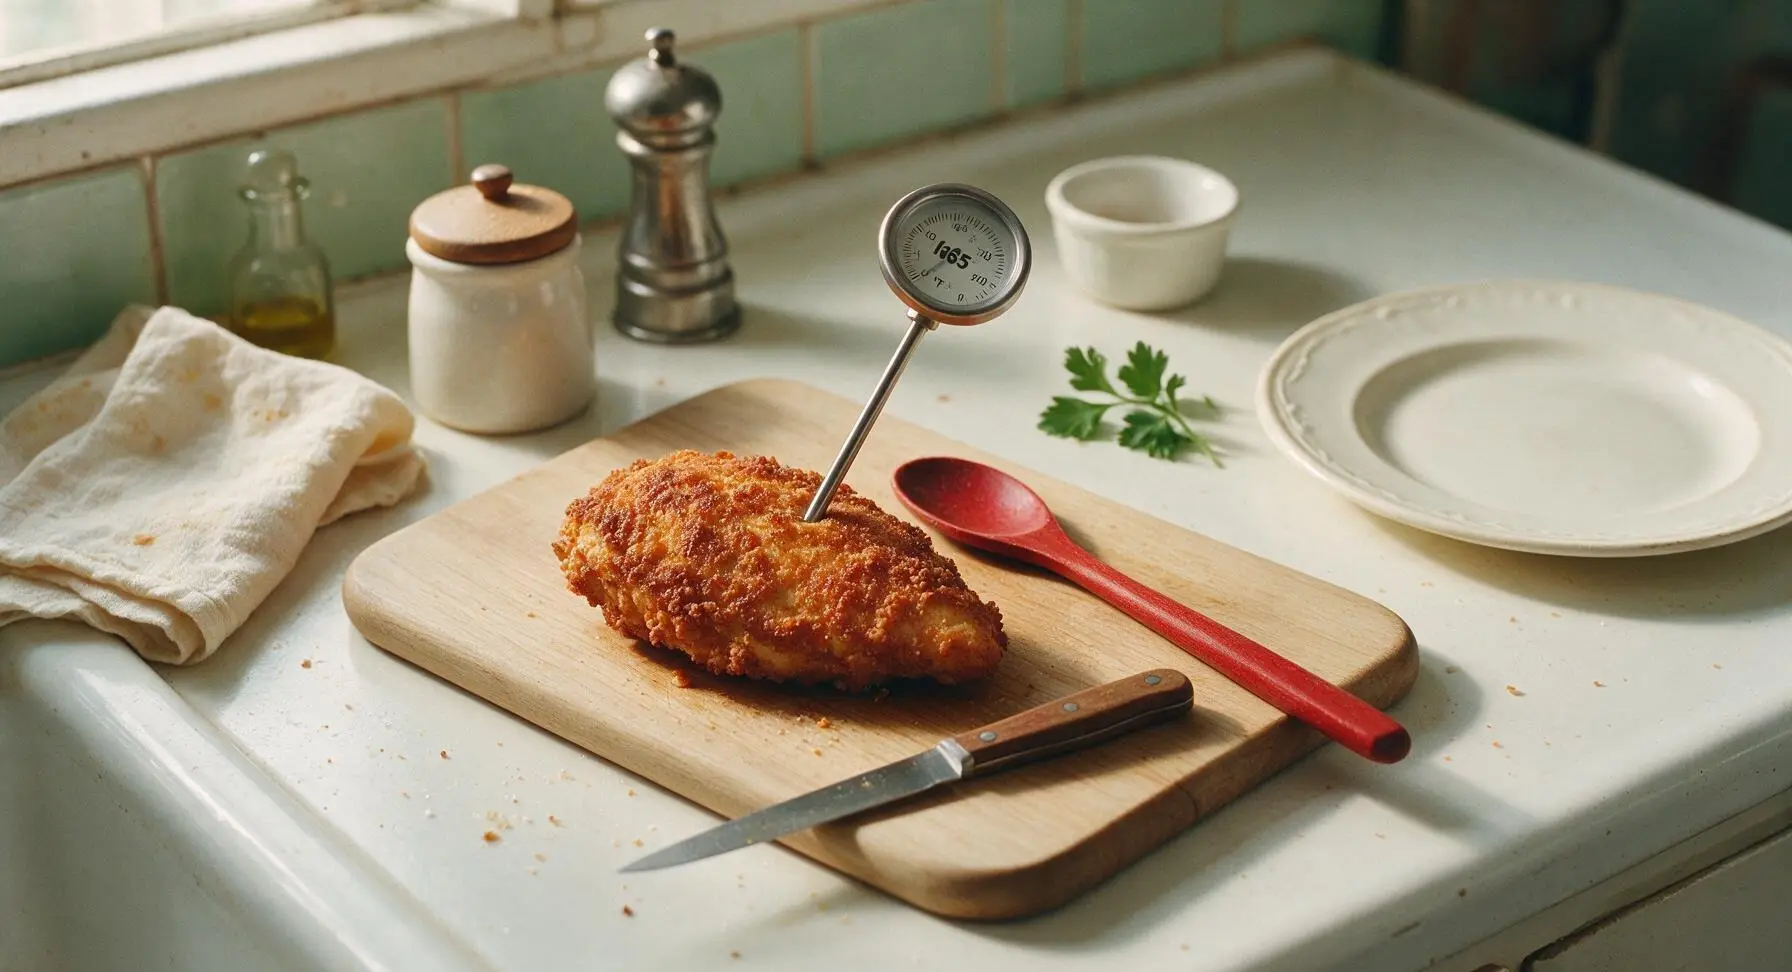
Drain and Rest Chicken
Lift each cooked chicken piece from the oil with tongs, holding it above the skillet for 2 seconds to let excess oil drip back into the pan, then transfer to the paper-towel lined chrome wire cooling rack. Immediately sprinkle the hot crust with a tiny pinch of flaky kosher salt, so the salt melts and sticks to the warm oil. Let the first batch rest for 5 minutes while you fry the remaining 3 chicken pieces, maintaining a steady 350°F oil temperature and repeating the same 7-minute first side / 6-8 minute second side cook time, checking internal temperature for doneness. Transfer the second batch to the cooling rack, salt immediately, and let rest 5 minutes before plating.
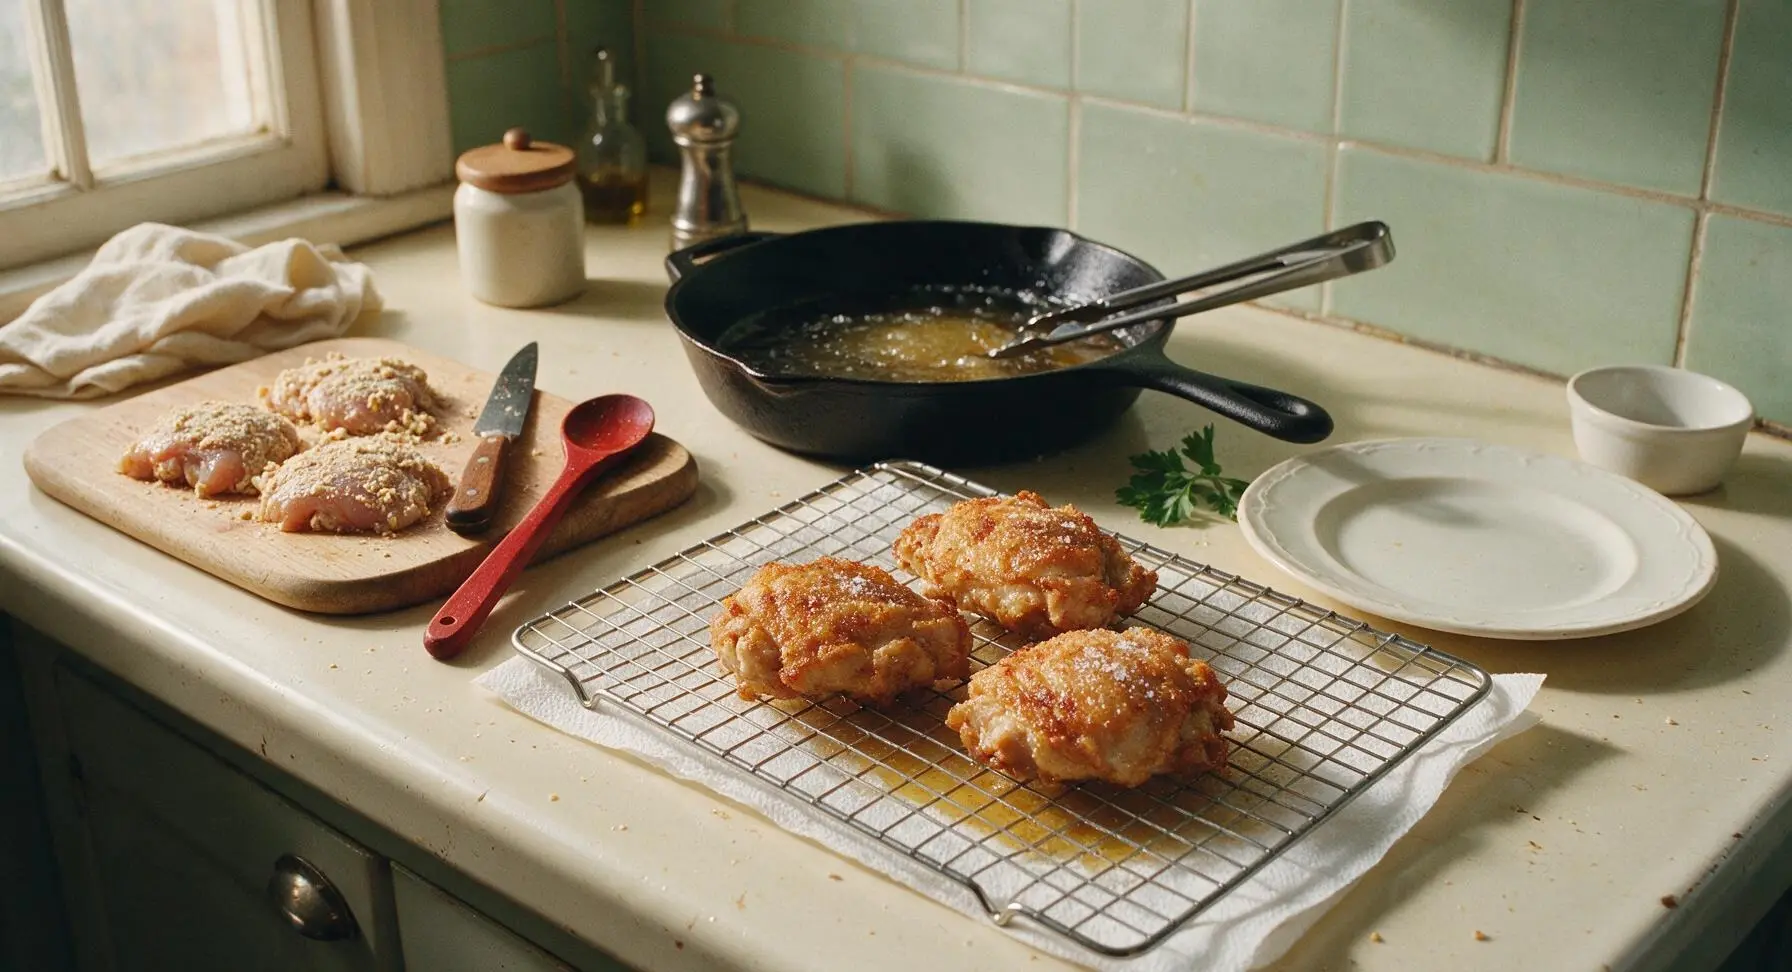
Plate and Garnish
Arrange all 6 rested chicken pieces loosely on the 28cm matte cream ceramic dinner plate, piling them slightly for a casual, inviting presentation. Tuck 2 small sprigs of fresh curly parsley between the chicken pieces for a bright pop of green color. Serve warm, while the crust is shatteringly crisp, with classic sides like collard greens, mac and cheese, or potato salad if desired.
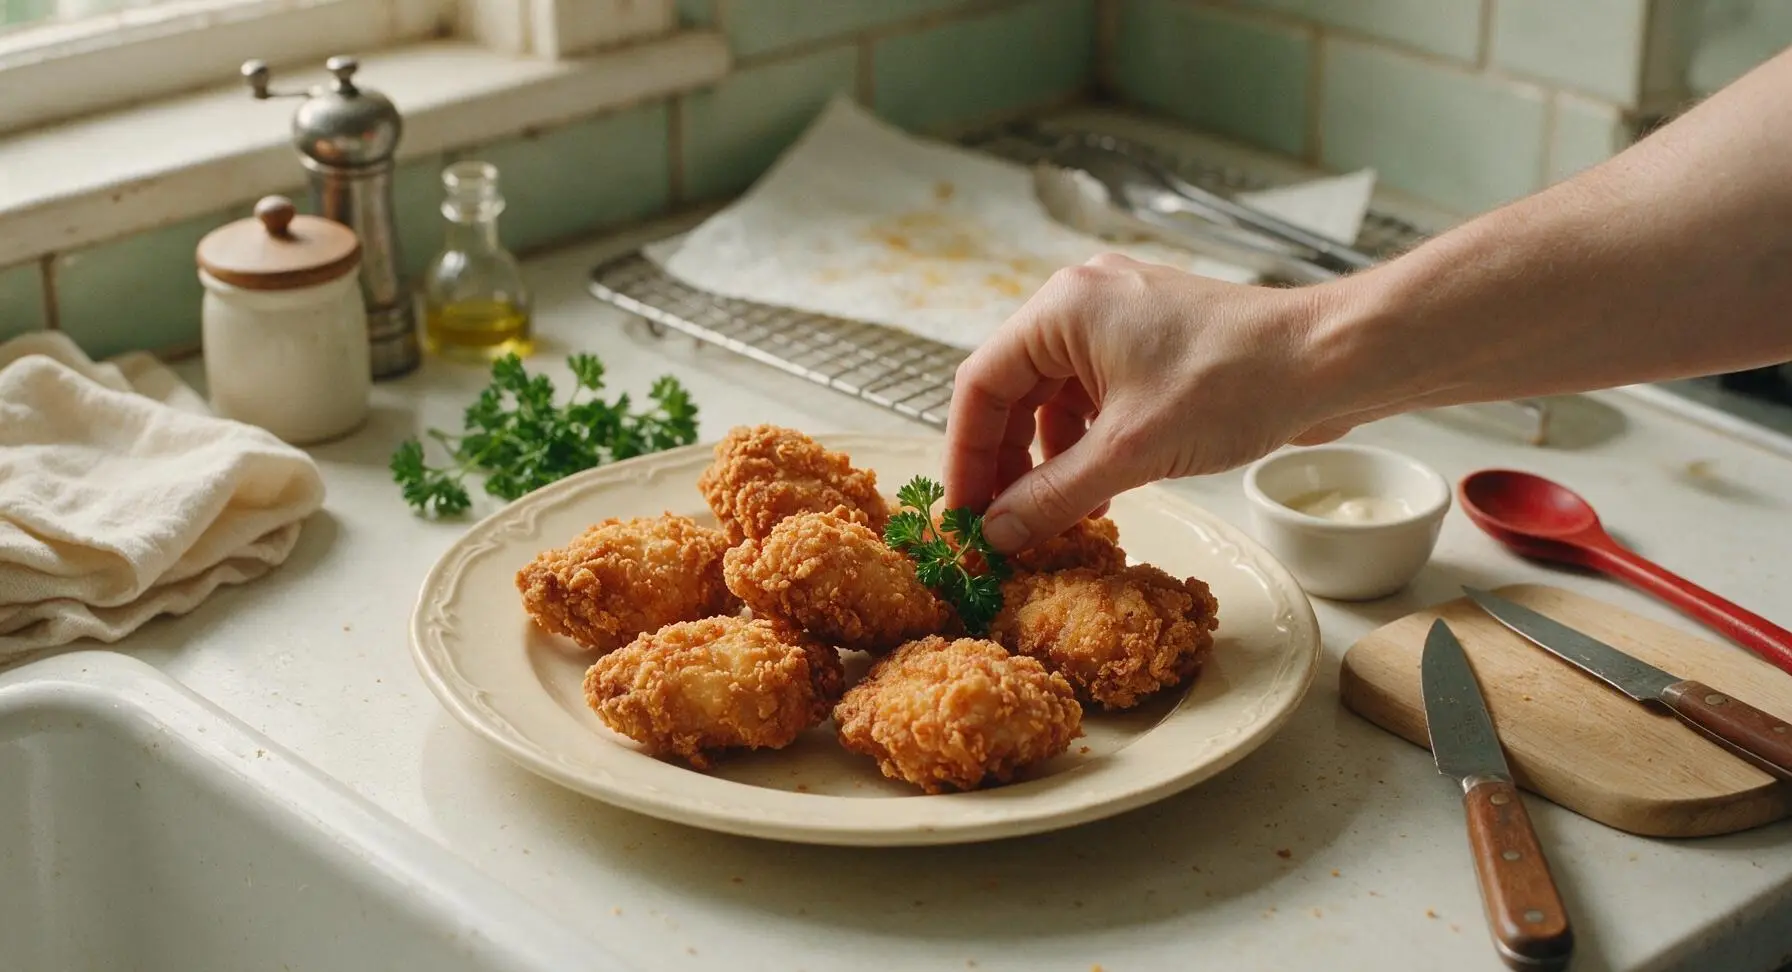
Tips
2.Maintain a steady 350°F oil temperature: Frying at too low a temperature makes the crust absorb excess oil and turn soggy, while overheated oil burns the crust before the dark meat near the bone cooks through. Check the thermometer frequently and adjust stove heat as needed between batches.
3.Don’t skip the full buttermilk brine: The lactic acid in buttermilk gently tenderizes the chicken over 8 hours, resulting in juicy, flavorful meat all the way to the bone, rather than dry, bland chicken under a crispy crust. Use full-fat buttermilk, not low-fat, for the richest flavor and most tender texture.






OMG this classic southern chicken is a GAME CHANGER for our weeknight dinners! I made it last night for my husband and two picky teens, and they all went back for seconds. The crust was perfectly crispy, not greasy at all, and the seasoning was spot on. I even had a little leftover for my lunch today and it reheated like a dream. 10/10 will be making this every other week for sure!
Quick question before I make this for my Sunday meal prep – does the crust stay crispy if I store it in the fridge for 3-4 days, or does it get soggy? I’m trying to add more protein options that don’t get gross midweek. Also, can I use boneless thighs instead of breasts? My family prefers dark meat.
SO good! I grew up eating my grandma’s southern fried chicken in Florida, and this recipe tastes just like hers. I was worried it would be too complicated for a weeknight since I usually avoid medium-difficulty recipes after work, but the 30 minute cook time was no joke – I had it on the table in 35 minutes total including prep. The only tiny tweak I made was adding a pinch of cayenne for a little heat, which was chef’s kiss.
Wait, hold on – is this supposed to be pan-fried or deep fried? The instructions say to use a cast iron skillet with oil, but I didn’t see how much oil to add? I tried making it last night and used about half an inch, but the crust burned a little on the bottom before the chicken was cooked through. Did I do something wrong? Flavor was still amazing even if it was a little charred, I just want to get it right next time.
Made this for my post-hike dinner with friends last weekend and everyone raved! I used gluten-free all purpose flour for the coating because one of my friends has celiac, and you literally couldn’t tell the difference. The seasoning is so flavorful you don’t even miss the regular flour. Will absolutely be adding this to my regular rotation for group meals!
Wow, this was so easy to nail on the first try! I added extra paprika and a dash of hot sauce to the buttermilk soak because I love that spicy kick, and it was perfect. My roommate walked in from work and said the whole apartment smelled like a soul food restaurant. We ate the whole batch in one sitting, oops. Definitely making this for our game night watch party next month.
Is there a good substitute for buttermilk here? I ran to the grocery store after work and they were completely out, and I really don’t want to make a second trip. I have regular milk and white vinegar, I remember that works as a dupe for some recipes? Just want to make sure it won’t mess up the texture of the crust.
My kids loved it!!! I’ve been trying to find a fried chicken recipe that isn’t a total greasy mess, and this fits the bill perfectly. My 7 year old asked for thirds, which never happens – he usually turns his nose up at anything that isn’t chicken nuggets. The only thing I will say is I wish the recipe included a suggested side! I made mac and cheese and collards with it, which went great, but I’d love to hear what other people pair with it.
Tried this last night and the flavor was unreal, but my crust kept sliding off the chicken when I flipped it! What am I doing wrong? I patted the chicken dry, dipped it in buttermilk, then coated in the flour mix – did I not press the flour in enough? It was still tasty, just not as pretty as the photos.
Made this for my family’s Sunday dinner and it was a hit! I was worried the medium difficulty would be too much for me since I’m still a pretty new cook, but the steps were super straightforward and easy to follow. I didn’t have a cast iron skillet so I used my regular stainless steel pan, and it still turned out great – just had to adjust the heat a little to avoid hot spots. 10/10, even my super critical grandma said it was good!
How well does this freeze? I want to make a double batch to freeze for busy weeks when I don’t have time to cook. Should I freeze it before or after cooking? I don’t want to waste food if it gets freezer burnt or weird tasting.
Y’all, this recipe is exactly the southern chicken my mom used to make when I was growing up! I’ve tried so many copycat recipes over the years and none of them got the seasoning right, but this is spot on. The paprika and garlic powder ratio is perfect, no weird extra spices that don’t belong. I made this for my son’s birthday dinner and he said it tasted just like grandma’s cooking, which is the highest compliment possible.